-
Posts
1,509 -
Joined
-
Last visited
-
Days Won
120
Content Type
Events
Profiles
Forums
Everything posted by Hausi
-
In the meantime, my new Dengar costume has been 501st approved and here I am sporting the Bapty DLT-19 in the "Dengar-Version". Thought it is okay to post these pics here as Dengar is a Sandtrooper at heart - he has so many Sandtrooper armor parts.
-
Hey Daniel, no worries, I've been having a very busy time too. You have done a good job and the bottoms will be good to go. What I have noticed is that on your right thigh, the back coverstrip is quite off-centered to the left. But that might be not as noticeable as soon as you put it all on again, so please add some new pics of yourself in your revised gear. Cheers mate.
-
"Der Wiener Schlinger" has a big gun.. Great pics, looks like you've had a fun day.
-
Hey mate, good idea but don't use stickers for the helmet, those are only good for basic approval and not accurate for an ANH Sandtrooper. Paint is the way to go.
-
Hi mate and congrats for being approved, you will have to request Sandtrooper access in the "The Barracks" section of the forum.
-
Hi Daniel, you have already started making the changes, that´s great. For the back of the thighs I would suggest the following: try to emulate the shape seen on this thigh: Make some sludge by mixing some small snipplets of white ABS that you might still have lying around from trimming and drain them in Acetone to create the sludge, this will bond way better to the ABS of your thighs (provided that your thighs are made of ABS in the first place) and will definitely be easier to work with than bondo as you will not have to paint it. You use it to recreate this shape: Another piece of advice: the coverstrips should be cut at an angle like this: So if it´s still possible, try to follow these instructions. Keep up the great work Daniel, I am looking forward to seeing your progress.
-

TD-17105 "BadBatch" Tour of Duty Log (87 Arrests)
Hausi replied to BadBatch's topic in Tours of Duty
Awesome photos and a nice lineup of ANH characters in the final picture. You are doing great work for a good cause. -
Daniel, I have added a section on your overlap-construction thighs and shins in my previous/earlier review, it´s written in italics so you can easily identify the new part.
-
Hi Daniel, First of all welcome and thank you for your interest in joining the MEPD´s finest and becoming a deployed officer. Thank you for providing such a tidy application, your armor fits and suits you well, you look great and your pack is really nice, I have followed your build and the details are great, you have done an amazing job in building your pack yourself! (I am not completely sure if the Sonix shouldn´t be sitting in the box as it is with most other shots of this pack where it has already come apart, but I see your point in doubting this). Although this isn´t SWAT yet, I like it that you have already chosen a trooper to emulate and your chosen trooper is immediately recognizable. Okay, enough of the small talk and pleasantries, let´s get your review going. Application Review: Part 1 Name: Daniel Wong Legion ID: TD-6316 Forum Name: tk6316 Garrison: Malaysia Garrison Helmet a. Green lenses: check b. Paint color of traps / tears: check c. Correct number of teeth: check d. Mic tips: check e. Vocoder color: check f. Tube stripes: check g. Rank bar on ears: check h. Brow: check i. Side screws (ears): see comments j. Weathering: check k. no mesh behind teeth: check *additional comments* Nice helmet, I like the weathering and the fact that you have added the paint chips showing the olive HDPE underneath. Brow´s a little low for my liking but that of course is personal preference (should you later on decide to really go all the way for SWAT, it would have to be a little higher). However, the screws should be painted white. I think yours have been previously painted white but as it seems, too much of that paint has come off, so please repaint them and give them another wash with weathering. (The same actually goes for the split rivets on the abdomen and the cod piece too, I think as these aren´t too prominent, it´s a pass) RESULT ON HELMET pending Armor details a. elastic straps shoulders: see comments b. neck seal: check c. black undersuit: see comments d. shoulder bells: check e. biceps: check f. forearms: check g. pauldron: check h. chest / back plate: check i. kidney / butt plate: check j. ab plate / side rivets / cod: check k. strapping system: check l. thighs: see comments m. shins / calves: check n. sniper plate: check o. boots: check p. gloves: check q. hand plates / guards: check r. ammo belt (waist): check s. ammo belt (right knee): check t. canvas belt: check u. pouches: check v. weathering: see comments *additional comments* As I have said before, your armor really suits you well but there are some points to address: Personally I think you look a little too clean. On the other hand you have provided the pics of your chosen trooper on screen and this guy is rather clean too, so that´s okay. Shoulder straps: I appreciate that you have already updated your picture showing the snaps and you have added the correct sew-on snaps, but now the elastic shoulder straps look too clean and brand new and should be more in line with your canvas ammo belt, so add some dirt/weathering. Thighs: I can´t really tell for sure from the pictures but does the AP armor use the but-joint-and-coverstrip-method to close the thighs at the back or is it the overlap-method? Are they actually closed at the back? New After studying your present pics a little closer, I can most definitely tell that the AP armor uses the overlap method at the back of both, the tighs and the shins. You have added coverstrips at the front which is fine but please shorten/cut down the front coverstrip for your left thigh, bigwam has already shown how it should look like in his post below. For the back of the thighs and shins, you will also have to add the coverstrips which should be an easy enough job. While doing so, please also try to allign the bottom of the left thigh. While it´s not really important for the top of the thigh to line up perfectly, the bottom should line up. Undersuit: you are of a rather slim build and your undersuit looks slightly too wrinkled, especially at the back of the knees, is it possible to get a smaller undersuit? RESULT ON ARMOR pending Backpack a. details: check b. weathering: check *additional comments* As stated above, great build and kudos for building your own pack. RESULT ON BACKPACK Checked & Cleared Weapon: E-11 a. details: check b. weathering: check *additional comments* Good to see that you are sporting a Bapty E-11 and a nice one too. RESULT ON WEAPON Checked & Cleared Daniel, this was your first review! Your gear looks great and you will be a worthy addition to the ranks of the MEPD´s finest. So please provide some detailed pics/close-ups of the thighs, all the rest are easy fixes, so go for it! I am looking forward to seeing some new pics of your improved gear soon. Cheers mate! Hausi - MEPD Deployment Officer
-
Looking great there, trooper!... and you also look very happy. Keeping my fingers crossed for you to pass with flying colours.
-
Great picture! I keep my fingers crossed for you but I have no worries that your approval should be a walk in the park.
-
Hi Willi, now it looks right, good job and also kind of your dealer to send a replacement at no extra cost. The weathering on your helmet (that's a Shepperton, isn't it?) and the sniper knee plate look good too. Now get the rest of the blue parts painted and submit for Police Officer deployment.
-
You look like you mean business! Seriously, great work.
-
The weathering of your armour looks pretty good while being rather subtle but two things stand out: the helmet and the sniper knee plate. The helmet just needs another wash with some sandcoloured paint, the knee plate on the other hand looks like it isn't weathered at all. The parts on your pack look definitely too blue. Take some pics indoors. By the way, I also use abload.de to upload my pics and there's a direct link button, if you use that, the pics will directly be shown in full resolution here.
-
A real trooper among all those shinies, nice work Björn!
-
Sounds like you have used RAL 7031? Before you repaint it, maybe take some photos in different lighting conditions. And let's see what @bigwamsays...
-
Excellent work, Willi, well done. Your armor suits you well and the weathering looks very promising too, although I can't really tell because of the rather blurry nature of the pictures but I think some areas still look quite shiny. Your pack is amazing, the only flaw I can see is the colour which is too bluish,it's rather supposed to be bluish grey, I always use RAL 7031. Keep up the good work, looking forward to seeing some clearer pics of the armor.
-
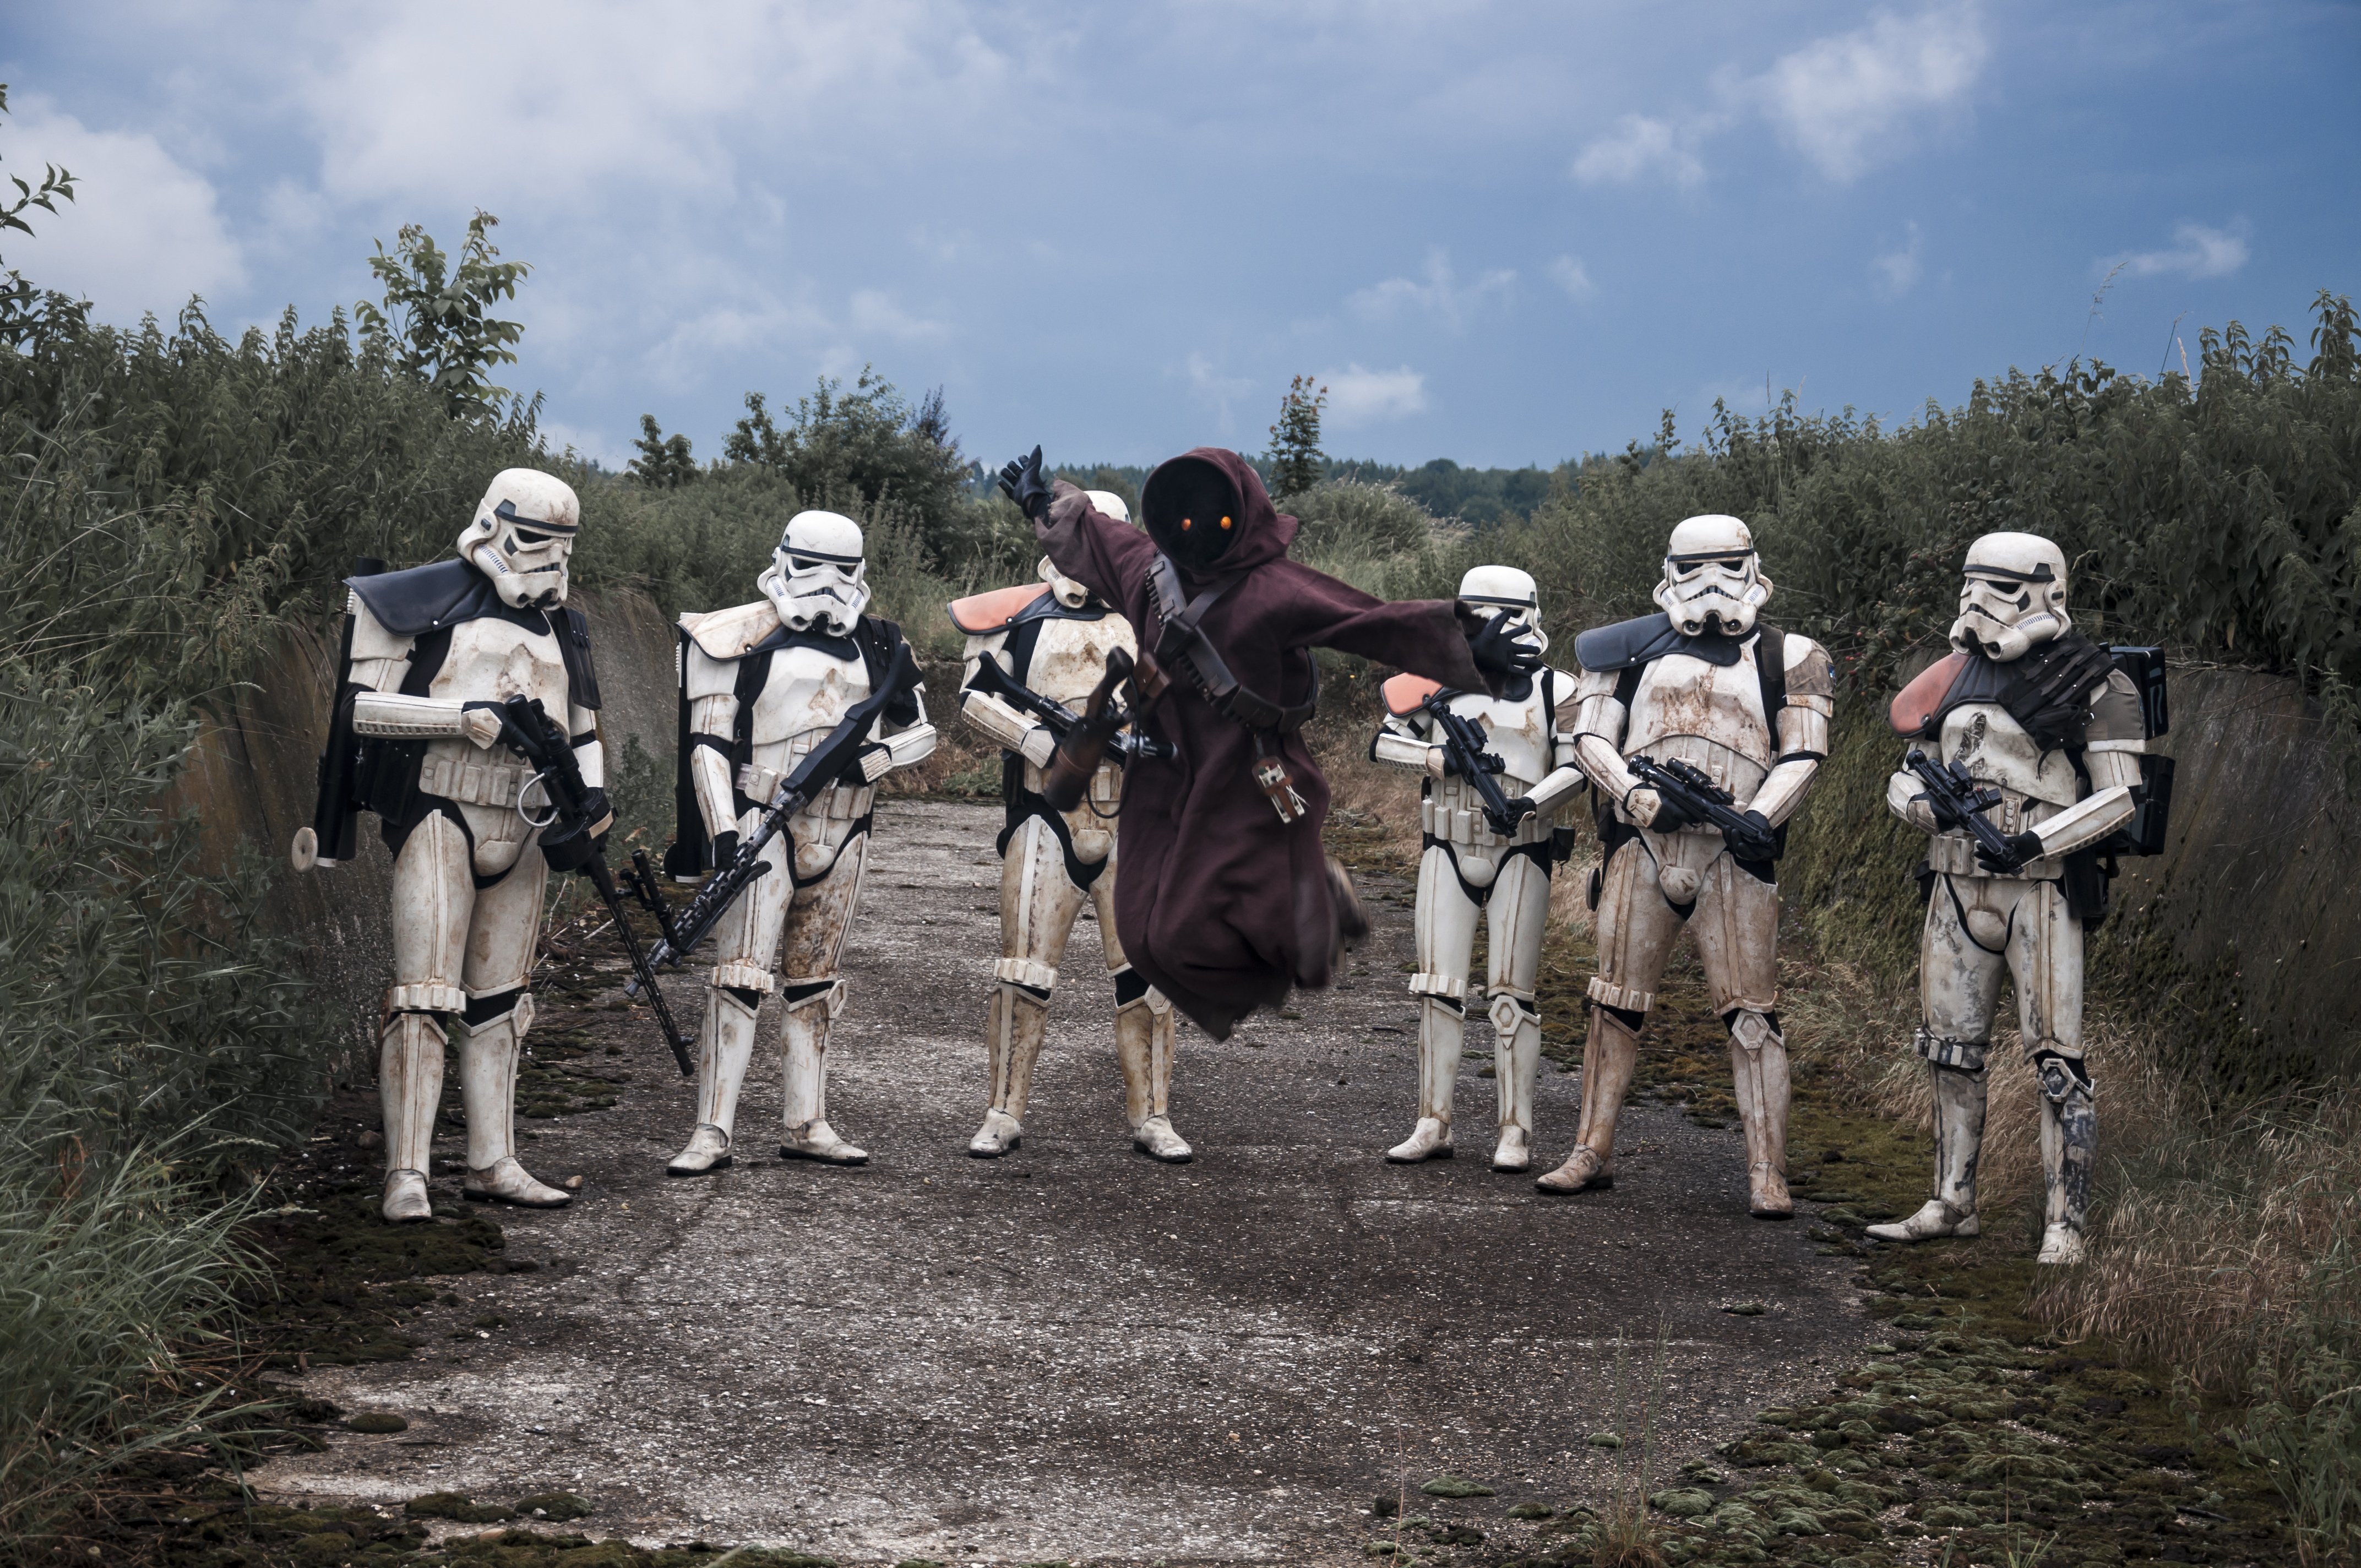
Recently took the stubby Bapty DLT on a troop and want to share some pics here. This thing was fun to carry around, although not a very well-balanced weapon.
-
I have three straps connecting the backplate and the kidney. You might also want to adjust the shoulder straps, in your case, use longer straps to allow the backplate to move down a little bit.
-
Hey, that's already looking very promising! I bet you can't await to weather your gear. But in addition to what bigwam has already mentioned, keep in mind that especially the large space between the kidney and backplate might hinder your basic approval. You definitely have to connect those two parts, either using the screen-accurate brackets- or much more practical popper-method. Cheers mate.
-
Looking good there, trooper. Take care standing so close to such a gigantic Ewok though...
-
Hello Hide and welcome! Good to have you here with us, you are not the first Japanese Sandtrooper here. Have fun roaming the forums here and always feel free to ask questions and don't worry about your English, the MEPD is a multinational and multicultural forum, my mother tongue also isn't English. As a side note: I love Japanese Cars (I own a Subaru and a Suzuki) and the Japanese culture in general.
-
Please don't use those old pictures anylonger, they weren't screenaccurate, that's why we have replaced them with new and updated pictures: http://www.mepd.net/?page_id=908/ http://www.mepd.net/?page_id=908/# First and foremost, you should always use screencaps as your reference material. Have fun with your build / upgrade.
-
Now that 3D print looks pristine, great work! Did you print that in resin?
-
Great picture, good to see some Sandtroopers patrolling the streets. That kilt-wearing clone is kinda cool too!


