-
Posts
1,509 -
Joined
-
Last visited
-
Days Won
120
Content Type
Events
Profiles
Forums
Everything posted by Hausi
-
Congrats and welcome to the MEPD, I like the cheesegraters!
-

*ACTIVATED* TD 21027 requesting SWAT deployment II #55
Hausi replied to Hausi's topic in MEPD S.W.A.T. Program
Here I am back in armor again different lighting: Not too much posing trying to emulate the screen grabs this time, my wife wasn´t very happy anyway, especially as I managed to headbutt her with my helmet when taking it off while she was moving closer to show me the pics, damn! Anyhow, that´s it, cheers mates -
It already looks really good, but keep in mind that there are two versions of this pack and if you want to build the version on which the top of the lower grey tray has slipped down and is held in place with tape, you might need just a little more room between the tray and the bottom of the Karrimor frame. Also you will probably have to bend the frame a tad bit more to get the correct angle for the trays. This part really gave me the creeps as I was afraid of ruining it.
-

*ACTIVATED* TD 21027 requesting SWAT deployment II #55
Hausi replied to Hausi's topic in MEPD S.W.A.T. Program
Ah, almost forgot the references I was working (and almost going crazy) with: Tomorrow I will take some pics of myself in armor again. Cheers mates -

*ACTIVATED* TD 21027 requesting SWAT deployment II #55
Hausi replied to Hausi's topic in MEPD S.W.A.T. Program
And finally I completely redid the weathering on my left shin as it was too dark. Before: almost clean again: and after a lot of work it looks like this (in different lighting): -

*ACTIVATED* TD 21027 requesting SWAT deployment II #55
Hausi replied to Hausi's topic in MEPD S.W.A.T. Program
I thought about the plastic end caps at the top end of my Karrimor frame: and remembered having once seen a picture where they looked different and found this screen grab: I assume that they are from a different earlier version of the Karrimor Totem: So I had to change them and luckily I have found some endcaps that would fit and match the look in my local diy store: And now I am really happy with my pack: -

*ACTIVATED* TD 21027 requesting SWAT deployment II #55
Hausi replied to Hausi's topic in MEPD S.W.A.T. Program
After looking at the previous forearm pictures, I have decided to add some more weathering at the top and this is what it looks like now: Here´s the reference: I have also adressed the paint line on the abdomen which was just too unnaturally straight: I have also noticed that some weathering spots on the belt weren´t as seen on screen, so adjusted them too: As you can see, I am using another pouch, I am normally using my small Spanish pouch for carrying smokes, hence why it might look a little out of shape. The new one has the original shape and I have adjusted the position of the pouch as well by adding another little leash on the back (man, still hate sewing!) -

*ACTIVATED* TD 21027 requesting SWAT deployment II #55
Hausi replied to Hausi's topic in MEPD S.W.A.T. Program
Thanks guys. -
I agree with DarthStevius, great pics, good ol' backpack-coffeemachine-joke, never gets old
- 144 replies
-
- 1
-

-
- mexico
- td9841 darthmout
-
(and 1 more)
Tagged with:
-

*ACTIVATED* TD 21027 requesting SWAT deployment II #55
Hausi replied to Hausi's topic in MEPD S.W.A.T. Program
I have also shortened the coverstrip on my right forearm: before: cut down the coverstrip: and finally reworked the shape of the inside half, also adding some weathering to match the reference pics: -

*ACTIVATED* TD 21027 requesting SWAT deployment II #55
Hausi replied to Hausi's topic in MEPD S.W.A.T. Program
I have disassembled parts of my pack again to make the requested improvements: Brexton Box: make the overspray look more natural and a little less solid: New (in different lighting conditions: I have also moved the seedtrays closer together and added a more noticeable kink to the tape on the syphon-side. I have also repositioned the little tool compartment on my shoulder pouch and the leash on the backside to make it sit differently when worn. -

*ACTIVATED* TD 21027 requesting SWAT deployment II #55
Hausi replied to Hausi's topic in MEPD S.W.A.T. Program
Thank a lot Thomas for taking the time to write such a meticulous review. Well done and I am happy that you have pointed out some aspects that I wasn´t even aware of. I had a very busy time at work but now I have summer holidays and have started reworking my gear. First of all the helmet, I have turned the screws as required and I have also adjusted the characteristic crack on the left side of the helmet, but I have used some screenshots instead of the pictures of the original helmet without ears that have been taken much later and probably some changes might have been made concerning the shape of the crack as well. This is my reference: And here´s my helmet: -
Man that is what I call commitment, eating all those delicious-looking snacks just to complete the single point scope Joke aside, great work, the blaster looks stunning!
-
Love the pics David, you're really out there representing the MEPD and having fun, great!
-
The thigh armor? What advice do you need mate? What kind of armor are you working with? Normally you leave about 8 millimeters from the front edge (keep in mind you will glue on a coverstrip of about 1,6 centimeters in width to join the two halves). I personally test-fitted it first, using some tape to hold those halves together but you can actually glue them together from the beginning, I recommend using E6000, should you mess it up, it's easier to take them apart again. When glued or taped together you put them on and measure where to cut (easier to have someone help you to draw the line where to cut but I actually managed to do it all by myself). Make sure that that line is completely straight and vertical. Some people need to add some additional ABS strips to widen the thighs, depending on one's build. Finally you glue on the back coverstrip (about the same width as the front one). Hope this helps. Cheers mate
-
Nice work, the Sonix really looks great. Do you want to go for SWAT? If you do, leave those decals away, pack#3 / the move along pack had the radio sprayed black... so actually you could put them on and spraypaint over them to have the most accurate look,but that won't be necessary (I did it anyway ). If you really want to go for a screenaccurate look, move the trays closer together. Syphon looks excellent as well. Keep up the great work mate!
-
Looking good there, Trooper and a most impressive background!
-
Hi Christian and welcome to the MEPD! You've got the right parts, this is going to be a nice build. As far as the Karrimor frame is concerned, try test-fitting the trays first, I had to reposition the crossbar but I have used different trays. The Karrimor originally comes with two such crossbars and the lower one is said to be in the right position. Otherwise you're good to cut the frame an inch above the crossbar. Have fun building, cheers mate!
-
Bigwam is referring to the leather/pleather surround. You don't need the wire as you aren't emulating a specific pack for PO.
-
Such cool pics, looks like you had a fun time making so many people happy. Keep up the great work
-
No, unfortunately, they seem to have disappeared since the last forum update and I think Pandatrooper who has made them available isn't regularly visiting the forum anymore.
-
Some really cool pics, Paul What a pity that we were at CC on different days.
-
Well congrats! Time to build the pack and enter higher service!
-

*ACTIVATED* TD 21027 requesting SWAT deployment II #55
Hausi replied to Hausi's topic in MEPD S.W.A.T. Program
Looking forward to reading that review, cheers my friend. -

*ACTIVATED* TD 21027 requesting SWAT deployment II #55
Hausi replied to Hausi's topic in MEPD S.W.A.T. Program
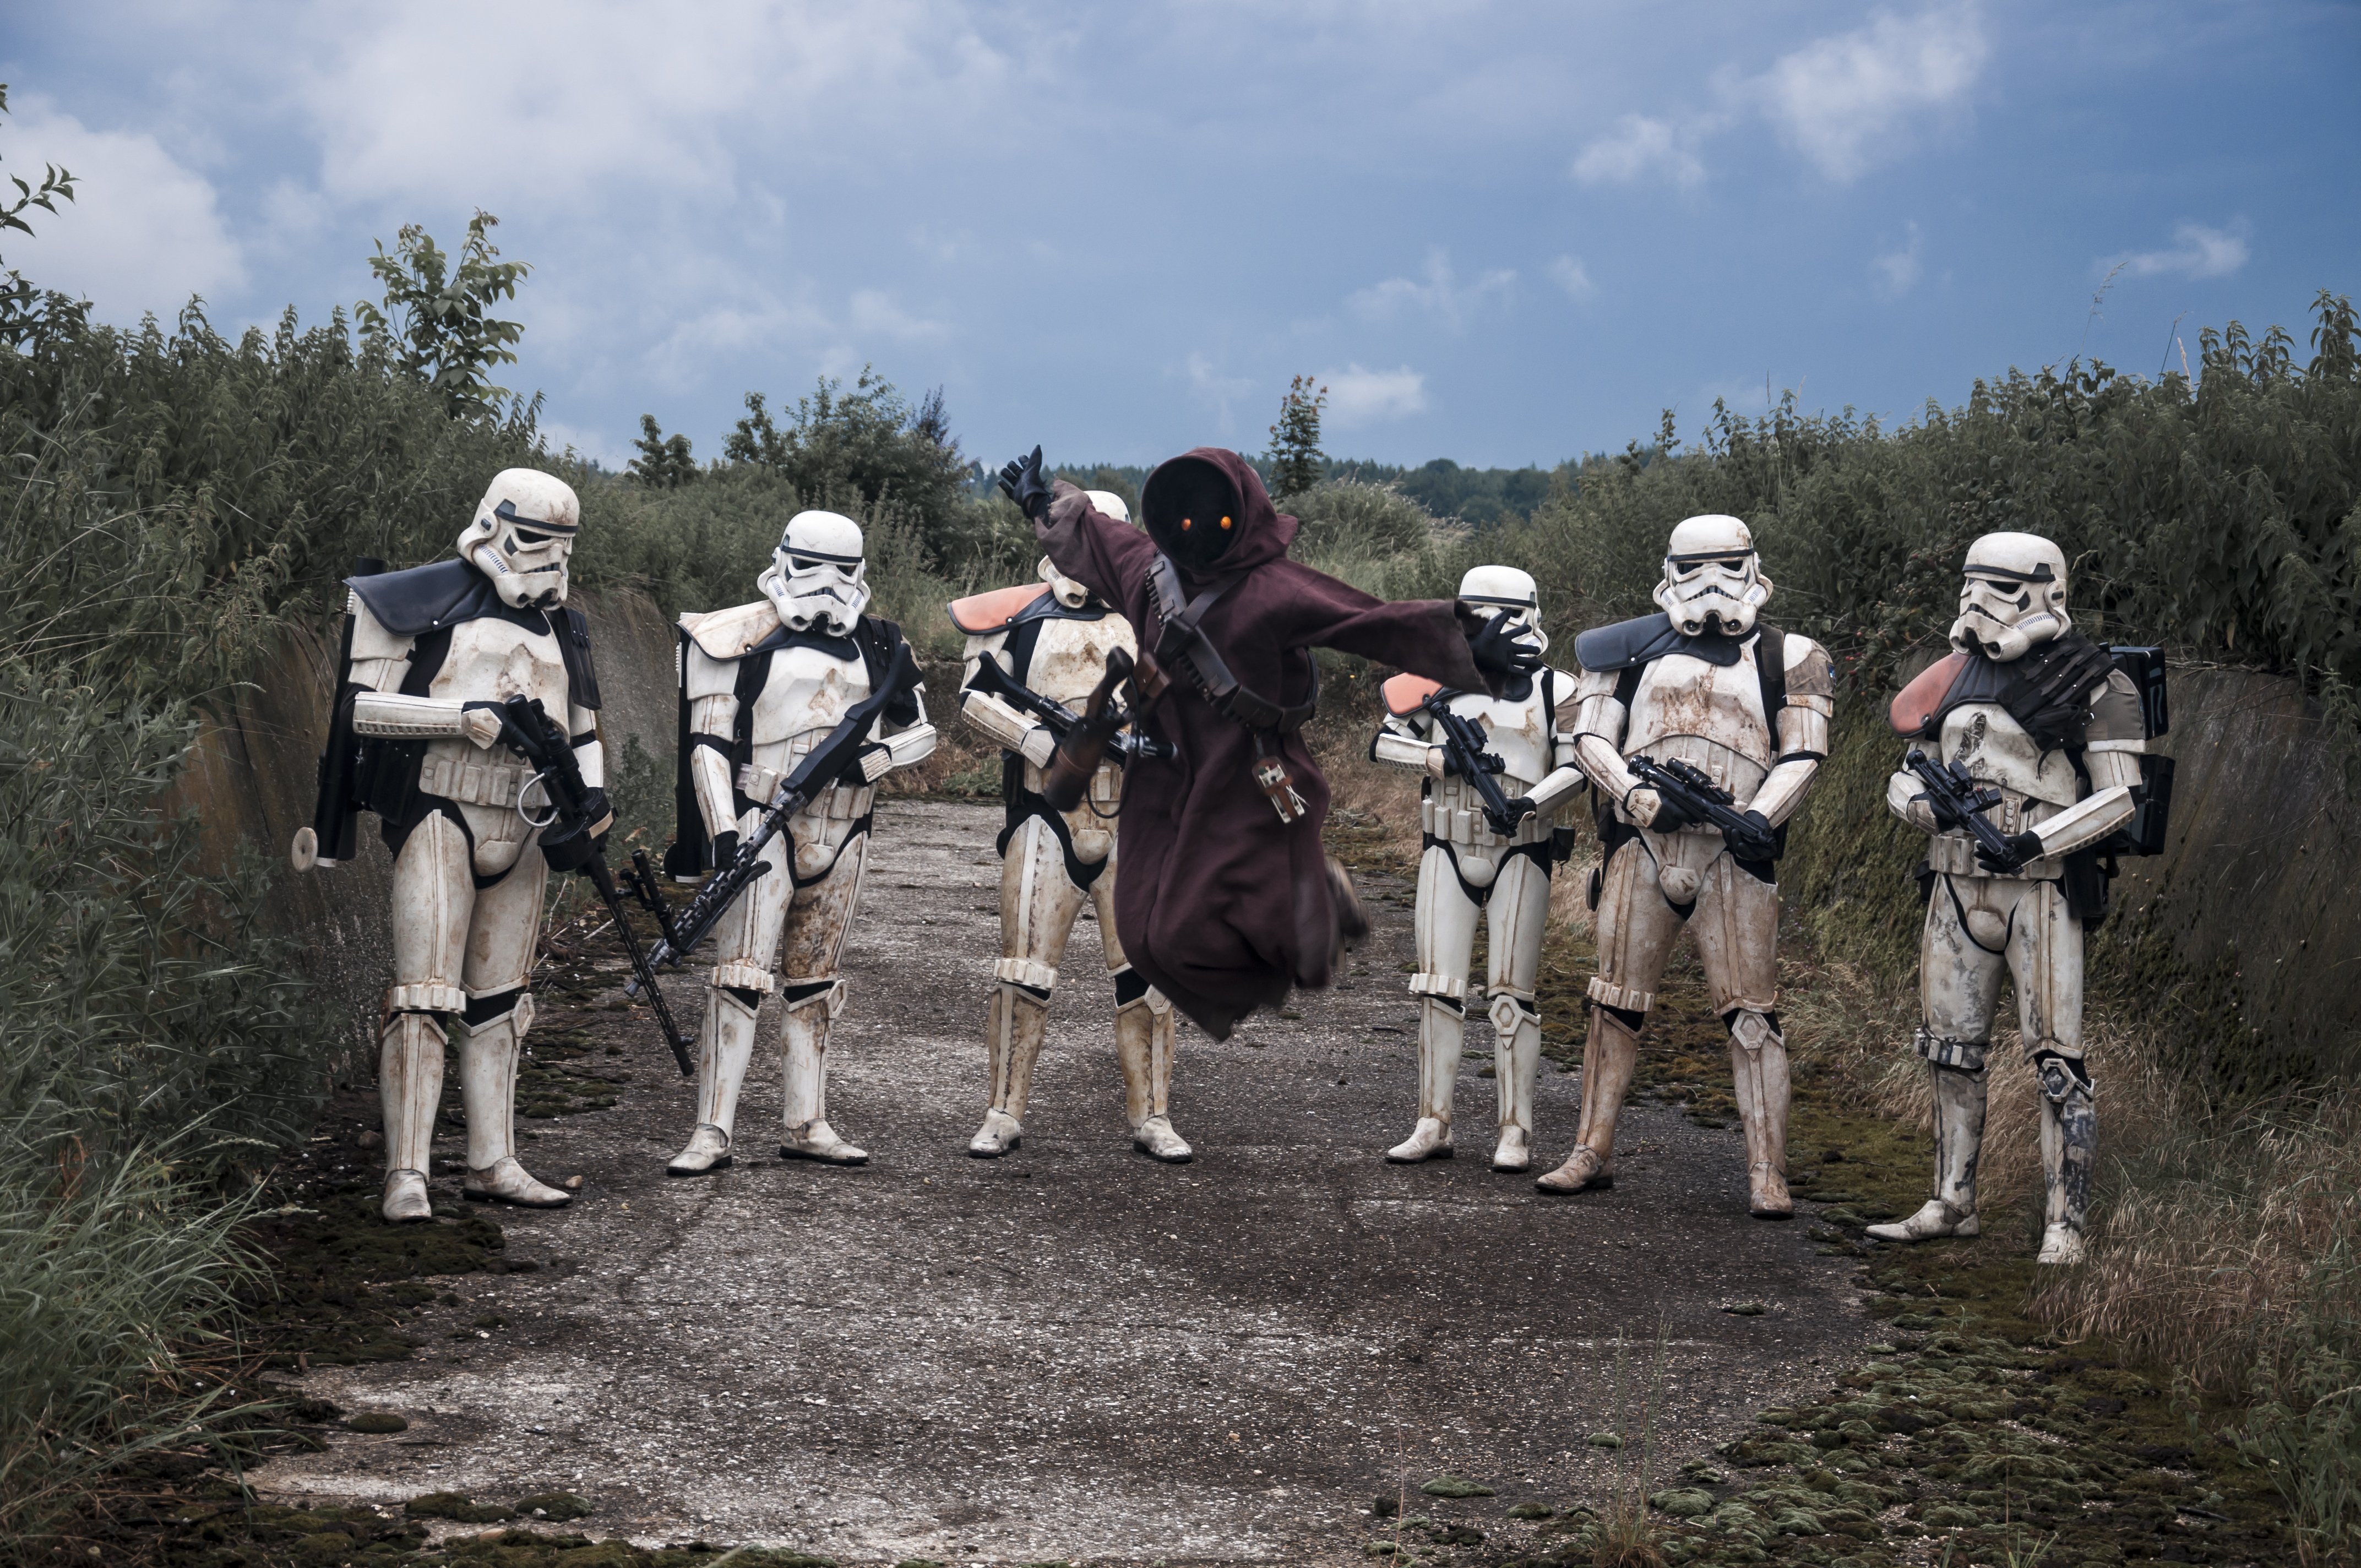
move along...

