


Hausi
-
Posts
1,511 -
Joined
-
Last visited
-
Days Won
120
Content Type
Events
Profiles
Forums
Posts posted by Hausi
-
-
Congrats mate

-
 1
1
-
-
You can find it at the end of this build thread:
-
Yeah, I know what you are talking about, stuff like that has happened to me as well.
 Sometimes one is just too much into a project and doesn't realize that there might me a simple solution to a problem.
Your pack looks great.
I am a little confused about the way RS has attached the plate holding the shotgun shells.
One piece of advice: consider using EVA foam as a padding to protect the butt piece of your armor. I have done this with my packs and it worked very well.
-
I think it already looks pretty good. Why aren't you happy with it? Did the chipping turn out to be too uniform for your taste? That's what always tends to happen when I do this.
You can also use some very fine grit sandpaper to add some scuffs or what I have done lately when wheathering a Scout lid, I have painted a plastic dowel black and used that to add scuffs.
-
1
-
-
That's a wee bit ridiculous... but there's an easy way of solving the problem without ruining your undersuit: just scatter some fullers earth onto it,take pictures and give your suit a thorough shake, most of it should come off again. If you wash it, all of it will be gone.
-
2
-
 1
1
-
-
Wow, great work. I especially like the idea of spraypainting the frame in an aluminium colour and adding those paintchips. Go for authenticity mate!

-
All of our gear is wonky as hell and it's good!

I think you can sand down the top and bottom edge just a tiny bit more until you're almost where the block begins.
For the left and right side, have a look at screencaps:

They weren't all the same, so don't worry too much about measurements.
-
2
-
-
That is about right, I would still recommend looking at pictures of real Lewis Guns and giving it a more complex paintjob than only spraying it black. Gold fins, mixture of brass and gunmetal for the barrel, a wash with black to emulate some grime and dirt... Having a wood-coloured grip and stock and then dusting it over with some satin-matte black spraypaint may sound crazy, I know
but it will finally add so much more realism to your gun.
-
3 hours ago, 5573 said:
Here is the image. Can anyone comment on the accuracy of the part?
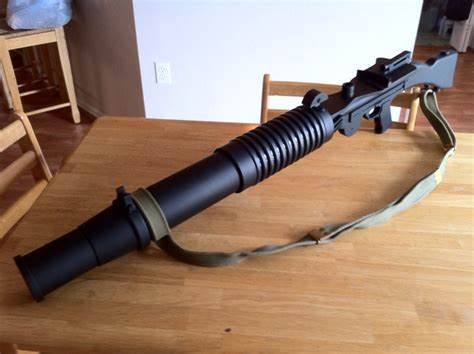
This isnt very accurate in general. There is no sight, just a little bit of curly phone wire, furthermore is the heat shield/handguard around the barrel wrong as this was clearly some cable or small diameter hose wrapped around the barrel, not corrugated pipe as with the above pictured blaster.
For the actual colours of the gun itself, have a look at some Lewis Gun pictures as this was used. Those WW1 machine guns had buttstock and grip made of wood but it's possible that the prop guys just painted it black as wood doesn't look very sci-fi.
-
Personally I wouldn't go any smaller but I know that some people completely disassemble their armor and put it in a small suitcase, carrying the helmet in a separate bag.
-
Lighting and filters.
-
Hey my fellow dirty dudes, hope you are all well,
I am not starting this as a real tour of duty as I am somehow not really interested in earning a roughneck award, just using it to show some pics.
Just love the following two pics from our last photoshoot: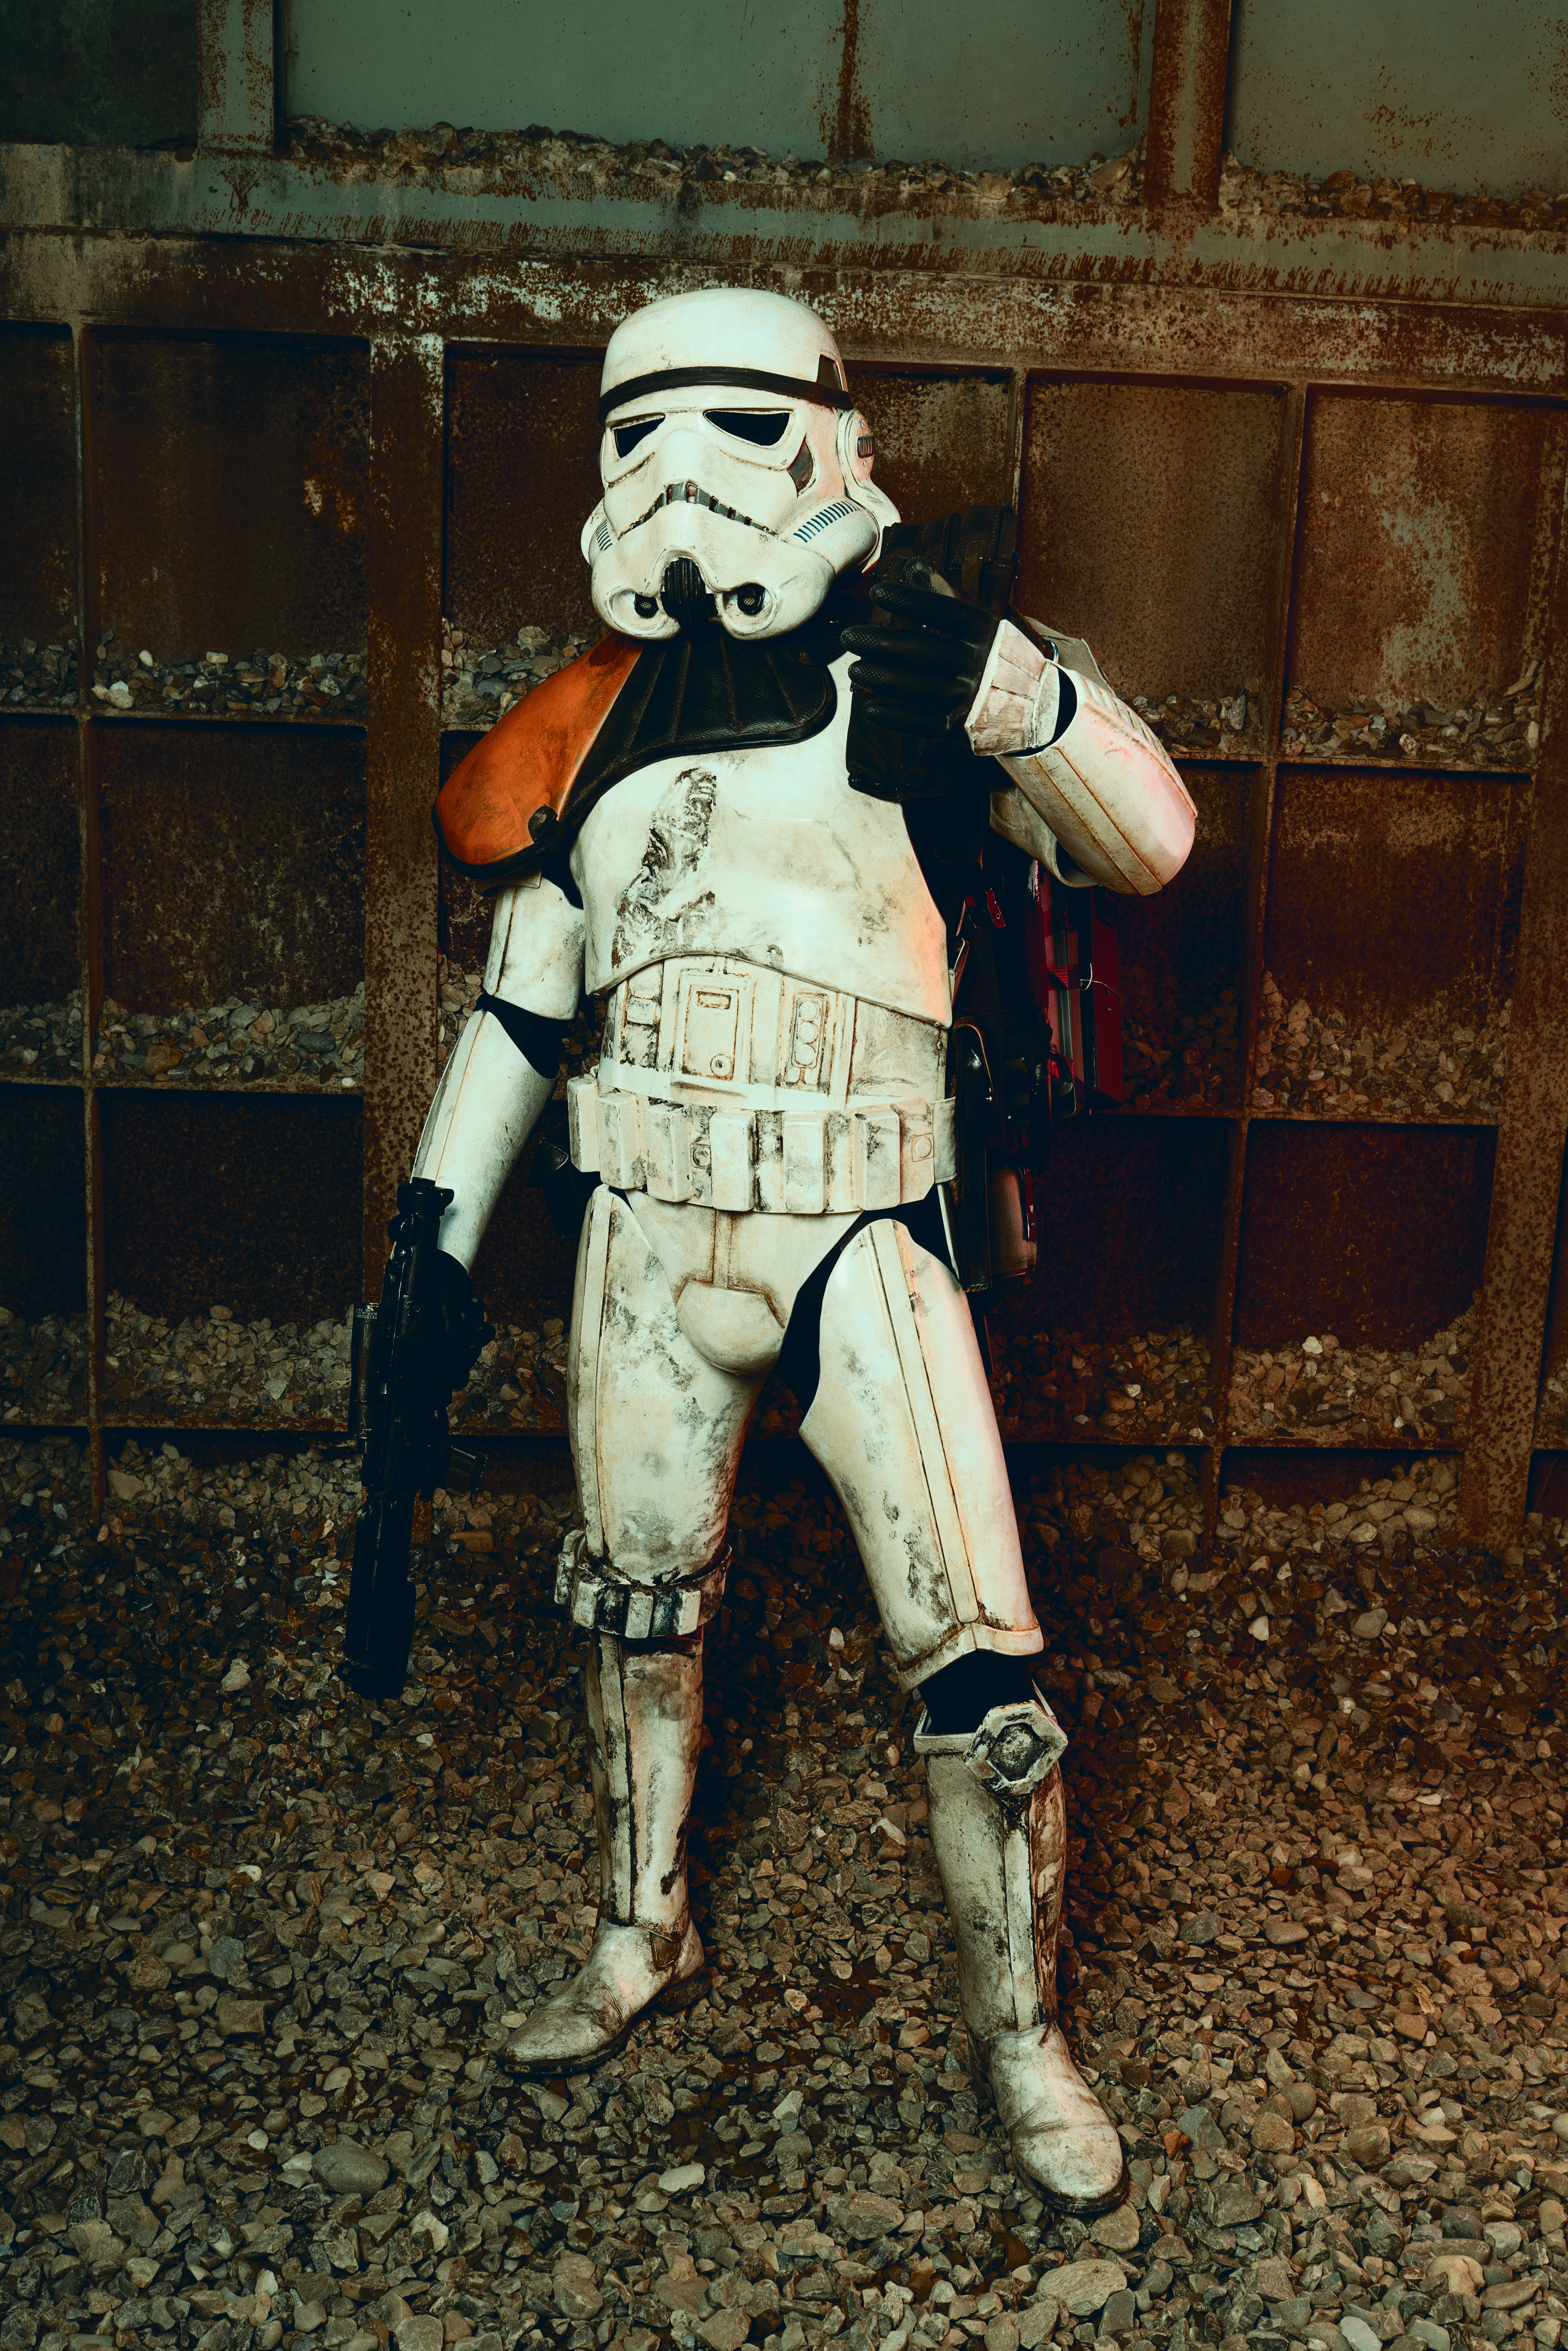
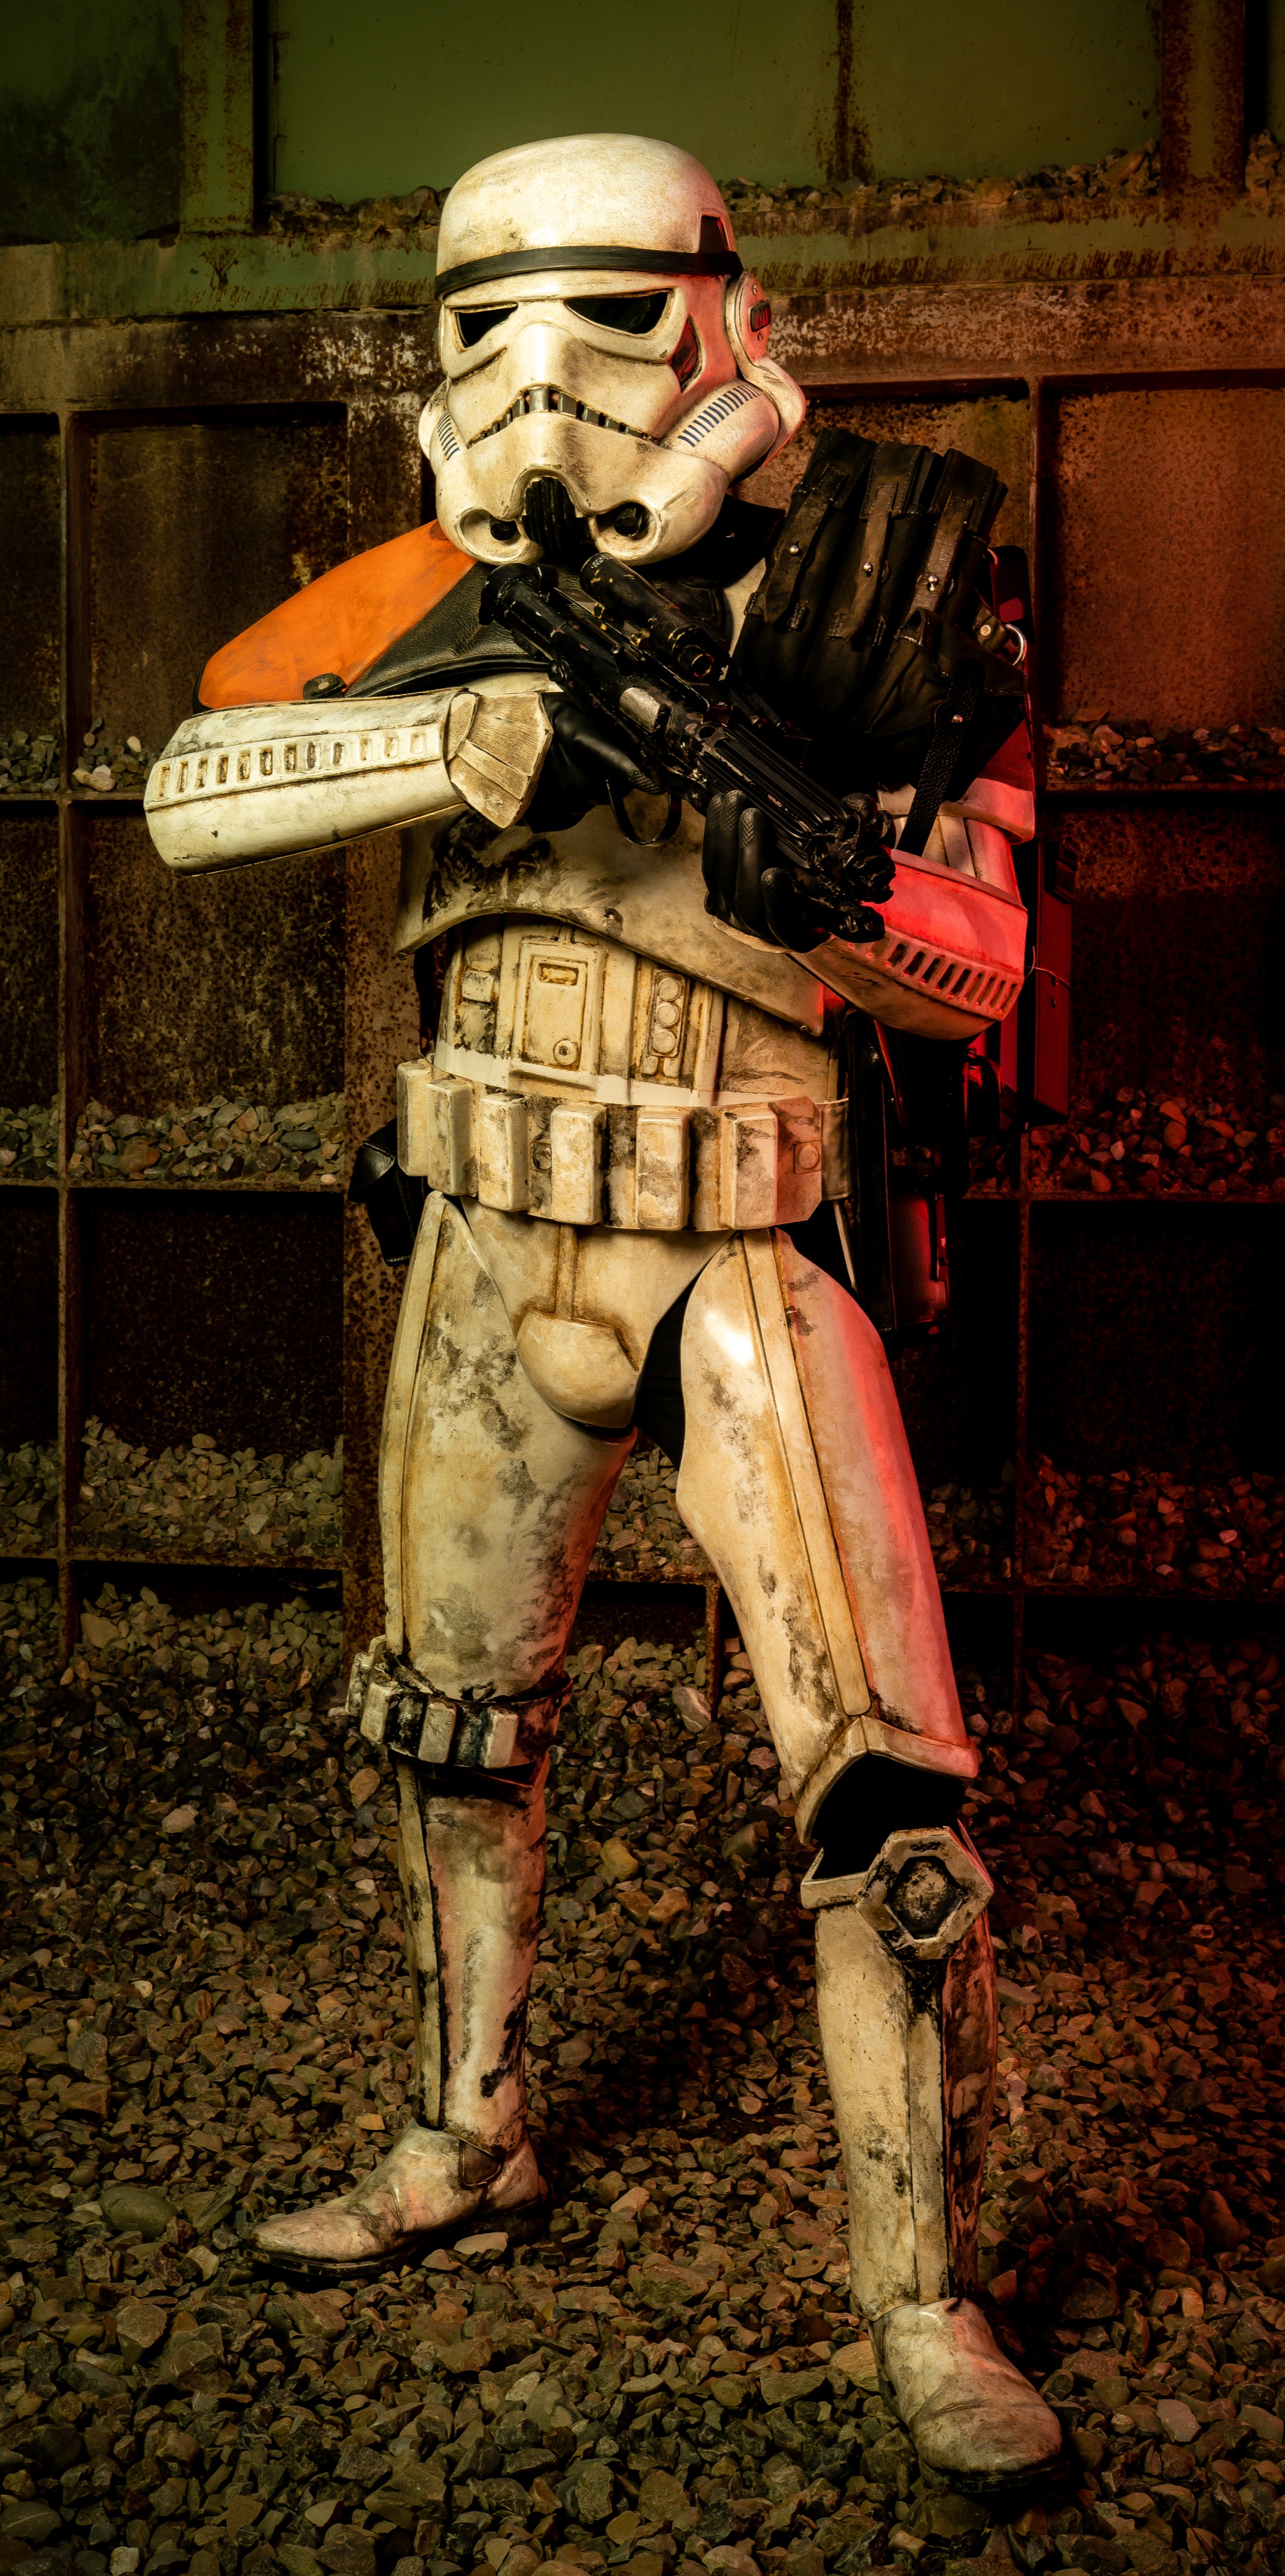
Now you may move along.
")
-
2
-
-
Mine is 190 litres, so that would make it 50 gal.
-
I am using that Stanley box for my stuff, it fits the complete armor with the helmet and my Bapty E-11:
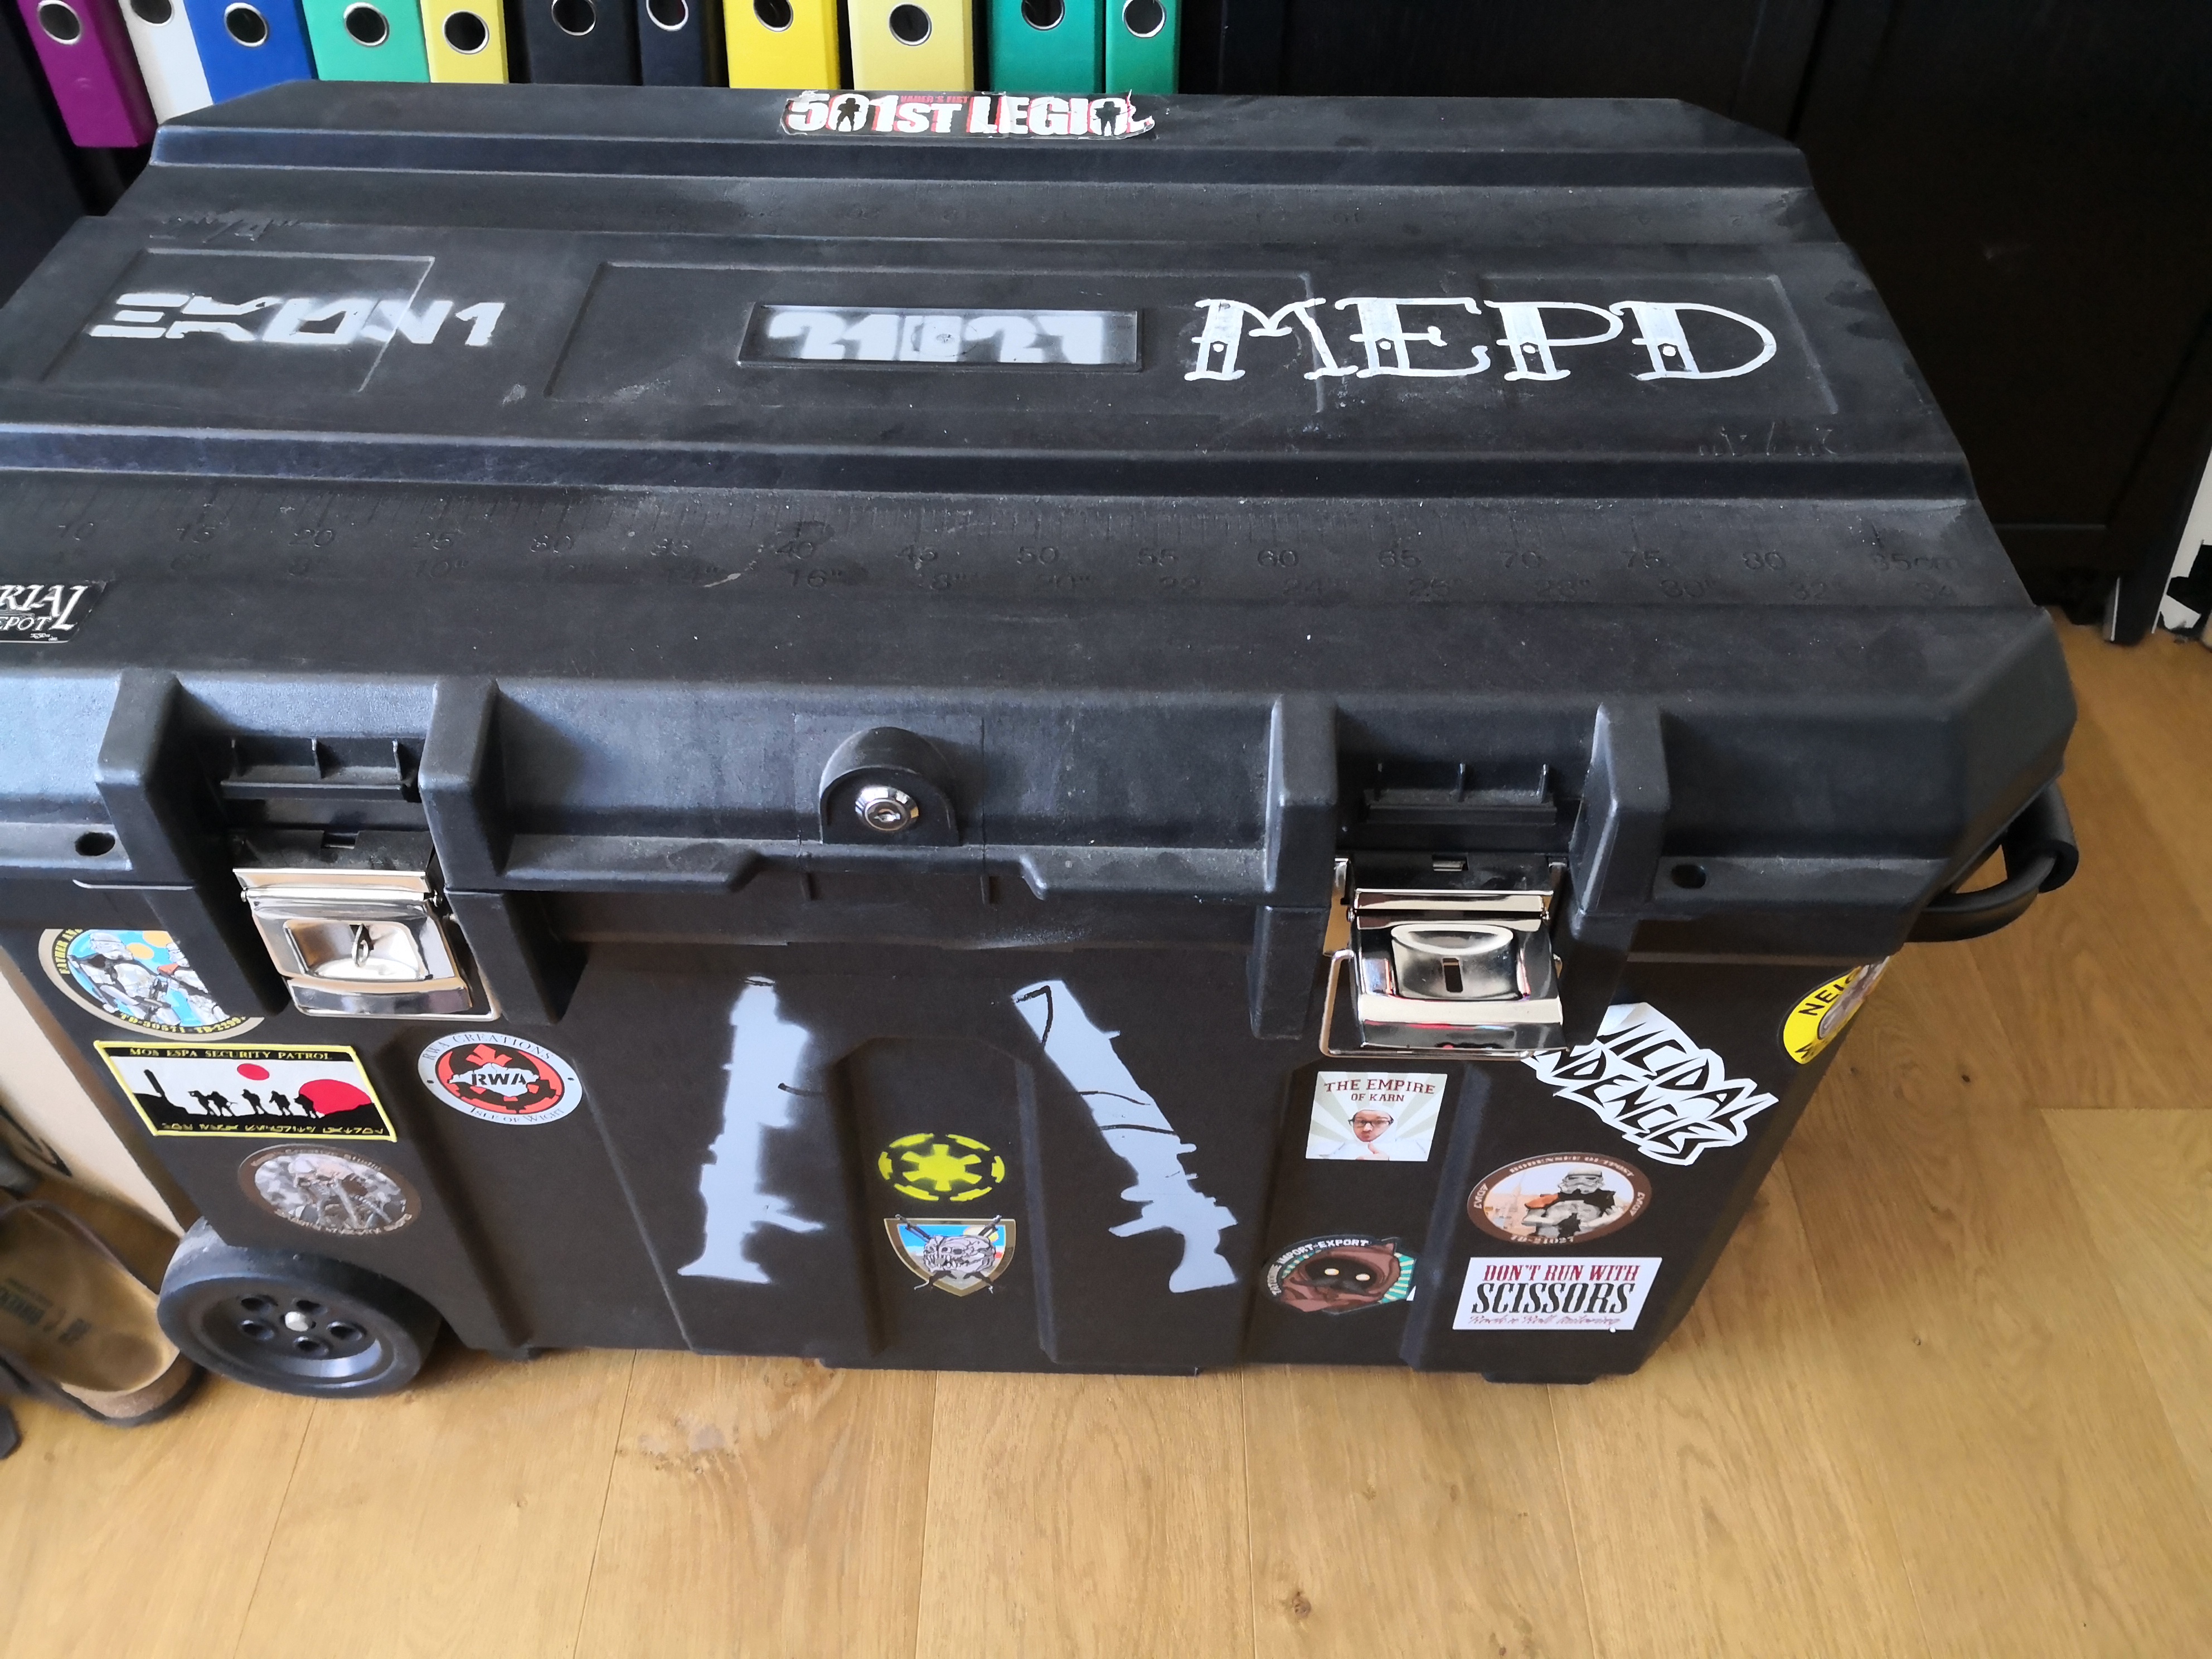
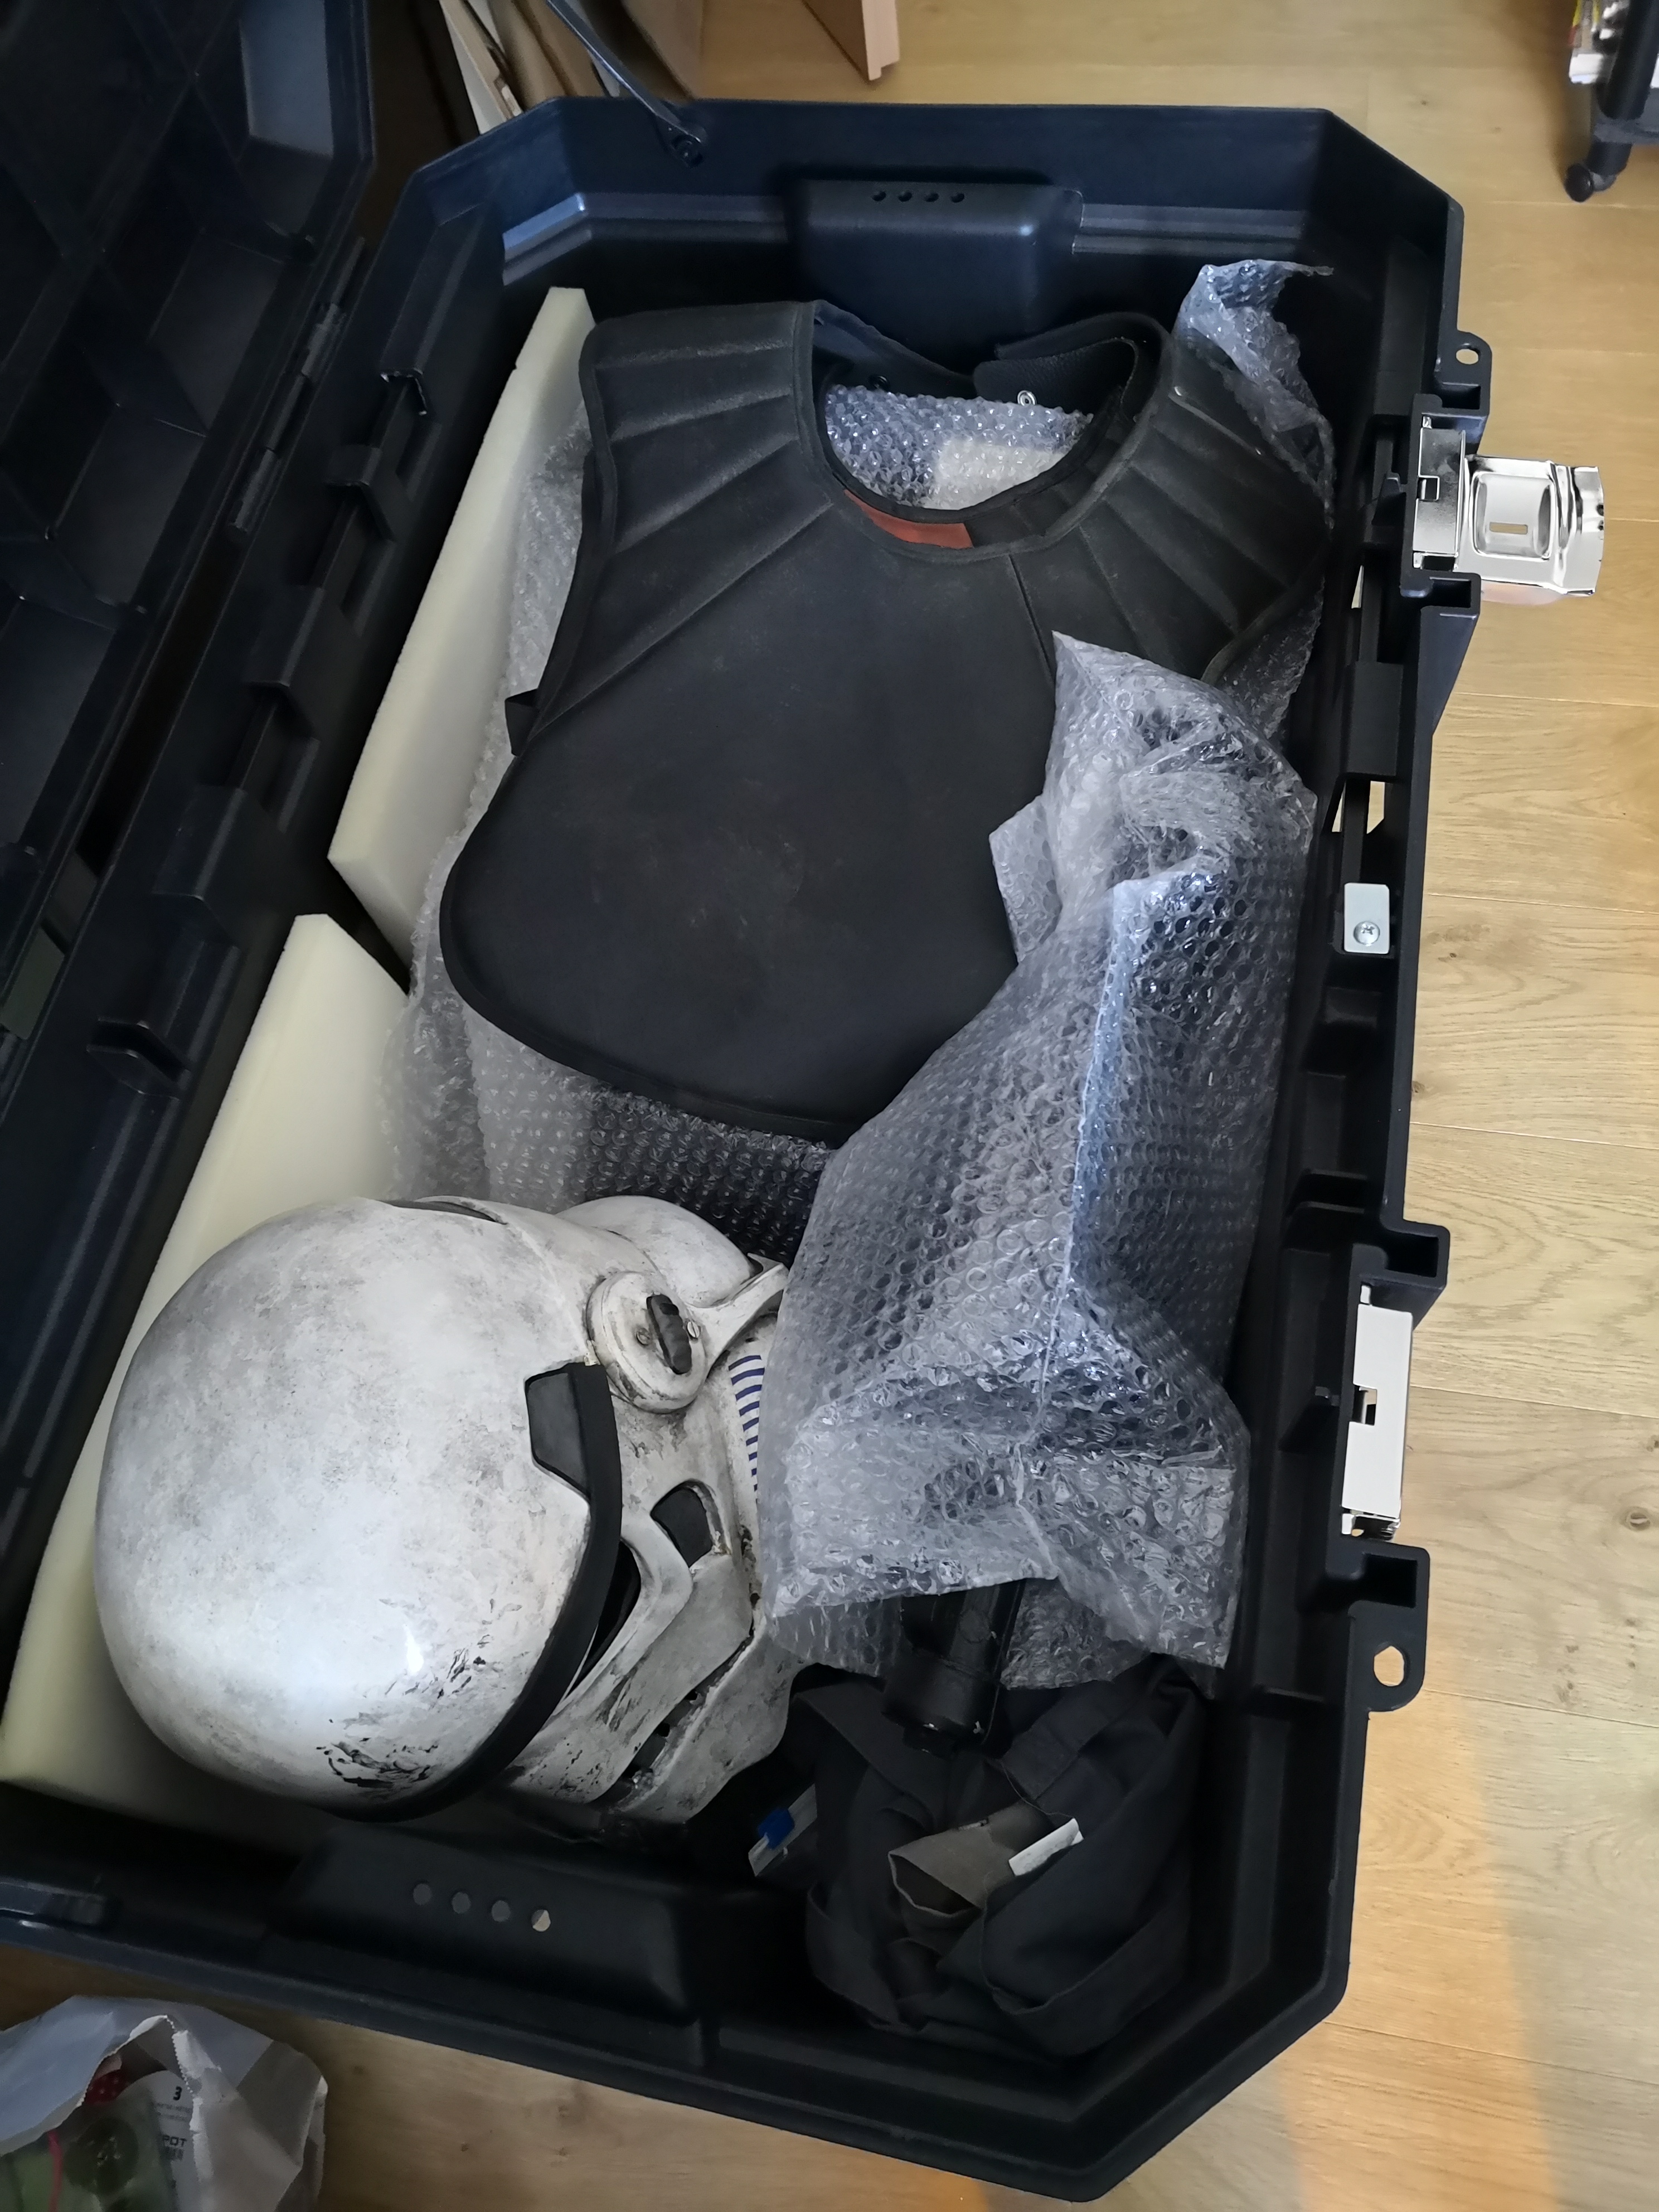
I love this box, it´s easy to handle, sturdy as well, you can sit or stand on it or put some other boxes on top to save some space.
-
1
-
-
Hi Ralf,
thanks for providing those new pics, well done, they look great.
This is your first review, let´s see if it will also be your last. Welcome again and thank you for your interest in becoming an MEPD-deployed officer.
Let´s get things started:
Application Review: Part 1
Name: Ralf Eckner
Legion ID: TD-62051
Forum Name: Ralf_Eckner
Garrison: German Garrison
Helmet
a. Green lenses: check
b. Paint color of traps / tears: check
c. Correct number of teeth: check
d. Mic tips: check
e. Vocoder color: check
f. Tube stripes: check
g. Rank bar on ears: check
h. Brow: check
i. Side screws (ears): check
j. Weathering: check
*additional comments*
I have to admit that I am normally not such a big fan of those low-brow helmet builds, but with yours, I can make an exception. I really like the look of yours.RESULT ON HELMET
Checked & Cleared
Armor details
a. elastic straps shoulders: check
b. neck seal: check
c. black undersuit: check
d. shoulder bells: check
e. biceps: check
f. forearms: check
g. pauldron: check
h. chest / back plate: check
i. kidney / butt plate: check (please read the comments: gaps)
j. ab plate / side rivets / cod: check
k. strapping system: check
l. thighs: check
m. shins / calves: check
n. sniper plate: check
o. boots: check
p. gloves: check
q. hand plates / guards: check
r. ammo belt (waist): check
s. ammo belt (right knee): check
t. canvas belt: check
u. pouches: check
v. weathering: check
*additional comments*
You have done a terrific job in building, fitting and weathering your armor.The gap between the abdomen and the kidney is just a wee bit big but I will let that pass, maybe you can just tighten your ammobelt a little more so it closes further?
Kudos for that self-built / self-sewn pouch. You have shown some serious skills with that… I hate sewing so much…
RESULT ON ARMOR
Checked & Cleared
Backpack
a. details: check
b. weathering: check
*additional comments*
I think everybody knows by now that I really love backpacks, especially such nice ones as yours. And you´ve built it all by yourself which is an even greater achievement. Gorgeous.

BTW interesting method of attaching the shoulder pouch. Does it stay put?RESULT ON BACKPACK
Checked & Cleared
Weapon: RT-97c
a. details: check
b. weathering: check
*additional comments*
Cool BFG, great paintjob.
RESULT ON WEAPON
Checked & Cleared
There you go Ralf, your first review… and the final one too, great job mate.
Your gear looks great and you are a worthy addition to the ranks of the MEPD´s finest, be proud of yourself!
You have successfully followed the guidelines in regards to the MEPD CRL and have met all requirements.
Please send the pic you want to use to Luis (Sandman Tigui) and we'll get you squared away.
We will have your updated information uploaded into the MEPD system very soon.Congratulations on becoming a Deployed Officer of the MEPD!
Cheers mate!
Hausi - MEPD Deployment Officer
-
@Cricket, great work. This is what we need, troopers helping troopers. I appreciate that you took the time to give such extensive and detailed advice.
Just in case you should decide to recreate those returnedges at the top of the thighs: this gets the job done, an iron which is used for model airplanes.
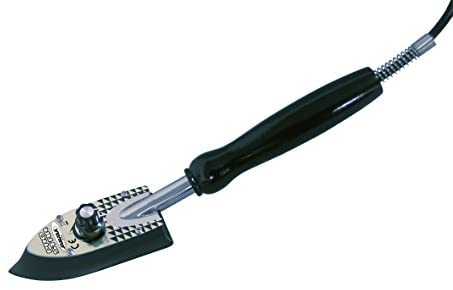
This will allow you to create a new Returnedge. As I am also not the tallest and trimmed down my thighs as the top, then I recreated those returnedges and it worked brilliantly, pretty easy to use too.
-
1
-
-
Looks good
-
Hi mate,
your pack looks great already.
After speaking to my fellow deployment officer bigwam, we would suggest changing or modifying the following parts:
While the colour looks a little too bluish than greyish, it should be okay, this always depends on lighting but the gloss finish isn't right, so give the trays, bottles and canteen a satin matte clearcoat and you are good to go.
We have so many great pics and heaps of information on the Sonix radio now that you should definitely add a pleather suround, the sockets and antenna and the feet to your radio to make it screen accurate.
It's absolutely okay to have a pvc frame with visible joints but in your case it sticks out too much. If possible, try to sand down those ridges on the bottom part of your frame, they should be less visible.
I hope this doesn't put you down, you have already done an amazing job with your pack. Keep up the good work!
-
This is going to be great
-
This one's from RS.
-
1
-
-
-
Hi Ralf, welcome and thank you for your interest in joining the MEPD's finest.
I will be taking care of your review but just as Markus has already mentioned, please present your application as requested, meaning that your pictures should be posted here directly, a simple link will not suffice.
Please also have a look at the pinned post and your fellow PO canditates' applications just to avoid forgetting essential details of your armor.
It is allright if you wear your binoculars in the action pose shot.
I am looking forward to seeing your completed application soon.
Cheers mate.
-
@OnkelPaschulke, Sandtrooper access granted, welcome Arne.
-
Great! Congrats
TD-82112 doubledx's tour of Duty
in Tours of Duty
Posted
Great picture! Congrats on your very first troop, way to go mate.