OnlineJeff
-
Posts
90 -
Joined
-
Last visited
Content Type
Events
Profiles
Forums
Everything posted by OnlineJeff
-
When I look at some of the screen used helmets, I see that the inside of the mic tips are painted black and the frown has the 5th tooth (that hasn't been cut out) left as white. When I look at some of the completed 501st helmets I see that the inside of the mic tips is left white and the frown has no 5th tooth left white. Which way is correct? Do these features vary on the screen used helmets?
-
Thanks - I think I need to take a little more off the top and bottom...
-
Wow - I never though shaping the ears would be so hard...good job to you guys who have perfected this art... I'm about to start assembling, paining, adding padding, etc but want comments on the eyes, ears, and teeth please. I know I need to fine sand the teeth but do I need to take out any more significant plastic? Do I just trim the extra lip that doesn't seem to work on the bottom of the ears where they should curve under the helmet? Should I take a chance and hit that part of the ear with the heat gun and shape it a little better? This is an ATA helmet - I still have some rippled areas on the ears - are they too thick? The left side front of helmet ear actually fits better than shown. I now see that it shifted a little when I took the picture... Thanks
-
I've spent hours looking over the pictures and tutorials found here but need a double check since I'm neurotic about the helmet build... I still need to fine sand the teeth but wanted to make sure that the eyes and teeth don't need any more major trimming first.
-
T-21 Courtesy Review Please...
OnlineJeff replied to OnlineJeff's topic in T-21, DLT-19, RT-97c Heavy Blasters
Awesome - thanks... -
I'm not ready for a final review since I'm still building the helmet and waiting on the armor... Built using Pandatrooper's template Still need: Blue Wire on barrel Add "coins" to stock Add butt plate Its aged but needs to be weathered... Not required but working on electronics
-
Can someone give me a rough front to back and side to side measurement of the opening on the bottom of an ATA helmet so I can see if I've got a decent alignment?
-
Cool, thanks for the input. I'll start making the changes.
-
Going for standard MEPD right now. This is my first build so it's a learning process. The radio dial I have right now is the standard Sonix dial with the "top layer" of white lines and text missing. I'm planning on printing that on a clear sticker and putting it on the glass lens similar to a real sonix dial. Will that work or do I need to use the dial with the black triangles as shown on your pack?
-
I was hoping I could get a courtesy MEPD review of my backpack for potential police officer approval once I finish everything else... Its not 100% - needed: paint a few screws and fittings, add backs to shells, weather, attach mortar pipe (I'm waiting on caps and the control panel that will come in with the armor), and add top part of sticker for radio dial to glass lens. Thanks
-
Keep you Picture Hosting / external sites available please
OnlineJeff replied to OnlineJeff's topic in MEPD.net Feedback
Sure, no problem... I'm diligently working to get a Sandtrooper built as time and $$ permits. I'm on the waiting list for ATA armor. I added a few items to my profile but since I'm not 501st yet, there's a few empty spots. I'm hoping everyone knows I'm not criticizing this site or any of its valuable users - I just wanted people to remember that when they close down an account or delete a few old pictures not to forget they are linked here for newbies such as myself to learn from all of their hard work. Looking forward to 501st and hopefully MEPD approvals in future... -
I have poured over all of these forums over and over again as I built my T-21 and Backpack and I'll do the same as I work on my armor. The biggest issue I have is there will be this awesome sounding thread that sounds like it may answer the exact question that I have - BUT THE PICTURES DON'T DISPLAY or an external link to a personal web site is gone. I assume this is because the user has deleted his picture / personal site hosting account somewhere? Please try to keep this stuff live (I understand canceling if its costing you $$) Thanks
-
My newly weathered T-21 :-)
OnlineJeff replied to Cantina Craig's topic in T-21, DLT-19, RT-97c Heavy Blasters
For anyone else researching a T-21 build. Paint wouldn't stick to the clear vinyl tubing I was trying to use. I ended up getting 1/4" black fuel line from the plumbing aisle at Lowes. The writing on the side of the fuel line will come off with a little acetone. I glued the ends together with 1/4" dowels and E6000. -
Can someone tell me how much their tool box and radio overhang the left side of the seed trays as you view the pack from the back? My pack is mostly scratch build and I wasn't expecting the overhang. I'm using Park seed trays. Thanks
-
Can you post a link as to where you got your leather MP40 Pouches?
-
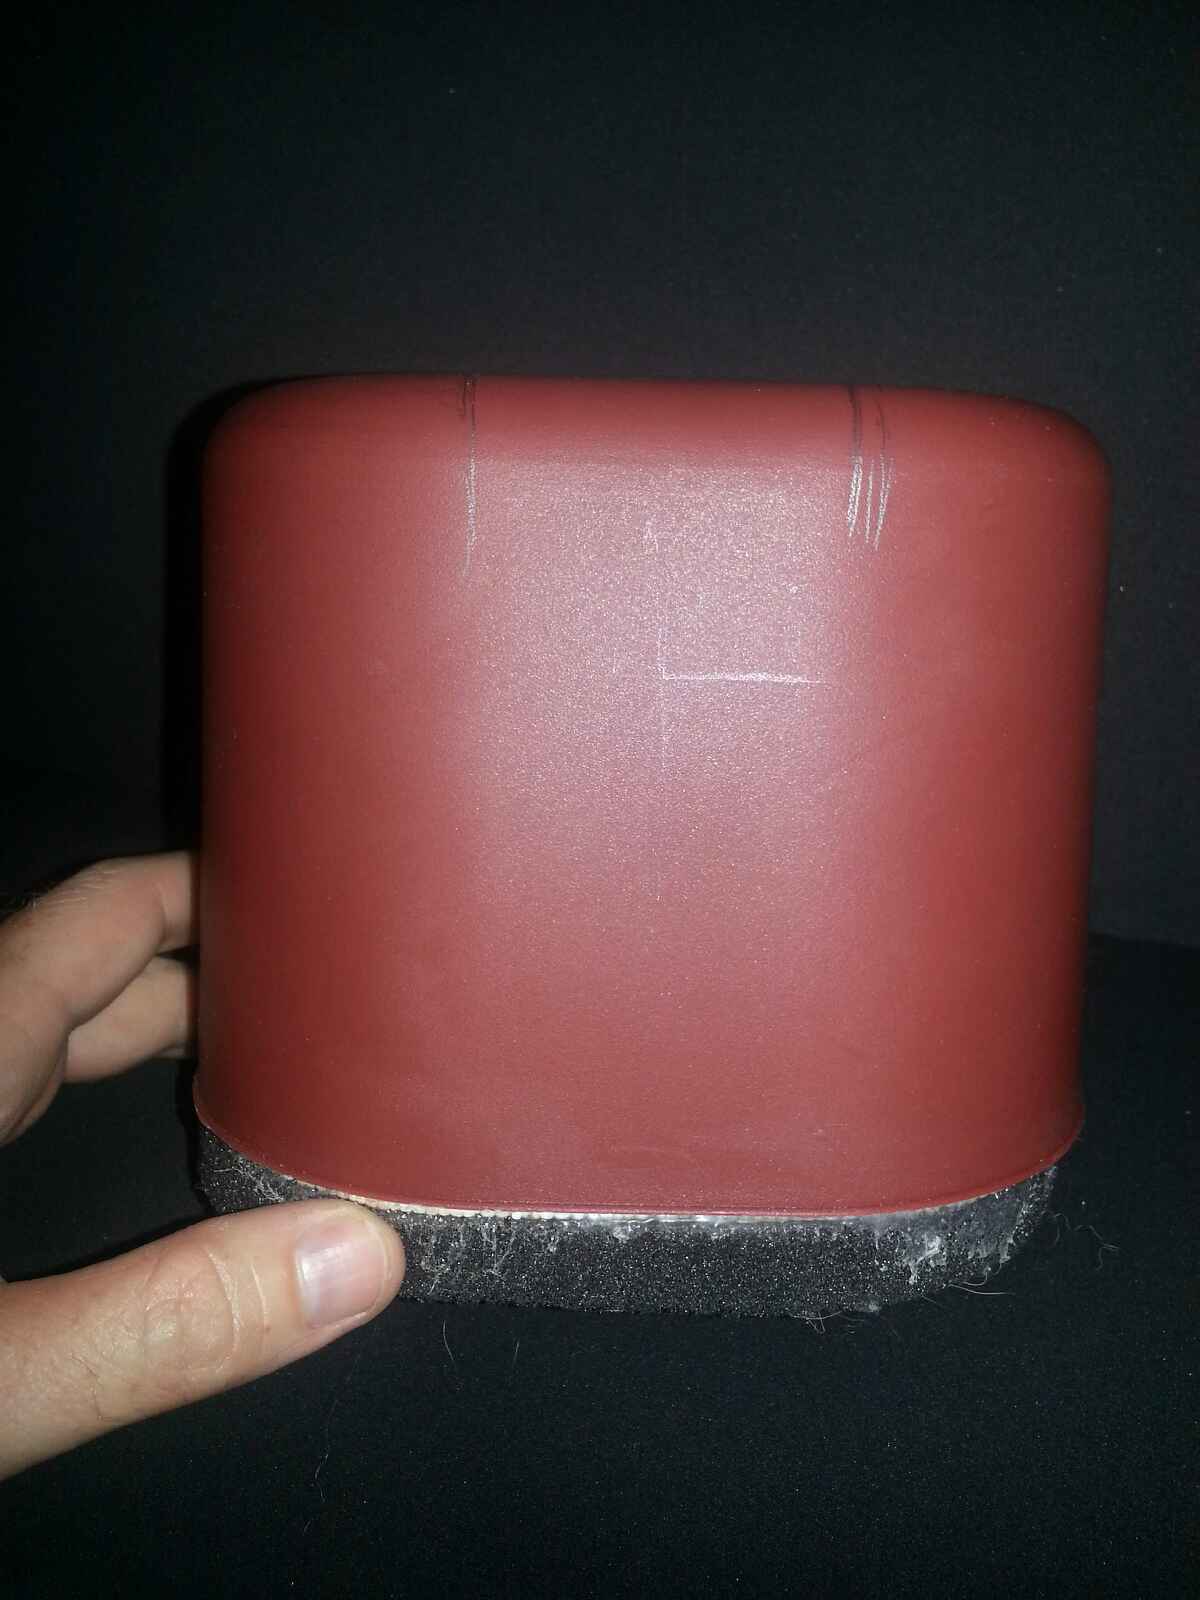
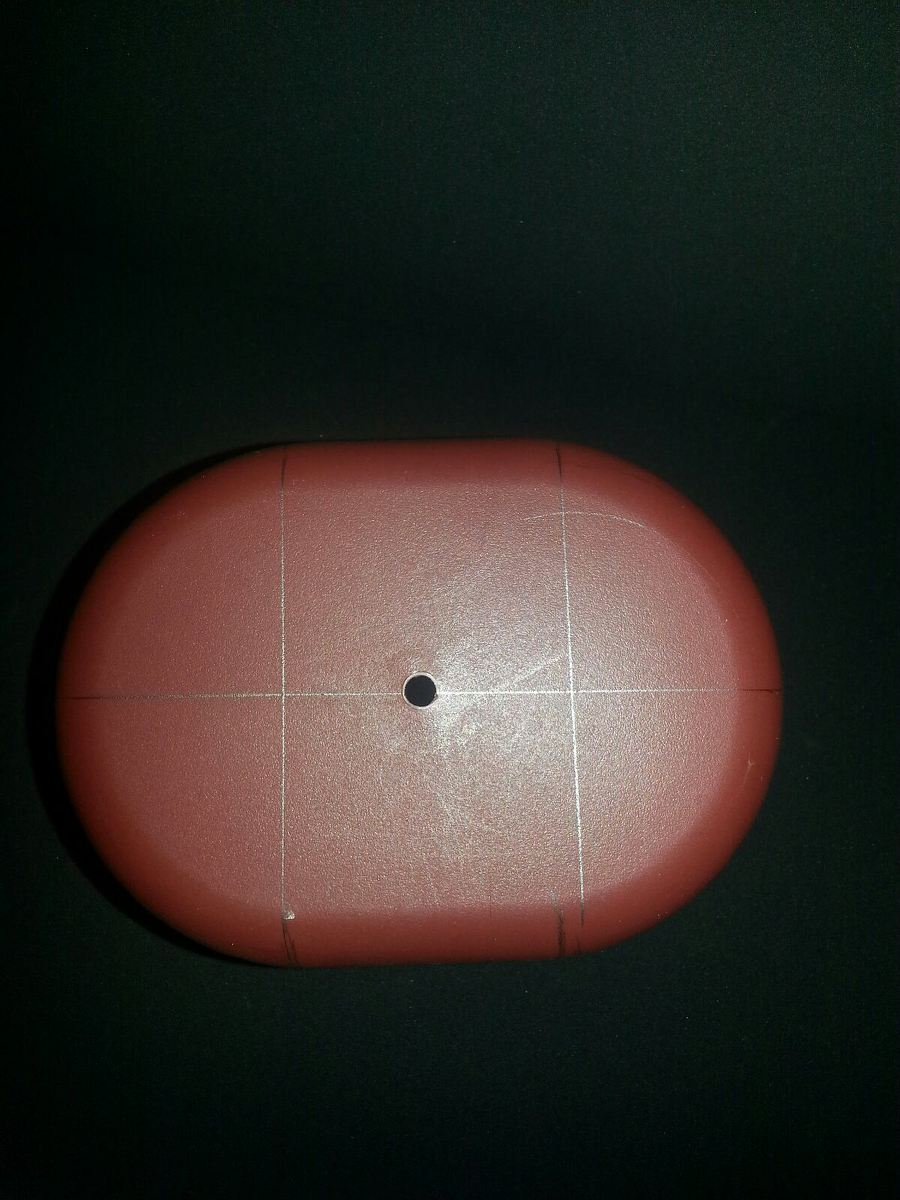
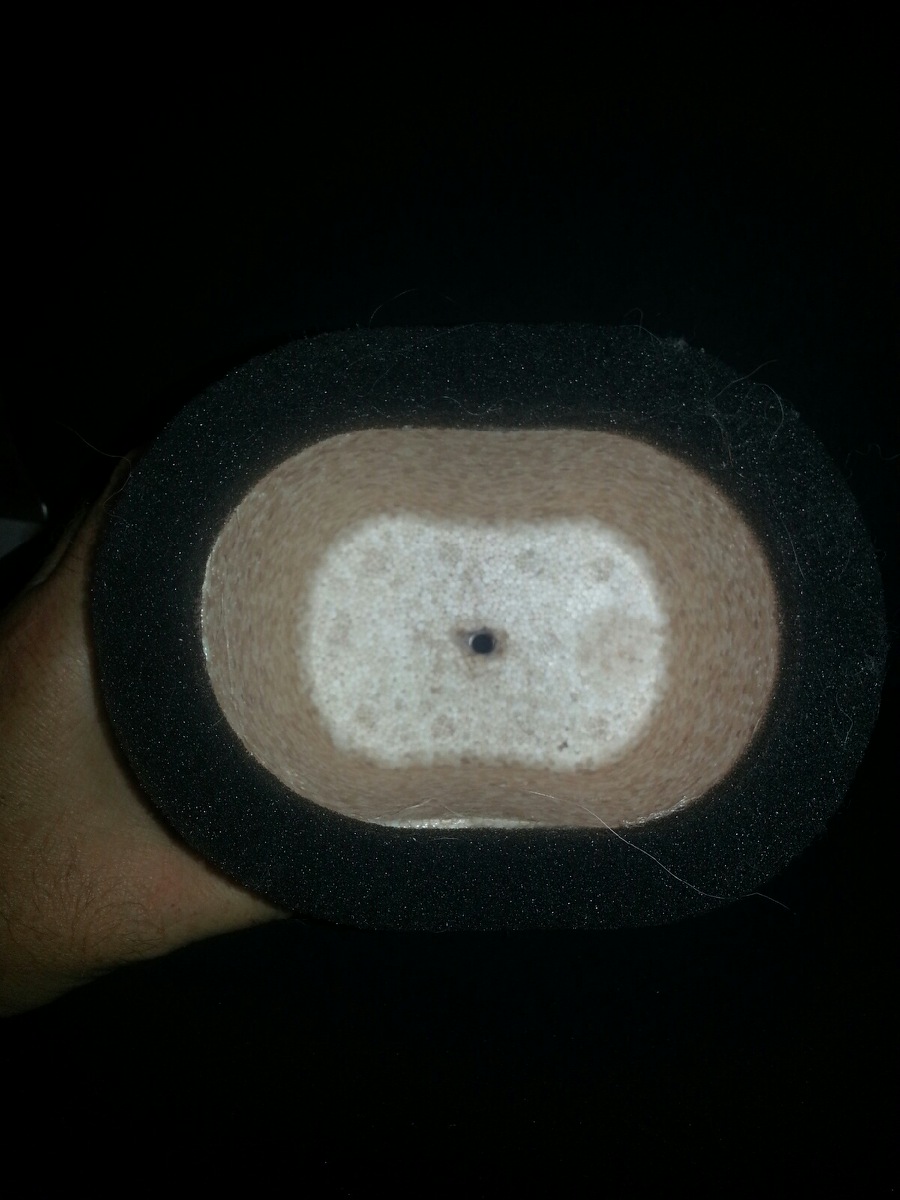
What did you use for the nipple on the Bee Stinger (the round part flush with the faucet cover)?
-
Please send me a price for the knobs - I may replace mine at some point.
-
Which brand / color of blue did you end up using?
-
Thanks for the input. As suggested, I'm going to push the face back a little further into the dome / cap and trim that 1/4" that I left of the bottom of the face to give me a little more room to get the helmet on and off. Thanks
-
I have searched, read, watched videos, etc. and honestly become a bit compulsive about the stuff that I'm building... I've got the helmet all trimmed except for the eyes and teeth. One side of the helmet matches nicely. The other side is not as good of a fit. The bottom edges don't line up - do I just taper / trim them? Front view: The brow is trimmed almost to the bottom line of the traps - maybe 1/8" inch below Here is a side view. I felt like I was leaving too much on the dome / cap at the bottom but now that it is fit together, I have a notable difference on the bottom edges. Also, this side isn't as snug in the cheek area as the other side. Along the bottom, the tube on the face is misaligned about a half inch compared to the bottom of the dome. Do I trim this or do the ears and neck seal just blend over this? Any advice is appreciated. Sharpie used for scale...I would say about a half inch. The other side - which is a lot more lined up and flush... Bottom view: Do I just need to slide the face up and tilt the cap further back maybe? The magnets are such a pain and slide around so much this was the best I could get last night...
-
Attached is a PDF of the dimensions for the cover that I have Faucet Cover.pdf
-
Here are some stinger photos...

-
What is the pipe diameter on the exhaust port and what material is the part surrounding the pipe? What are your overall dimensions on the box for the exhaust port? Thanks
-
Gary - I've got one that I haven't installed yet. I can get the dimensions for you. If we are going to have to start molding something them maybe we make some improvements to it. I'll let the experts here post on the possible curvature at the top and the "nipple" on the bottom a few other items we may need to add.
-
Radio / Tool Box Dimensions (2.5" or 3" deep)
OnlineJeff replied to OnlineJeff's topic in Field Backpack
Thanks