

(1).jpg.8d2dfd11e19228c8af66ae1271bab454.jpg)
Jeaz
-
Posts
15 -
Joined
-
Last visited
-
Days Won
3
Content Type
Events
Profiles
Forums
Posts posted by Jeaz
-
-
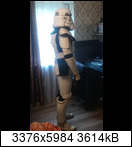
Yes that's my charming smile

-
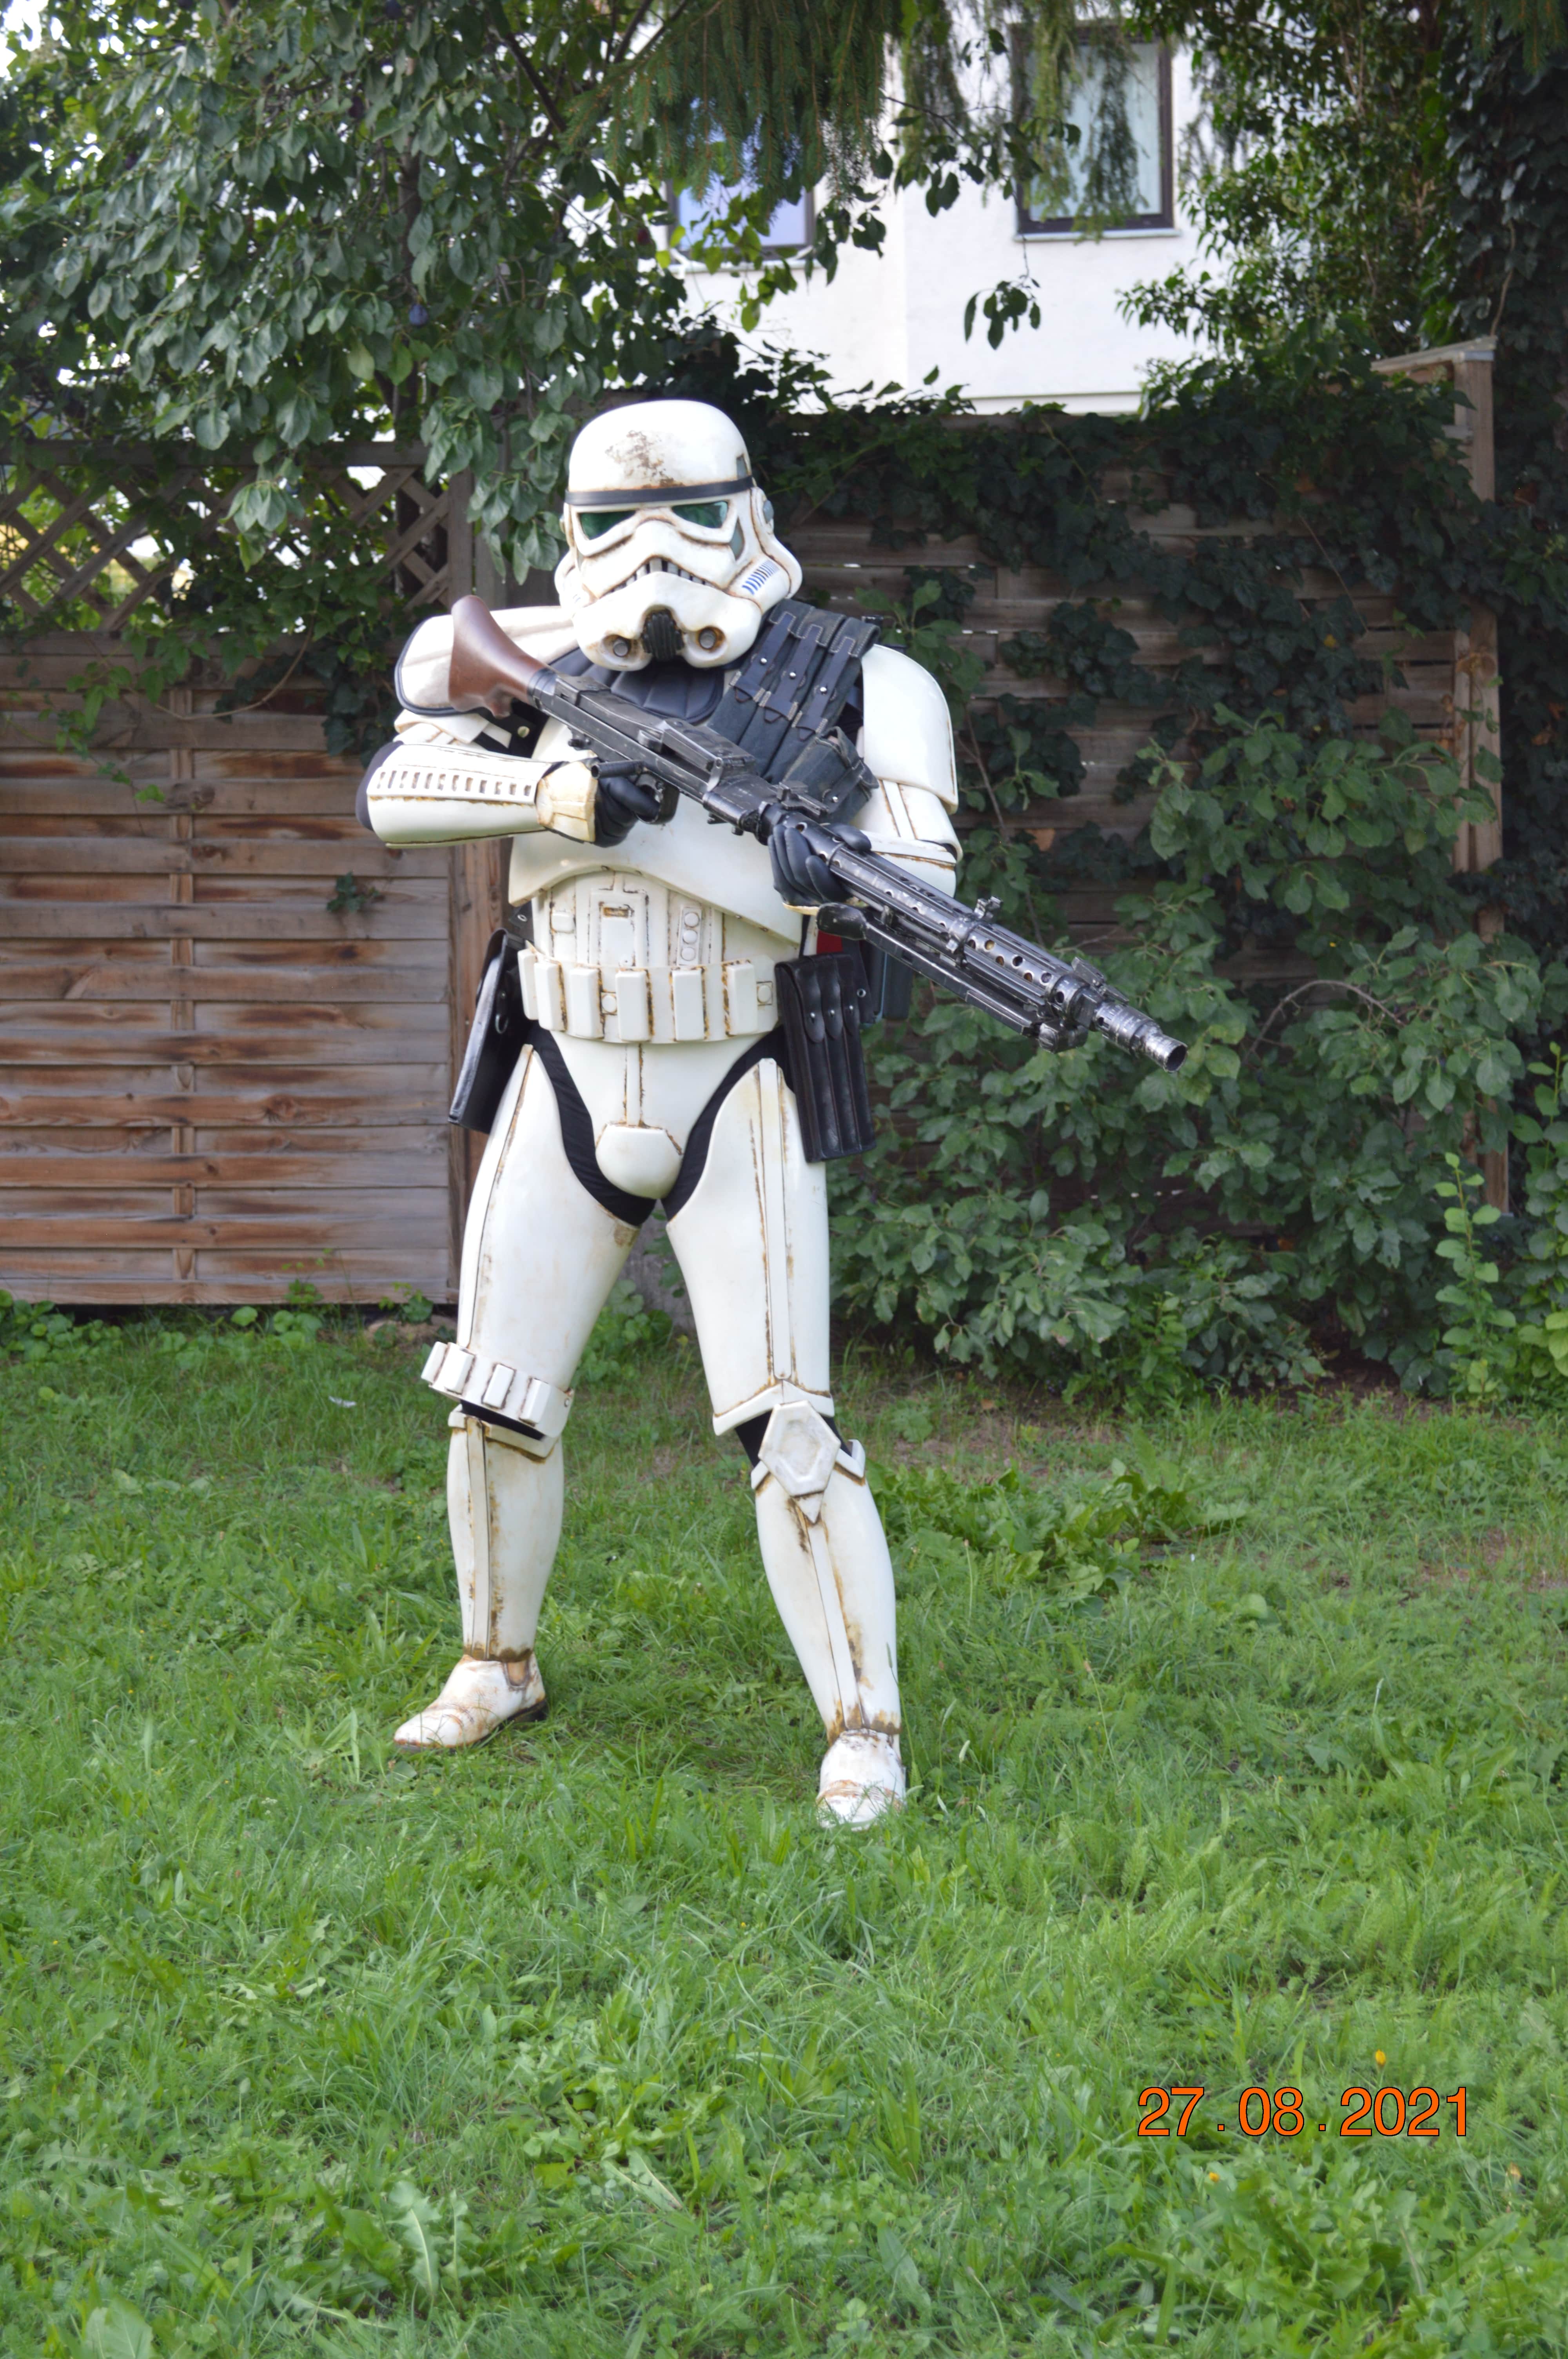
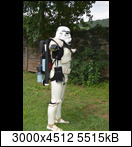
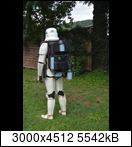
New pictures and excuse the tail .... my wife has not seen it and unfortunately I was too late .... But overall it looks better now and I'll make new ones tomorrow and send them out for the standard aproval.

Thanks bigwam for the hint. Hadn't seen that at all. Fixed immediately this morning.
-
 1
1
-
-
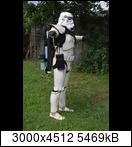
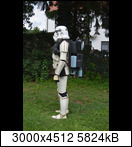
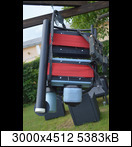
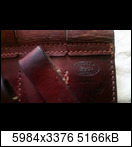
Thank you Hausi and bigwam! You both were / are a very big help to me! The parts were painted immediately this morning. Now it looks really good. Unfortunately it is raining today and my shooting is canceled. But pictures of the revised pack are there.
with and without flashlight
-
1
-
-
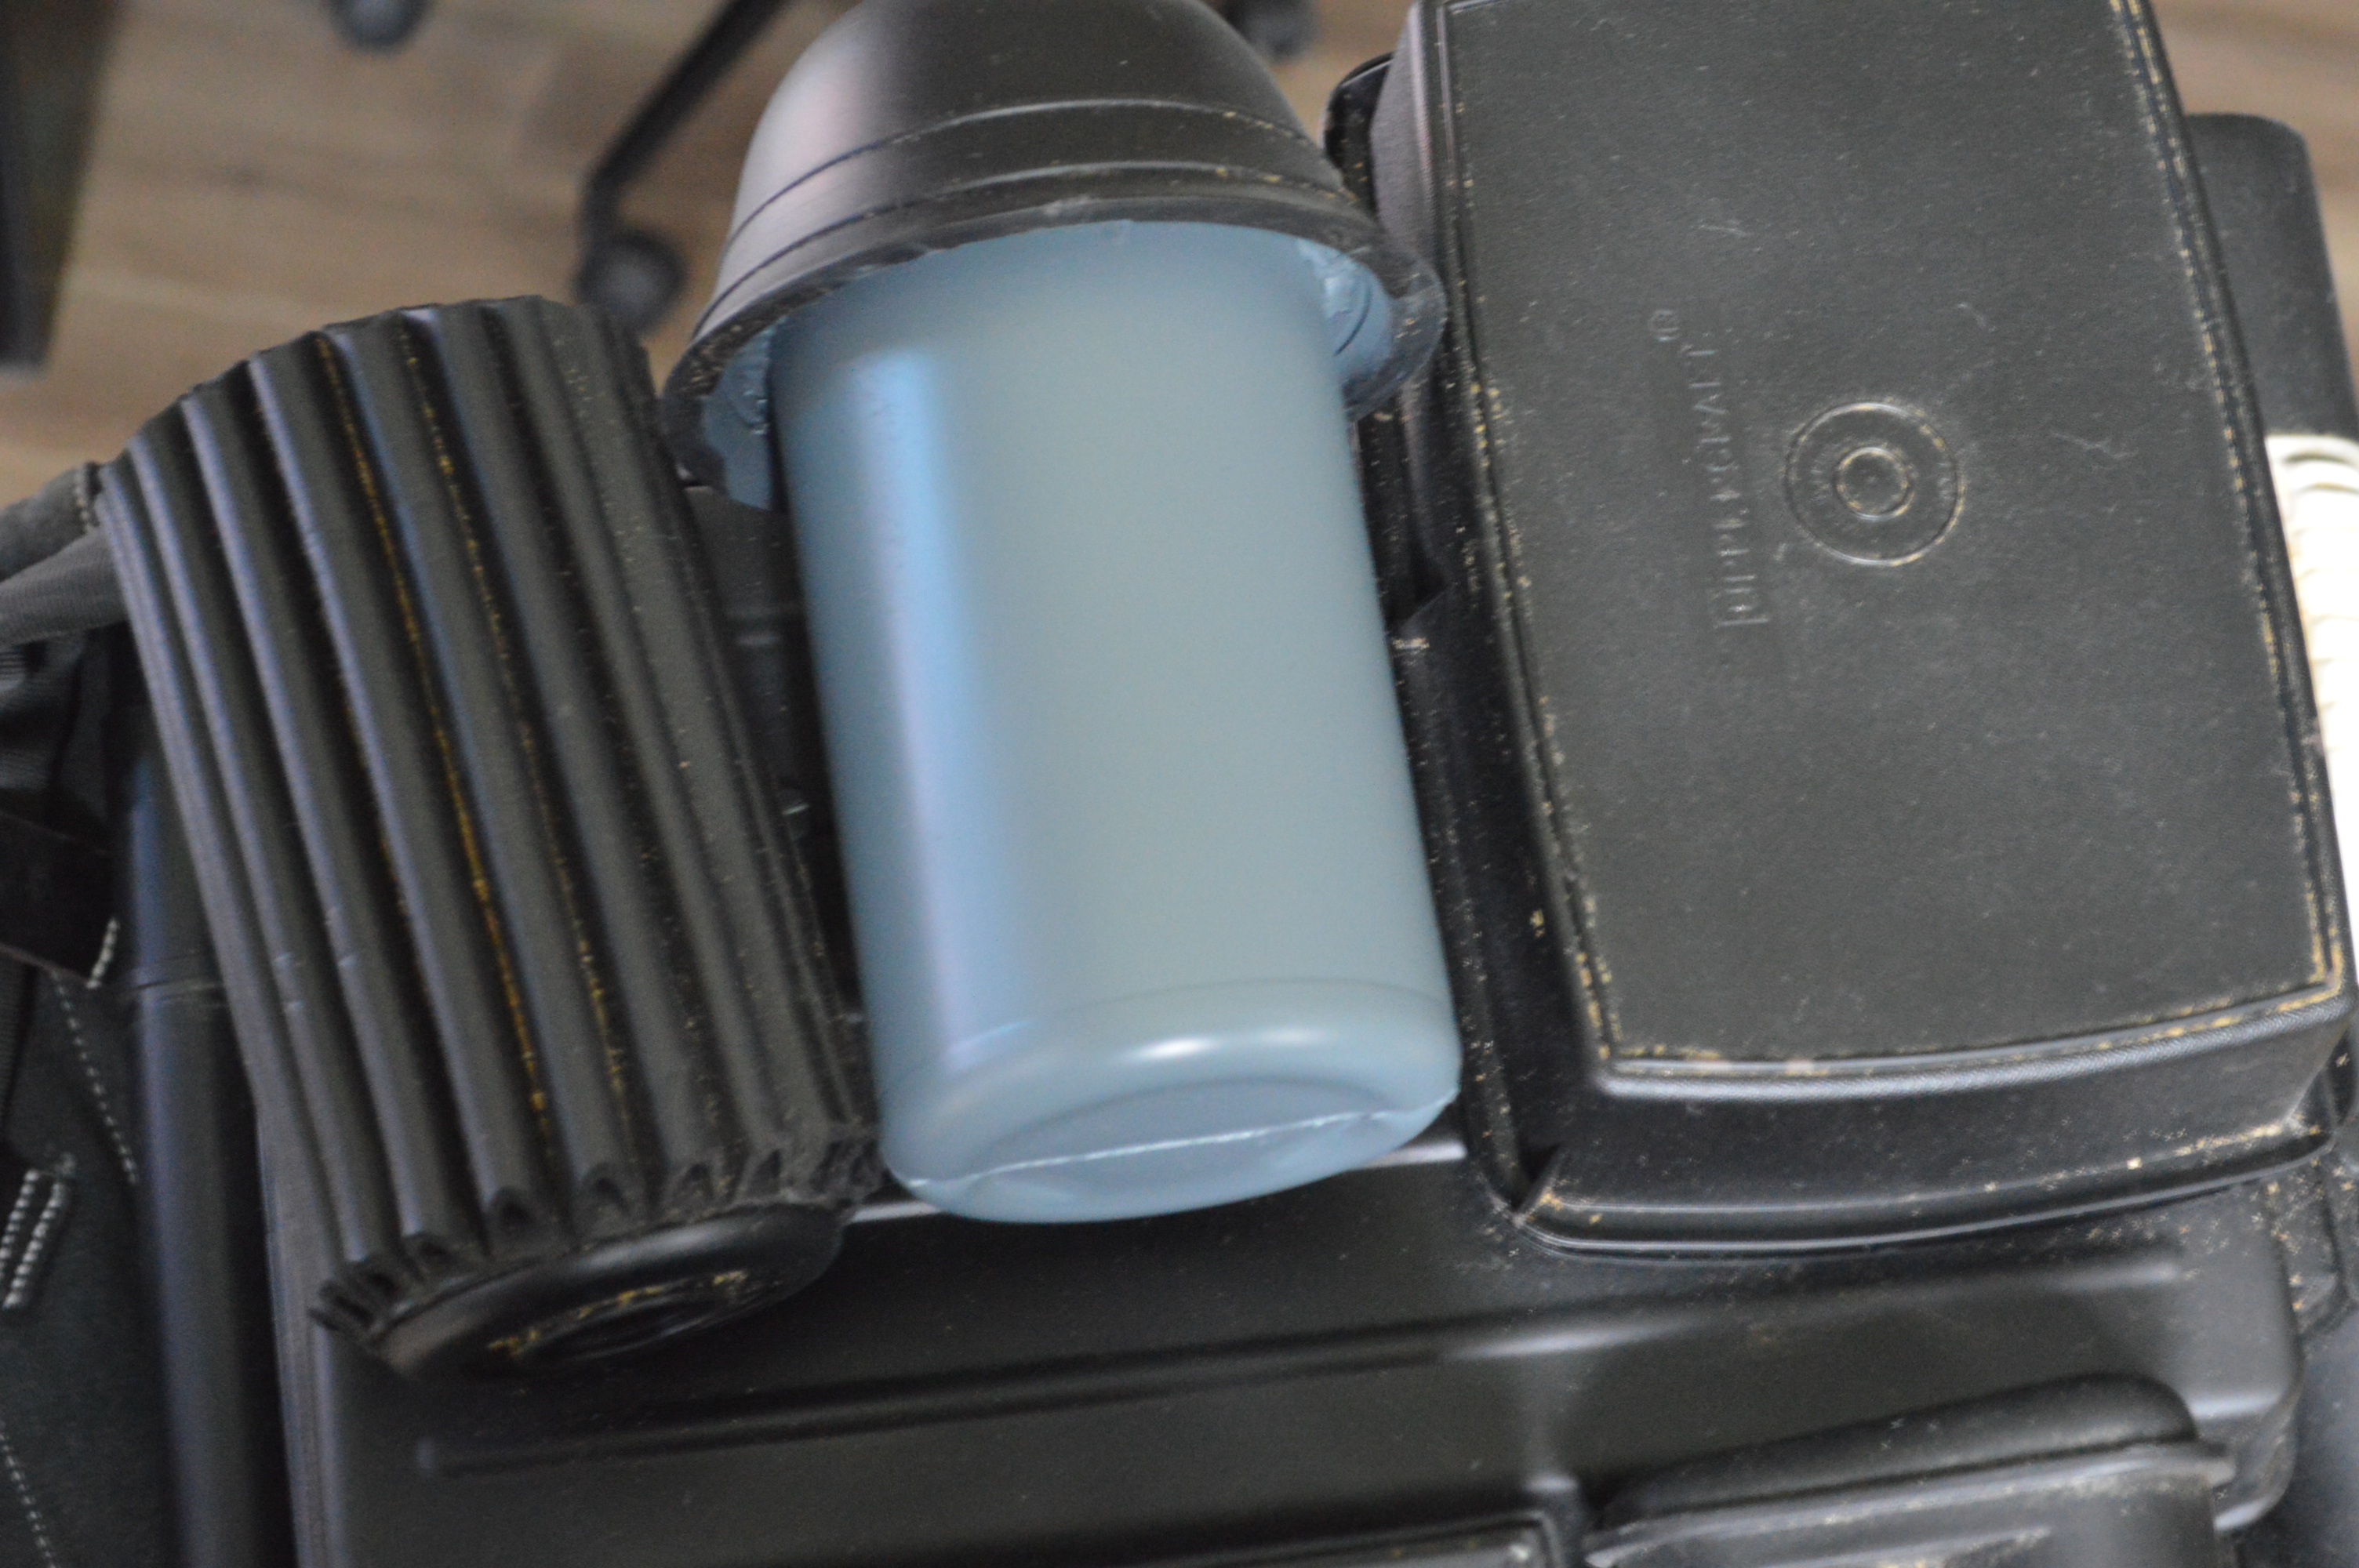
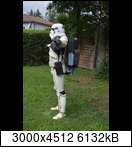
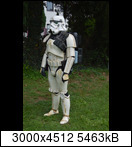
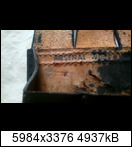
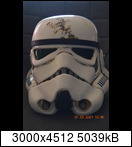
Moin everyone. The thing with the blue shine of the parts did not leave me alone and I contacted my dealer. After a conversation and a few pictures he agreed that he had a mistake in shipping and immediately sent me a replacement. This arrived this morning and it was repainted right away. Now that's the result.
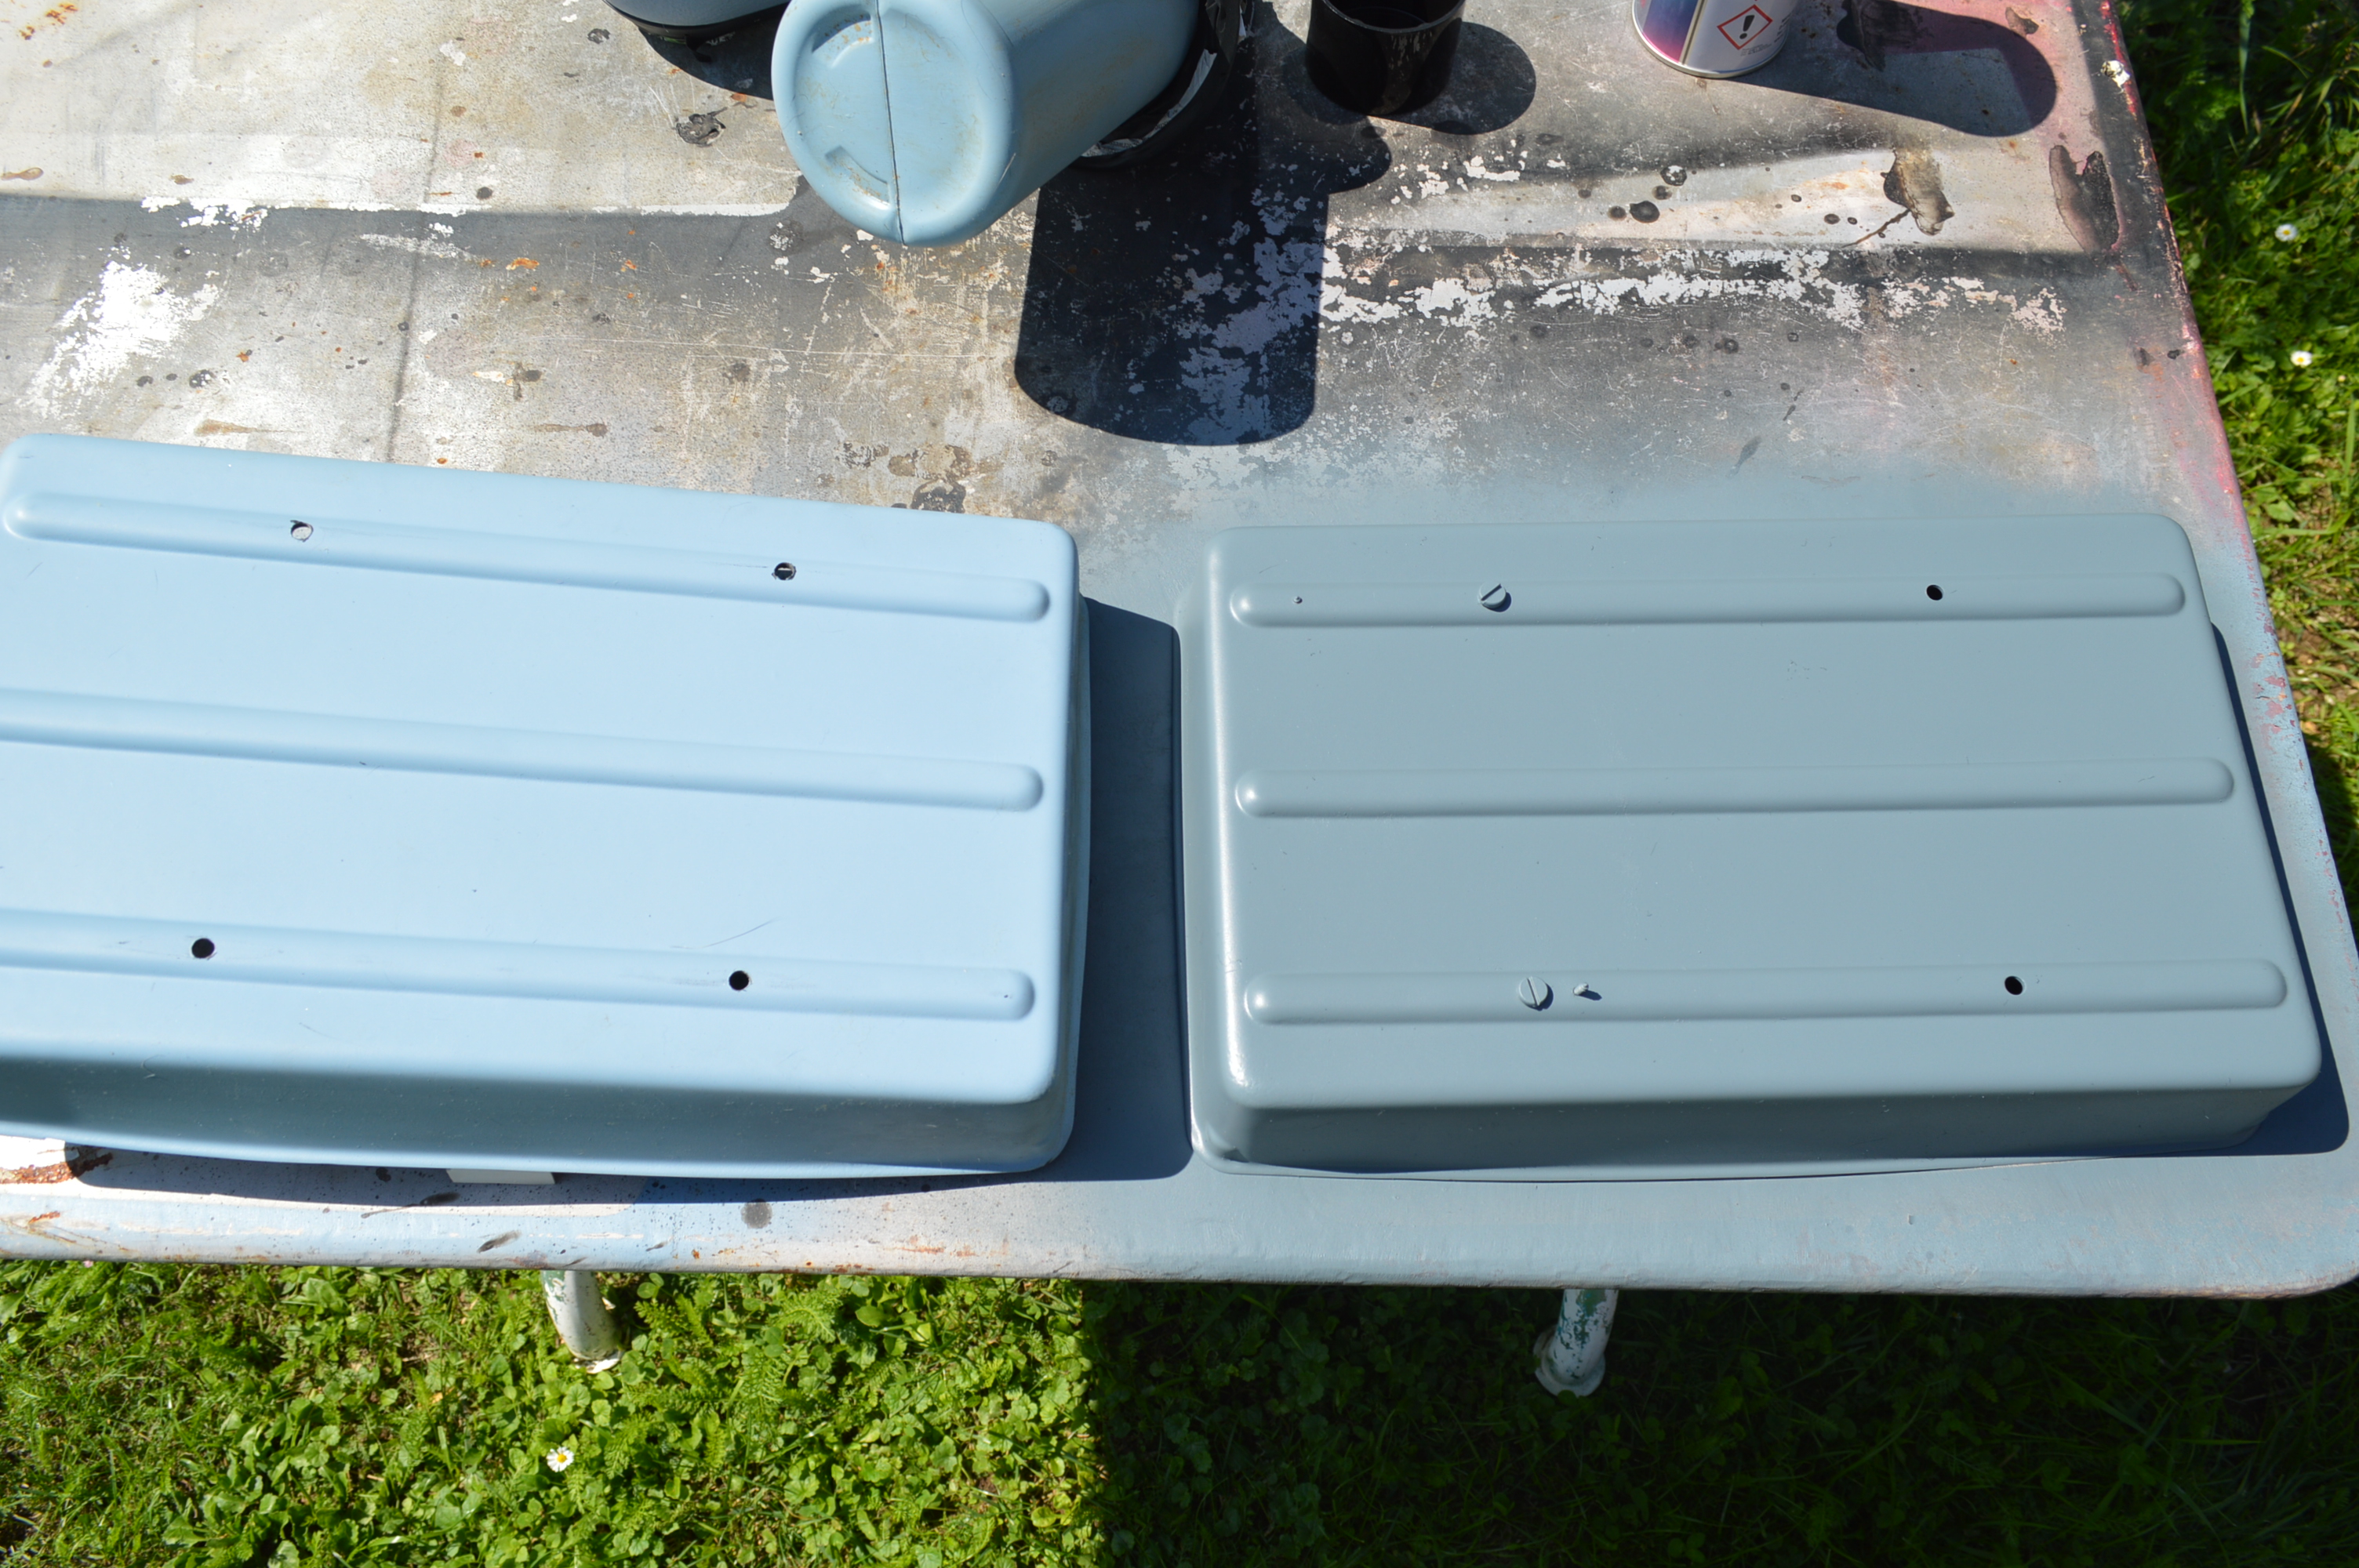
In the shade
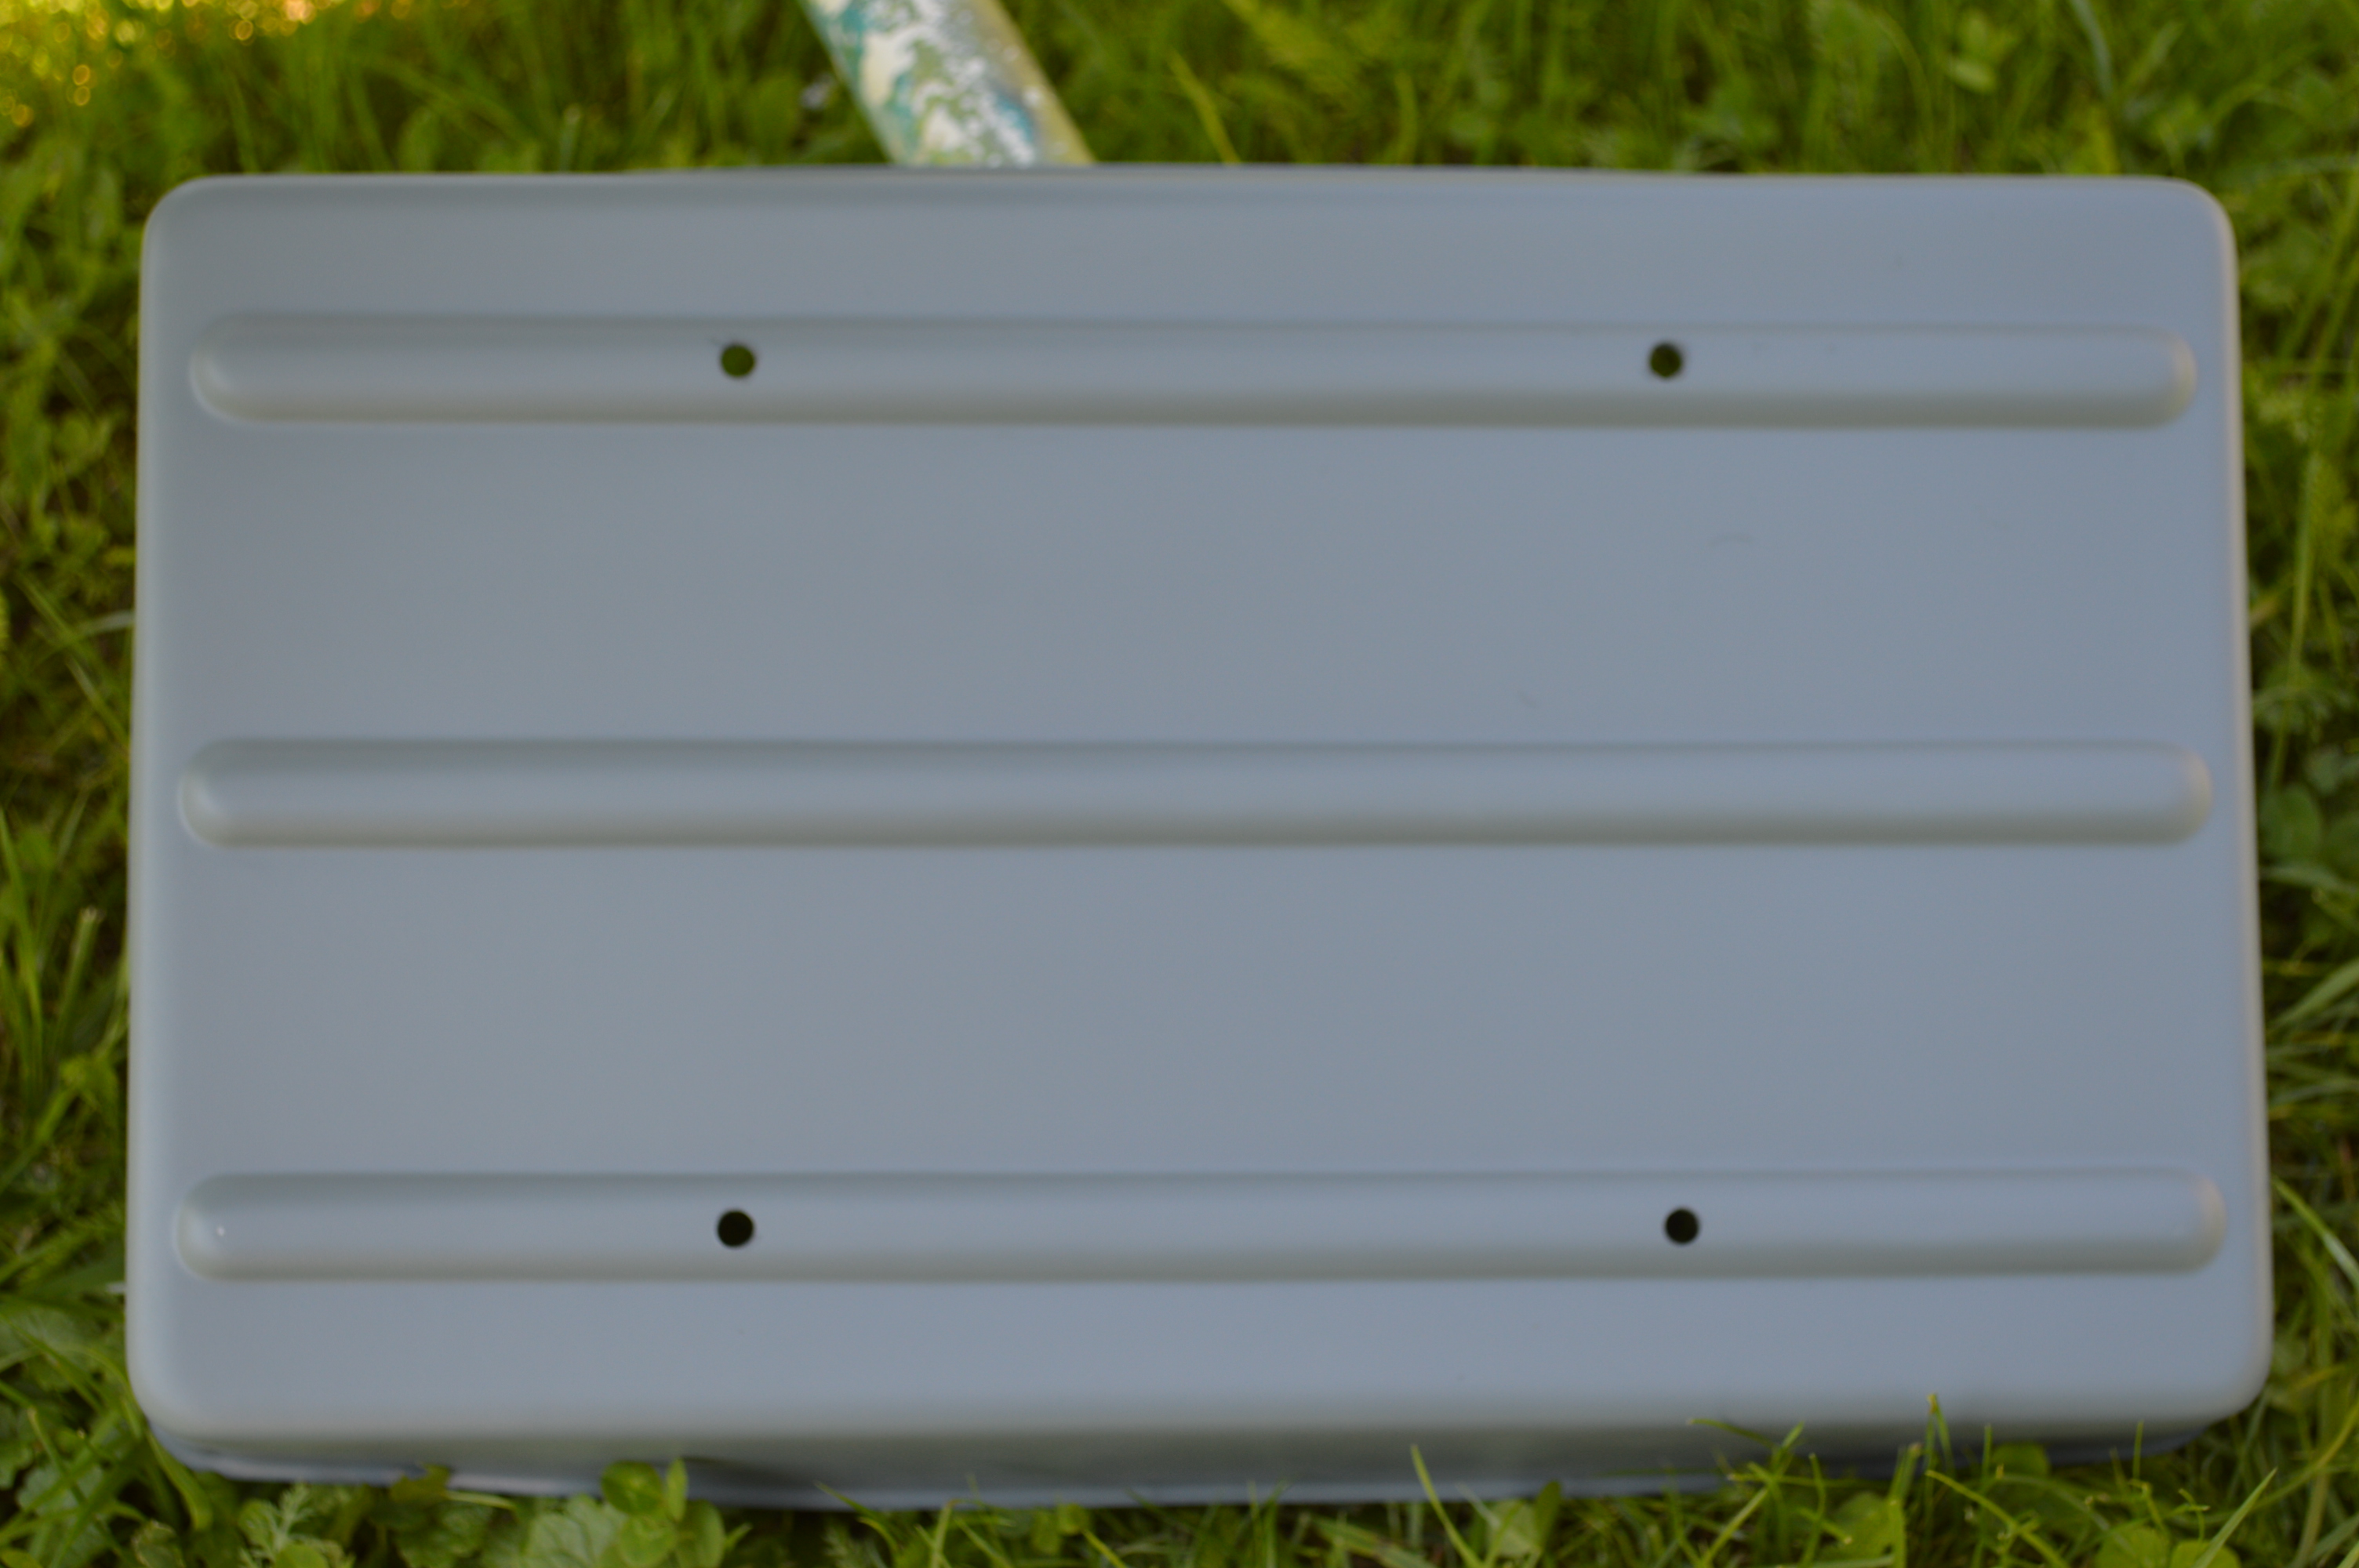
It looks now right
-
1
-
-
Absolut genious!
-
1
-
-
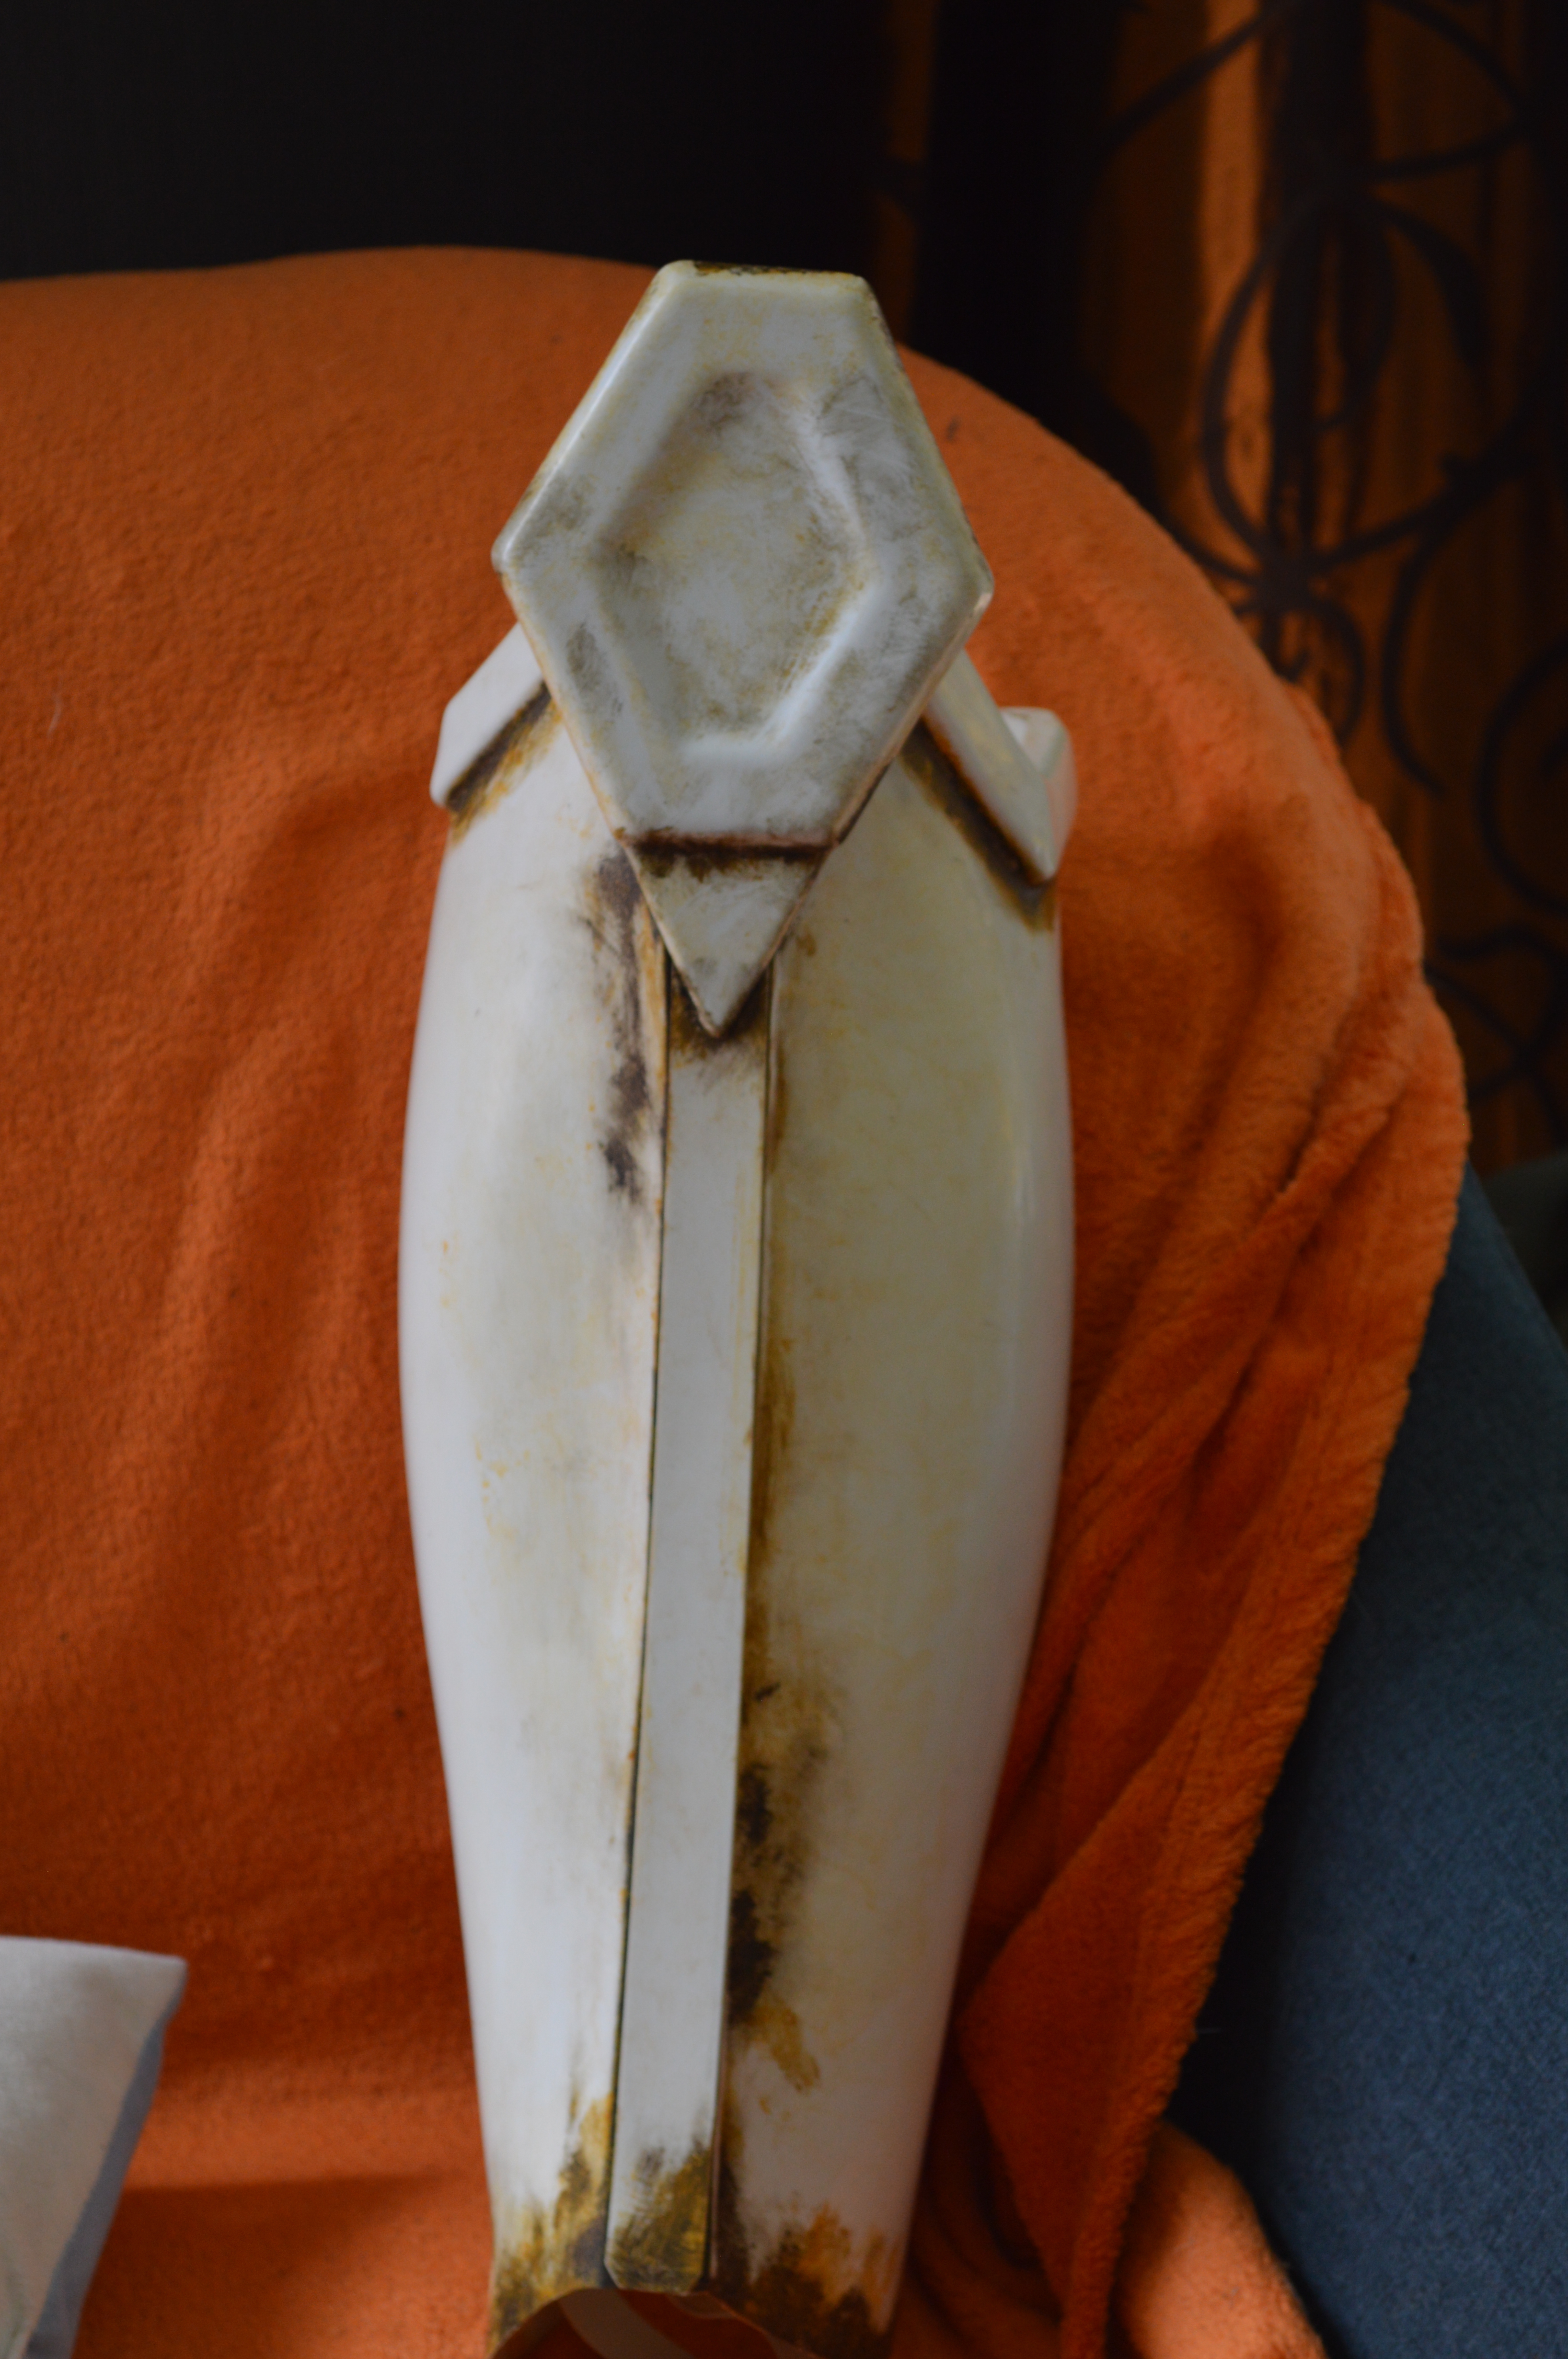
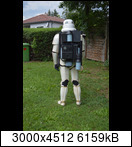
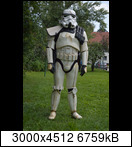
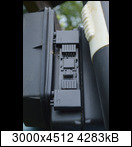
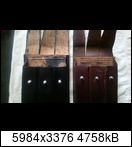
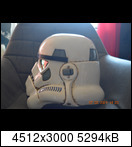
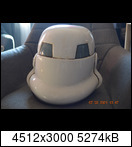
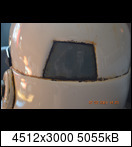
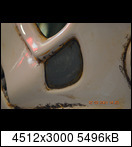
Thank's Hausi for the advice. I will do more weathering the helmet and sniperplate.
More dirt on bucket and sniperplate
I will add new photos for a better overall picture for the days.
-
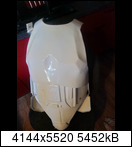
As announced, new photos were taken and in better light conditions. Unfortunately, this only makes the RAL appear bluer ...
@bigwam: thanks you too for the kinds words! I use a matt clear coat, because the paint didn't hold up so well without. The 2nd reason why I used the matt clear coat is, that I used it to fix the weathering, which is made of terrarium sand.
with kind regards
Willi
-
1
-
-
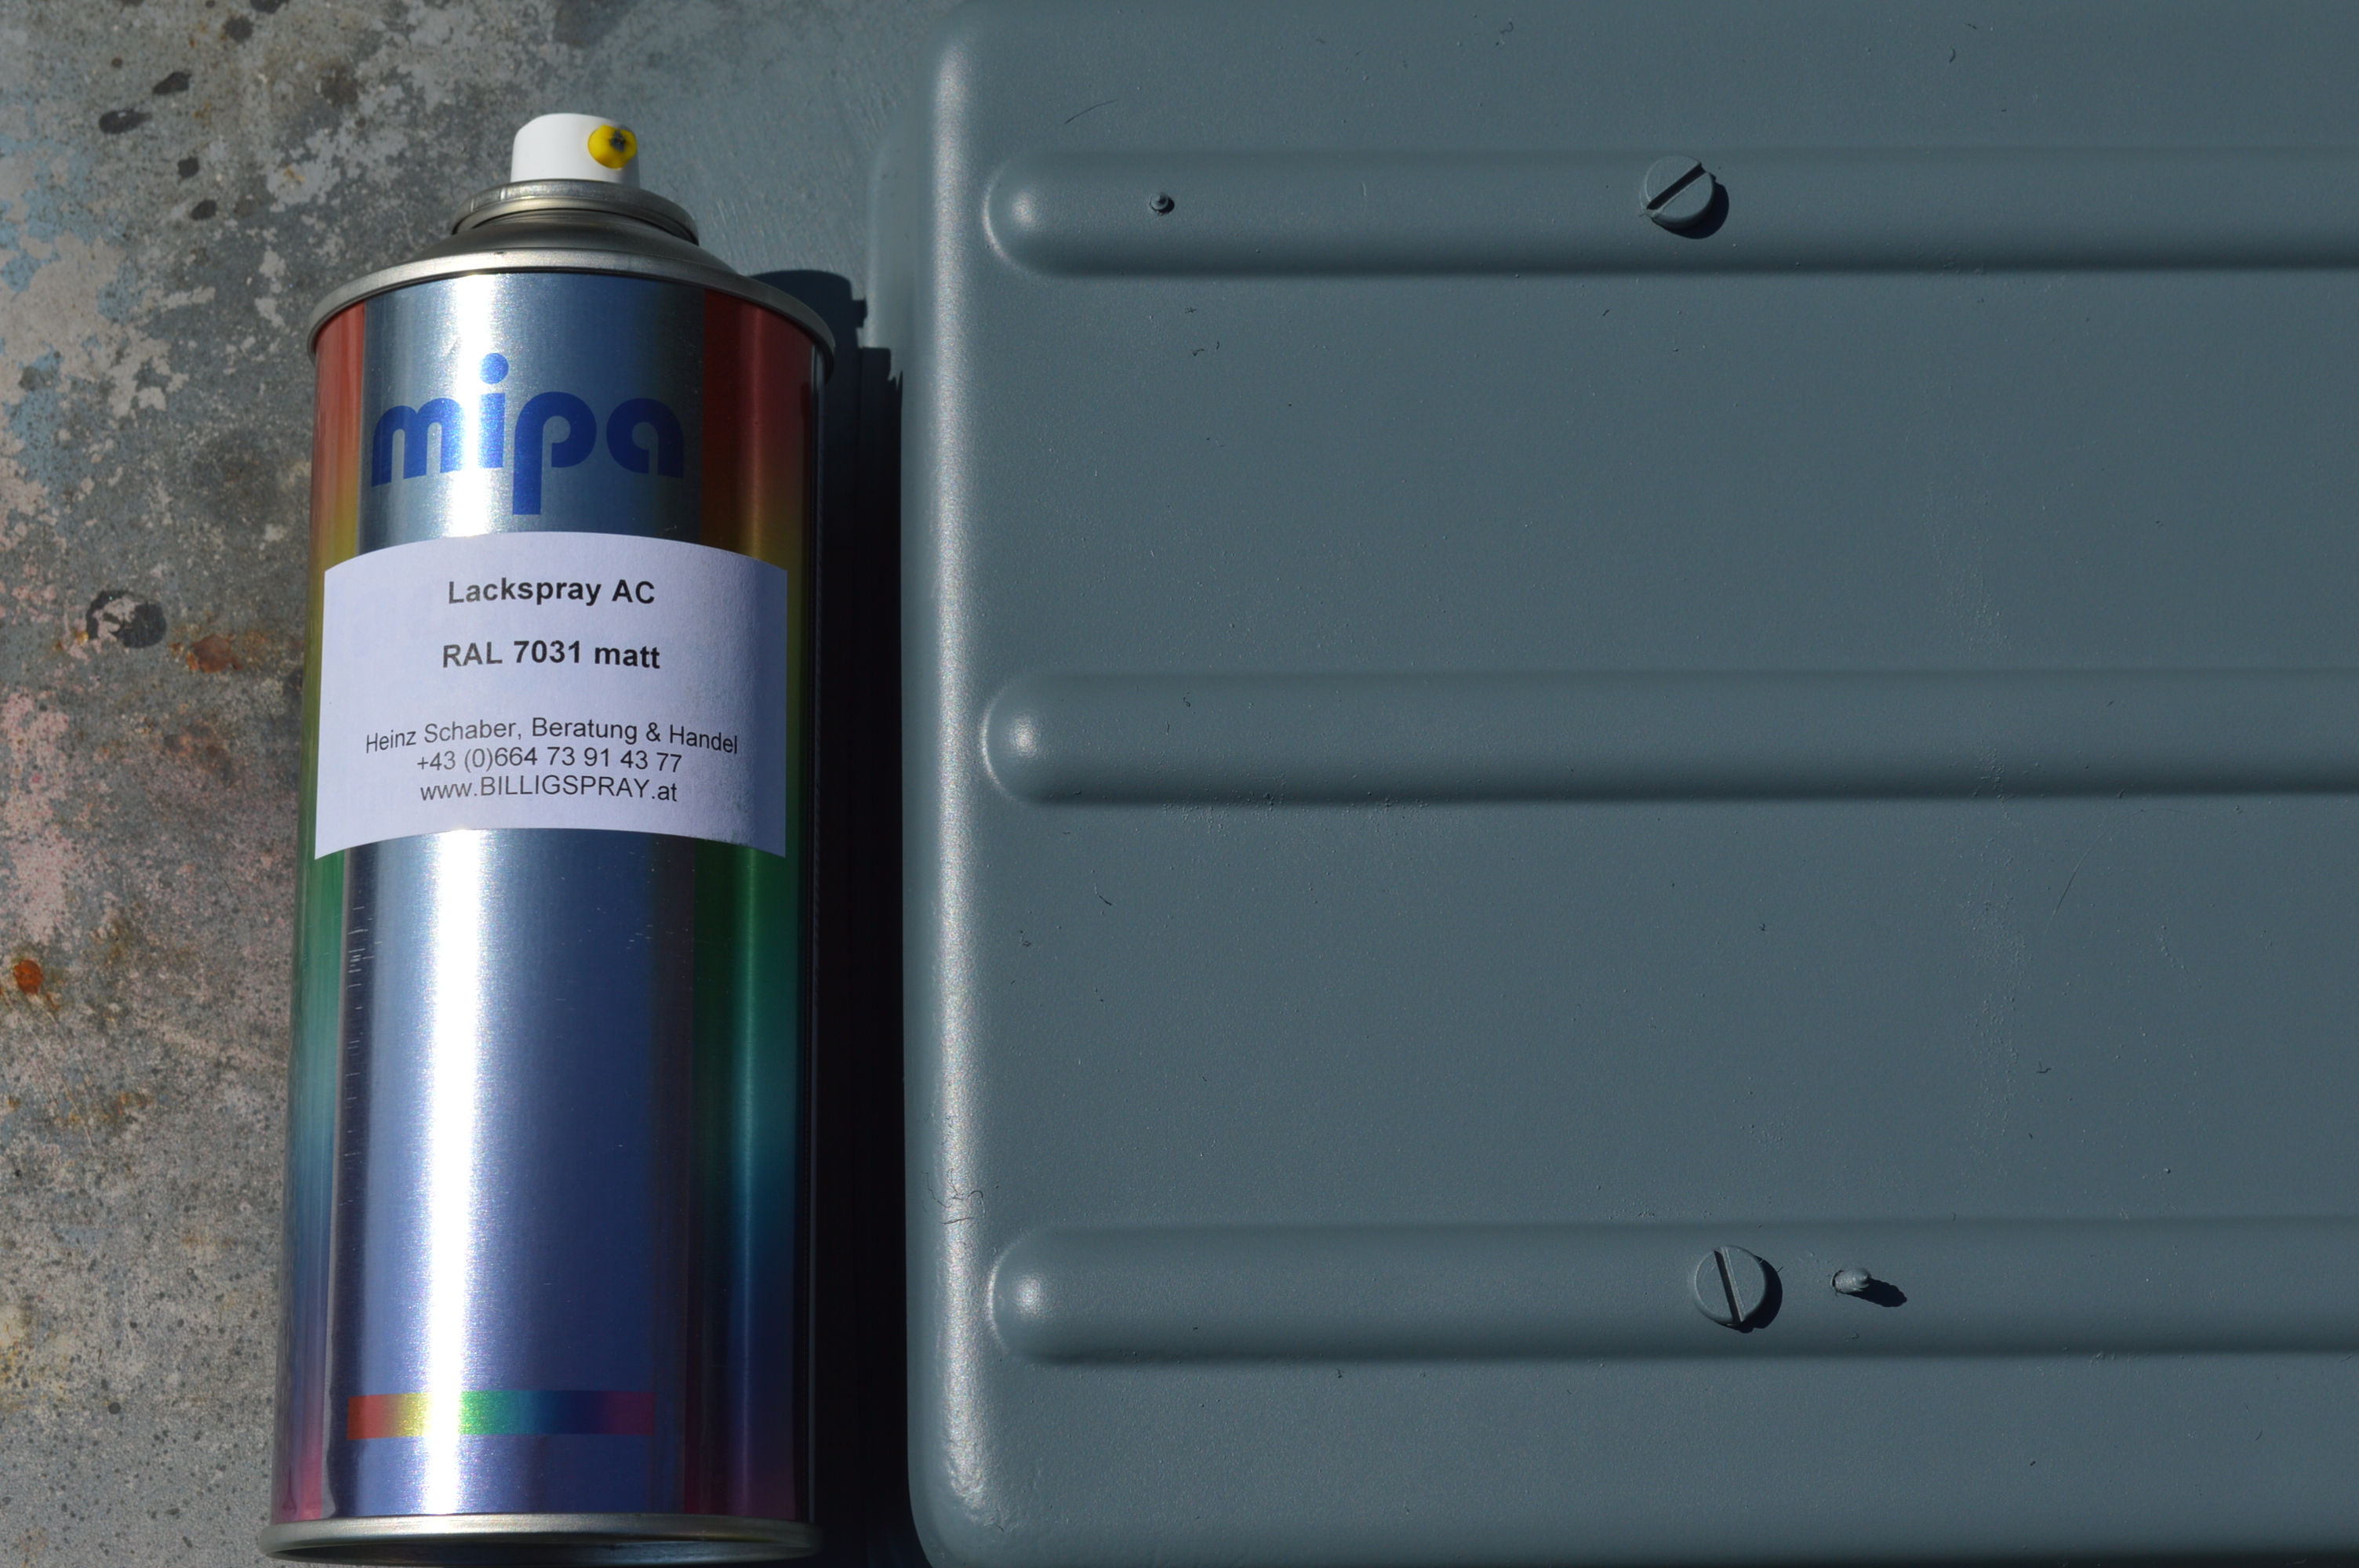
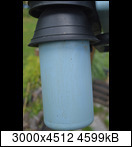
Yes I use RAL 7031. I will take new photos in different conditions today and wait for bigwam. Thanks for the great help Hausi!
-
Thanks for the kind words Hausi! Maybe the clear coat highlighted the blue or my dealer sold me nonsense... will then order new paint the days. If my wife finds the time today, sharper photos will be set tonight.
-
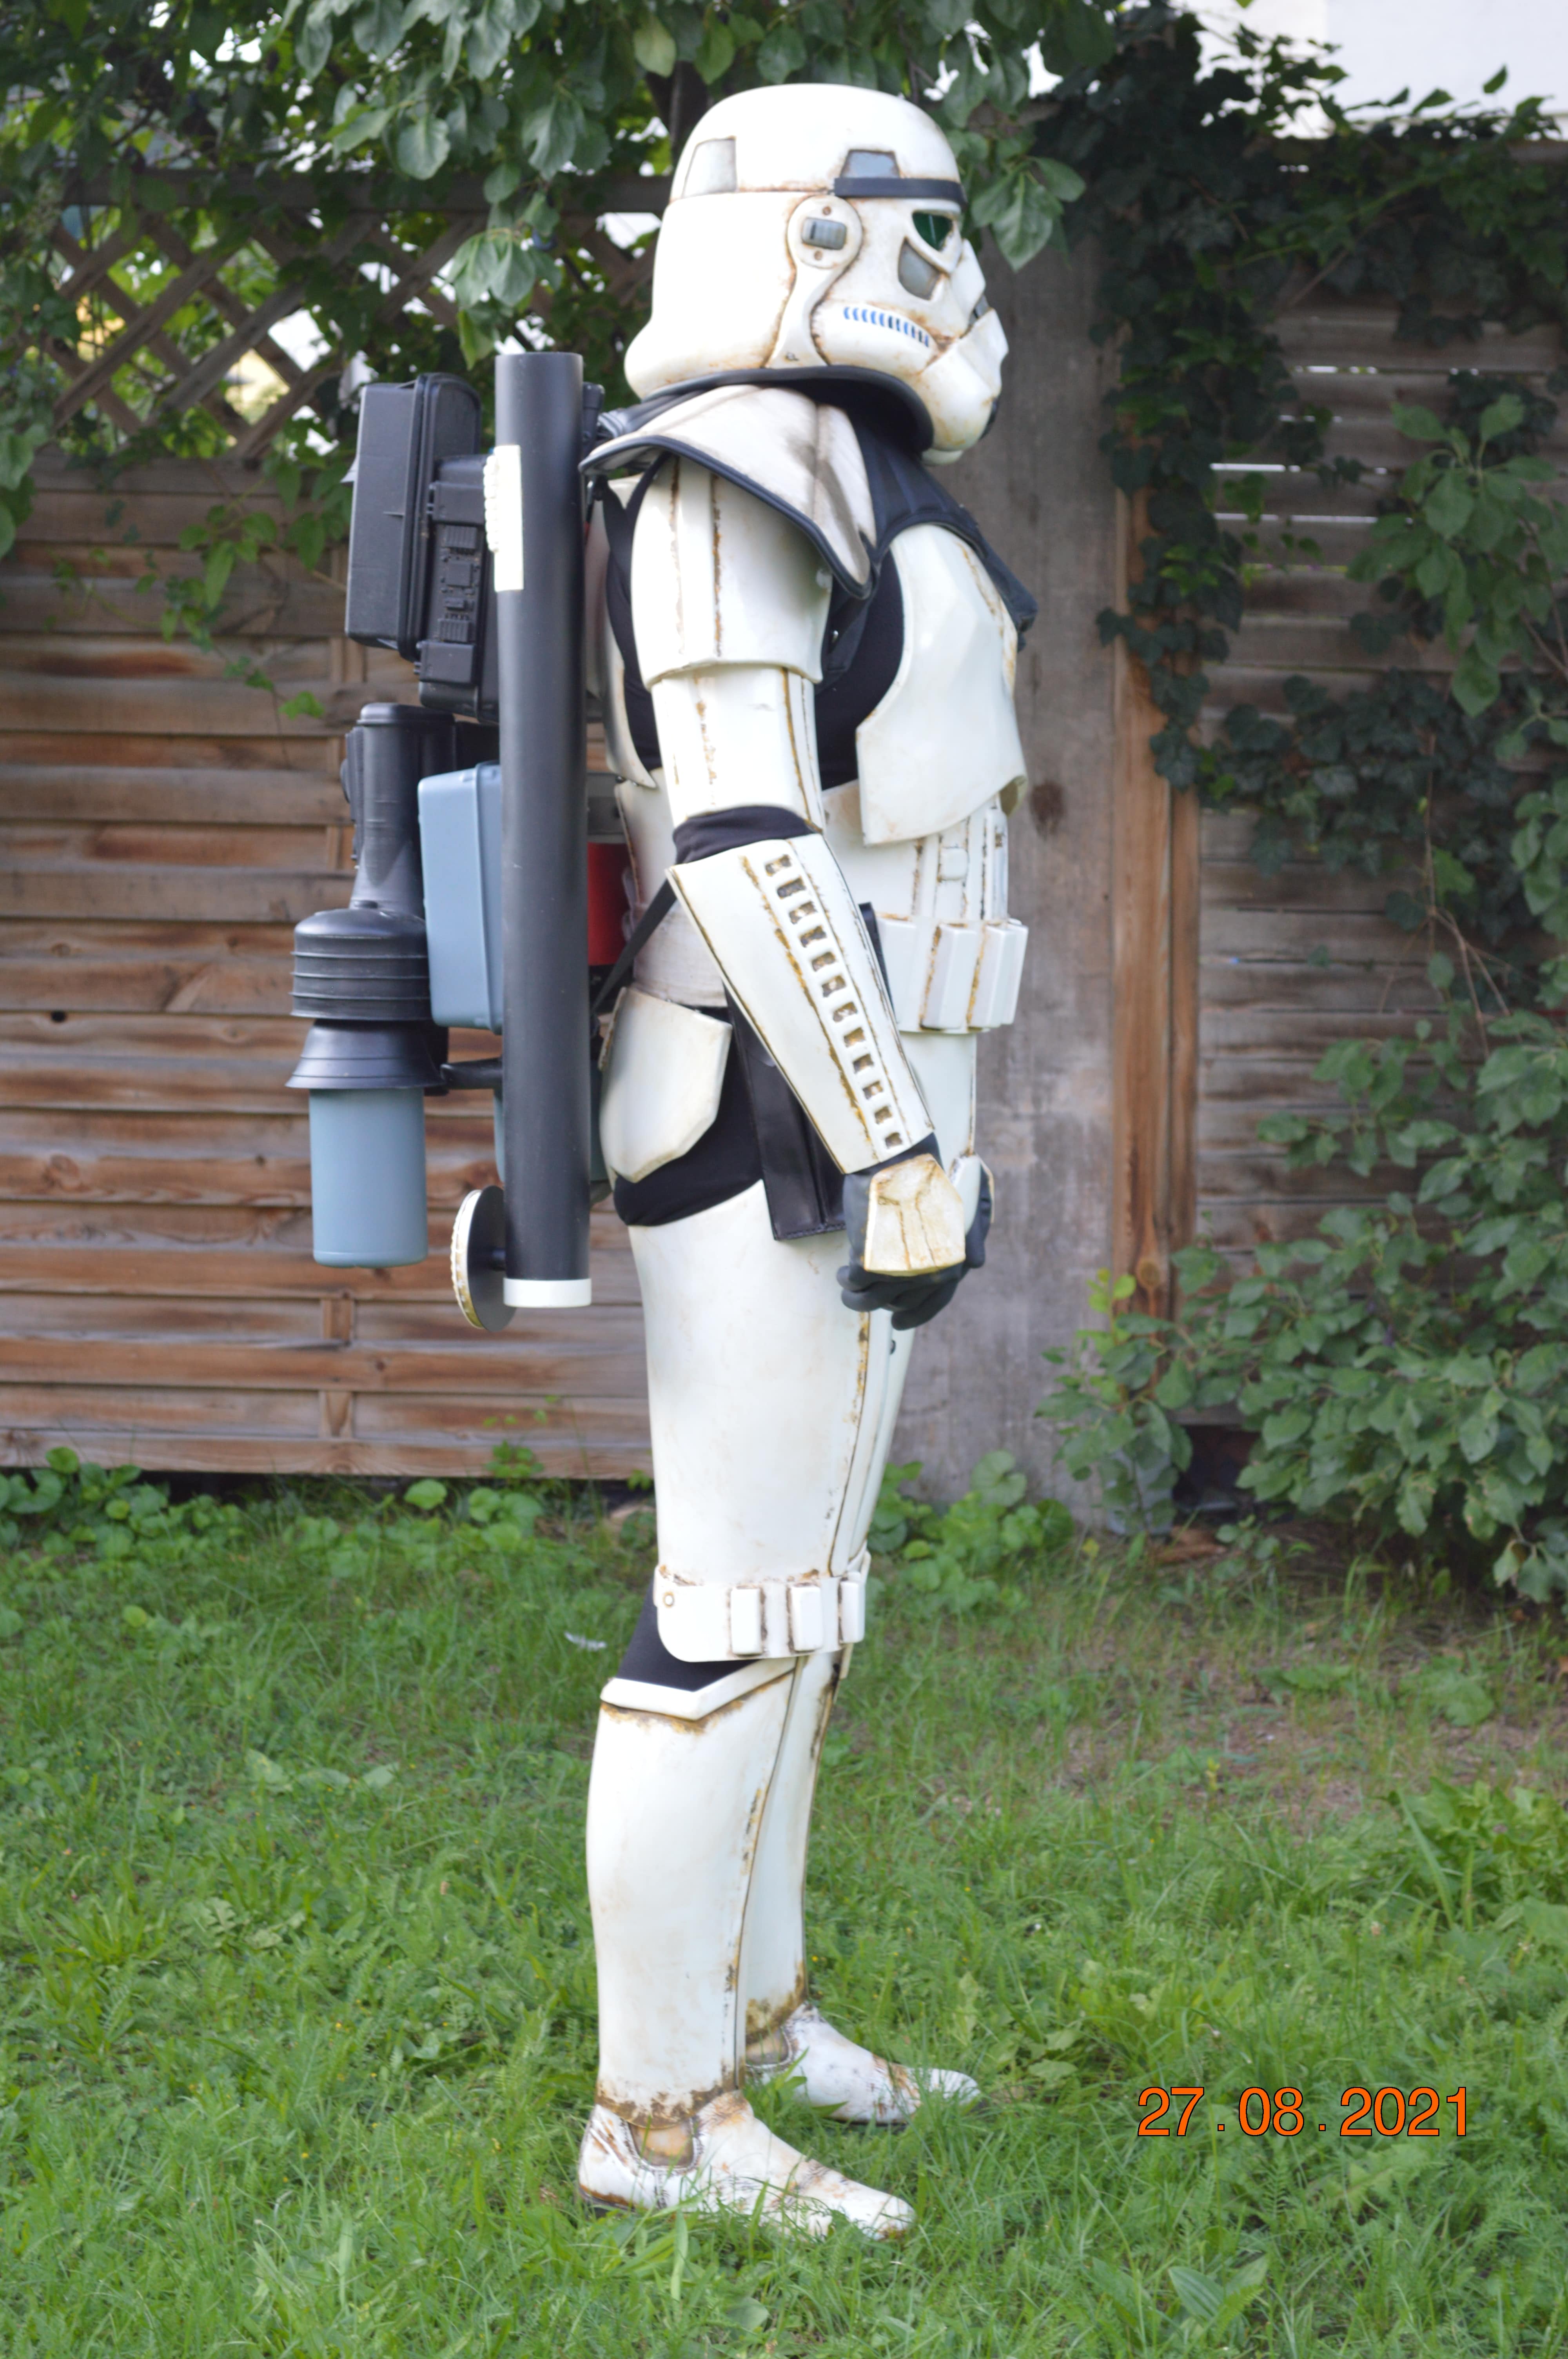
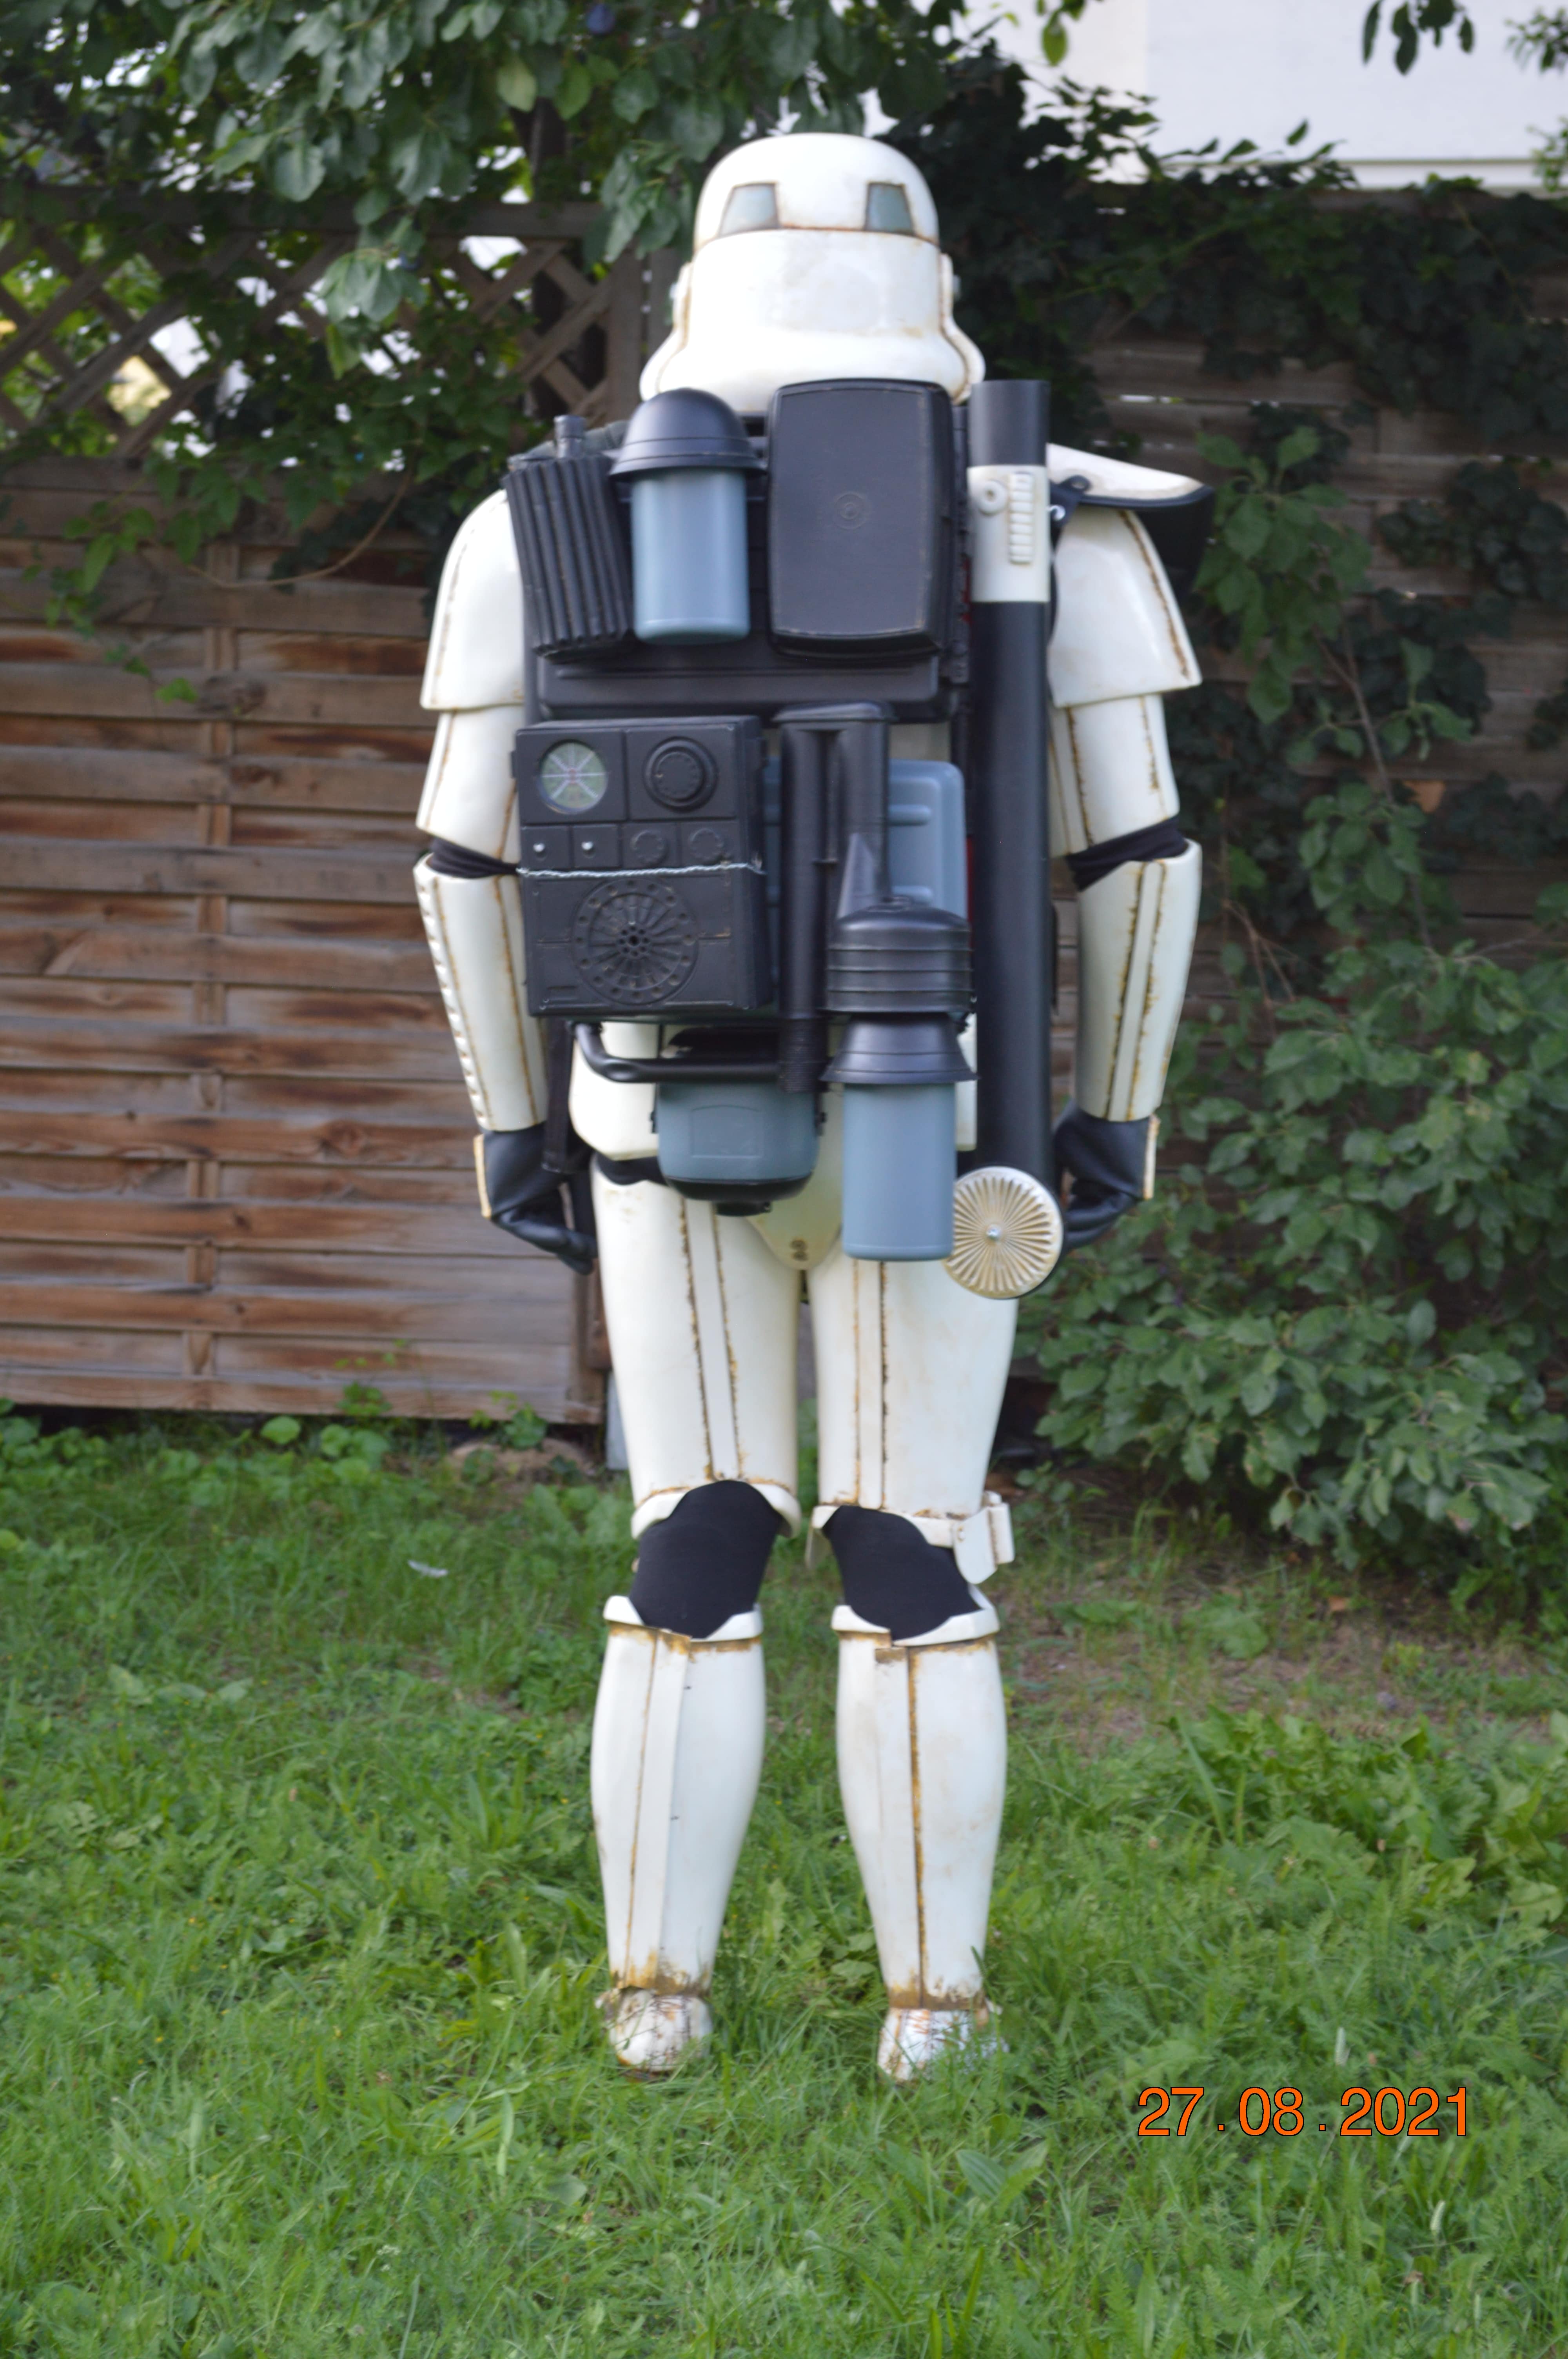
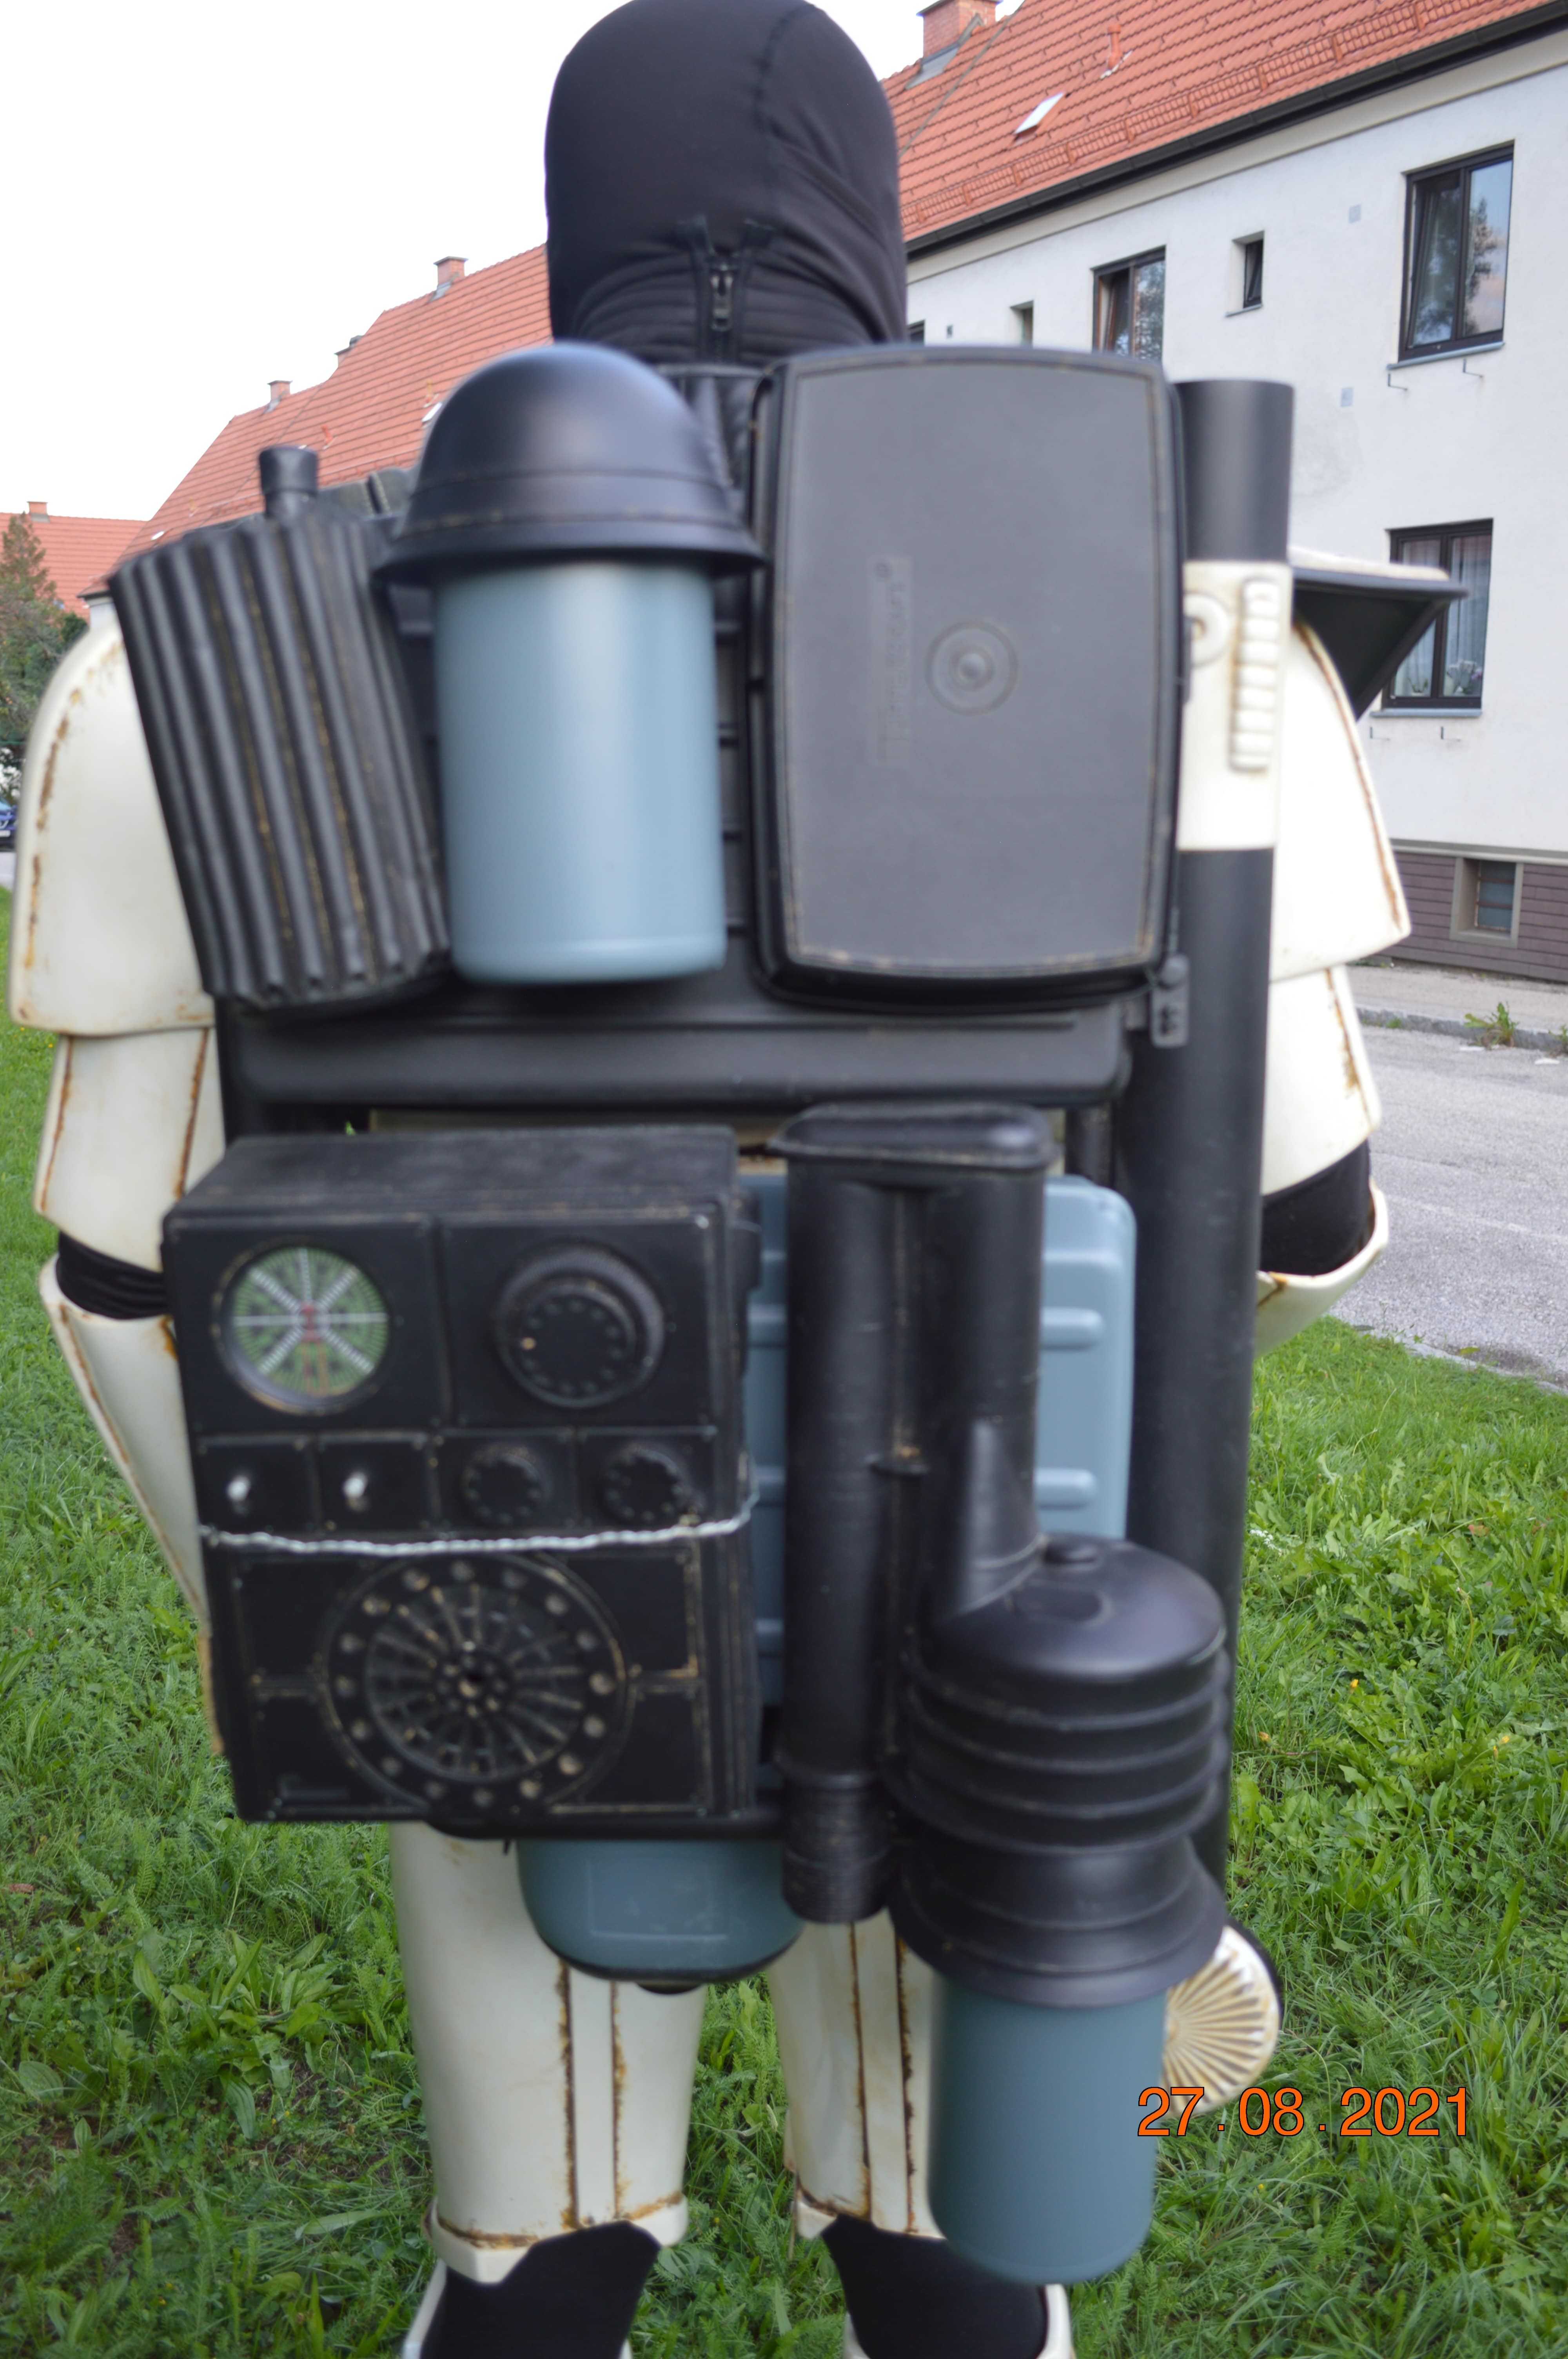
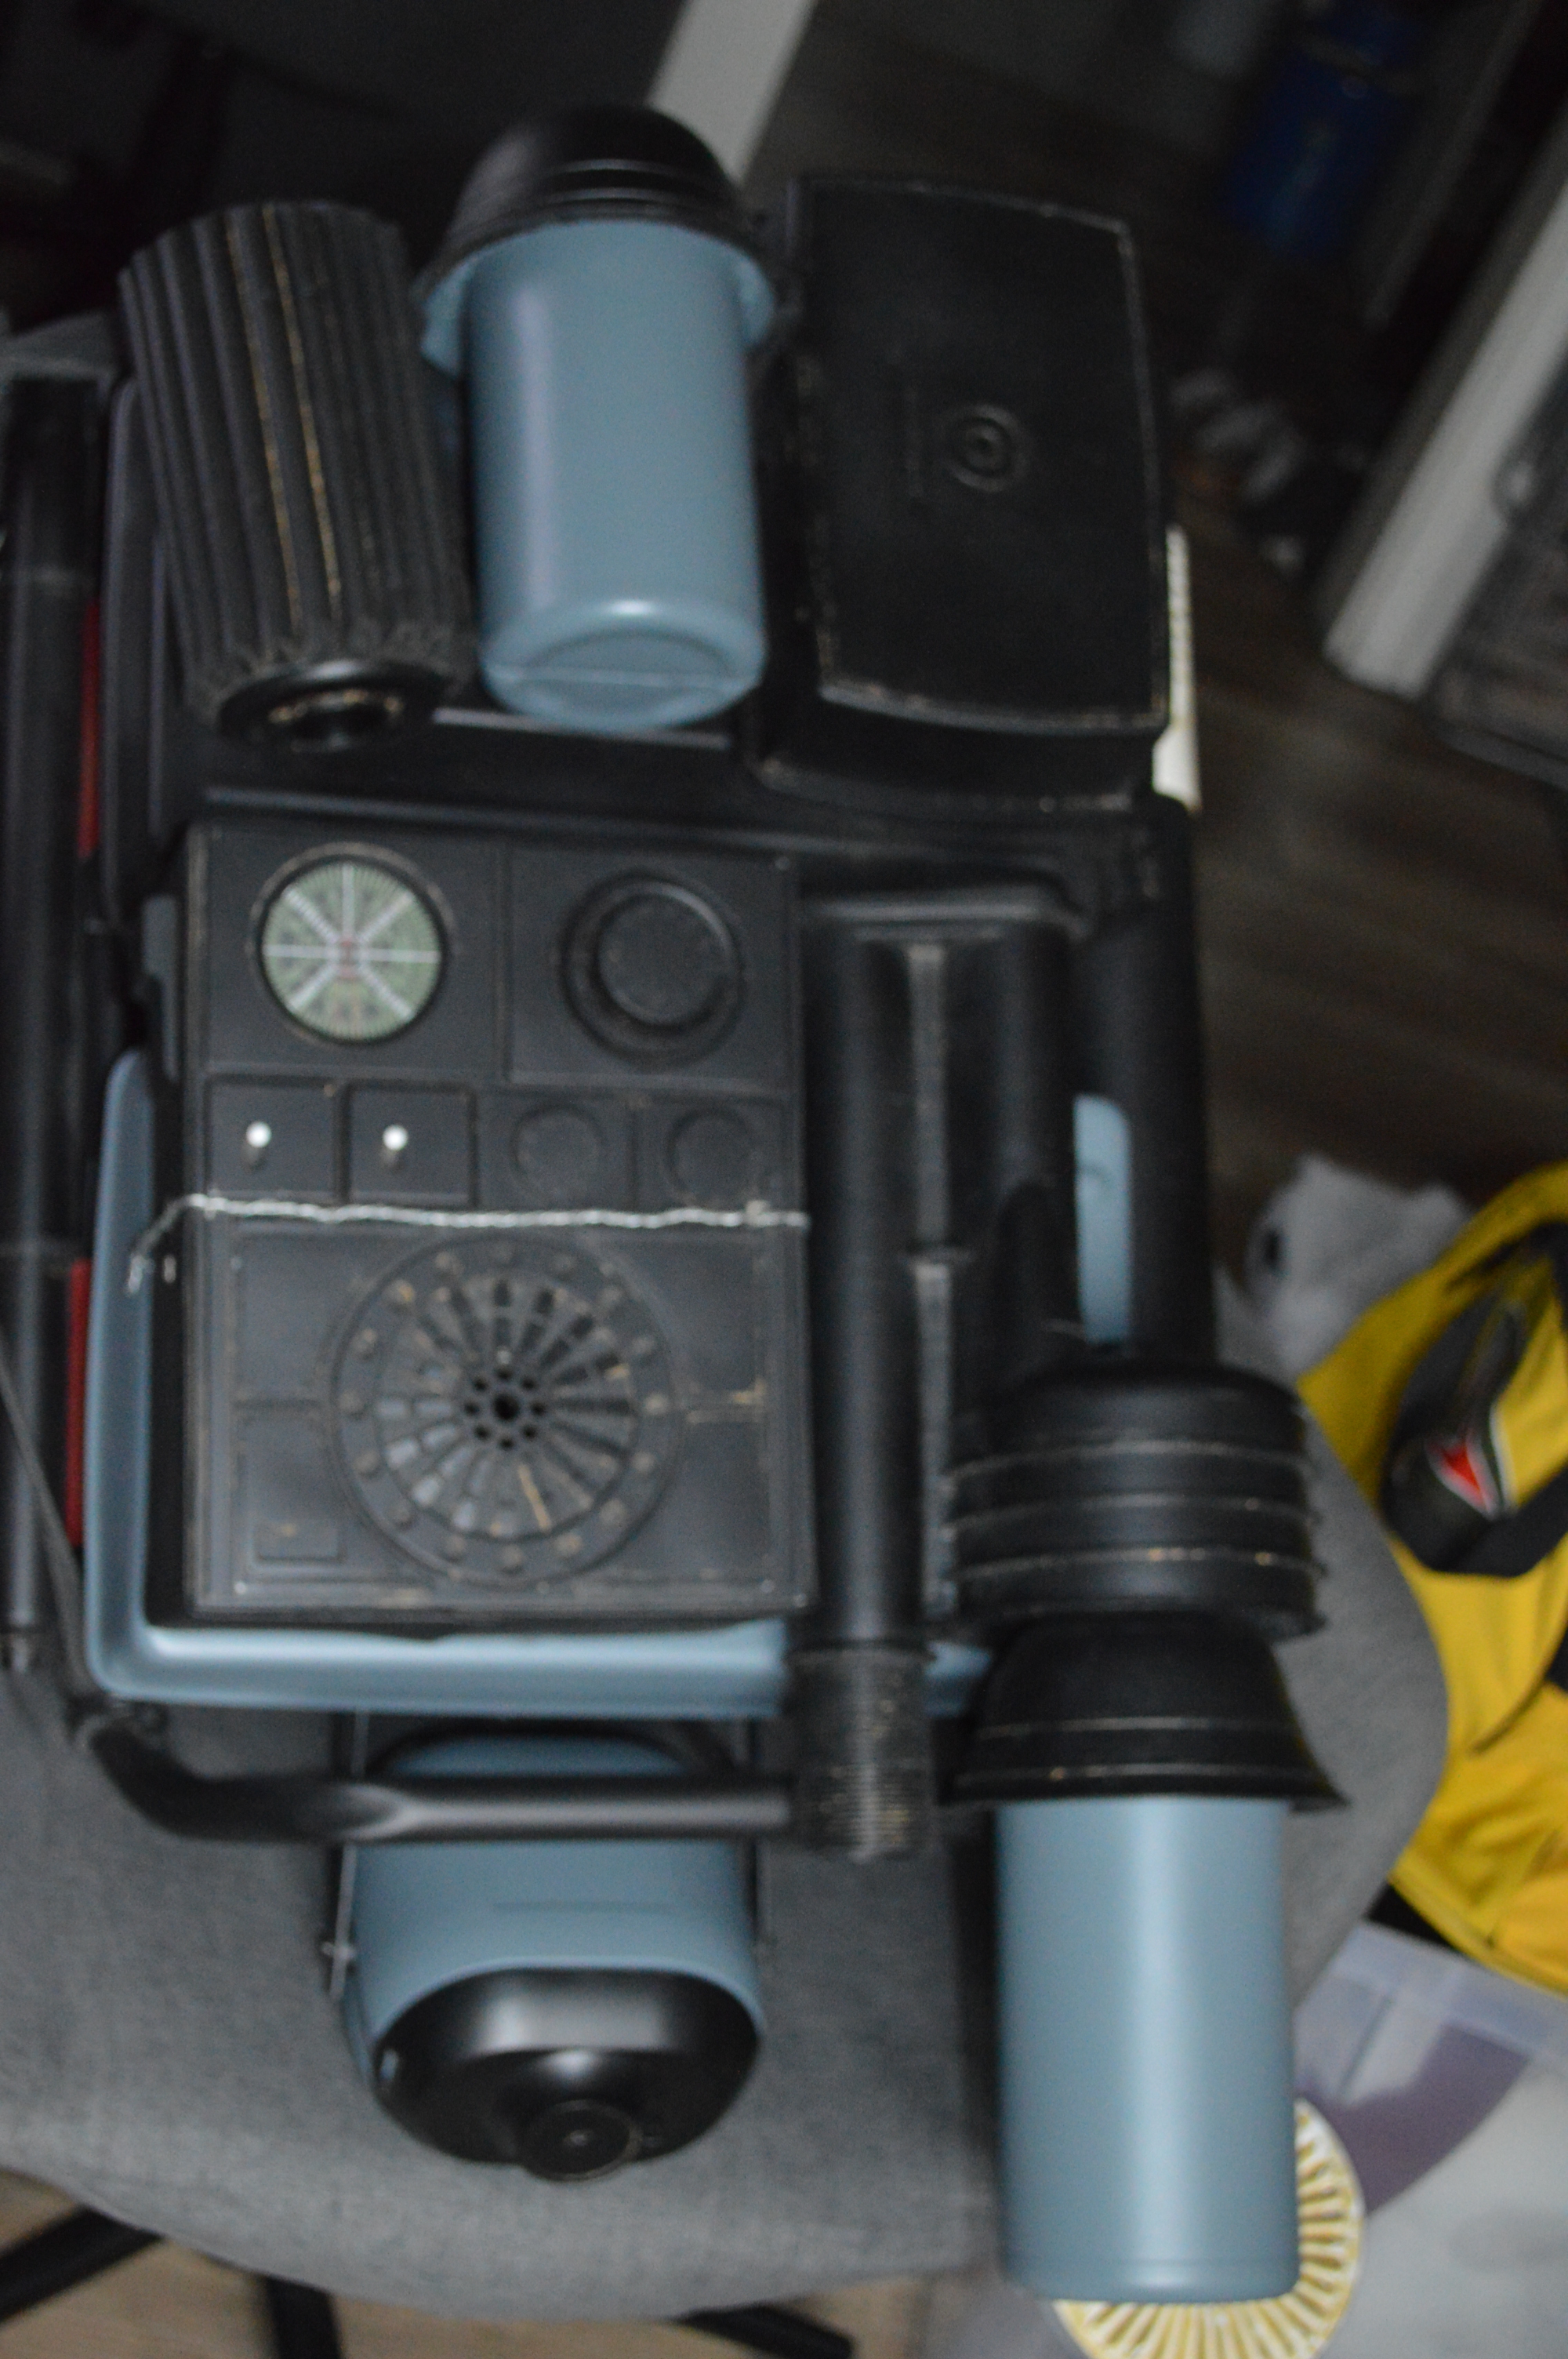
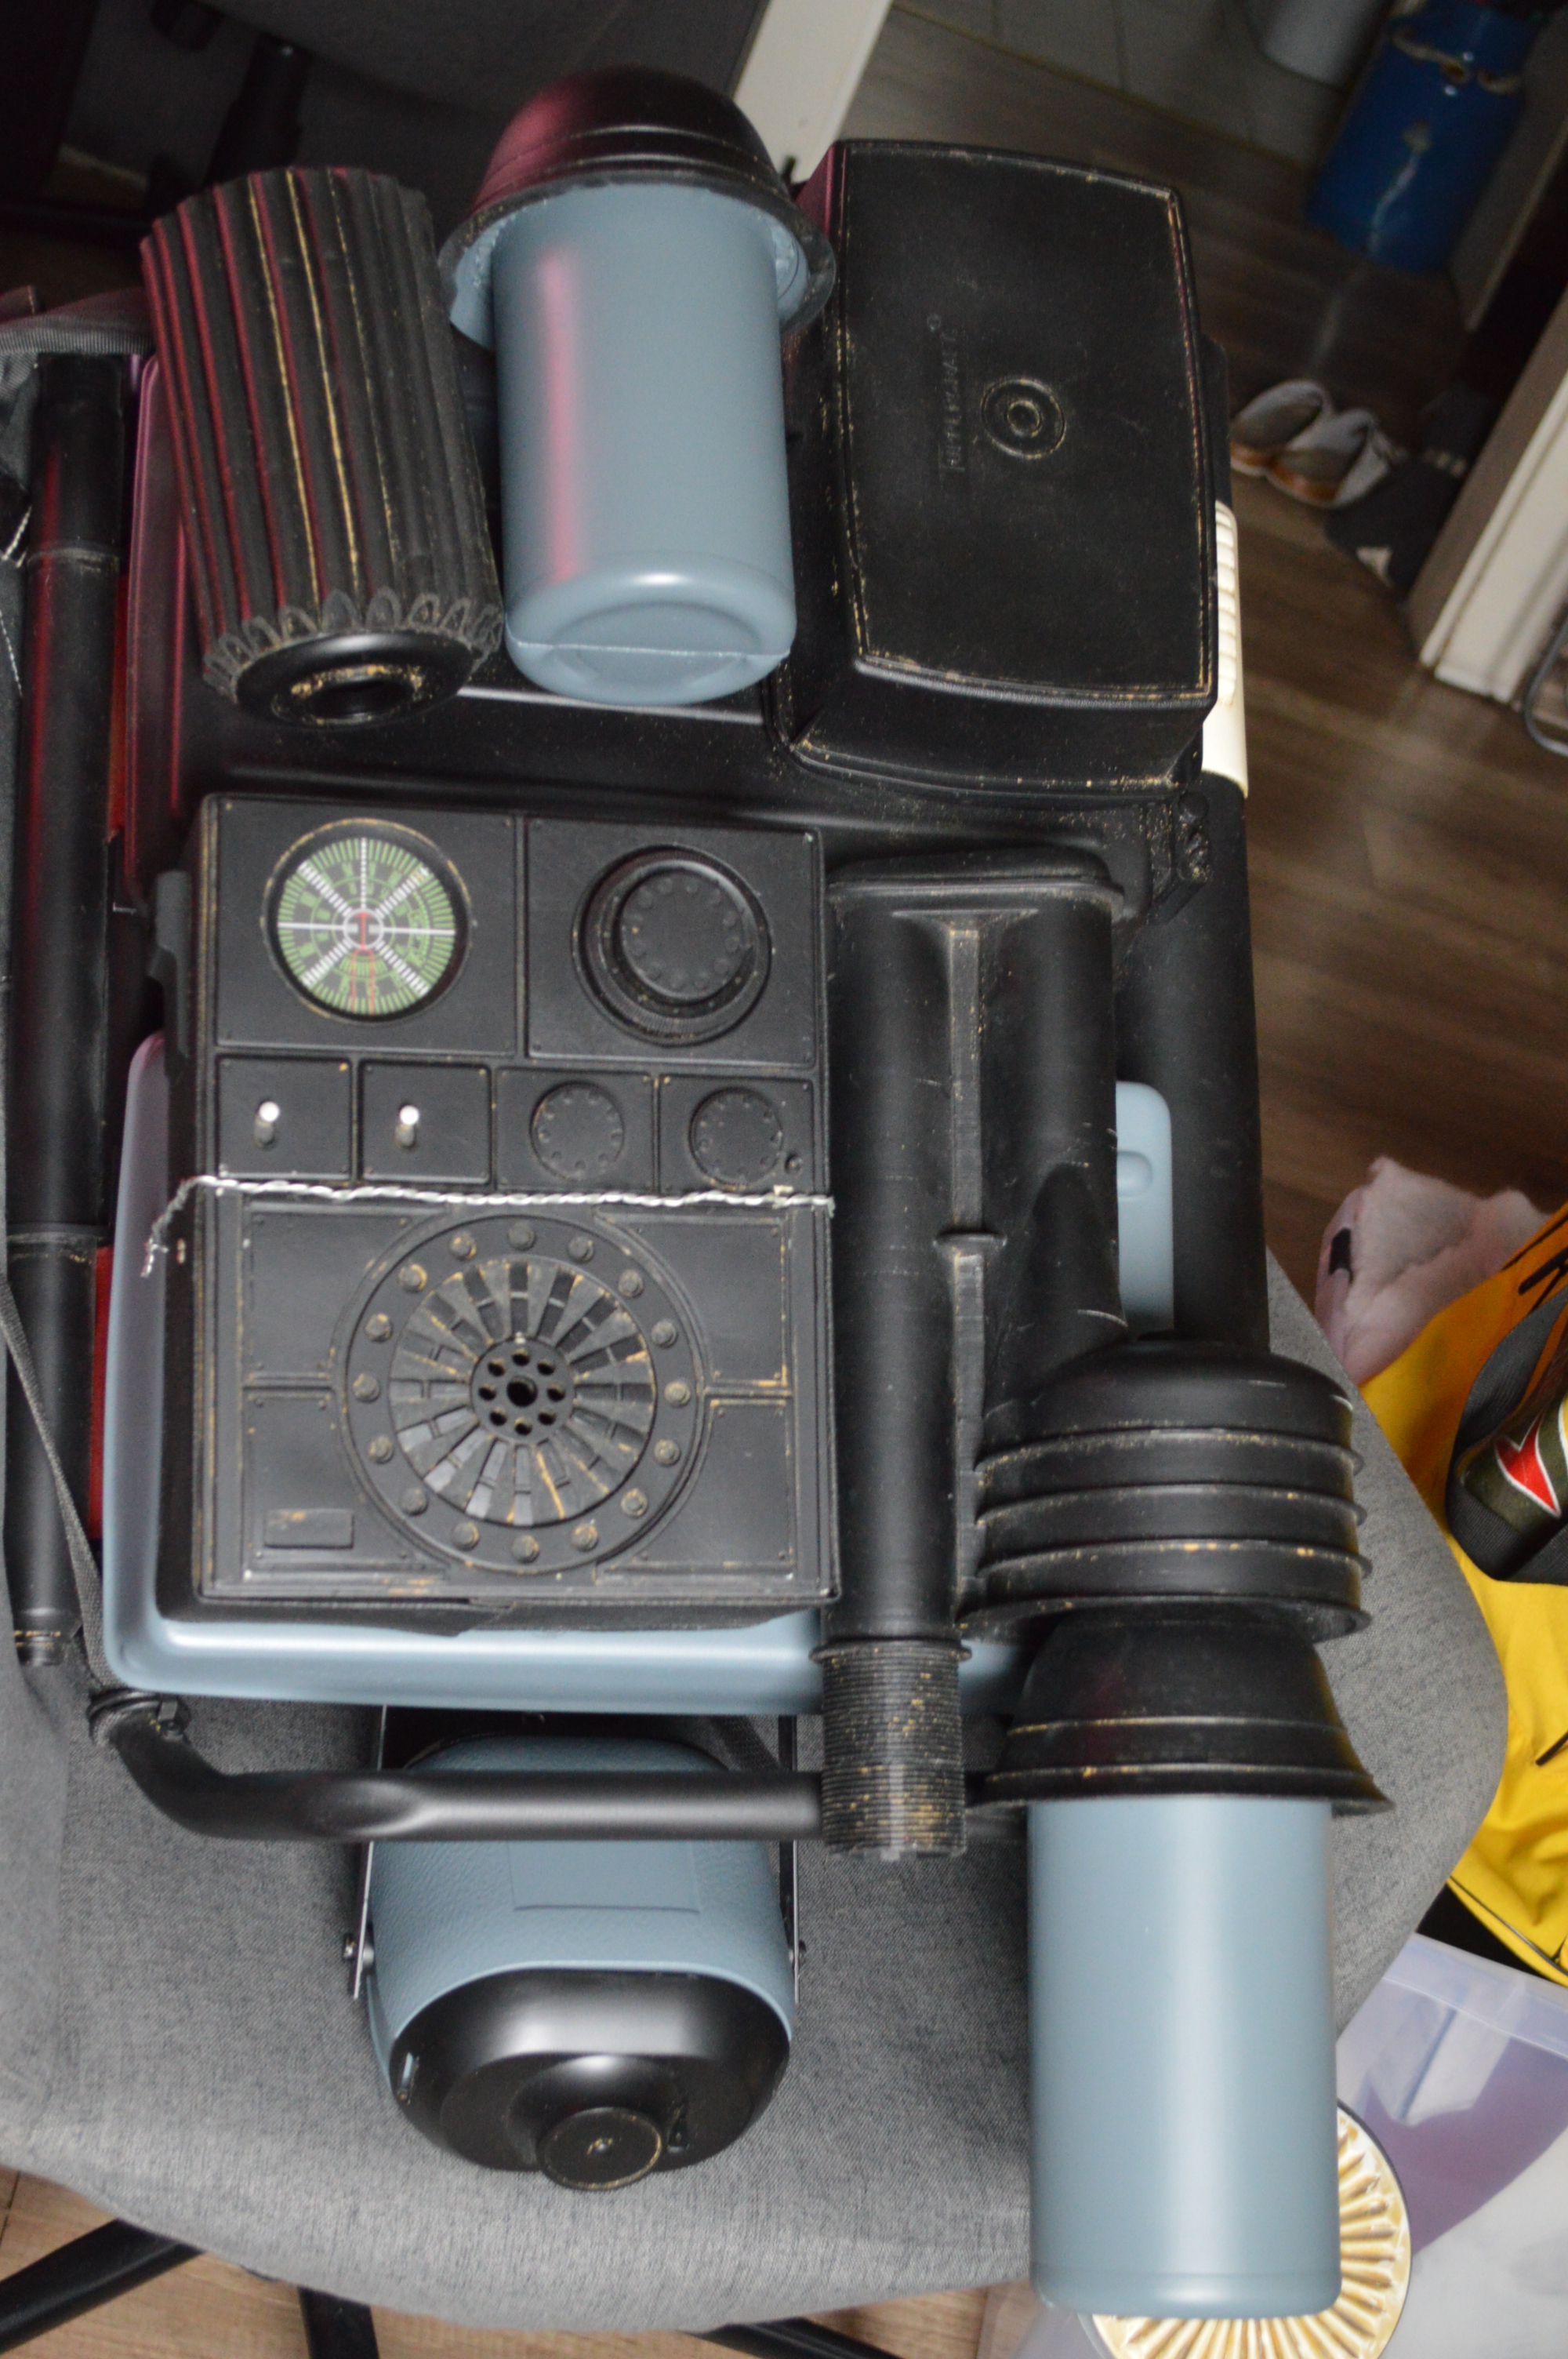
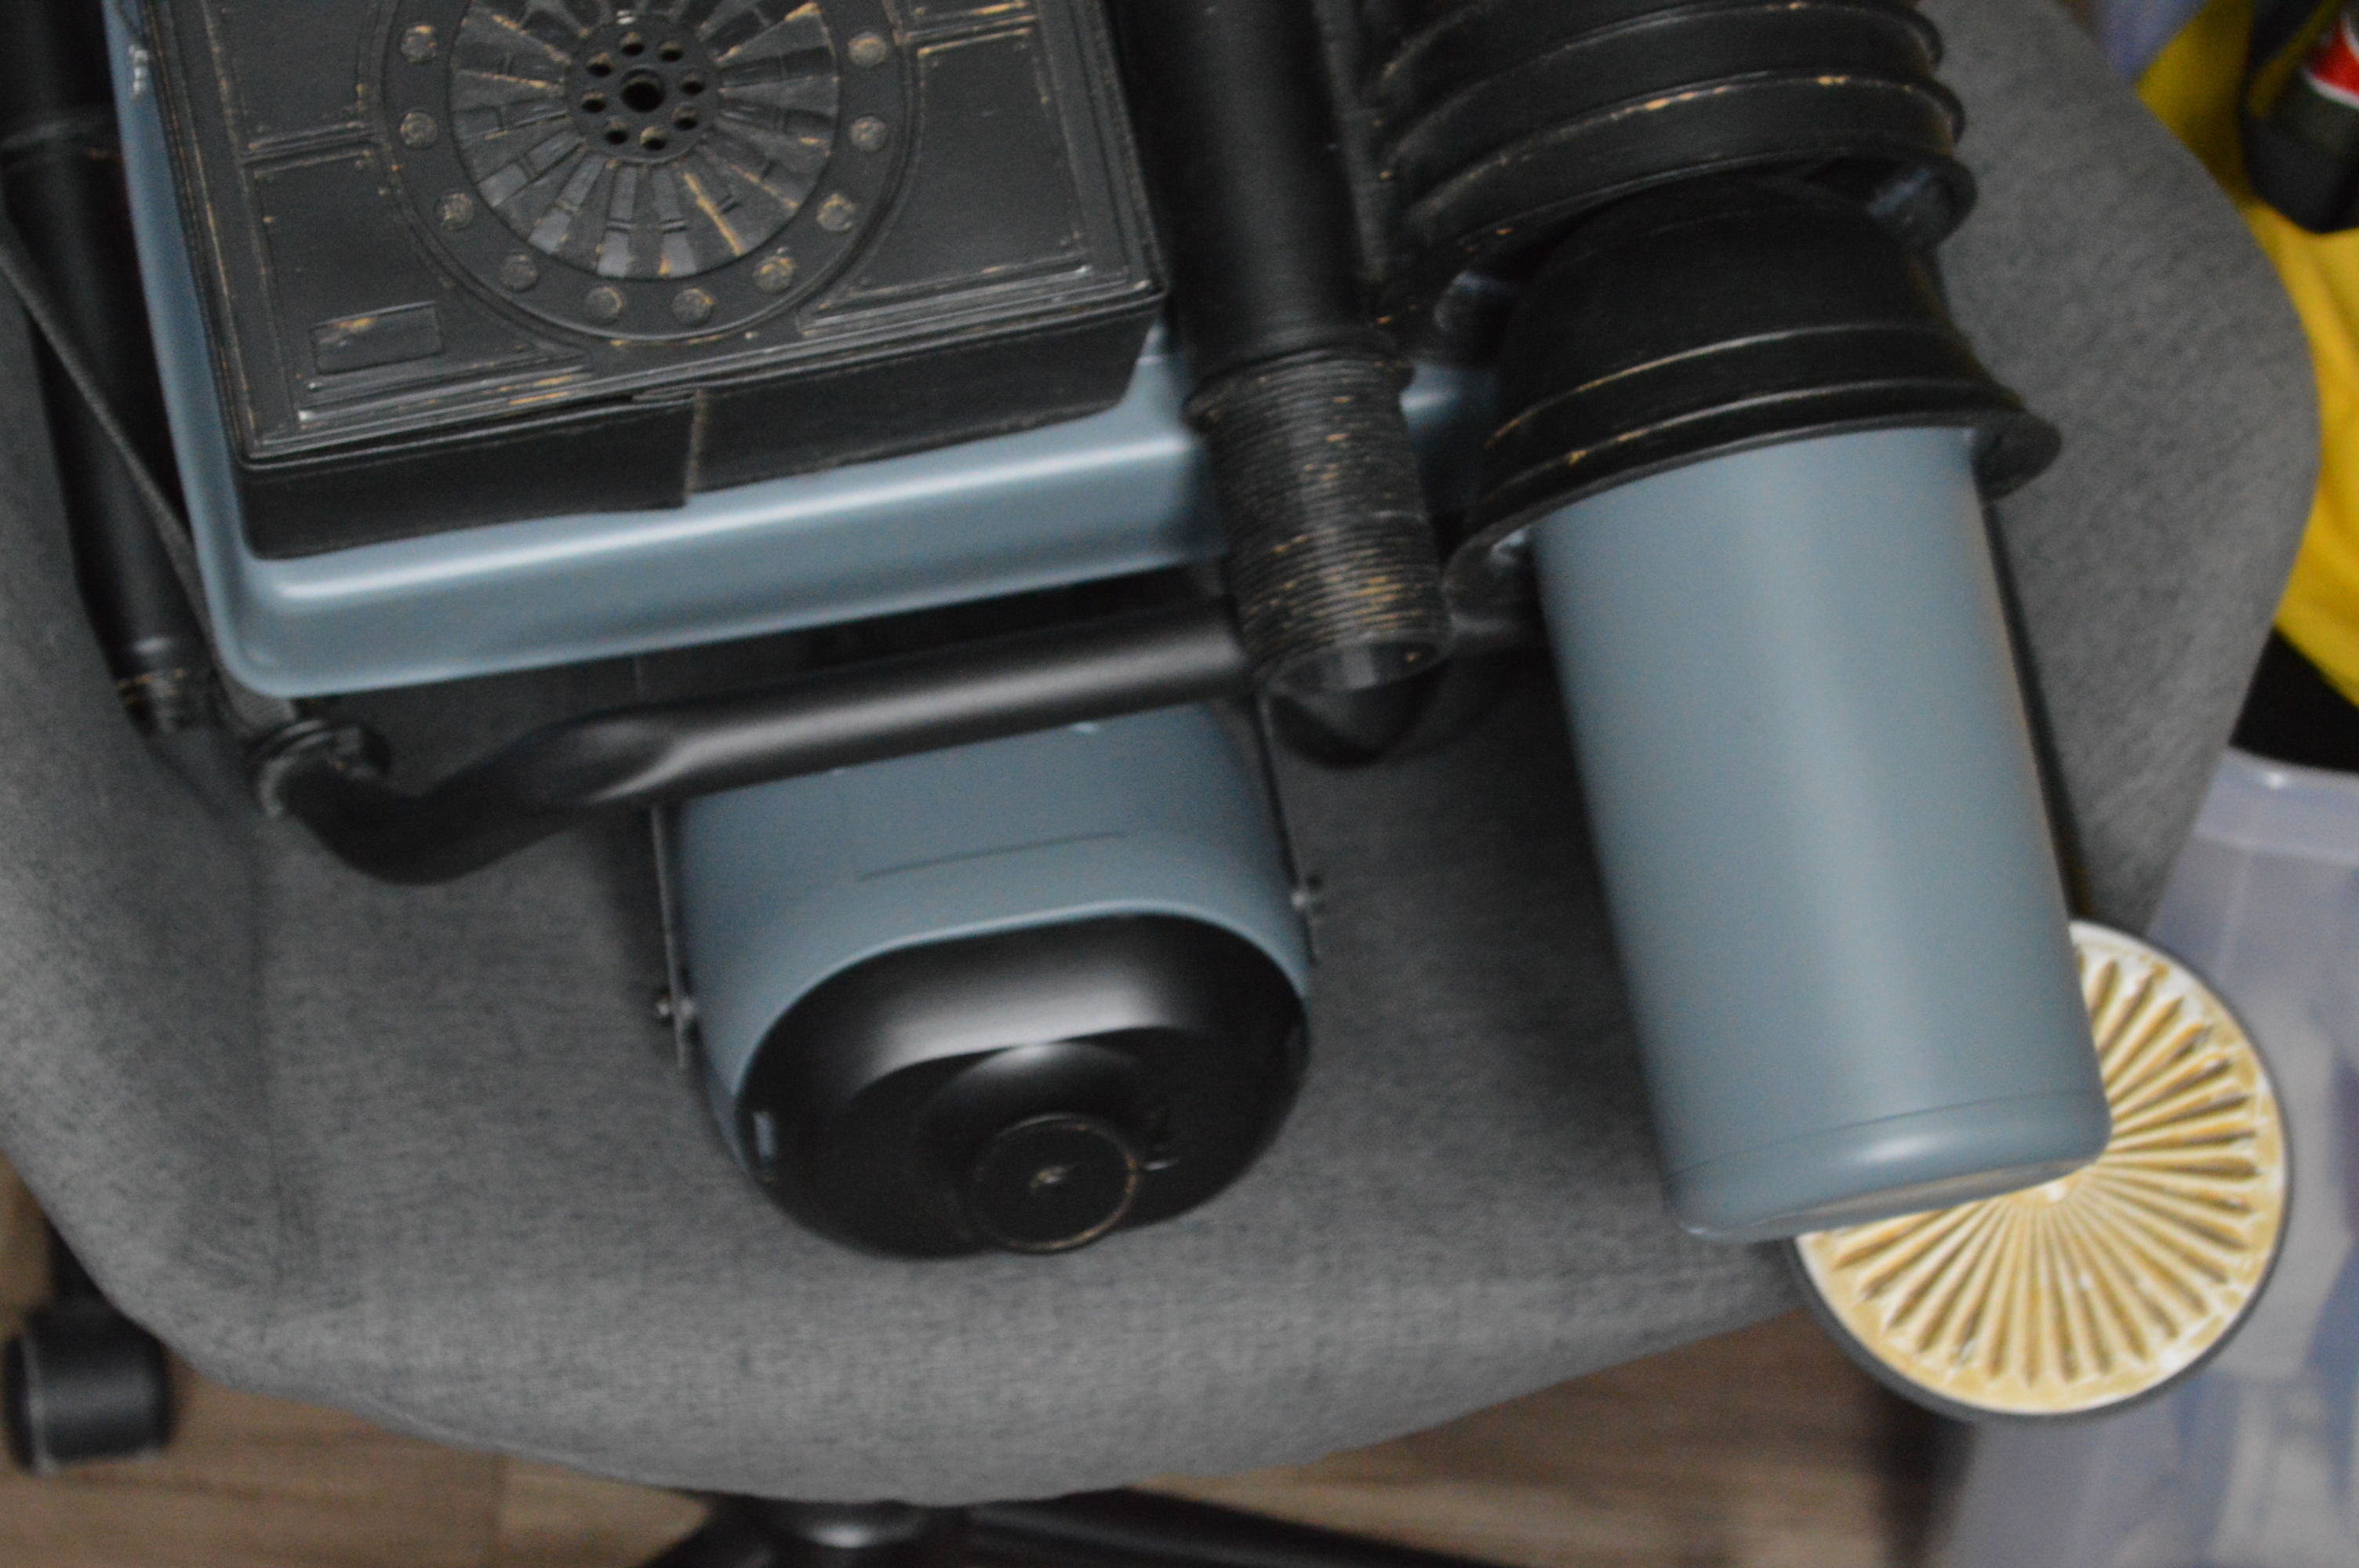
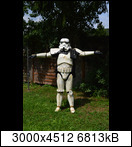
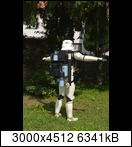
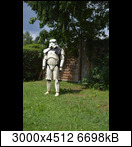
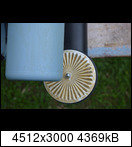
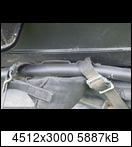
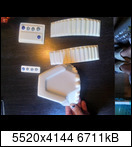
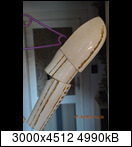
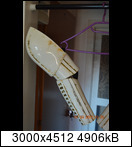
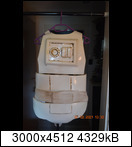
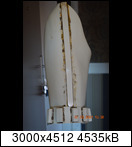
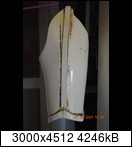
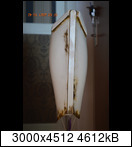
Since I forgot to take any photos of the creation of my pack # 5, I leave out the WIP. The radio is from Angryape, Seedtrays from RWA and the detail on the right is from Thomas. Big thanks to the three! In the case of the radio, the missing details such as the antenna and the "locks" at the bottom are added later. The basic structure was an original Karrimor totem frame that I found by chance on Facebook some time ago. So enough of the words! Follow pictures.
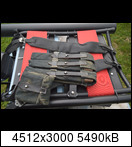
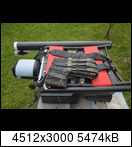
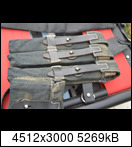
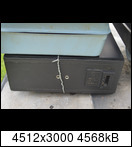
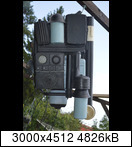
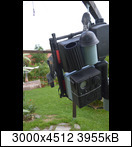
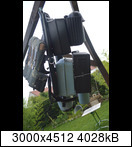
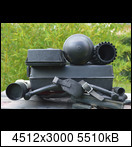
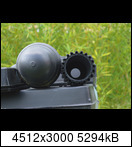

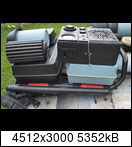

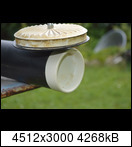
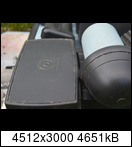
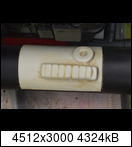
Criticism and suggestions for improvement are welcome!
With kind regards
Jeaz
Sorry for my bad english.
-
Hello folks,
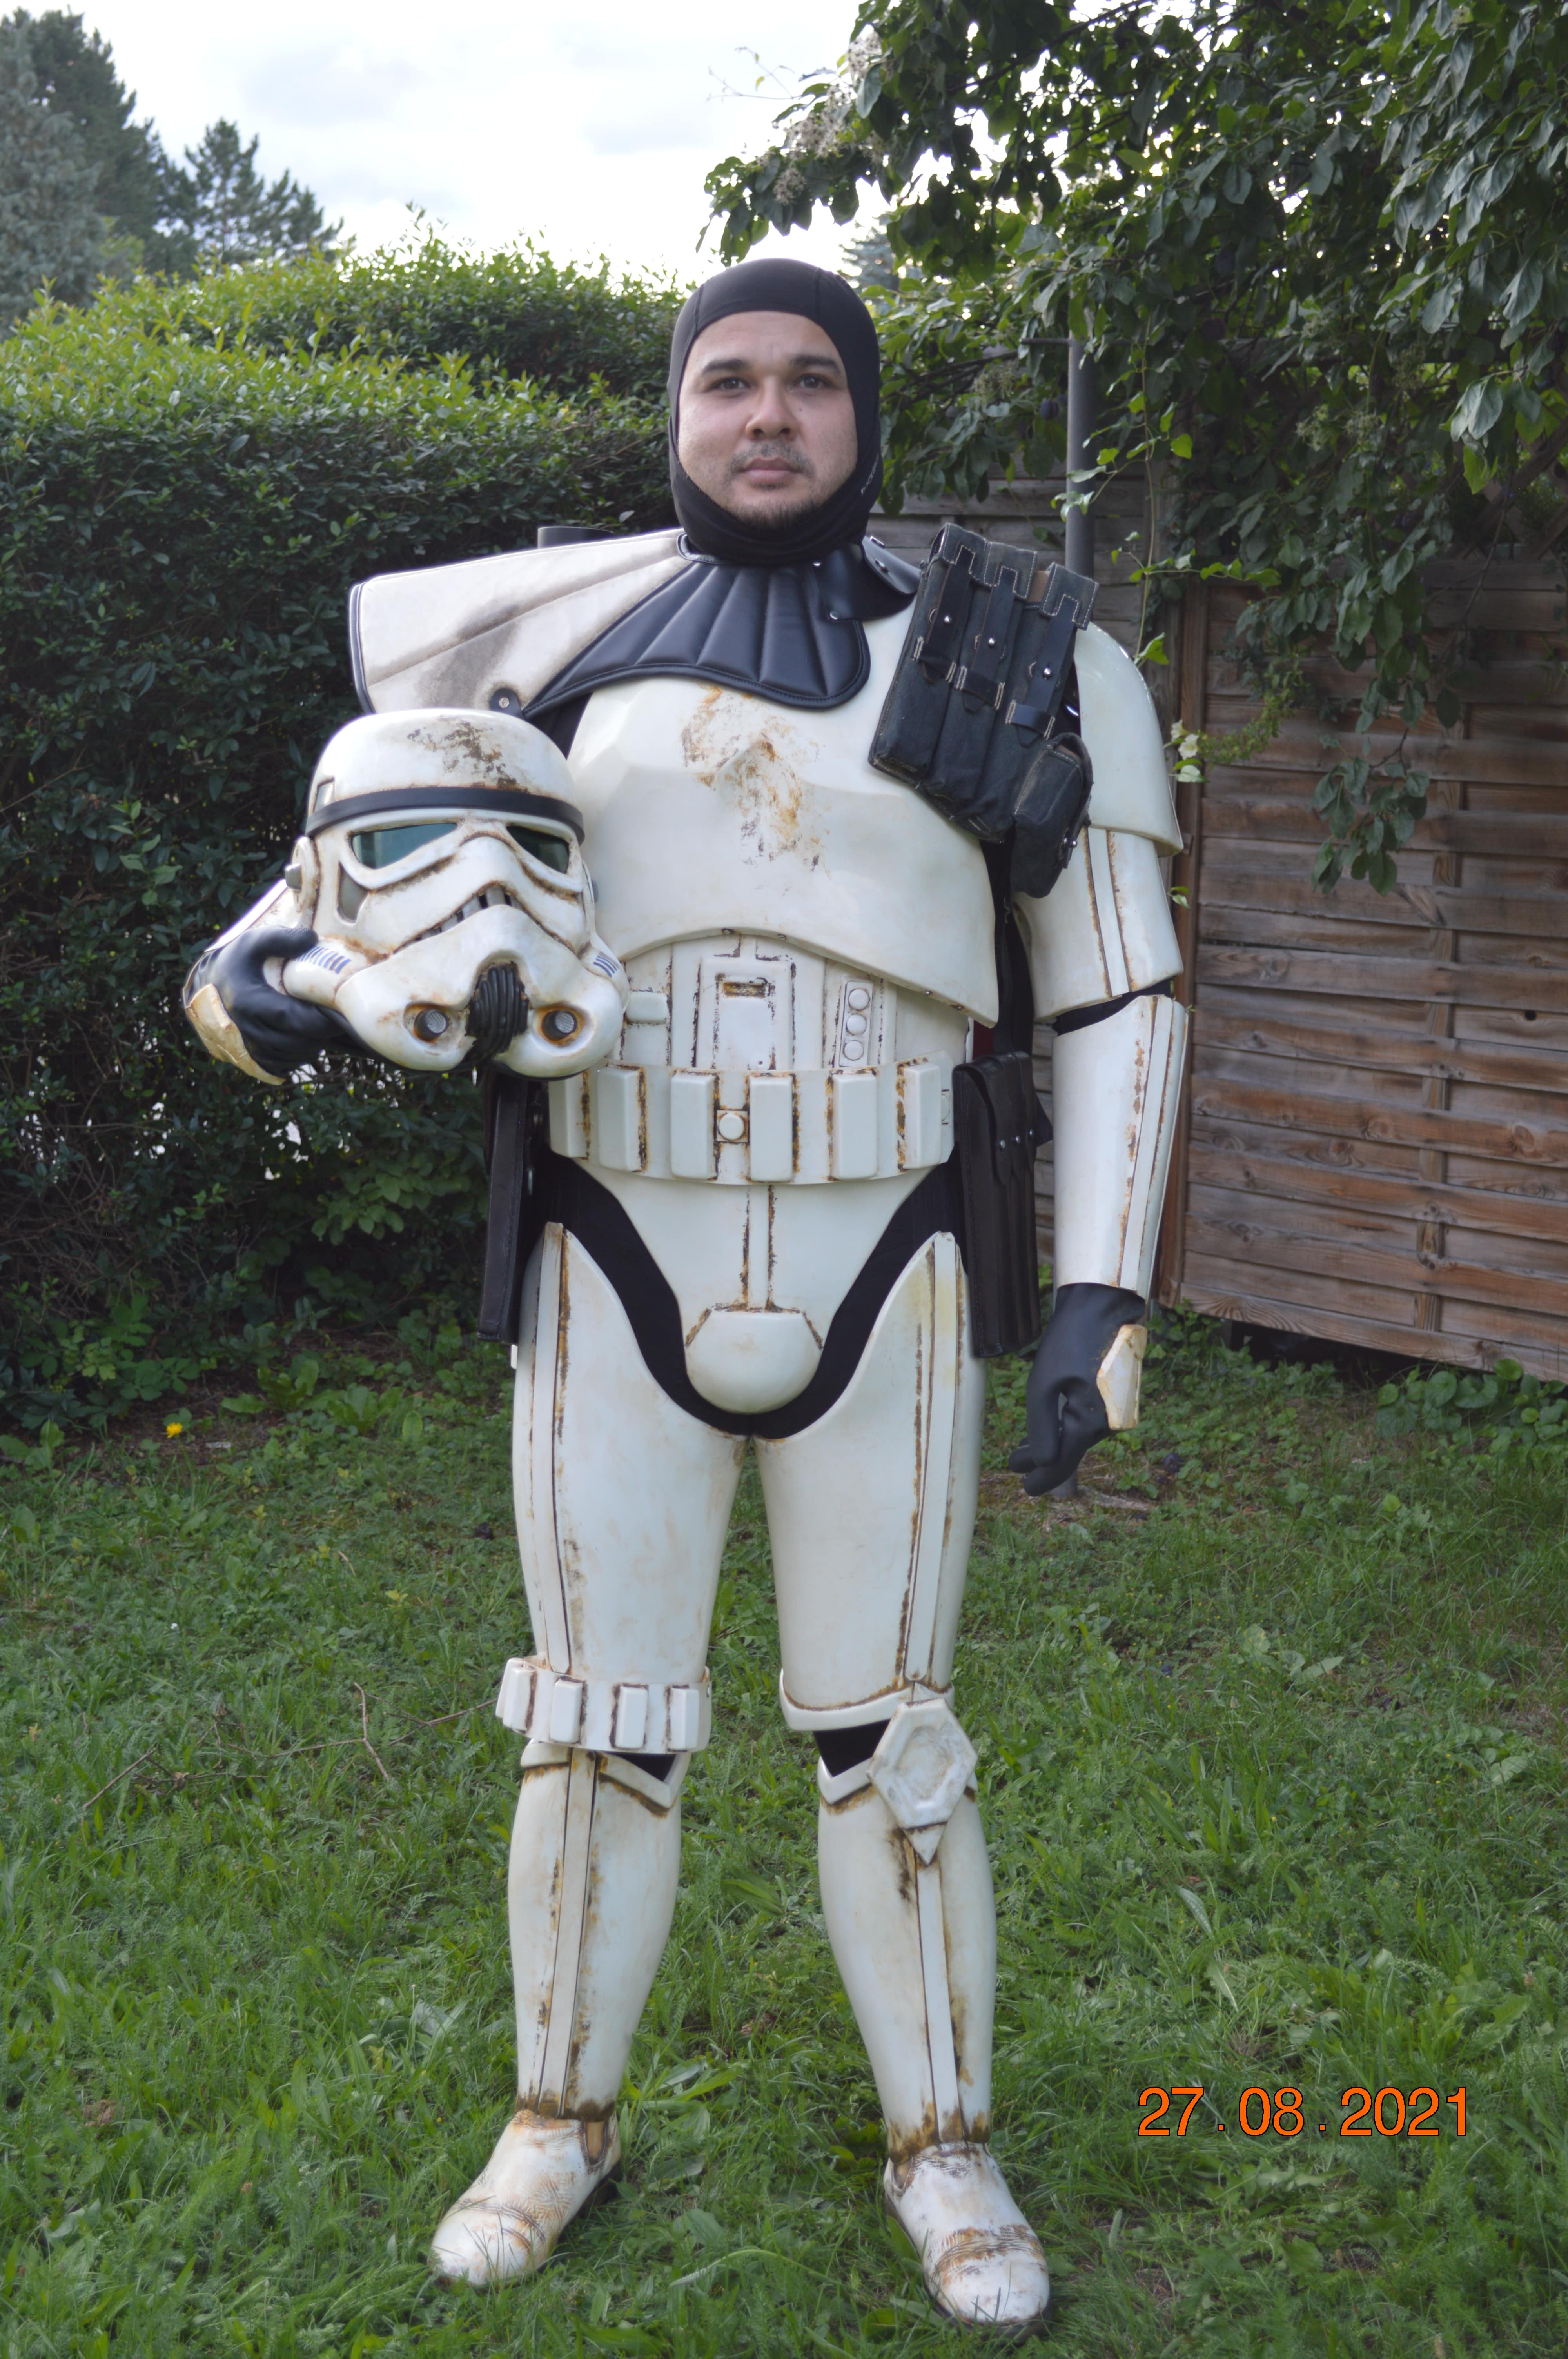
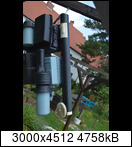
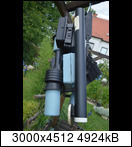
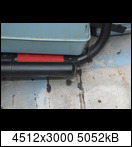
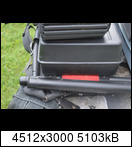
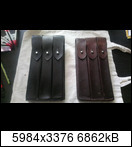
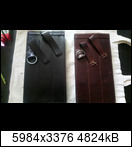
after a long time I finally have time to post my progress again. In the meantime I had not been idle and took Hausi's advice to heart and took away the shine of the armor a little. Unfortunately, the pictures didn't turn out well. I will do new this weekend. The white pauldron is from RWA as well as the sniperplate.A few weeks ago I was also lucky and was able to bid for a Stolla MP40 and a Lepuschitz magazine pouch that are the same as the Stolla. Unfortunately, one of them was brown. This was colored in several layers with black shoe polish. Unfortunately I don't have this process in pictures ... But hope you can see a bit in the photos above. Detailed pictures in better quality will follow.
With kind regards Jeaz
-
1
-
-
Thanks for the welcome and for the positive feedback Hausi. Will order the color the days. I already got a lot for my pack in this week. A Wip will follow shorty.
-
Hello my name is Willi, after 5 years being TK, it's now time for me to transform my slowly yellowing TK into a beautiful TD. First i removed all the parts that make up a TK.
shoulderstraps, kneeplate etc.

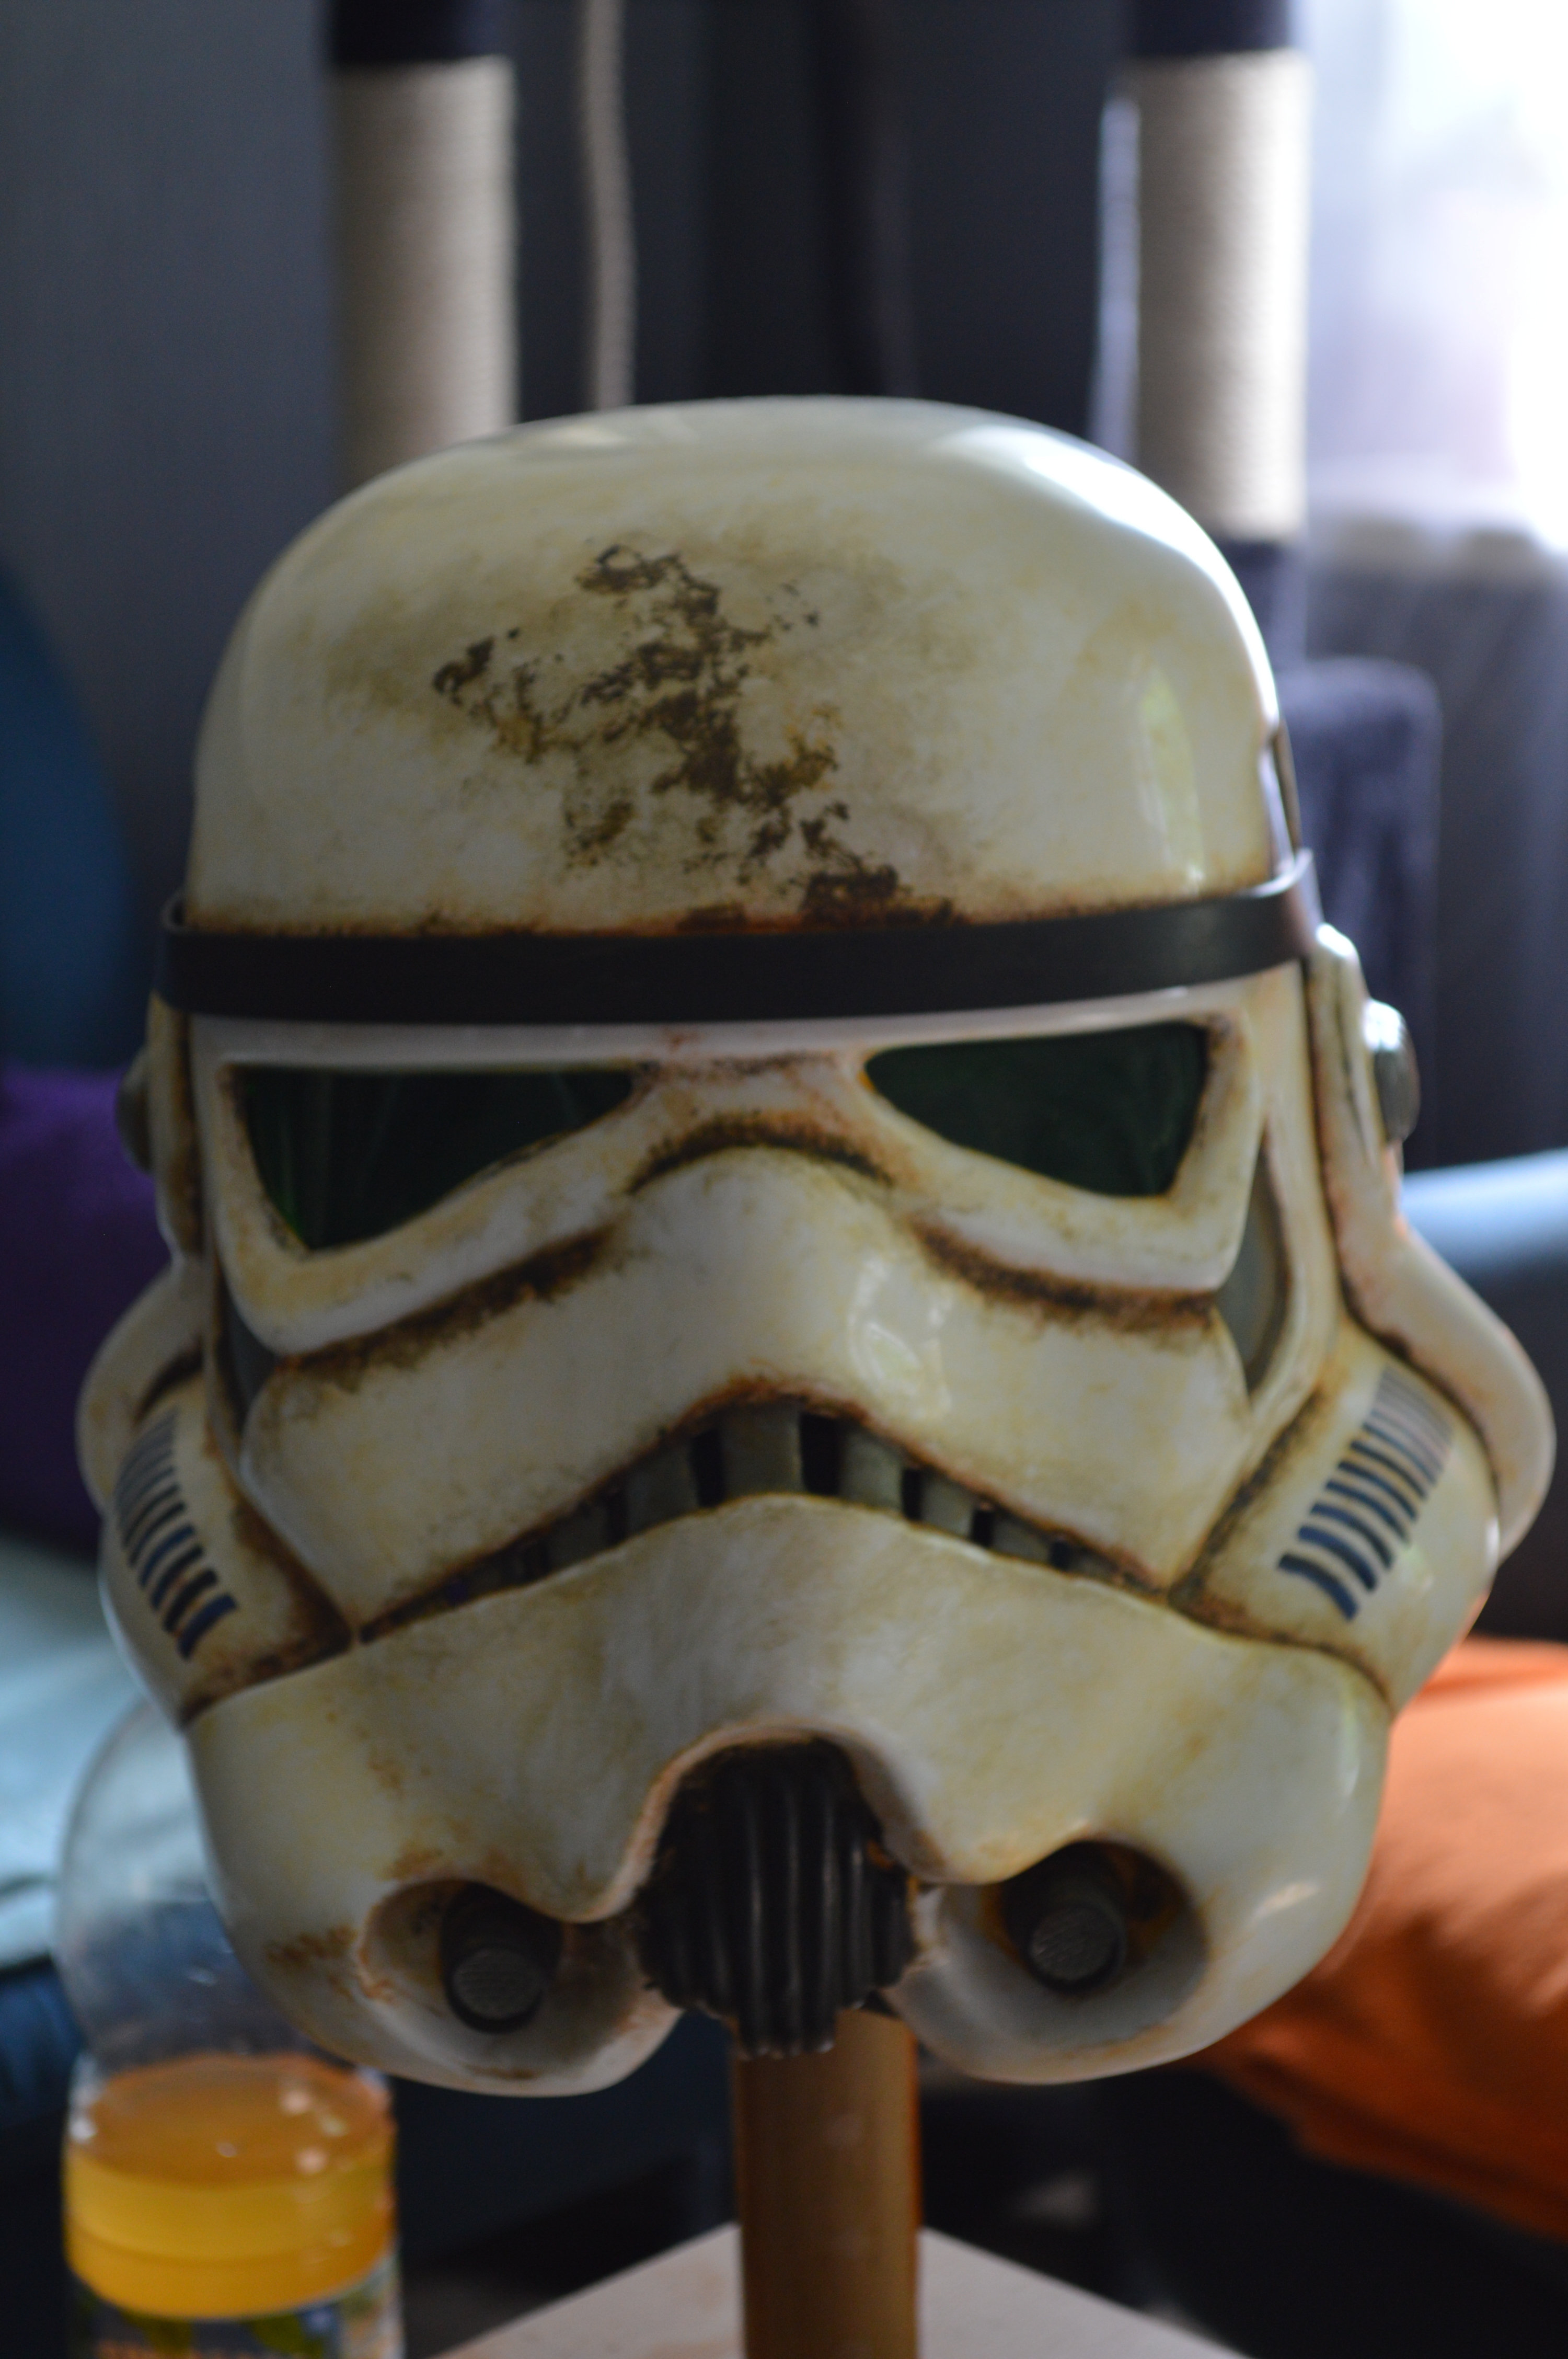
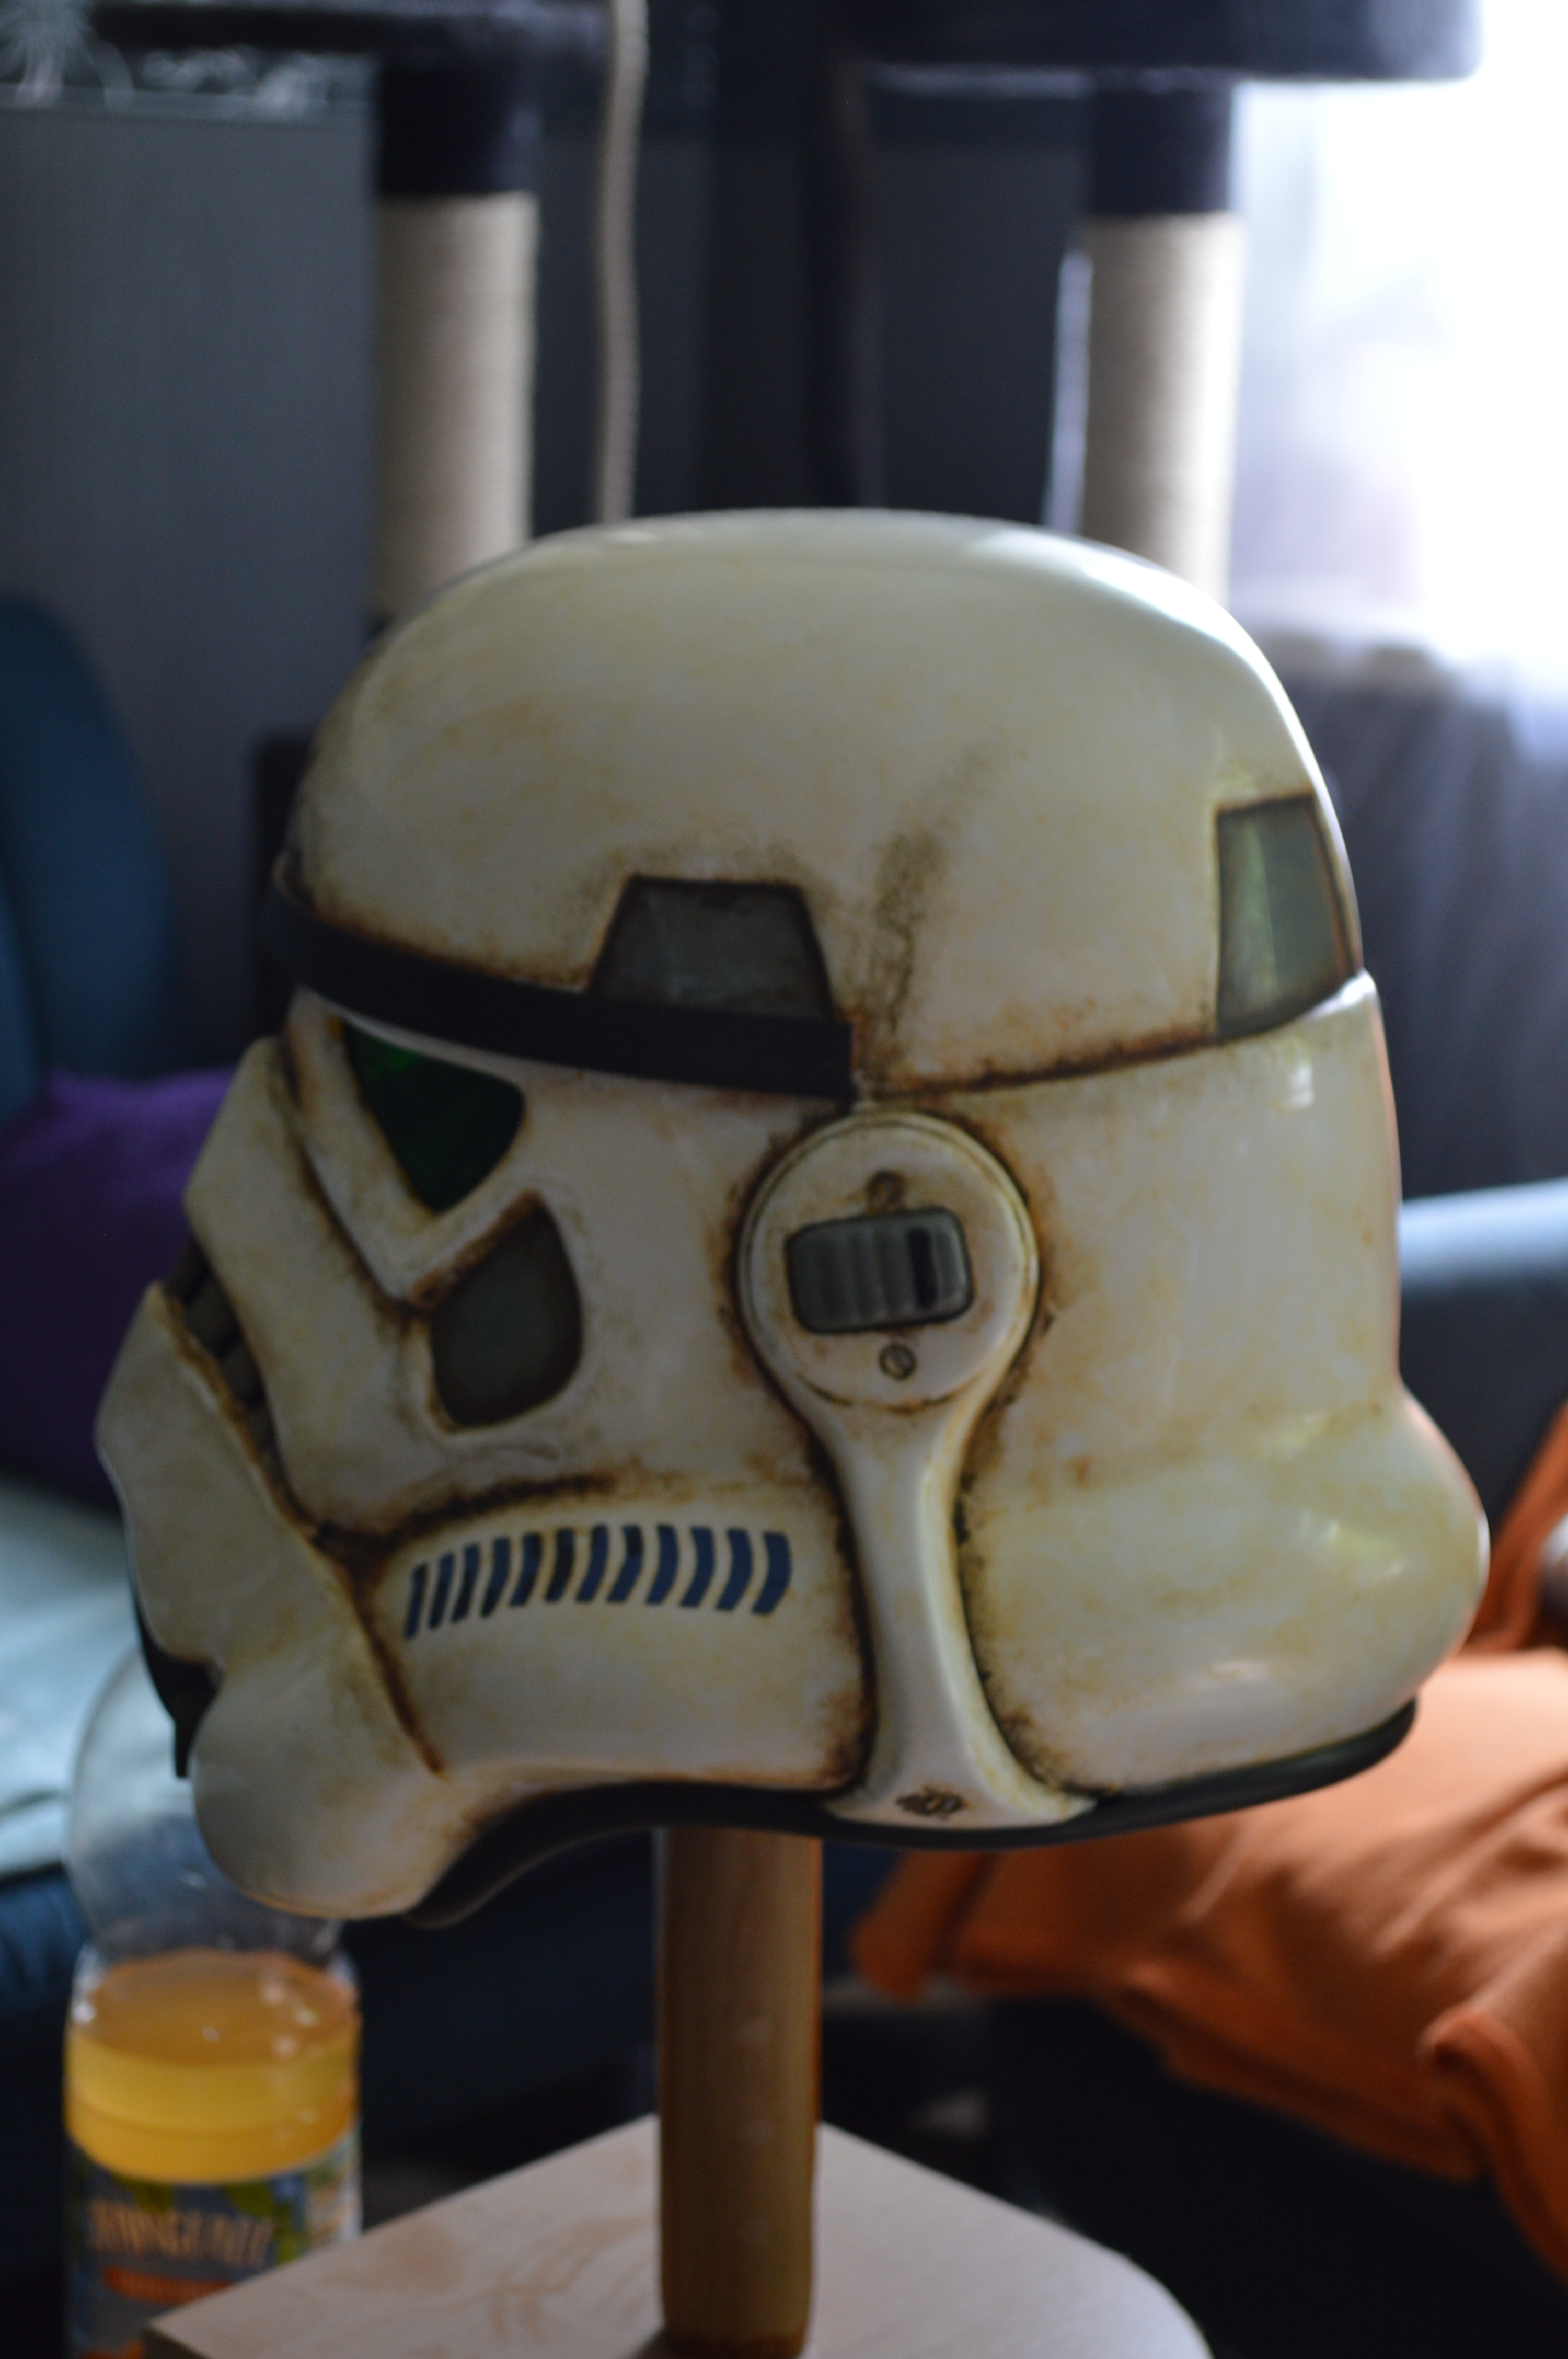
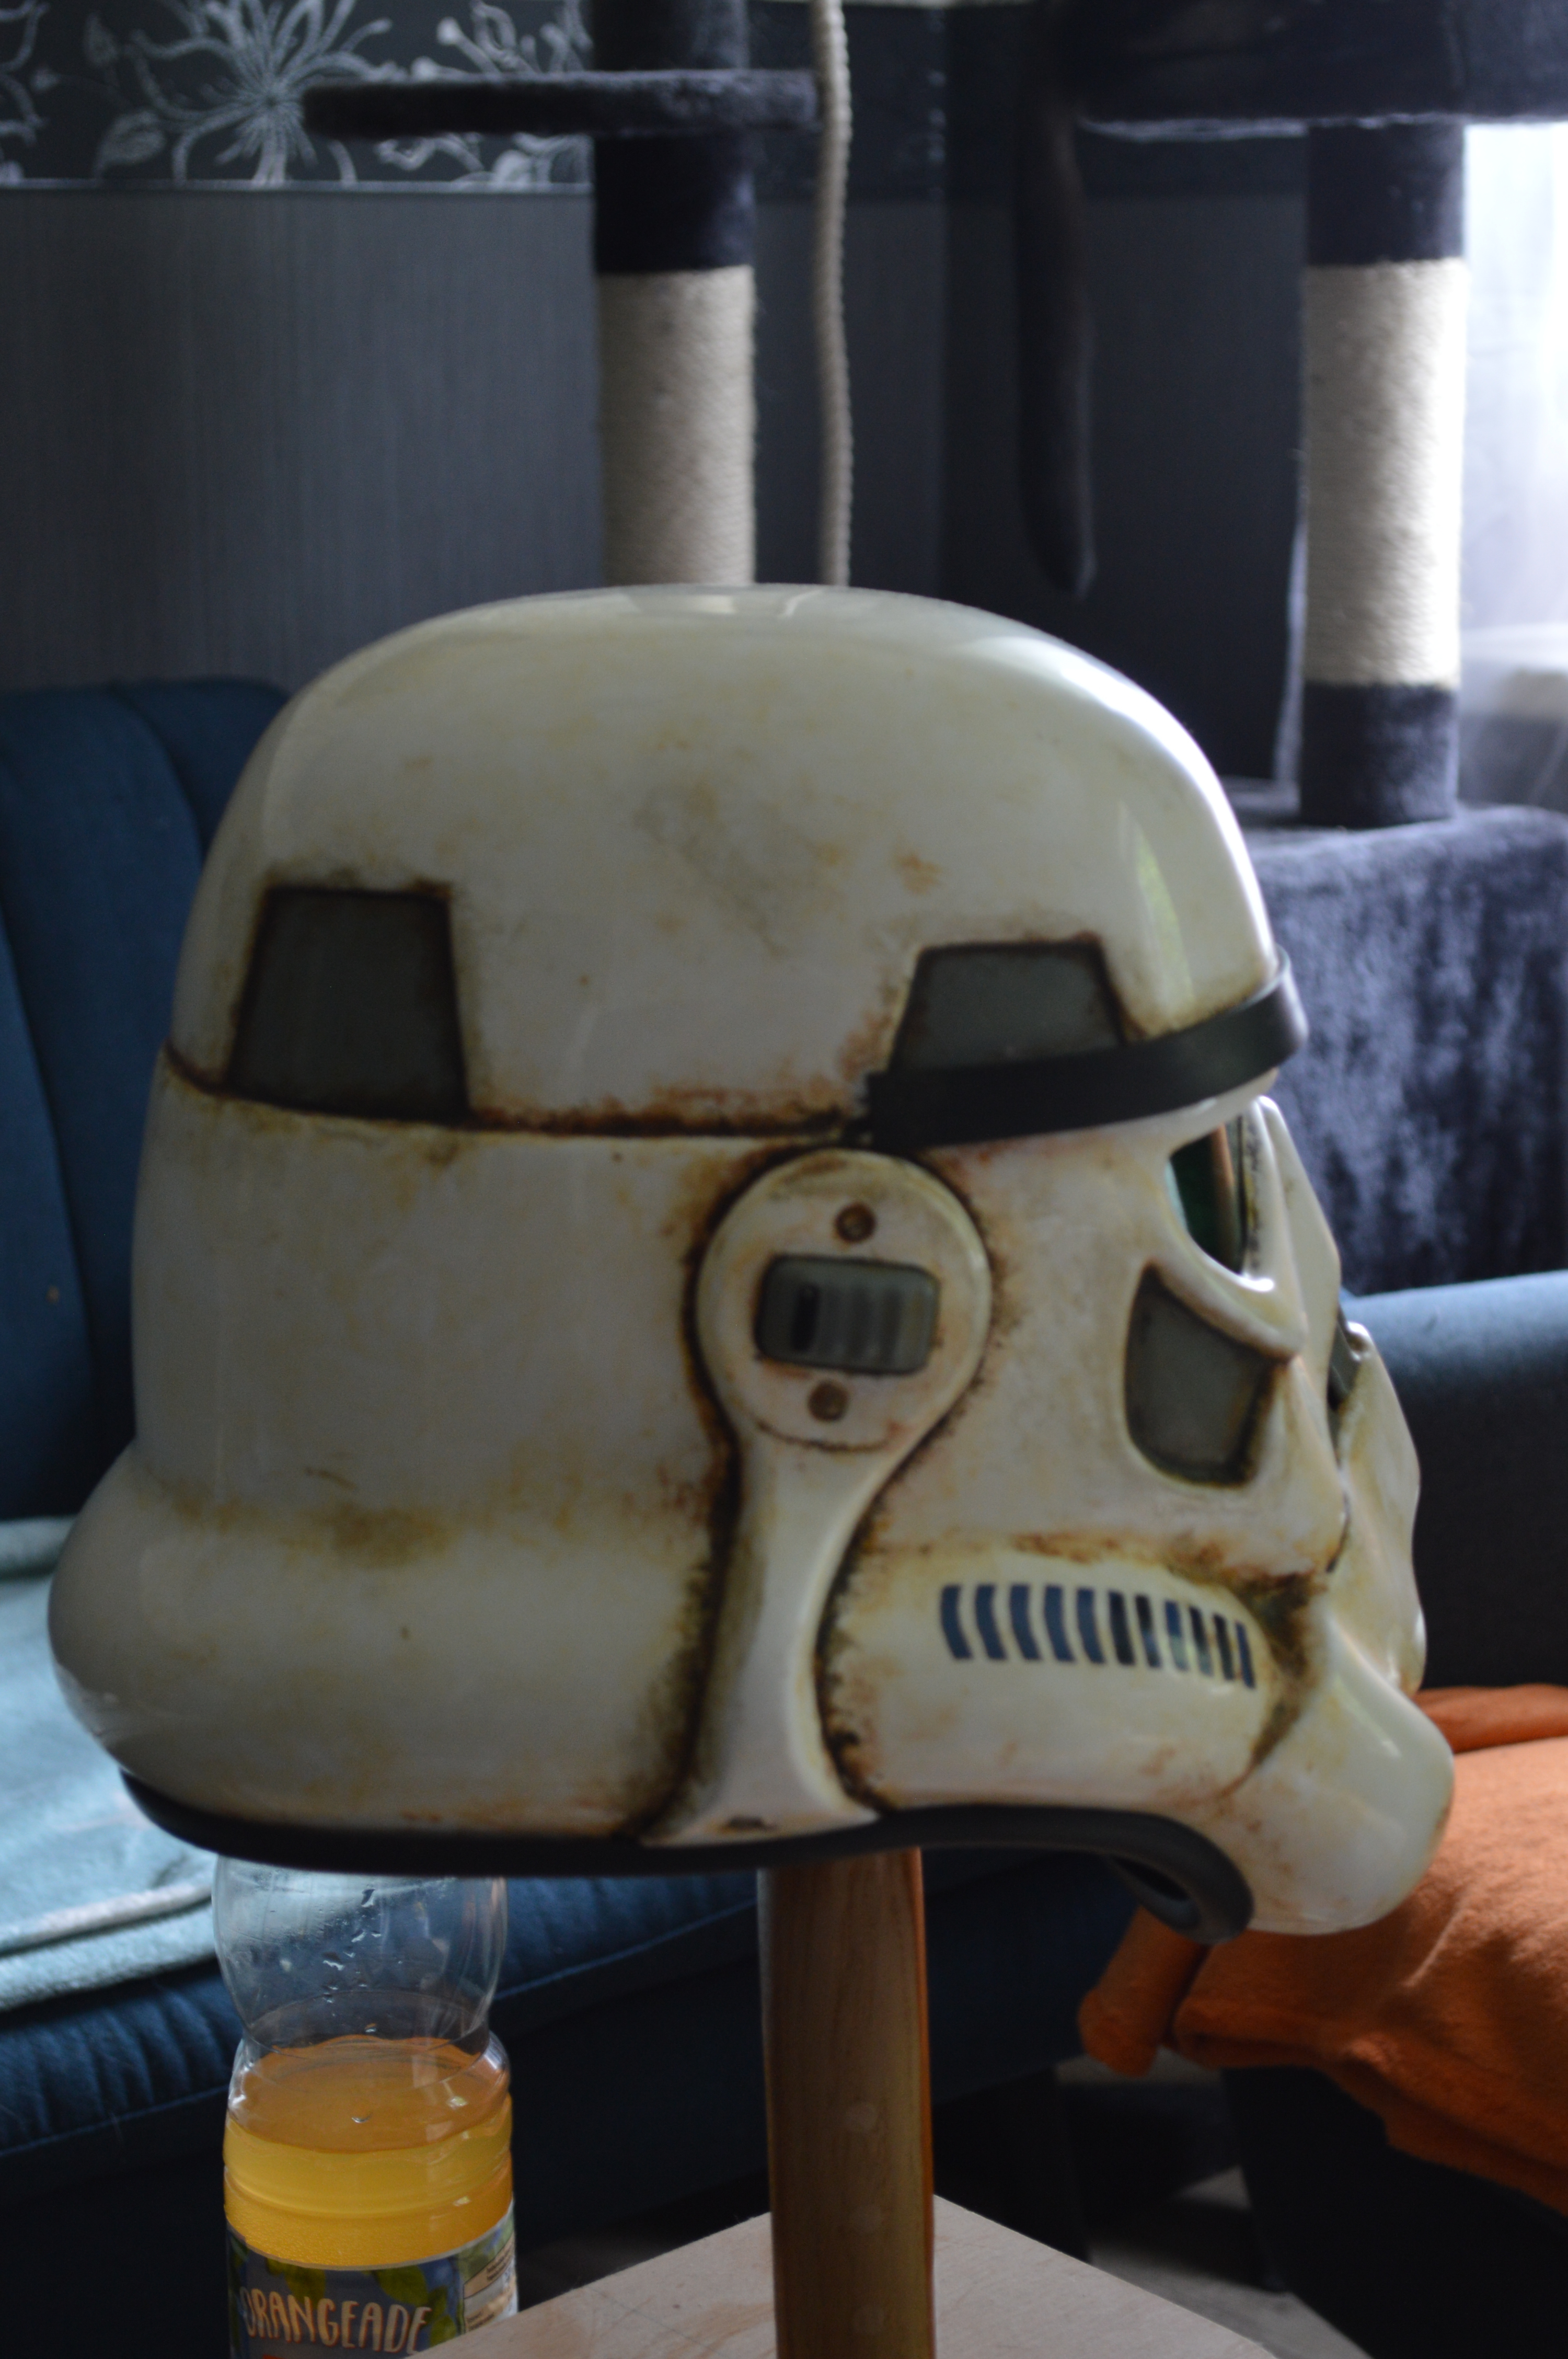
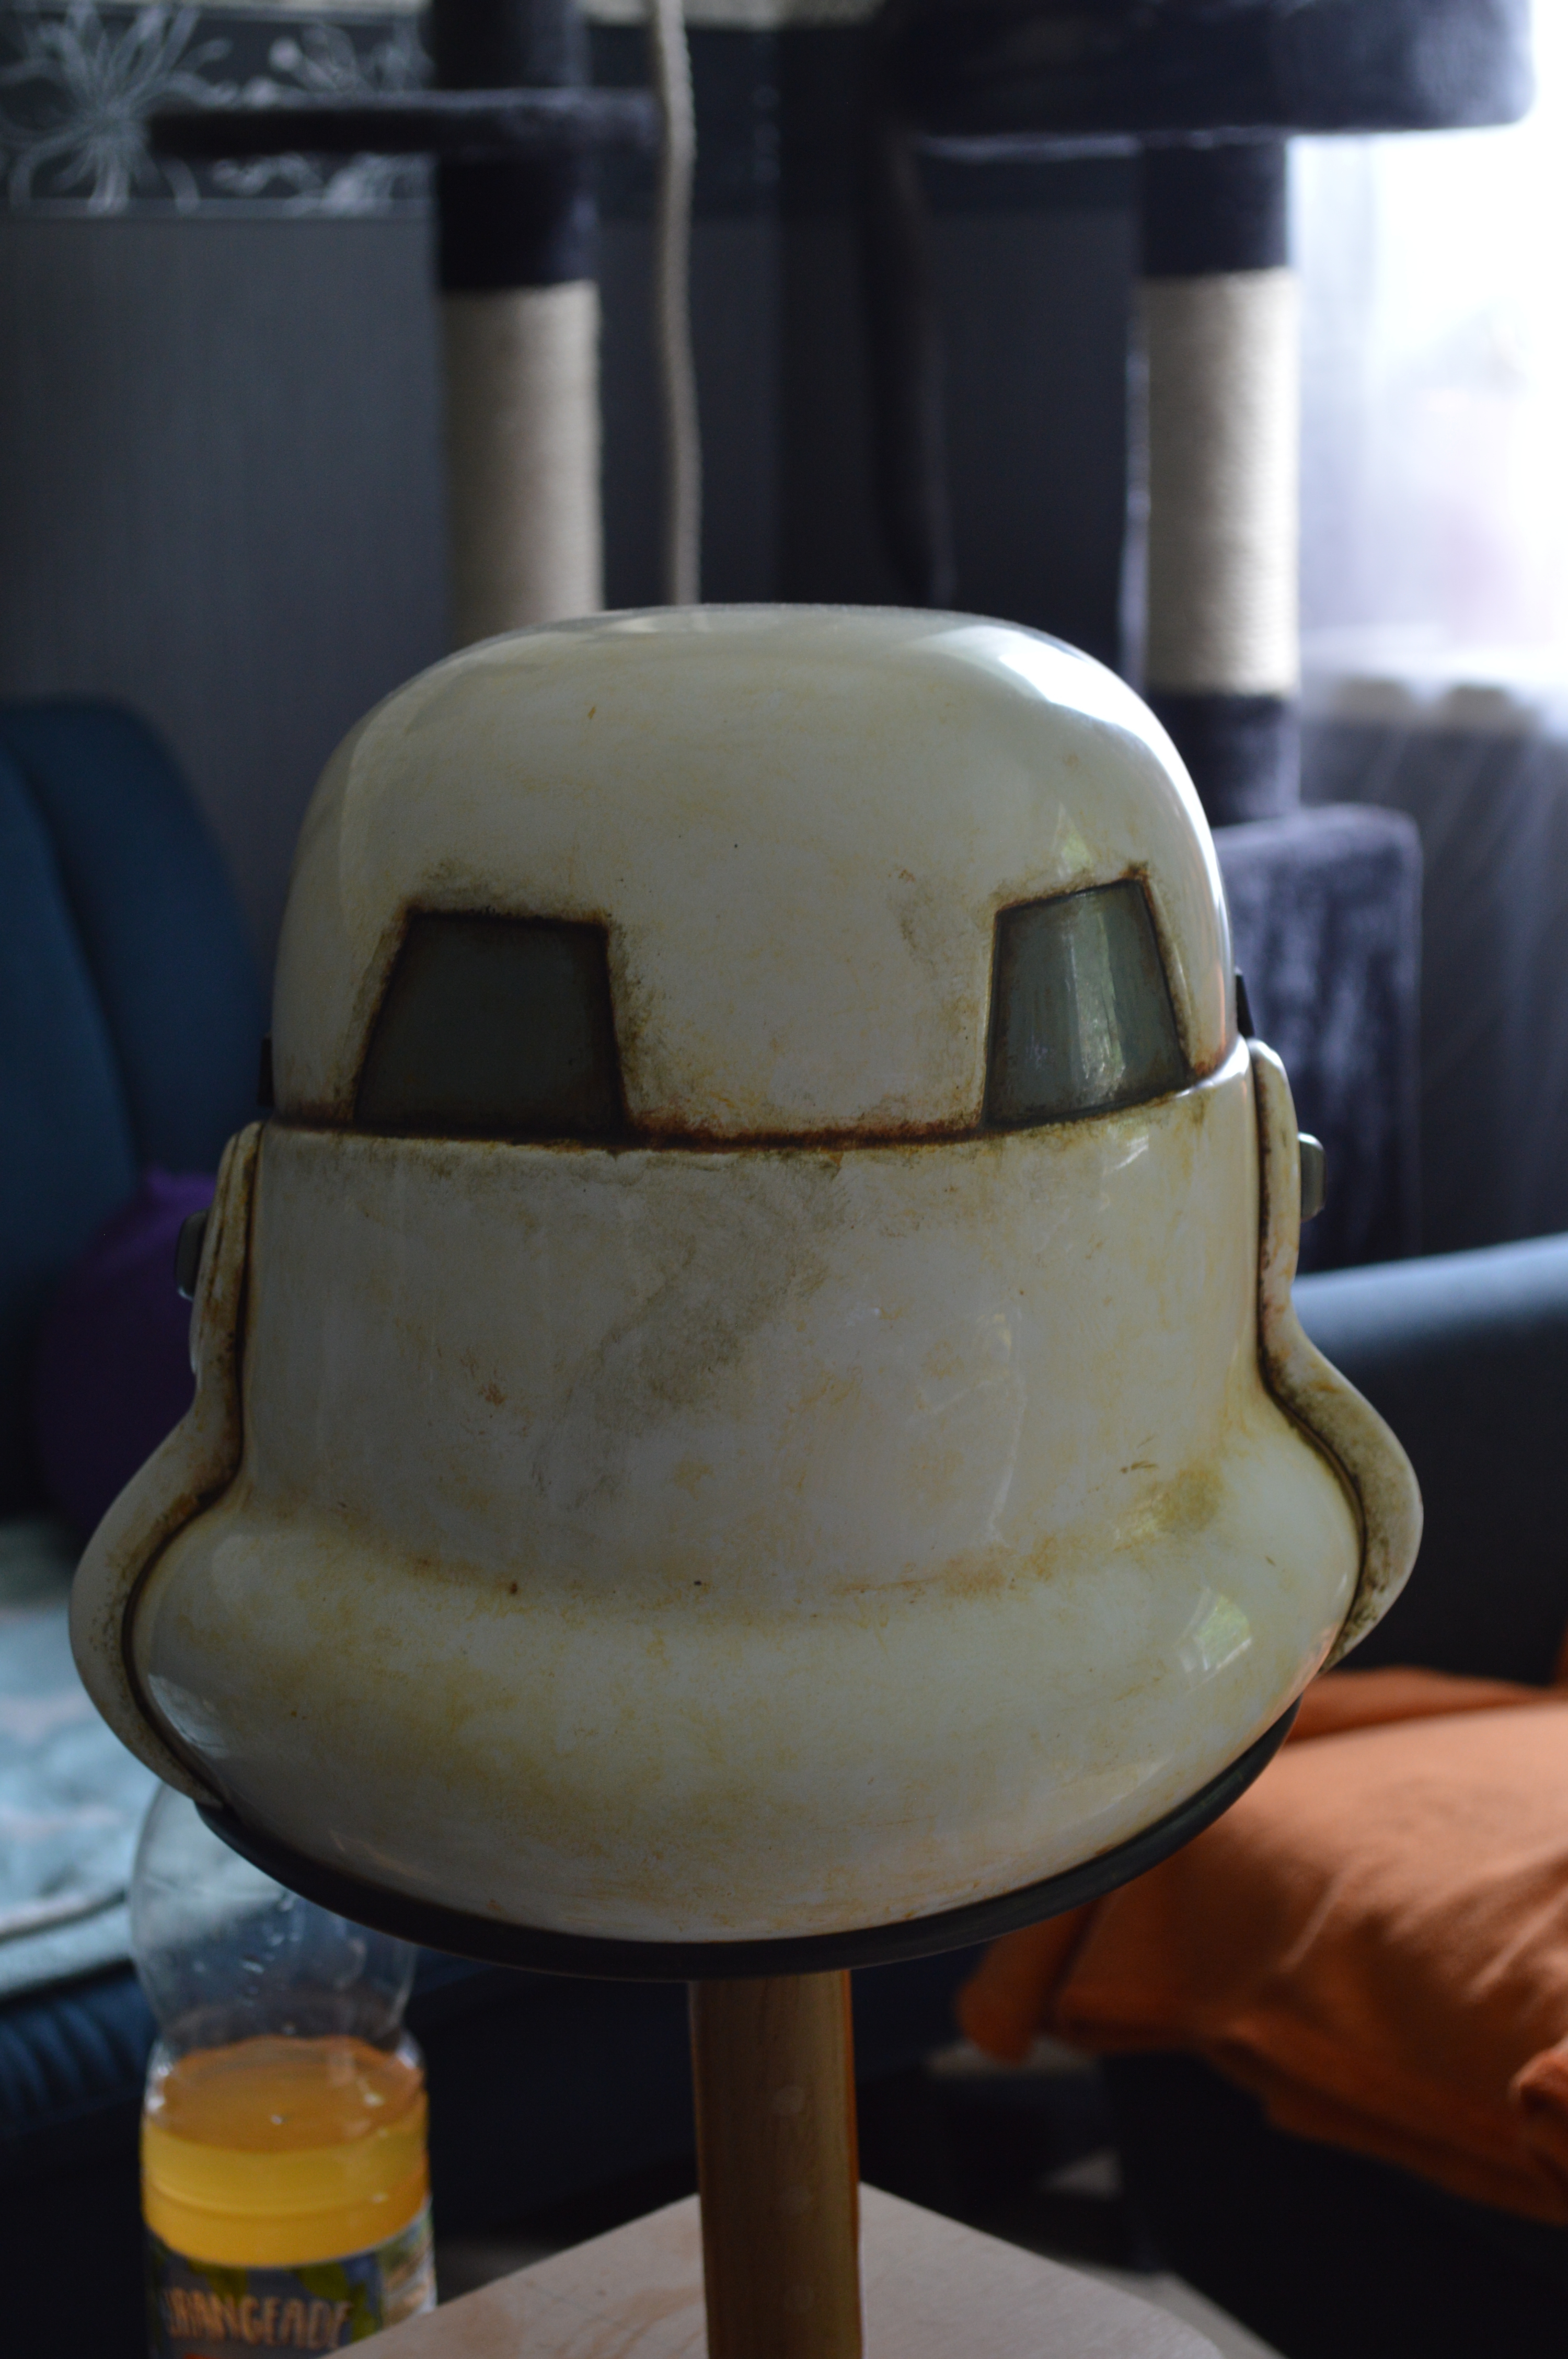
When I finished that, I also started removing the characteristics of a TK from the helmet and started the oily sandy weathering at the same time. I use burnt umber, yellow ochre and black acrylics.

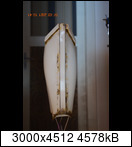
Torso front and arms.

OII
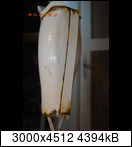
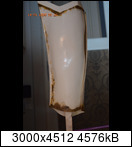
Thigh left and right
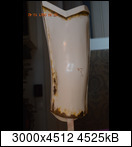
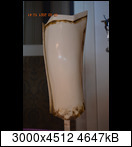
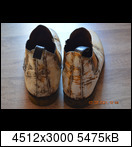
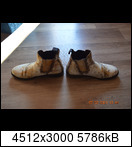
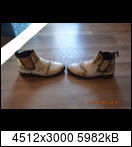
Lower legs and boots
I know what you're thinking: where is the sniperplate? Since the photo's are a bit older, this is already mounted and will of course be submitted later.
")


That's all for today folks. Criticism and suggestions for improvement are very welcome

-
2
-
-
requesting acces.
Willi Bütow
TK22282
https://www.501st.com/members/displaymemberdetails.php?userID=23248


Request 501st or Sandtrooper Section Access
in The Barracks
Posted
Requesting sandtrooper section access please
Willi Bütow
TK22282
https://www.501st.com/members/displaymemberdetails.php?userID=23248