


Hausi
-
Posts
1,509 -
Joined
-
Last visited
-
Days Won
120
Content Type
Events
Profiles
Forums
Posts posted by Hausi
-
-
Great picture, good to see some Sandtroopers patrolling the streets.

That kilt-wearing clone is kinda cool too!
-
Hey Sebastian, welcome to the sandpit.

-
The name's Urs.
")
You take a little bit of water and some drops of the vallejo paint, the mixture depend on how dirty you want it.
For really dirty spots, I use a quite thick mixture of black and water first and apply it with a brush, I then use a paper towel to dabb some of it off again to achieve a natural look. I do the same with the earth colour. Especially for some of the crevices you want a little more colour and less water.
After the heavy-weathering spots have dried overnight, I use a mixture of less colour with more water and dabb most of it off again after having applied it with a paintbrush again. You just repeat this process until you have reached the right level of sand dirt and grime. It may take some practise but the cool thing is, with a wet paper towel, you take it all off again if you don't like it.
If you are finally happy with your weathering, you can seal it with clear coat. Bigwam always does this but I have never done it as I find the weathering to be quite durable enough.
Keep in mind that it will be much harder to change your weathering as soon as the clear coat has been applied.
-
 1
1
-
-
Yeah! I like that helmet, good job mate! High brow ftw.

-
 1
1
-
-
I only use a bottle of regular black acrylic paint watered down and vallejo game color earth, also mixed with water (the same as bigwam has mentioned above). That's it.
-
1
-
-
Hey Peter, that's great! Welcome!
-
1
-
-
Great pictures Peter and kudos for wearing your pack all the time!
Sounds like you've had an interesting experience to say the least.

-
1
-
-
You will find the images on the first page of this thread.
-
I think this thing looks similar but still has a different shape than the exhaustport used on the original pack.
-
You might want to try closing them a little further at the front, you just barely have to be able to fit your hands through the opening.
-
Nice work, very impressive what you have done with that kit.
-
Great work mate!
Those brackets for the canteen are some heavy duty stuff, nice idea to reinforce them from behind the tray's wall.
Glad that my idea was helpful for you but I guess I'm not the first one who has done it this way, just the firstone to post it.

Thanks for making such a highly detailed build thread, this is going to be helpful for future troopers.
-
1
-
-
Hi Peter,
Thank you for providing those new pictures so quickly, well done.
Off we go with the second round
Application Review: Part 2
Name: Peter Telep
Legion ID: TD-33348
Forum Name: 4Runner
Garrison: Florida Garrison / Makaze Squad
Helmet
a. Green lenses: check
b. Paint color of traps / tears: check
c. Correct number of teeth: check
d. Mic tips: check
e. Vocoder color: check
f. Tube stripes: check
g. Rank bar on ears: check
h. Brow: check
i. Side screws (ears): check
j. Weathering: check
k. no mesh behind teeth: check
*additional comments*
RESULT ON HELMETChecked & Cleared
Armor details
a. elastic straps shoulders: check
b. neck seal: check
c. black undersuit: check
d. shoulder bells: check
e. biceps: check
f. forearms: check
g. pauldron: check
h. chest / back plate: check
i. kidney / butt plate: check
j. ab plate / side rivets / cod: check
k. strapping system: check
l. thighs: check
m. shins / calves: check
n. sniper plate: check
o. boots: check
p. gloves: check
q. hand plates / guards: check
r. ammo belt (waist): check
s. ammo belt (right knee): check
t. canvas belt: check
u. pouches: check
v. weathering: check
*additional comments*
RESULT ON ARMOR
Checked & Cleared
Backpack
a. details: check
b. weathering: check
*additional comments*
RESULT ON BACKPACK
Checked & Cleared
Weapon: E-11
a. details: check
b. weathering: check
*additional comments*
Nice job on the weathering, looks great and natural.
I am sure you would also do a great job on building yourself a Bapty.
RESULT ON WEAPON
Checked & Cleared
Peter, this was your second and final review!
Your gear looks great and you are a worthy addition to the ranks of the MEPD´s finest.Be proud of yourself!
You have successfully followed the guidelines in regards to the MEPD CRL and have met all requirements.
Please send the pic you want to use to Luis (Sandman Tigui) and we'll get you squared away.
I will have your updated information uploaded into the MEPD system asap.Congratulations on becoming a Deployed Officer of the MEPD!
Cheers mate!
Hausi - MEPD Deployment Officer
-
1
-
-
-
Hi Peter,
First of all welcome to the MEPD and thank you for your interest in joining the MEPD´s finest.
Thank you for providing such a tidy application, your armor fits like a glove and suits you well, you look great and your pack is brilliant. I don´t know why – as plainly spoken, it´s actually just a frame with rubbish attached to it
- but I just love a well-built pack and yours looks great .
That´s a cool story about your mother in law helping out with that red canvas, what a nice lady!
Okay, let´s get your review going.
Application Review: Part 1
Name: Peter Telep
Legion ID: TD-33348
Forum Name: 4Runner
Garrison: Florida Garrison / Makaze Squad
Helmet
a. Green lenses: check
b. Paint color of traps / tears: check
c. Correct number of teeth: check
d. Mic tips: check
e. Vocoder color: check
f. Tube stripes: check
g. Rank bar on ears: check
h. Brow: check
i. Side screws (ears): check
j. Weathering: check
k. no mesh behind teeth: check
*additional comments*
Nice helmet, I like the weathering. Brow´s a little low for my liking but that of course is personal preference… some dirty dudes in the movie had an even lower brow.RESULT ON HELMET
Checked & Cleared
Armor details
a. elastic straps shoulders: check
b. neck seal: check
c. black undersuit: check
d. shoulder bells: check
e. biceps: check
f. forearms: check
g. pauldron: check
h. chest / back plate: check
i. kidney / butt plate: check
j. ab plate / side rivets / cod: check
k. strapping system: check
l. thighs: check
m. shins / calves: check
n. sniper plate: check
o. boots: check
p. gloves: check
q. hand plates / guards: check
r. ammo belt (waist): check
s. ammo belt (right knee): check
t. canvas belt: check
u. pouches: check
v. weathering: check
*additional comments*
Nice repro pouches and I like that pic with the helmet off and the smiling face, sandtrooper seem to have a good life.")
RESULT ON ARMOR
Checked & Cleared
Backpack
a. details: check
b. weathering: check
*additional comments*
As stated above, great build and kudos for building your own pack. Piece of advice though, get some cheap black backpack, take of the padded shoulderstraps and add them to you pack, it will probably be more comfy.
RESULT ON BACKPACK
Checked & Cleared
Weapon: E-11
a. details: see comments
b. weathering: see comments
*additional comments*
I am not completely happy with that E-11, first of all because it looks too factory fresh, so please add some dirt, e.g. a wash with some sandcoloured watered down acrylics and you may also make it look more worn, by drybrushing the prominent parts, secondly as it has a solid scope rail. I am going to let this pass once but the next trooper trying to apply with one of these blasters will have a harder time. The RotJ E11s had a solid rail, that much might be true, but not on the ANH E-11s.
And of course I still have to leave this here every time I see a sandtrooper with a regular E-11: “Bapty for the win!”... go and build yourself one, mate, you can do it, it´s fun and way more accurate!RESULT ON WEAPON
pending
Peter, this was your first review!
Your gear looks great and you will be a worthy addition to the ranks of the MEPD´s finest, just one easy fix, so go for it!I am looking forward to seeing some new pics of your improved and dirty blaster soon.
Cheers mate!
Hausi - MEPD Deployment Officer
-
It looks great, very well done. I really appreciate the effort and work you have put into this and it has definitely payed off. Gorgeous pack.
-
1
-
-
-
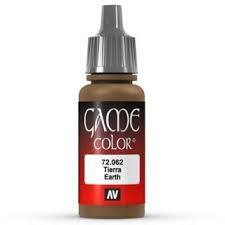
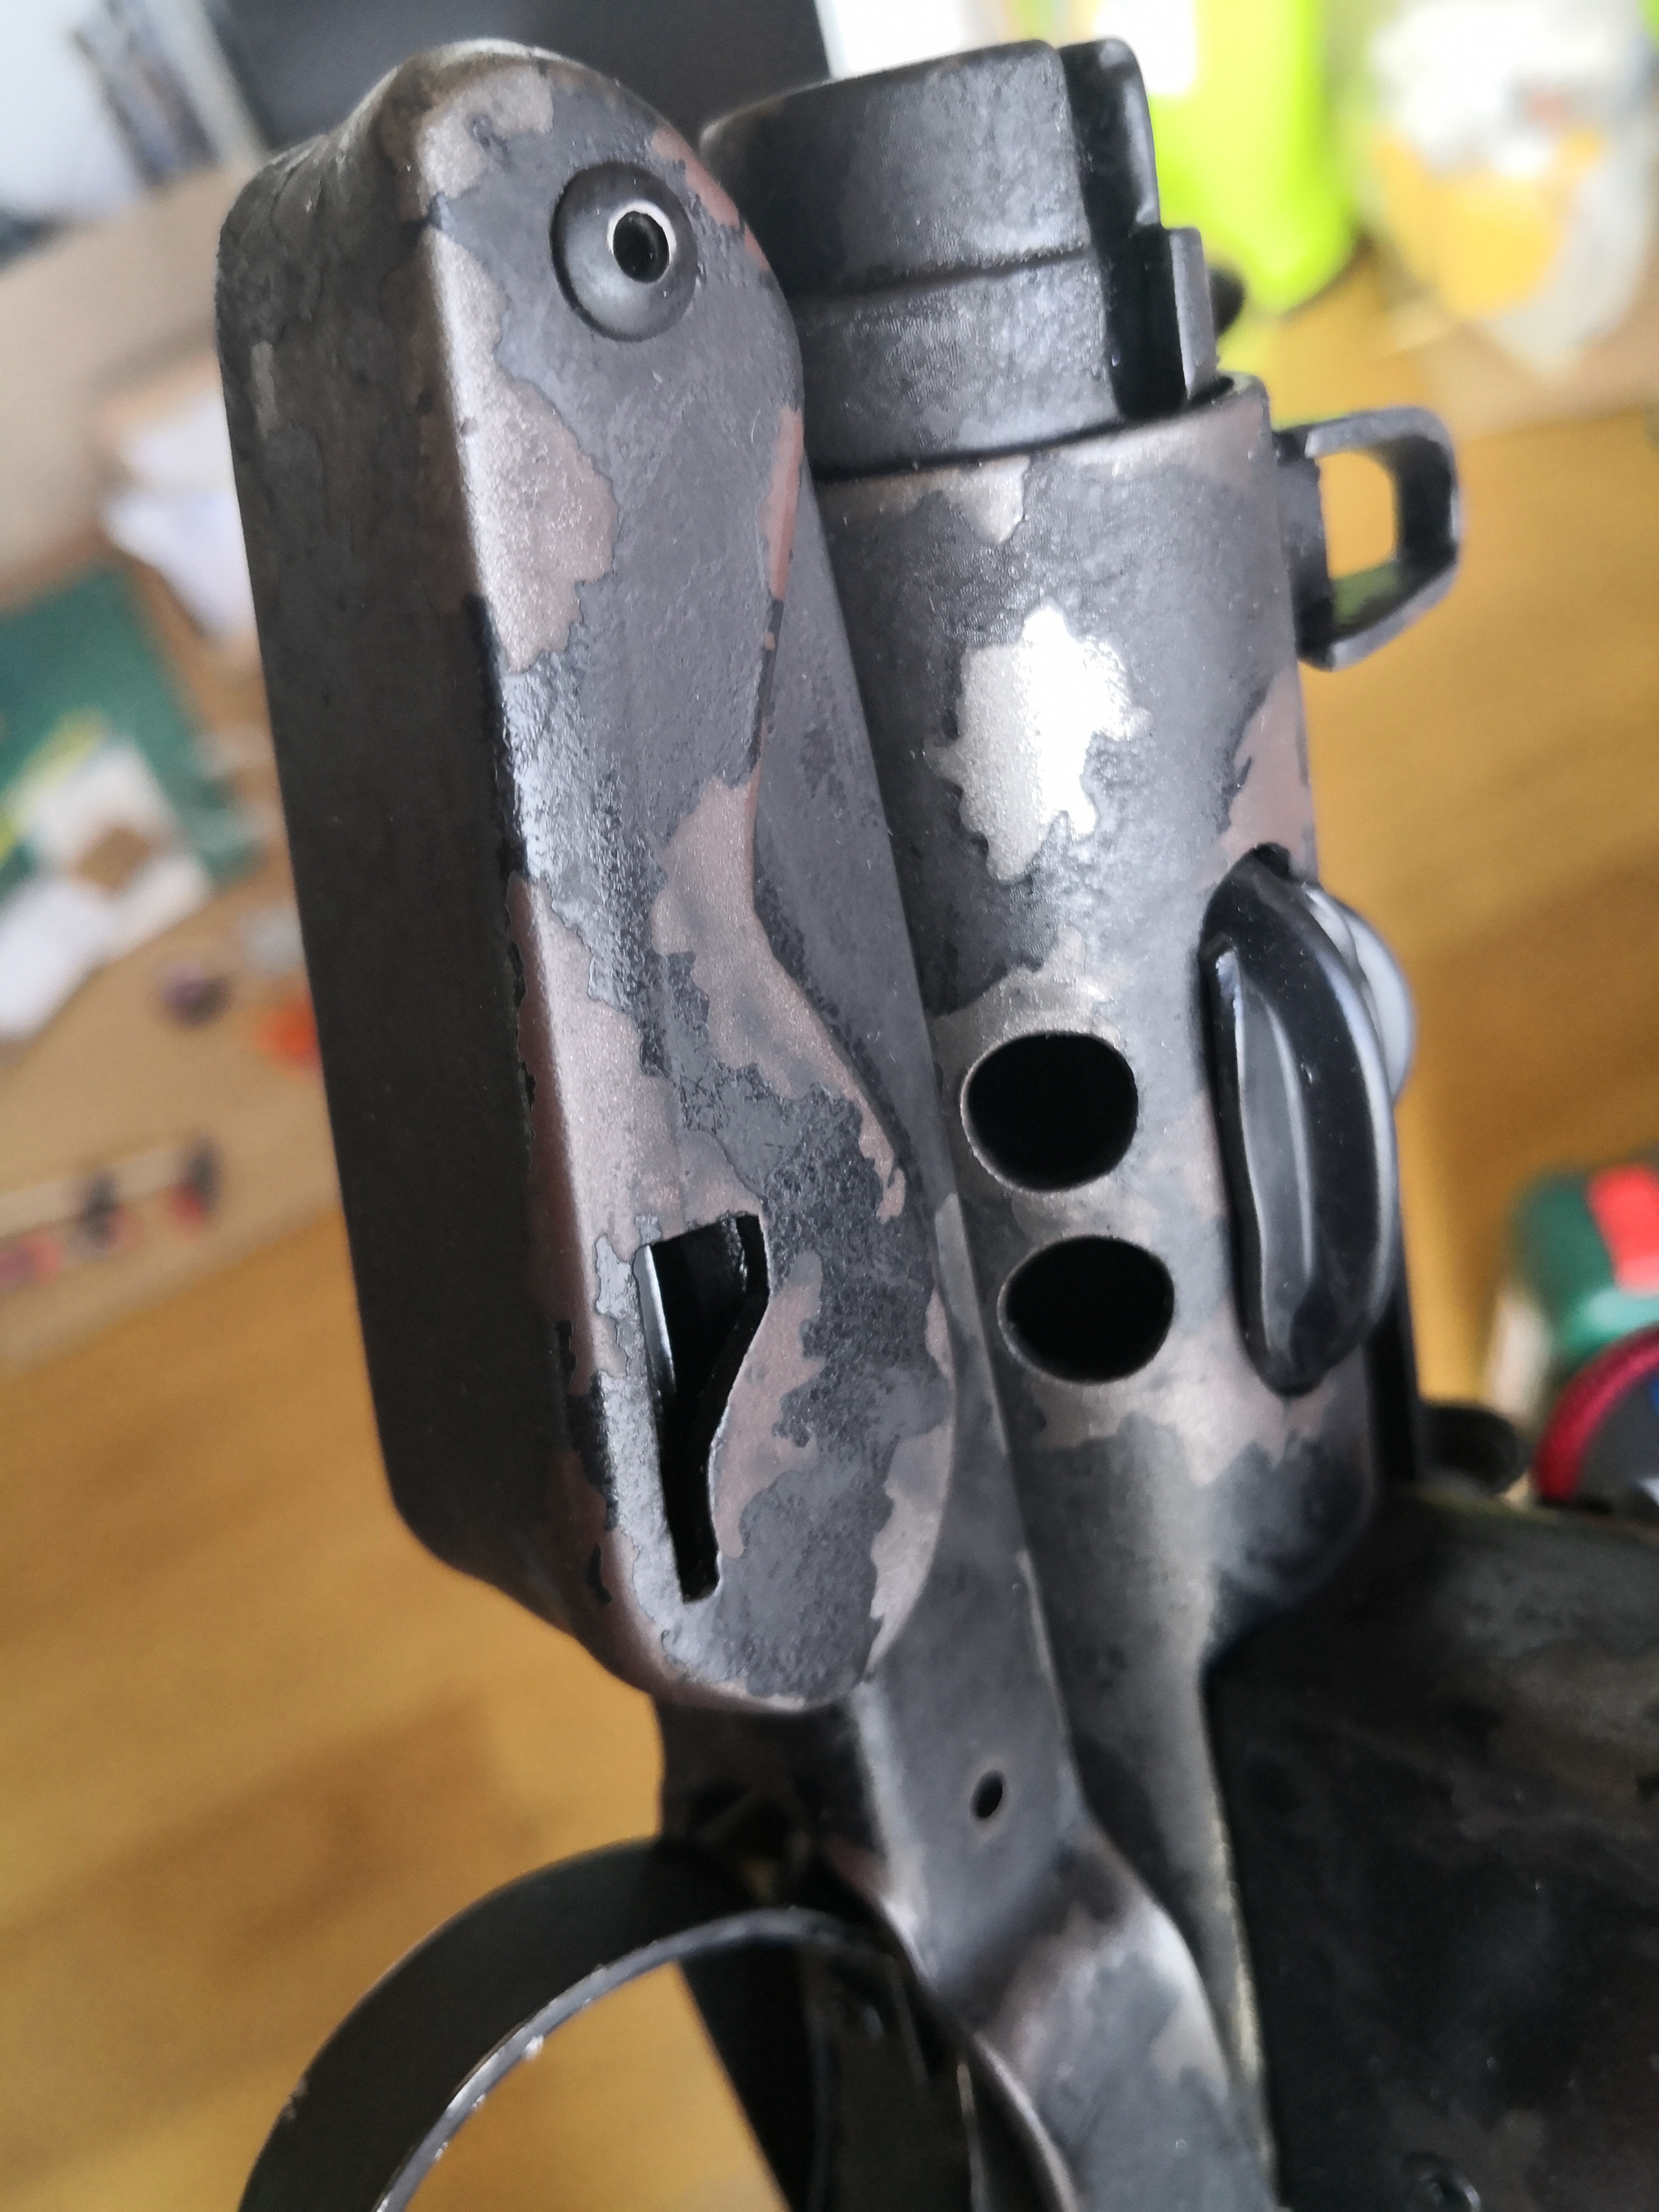
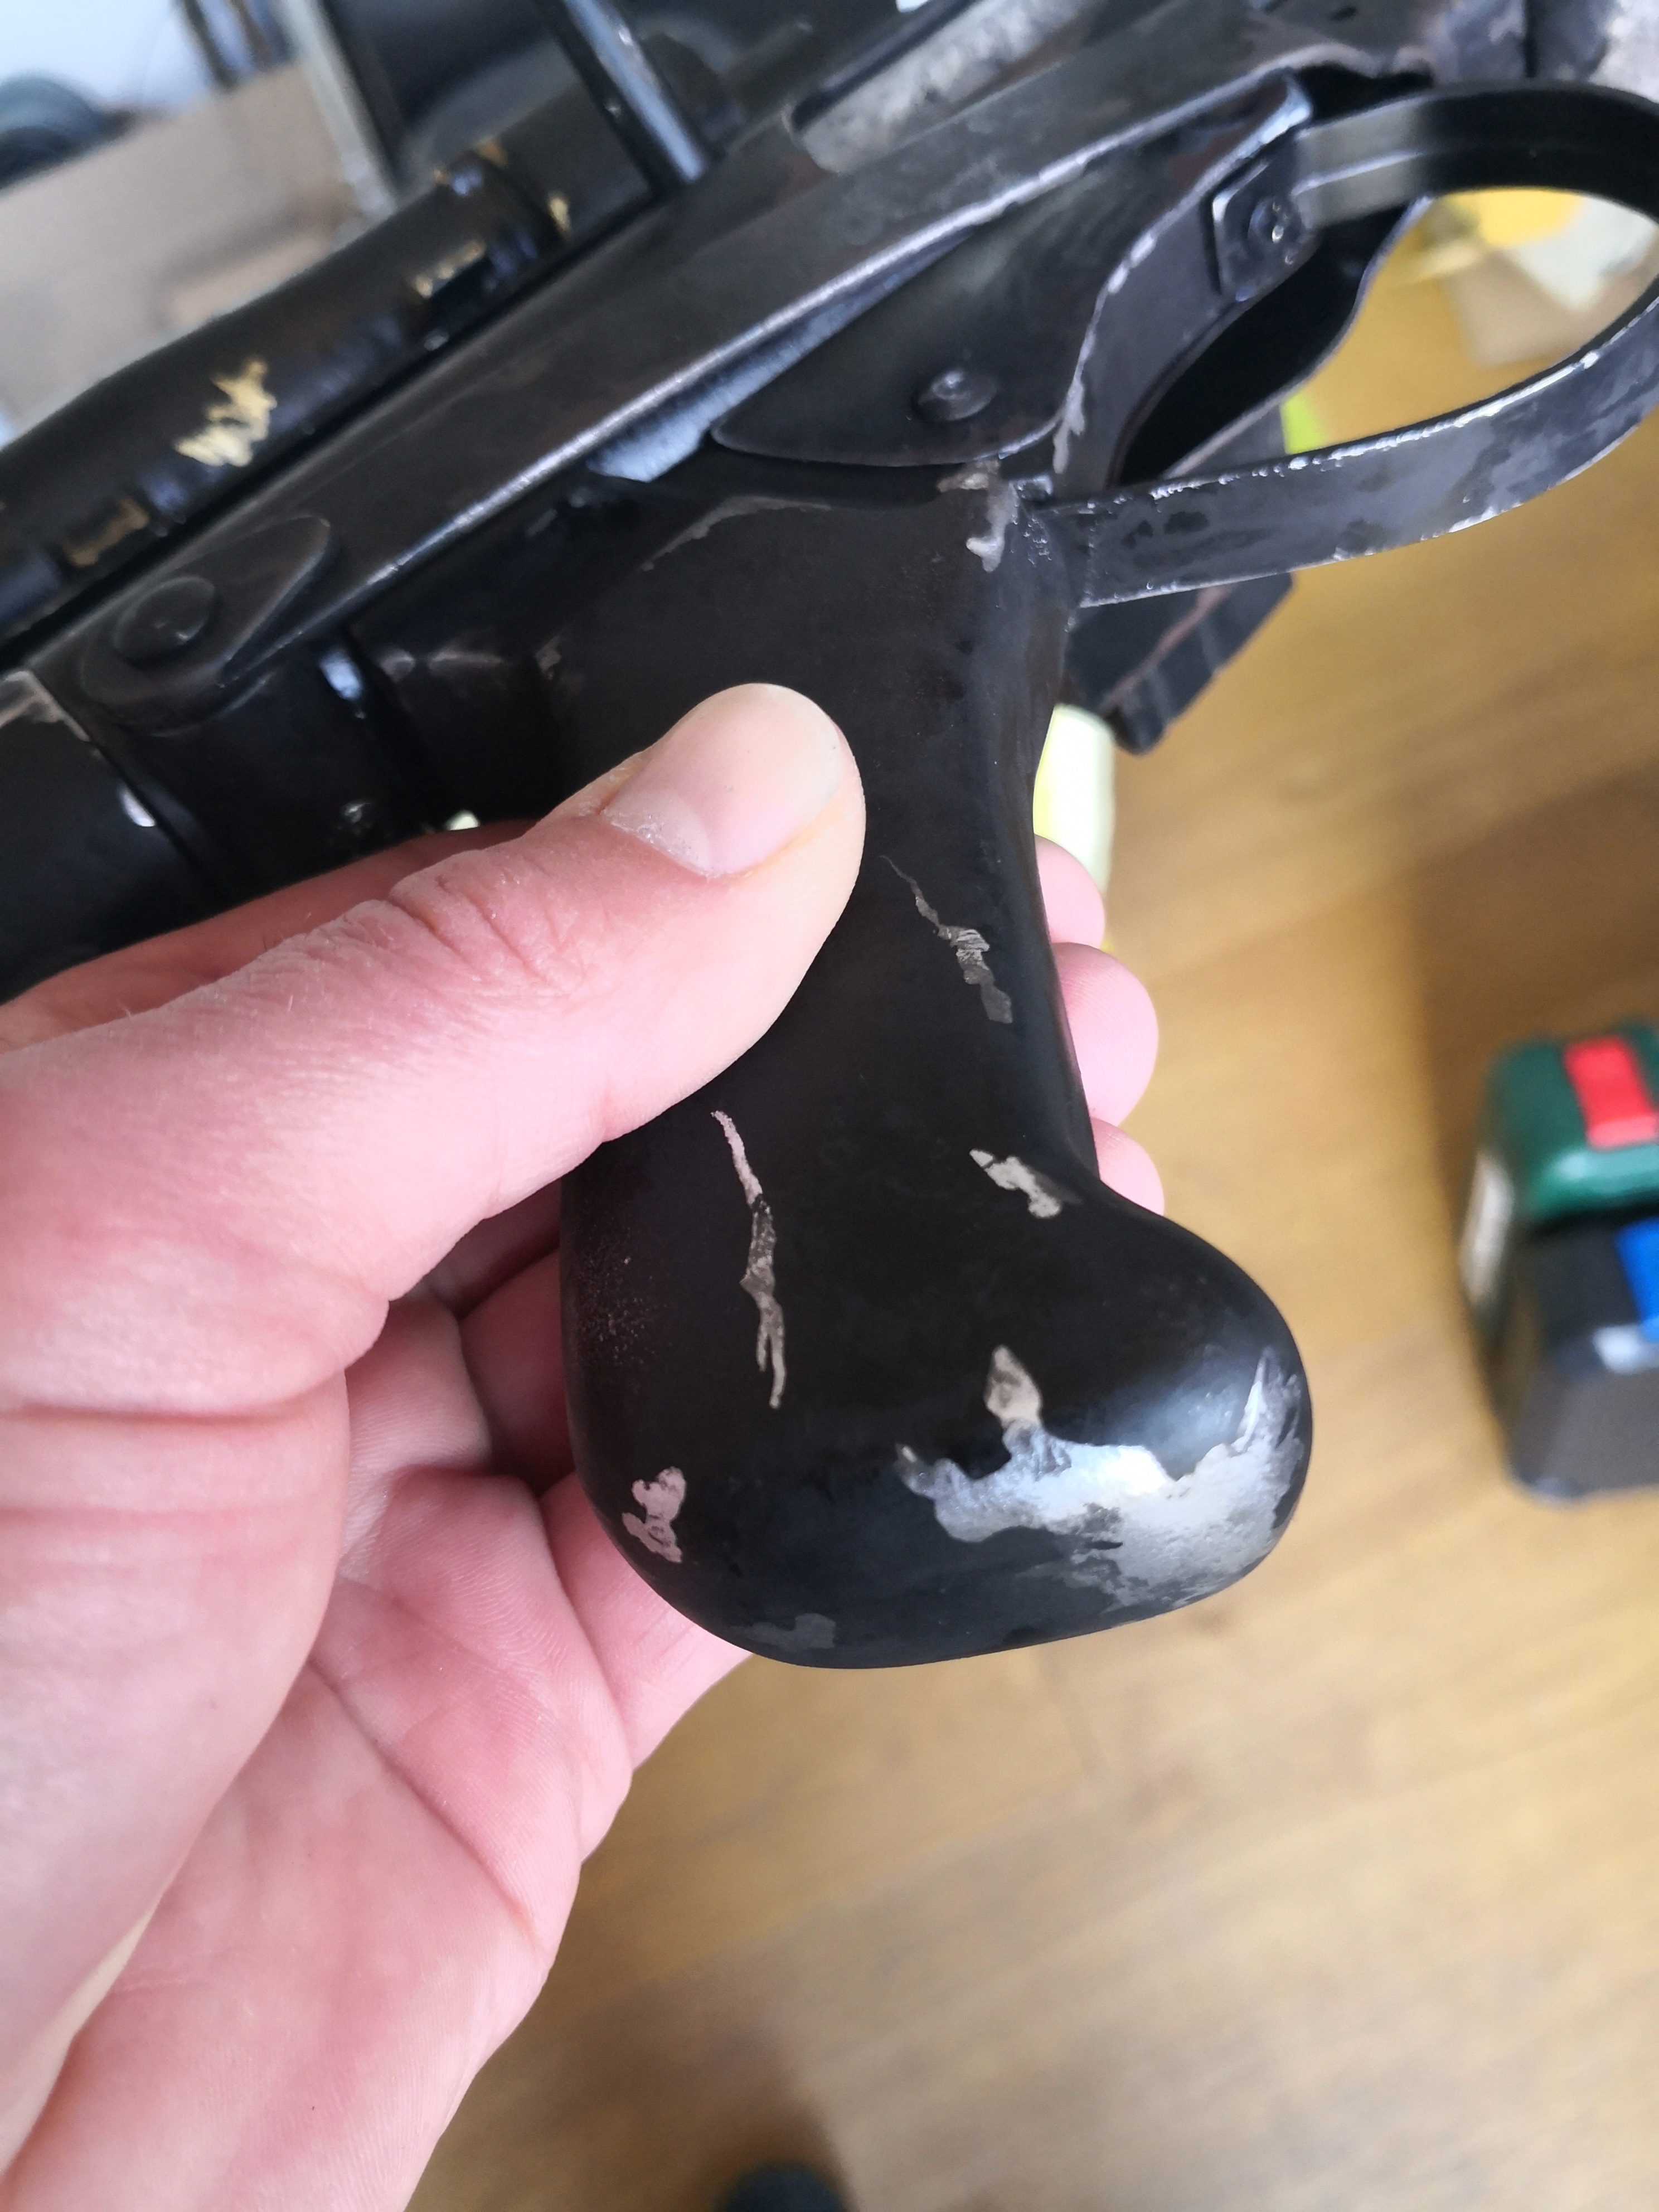
The one picture in my previous post showing the grip also shows that I have used liquid masking fluid again before the final paint was applied.
For the Sterling parts I used VH1 Crinkle paint while satin matte black was applied to the back end.
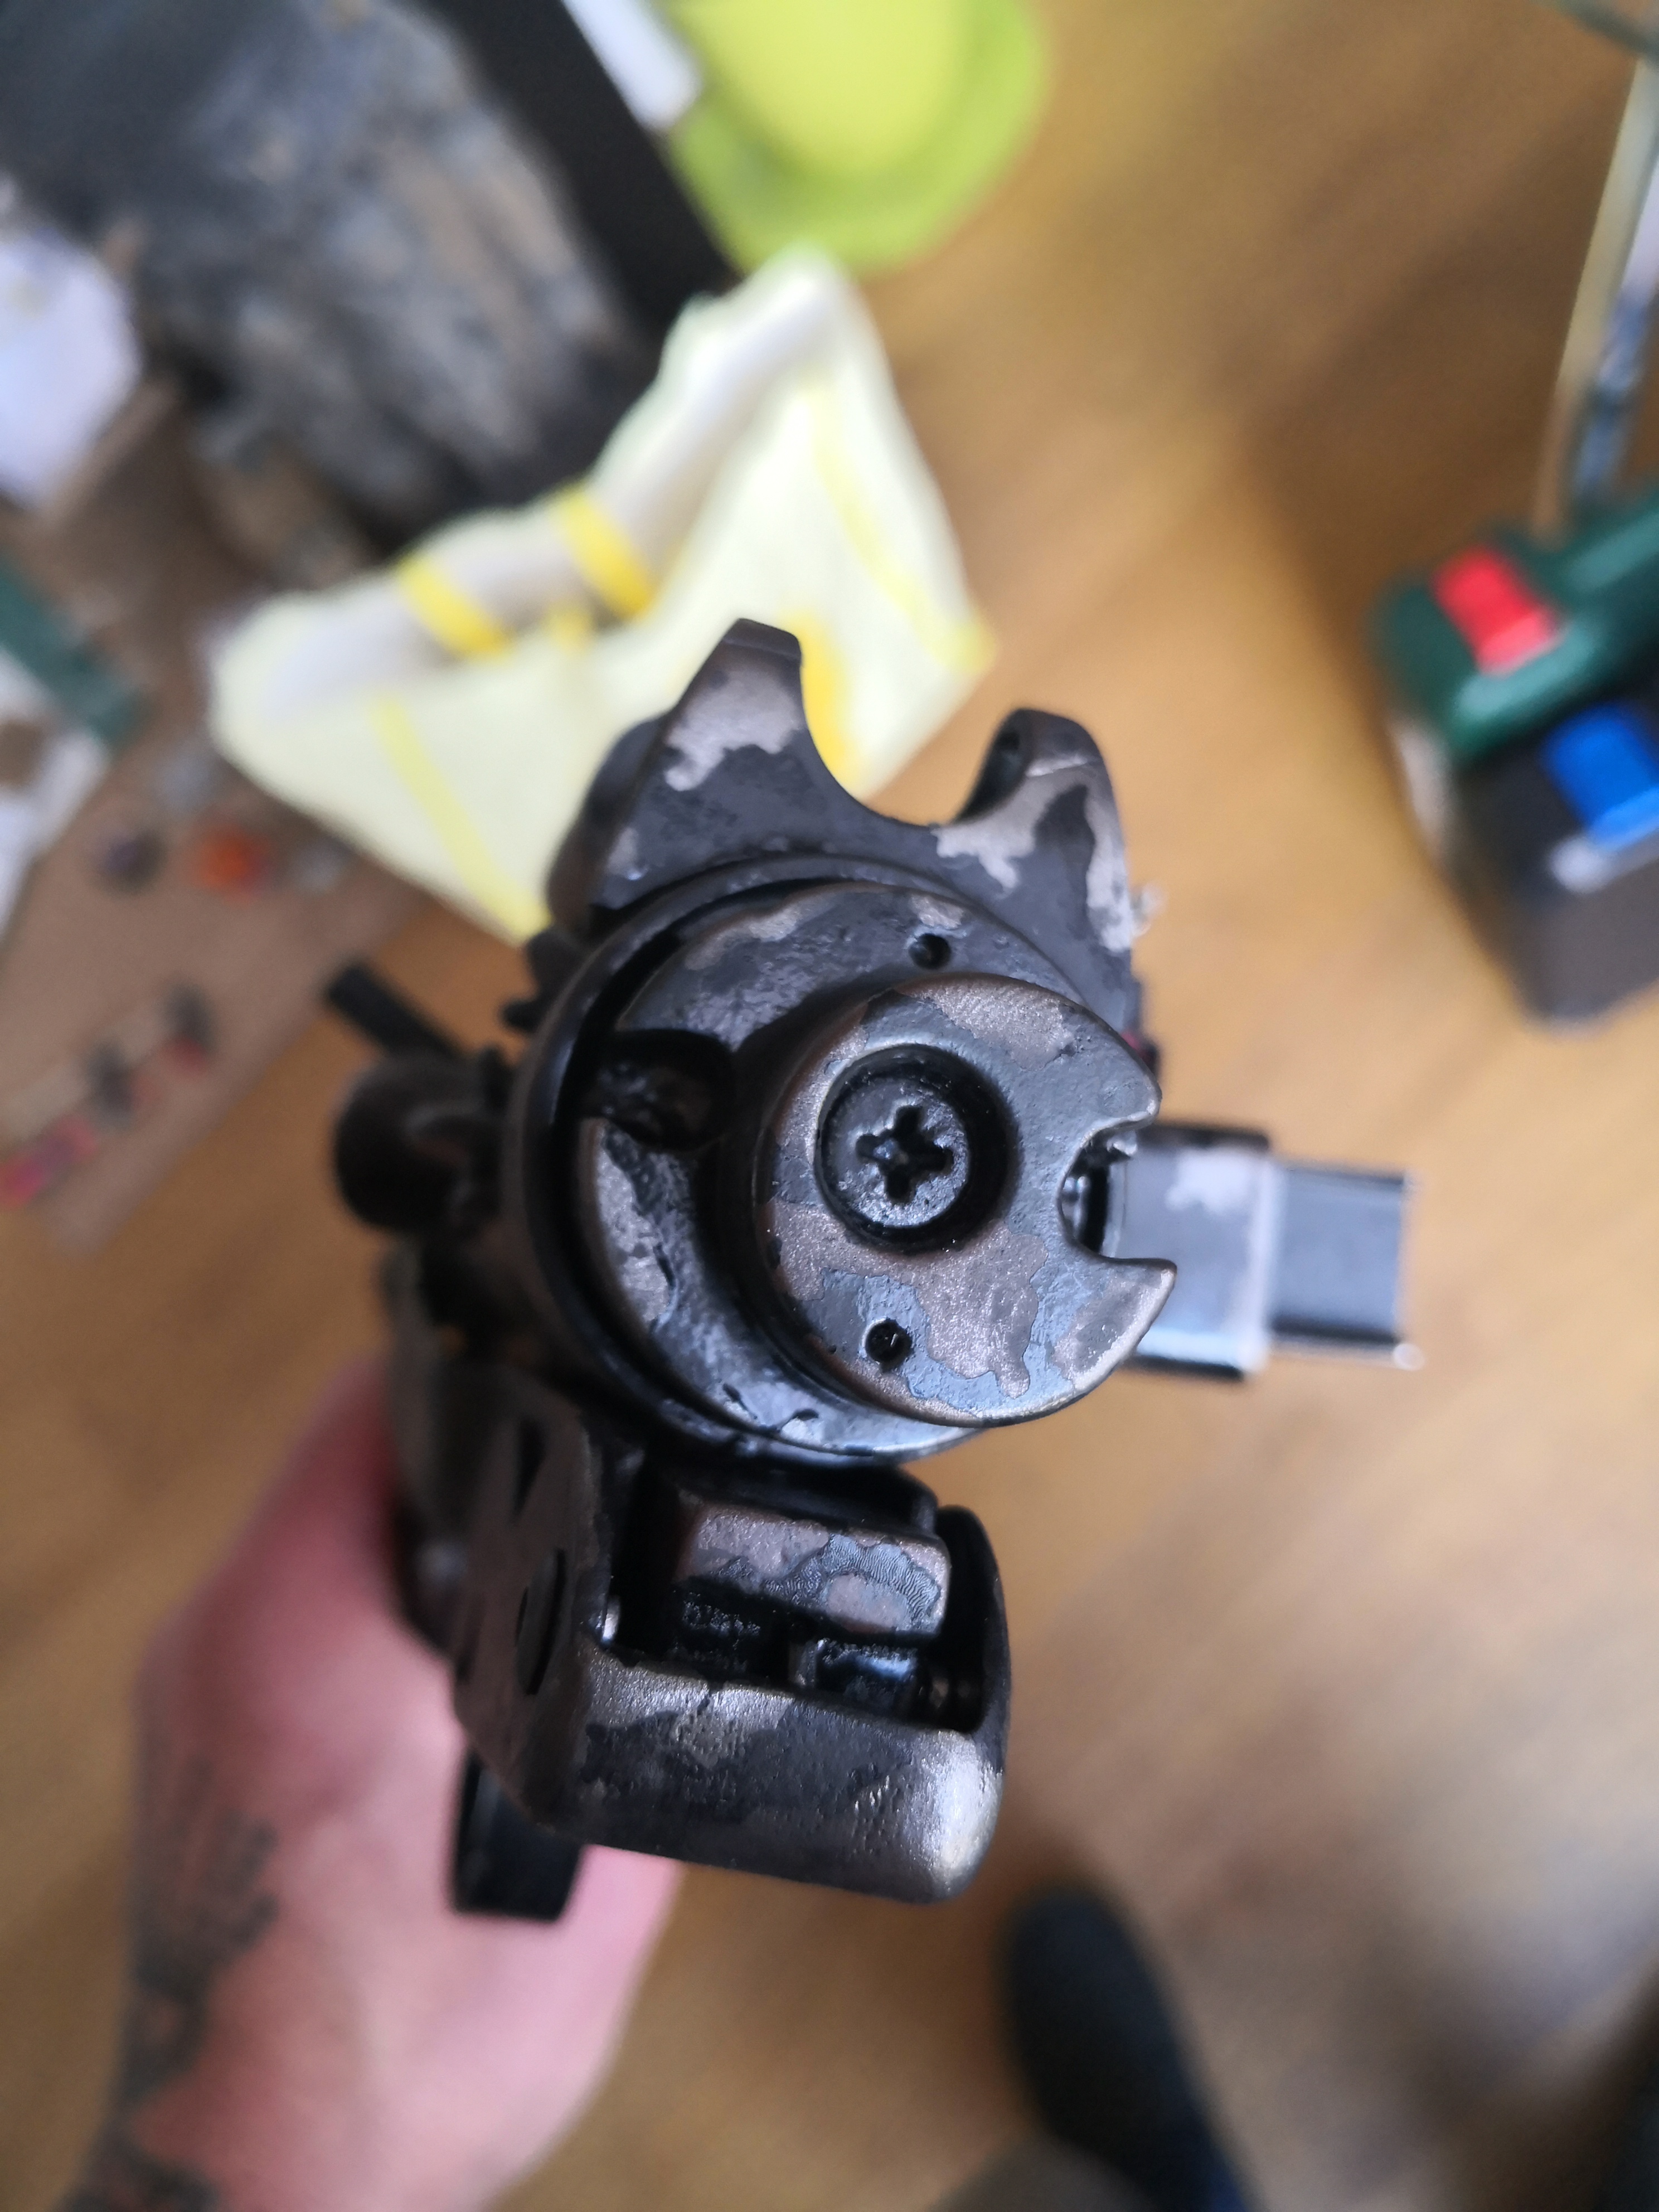
Started to assemble all the parts, for most, I went completely overboard with glue and screws.
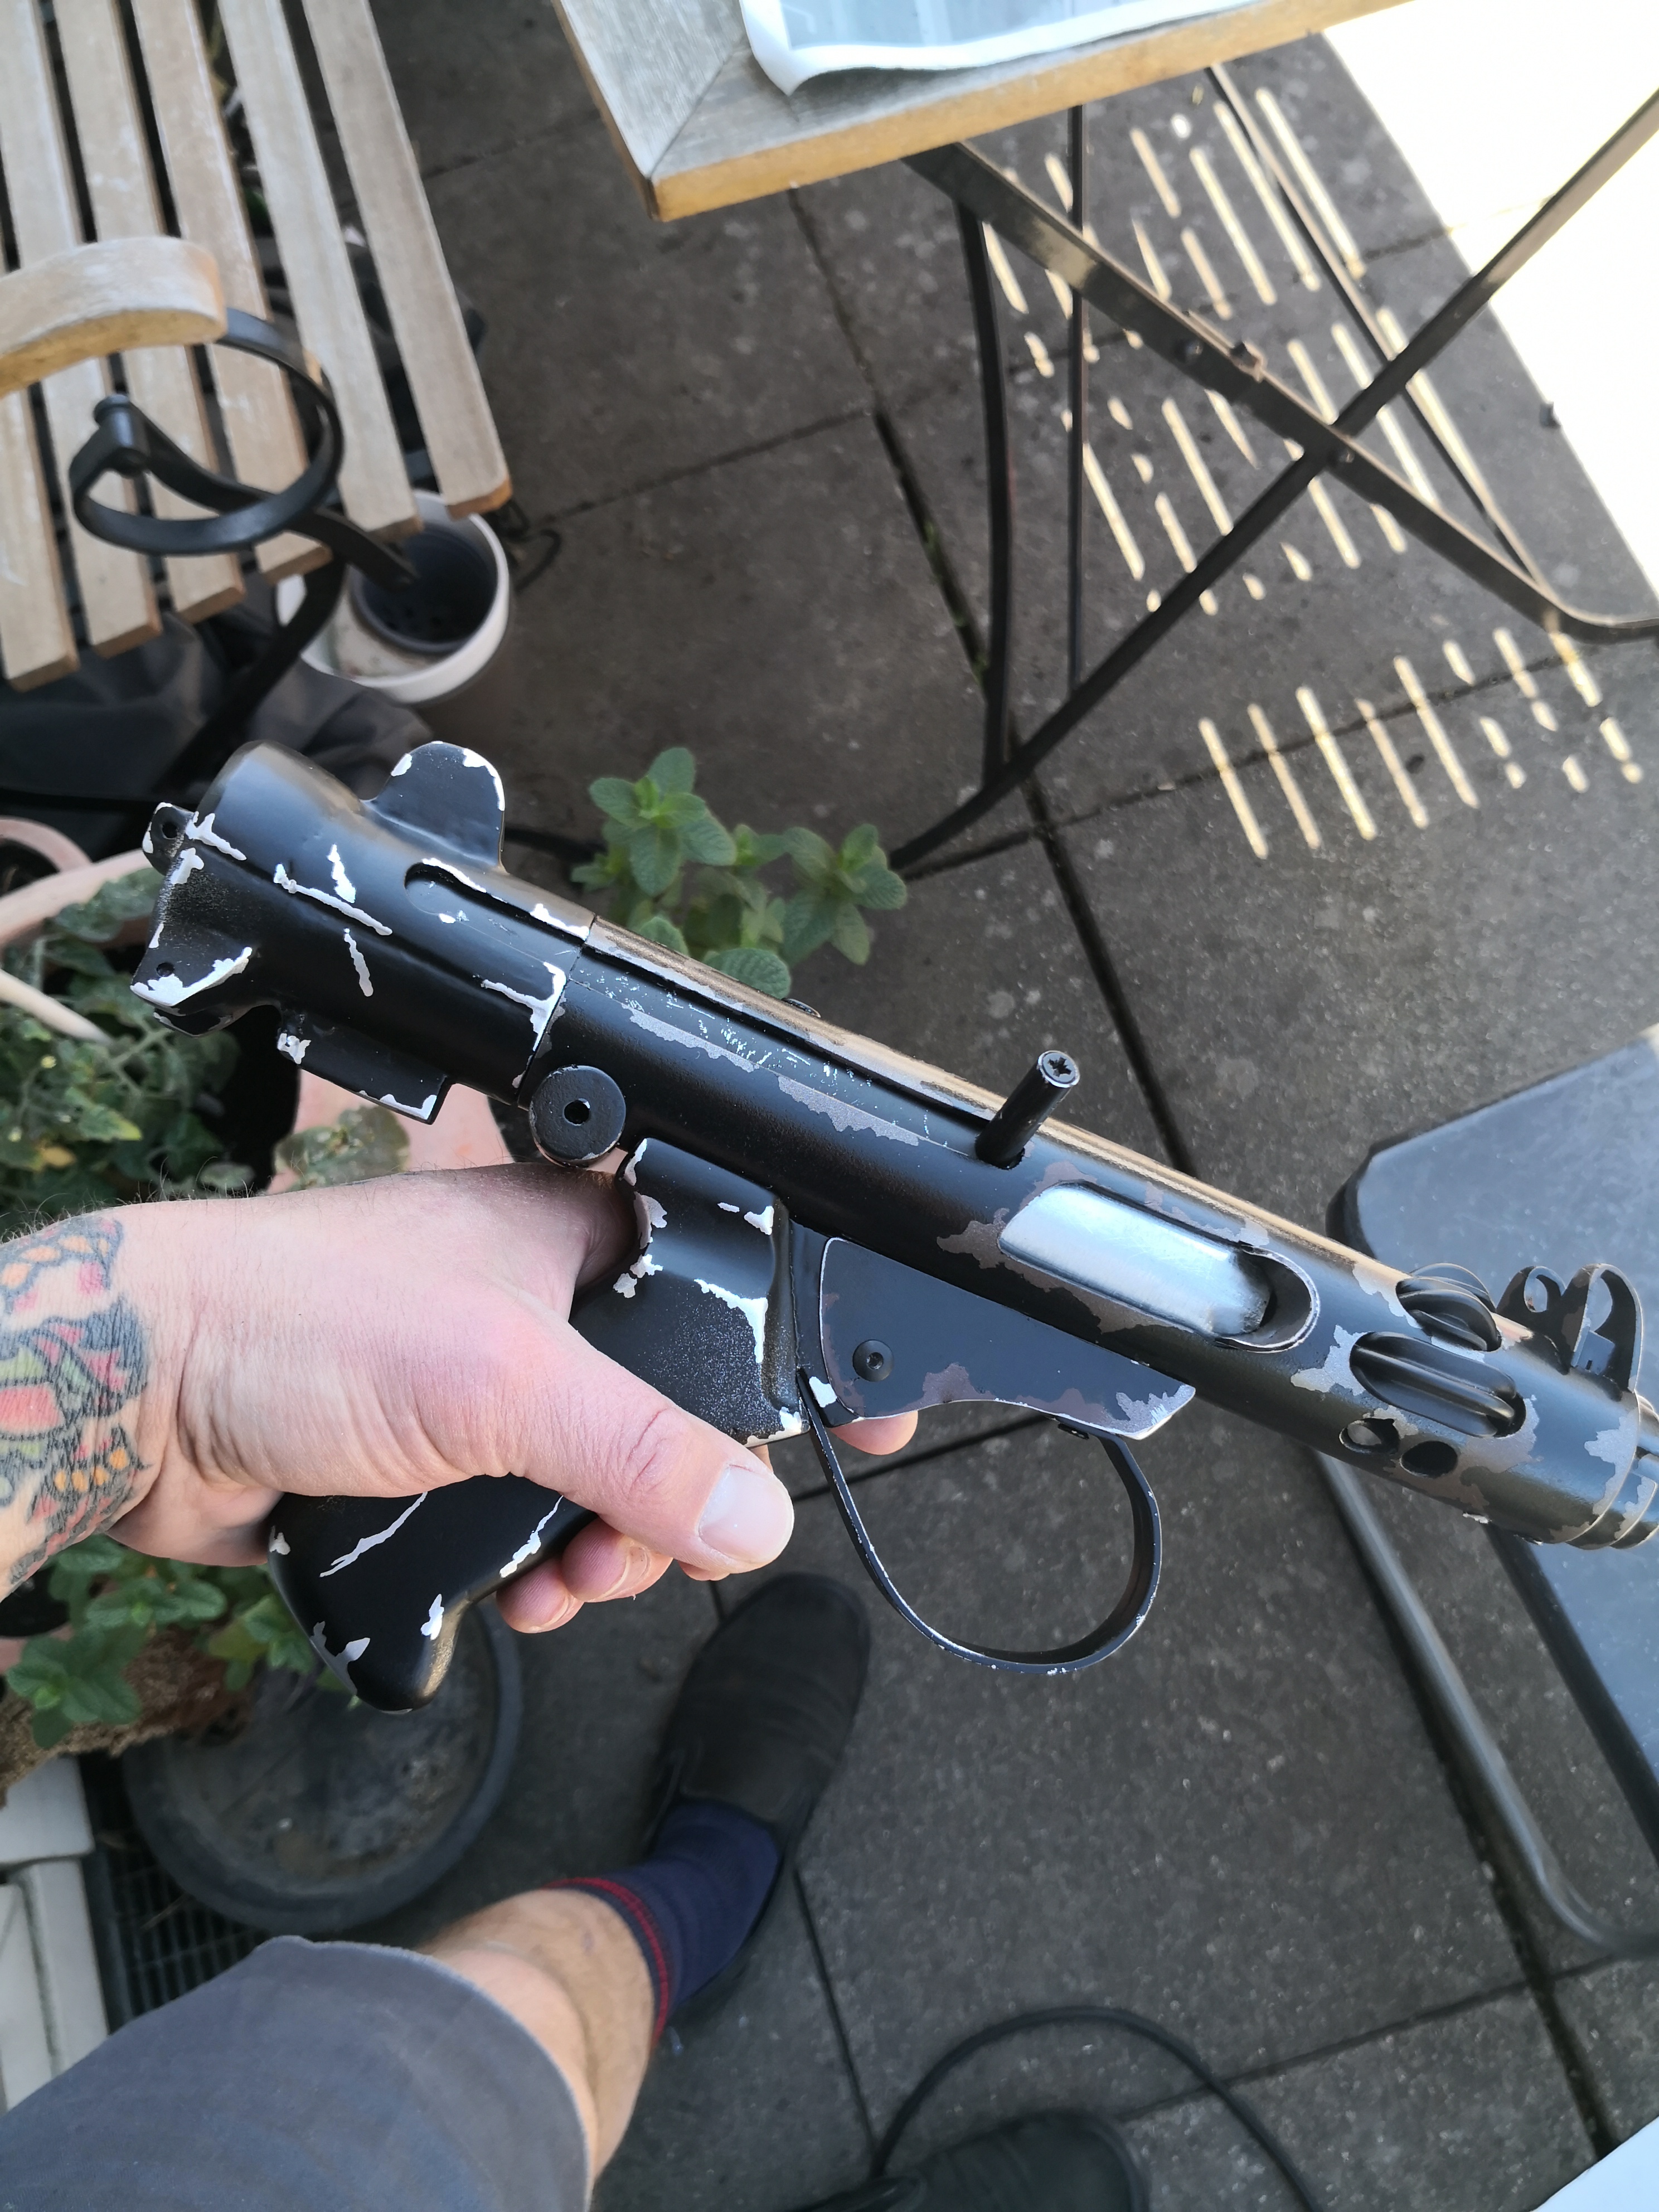
And here is the completed blaster after weathering:
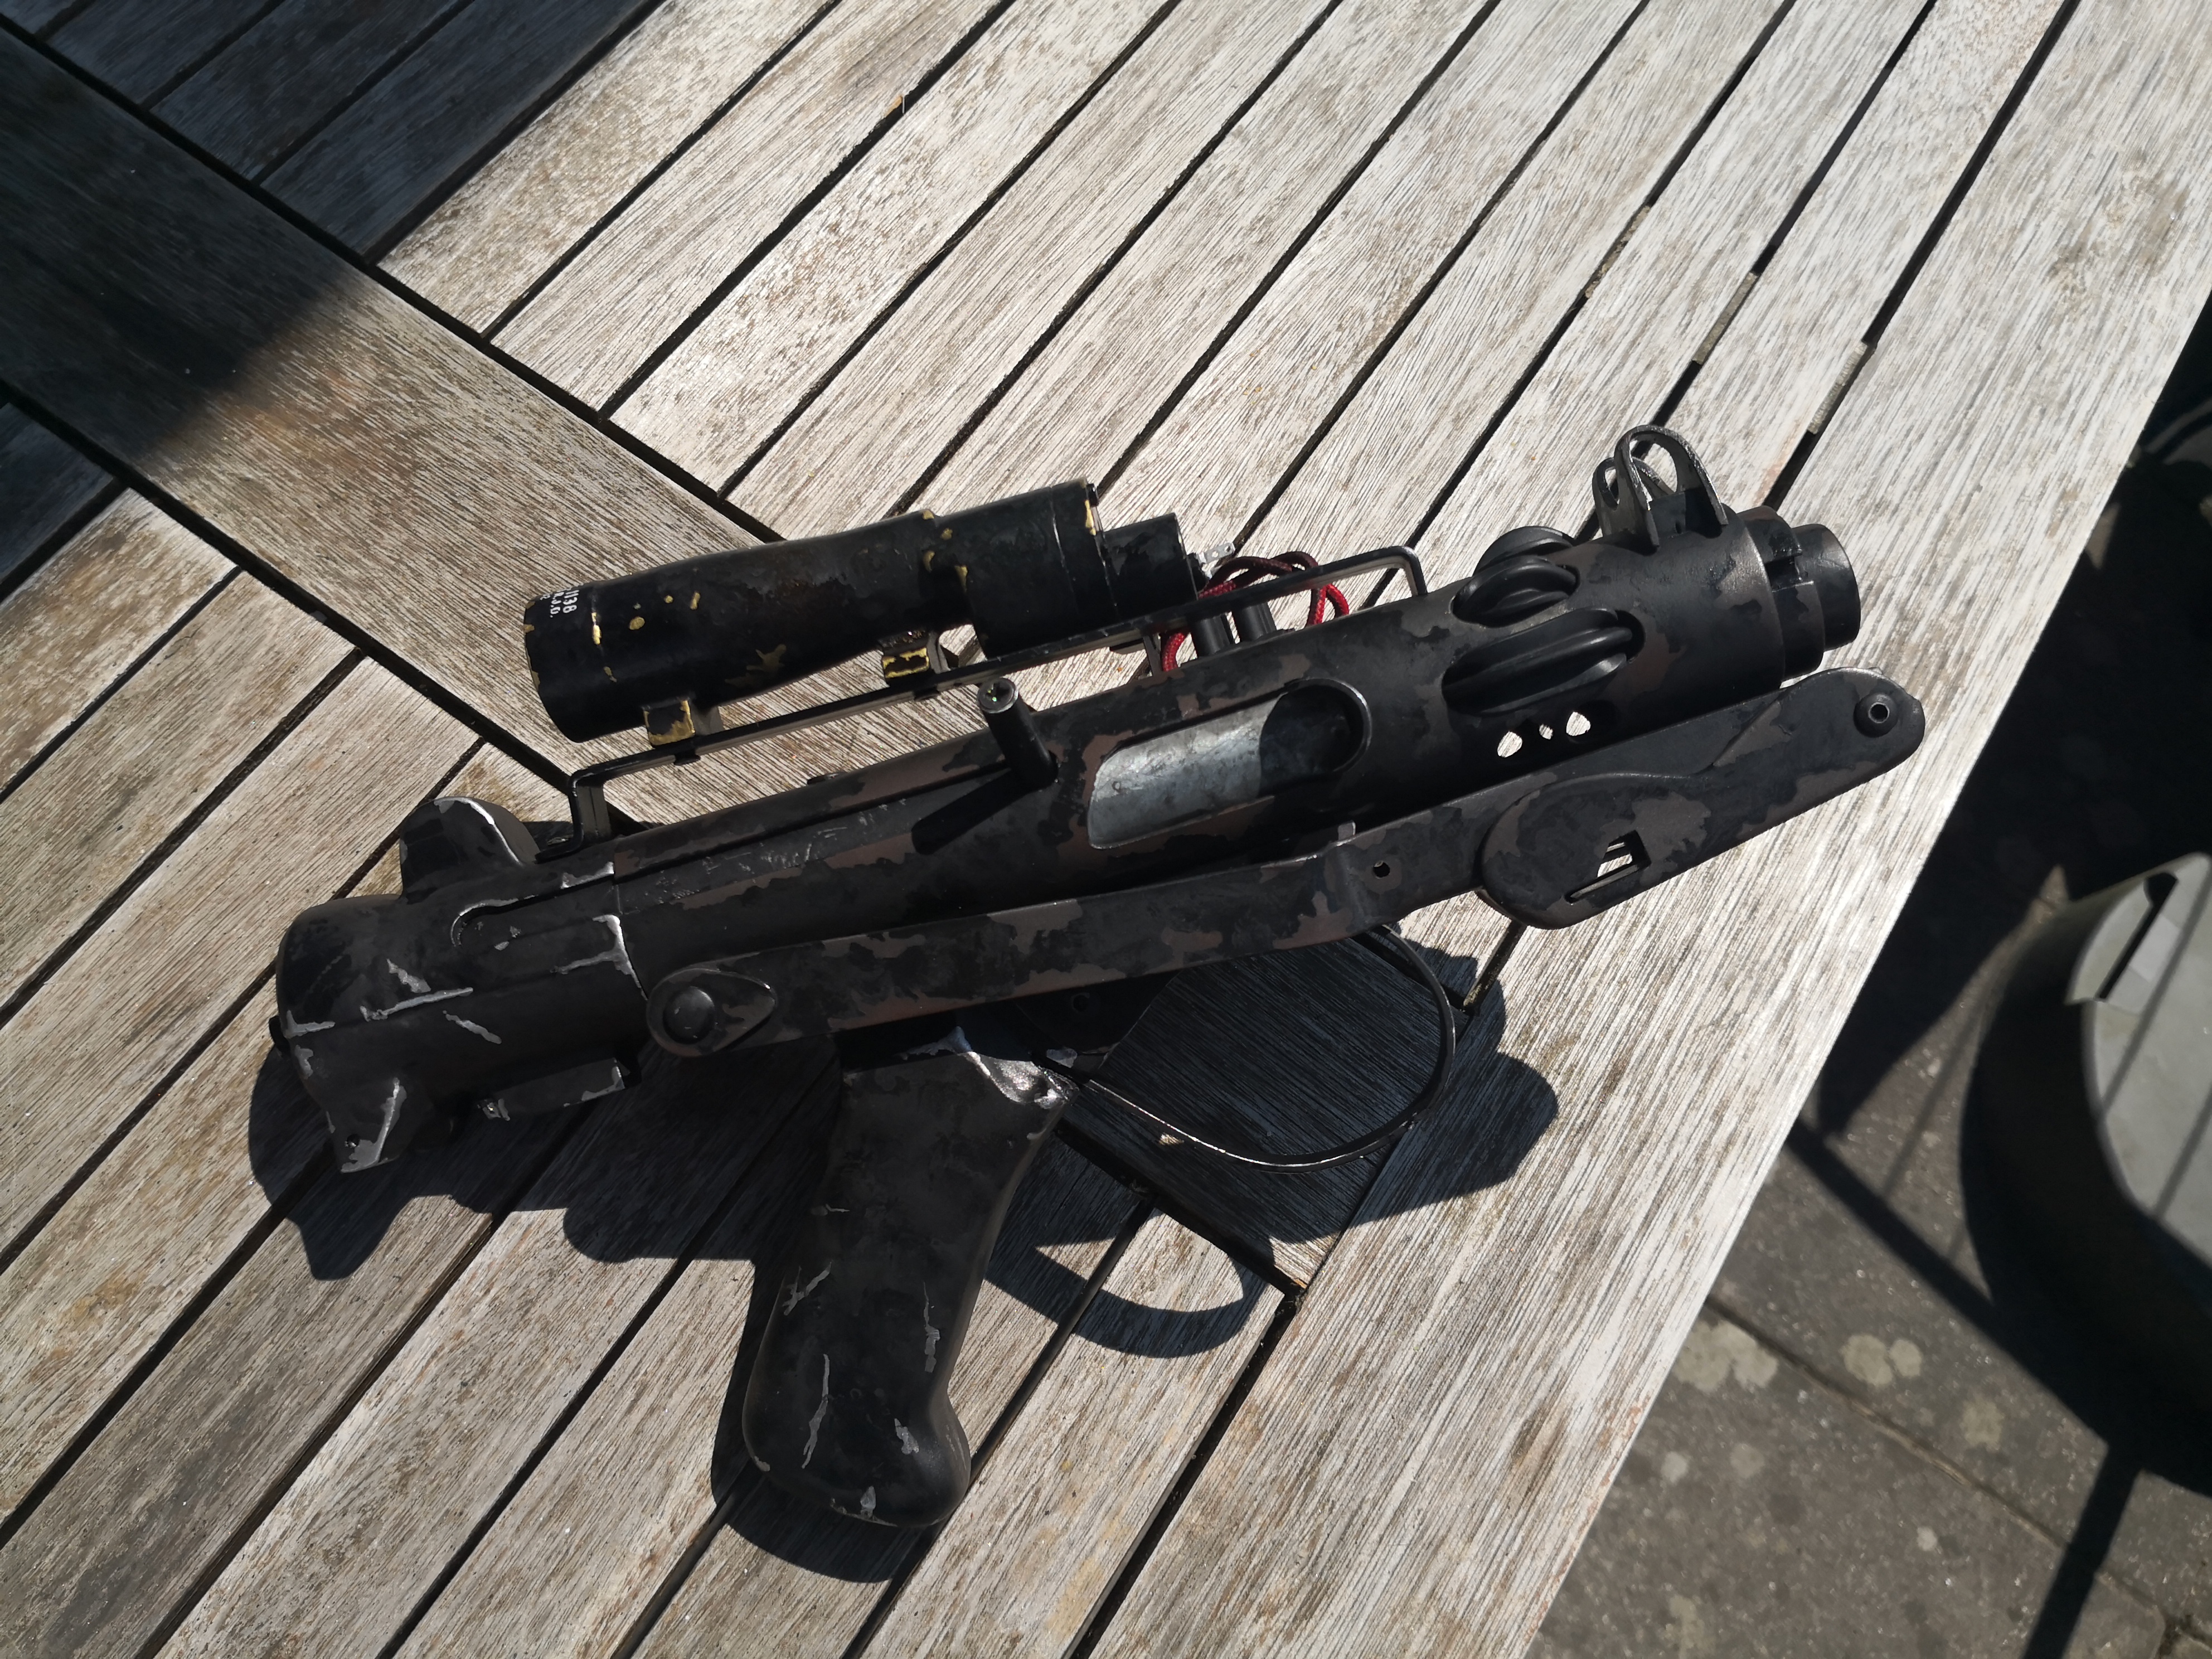
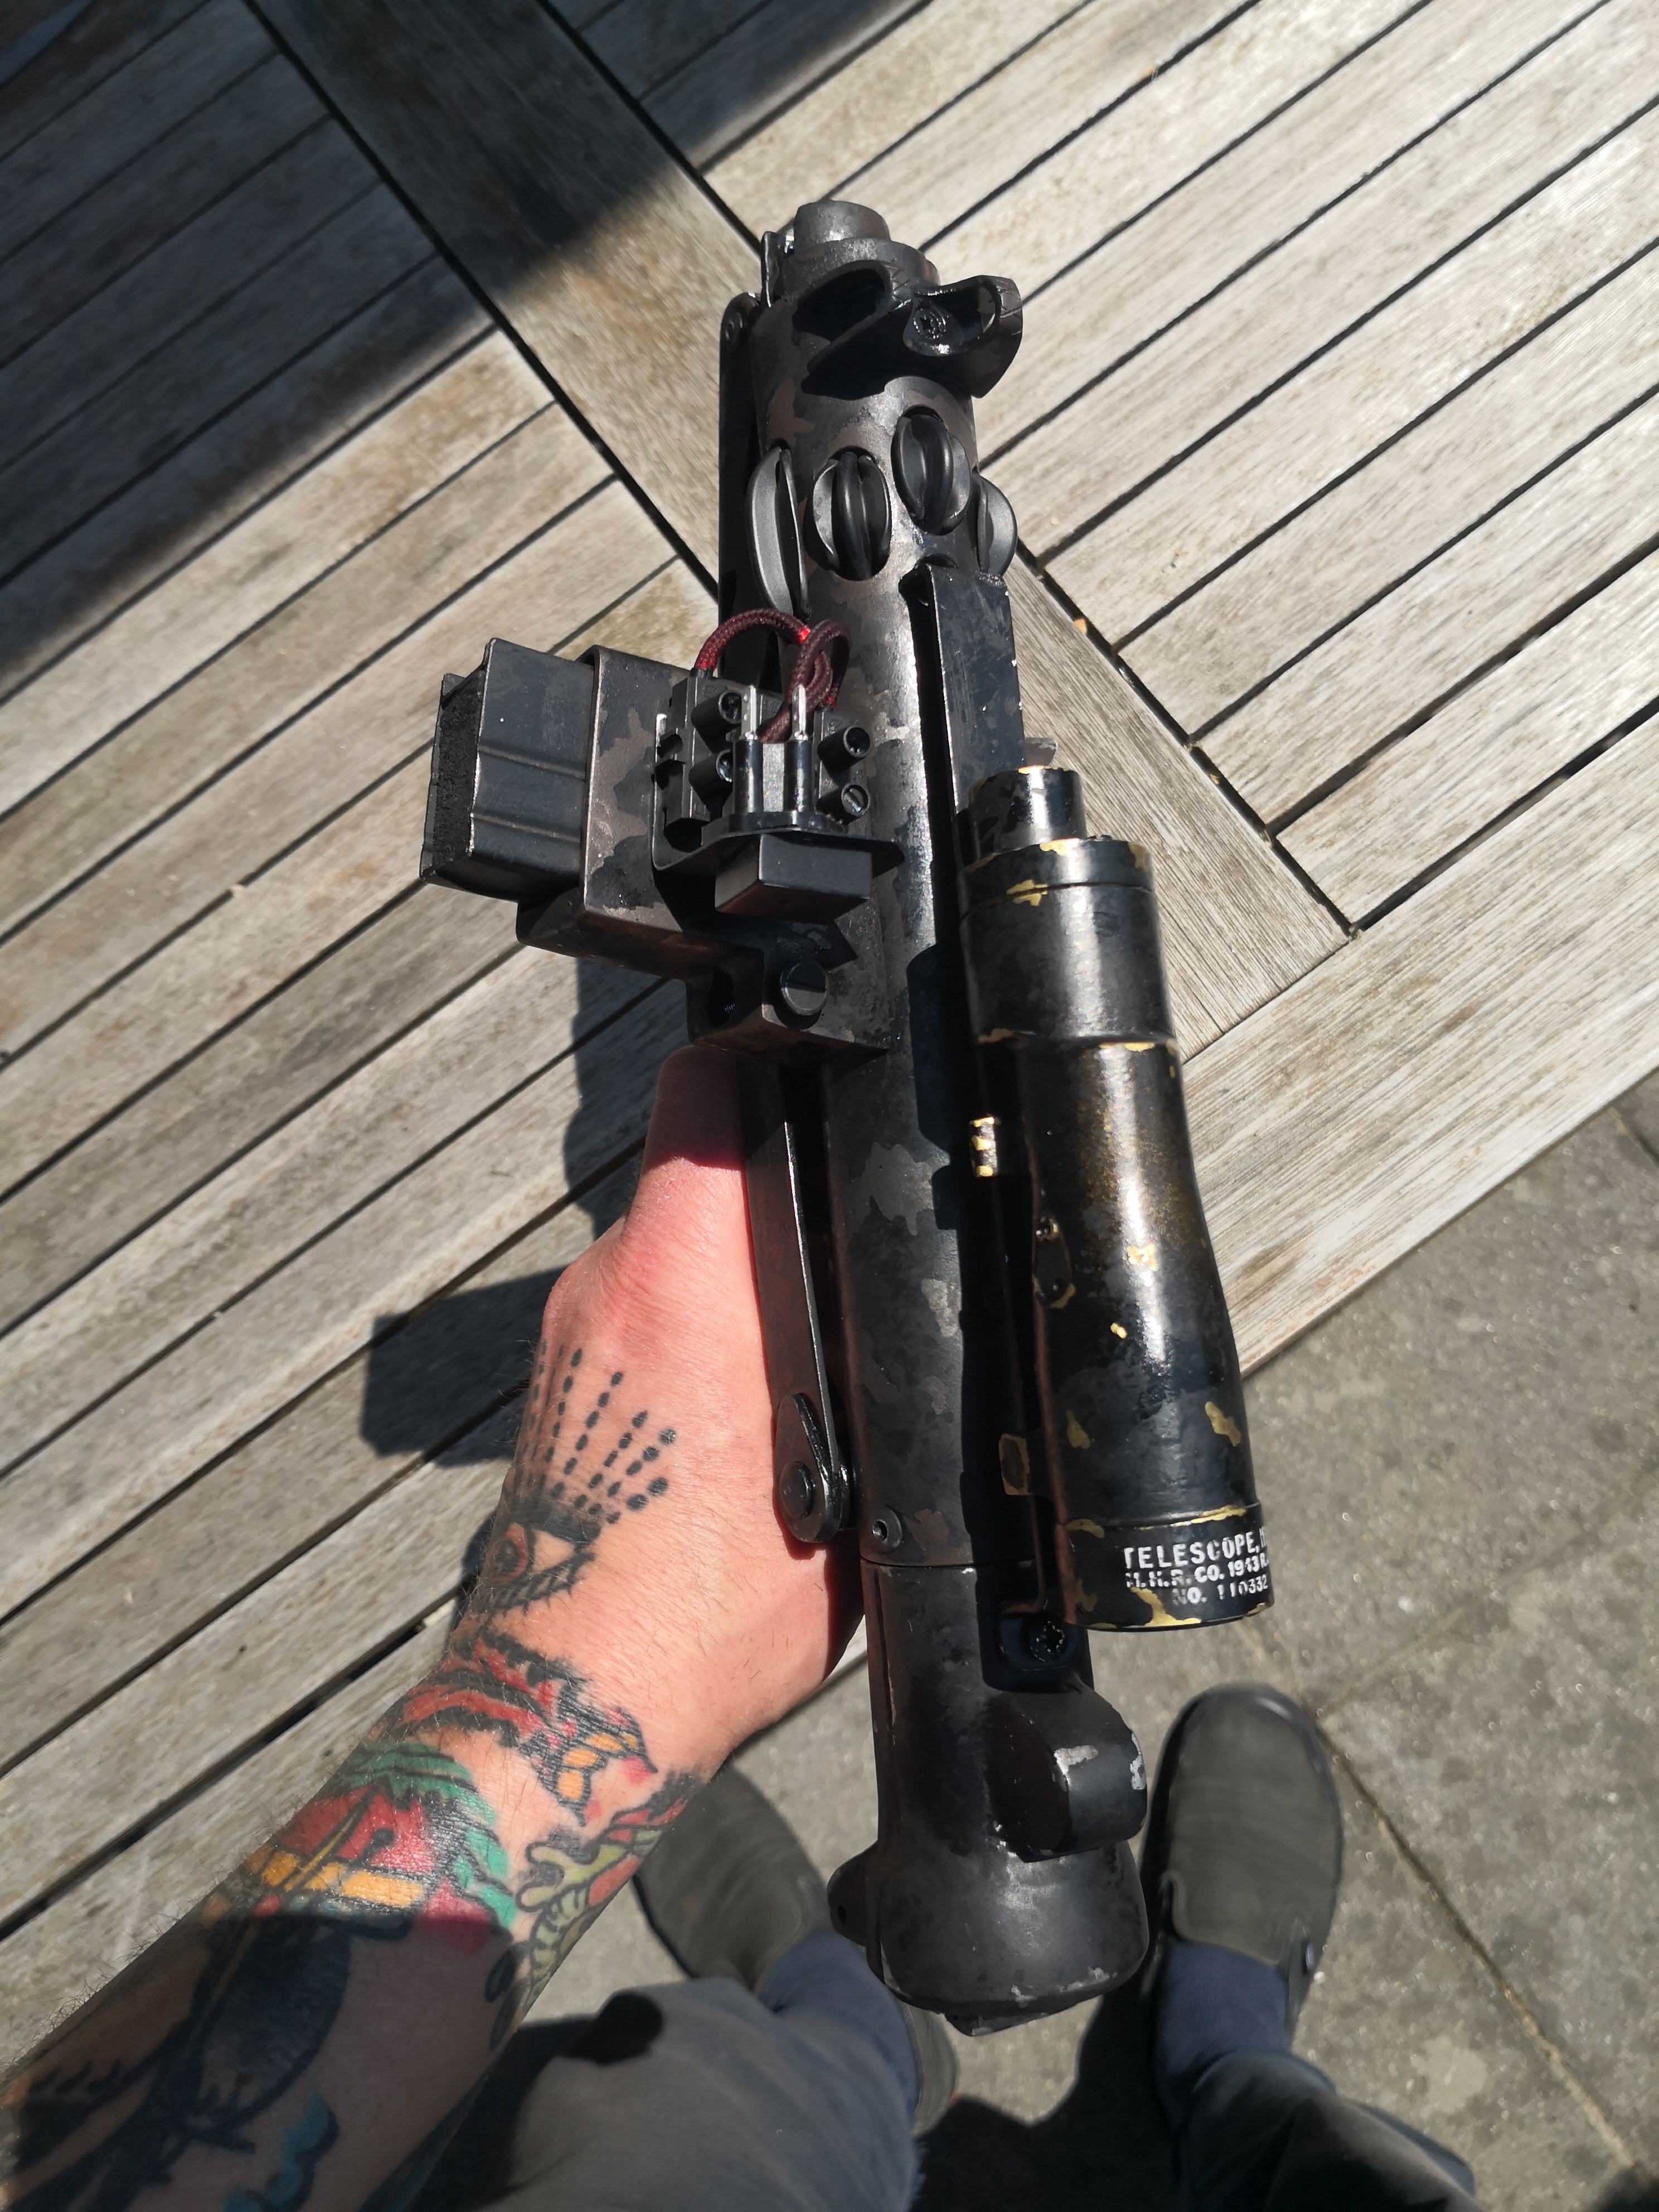


And here are all the different Bapty versions I have built so far, some screen-accurate, some just being creative interpretations of the original concepts.

-
2
-
-
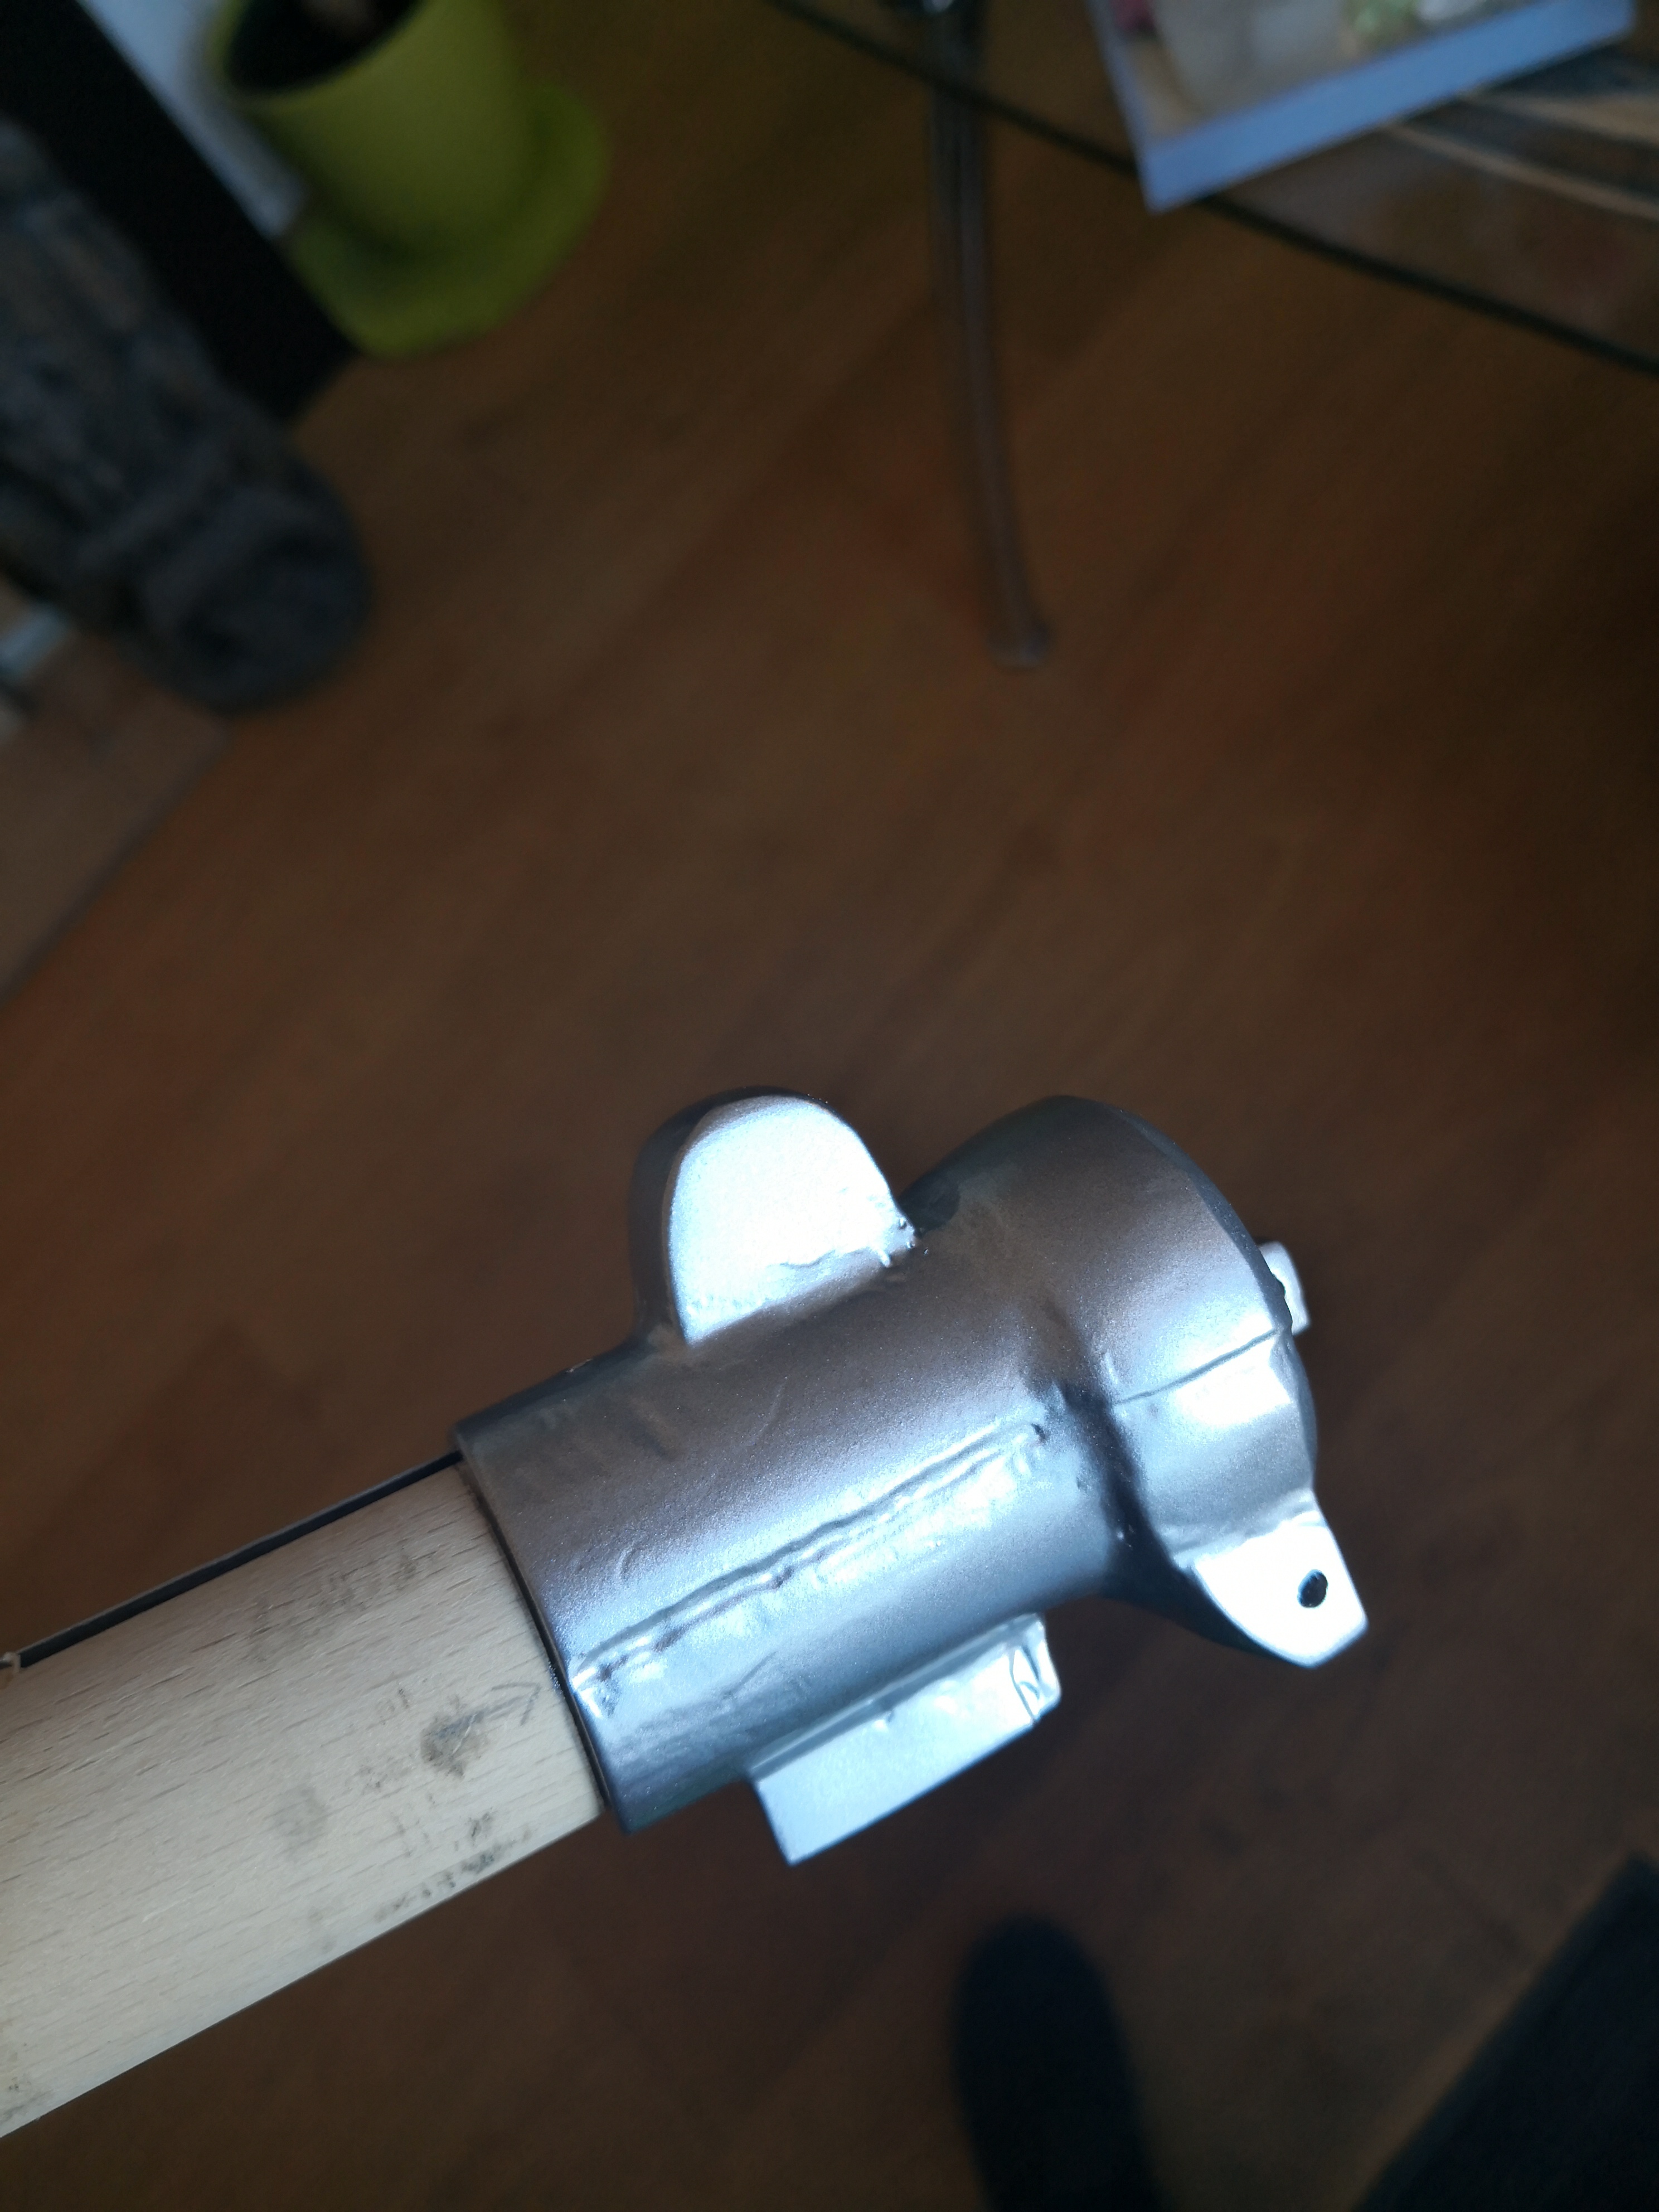
I painted the parts that would originally be Sterling parts with a dark gunmetal colour and the parts that are supposed to emulate the cast aluminium parts in silver with a hue of slightly lighter gunmetal.
All hung up to dry.

-
1
-
-
I used bondo to fill the gaps between the wooden parts that I had ended to the back end. Unfortunately I forgot to take pictures at this stage of the build, I only have some documenting the next step which was spray filler to get a smooth surface, I did the same on the grip.

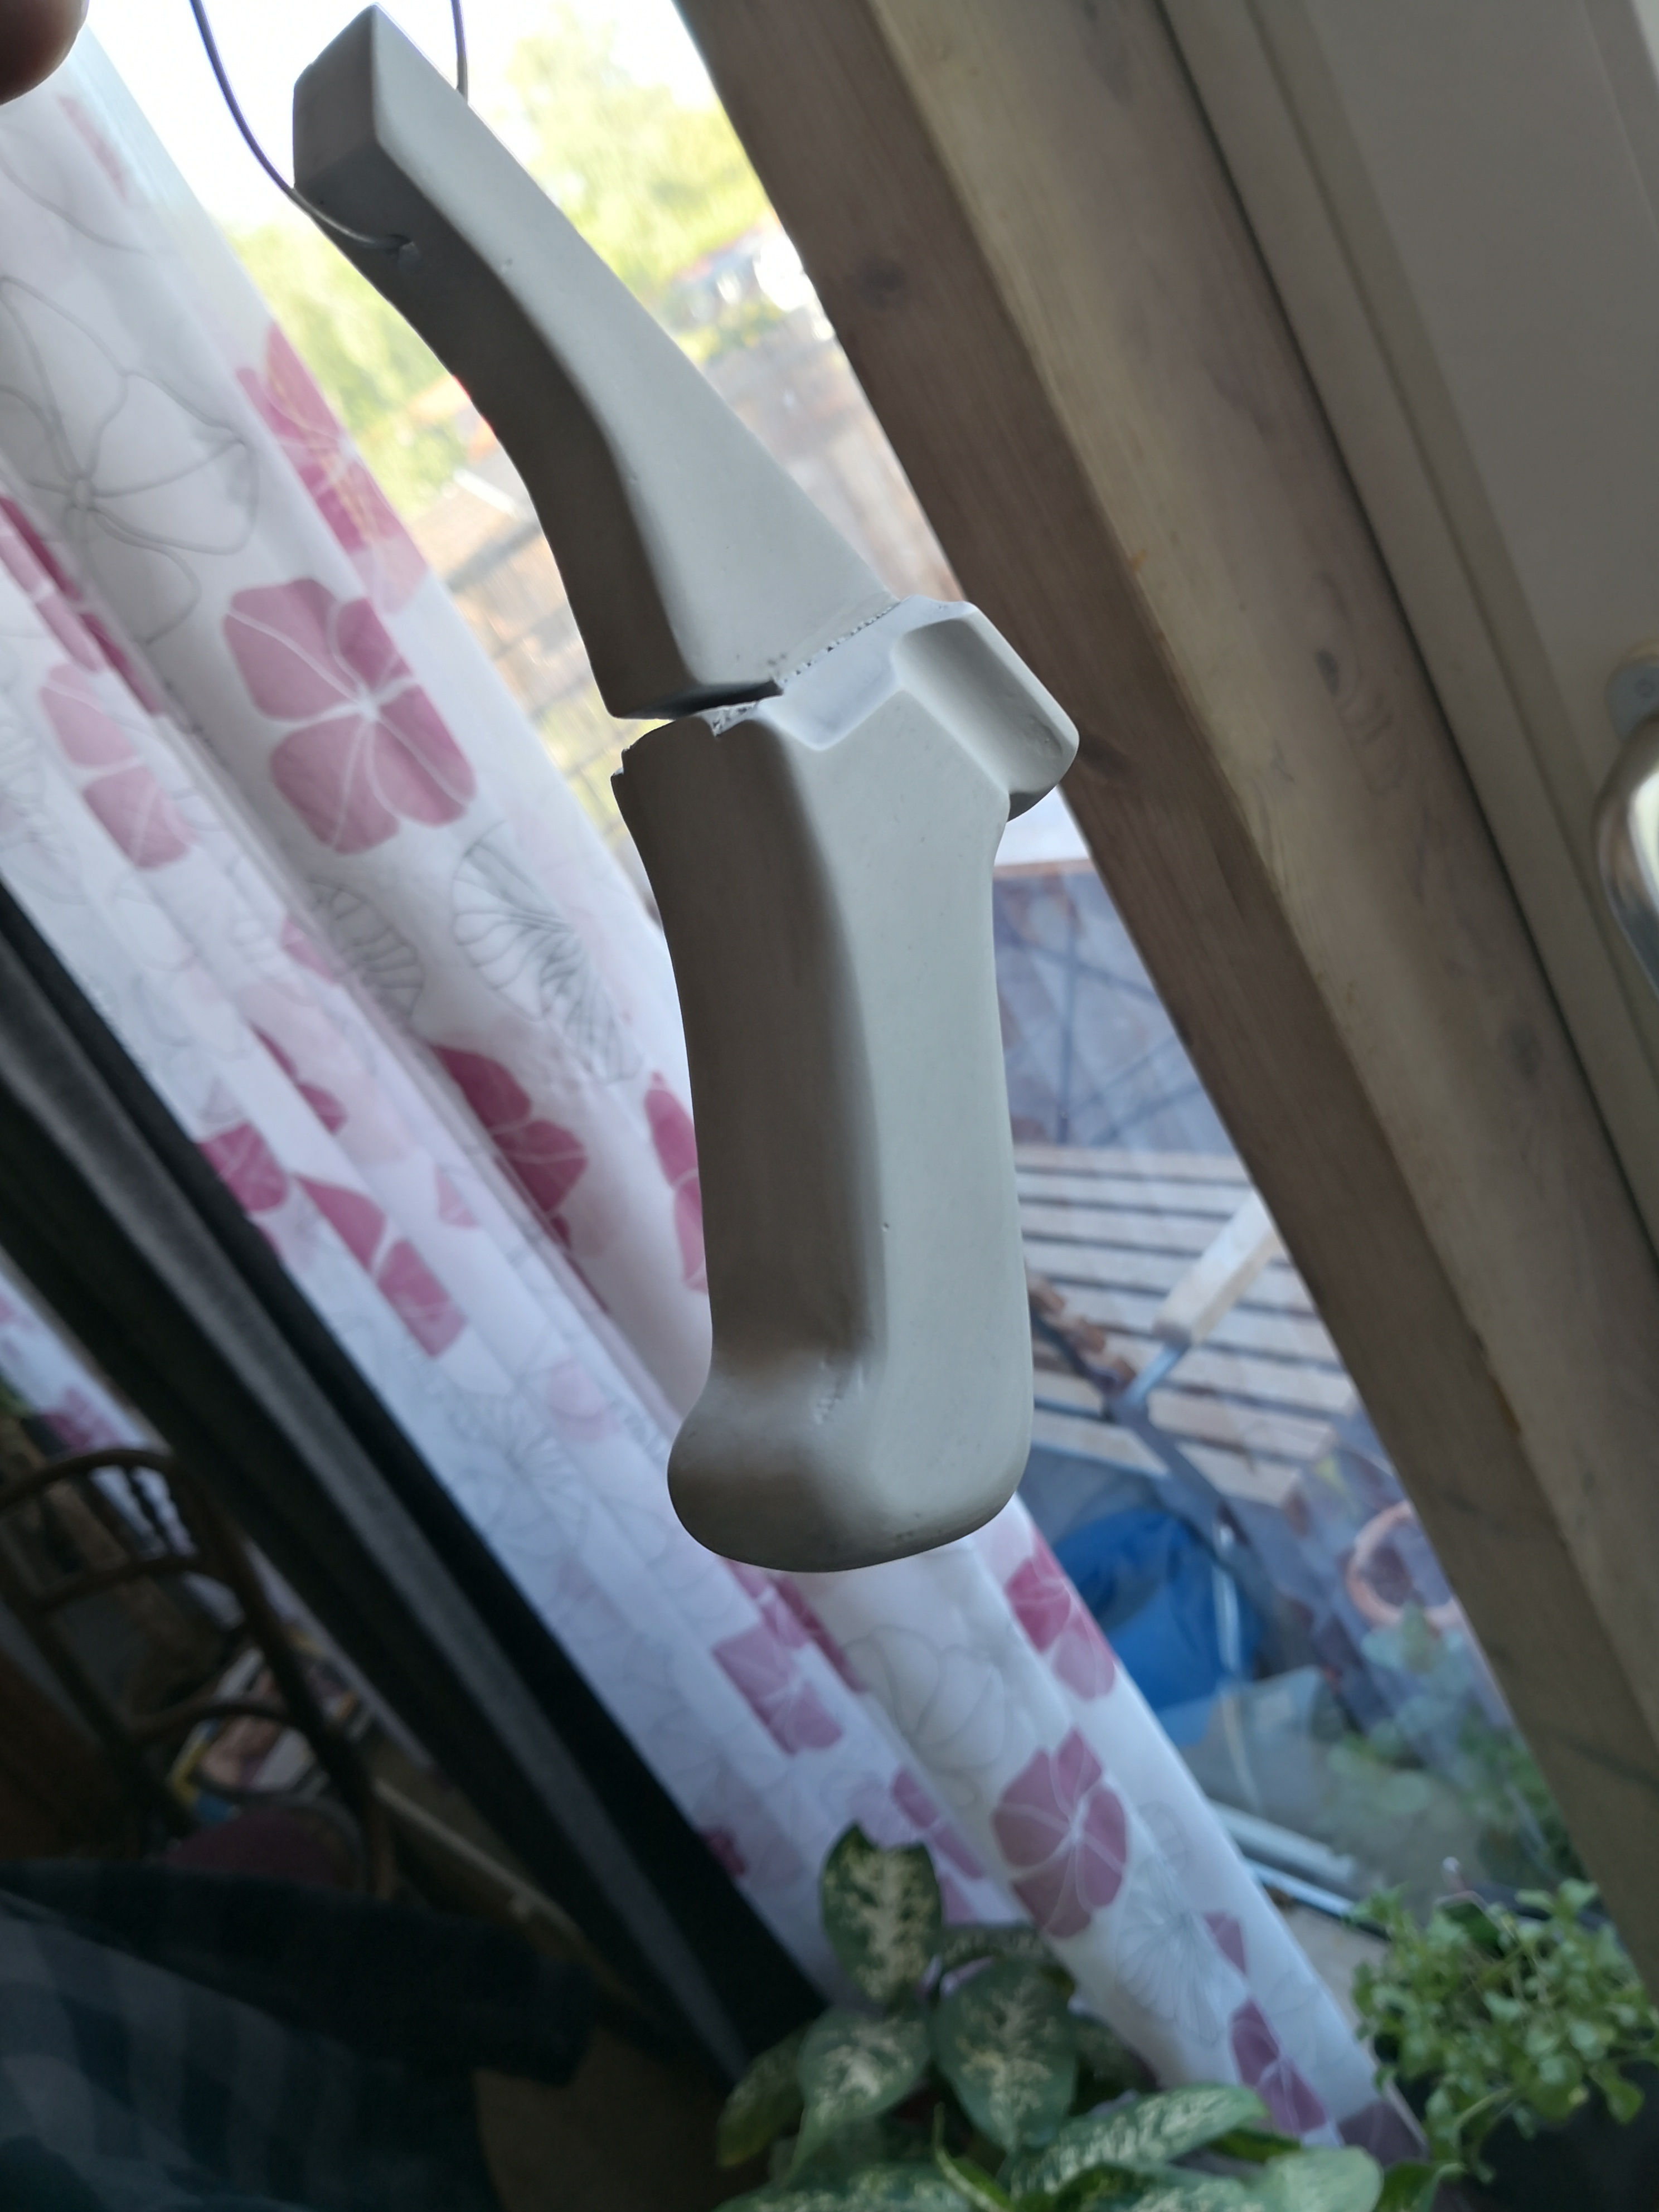
After the grey spray filler came some black special epoxy spray filler:

-
1
-
-
I then took care of the DD resin scope. After thouroughly washing it, I gave it a coat of plastic primer and then three coats of Plastikote brass.
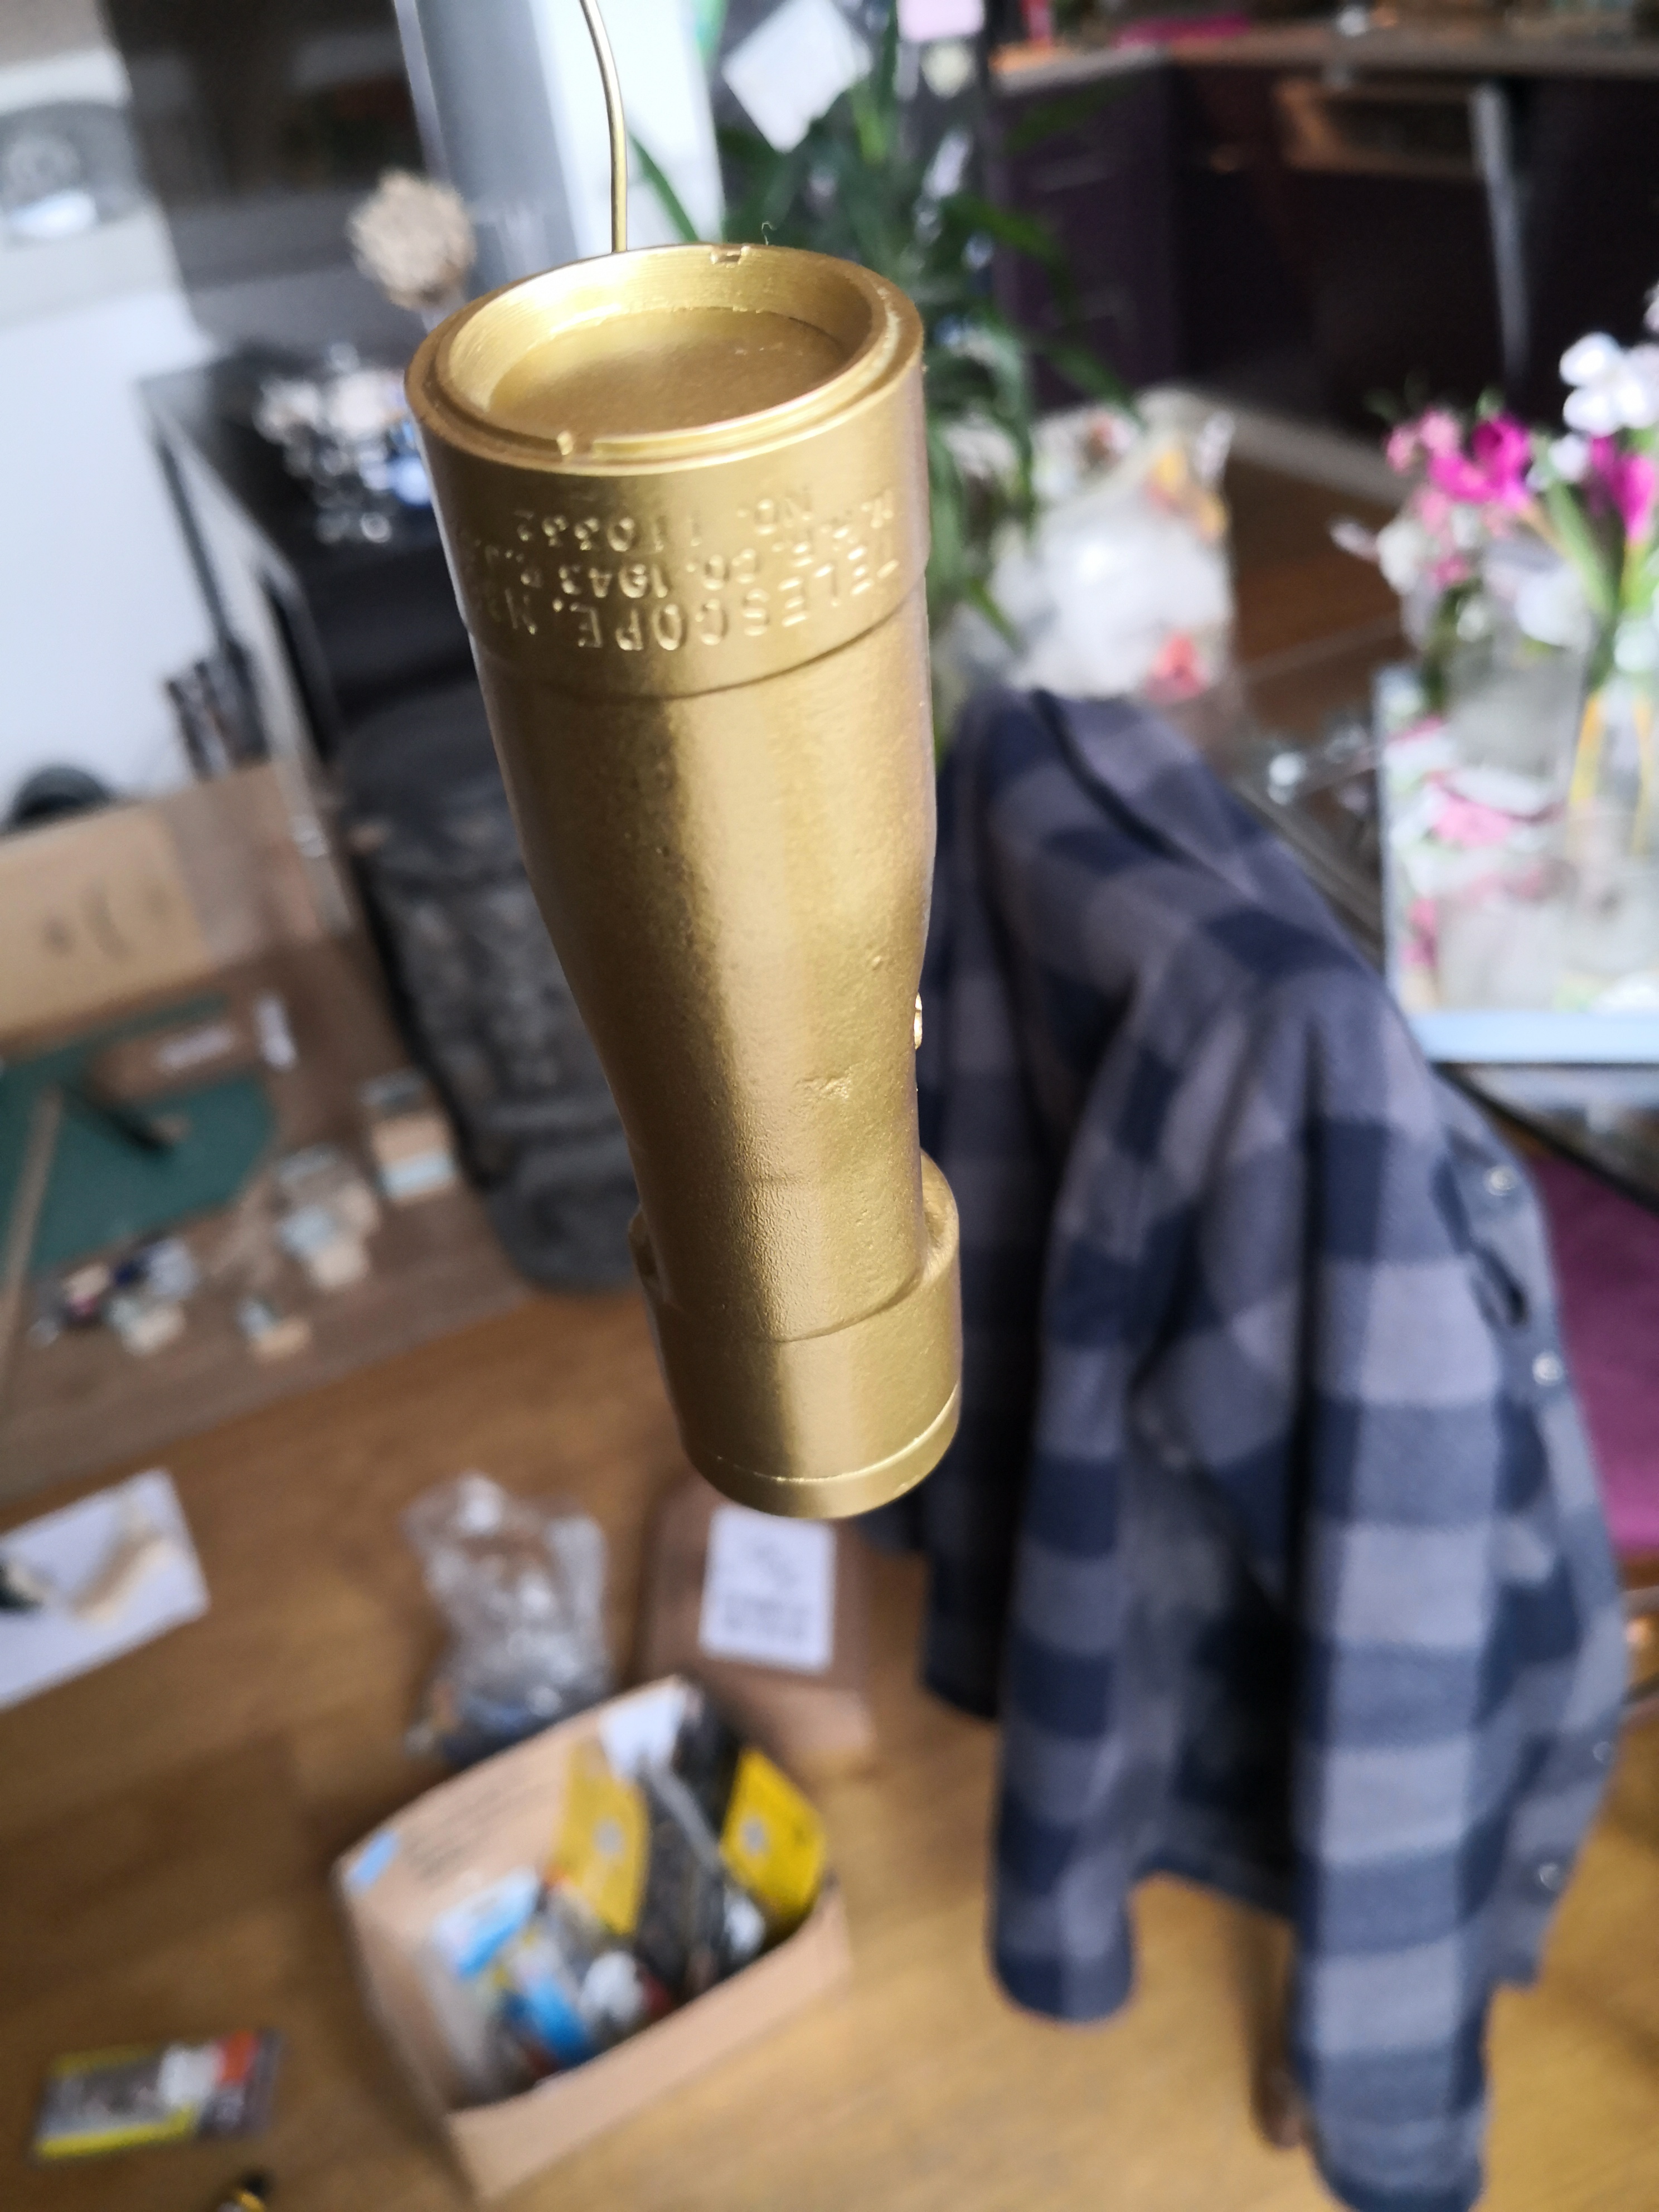
then I used Valleyo liquid masking fluid to cover the spots where I wanted the paint to appear cracked and worn.
So I applied two thin coats of satin matte black and let it dry to rubb of the masking fluid.
Finally I used a white wax crayon to rub it into the recesses of the lettering on the scope. I really dig finishing these scopes, it´s such a rewarding process.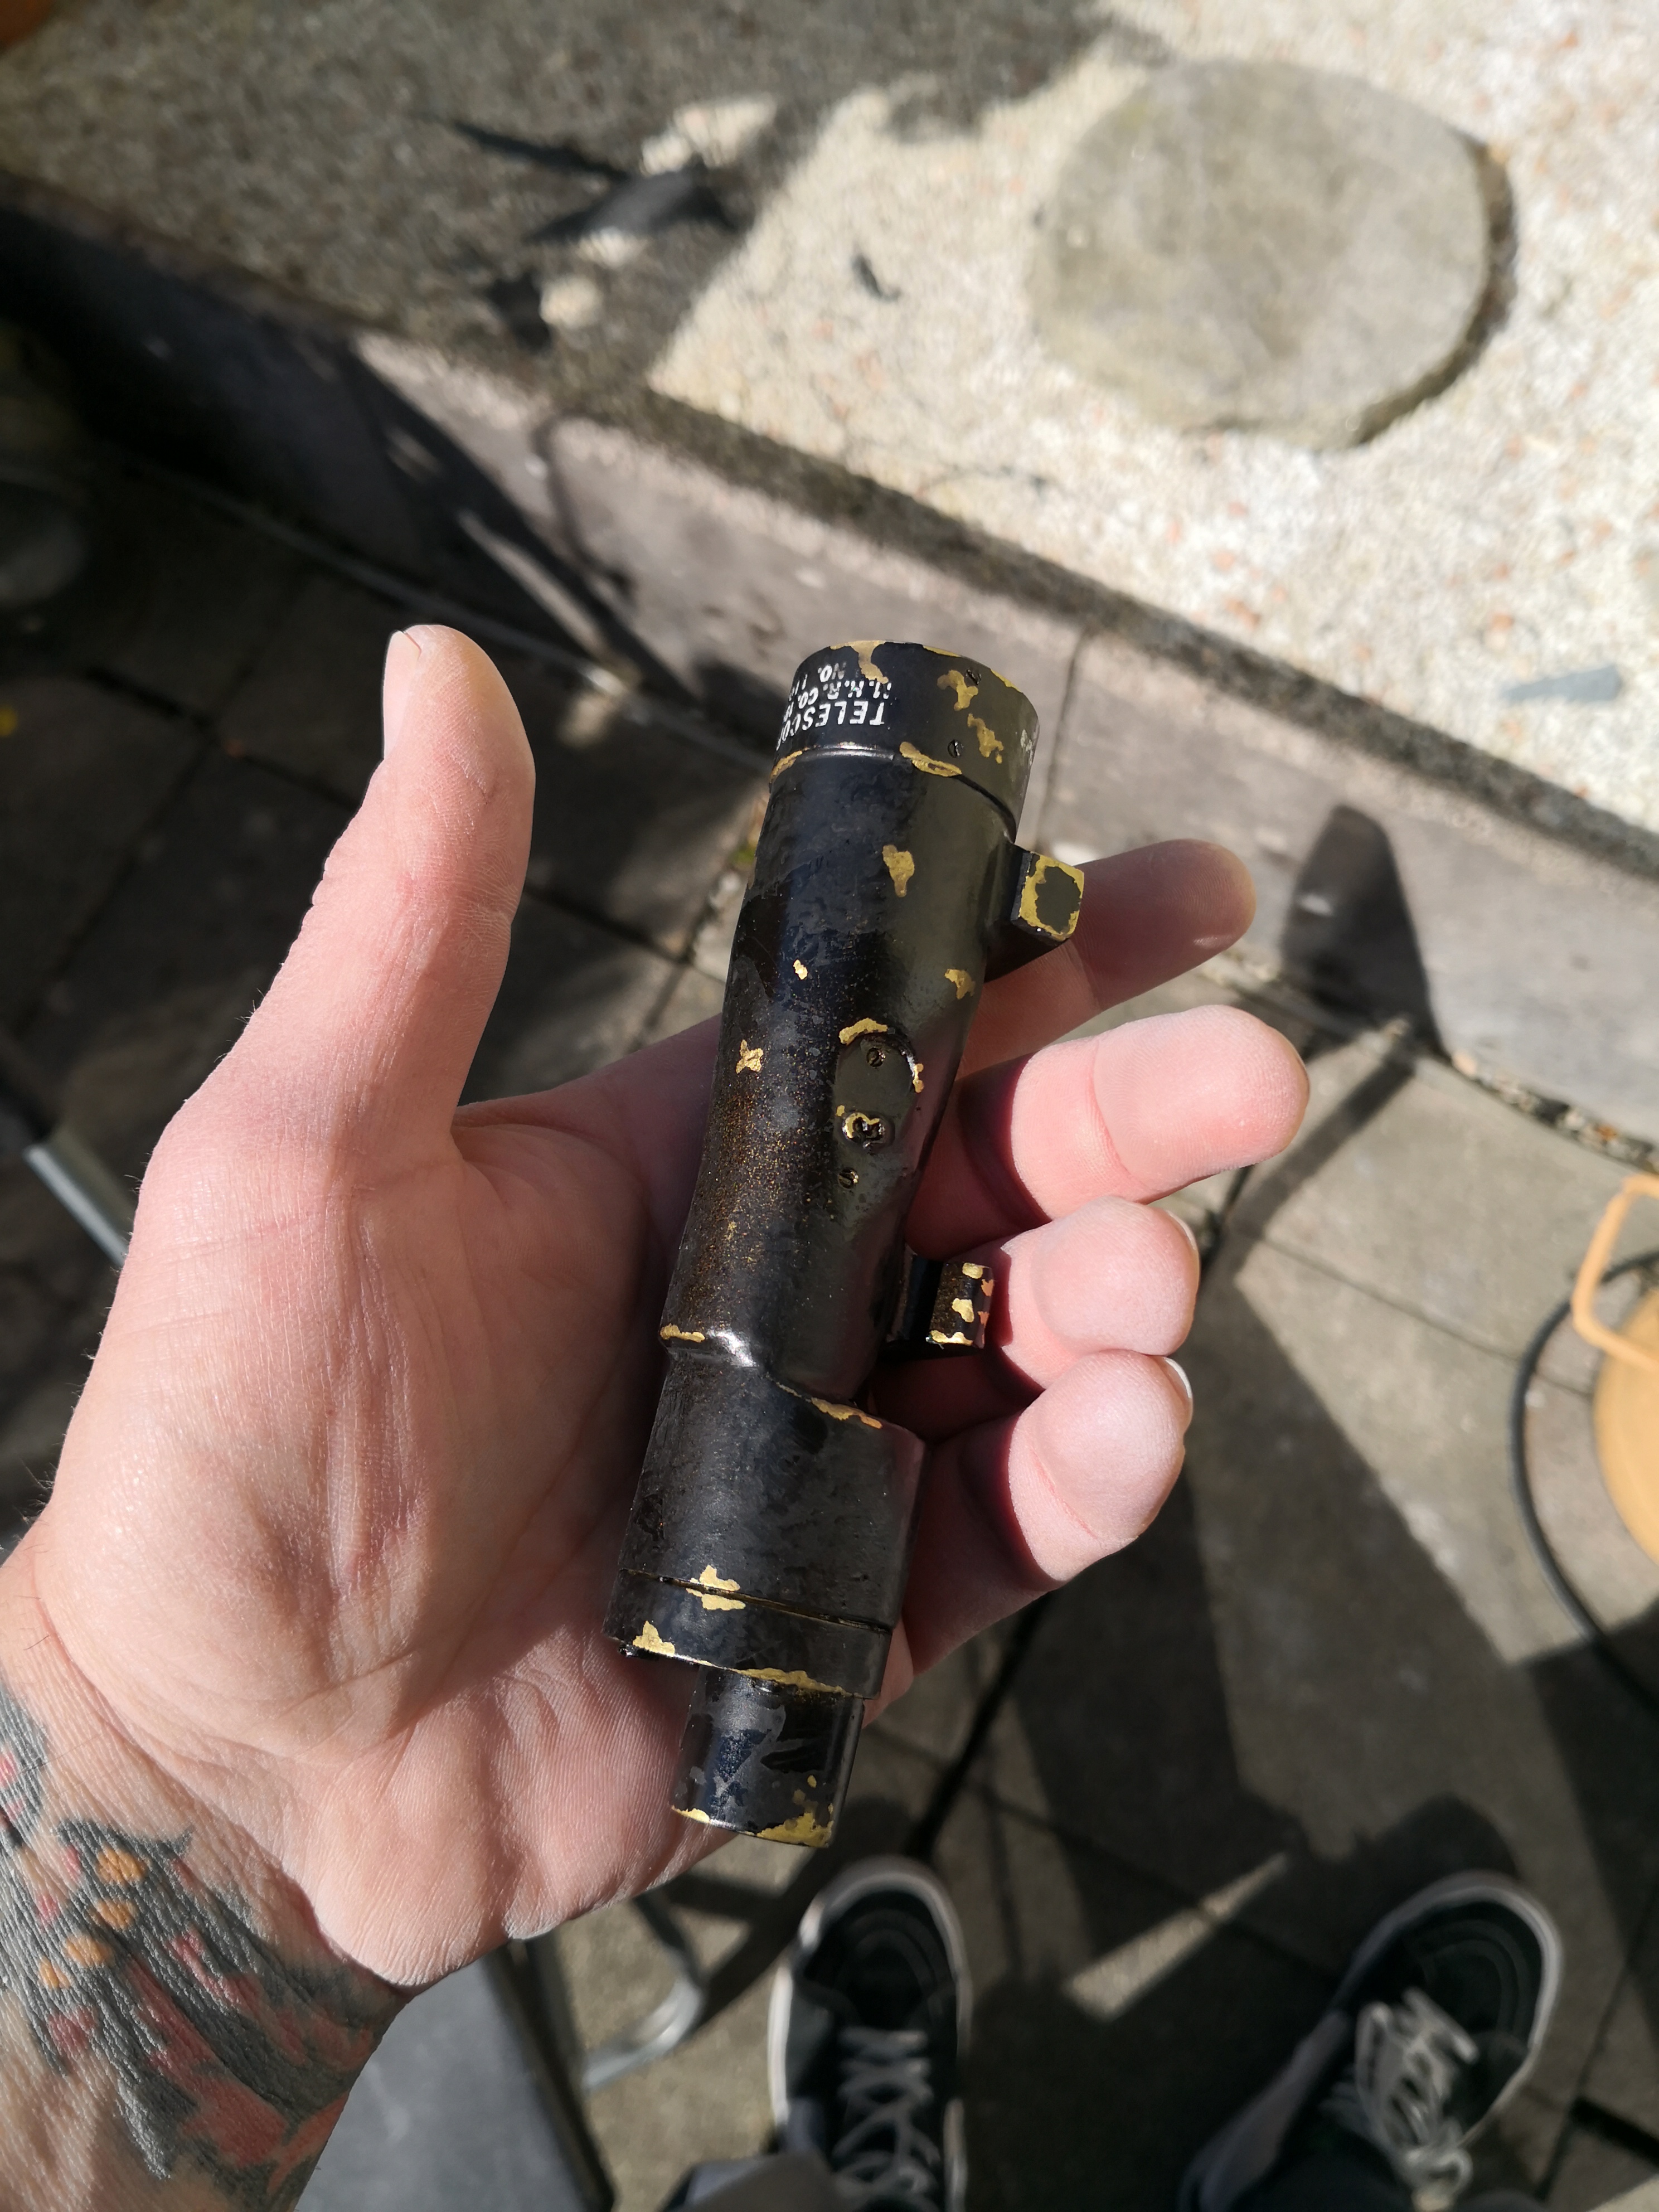
Then it got a clear coat and finally I will be weathering it with a mix of watered-down black and burnt umber acrylic paint.
-
1
-
-
On 5/25/2021 at 8:22 PM, OnkelPaschulke said:
I'm not worthy...

Wayne´s World.
I have completed this build so it´s about time to update this thread.
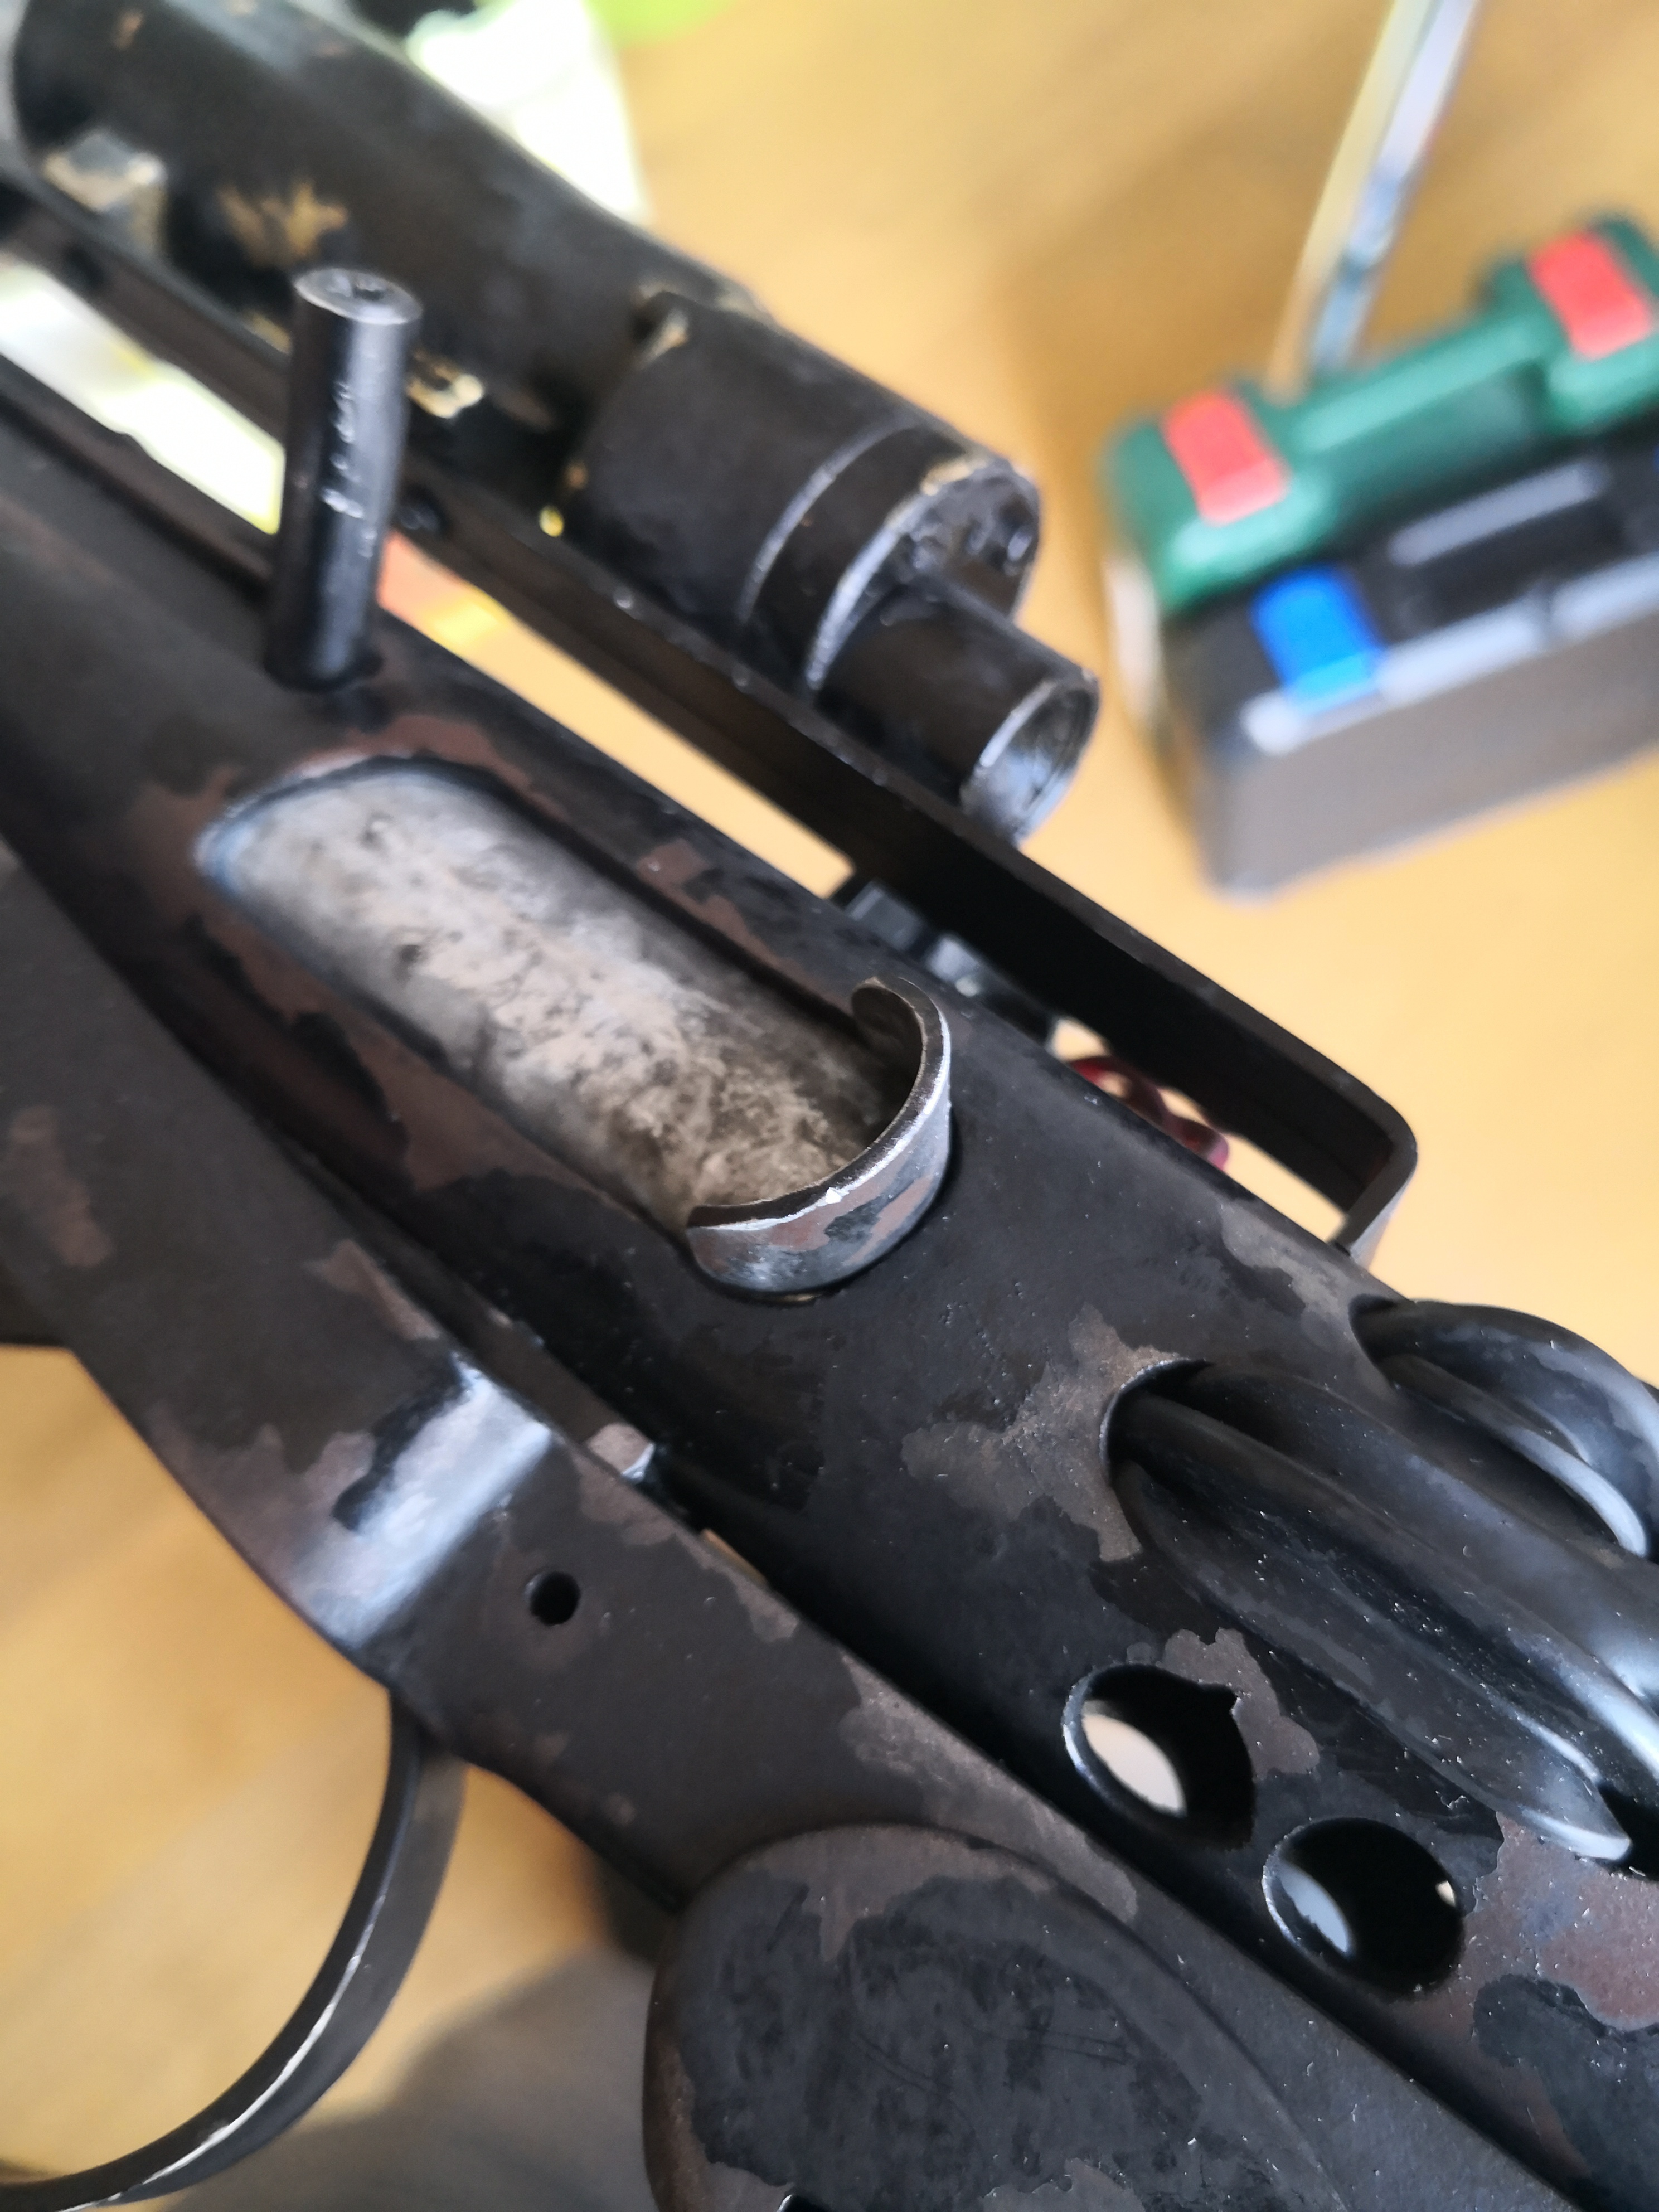
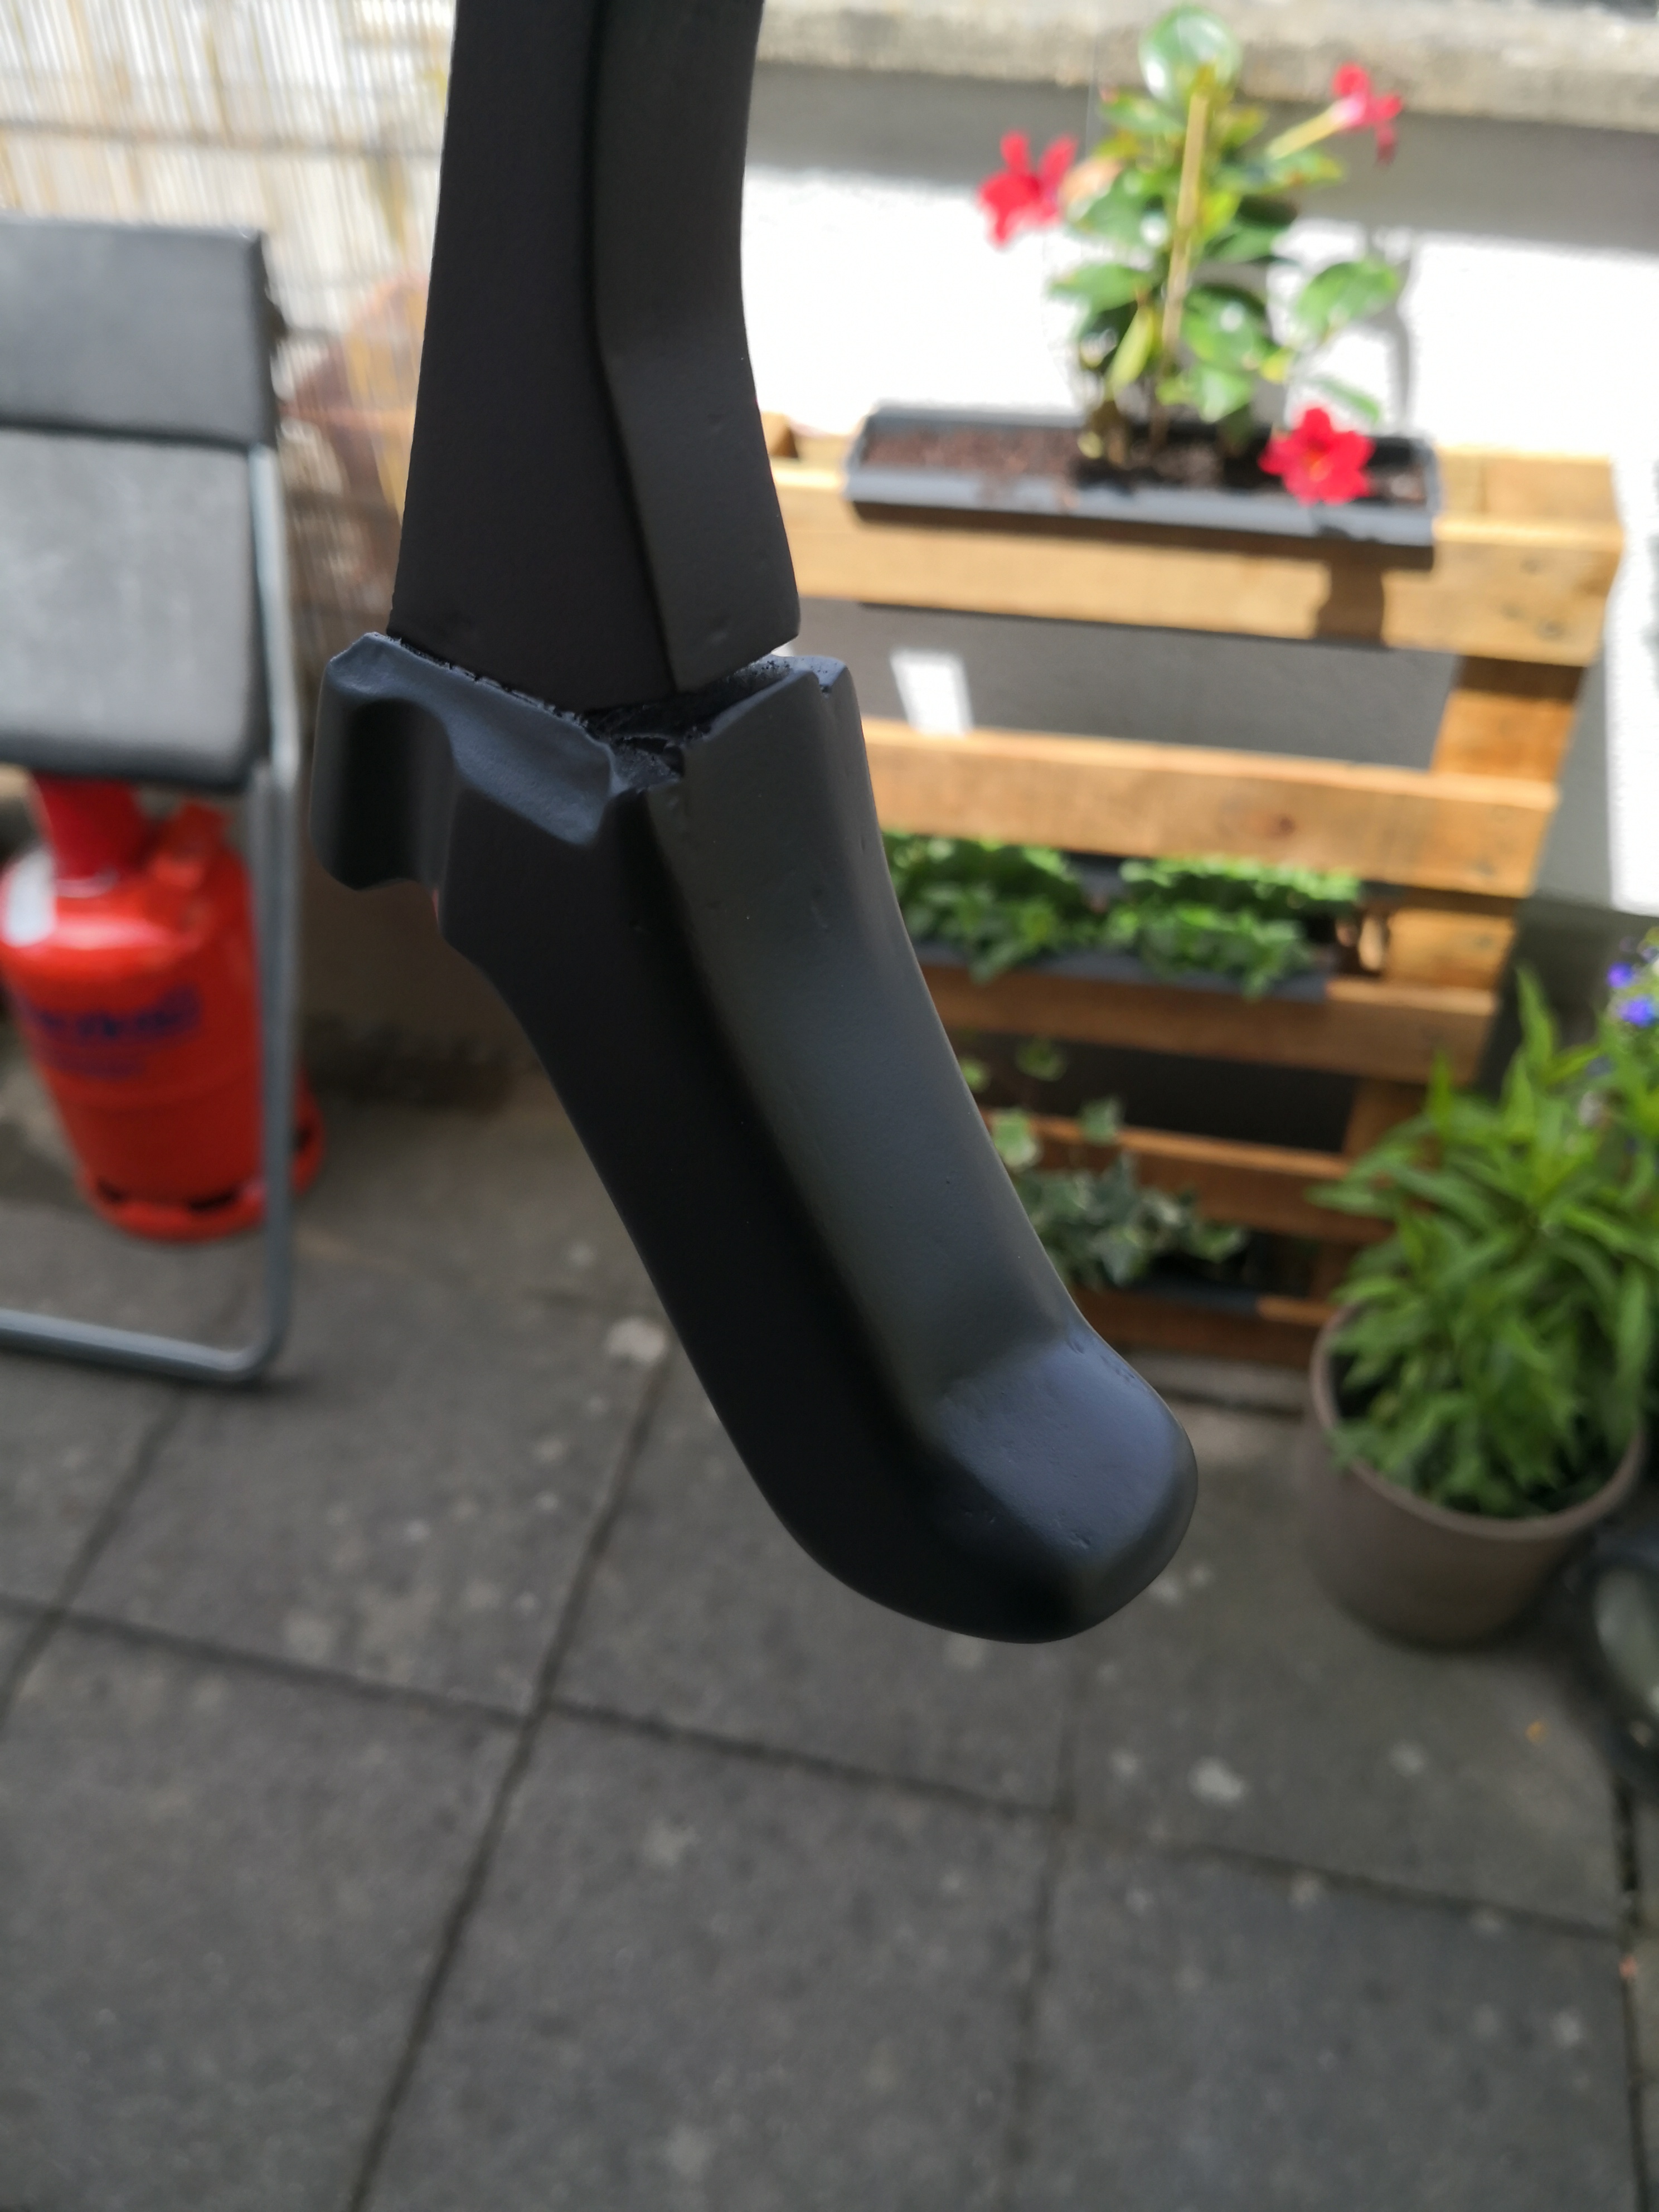
Gaps on the corners of the heat-formed ABS parts have been closed using black ABS Sludge and it worked so wonderfully that I also used it to add a coat if this stuff to cover the side of the mag housing where the wood was still showing. Takes a little longer to cure than bondo but worked a treat.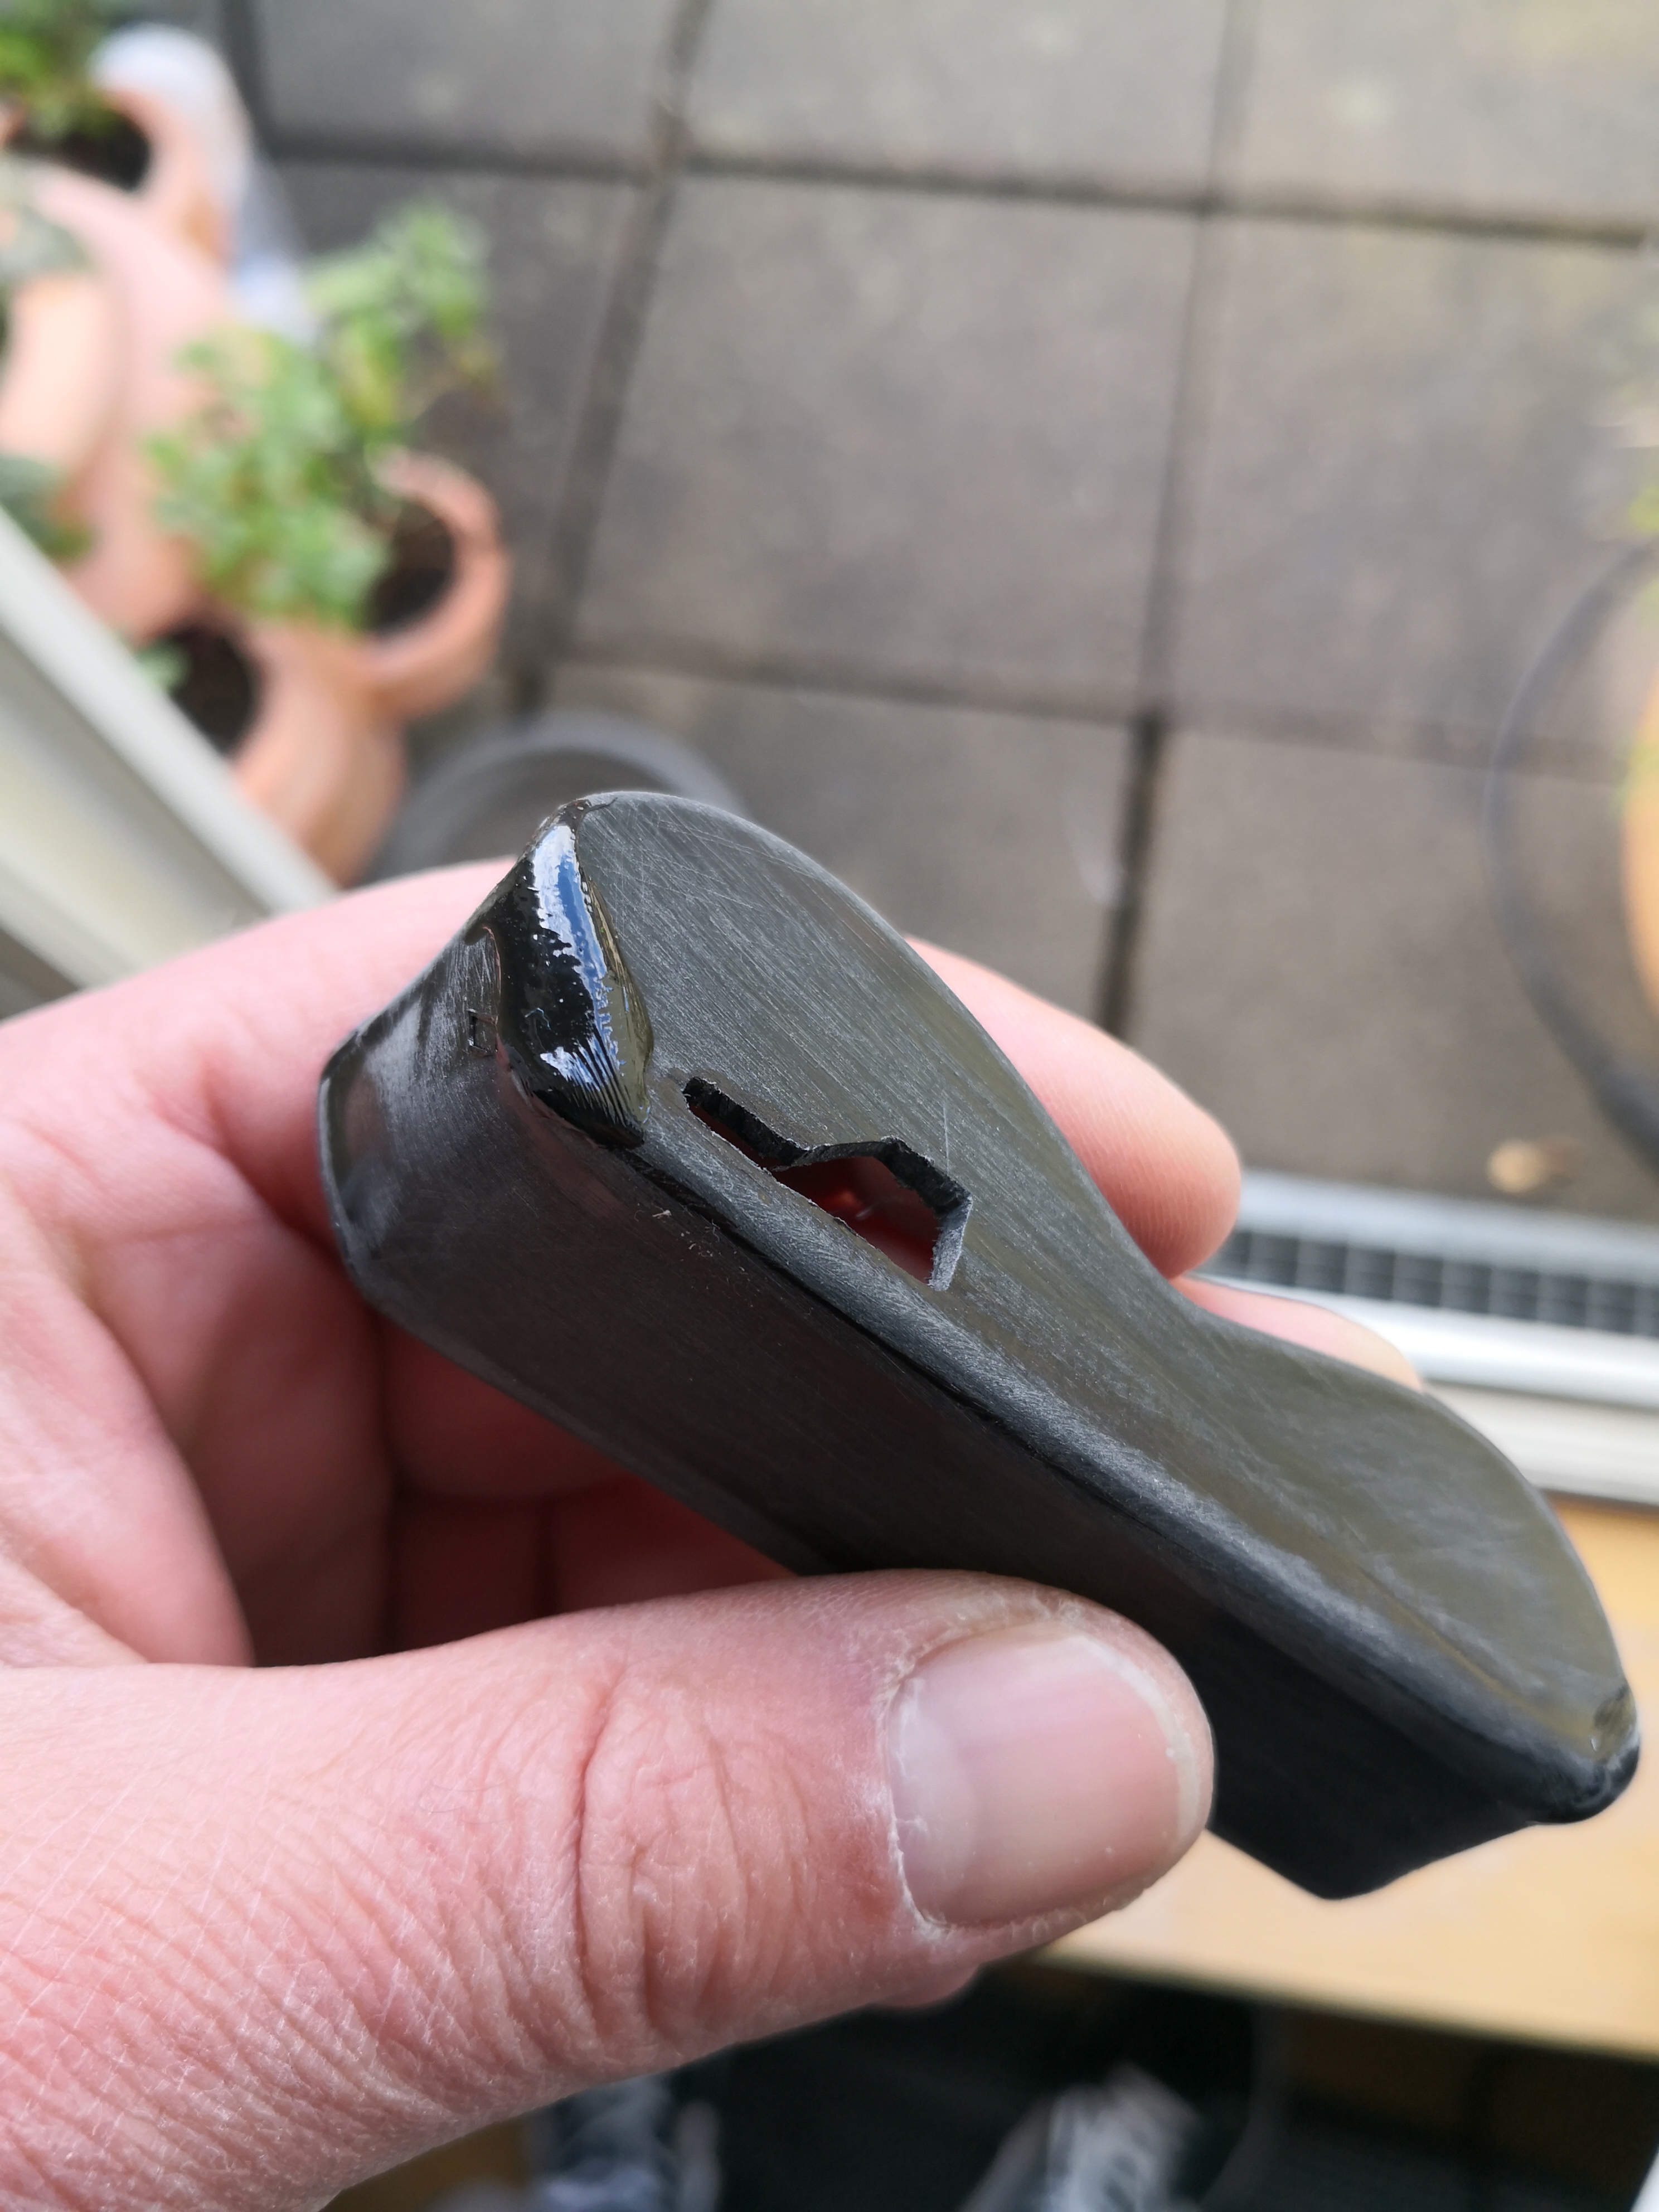

after sanding it down, it looked like this:


Might still look a little rough but hey, it´s a Bapty, this thing is supposed to look rough and worn anyway.
-
1
-
-
I am not so sure whether that's a good idea and if it will be strong enough with the zip ties as they will have to support all items attached to the upper trays too. I just used coverstrips glued to the inside to connect the trays.
-
Looks to me like the only thing left to do is add some tape... and dirt.
-
1
-


3D Files for Field Pack - 3D Printing
in Field Backpack
Posted
Now that 3D print looks pristine, great work!
Did you print that in resin?