


Hausi
-
Posts
1,511 -
Joined
-
Last visited
-
Days Won
120
Content Type
Events
Profiles
Forums
Posts posted by Hausi
-
-
Yeah mate, I dig that weathering, looks very natural. Just give it enough time to dry before you wear it, I can already see it coming off on your chest where the shoulder pouch rubs on the armor.
-
 1
1
-
-
Looks okay to me, should be clearable but I can't really tell from that one grainy picture.
Have a look at the requirements here:
Then check out the armor to get an idea how much work will be required.
What is even more important is : does it fit your body? The biceps and thighs seem quite big and if you're a thin person, you will have to make these parts fit.
Hope this helps, cheers mate
-
1
-
-
Hey Helder, congrats, very well deserved, great work mate.

-
1
-
-
Thanks for those kind words guys, appreciate it!
@519 Trooper your build thread was extremely helpful and made my build so much easier, it's great if people like you still take the time and put so much effort into writing such a detailed thread and it always makes for an entertaining read, so thanks again.
-
 1
1
-
-
Yeah Björn, looks really good.

-
1
-
-
What has happened David, I thought you already had ordered a pack?
-
Hi mate and welcome, you've come to the right place.
Make sure to take your time to look through the threads, loads of interesting information to be found. I know it's a lot of reading but definitely worth it. There are different ways to attach the mortartube, you can find the method I've chosen in my latest build thread (give it some time to load, lots of pictures in there) :
The tube seen in your picture is called labpipe and mine is attached with a screw at the top and a zip tie at the bottom. The screw hole visible on the outside was finally covered with gaffer tape. You could also use the same technique as I use on the mortartubes: scewhead on the inside of the tube, bolt coming out and then secured with a securing nut.
-
Congrats again Tim, I'm sure you will do a great job mate. Looking forward to another great year, love the MEPD.
-
1
-
-
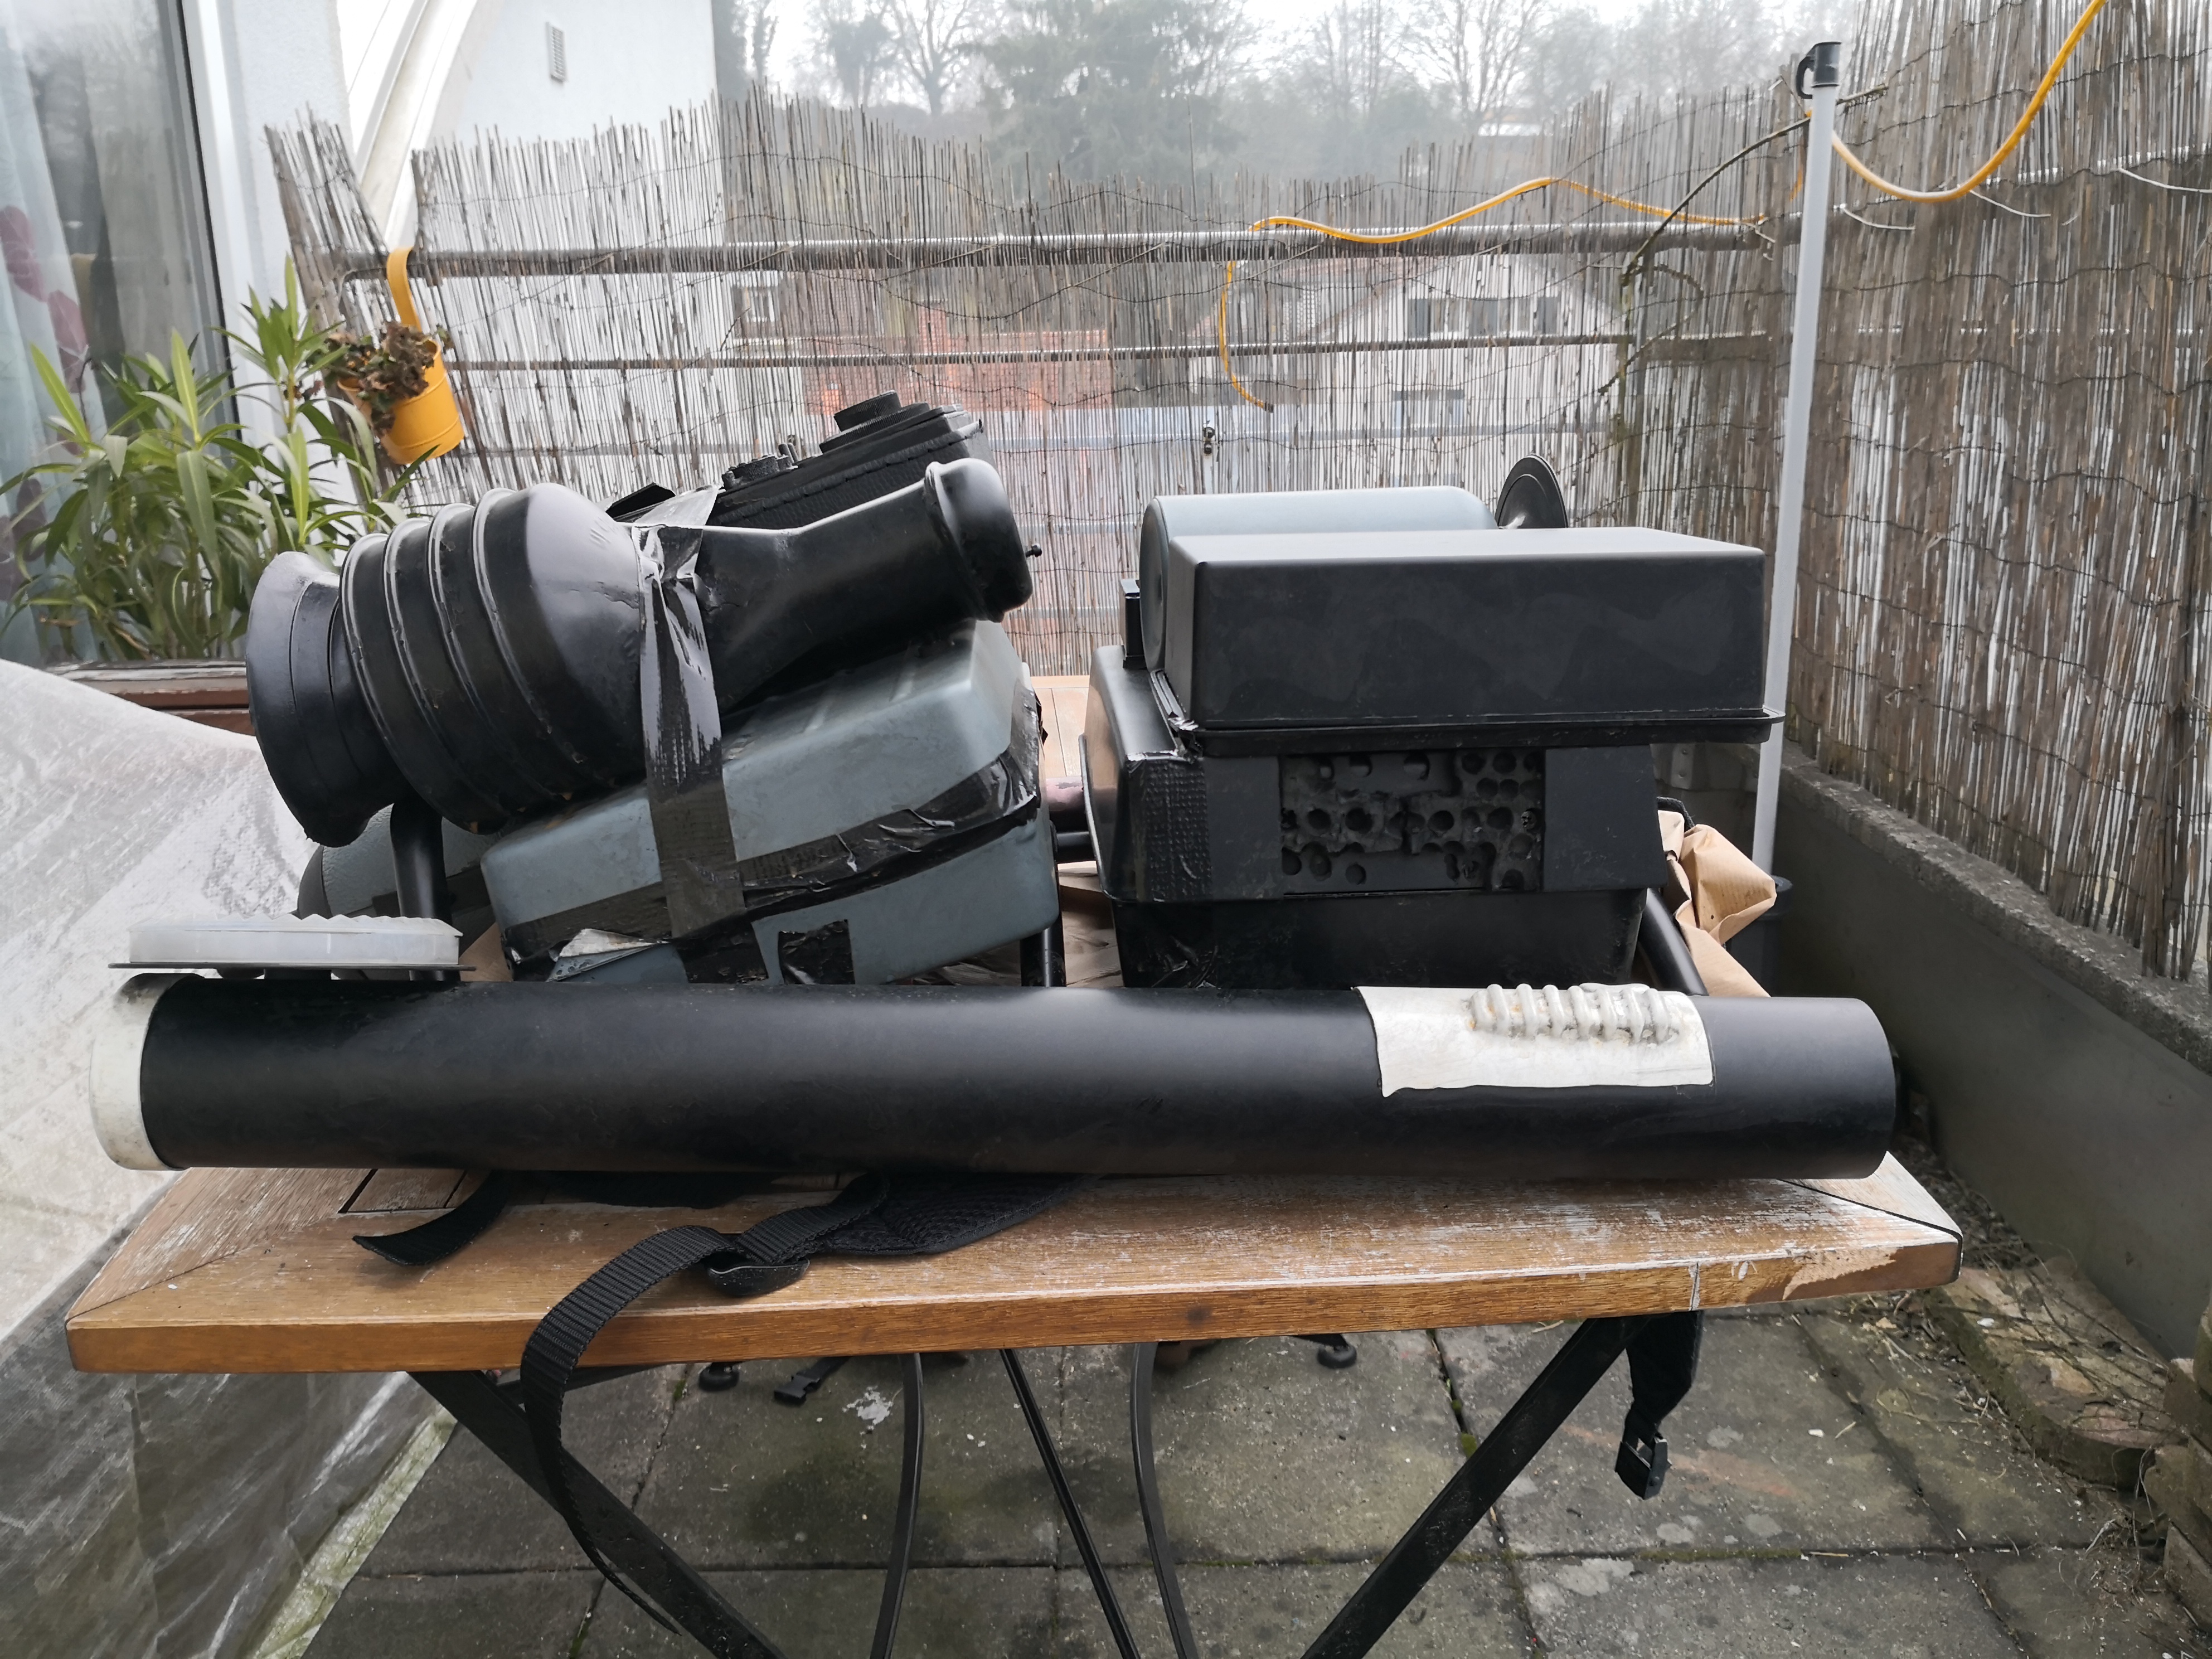
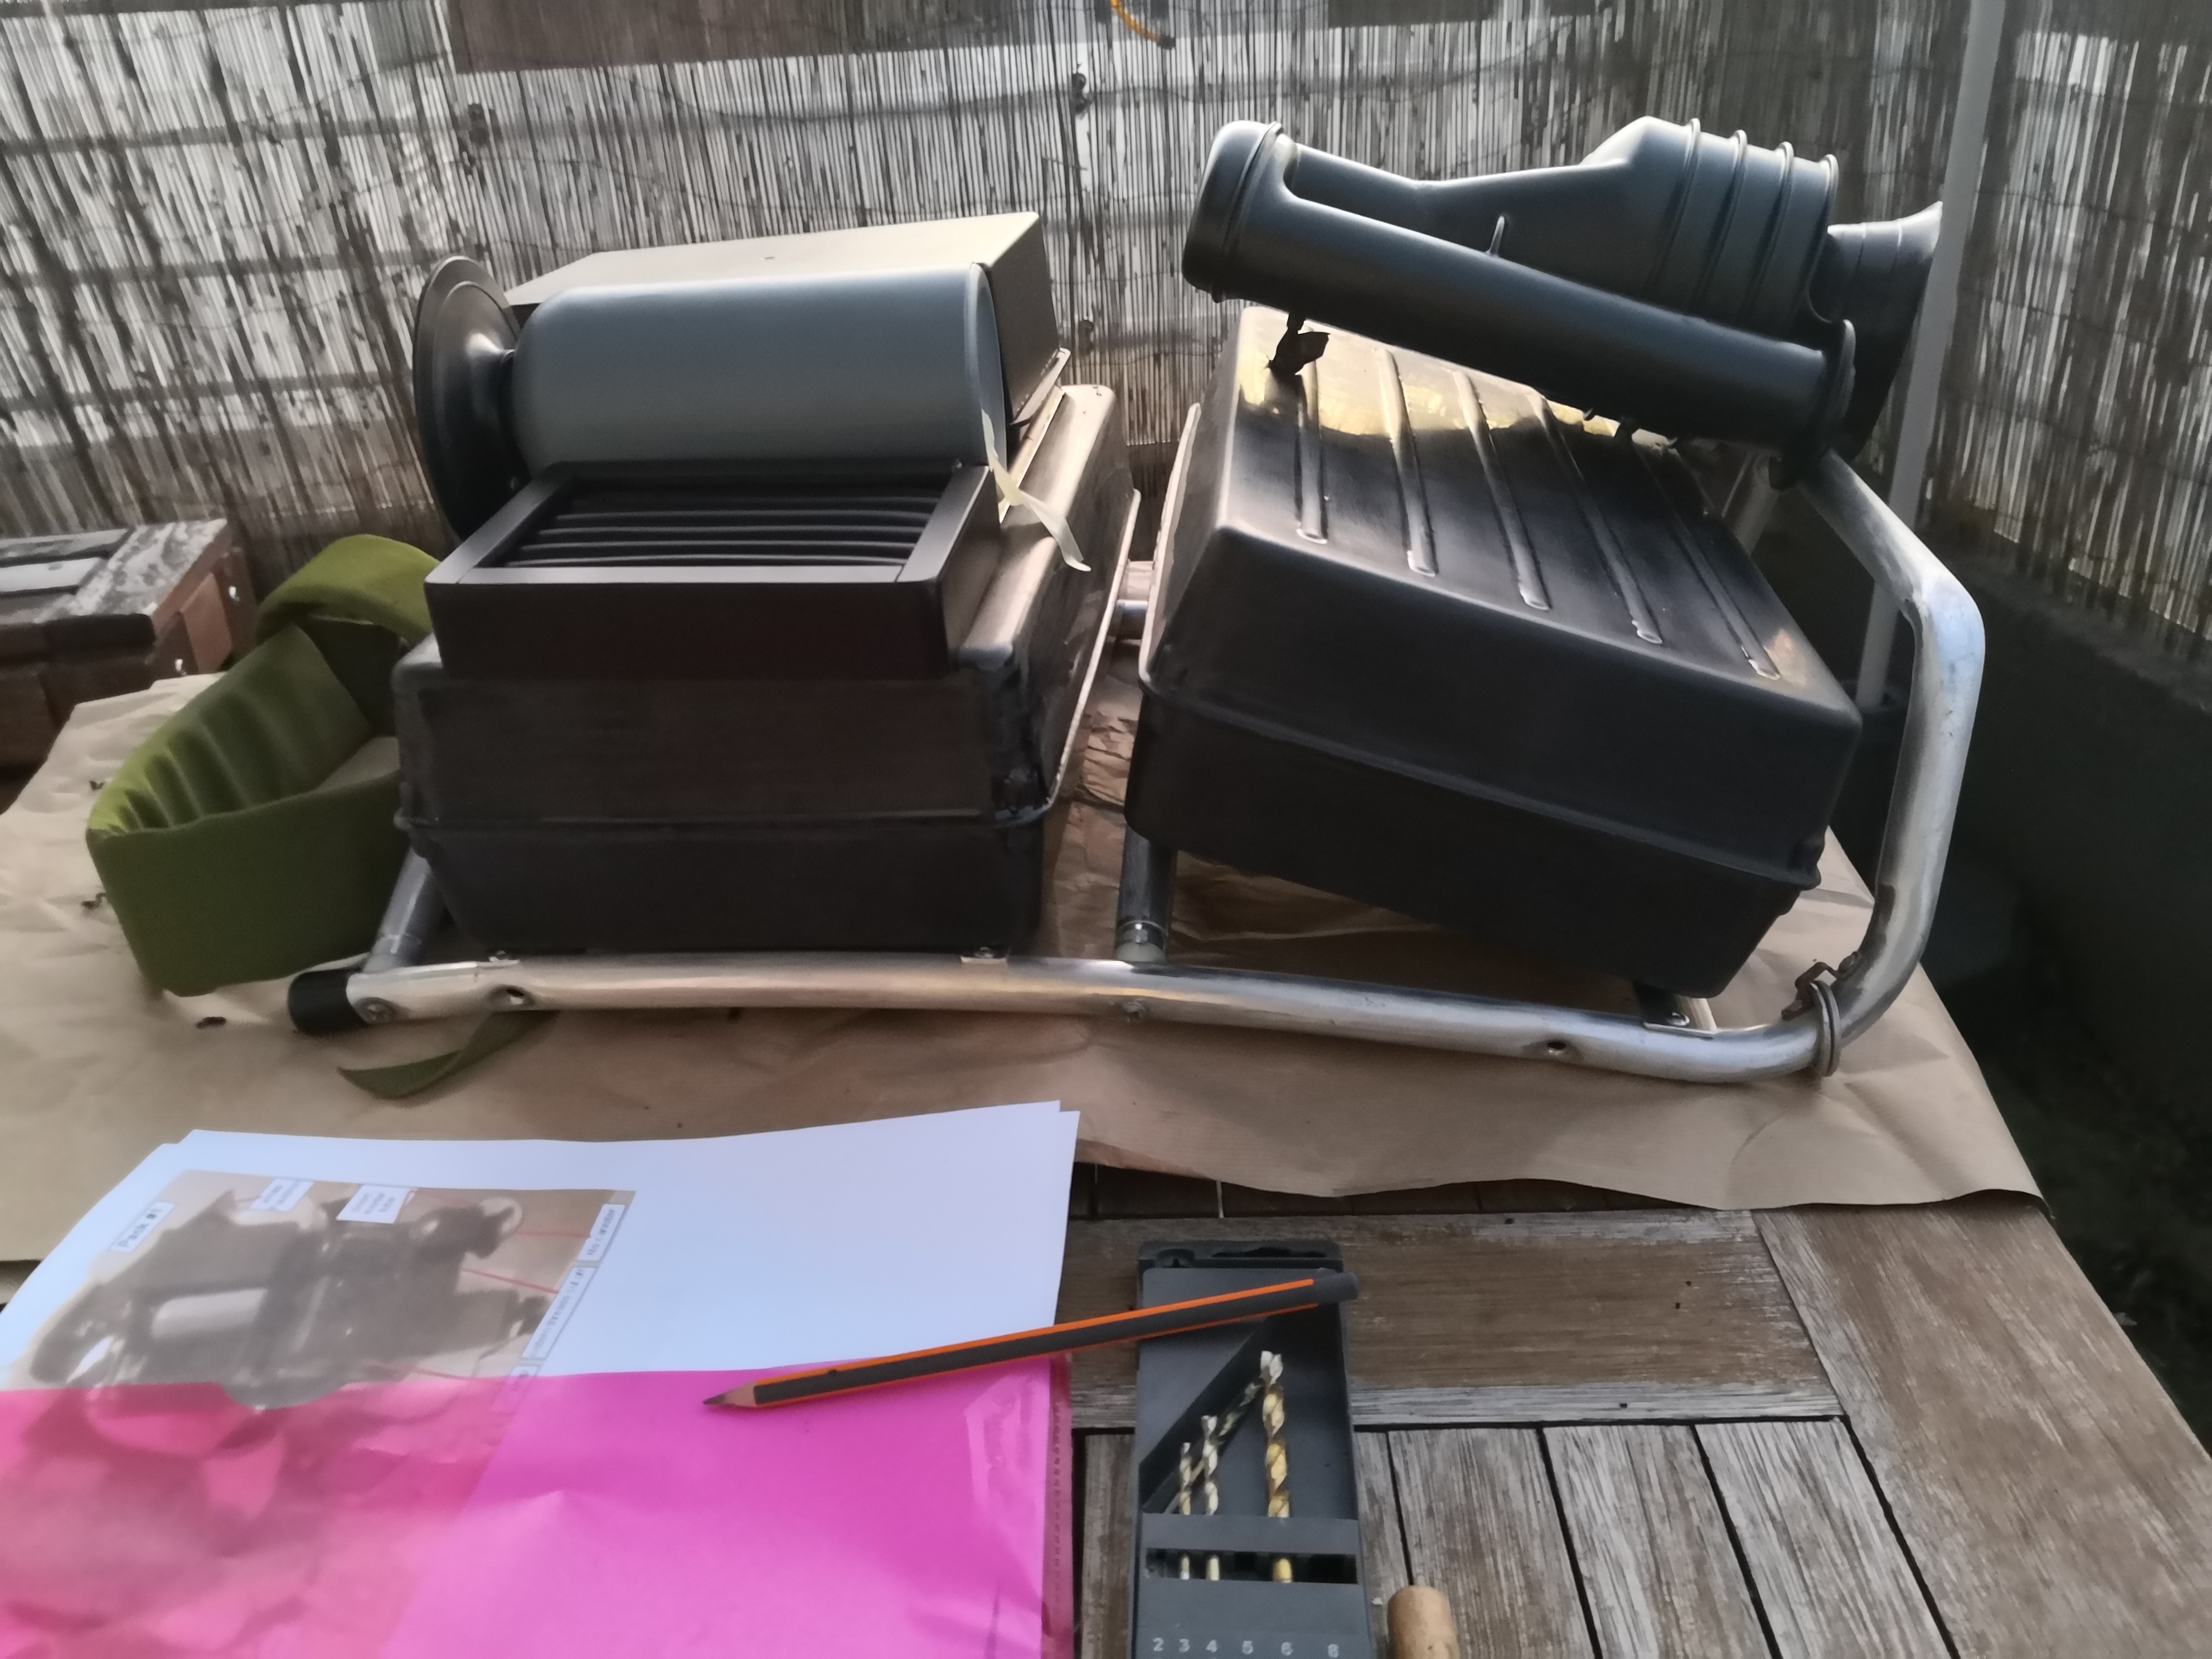
And finally I can post some pics of my completed pack#1
I have tried not to overdo the weathering so it still looks subtle. Keeping the amount of gaffer tape used subtle wasn´t possible as this pack is meant to be screen accurate. Don´t worry, the tape is just for decoration, the whole pack is very sturdy.
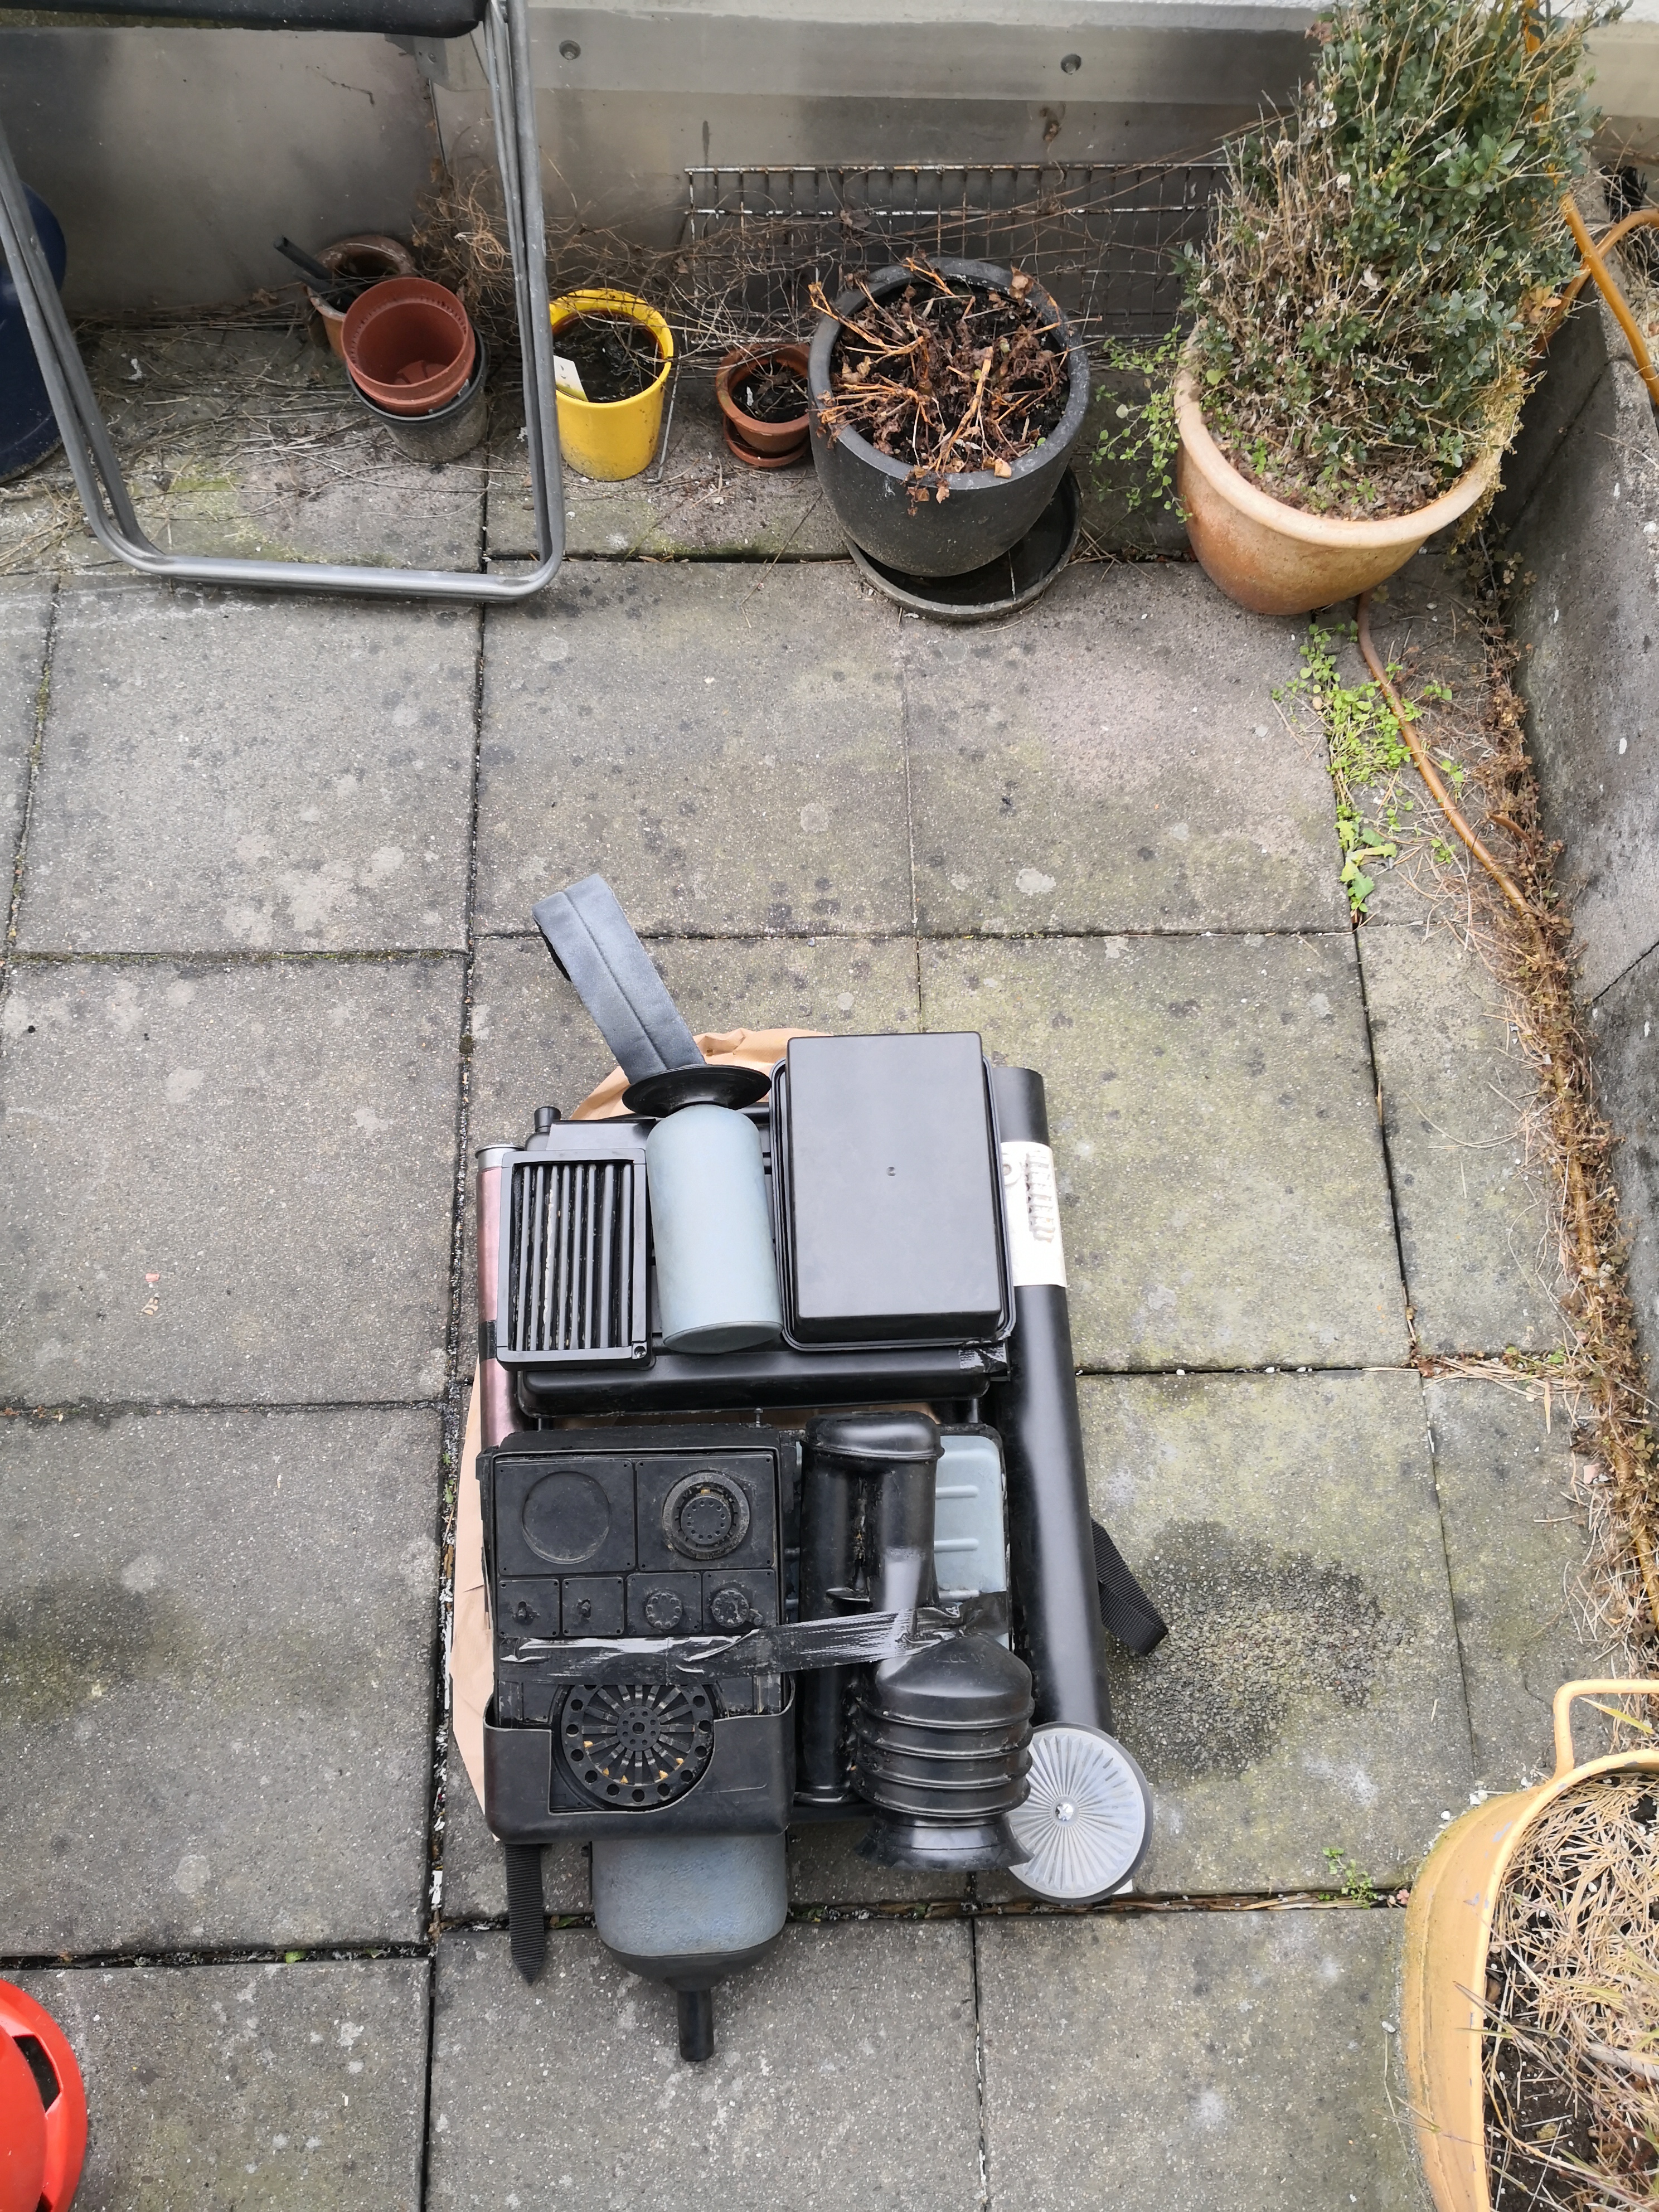


And because this has recently been discussed: the weight of it:
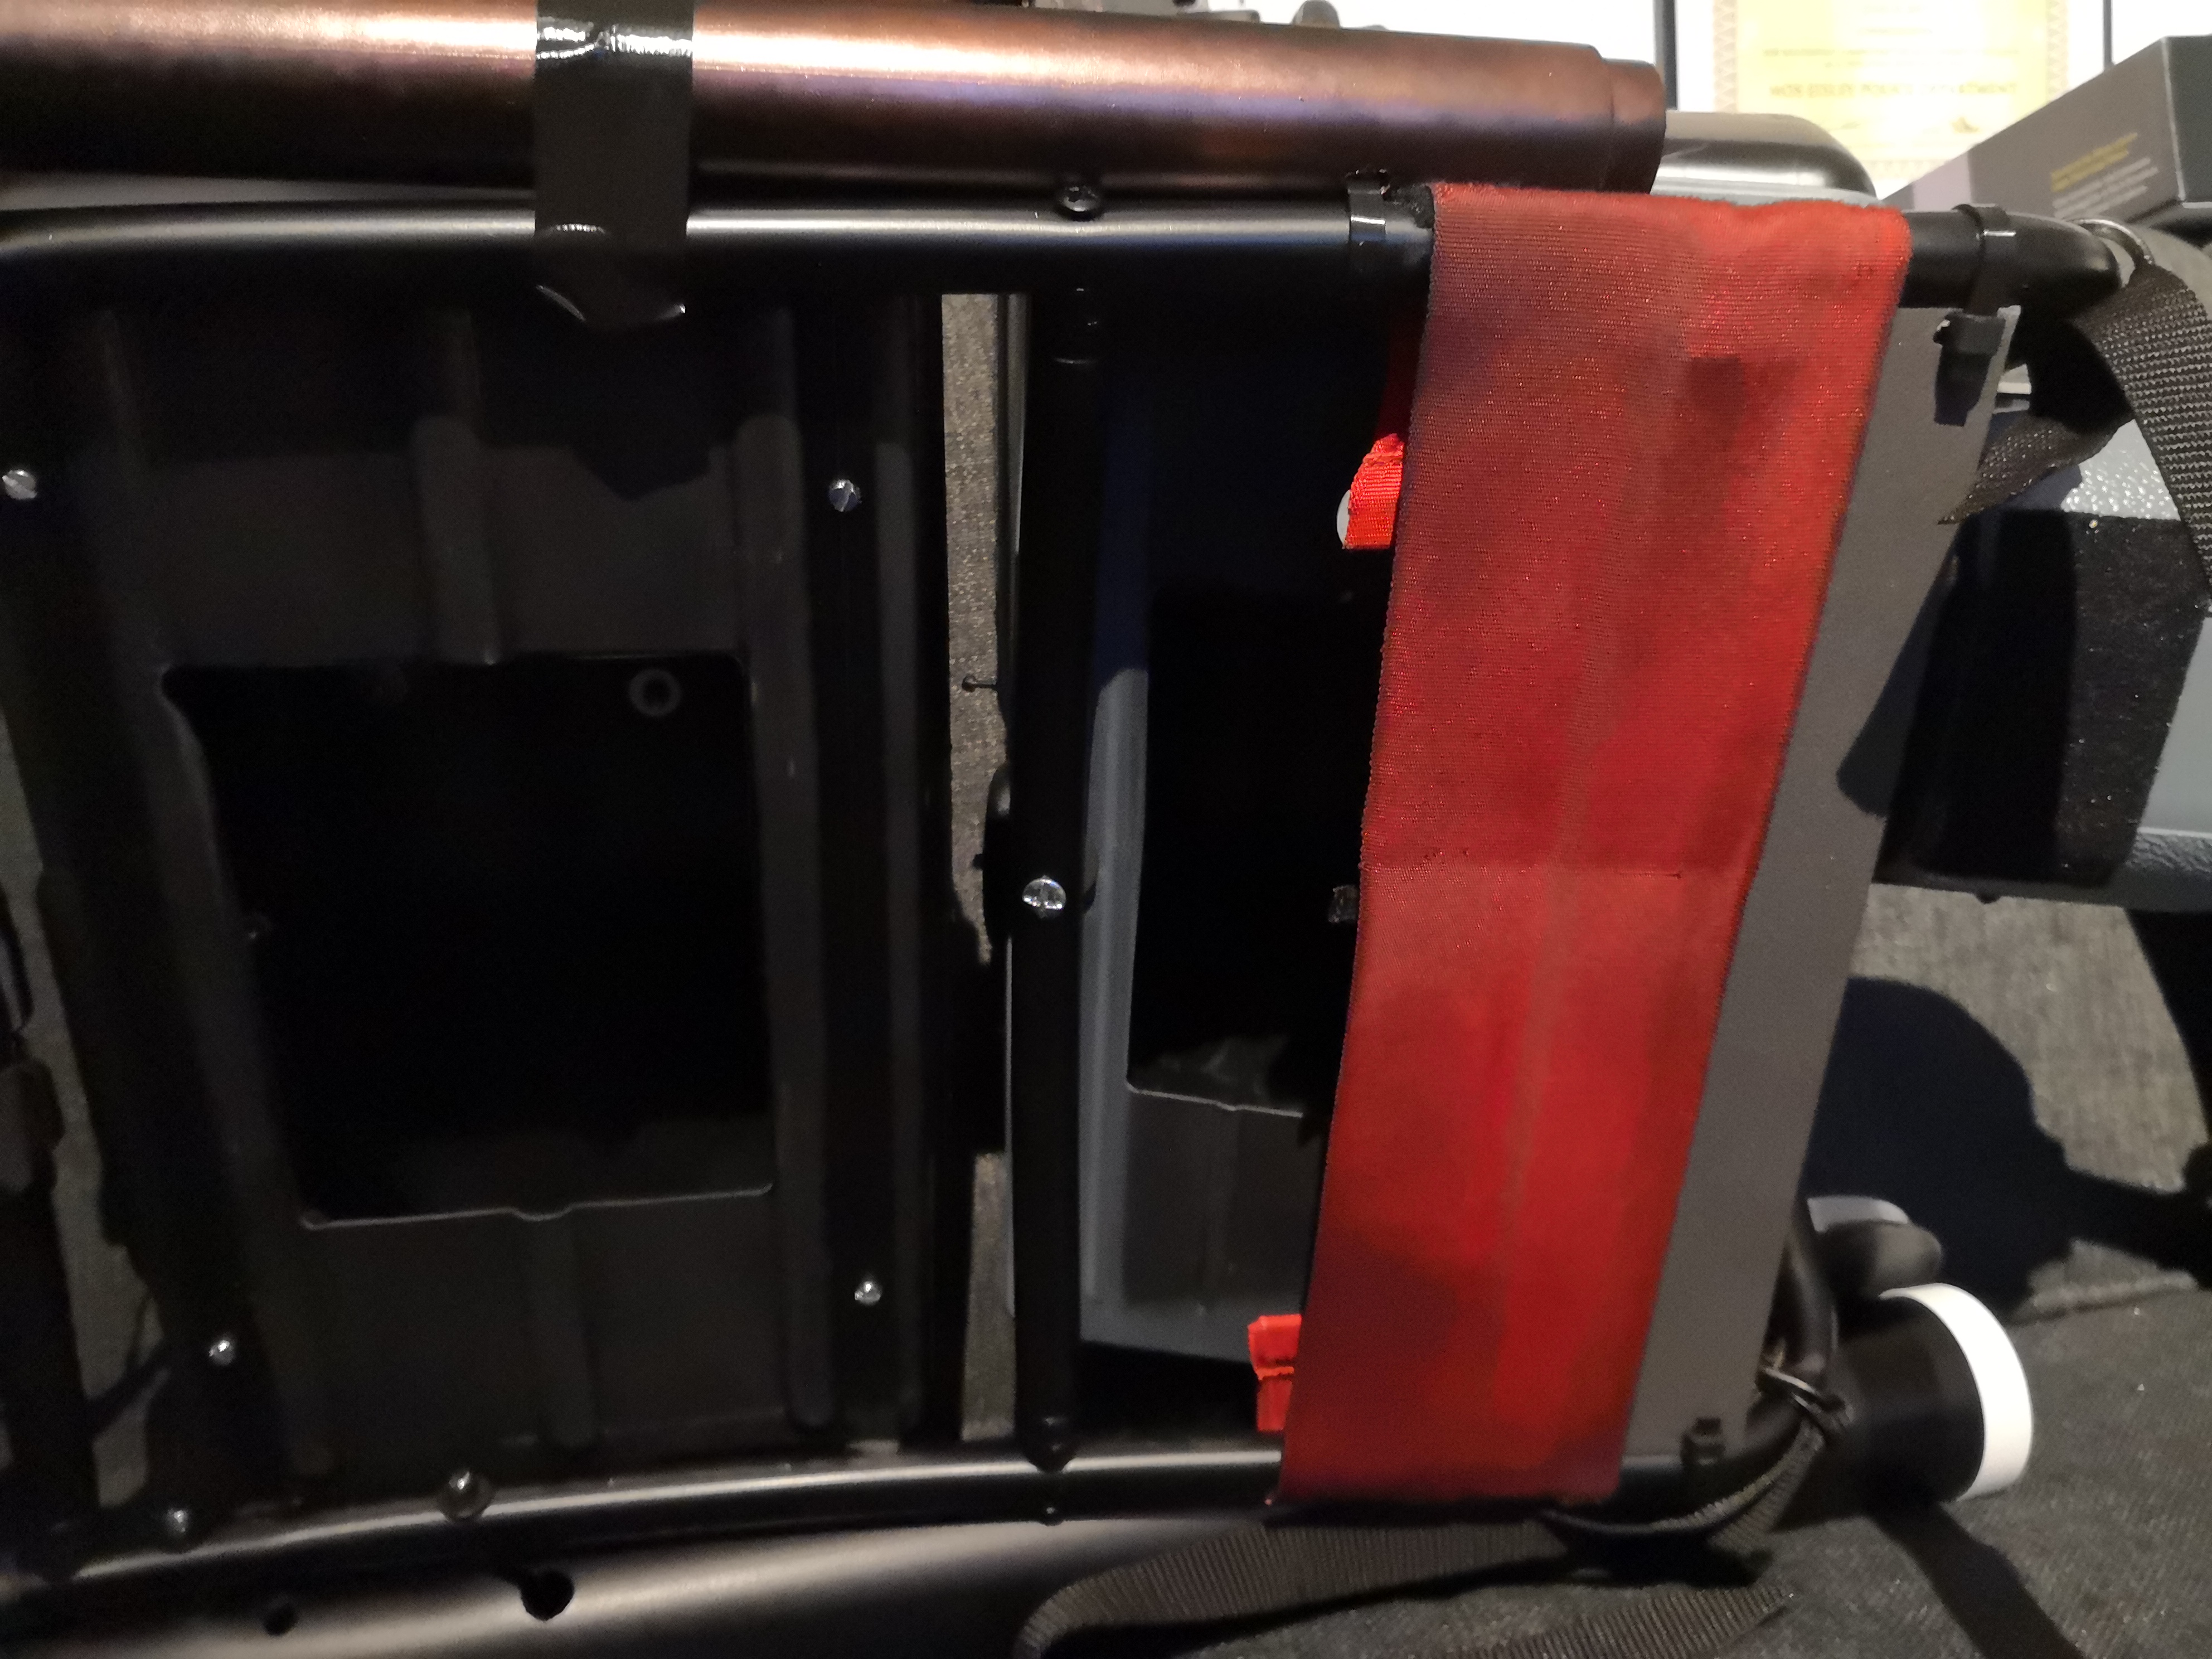
I am very happy with this pack, the only thing I wouldn´t consider SWAT-worthy is the position of the red fabric as it should sit lower but this simply wasn´t possible because of the aluminium bar to which the lower seedtray is attached. I consider it a compromise between being completely screen-accurate and having a sturdy pack you can have fun with when trooping ... and ridding the galaxy of all that scum and villainy. Cheers mates
-
2
-
-
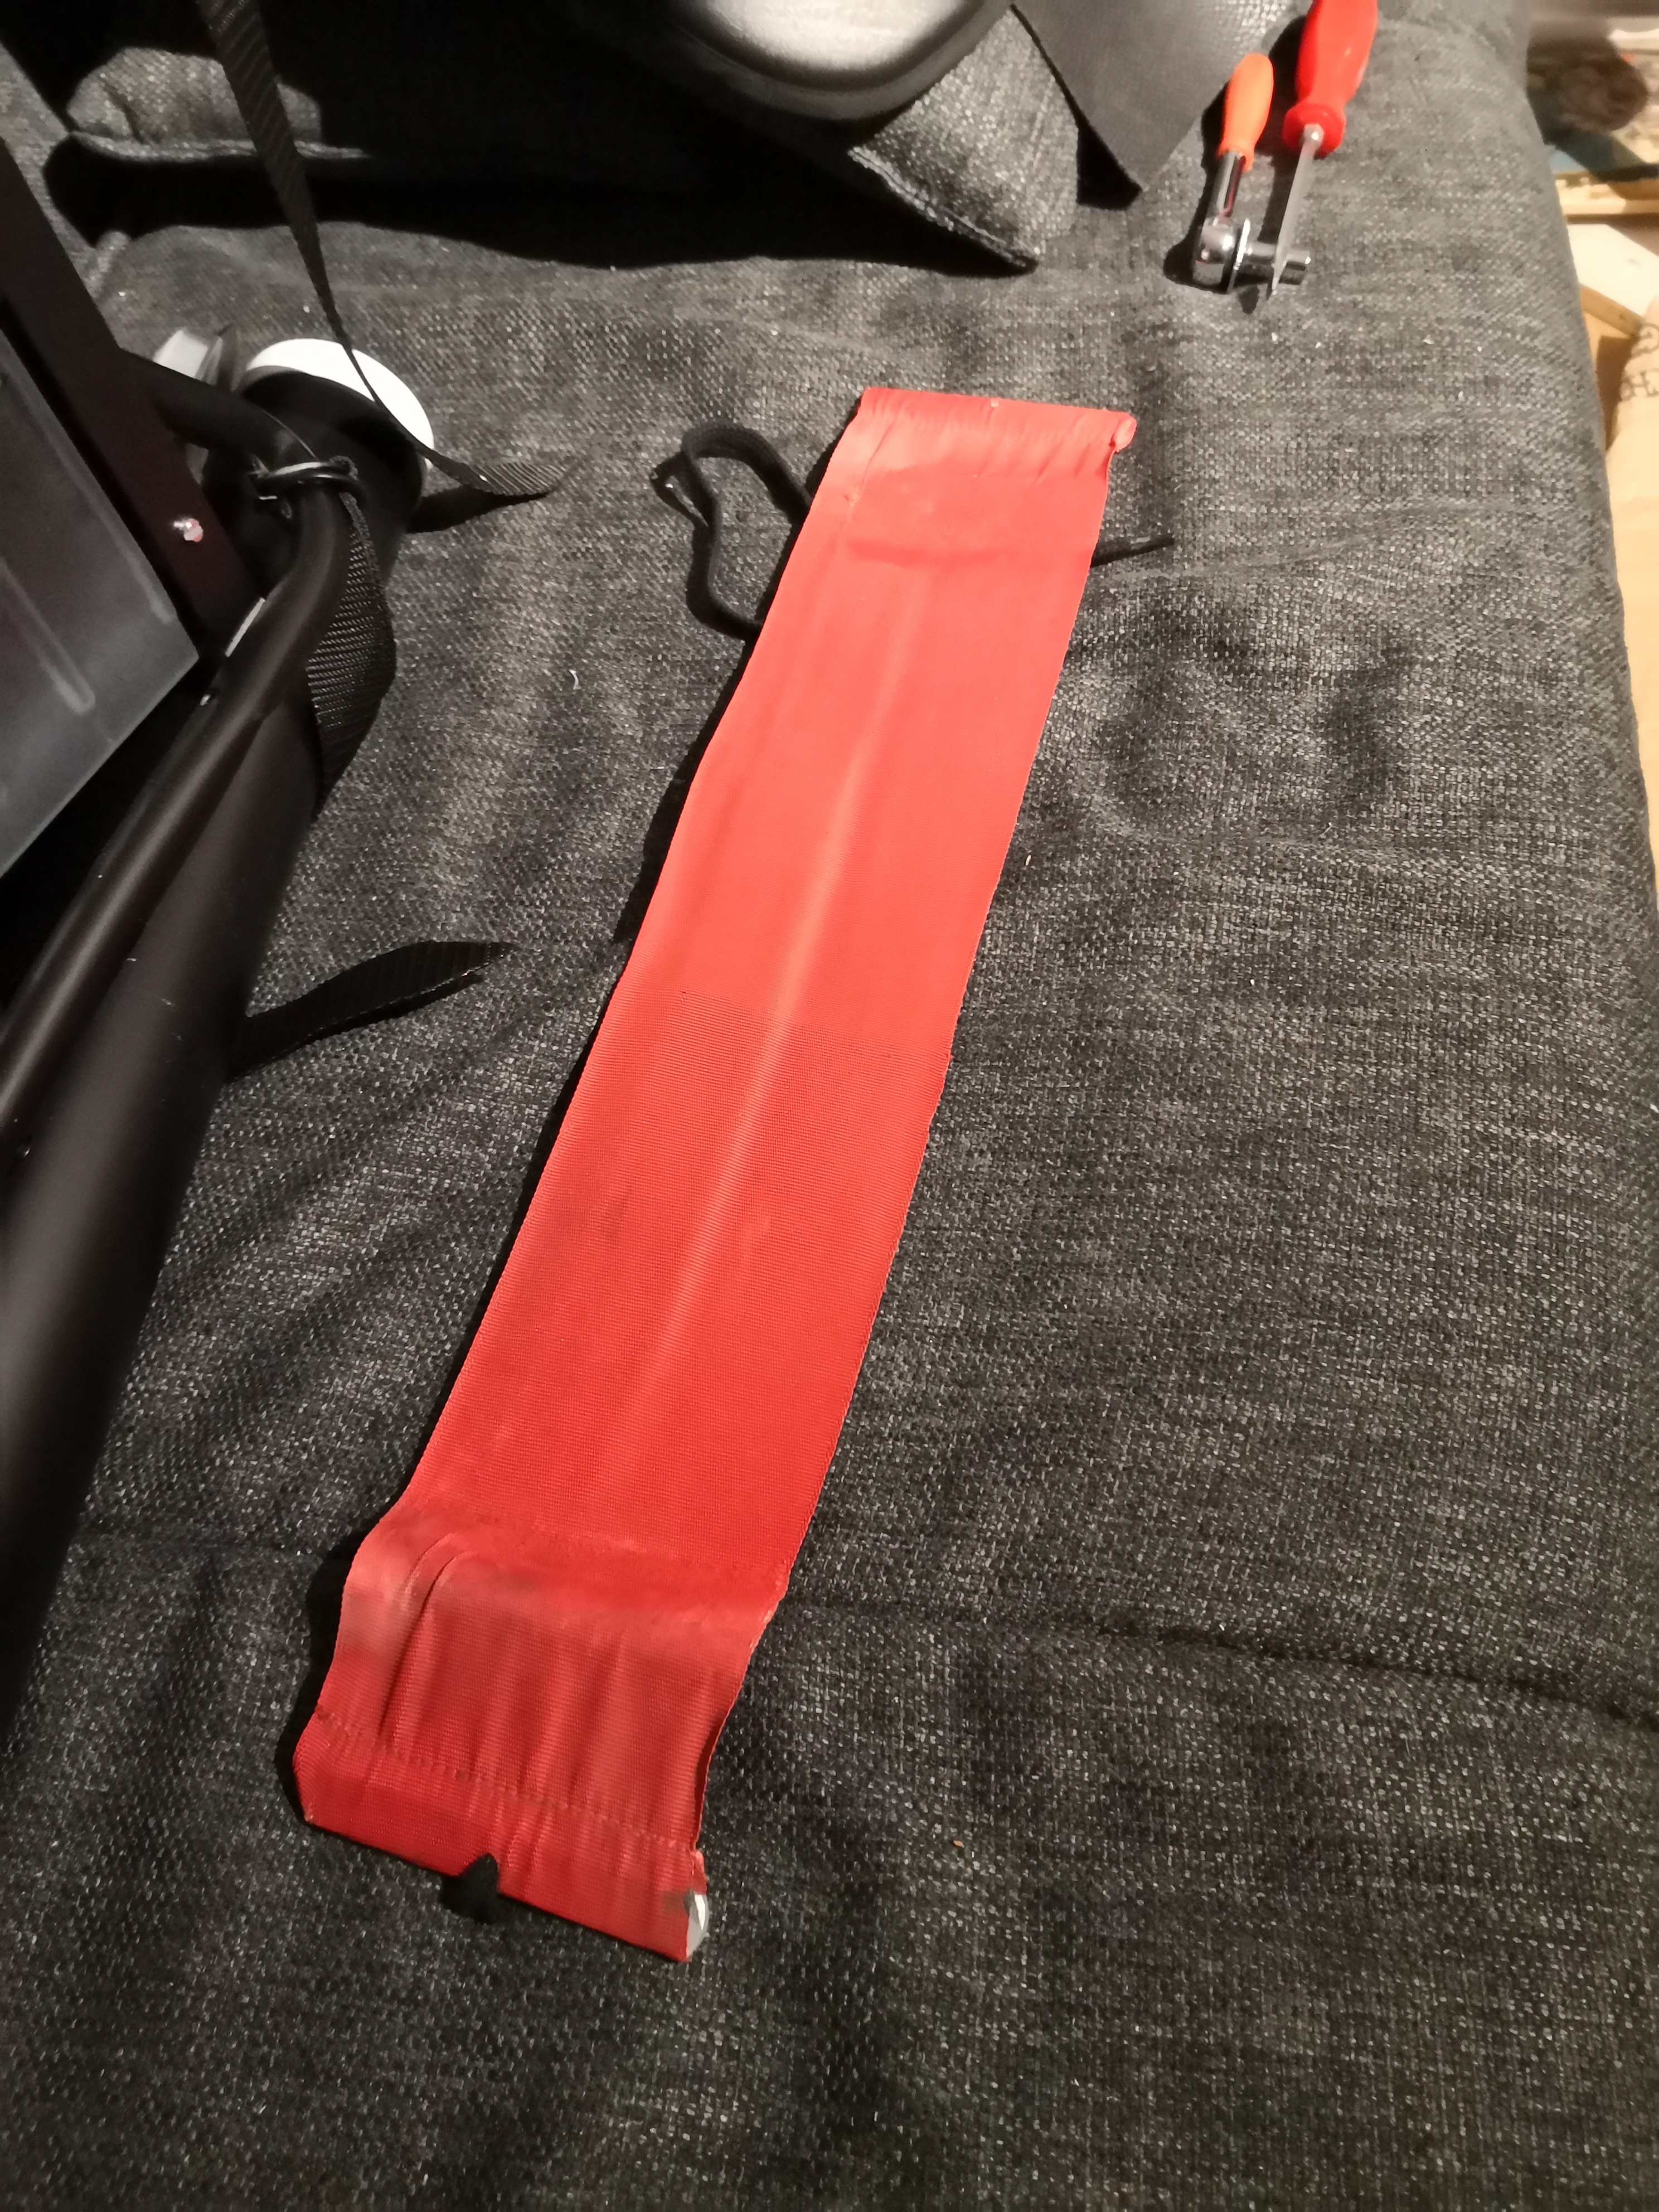
The final details were the endcaps on the frame and the vintage red fabric back support strap. My frame didn´t come with the correct endcaps but you can find these at every DIY store.
You can actually see these endcaps on screen:

these are quite similar in shape:
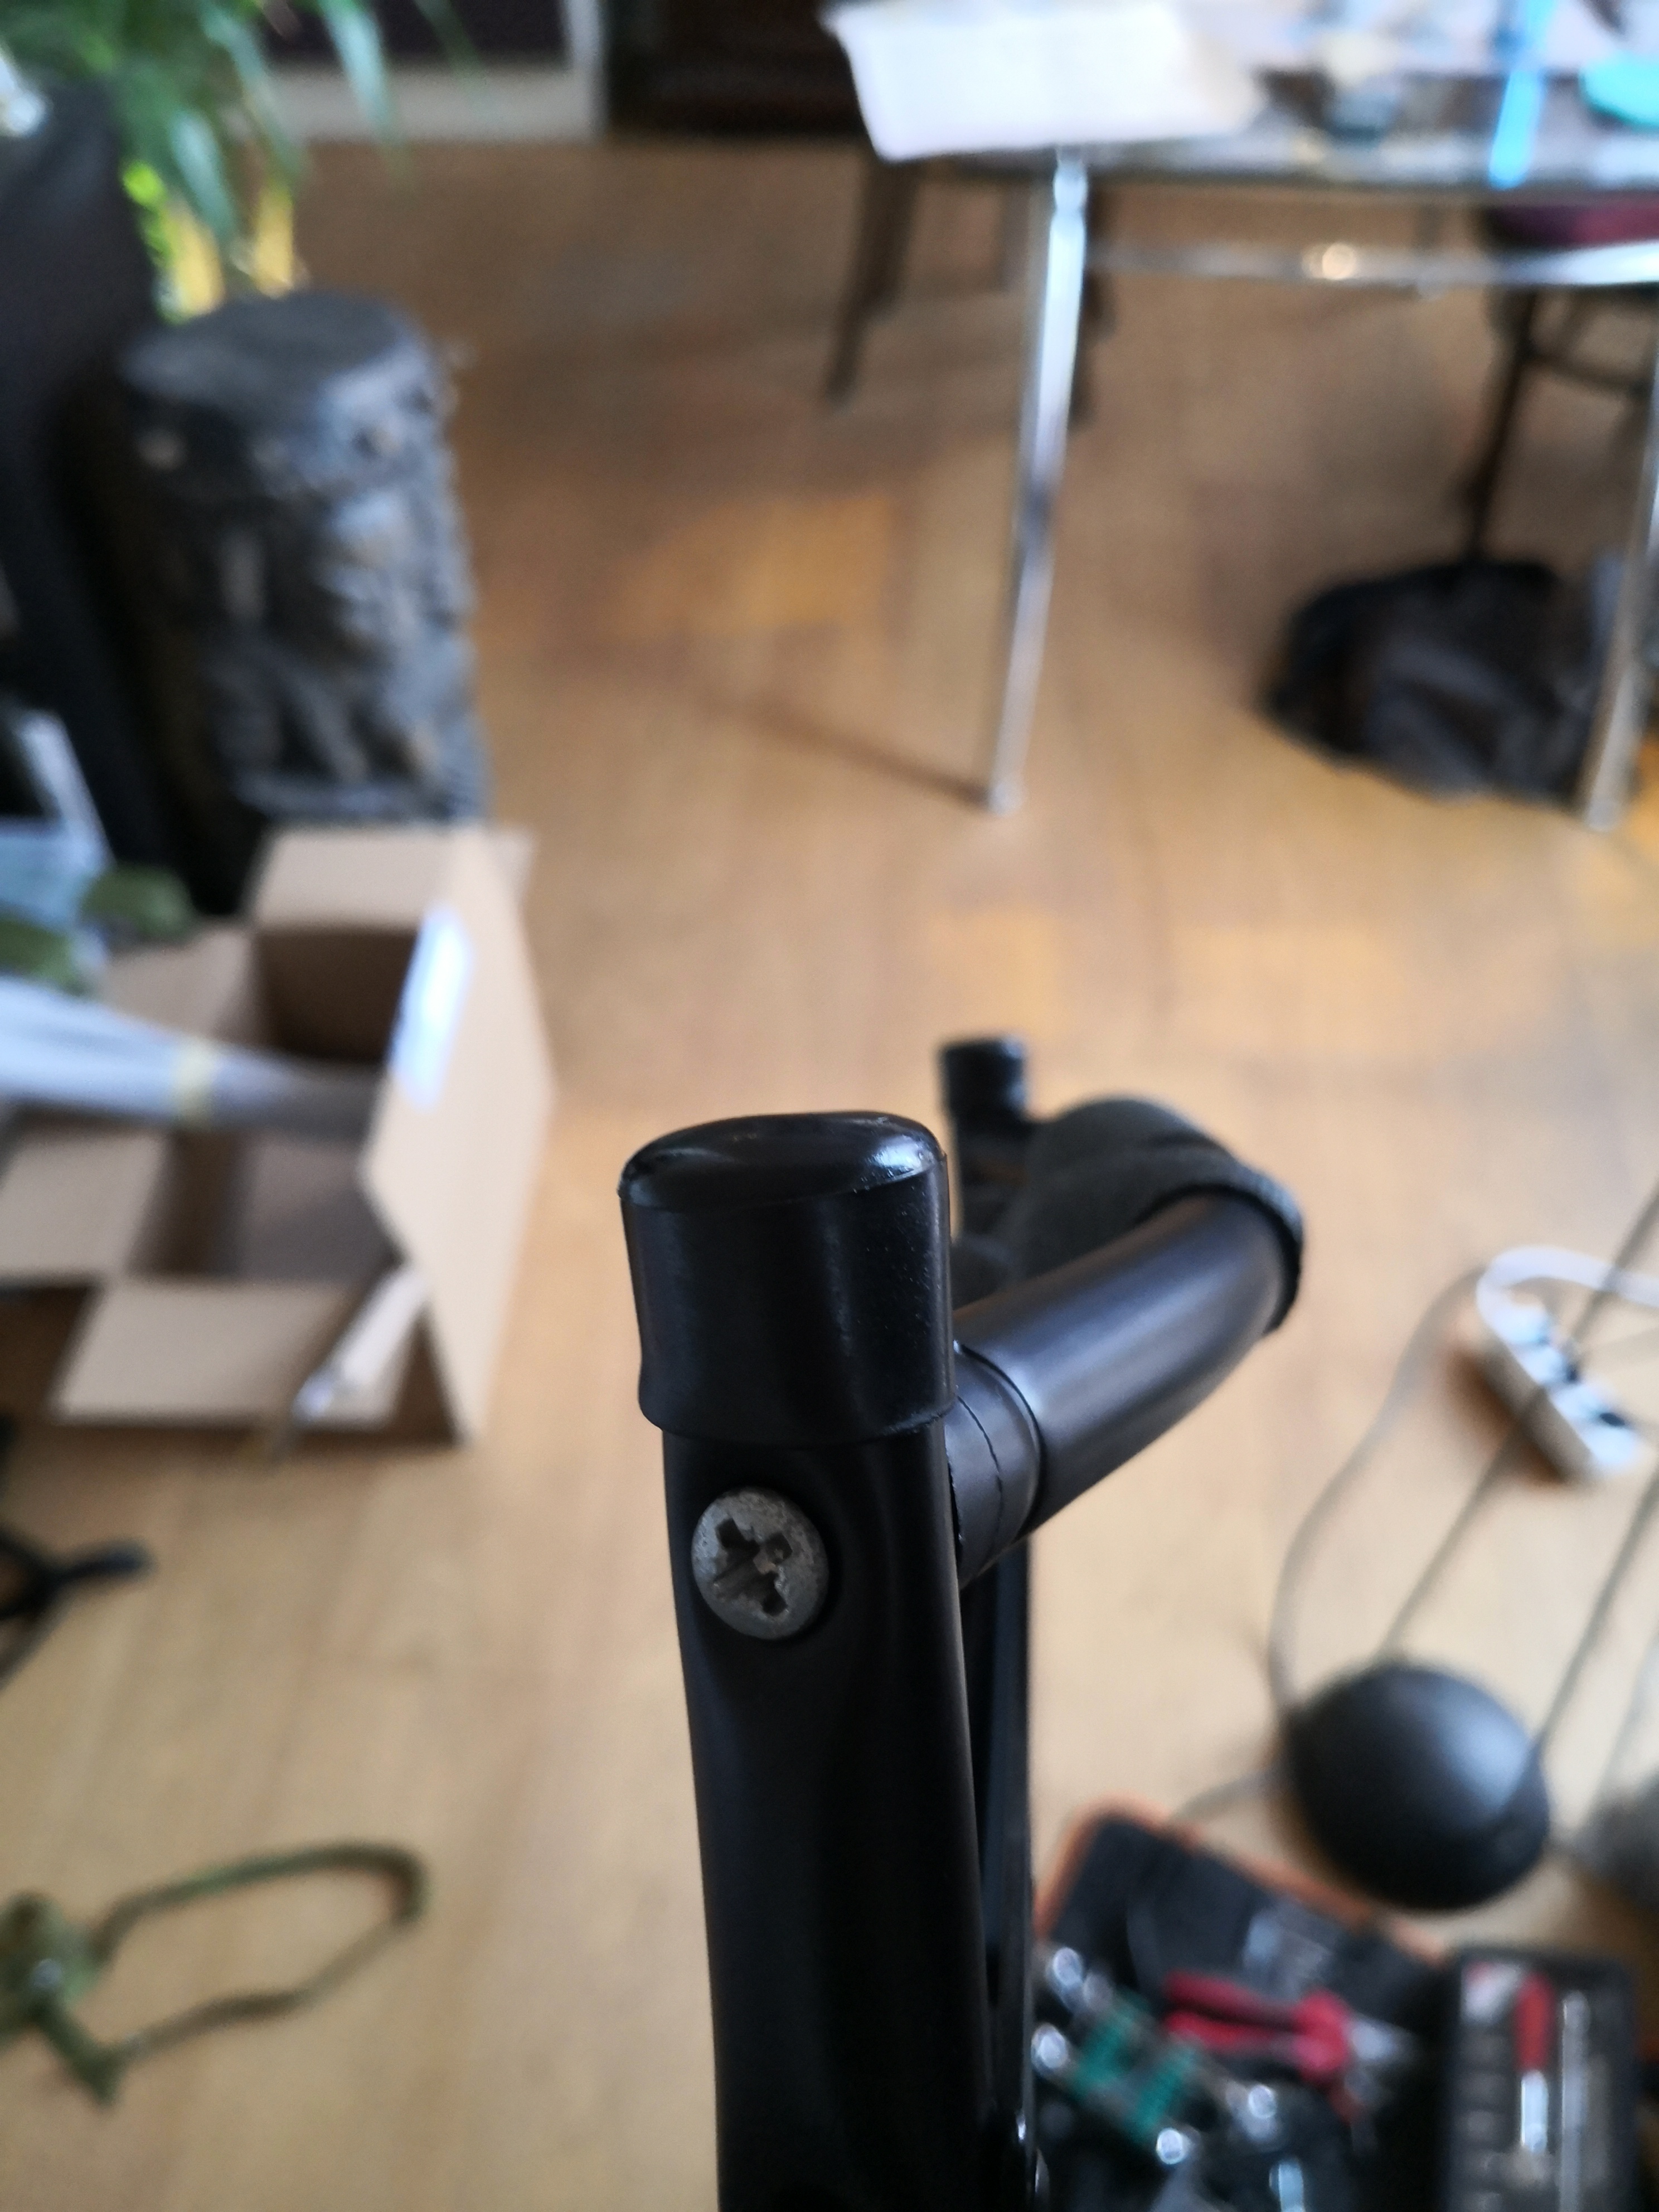
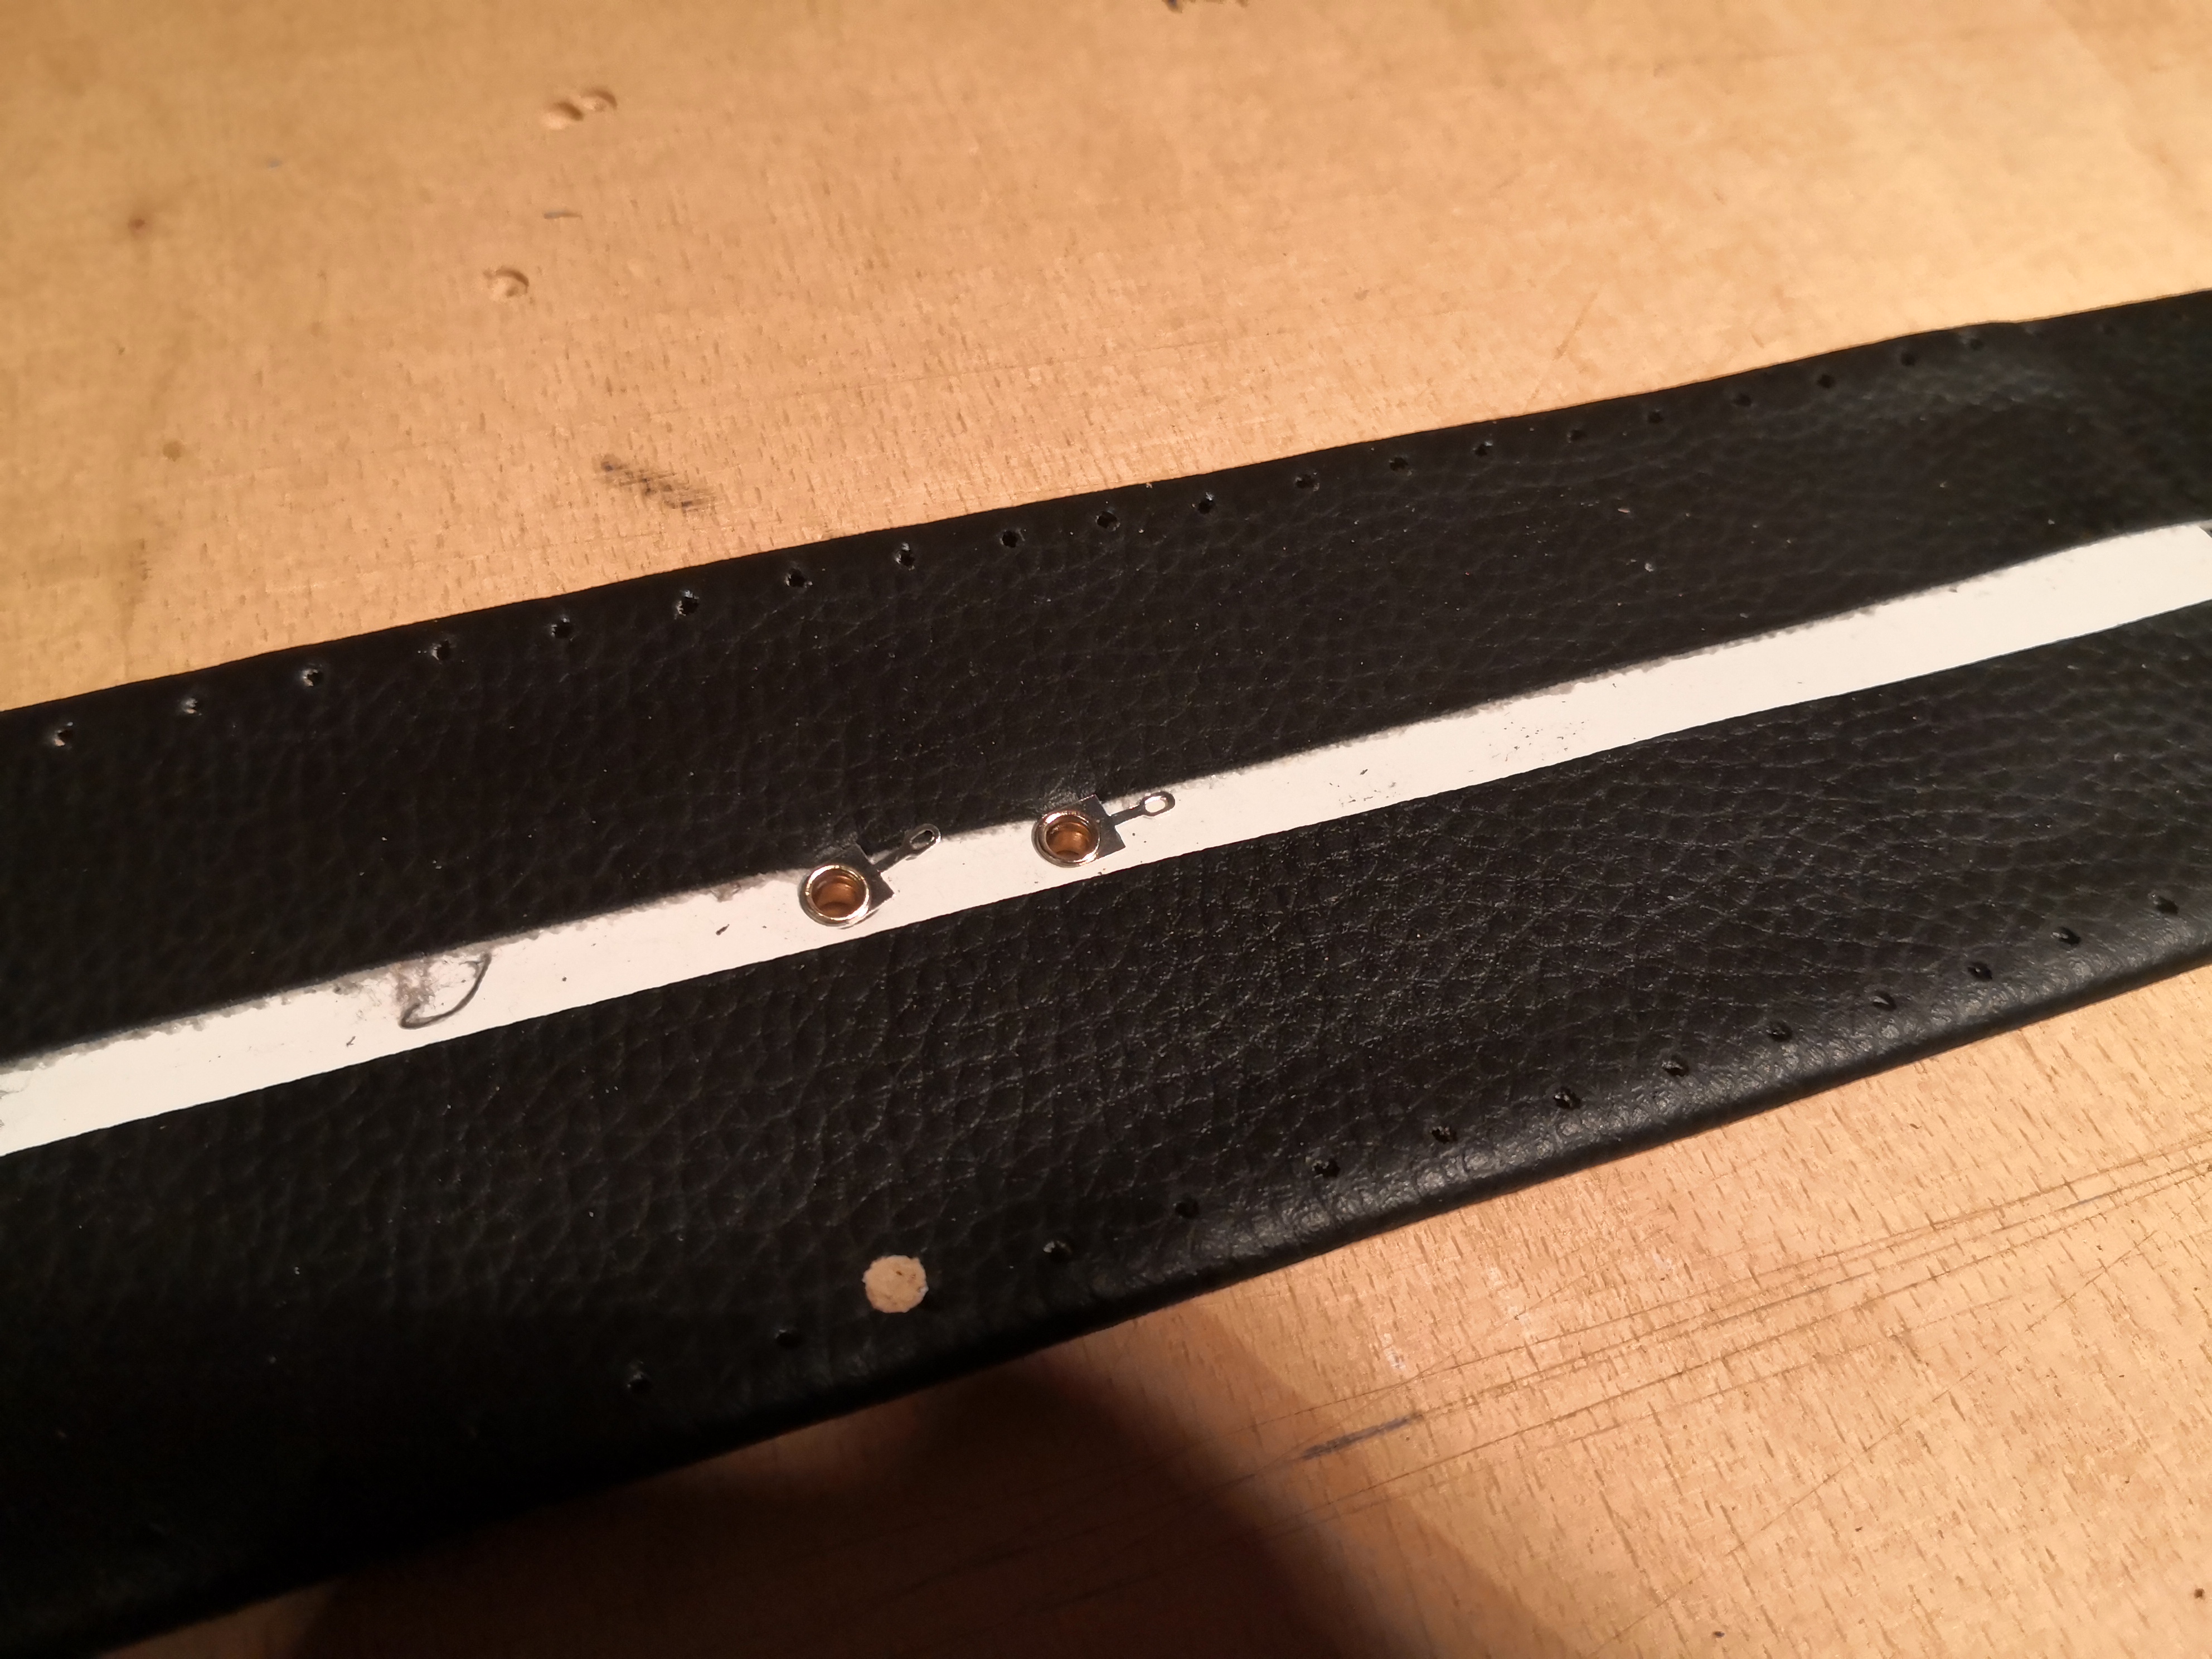
and the red support strap
In the next picture you can see that I put holes in the back of the seedtrays, this saves a little weigth but first and foremost make the assembly so much more convenient. You can also see that I have put a piece of EVA foam underneath to red fabric strap, this keeps the pack from bumping against the butt piece.
-
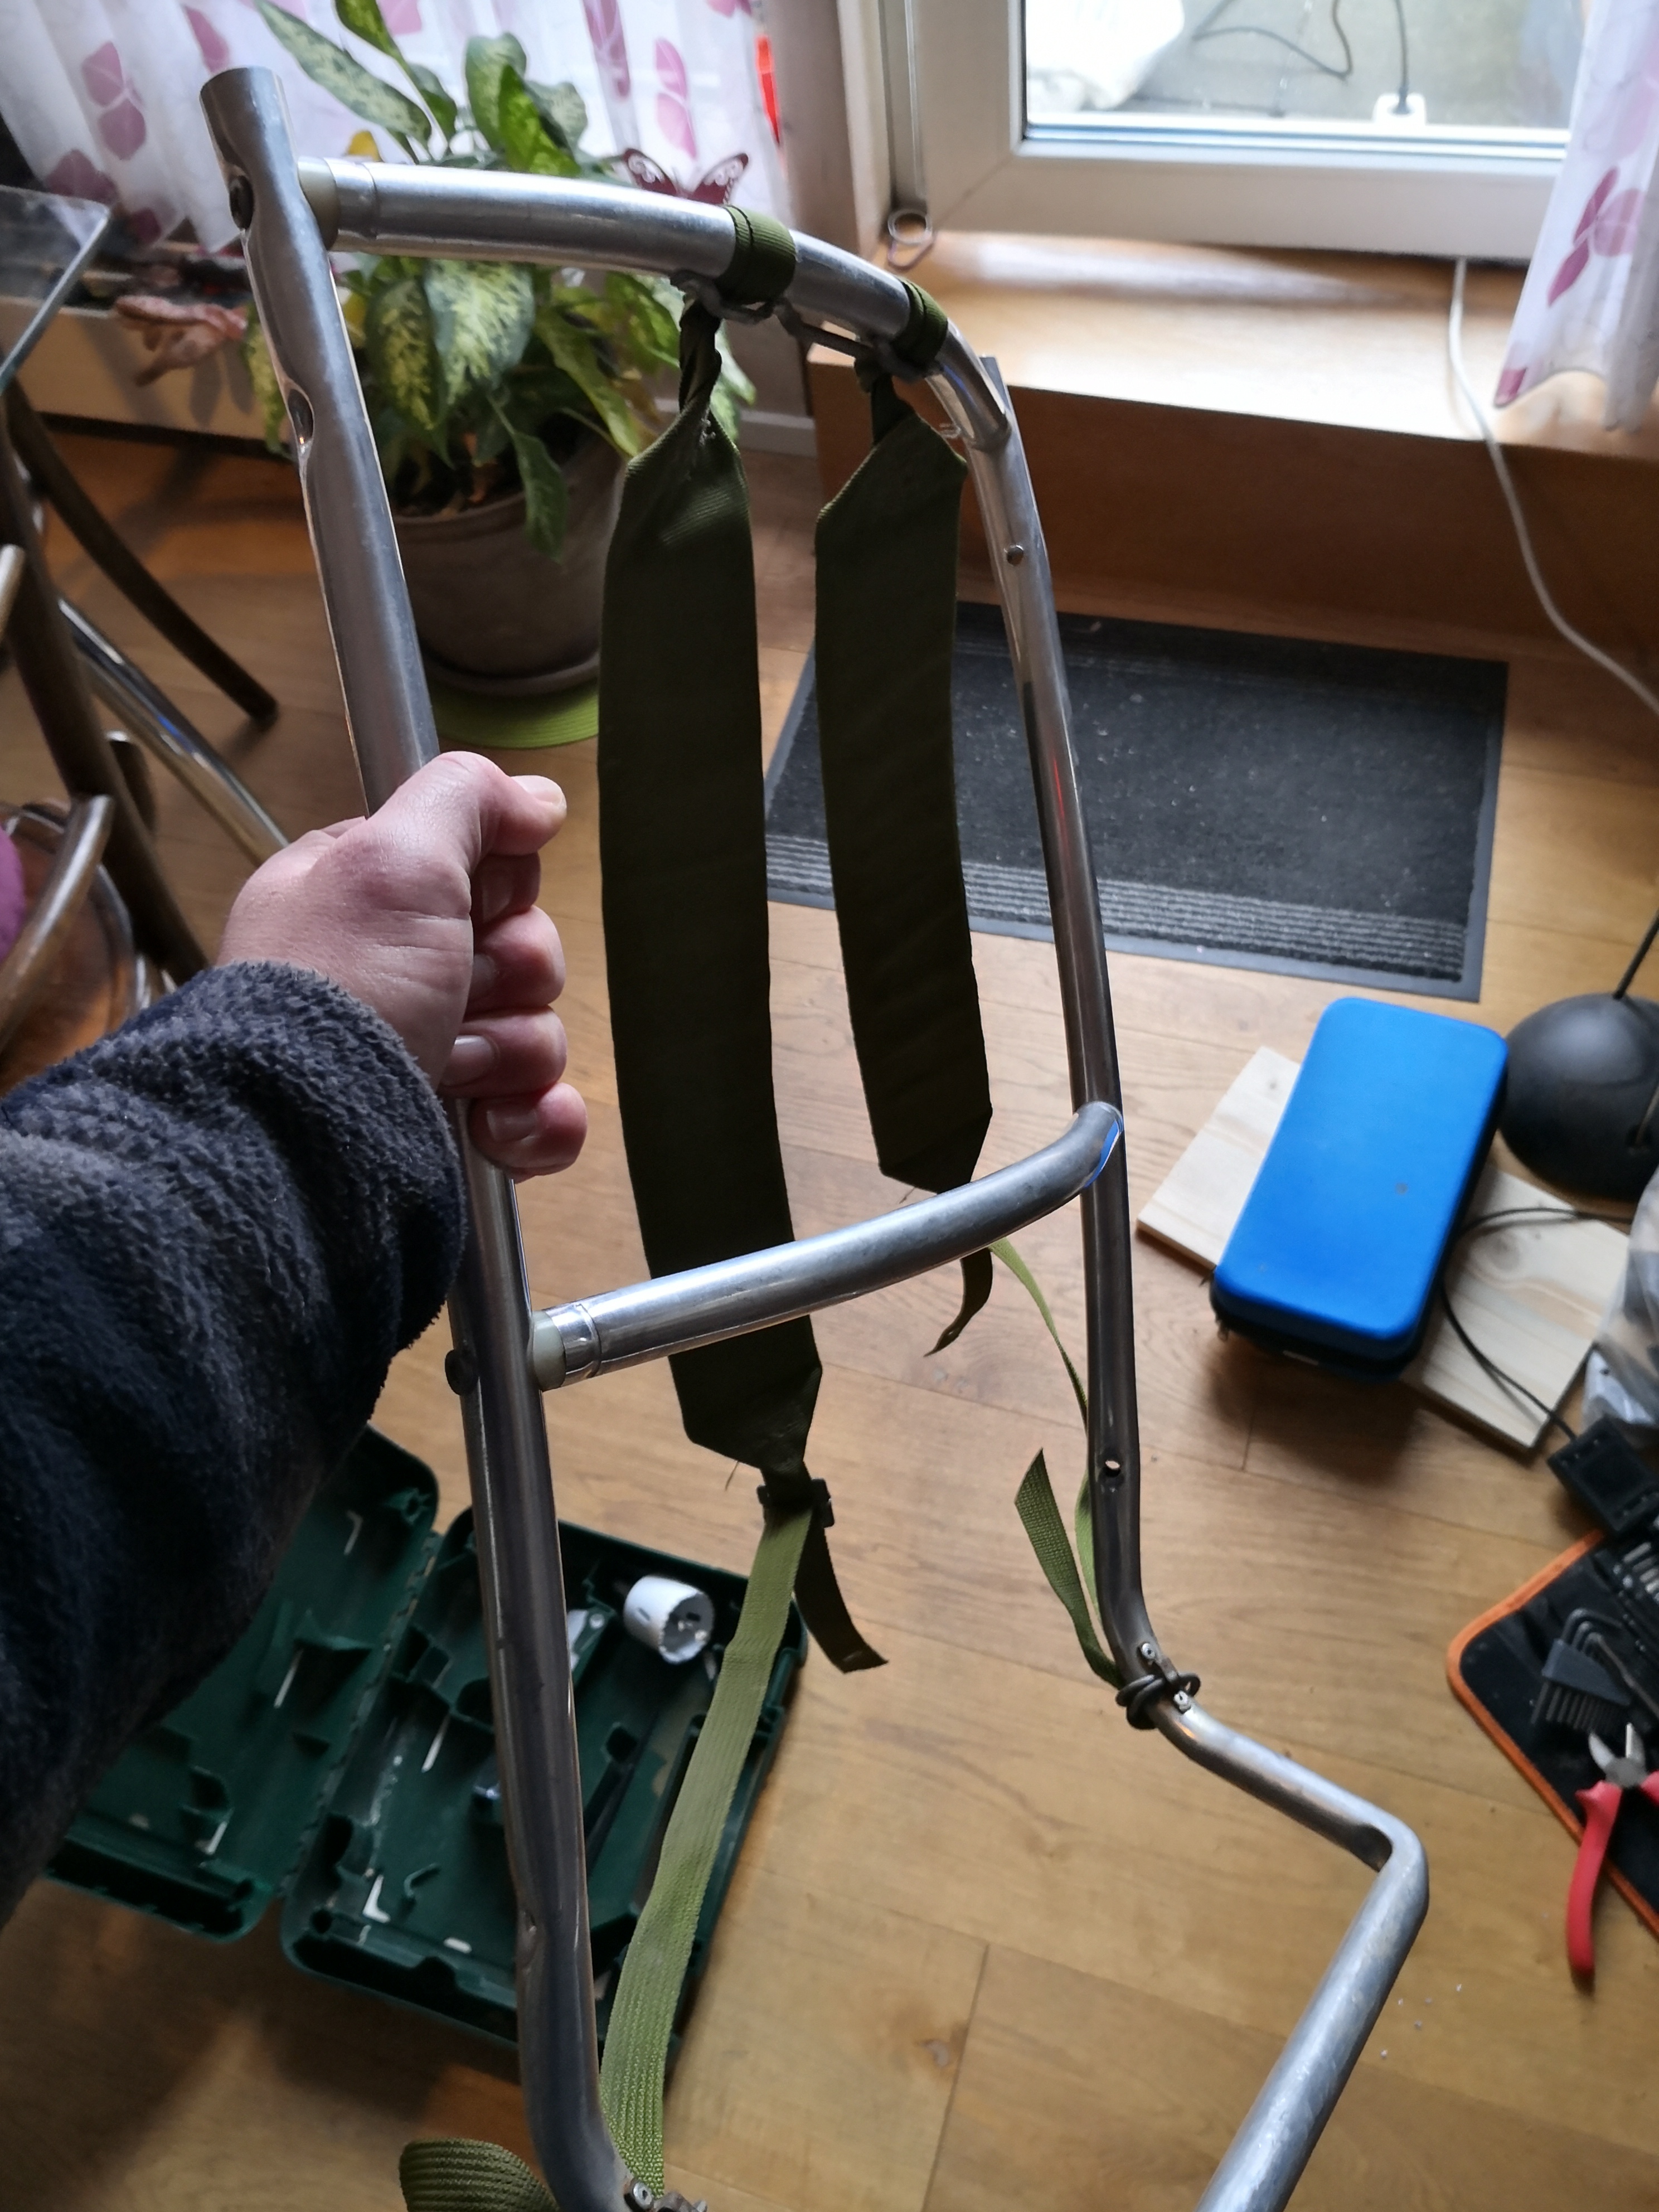
Just before everything was ready for final assembly, I painted the Karrimor frame, using aluminium primer first:
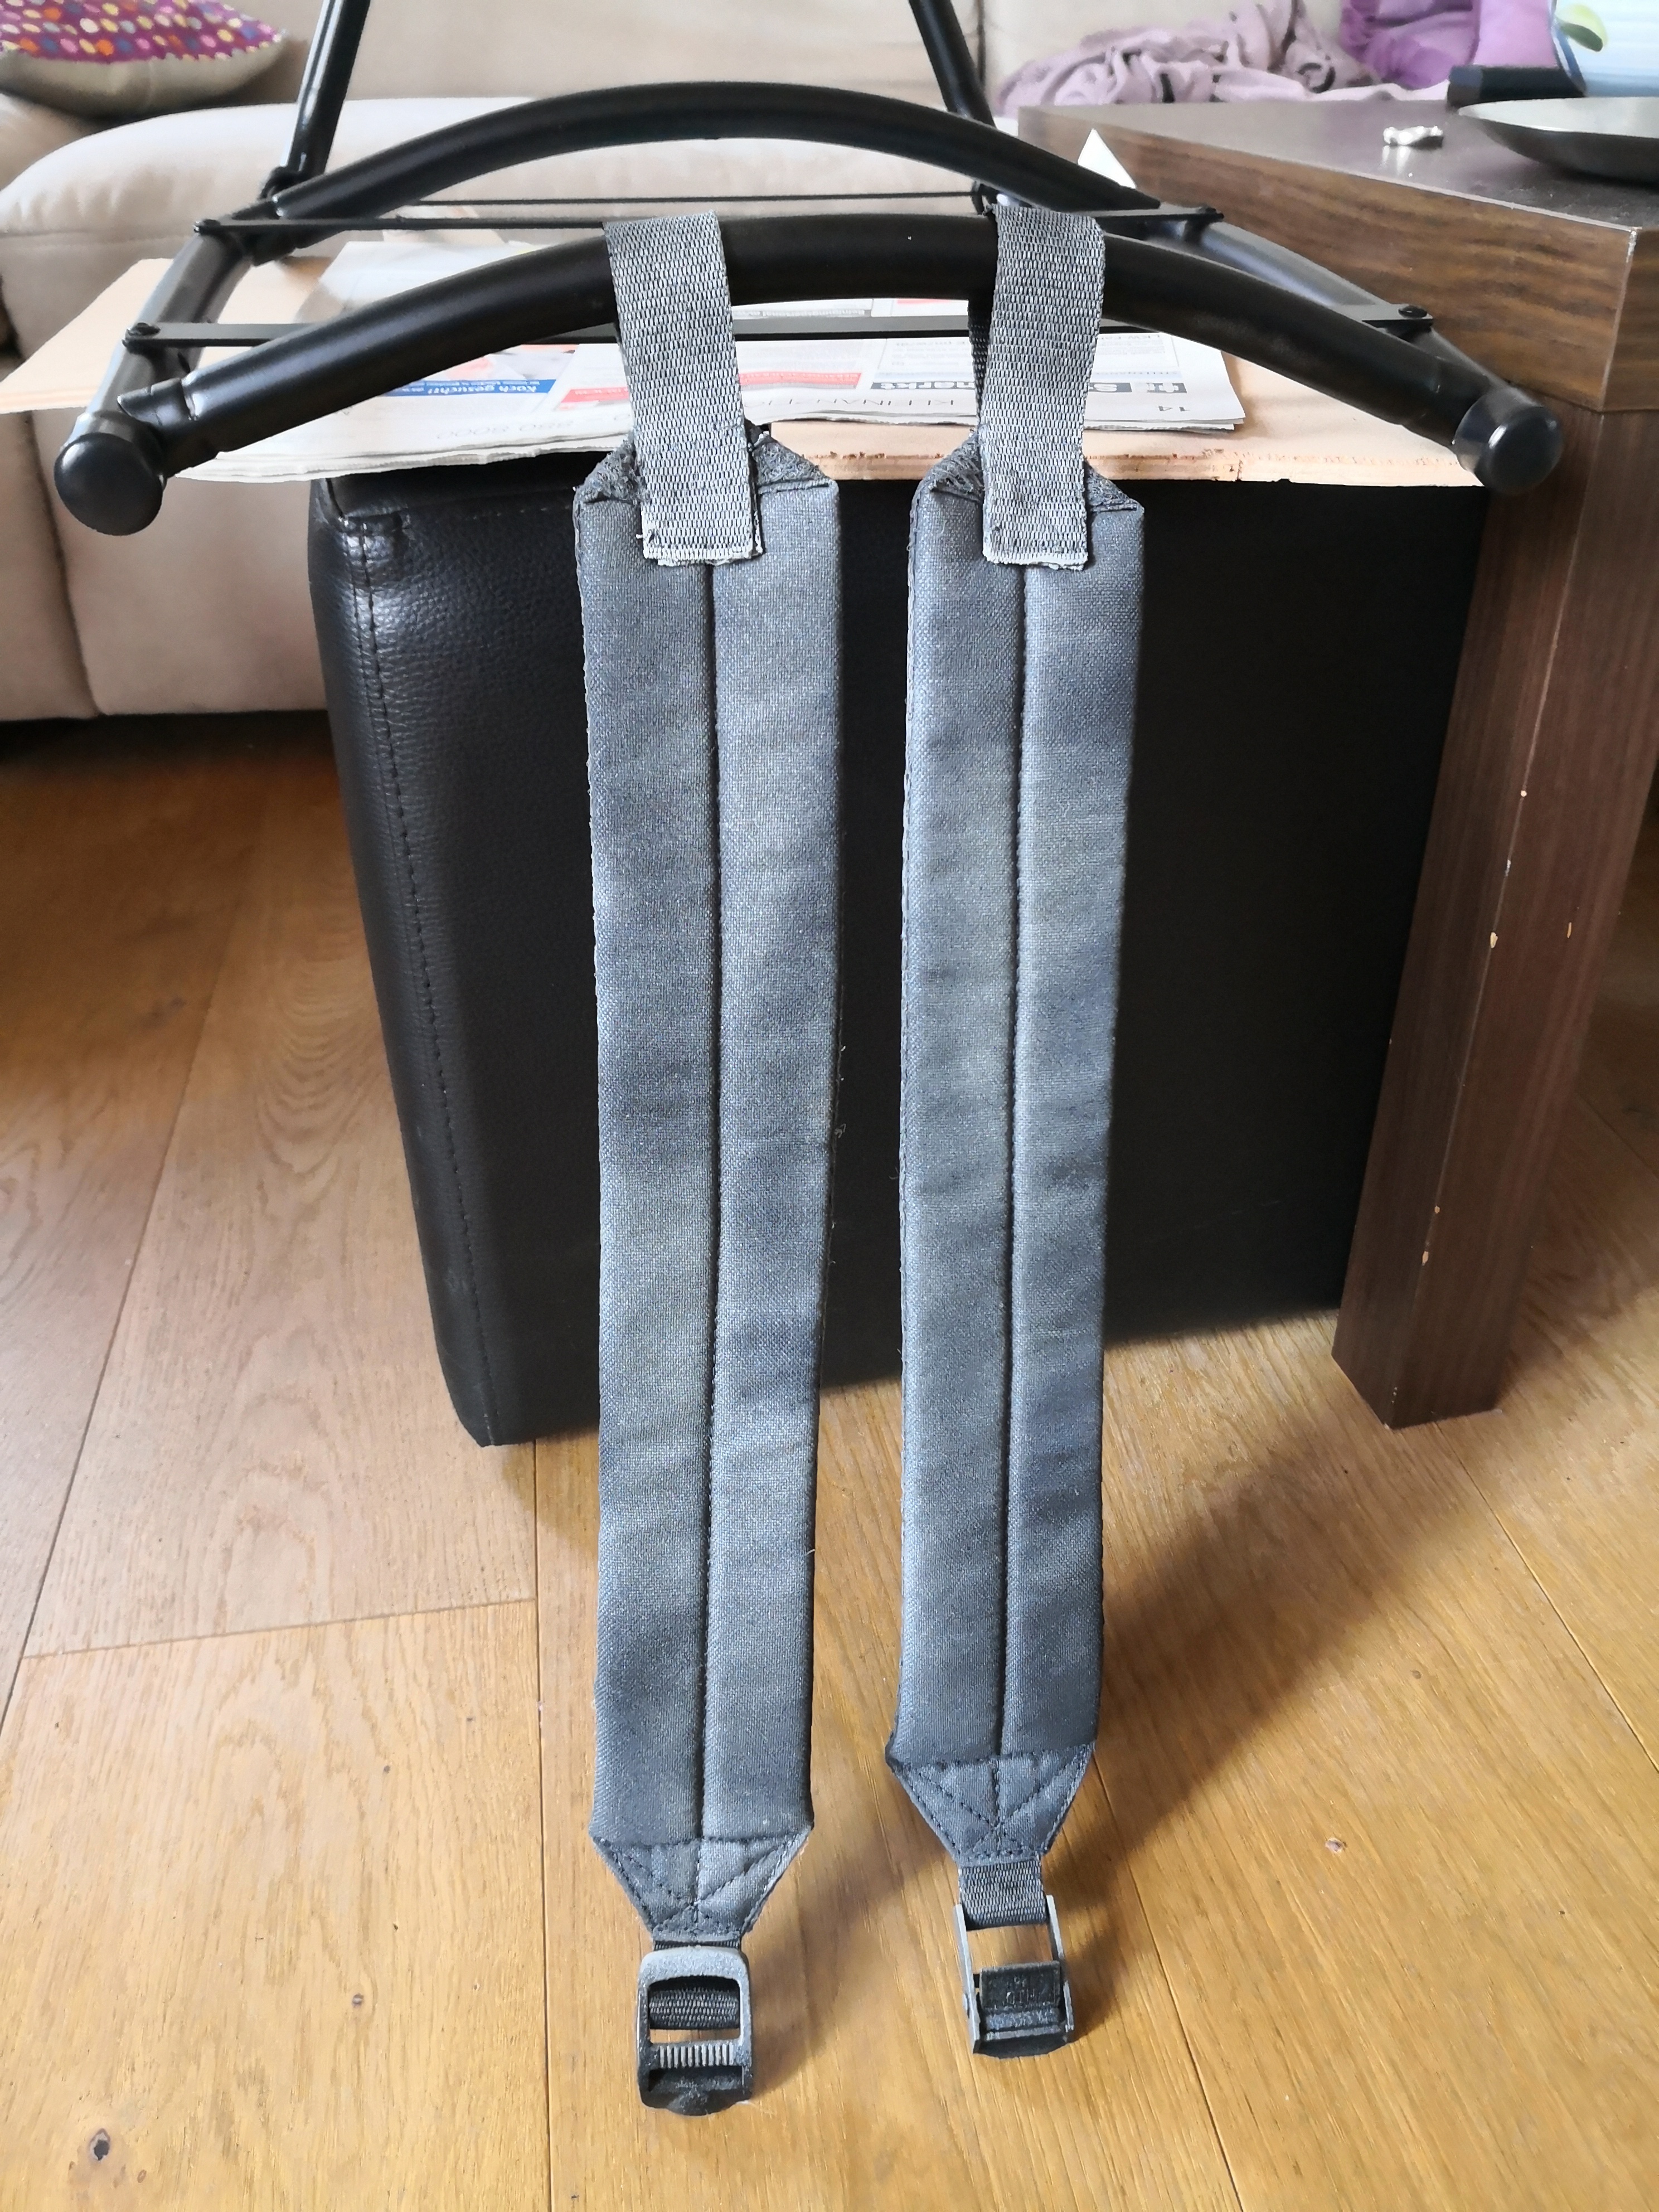
With my last Karrimor pack, the shoulderstraps were light brown so I just spraypainted them black and when it rubs off, it just looks like weathering but with the one I´m using on this pack, the shoulderstraps are green and that I didn´t like, so after searching for backpack shoulderstraps for quite some time, I decided to simply buy a cheap black backpack and cut the straps off to use them on my pack.
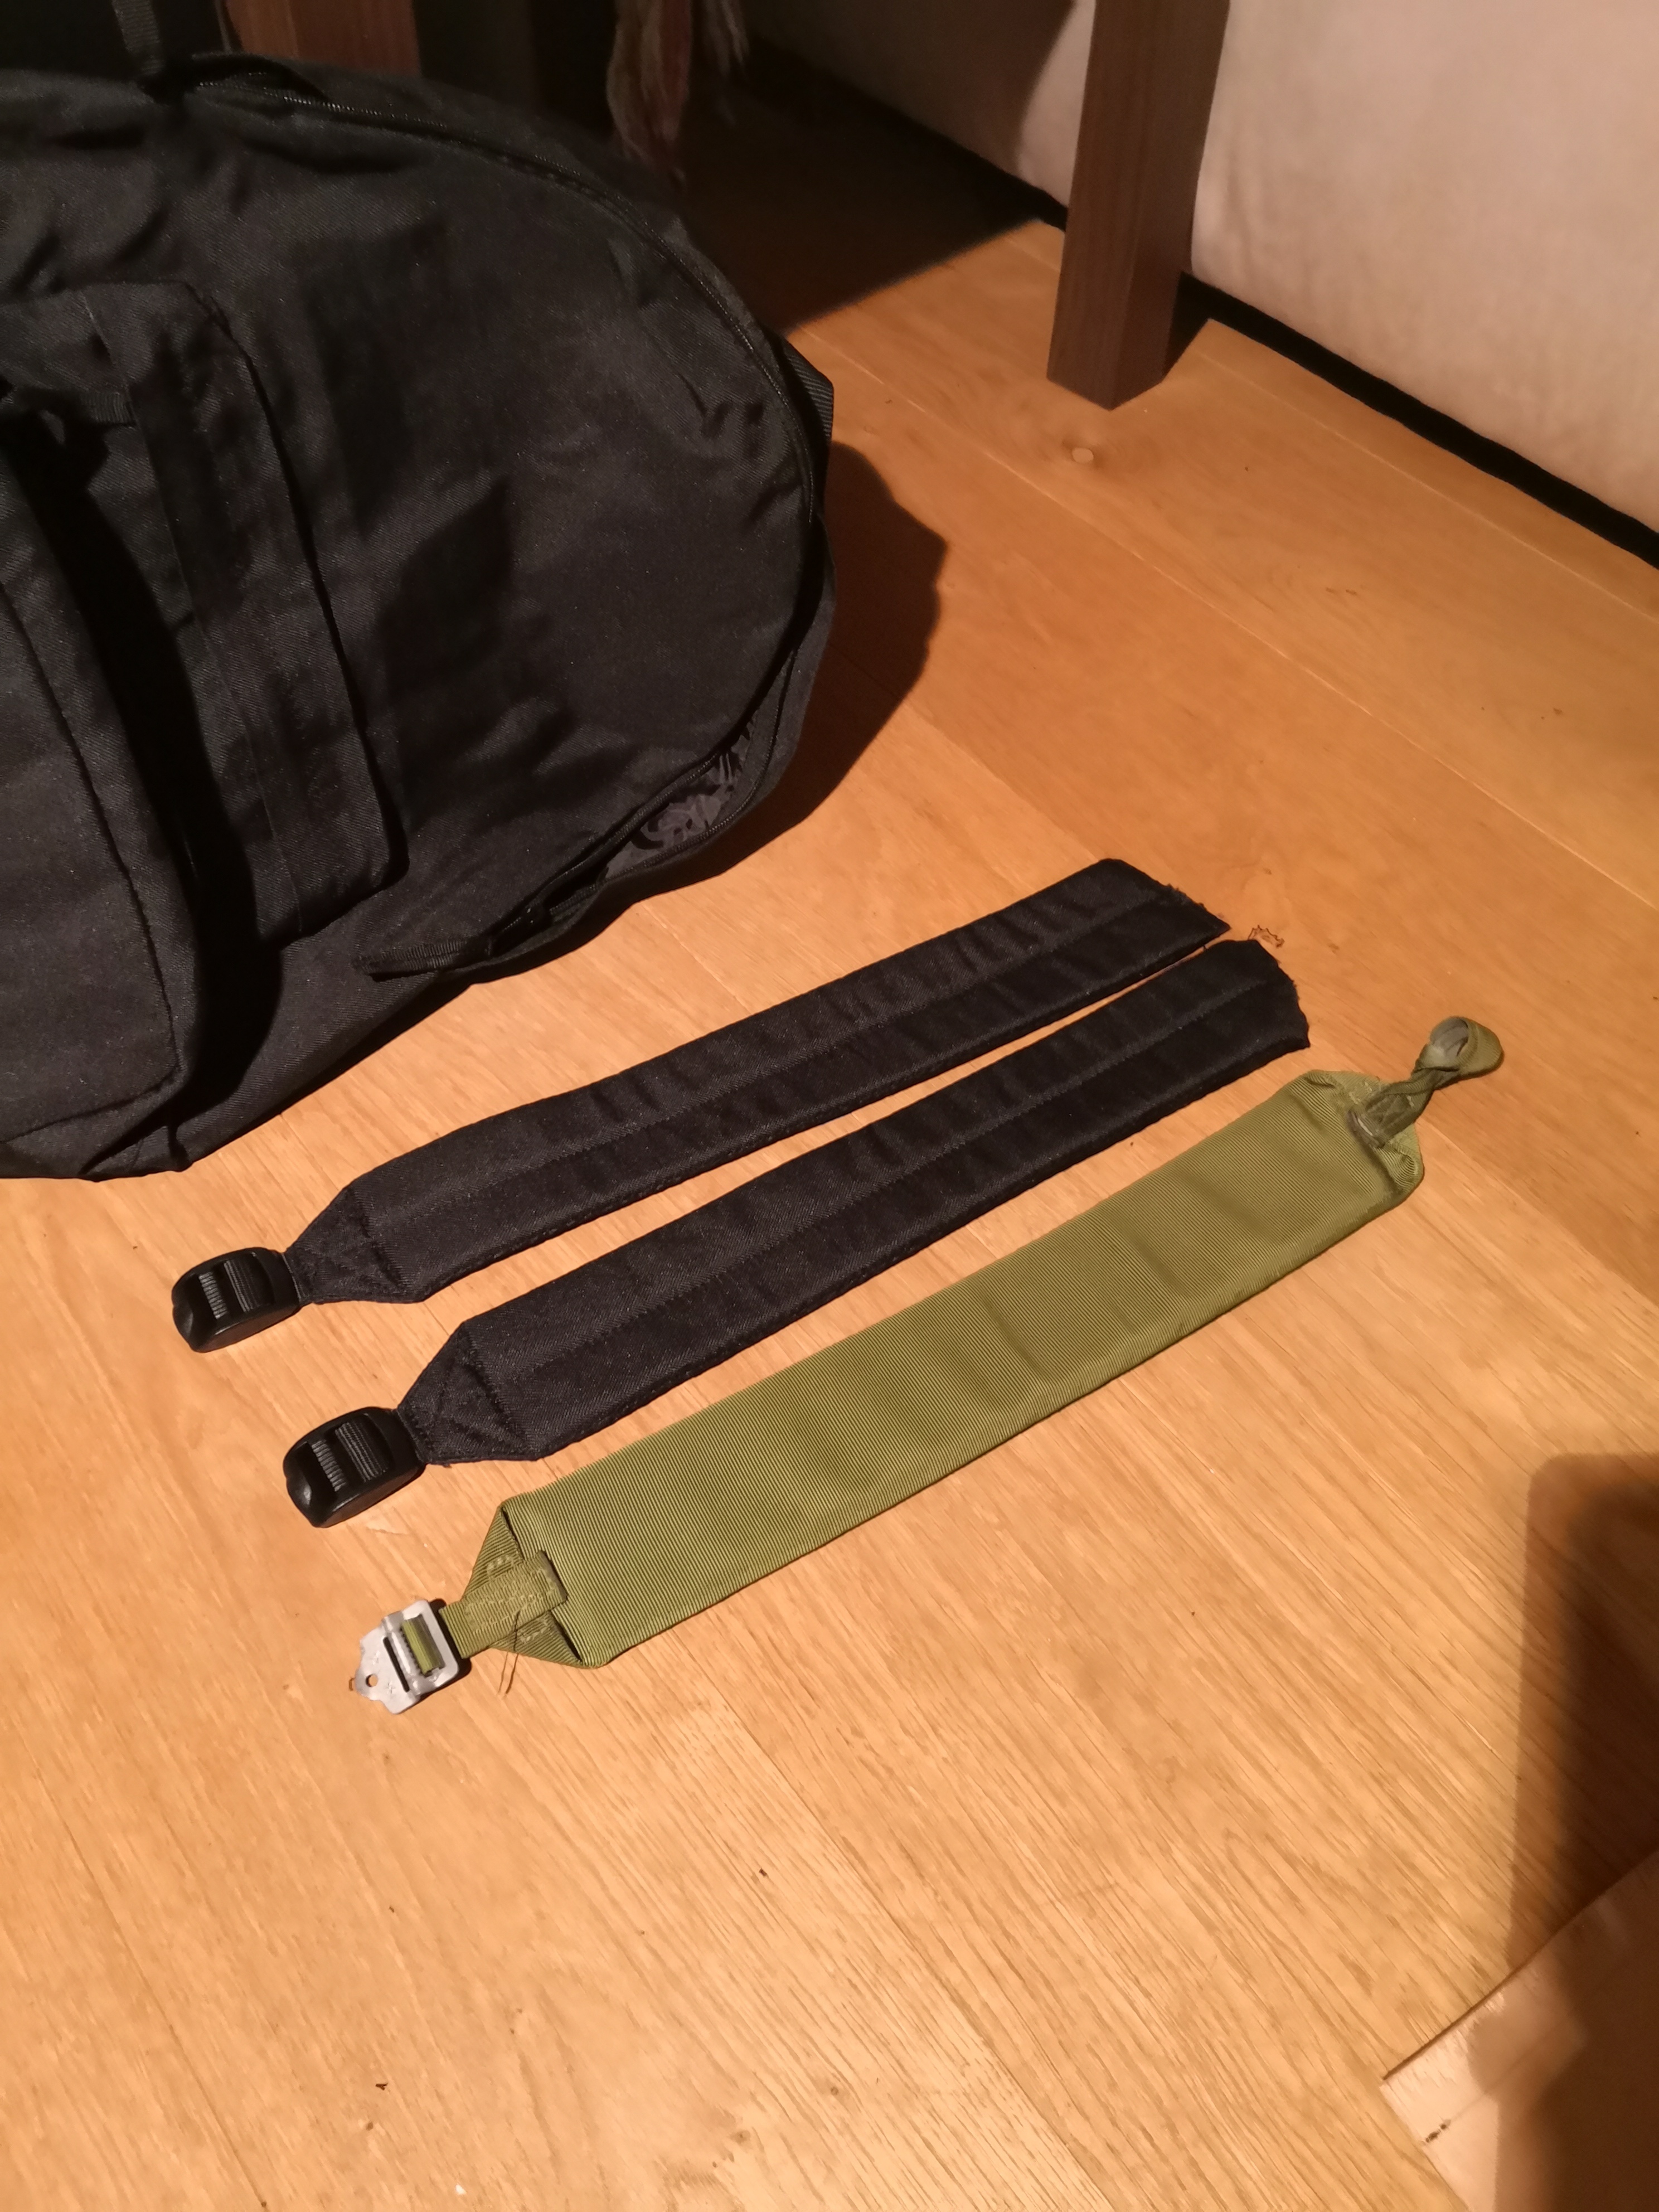
as you can see, they are very similar as the original straps, I just had to sew on some webbing where it goes on the pack and add a quick release buckle so I can easily put it on and take it off (still need help though
 )
)
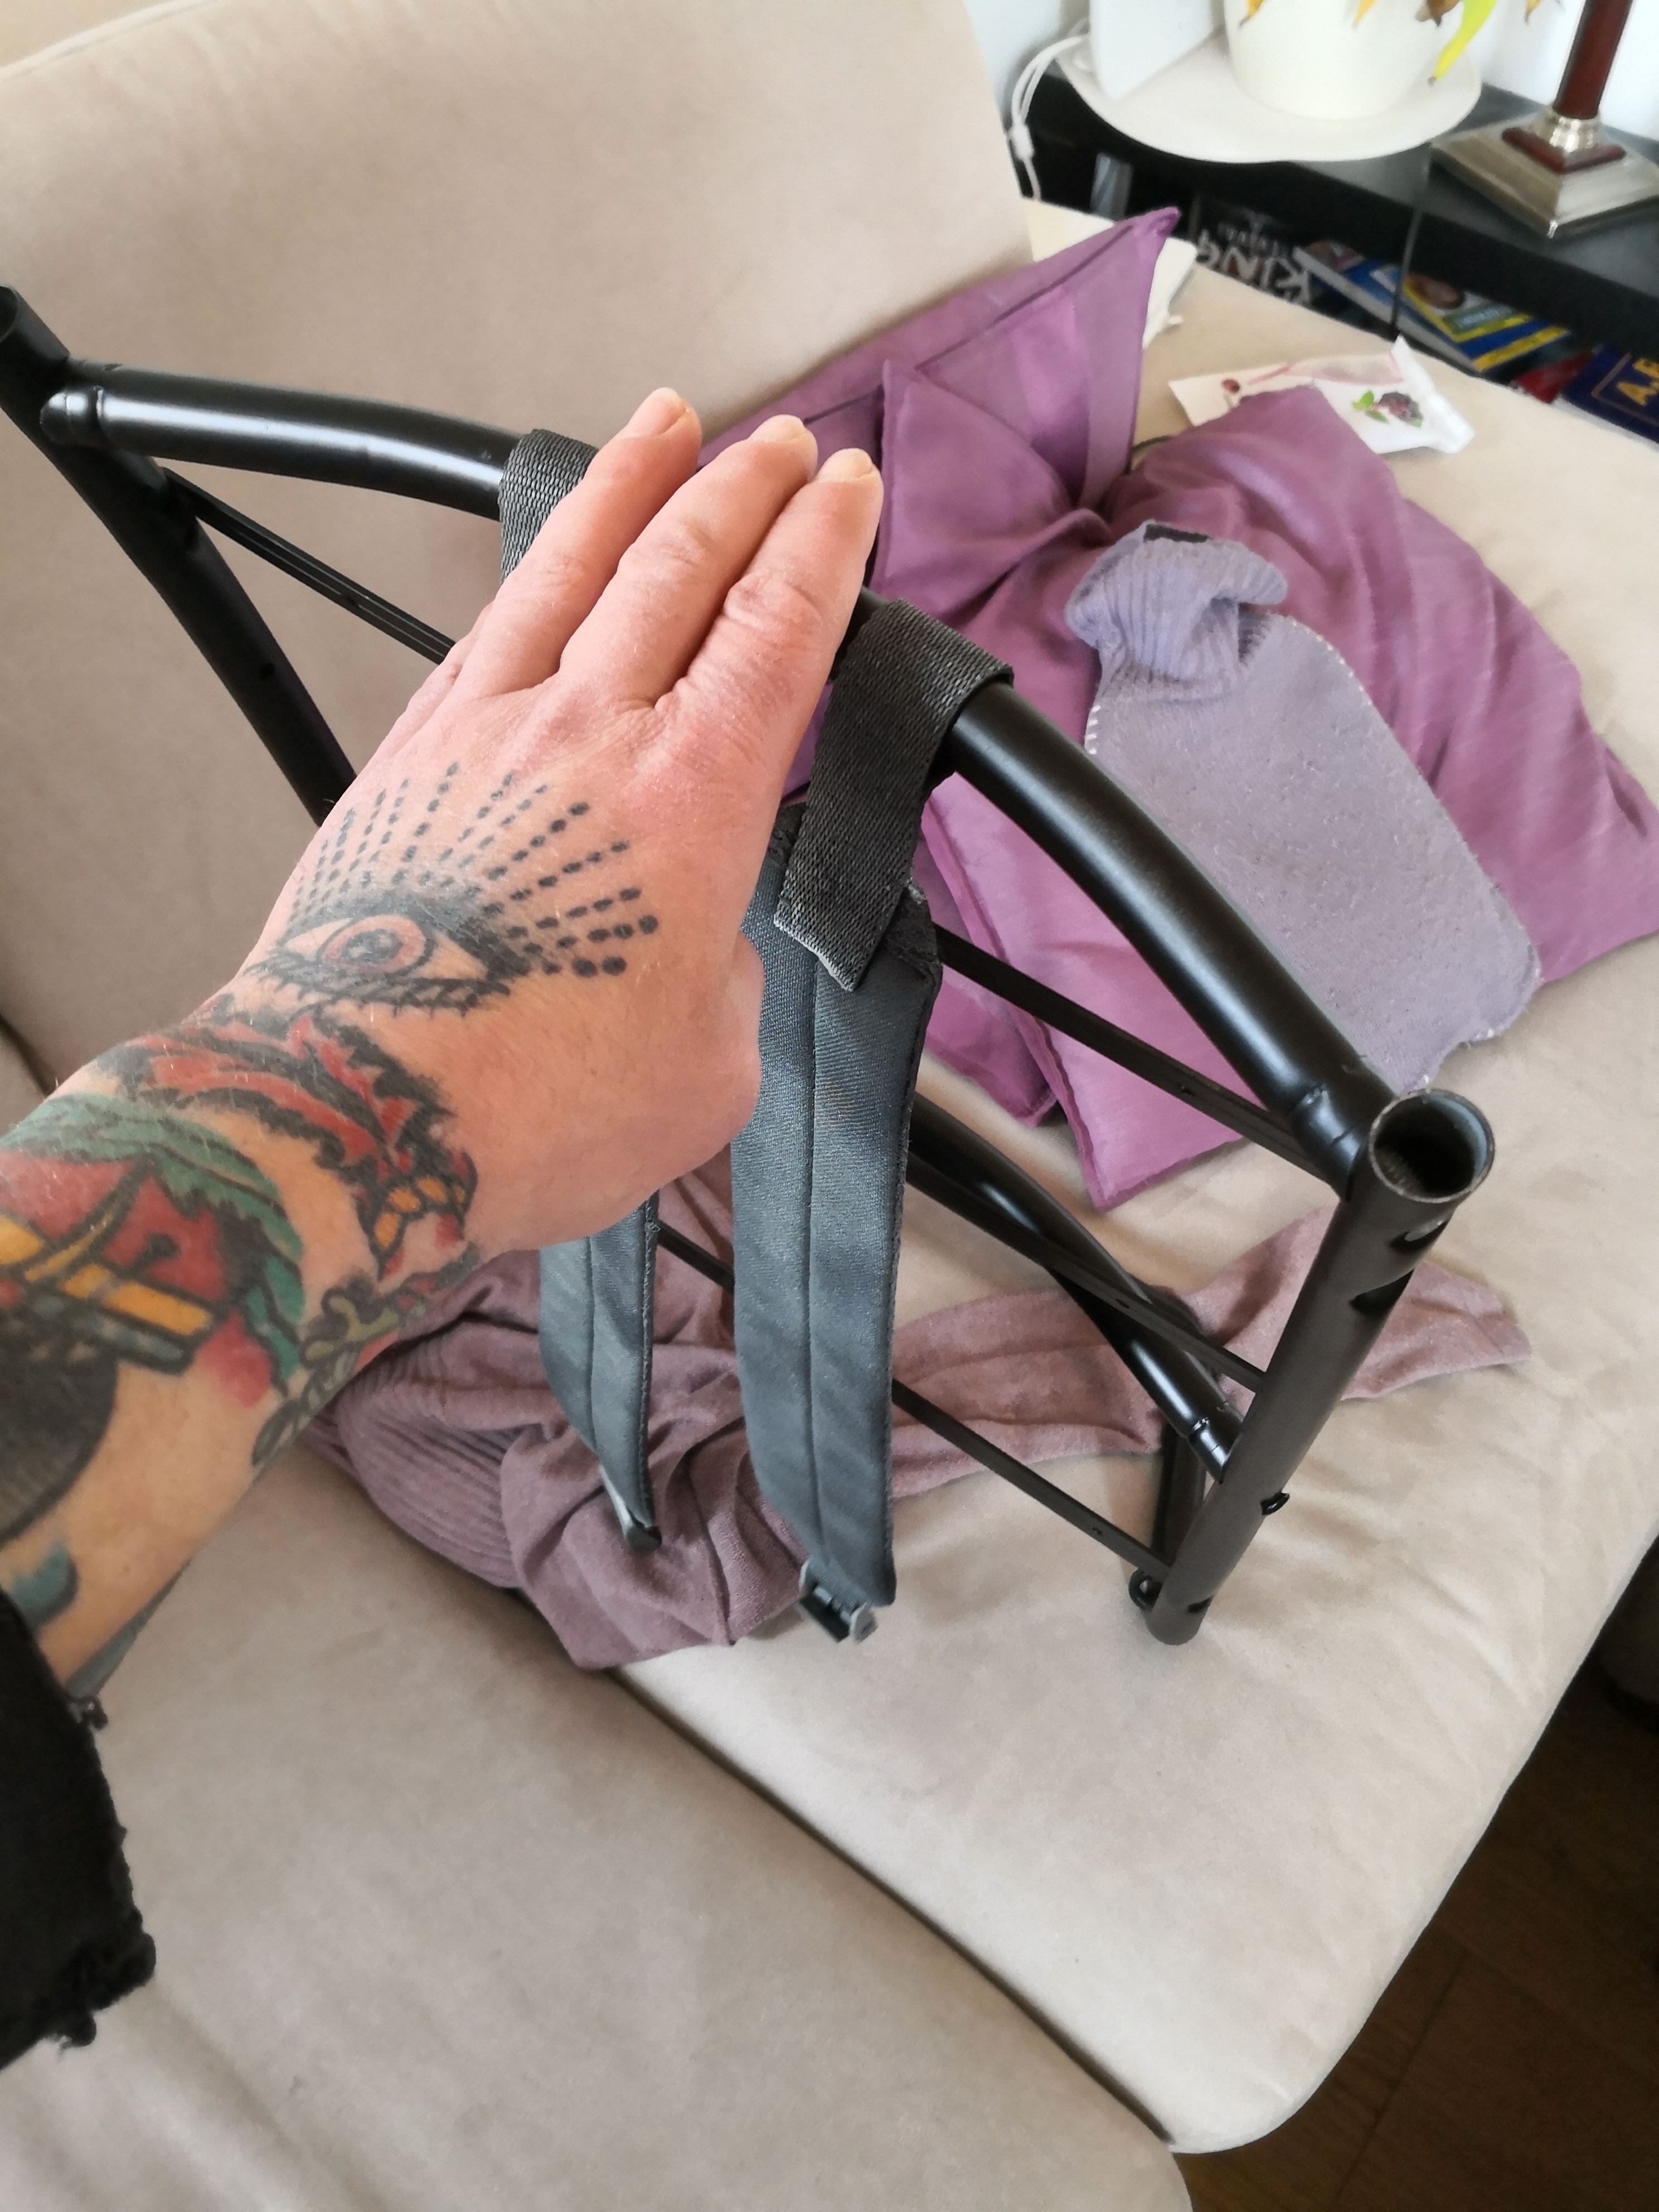
and already weathered
-
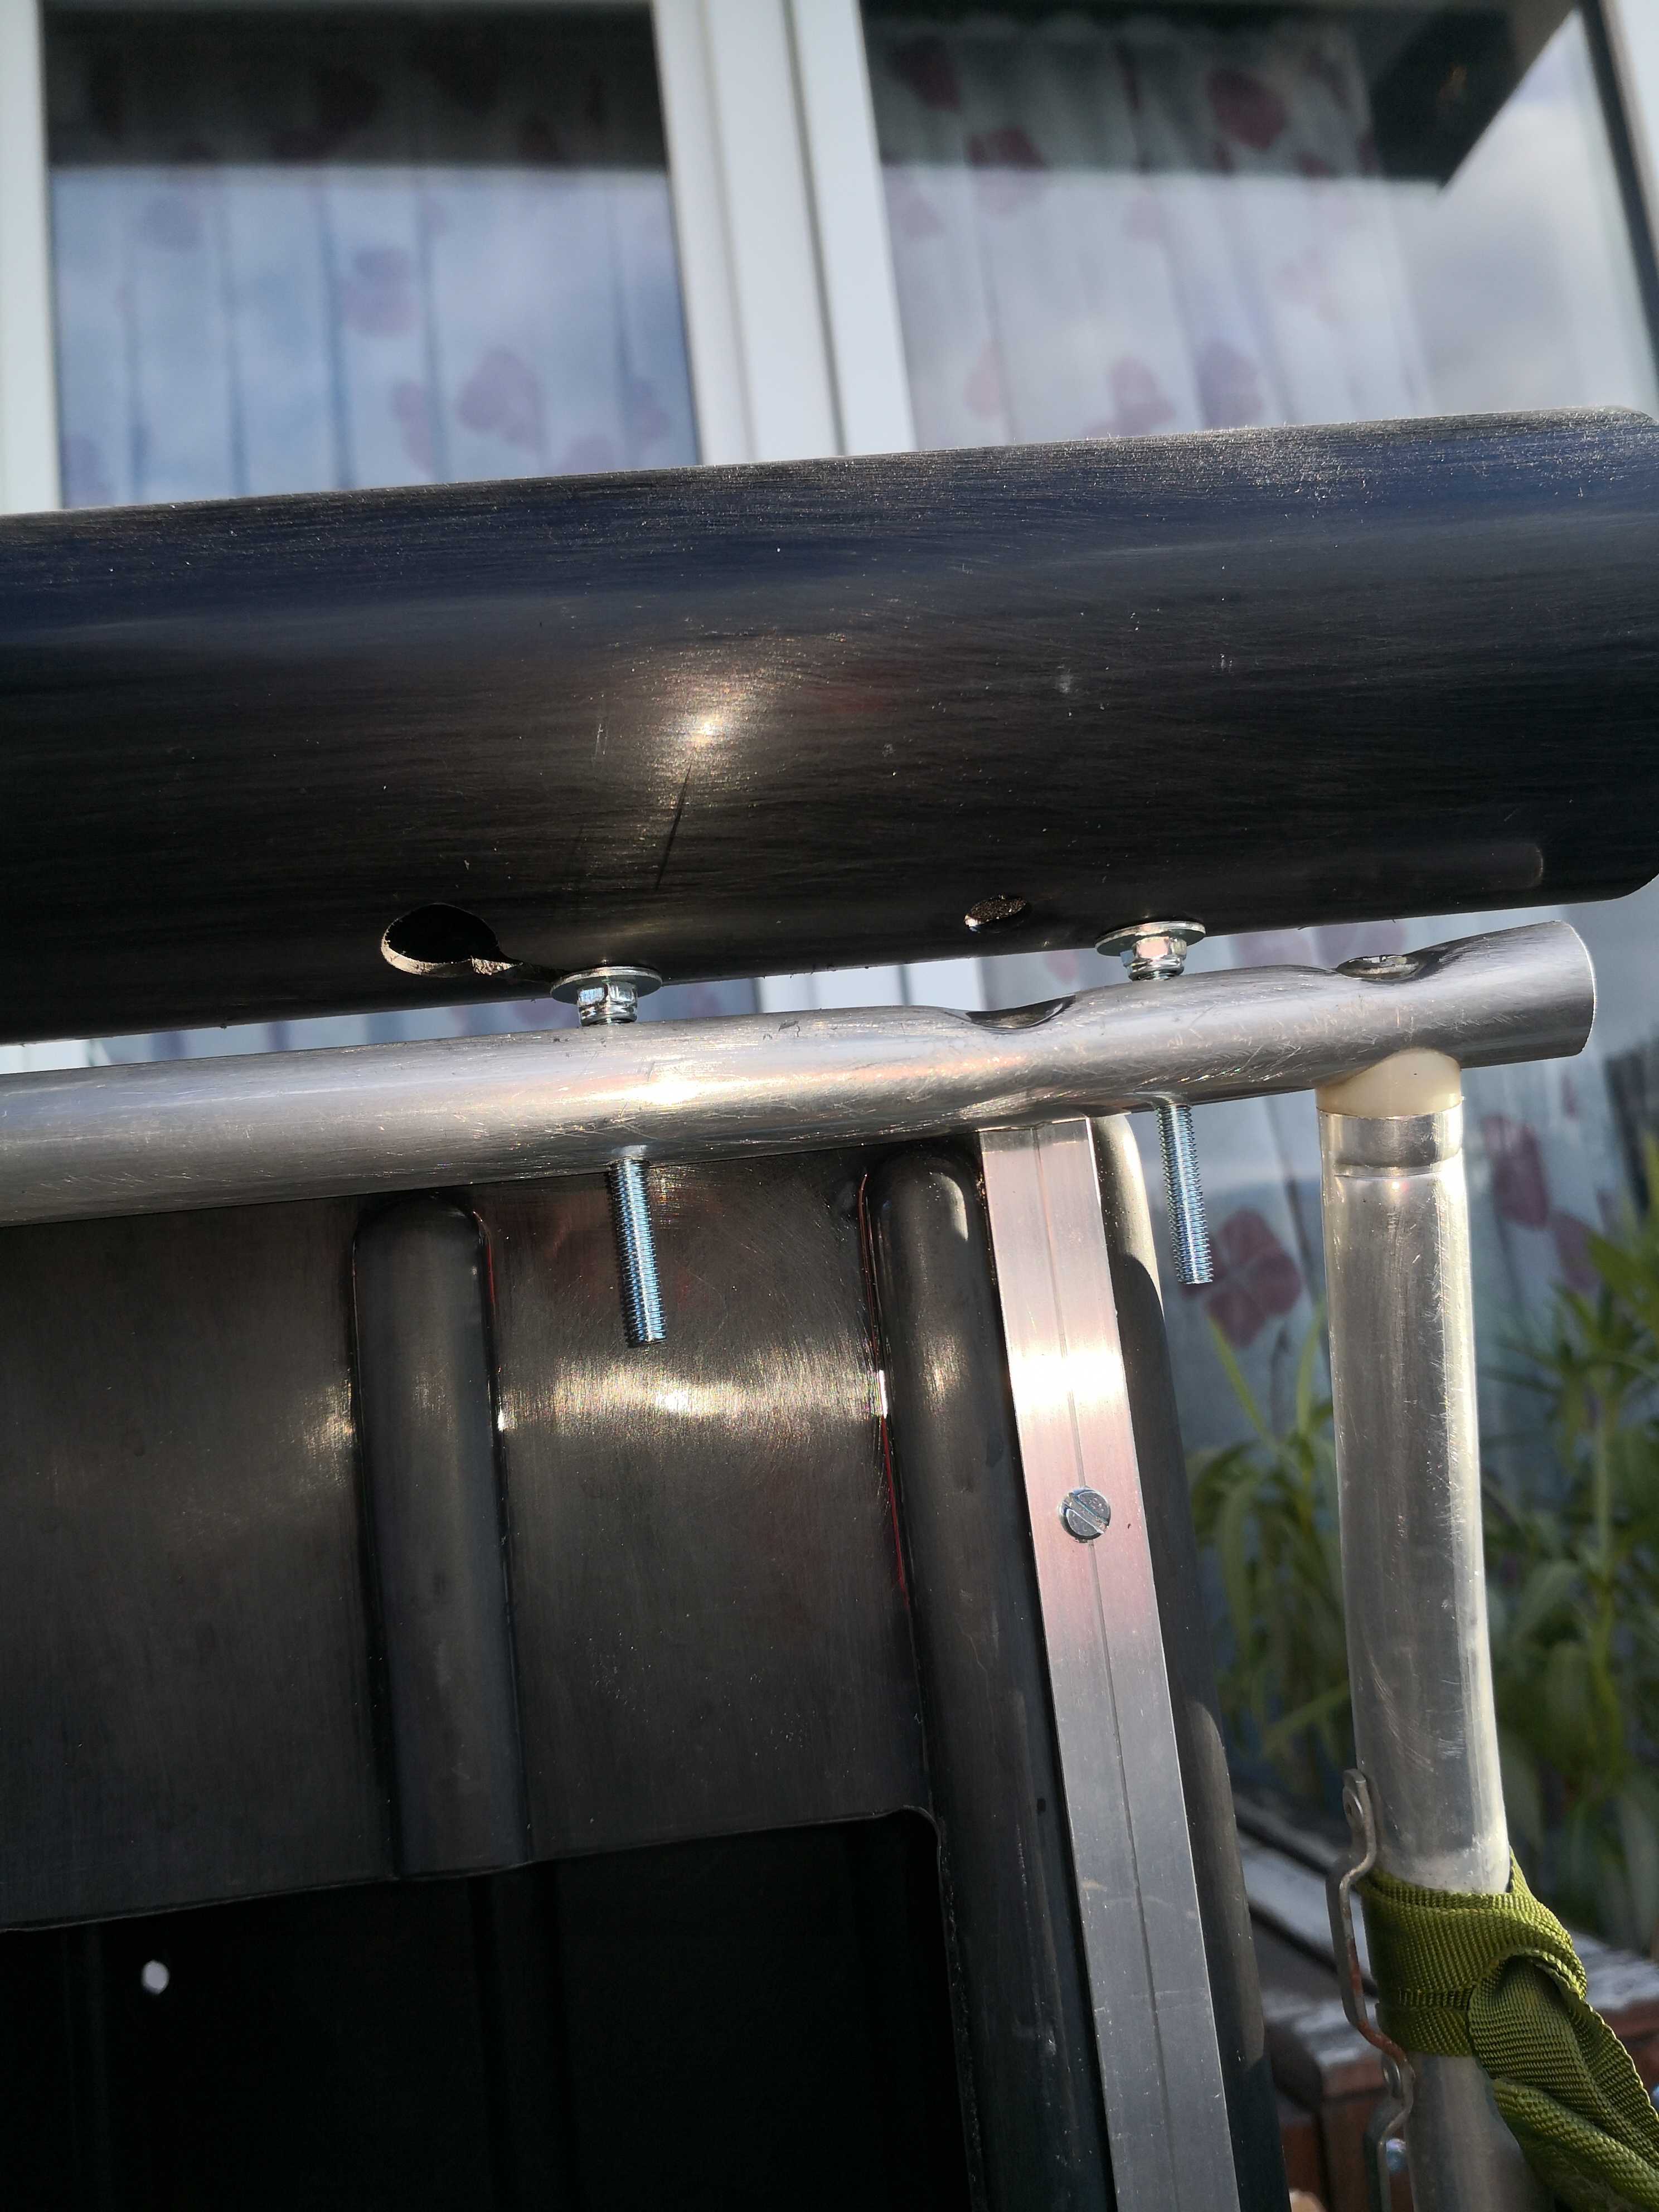
Alright, on we go. Next up was the mortartube, it´s attached to the frame using two M5 bolts. For easier assembly and disassembly when needed, I have drilled some holes and slots on the backside where they aren´t visible.
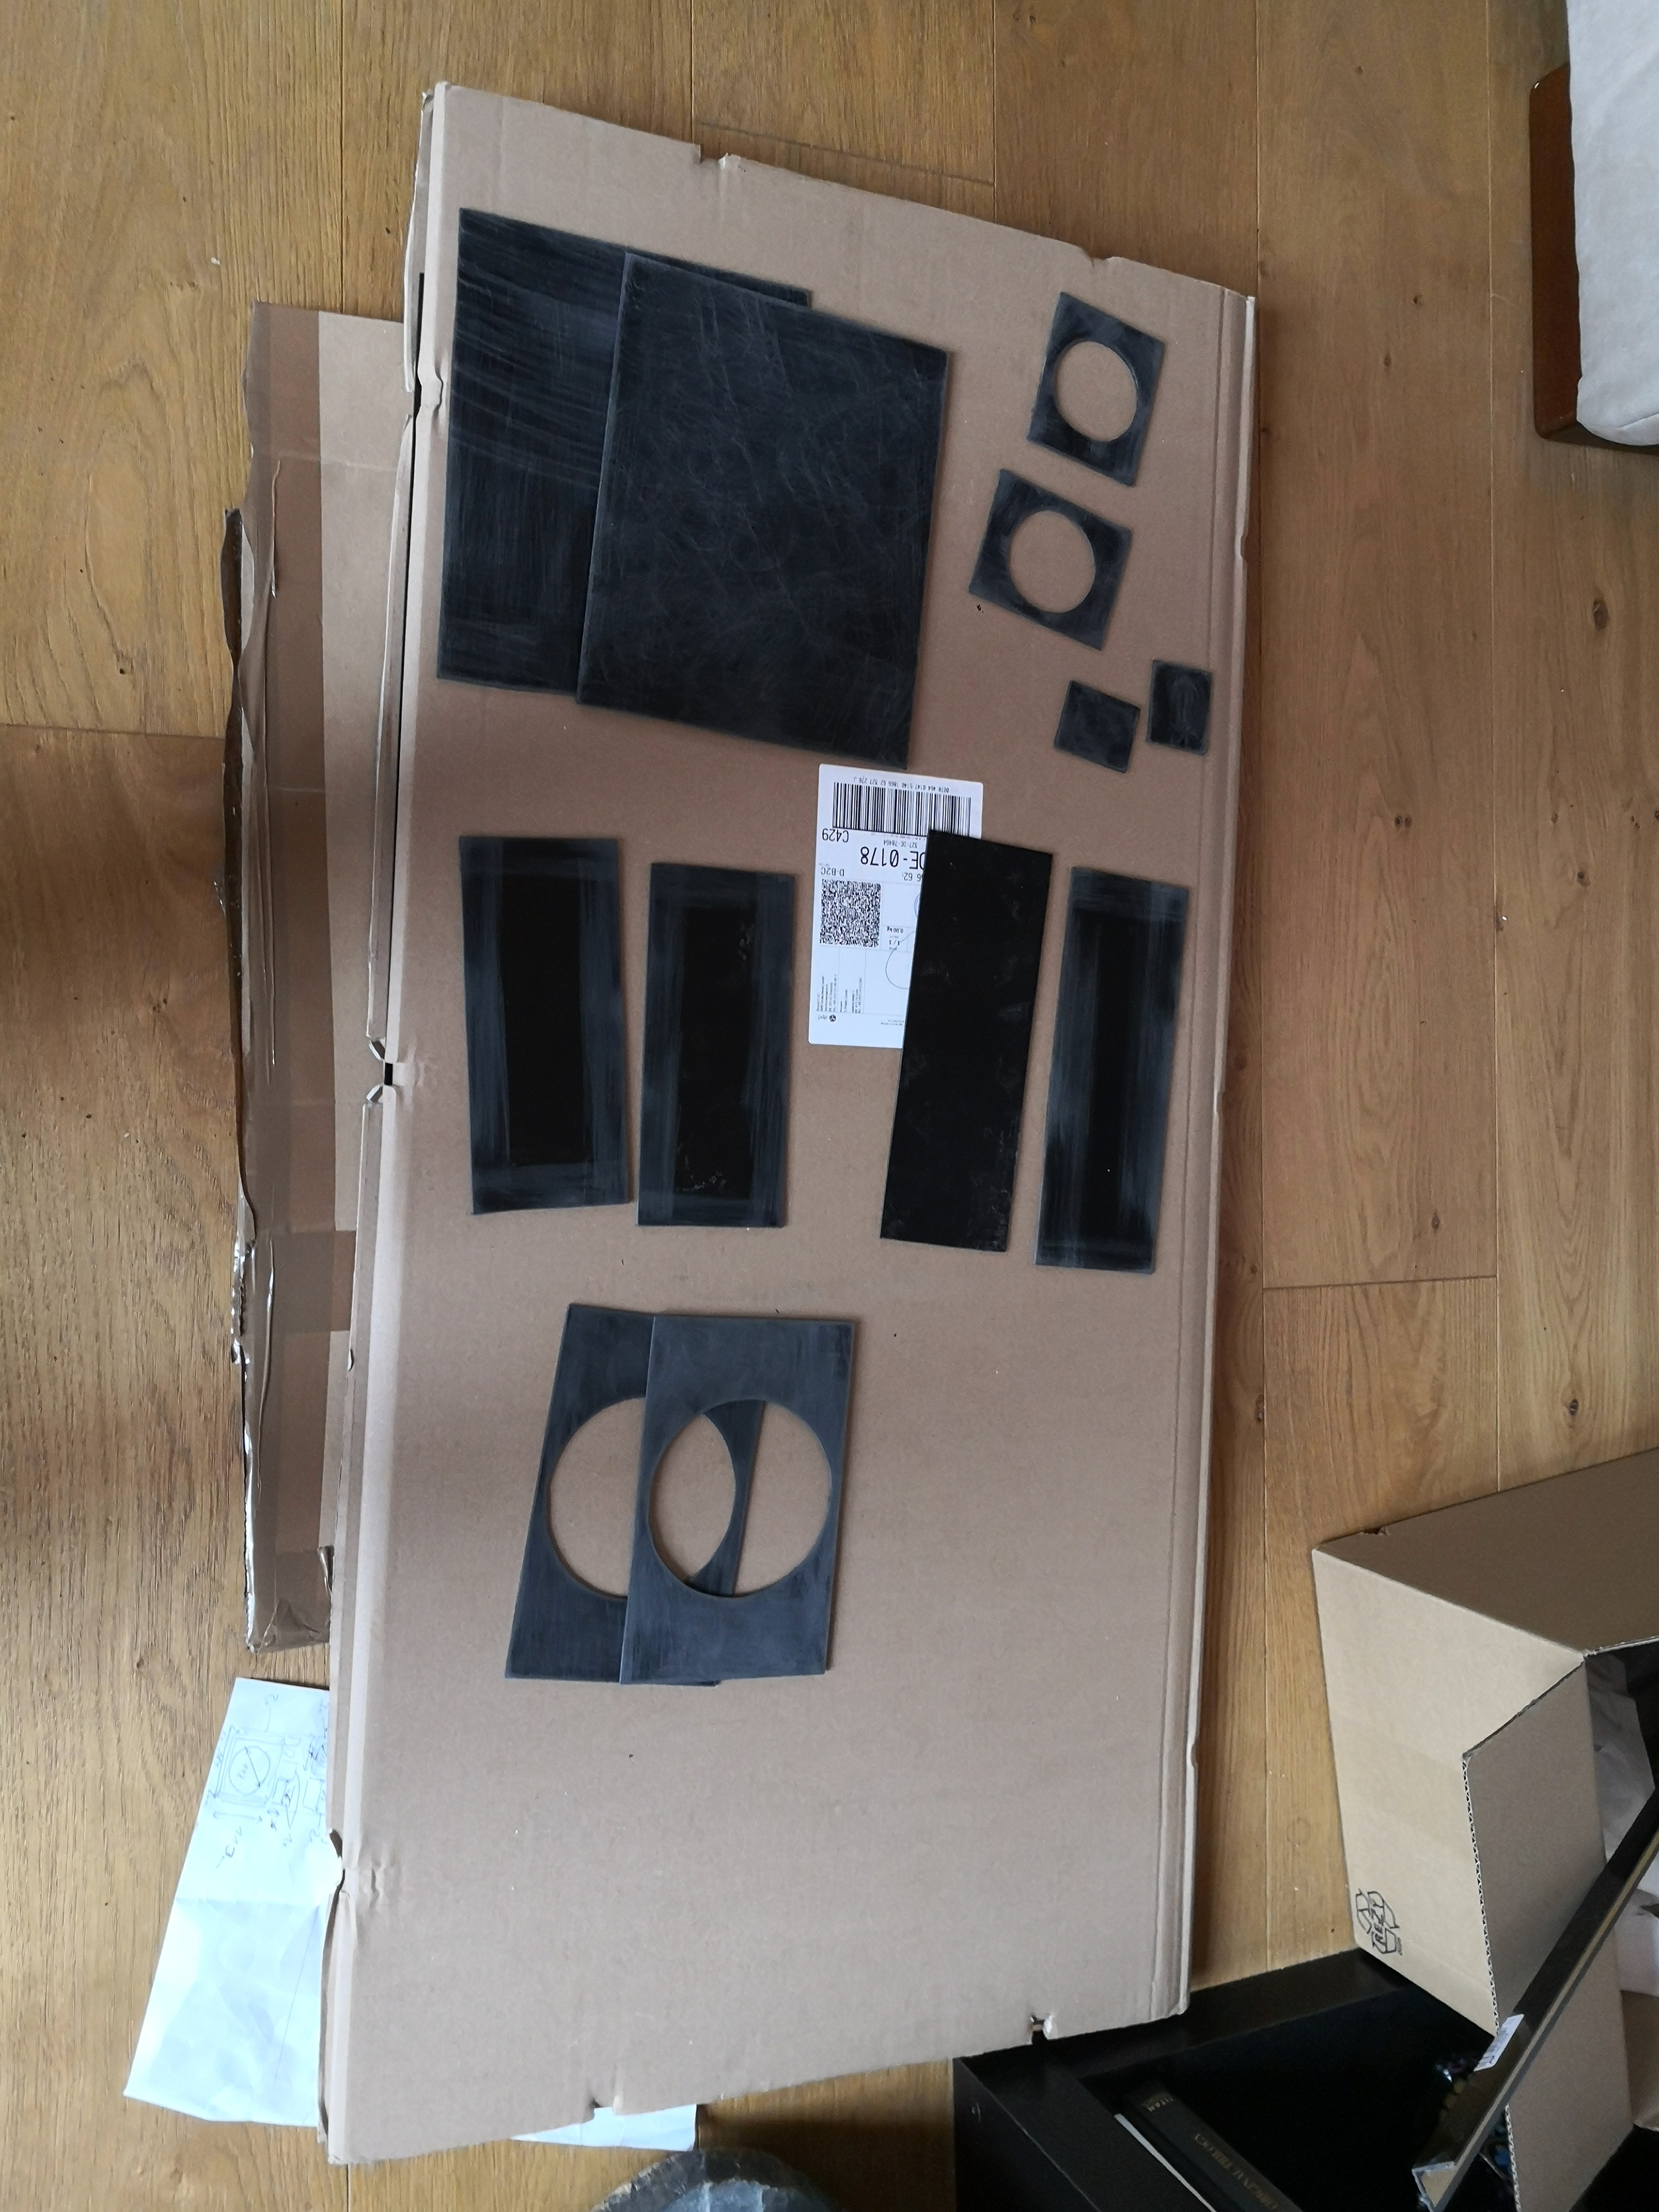
For the disc behind the original Tupperware radardish I use a CD as a template and cut it out from a sheet of black ABS.

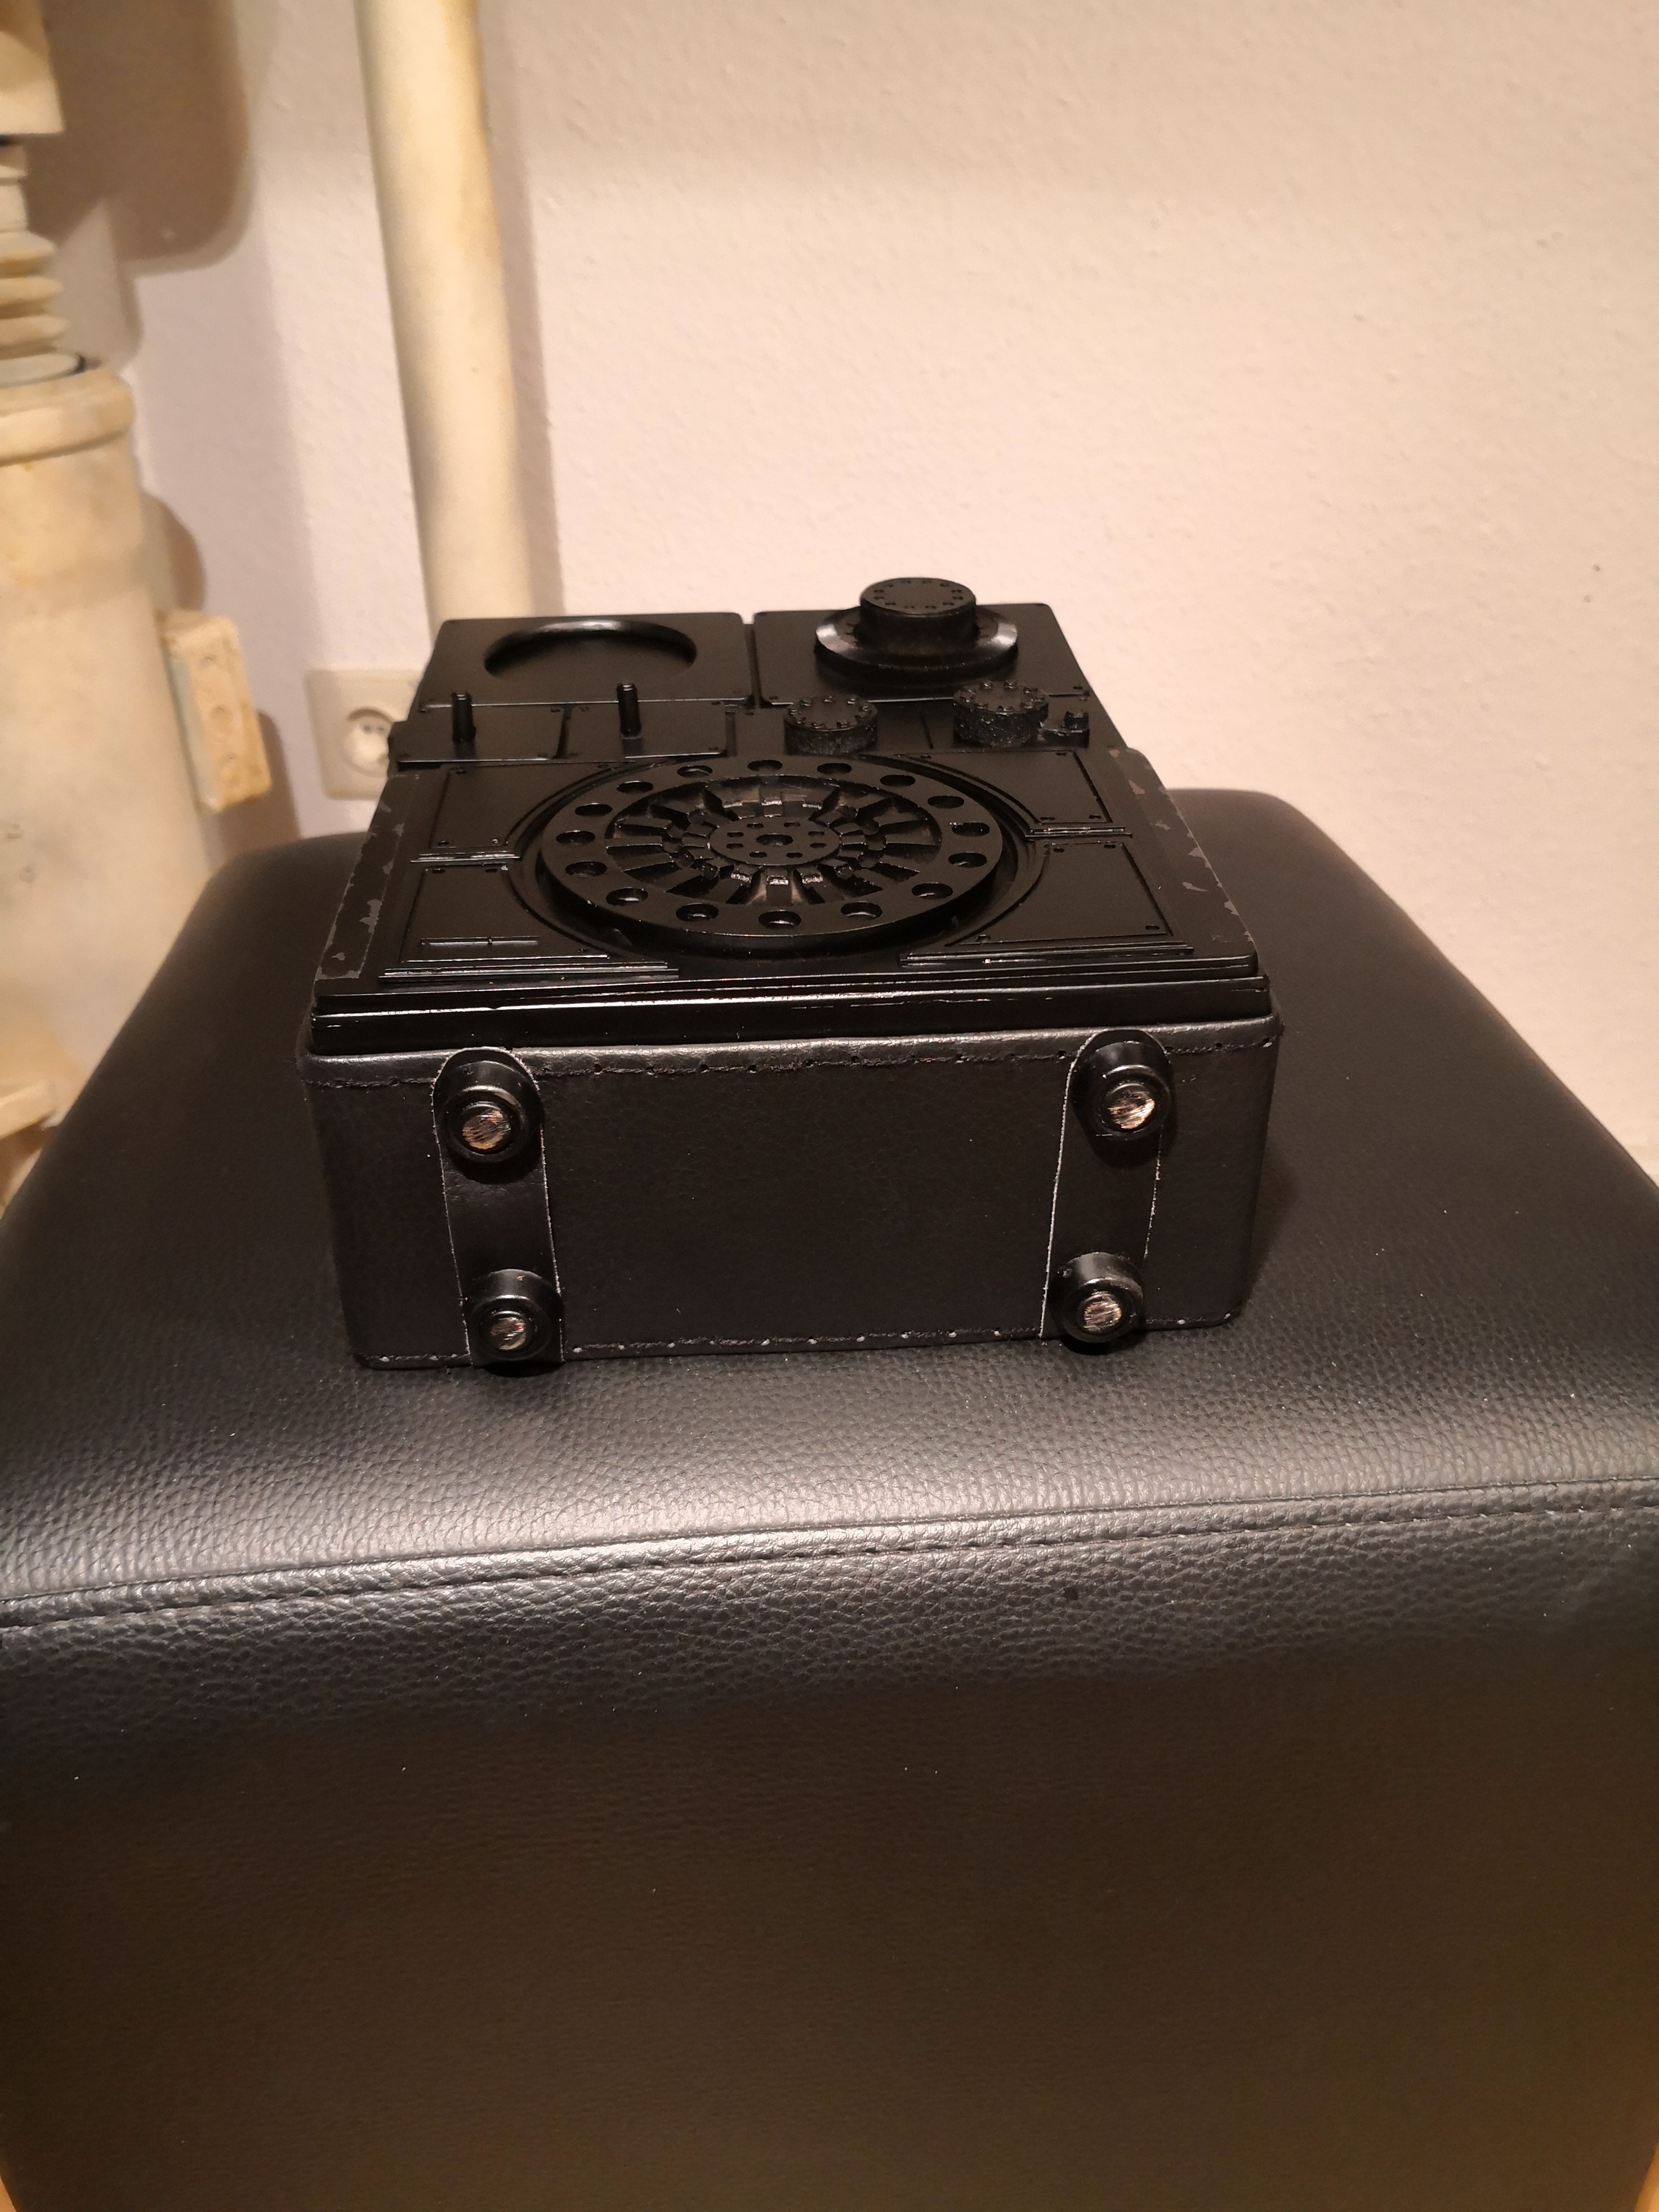
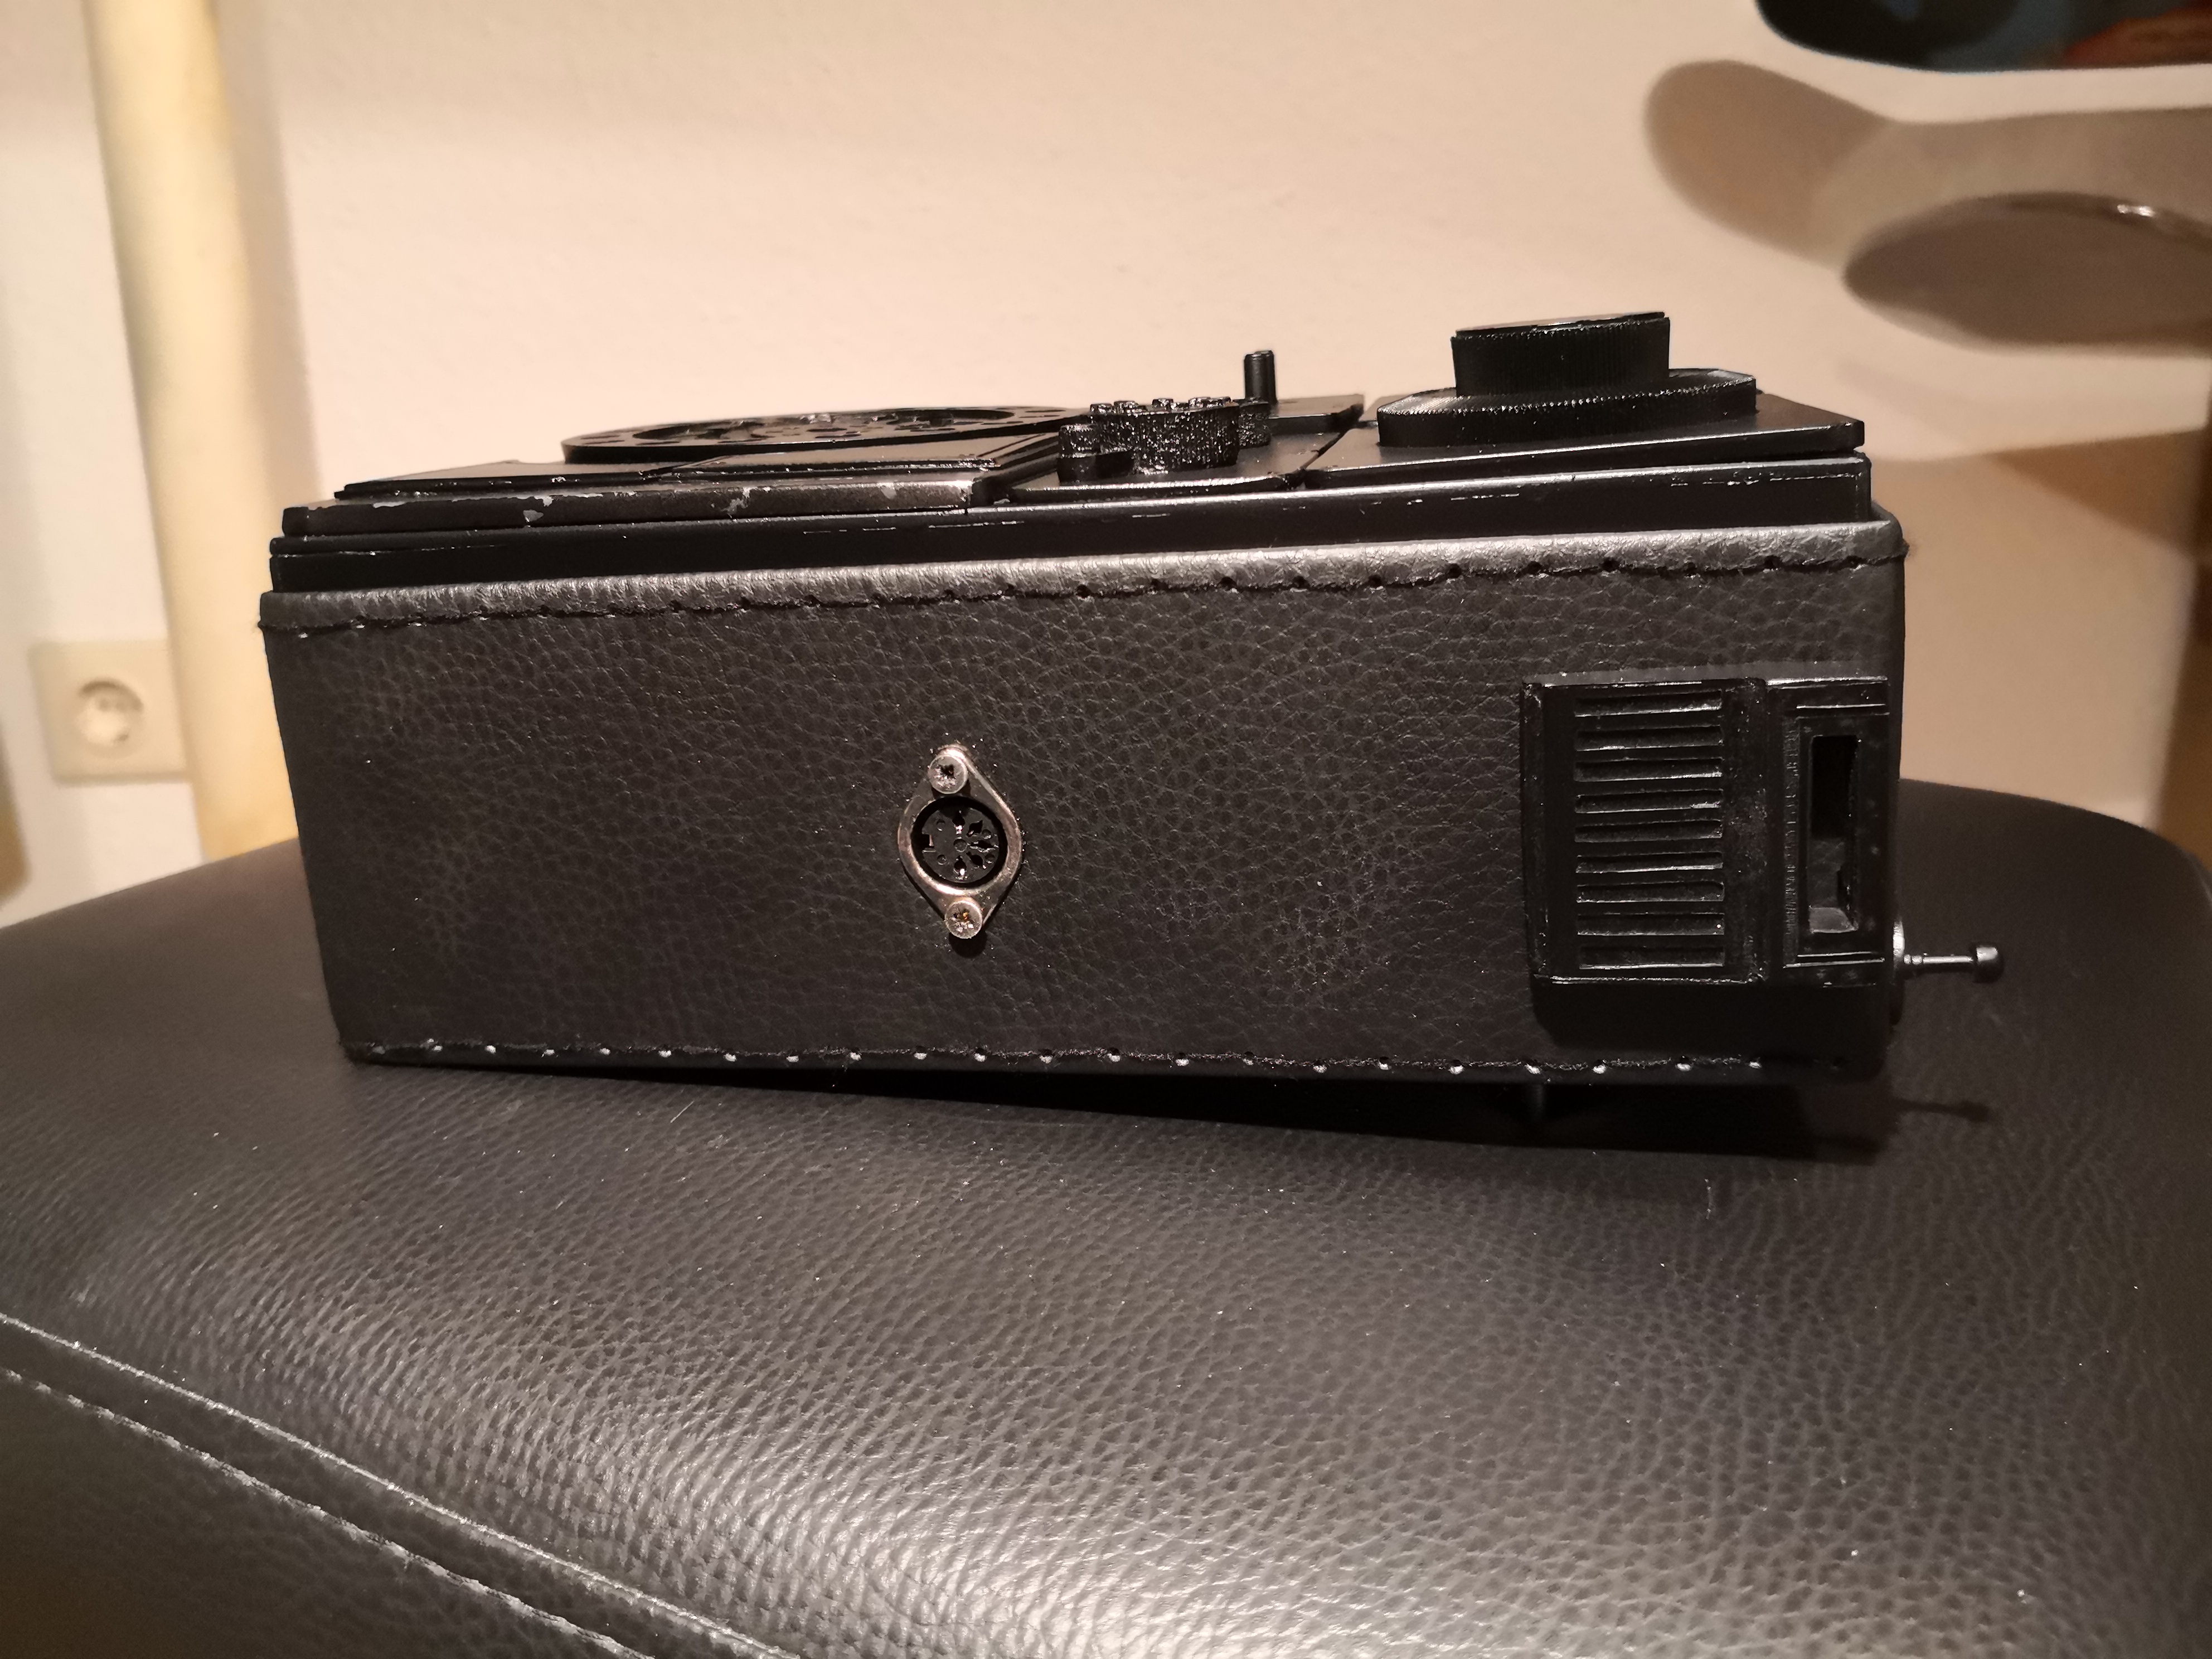
The radio is a Sandiecomms kit but I used the supplied pieces of white ABS to create templates and recreate them of black ABS. Some might say that this is unneccessary as it´s painted black anyway but with my very first radio, I just hate it when I bump into something and I have to repaint it because the white ABS is showing underneath. I´ll see how this works out for me.
To keep it ligthweight, there are no electronics added.
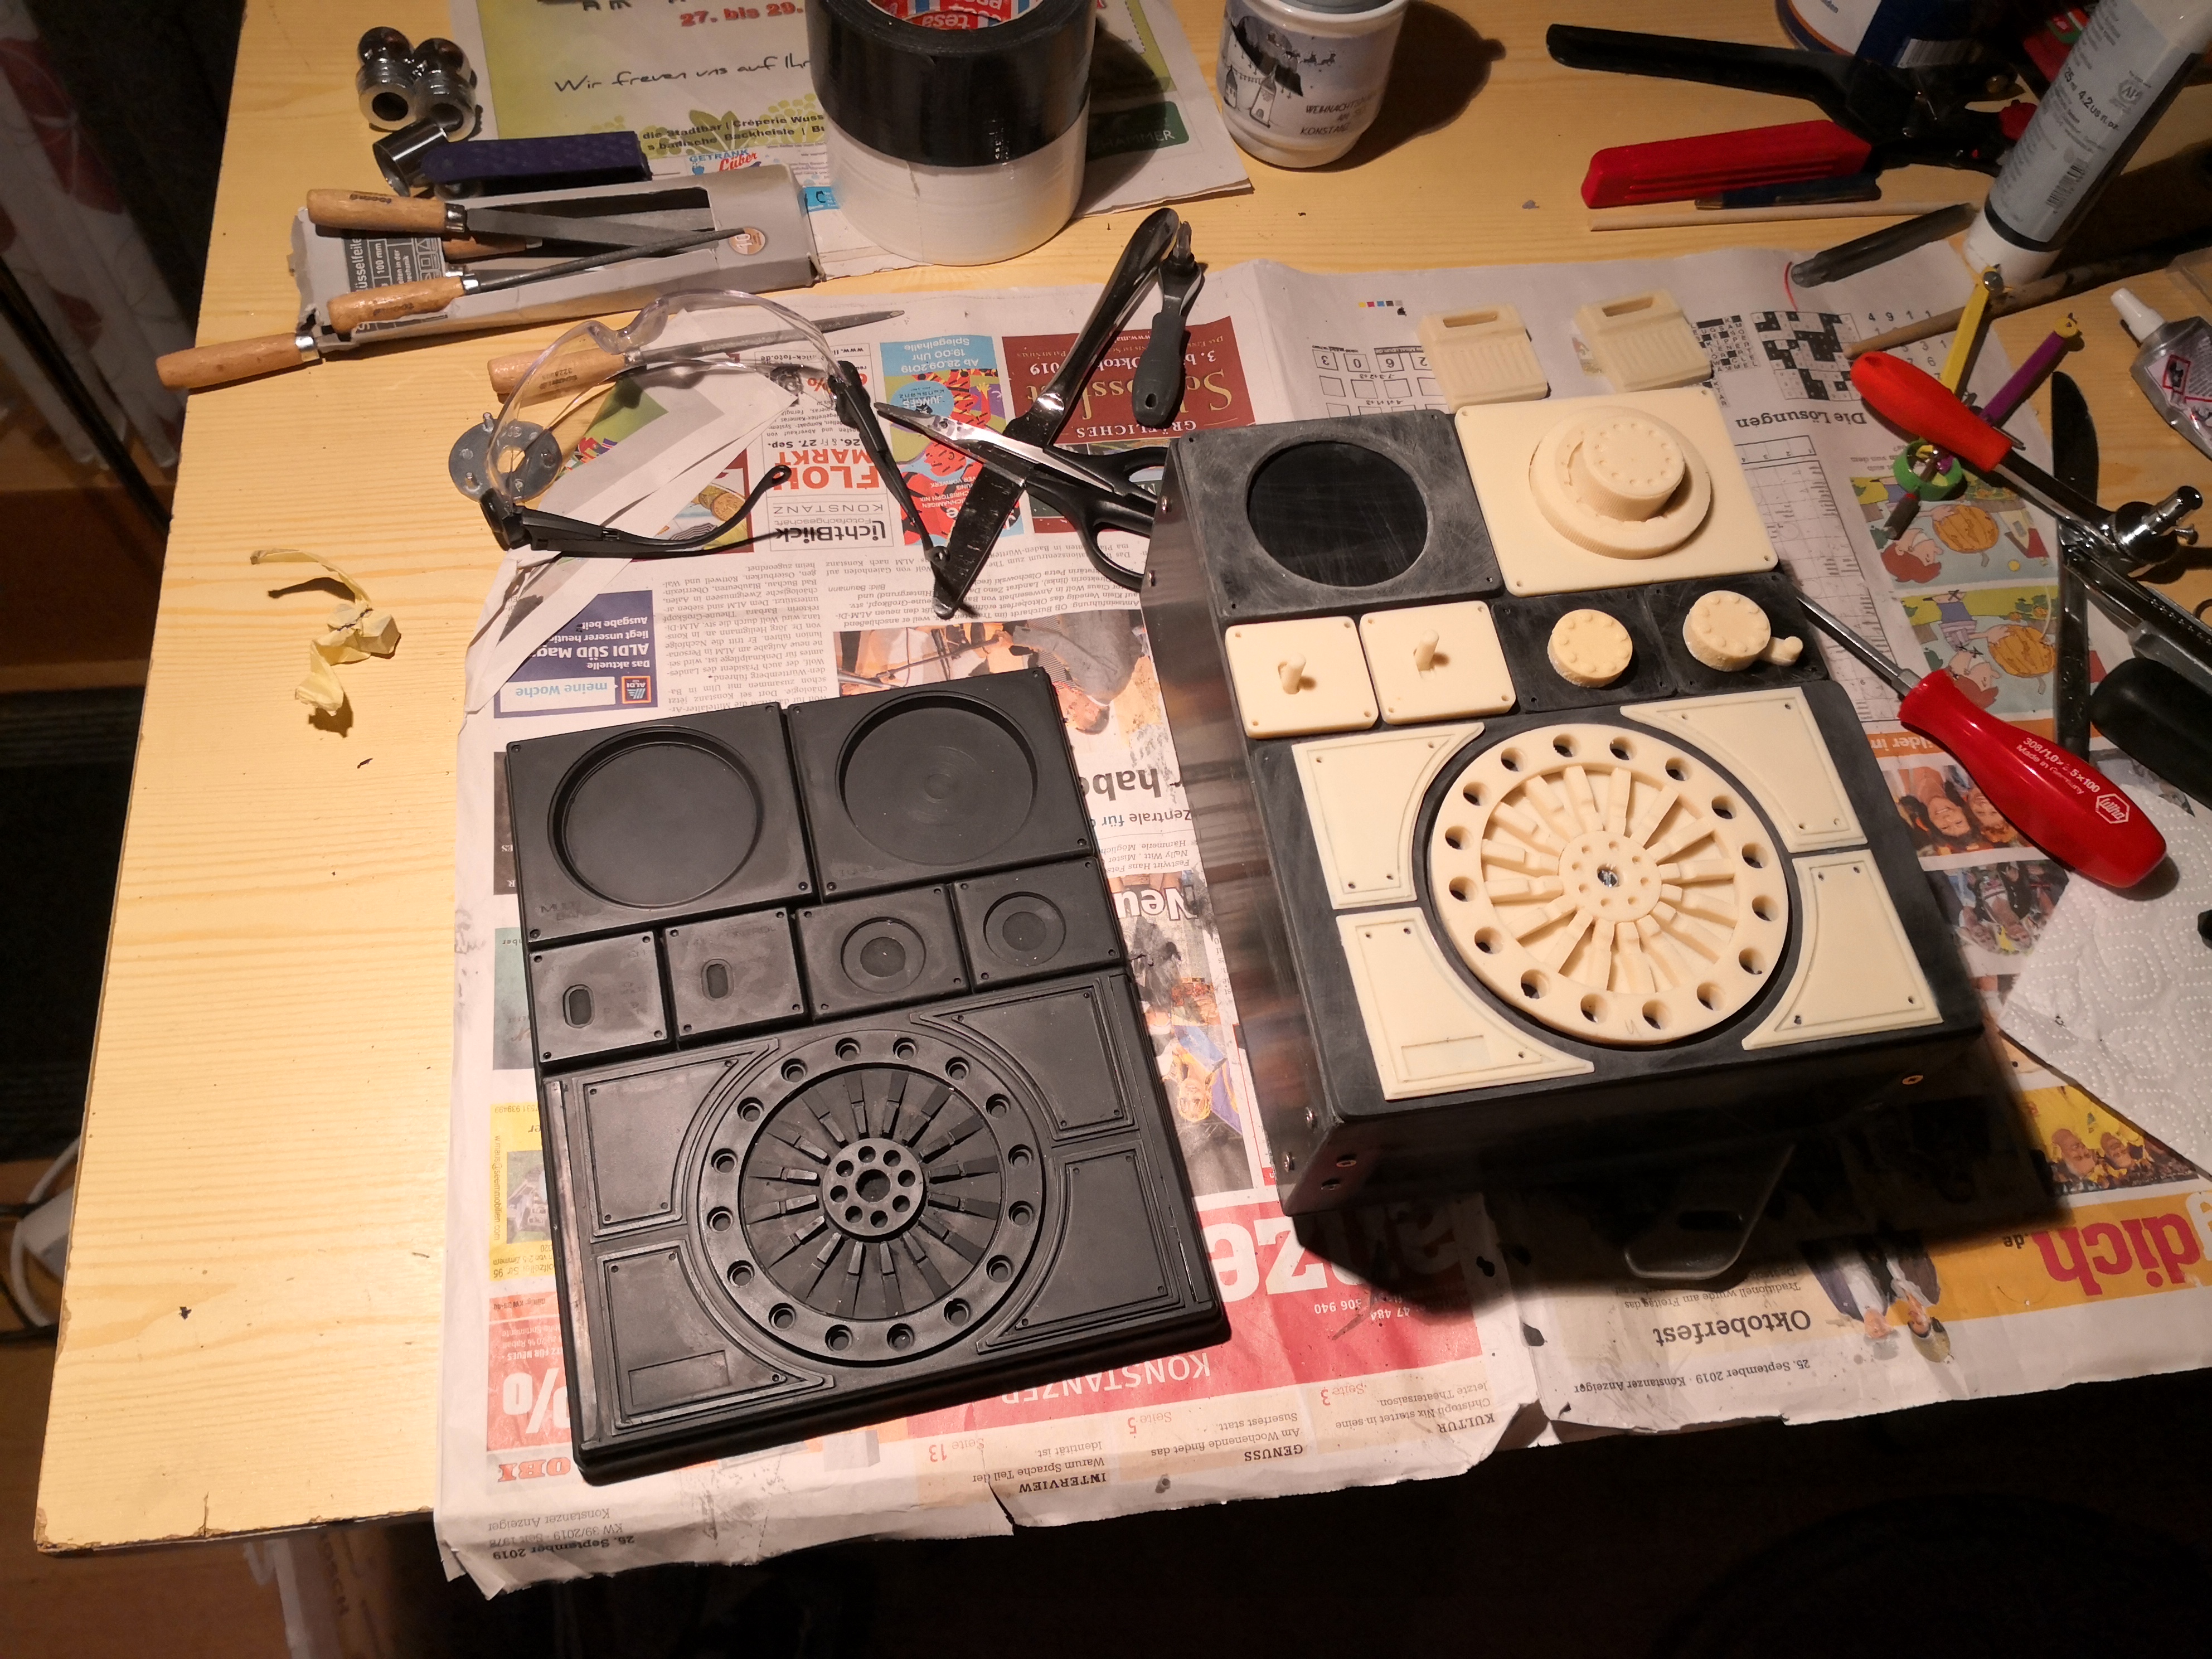
So this is the Sandiecomms kit on the right next to a Sonixworld faceplate which is cast from an original Sonix Victory 75.
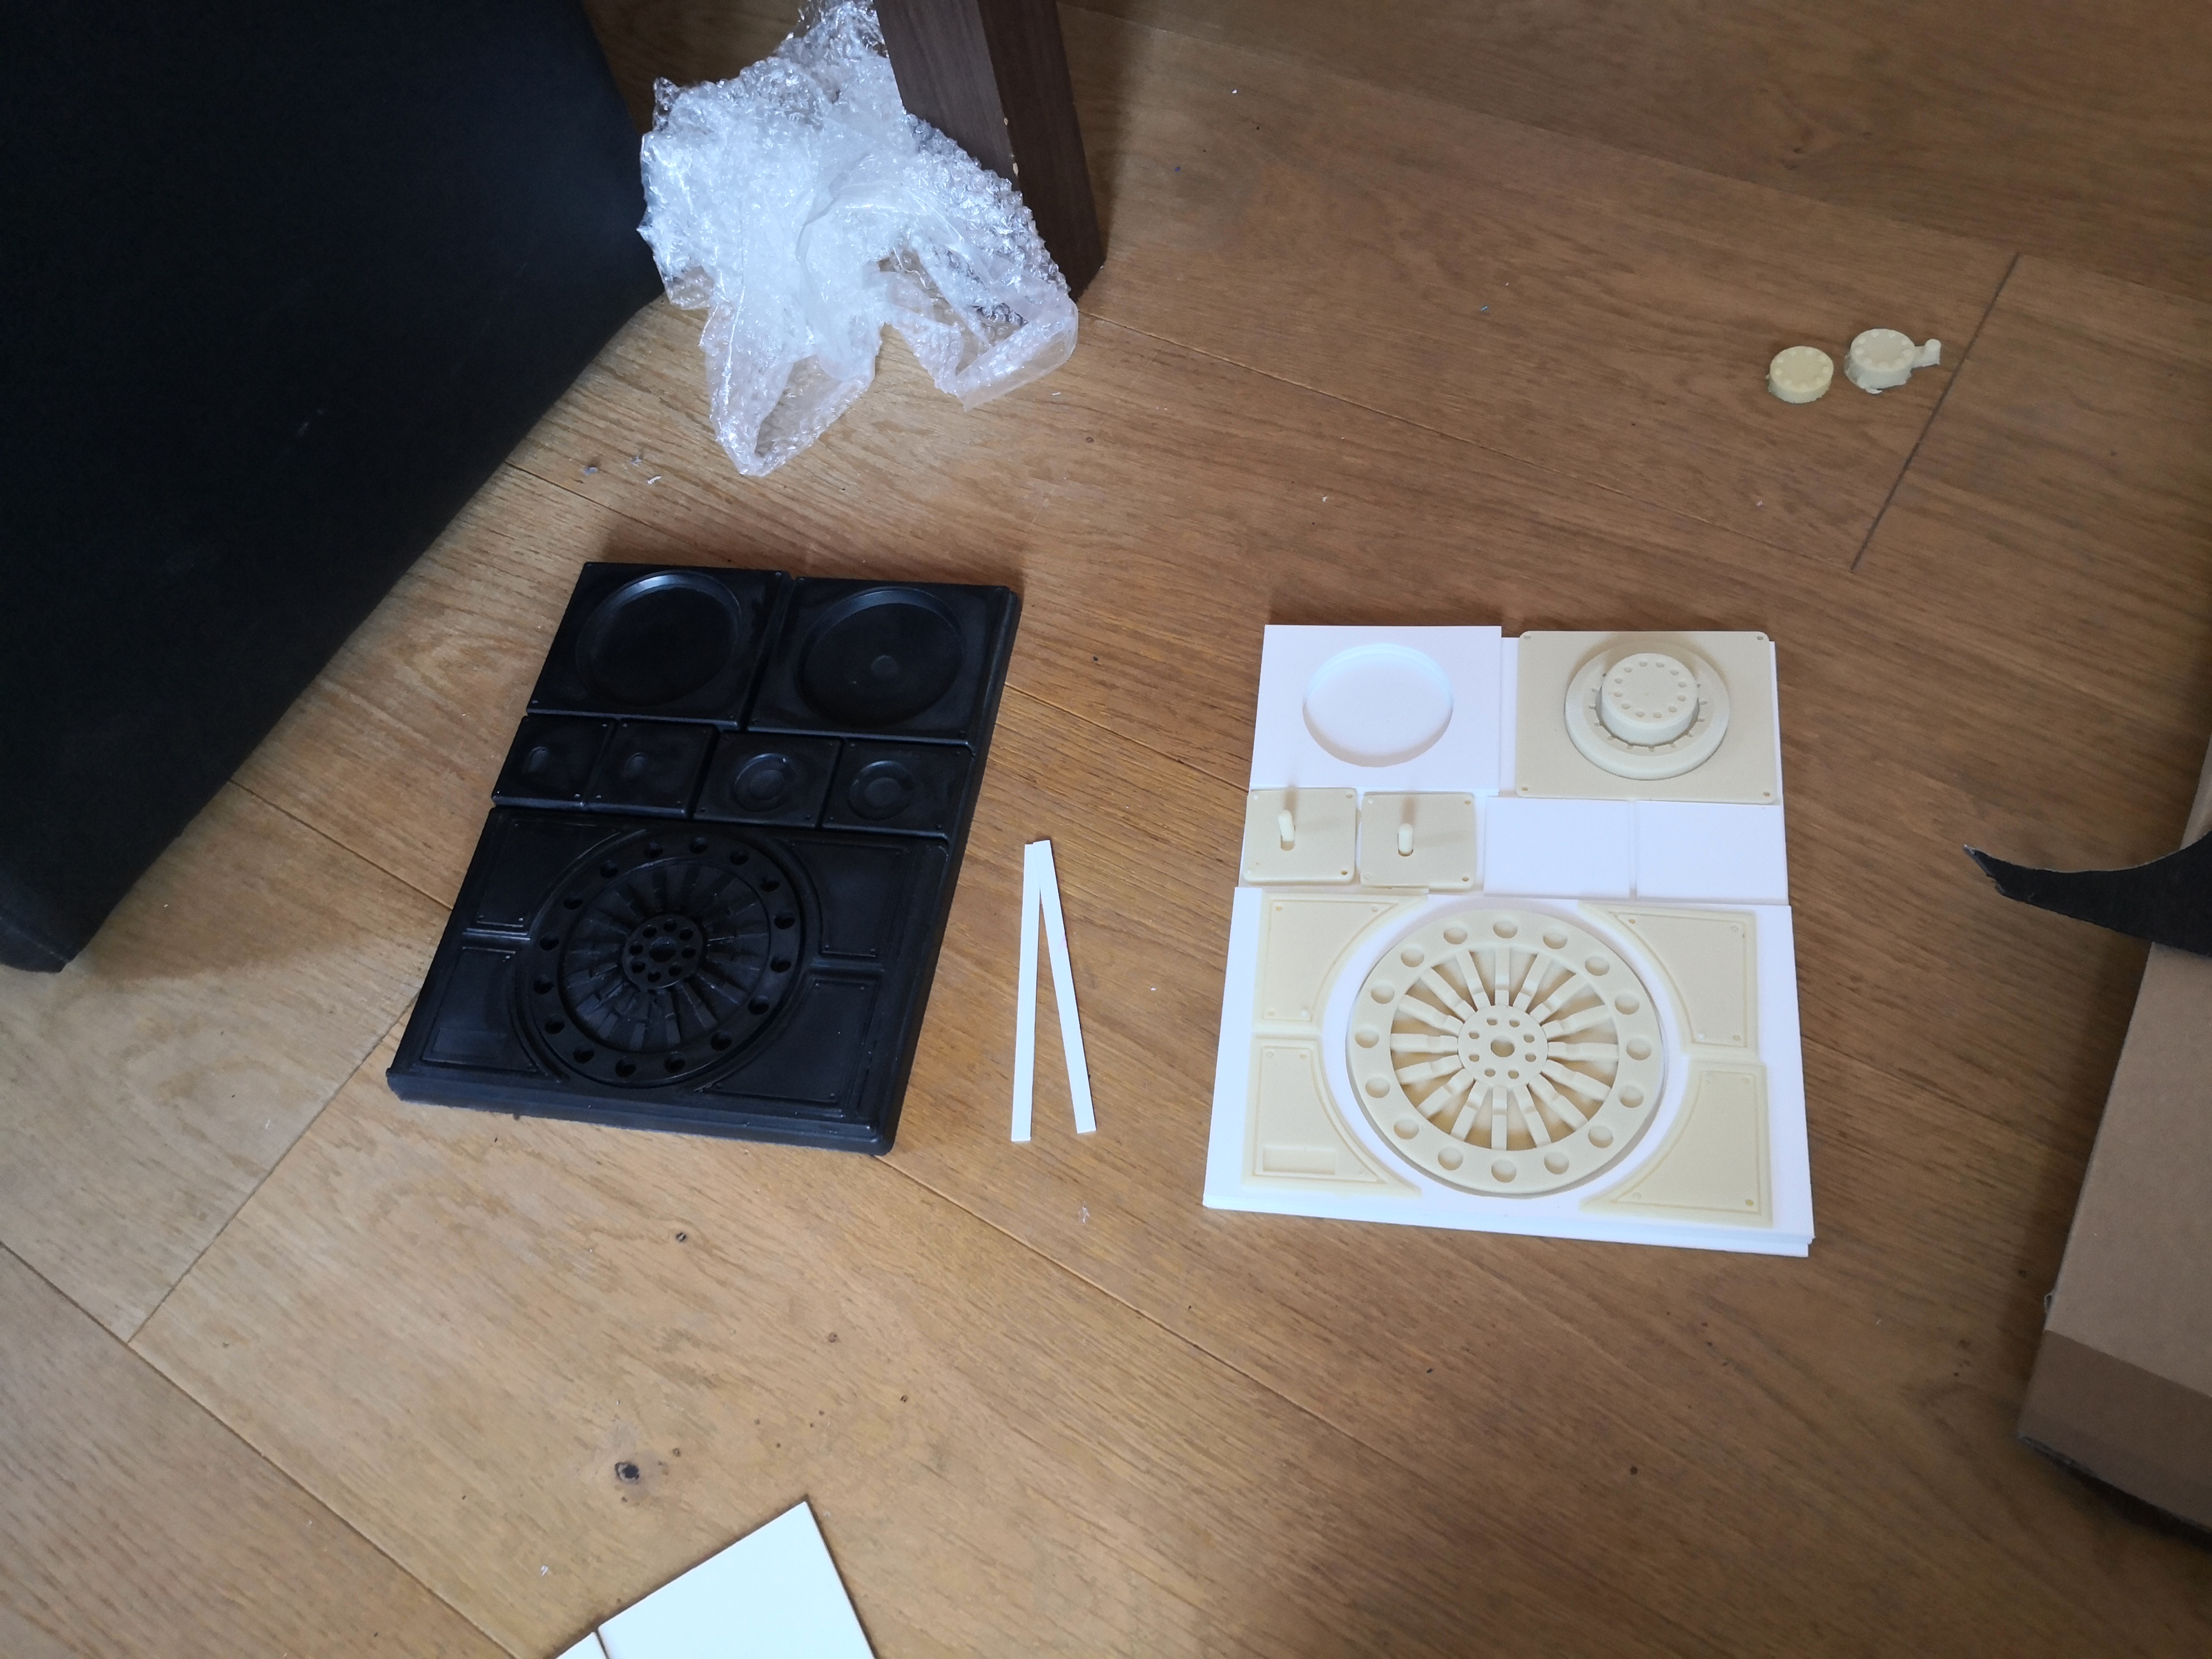
part recreated from black ABS
construction of the box:
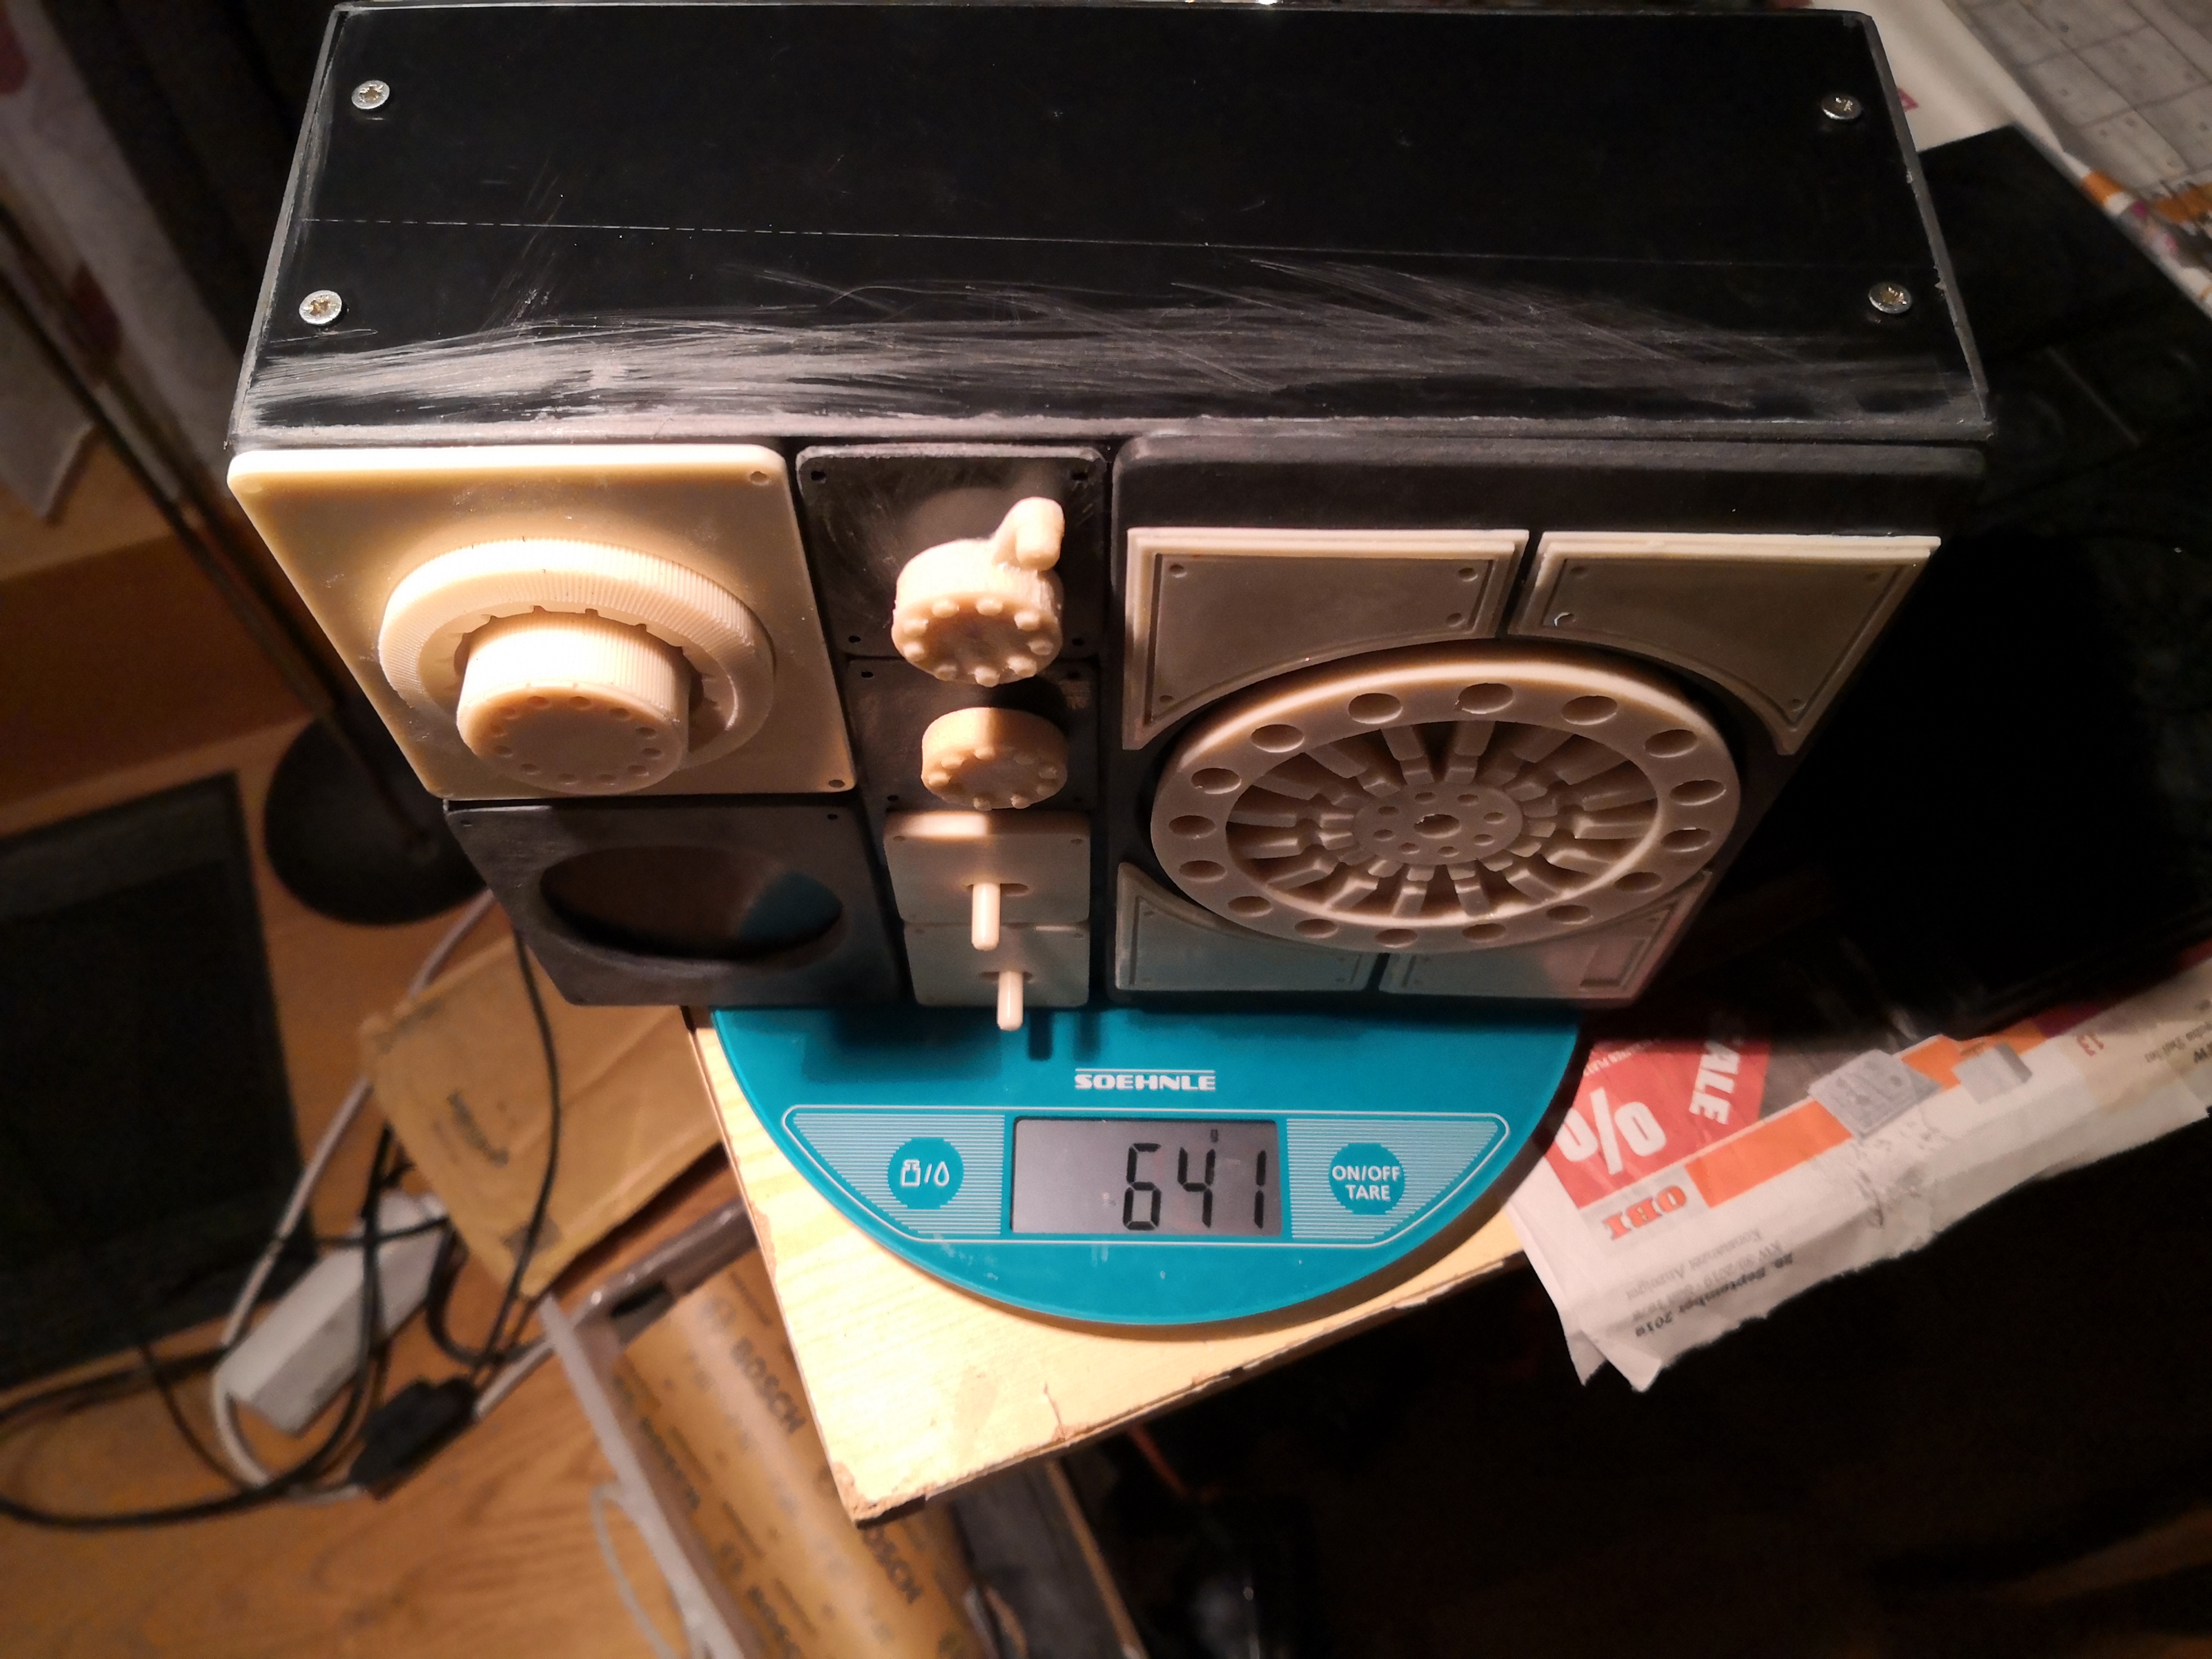
weight:
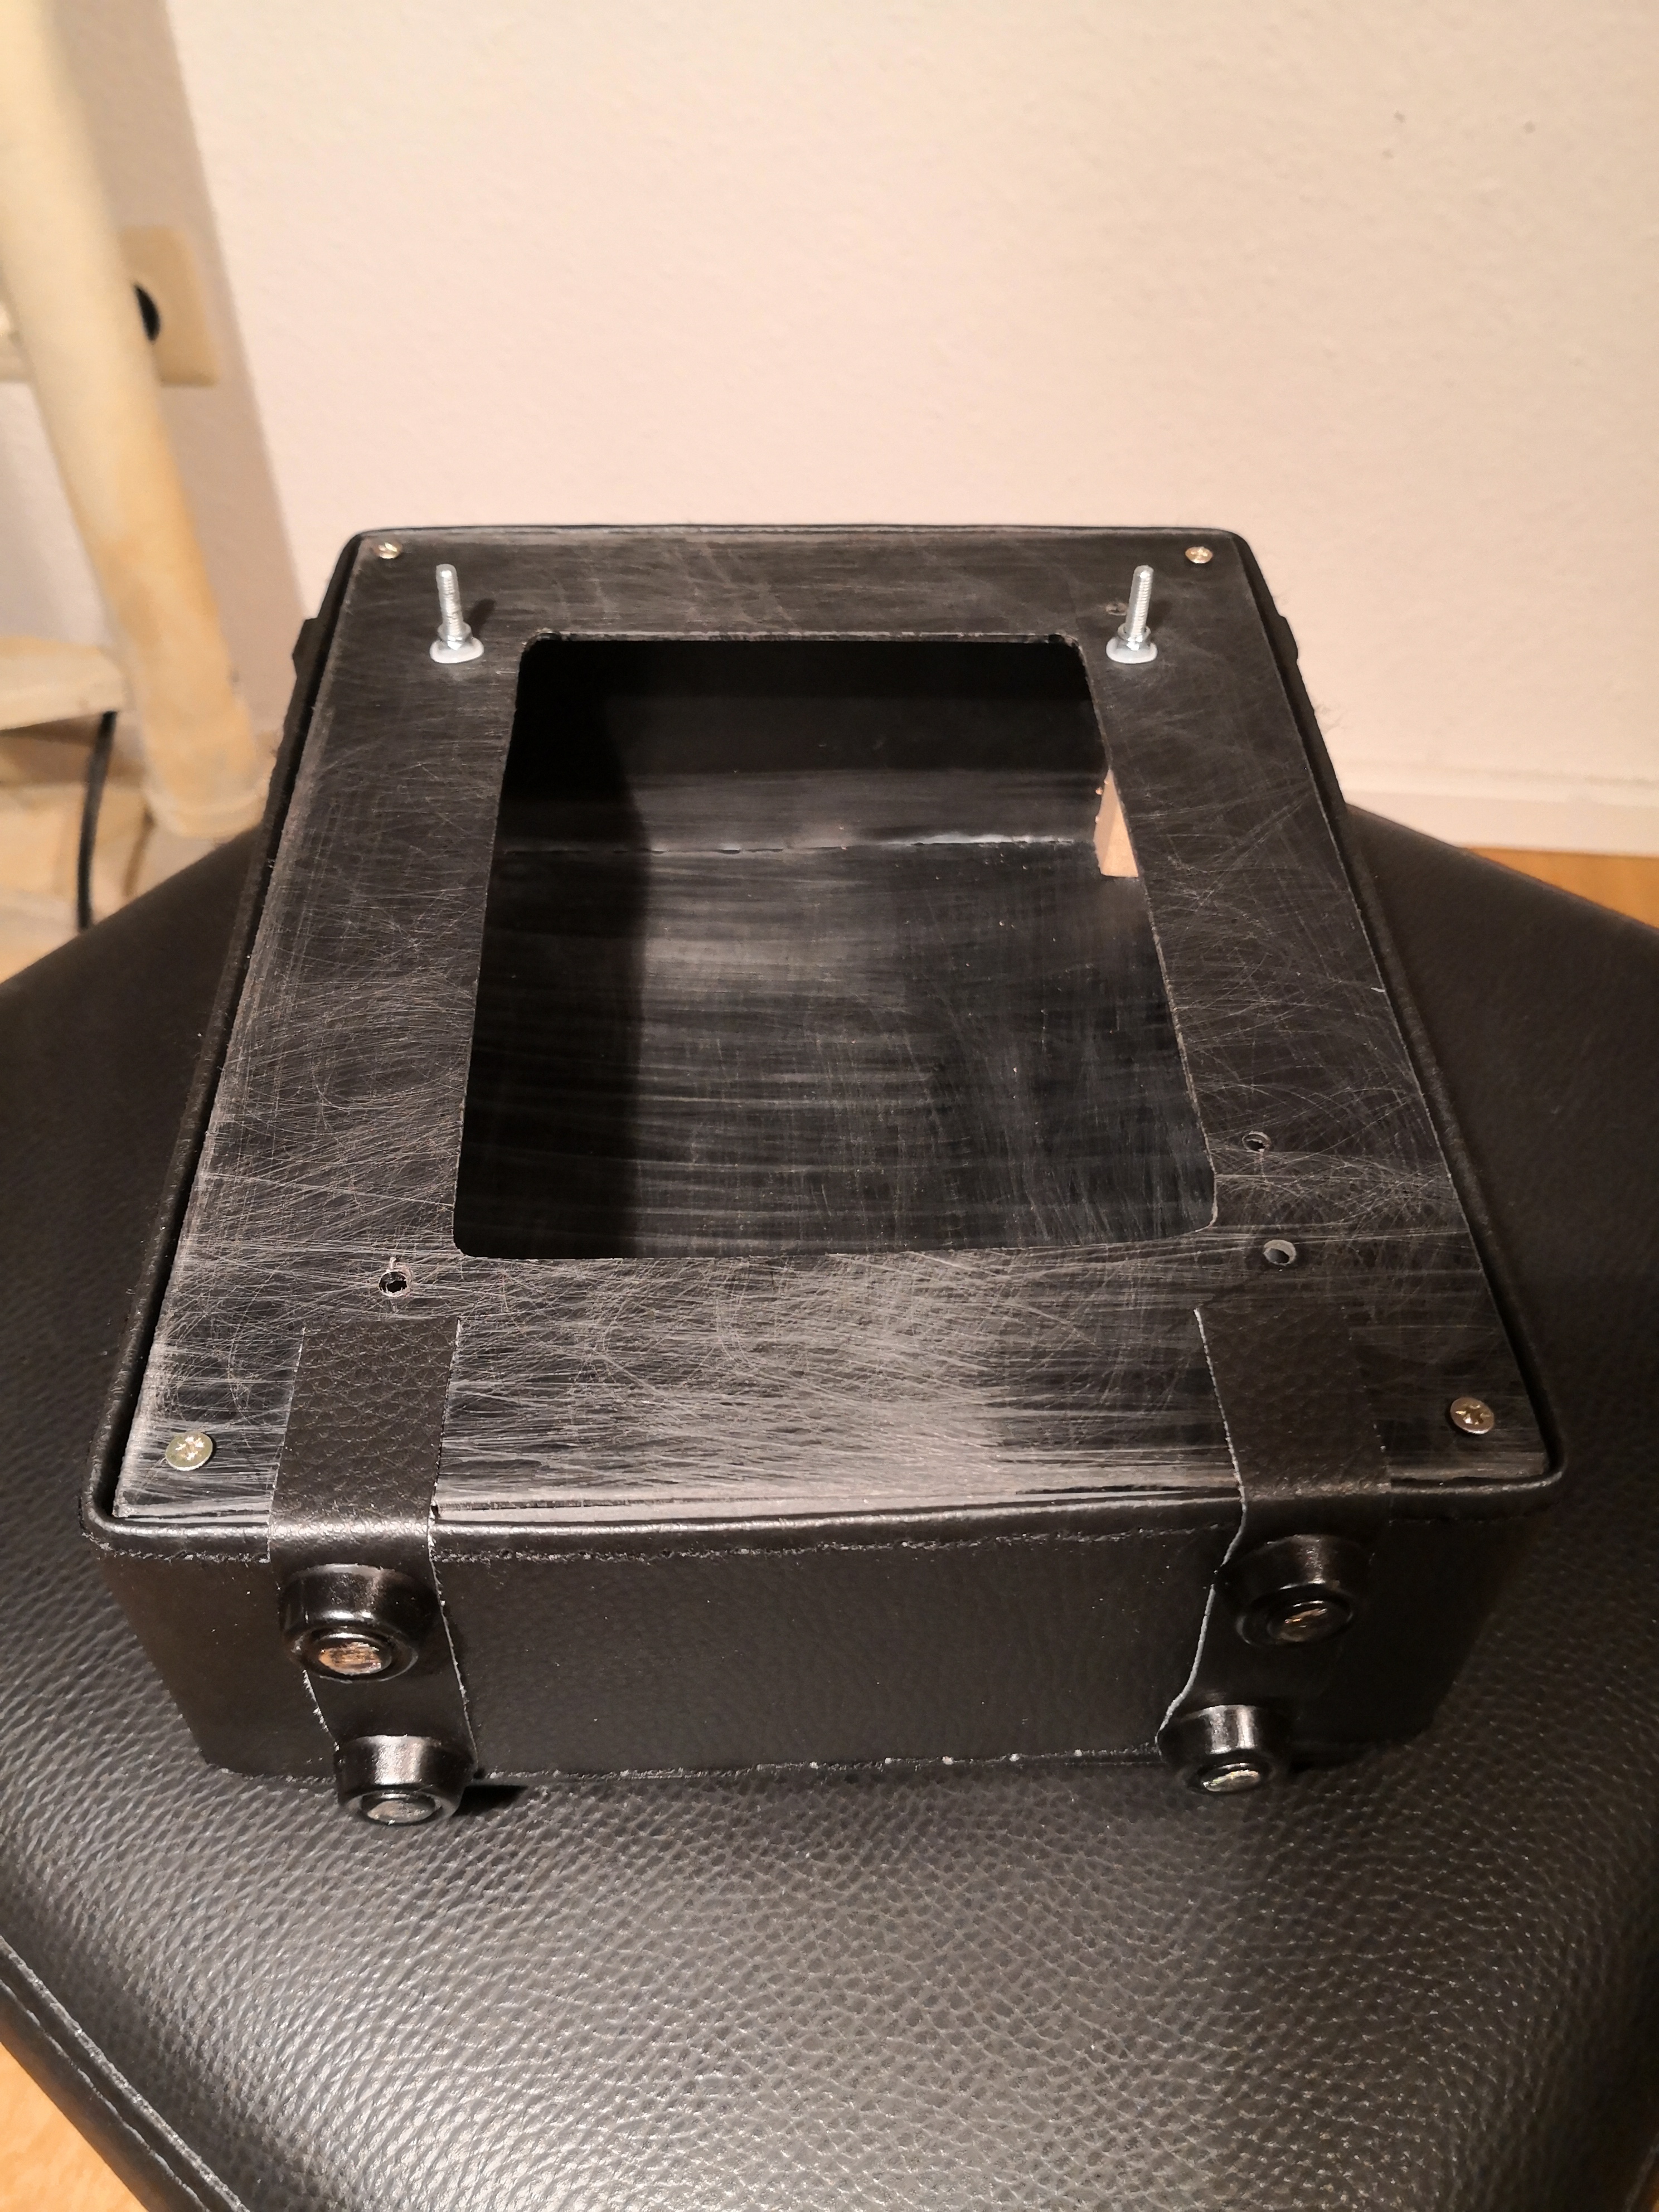
trial and error finding the right canister to support the radio as seen on screen:
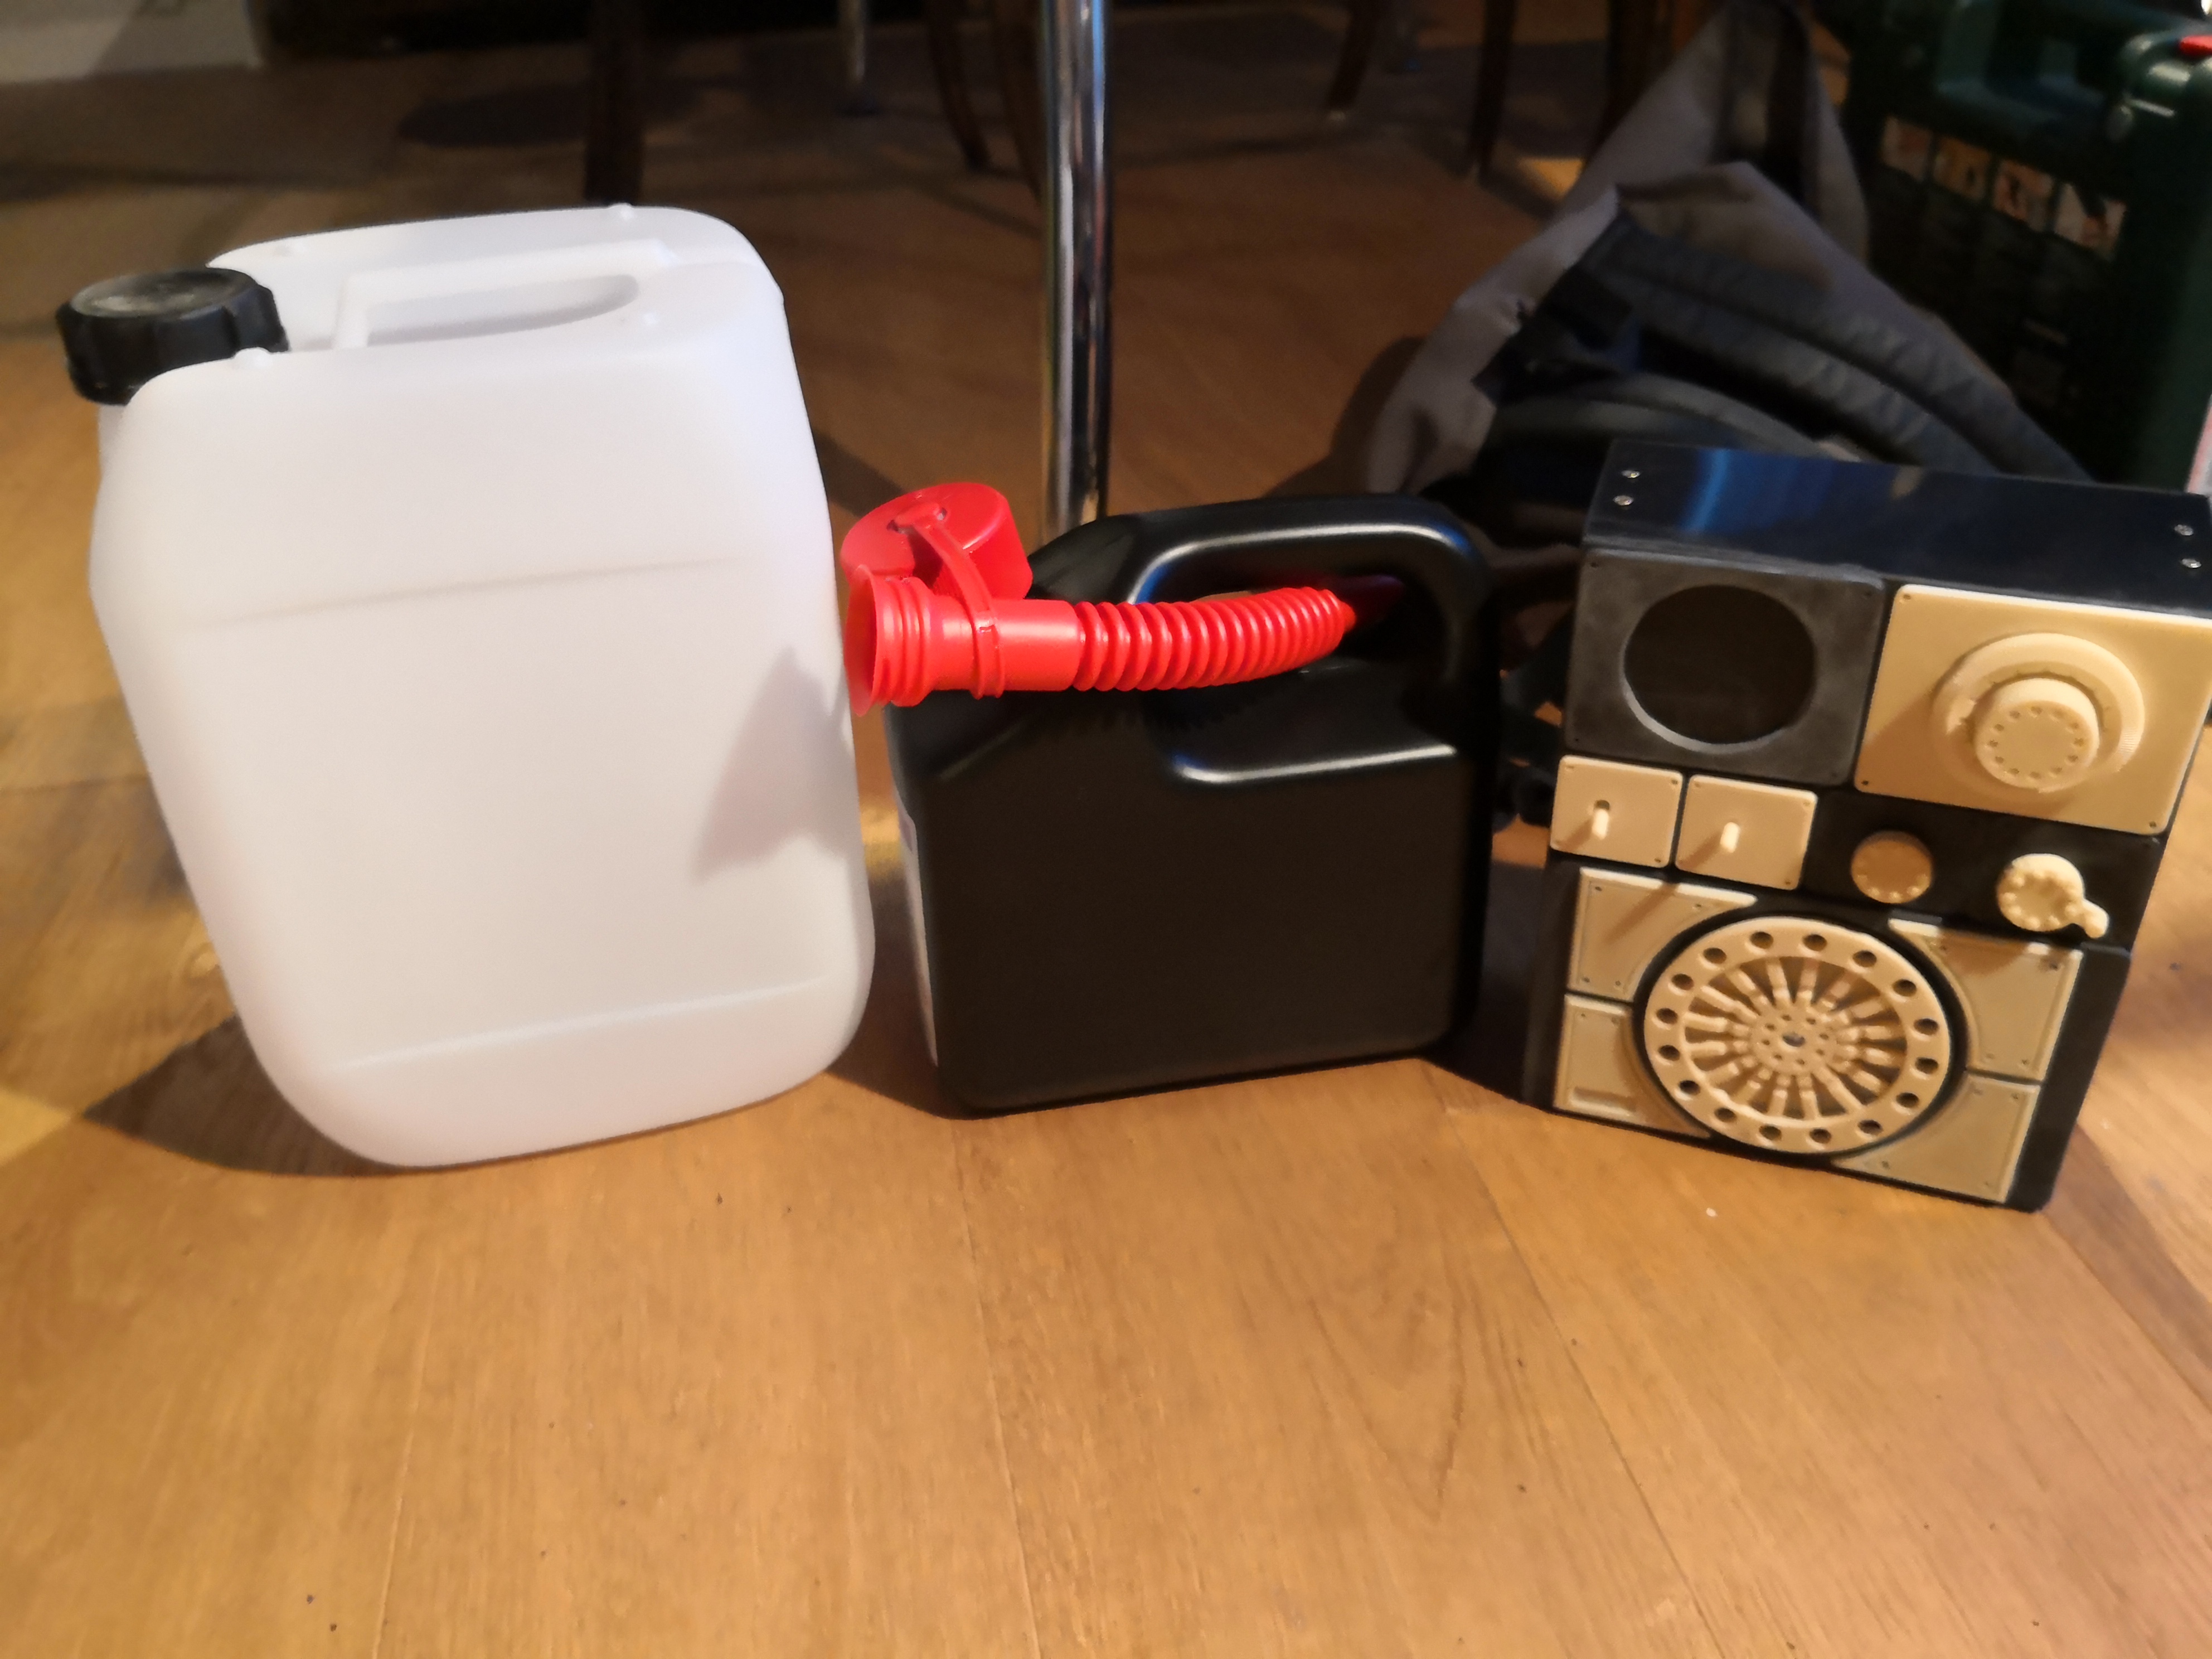
the one seen on the right was the best match, also didn´t want to paint it but finally had to cut it apart on the right side at the back and reshape it with my trusty heatgun, on the finished pack this isn´t visible anymore.

fabrication of the pleather surround:
I use paperboard and then wrap the pleather around it using double sided tape, make sure not to use the tape at the edges as you will need to add the stitching later on. For this, I punch holes into the surround and then just take a needle and finish the stitching, quite easy.
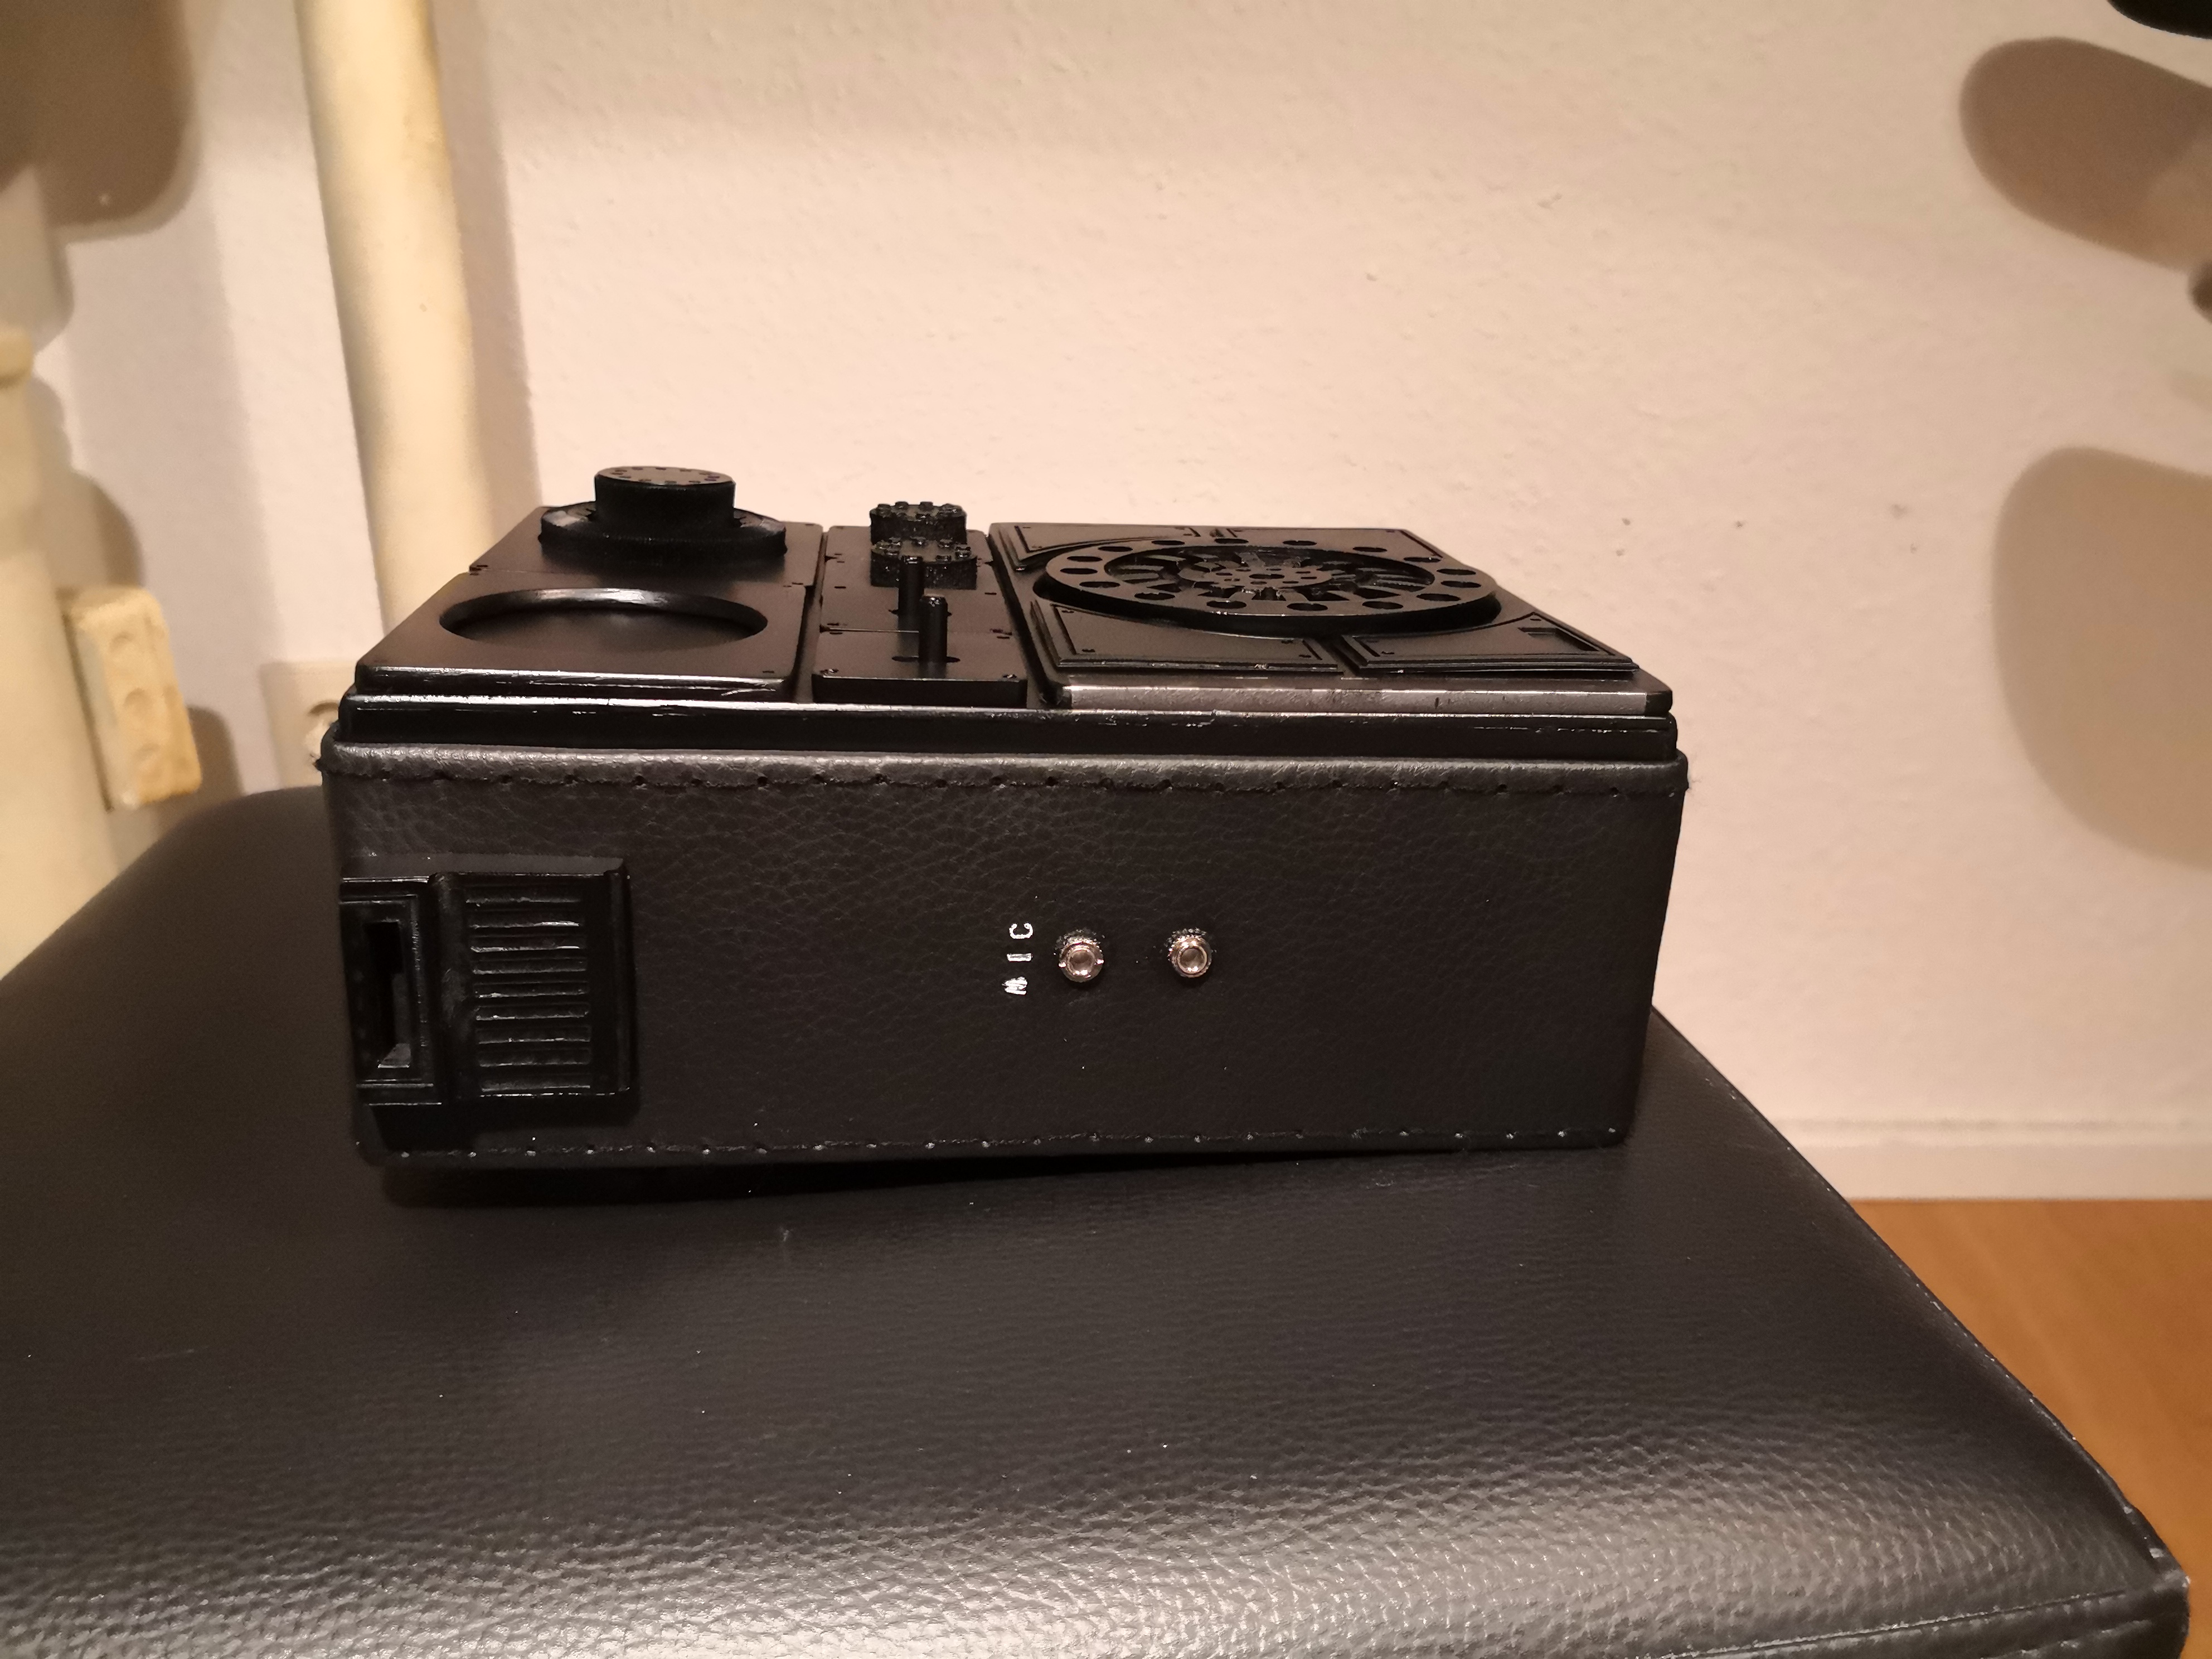
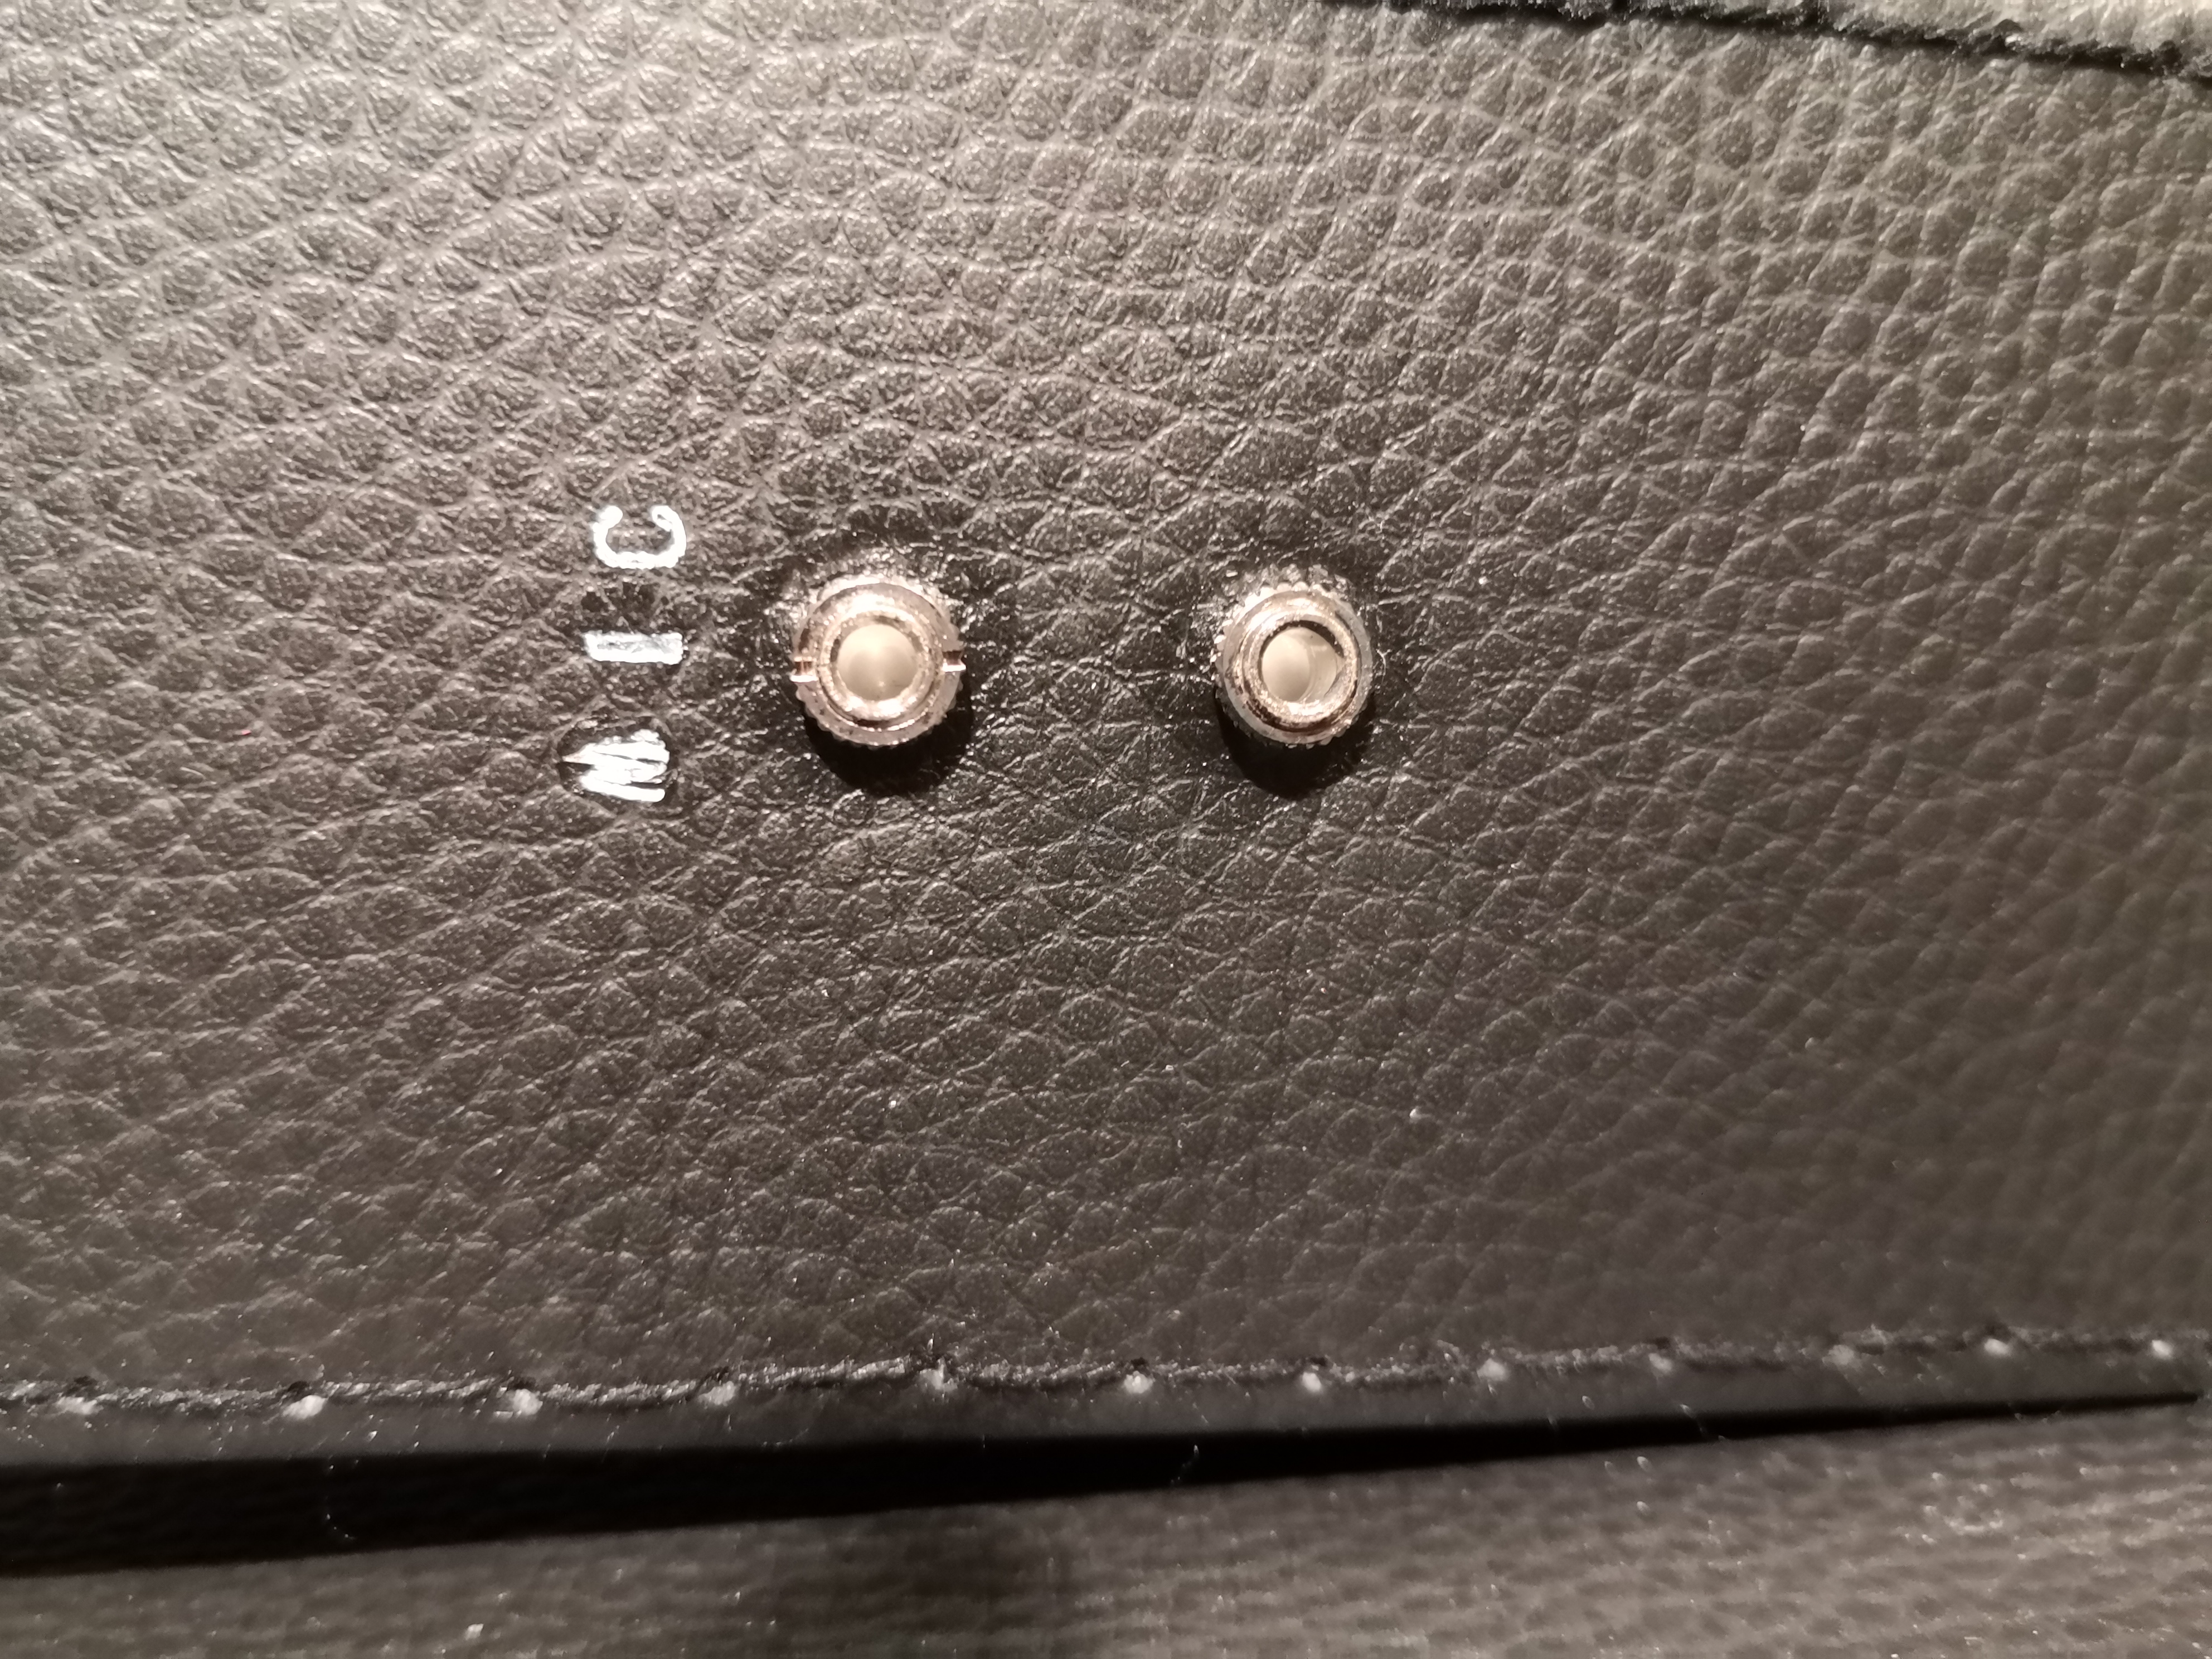
After painting, this is what the radio looked like before weathering. I even took the time to add the MIC letters. You can´t see it on the finished pack as it´s covered with gaffer tape but I just love these little details anyway.

The feet as well as the antenna and the sockets aren´t supplied with the kit, so this was all ordered via amazon, the feet were actually doorstoppers made of brown rubber, I added the part of a rivet in the middle to make it look right. As a sidenote, they will also be hidden behind the lower end of the canister. Lol.
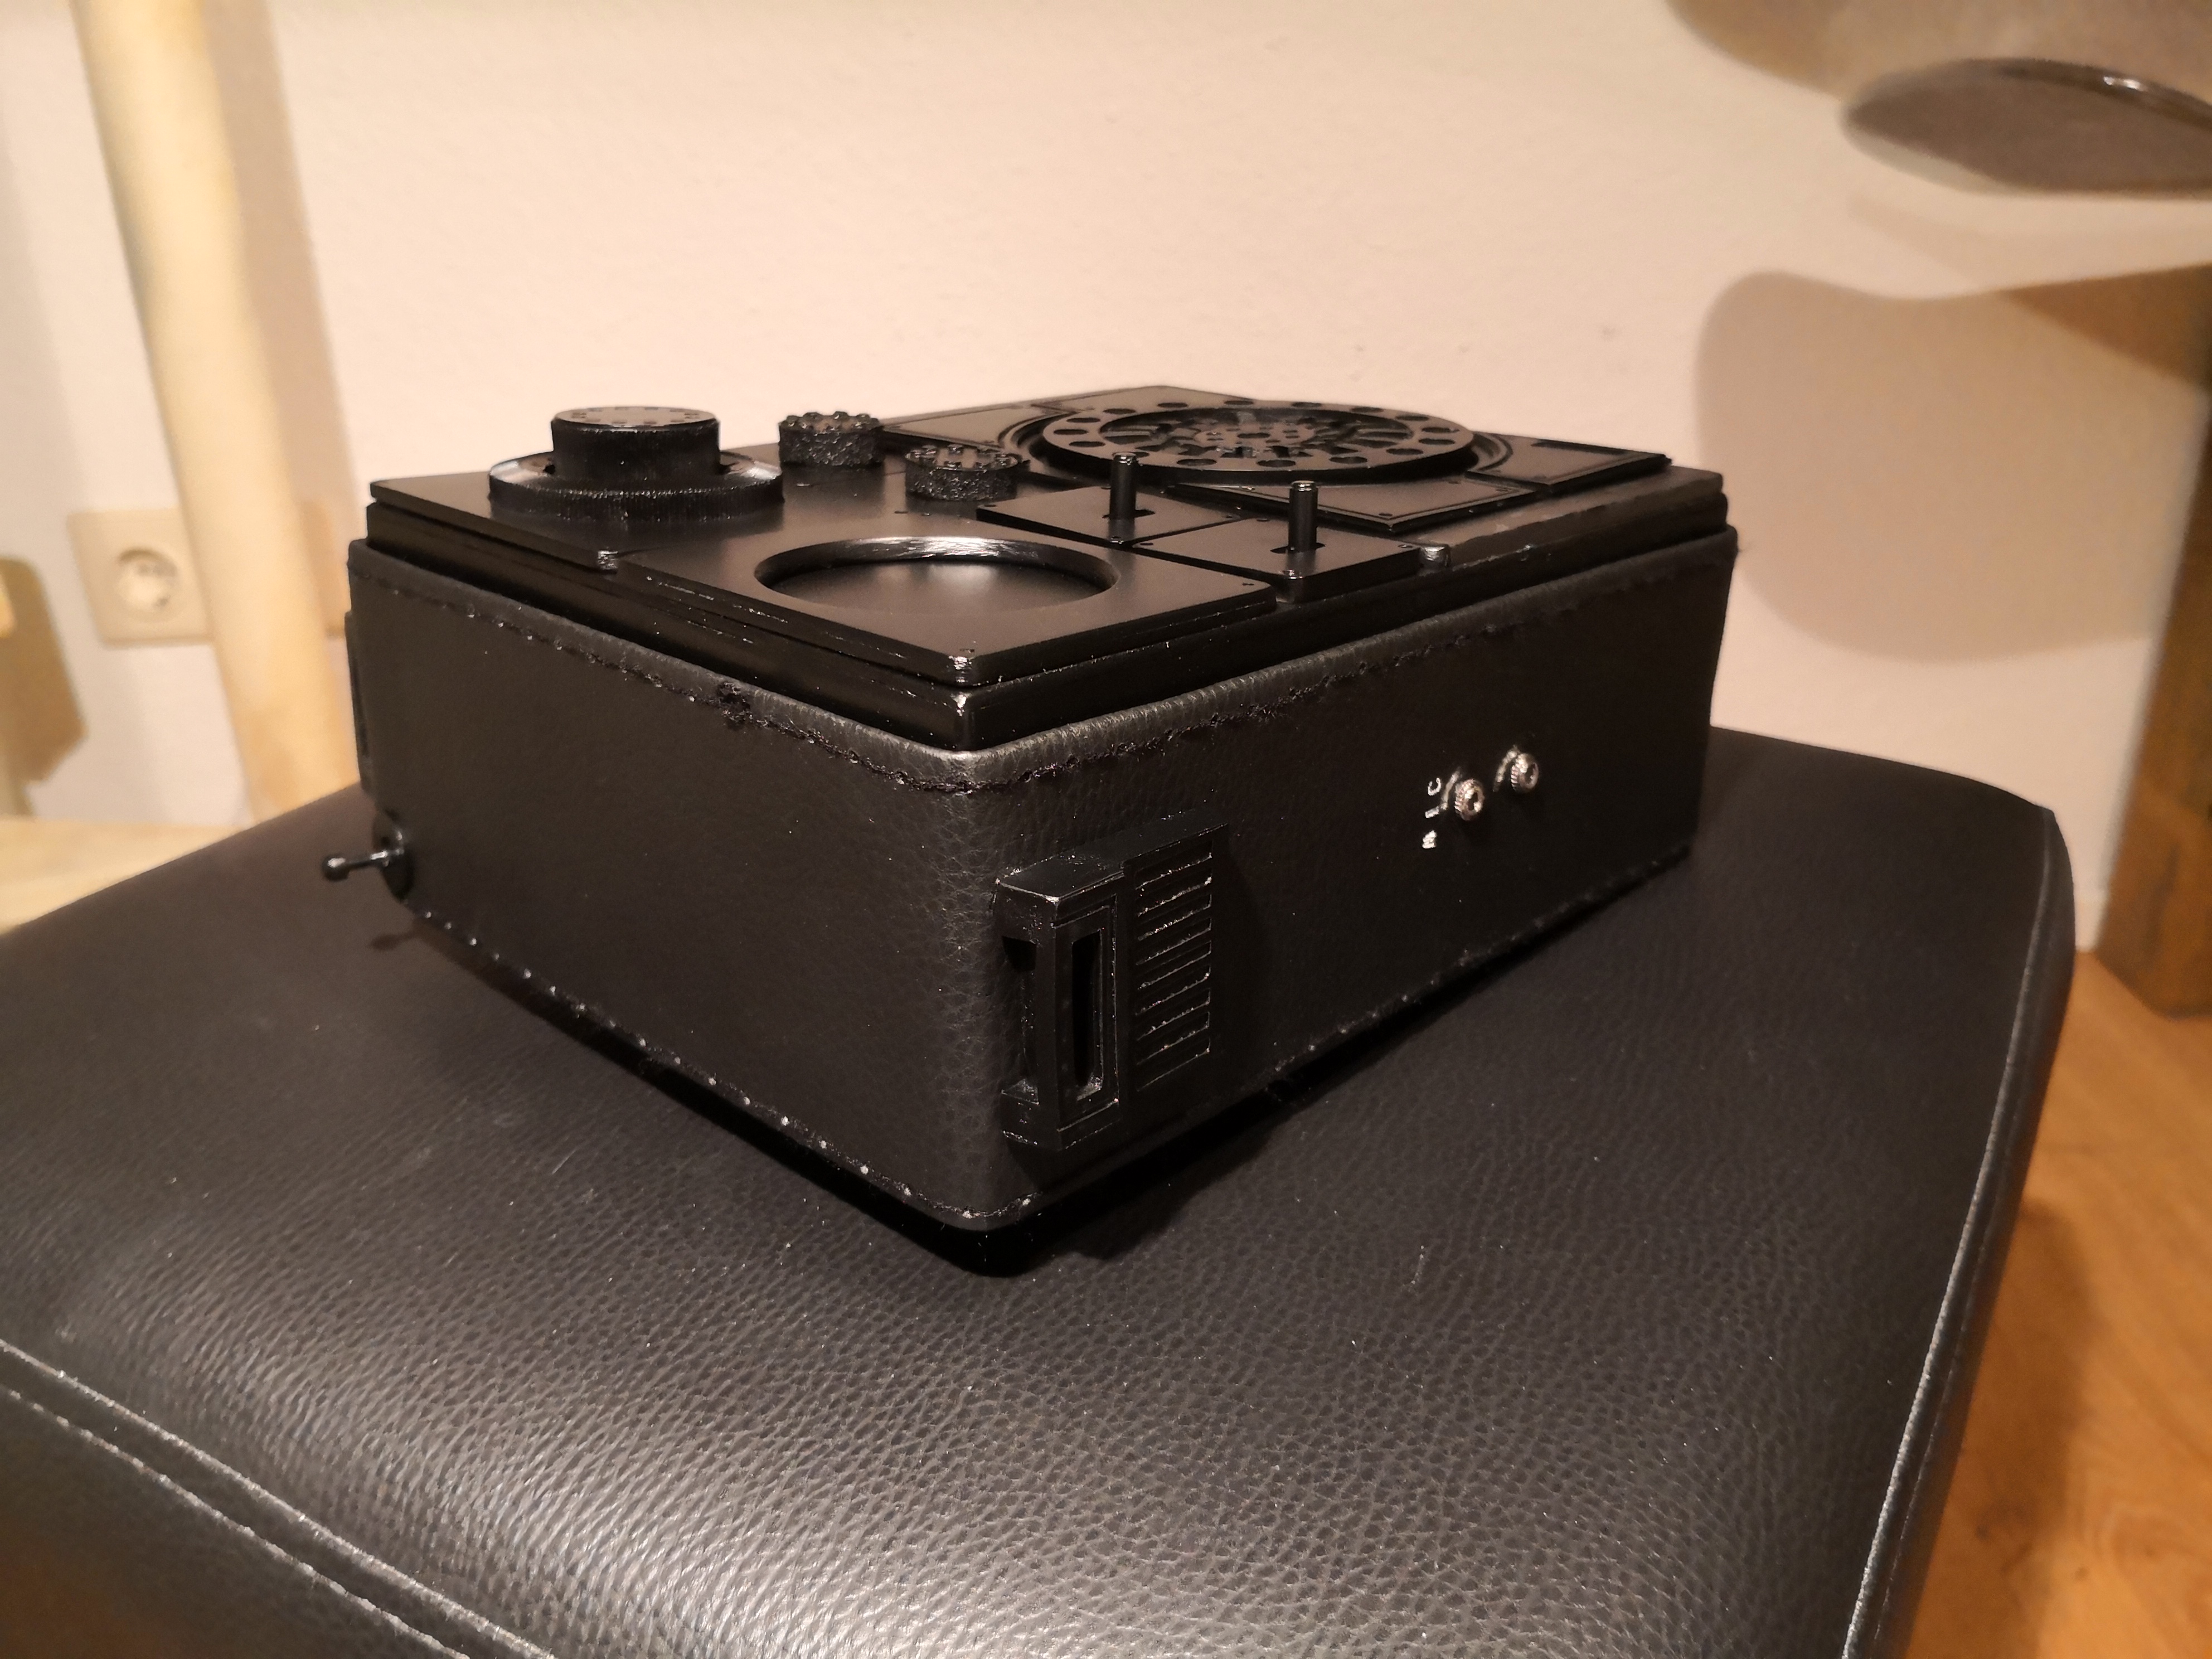
backside (bolts already in place, I finally added a third one)
-
1
-
-
I like it, it's dirty but not overdone.
I also think that it's a good idea to have another go at the arms and shoulderbells, especially as the white areas still seem too white and shiny.
-
1
-
-
Same here, thank you for your dedication to our good old MEPD Justus. You've always had a kind and encouraging word for our new and aspiring dirty sisters and brothers. It was a pleasure to serve with you and I salute you.
-
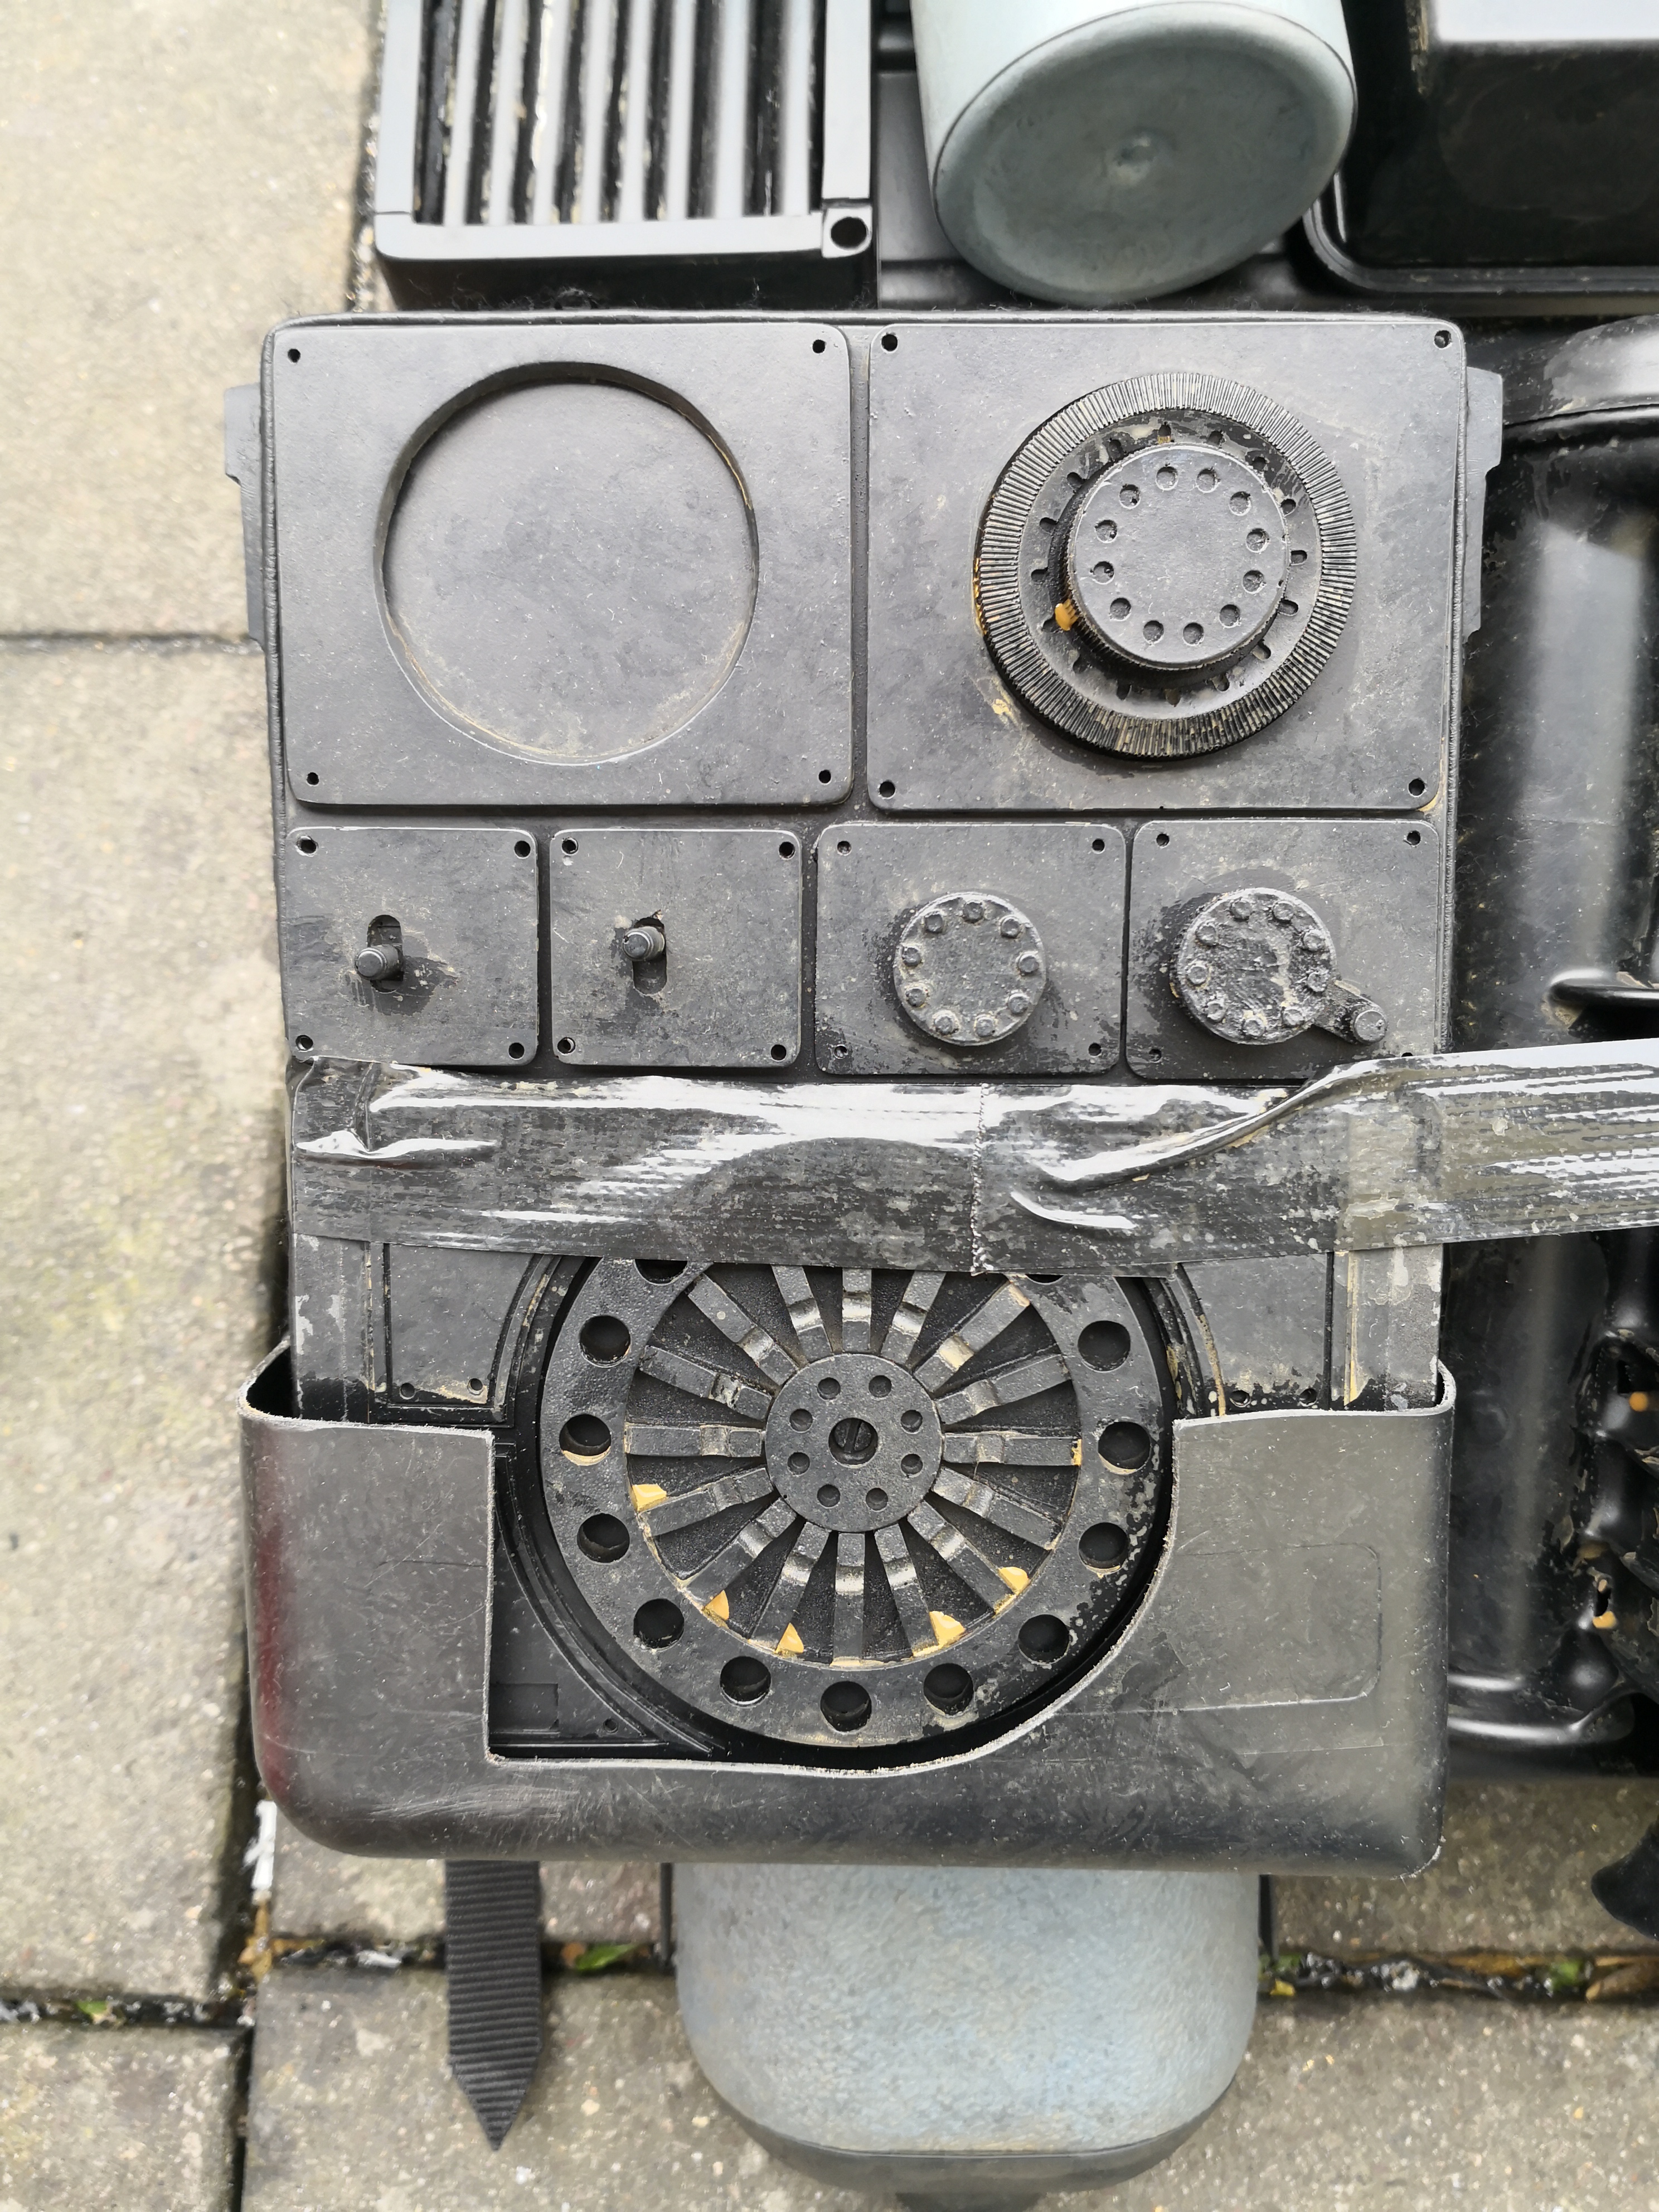
I have to admit that the little detail on the right side of the top black tray gave me a bit of a headache. I think I went a completely different route than everybody else on this.
This is a detail picture taken from the bluray:
the lower part seems to be covered or probably rather attached with gaffer tape (always handy to have
 )
)
So this is what I came up with using pieces cut out from a black ABS sheet while the middle section is EVA foam which I simply drilled holes into to match the look seen on screen:
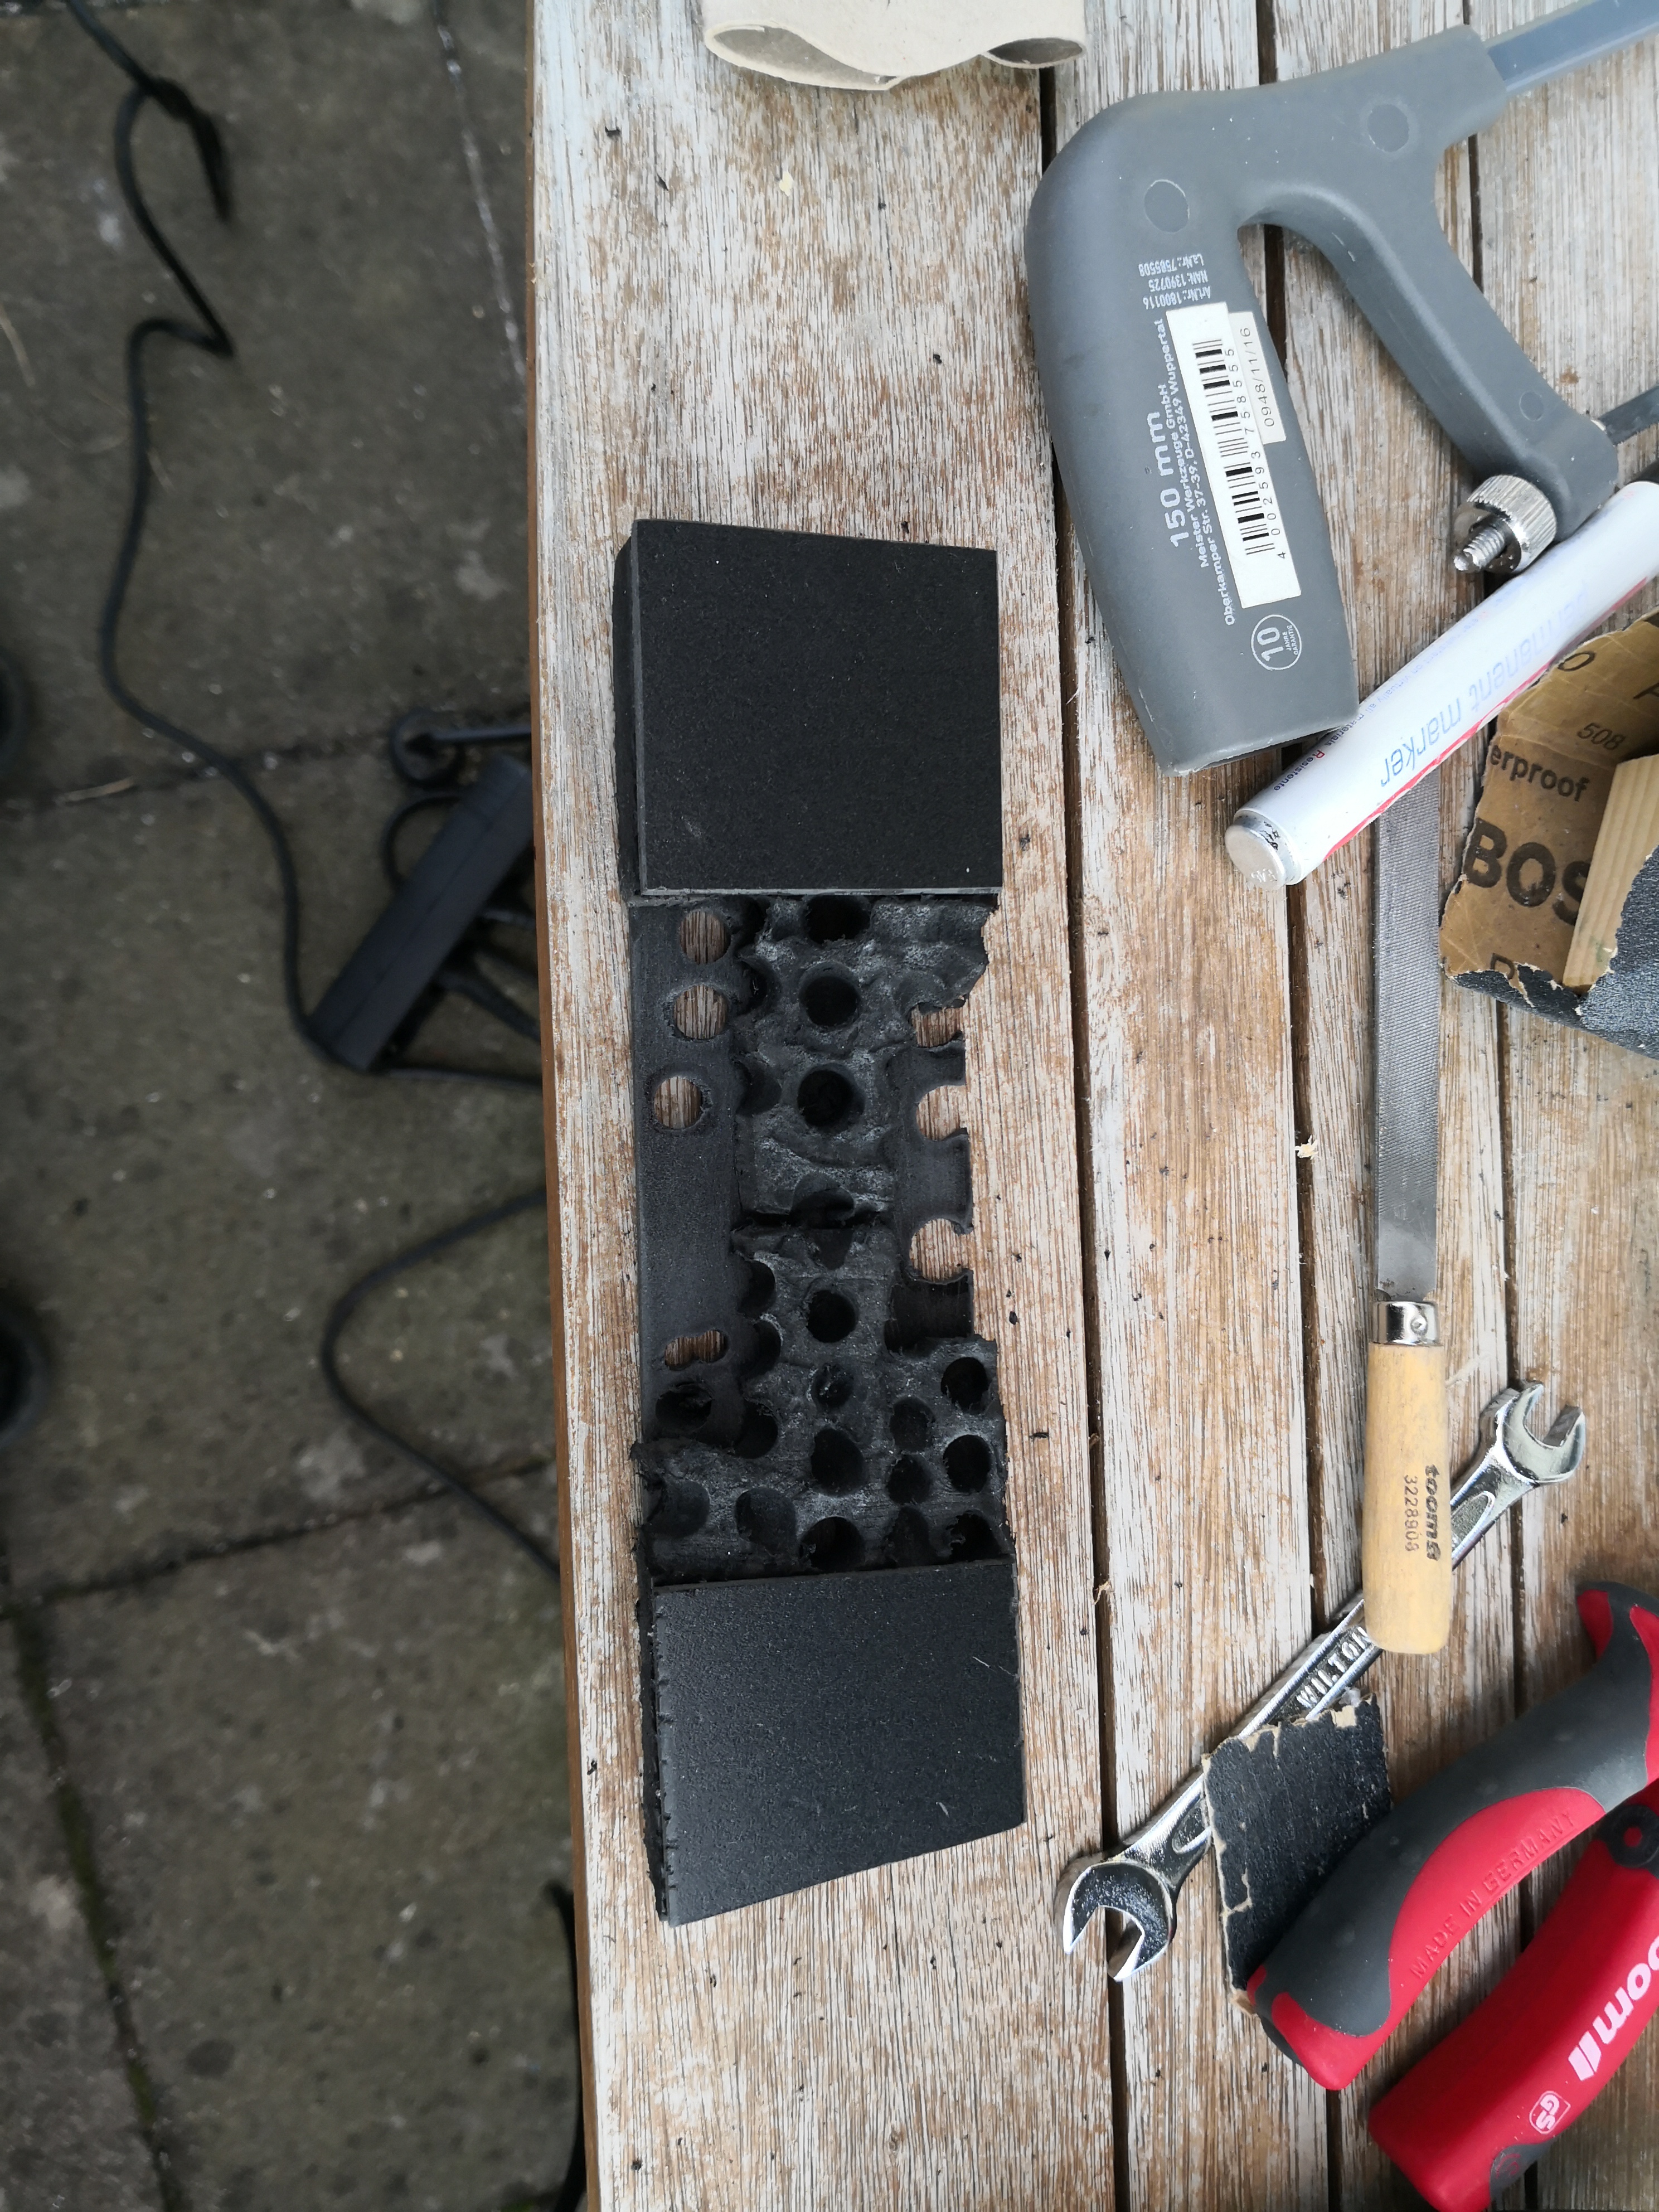
on the finished pack, it looks like this:
-
1
-
-
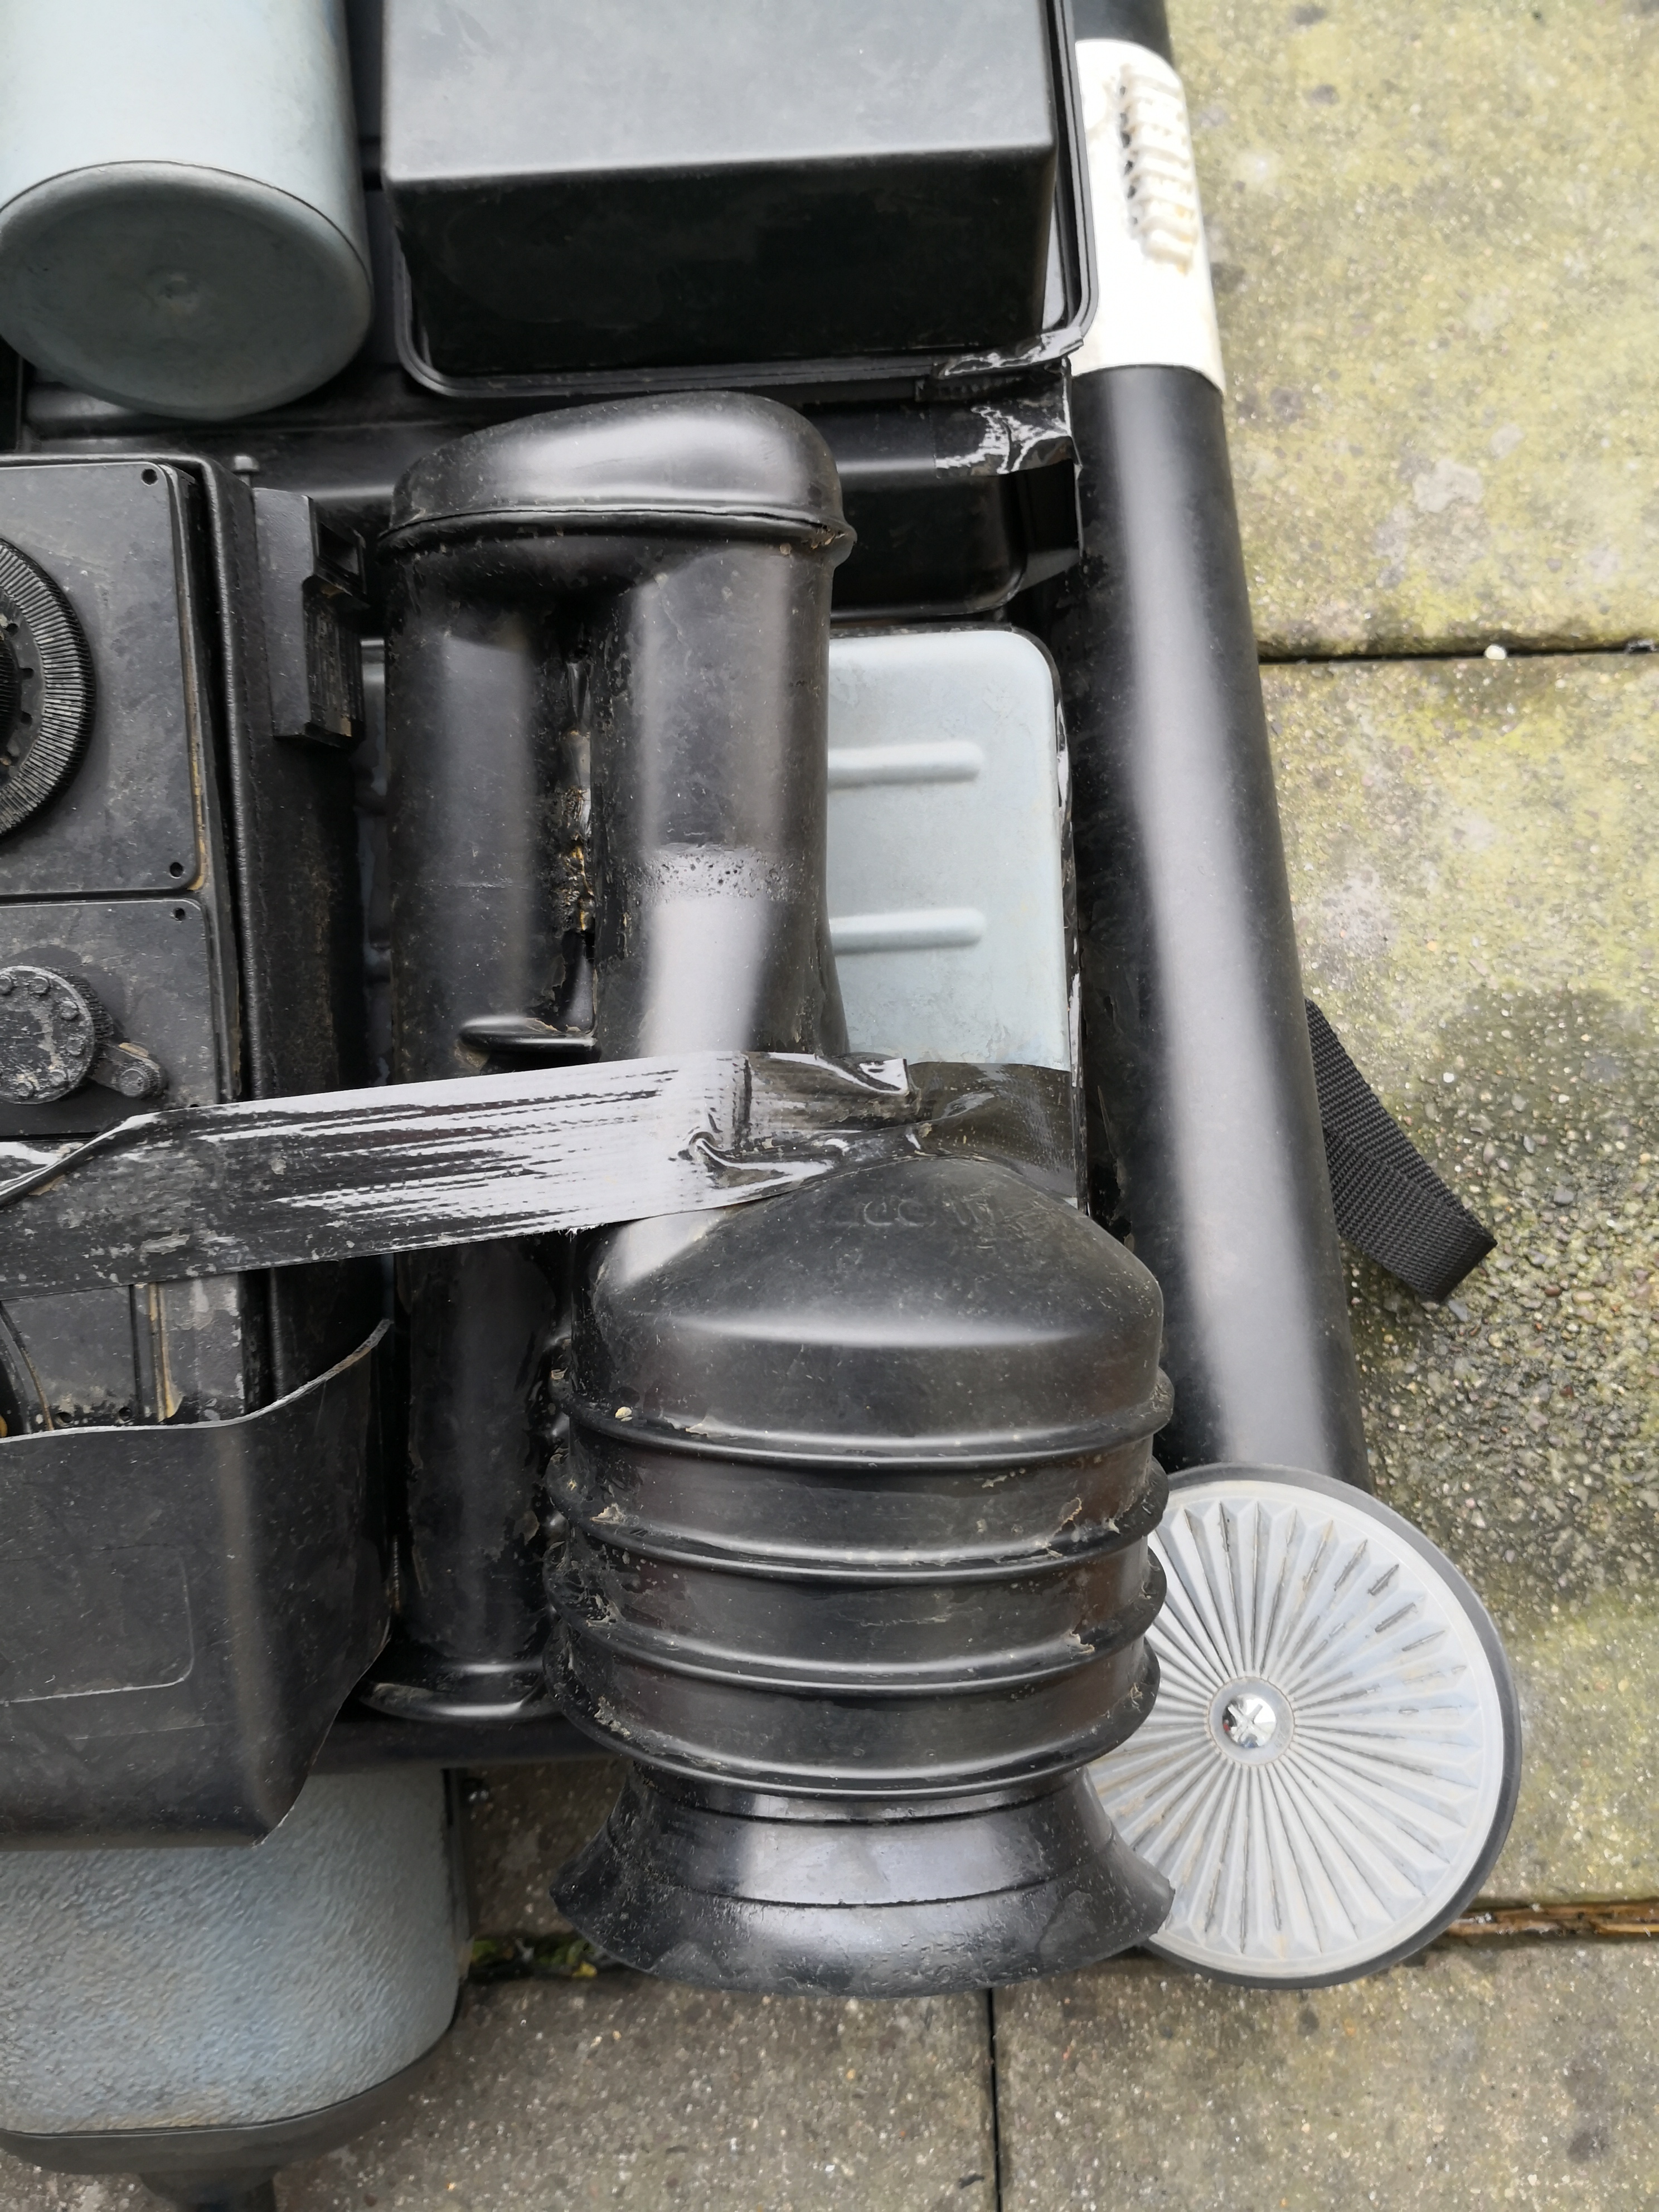
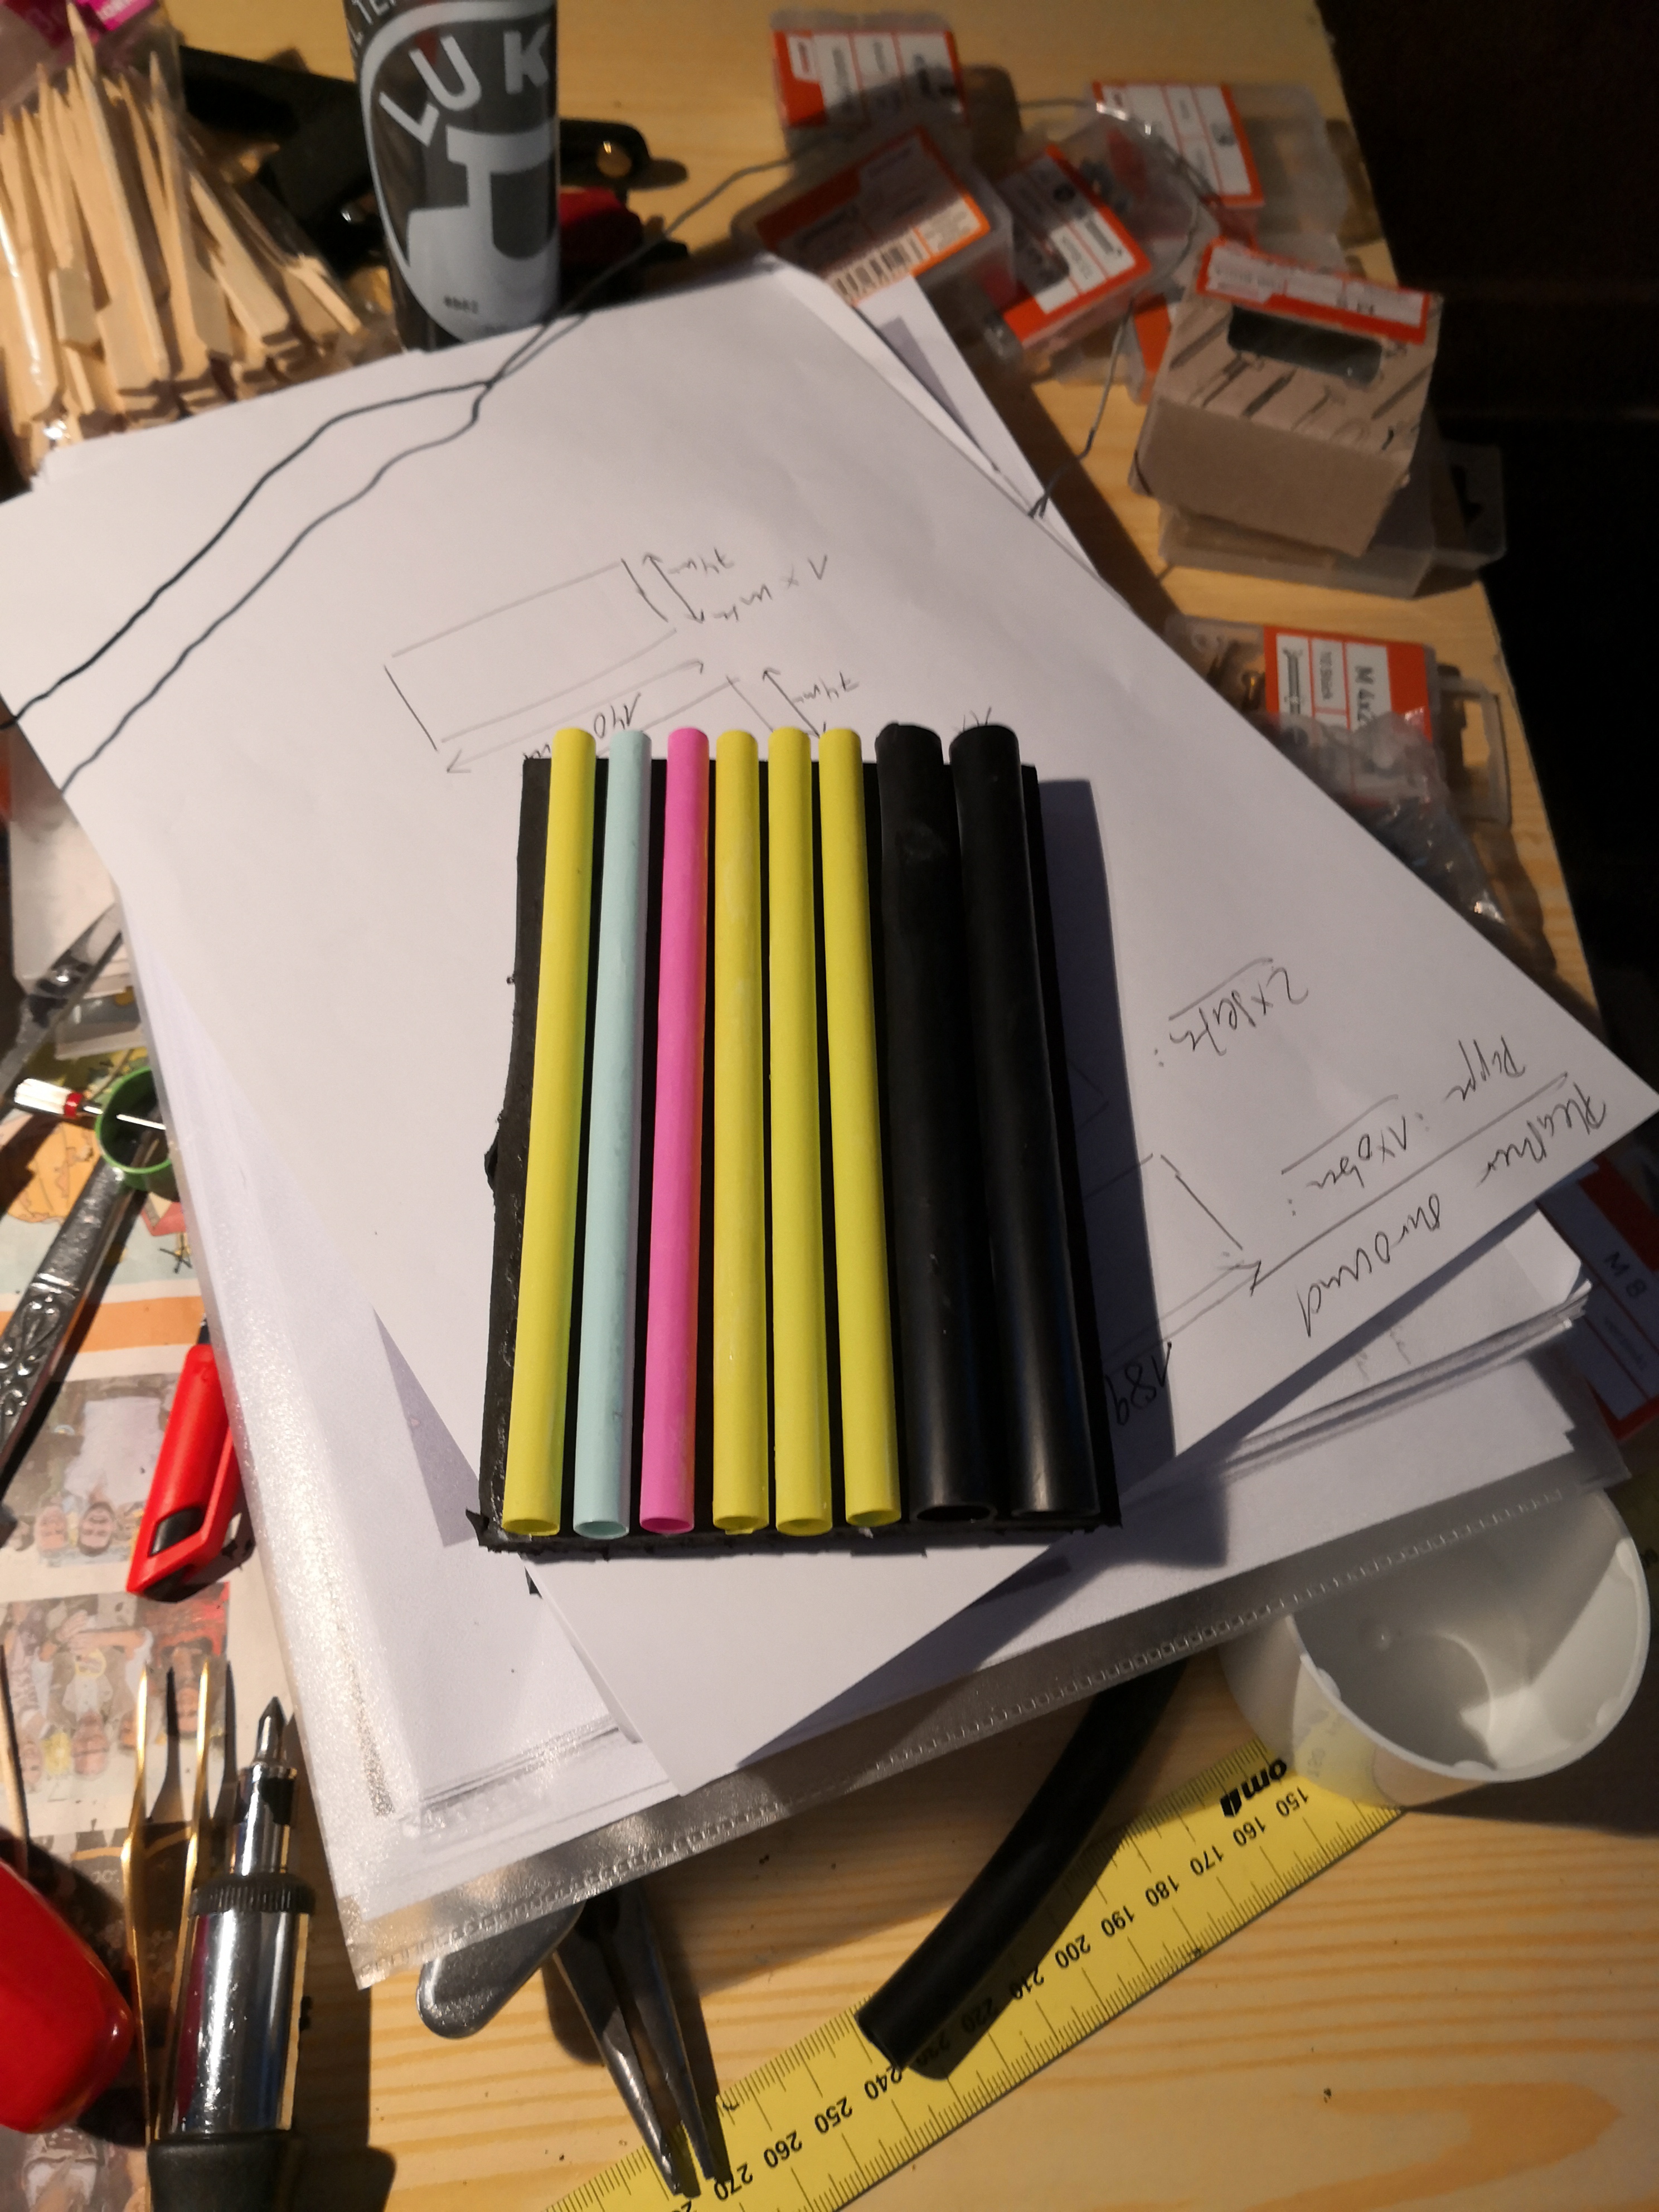
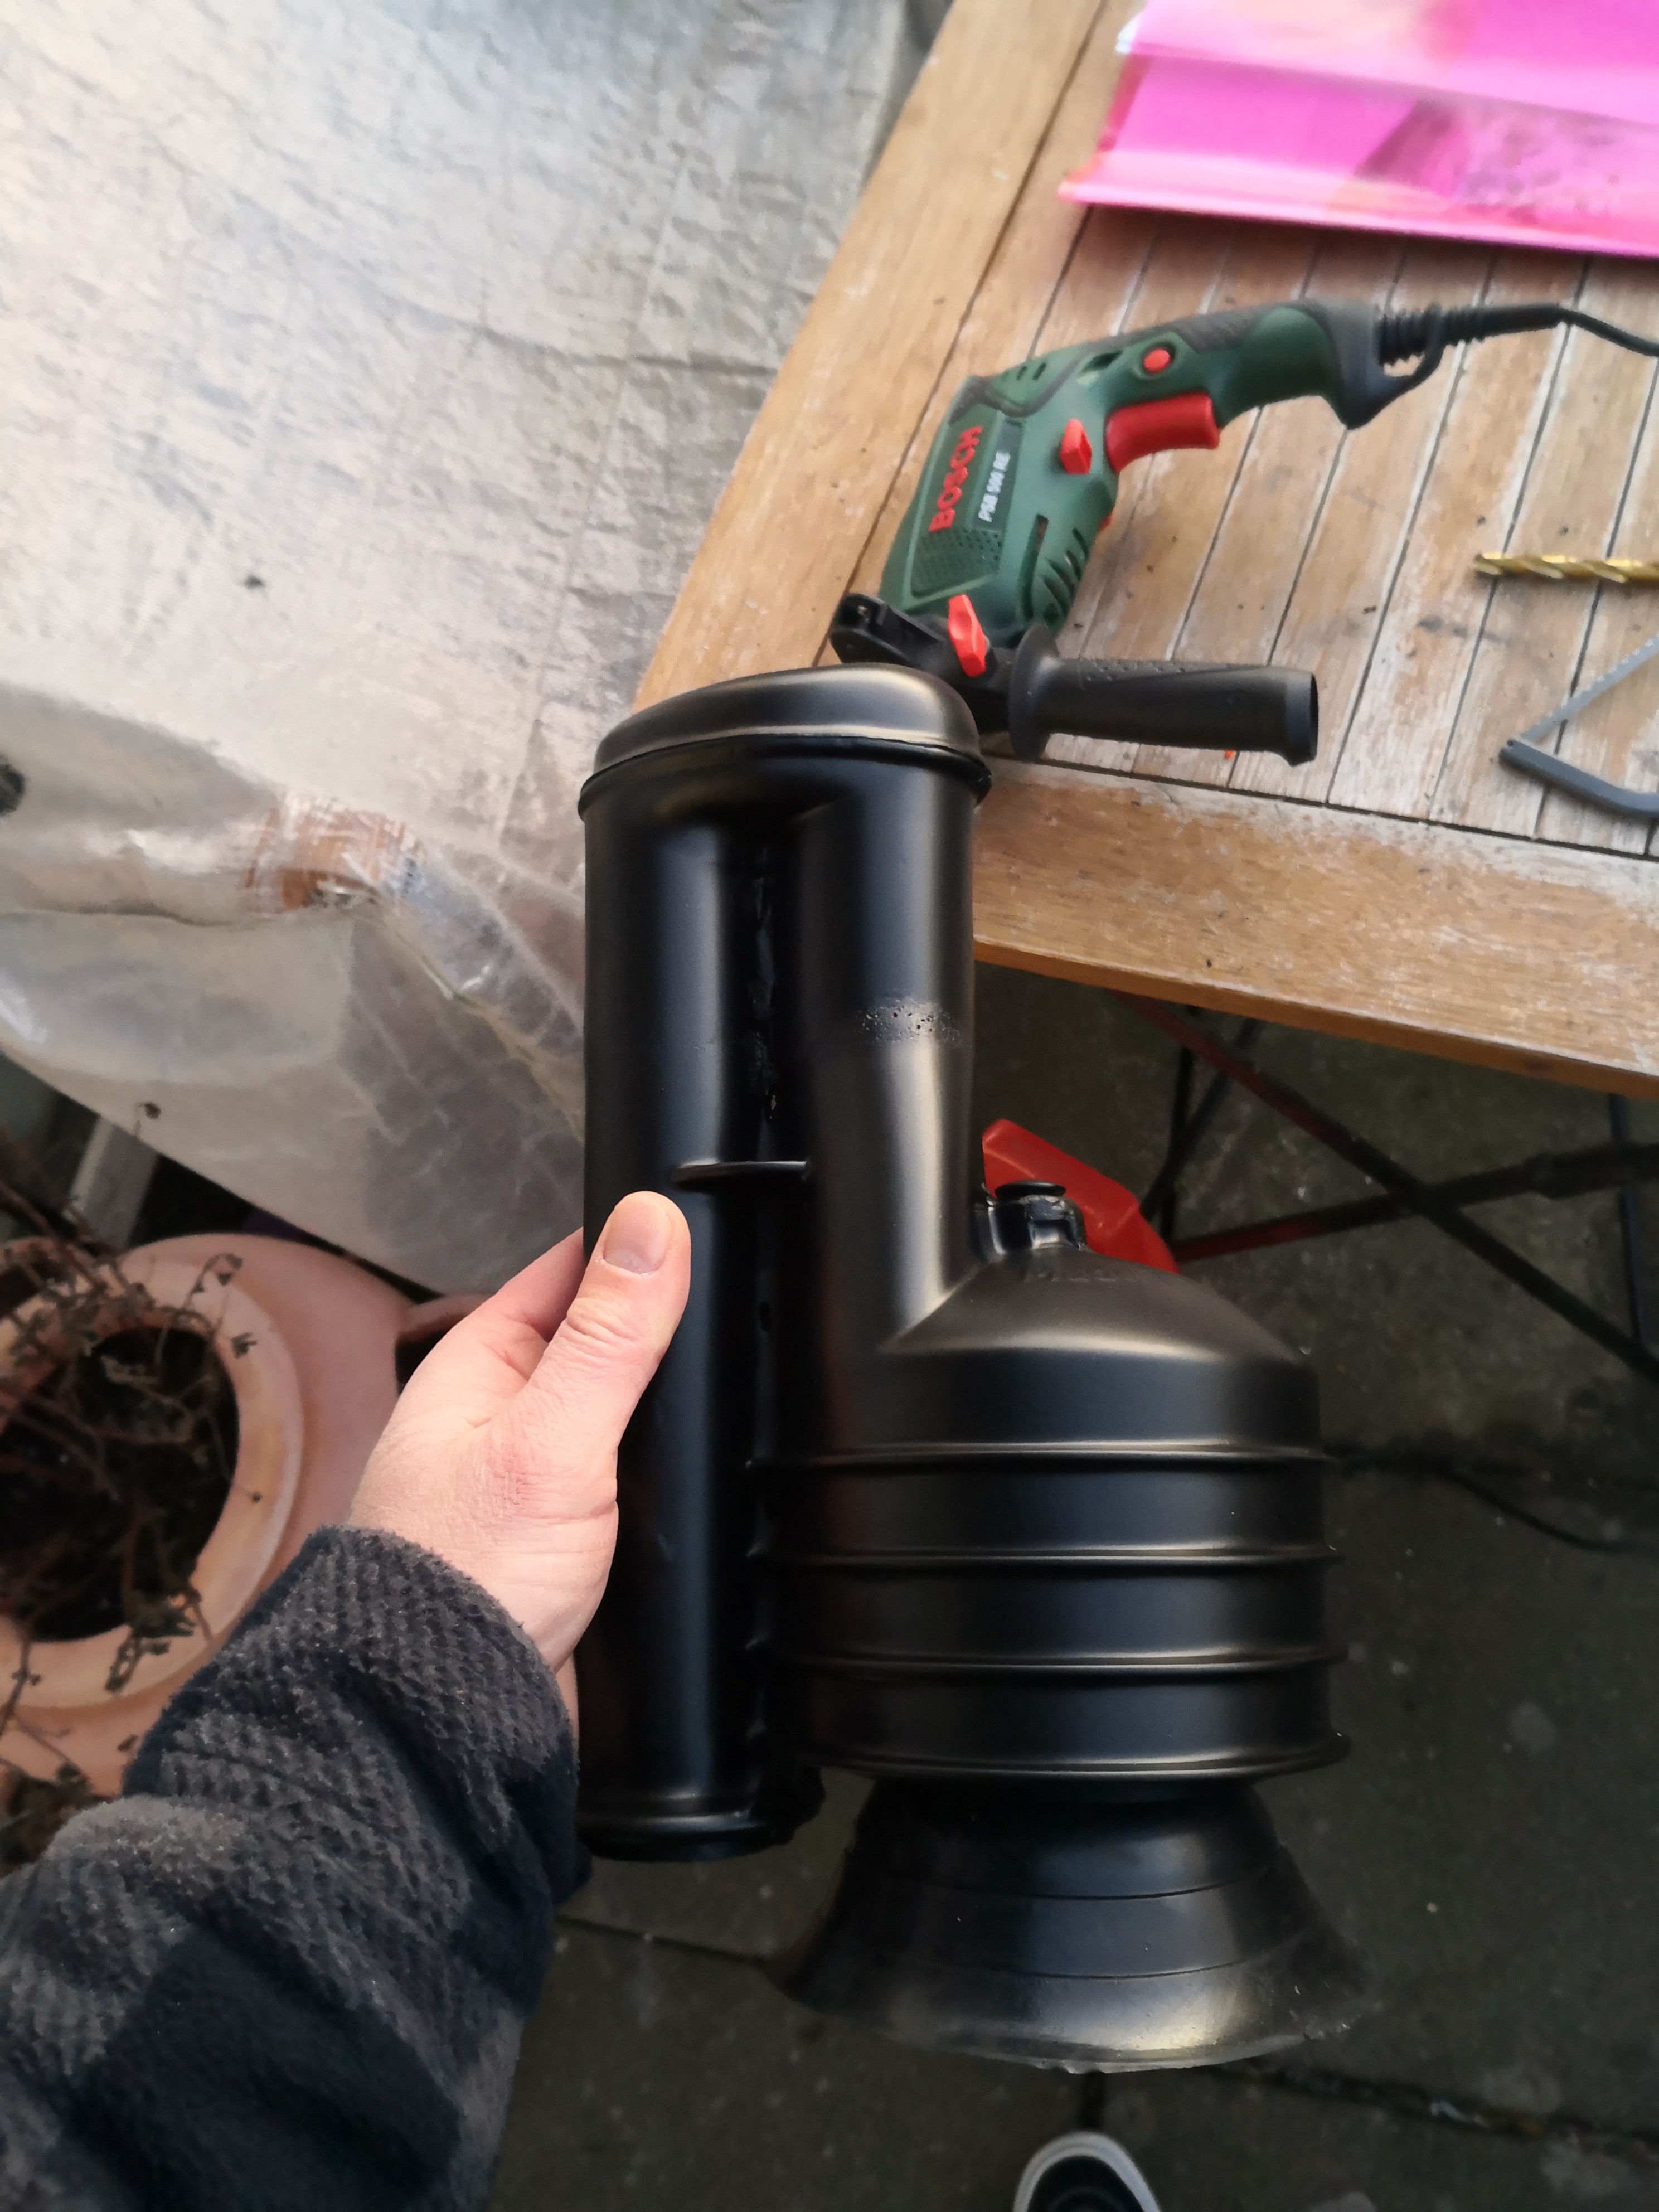
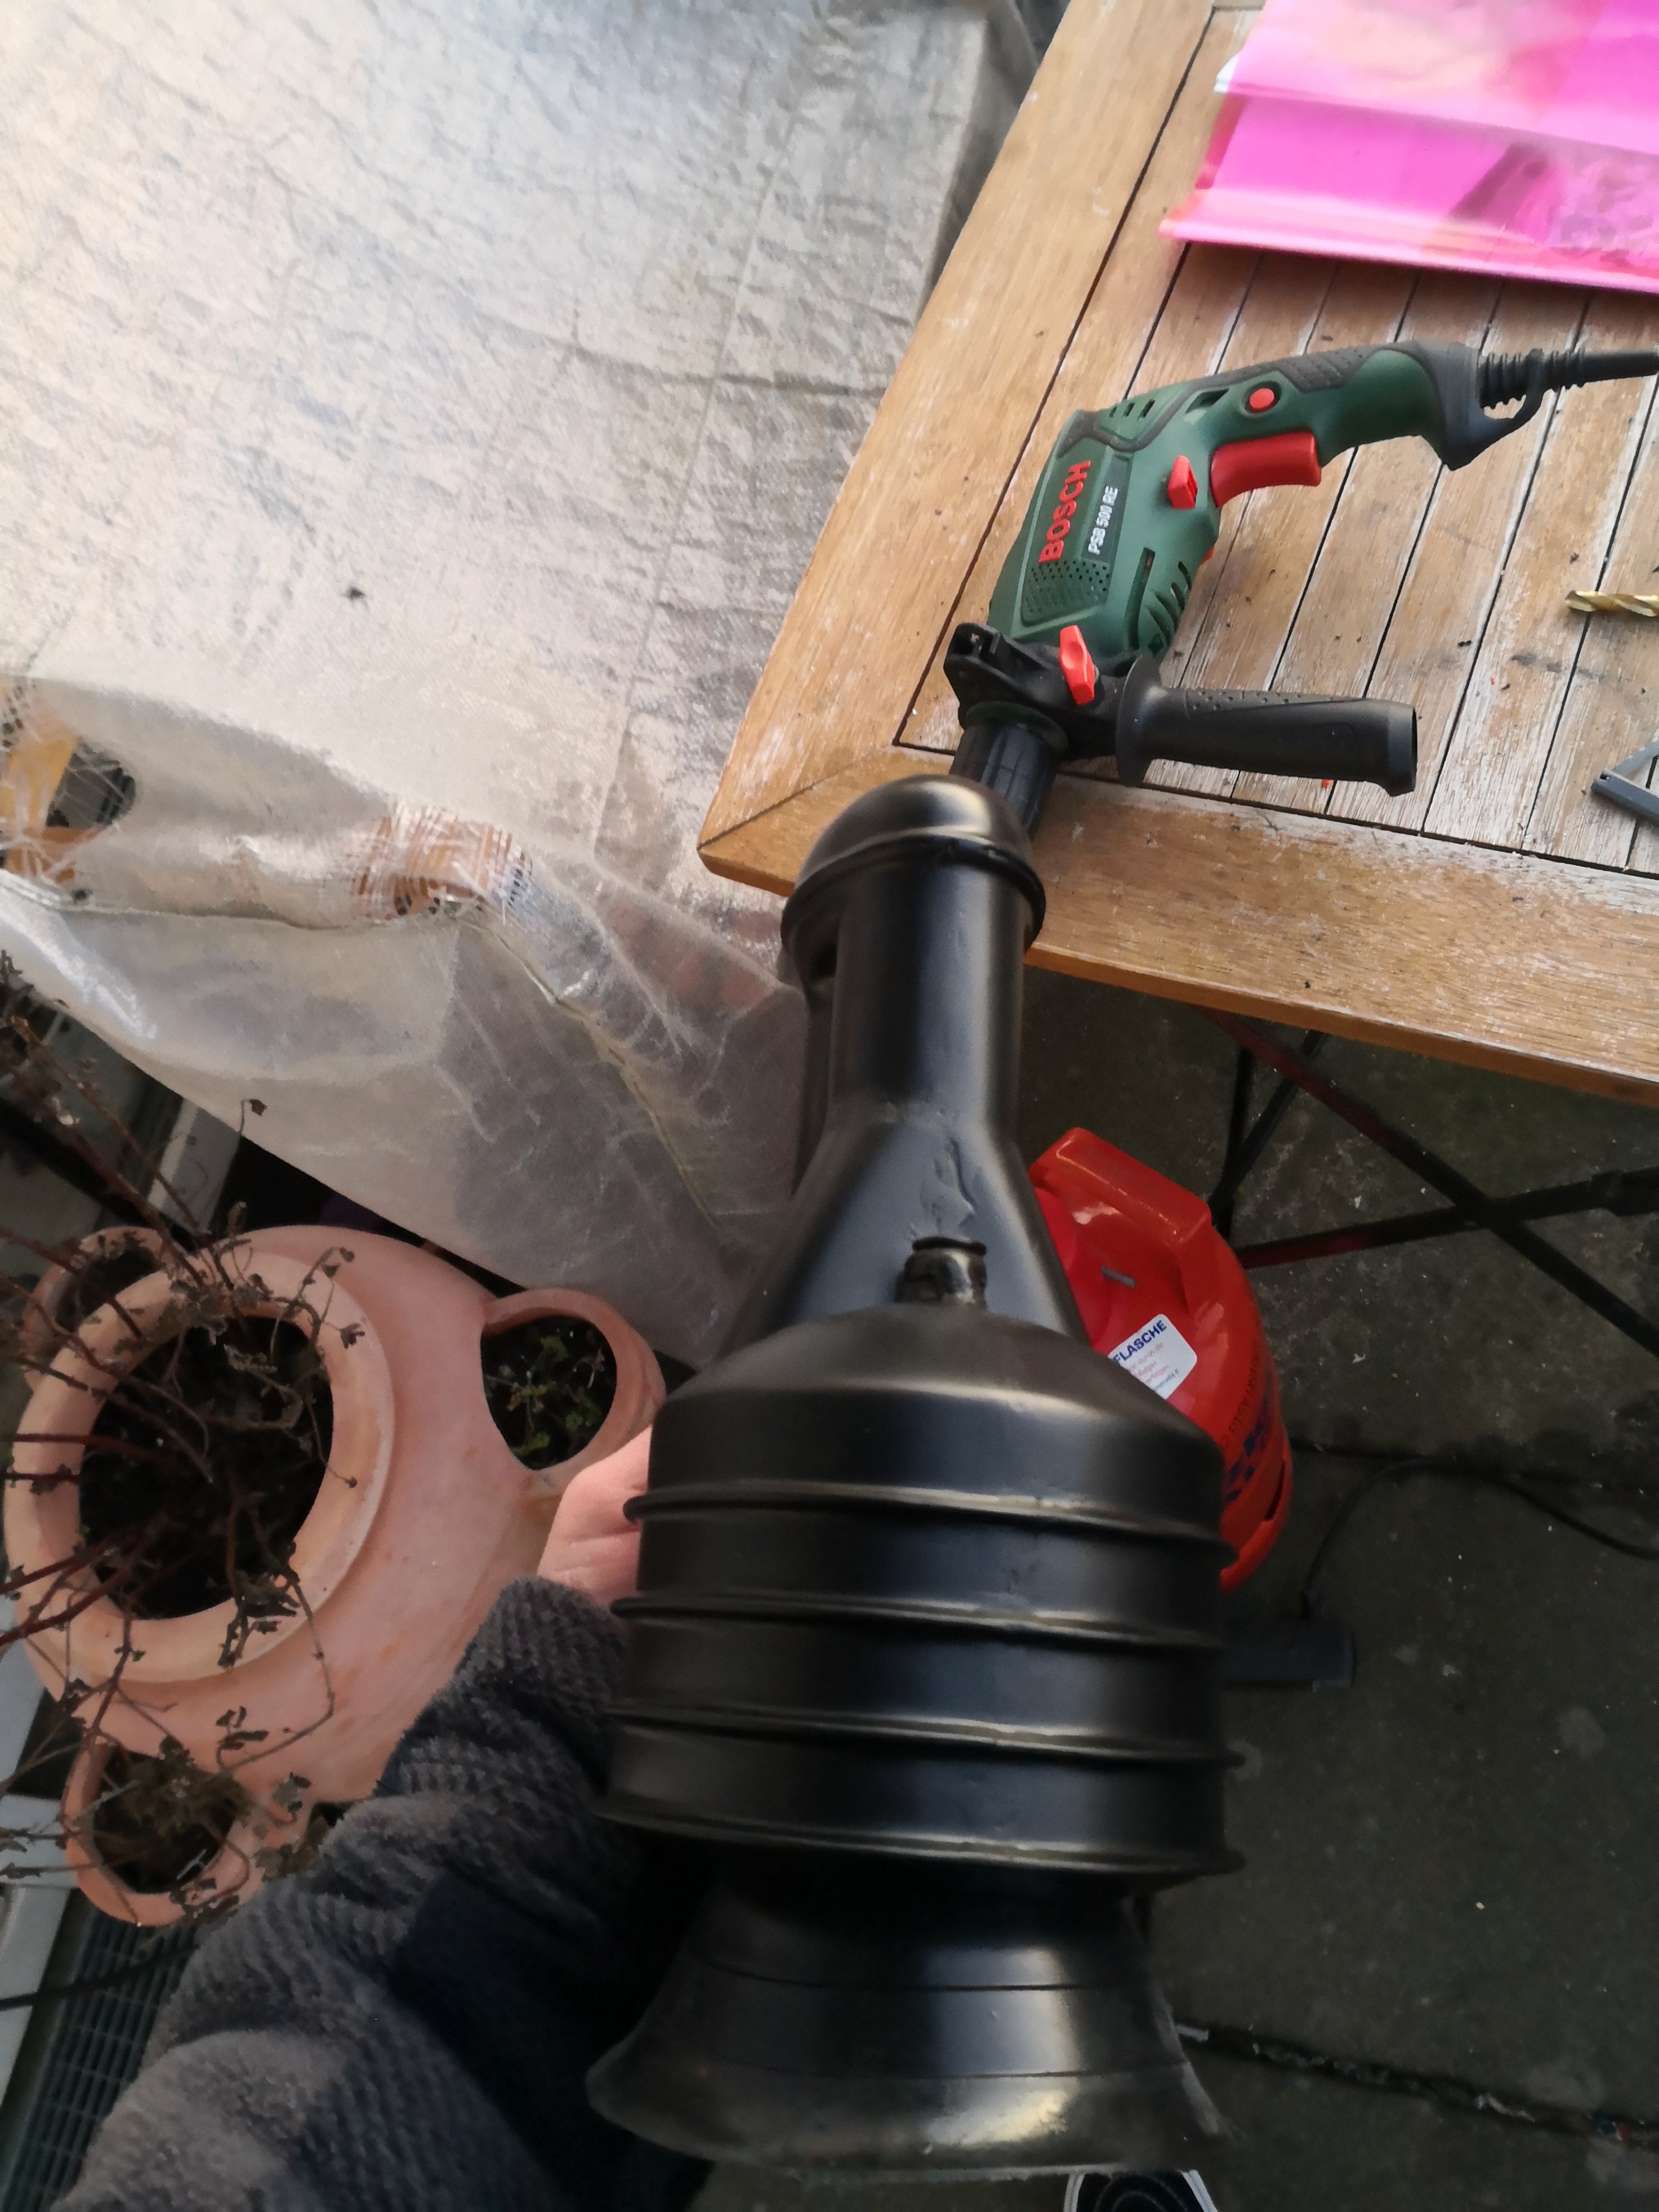
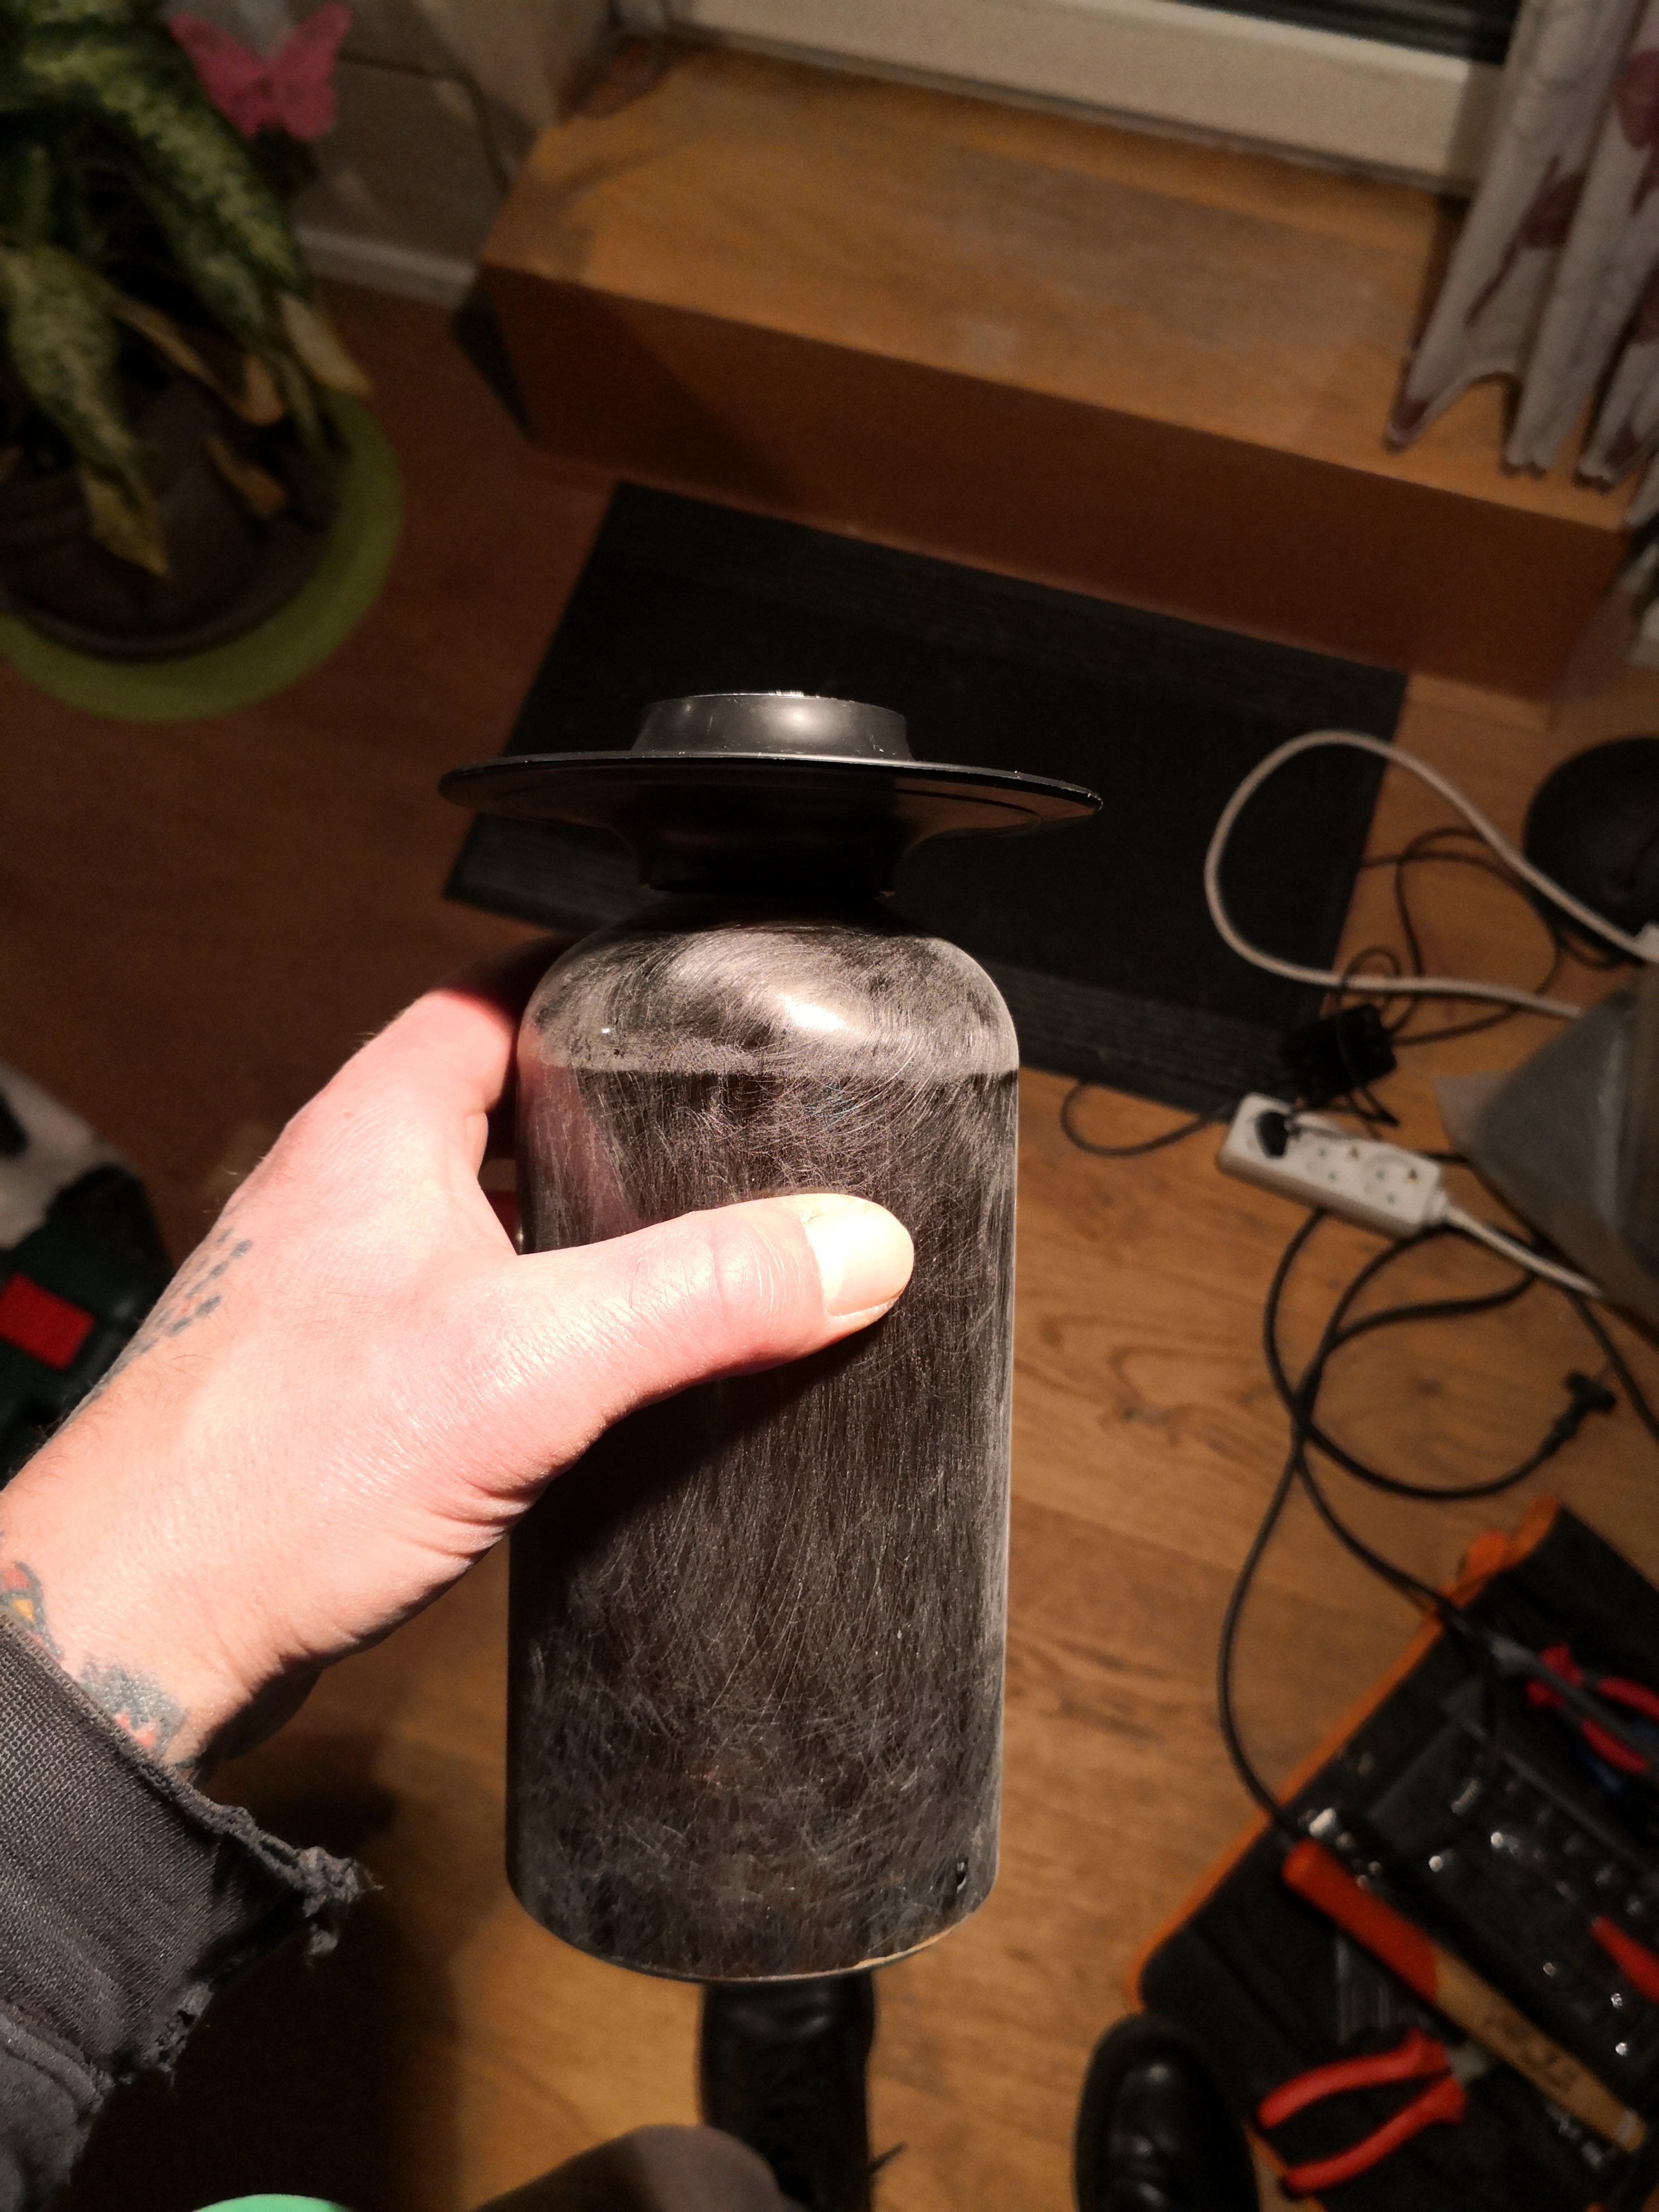
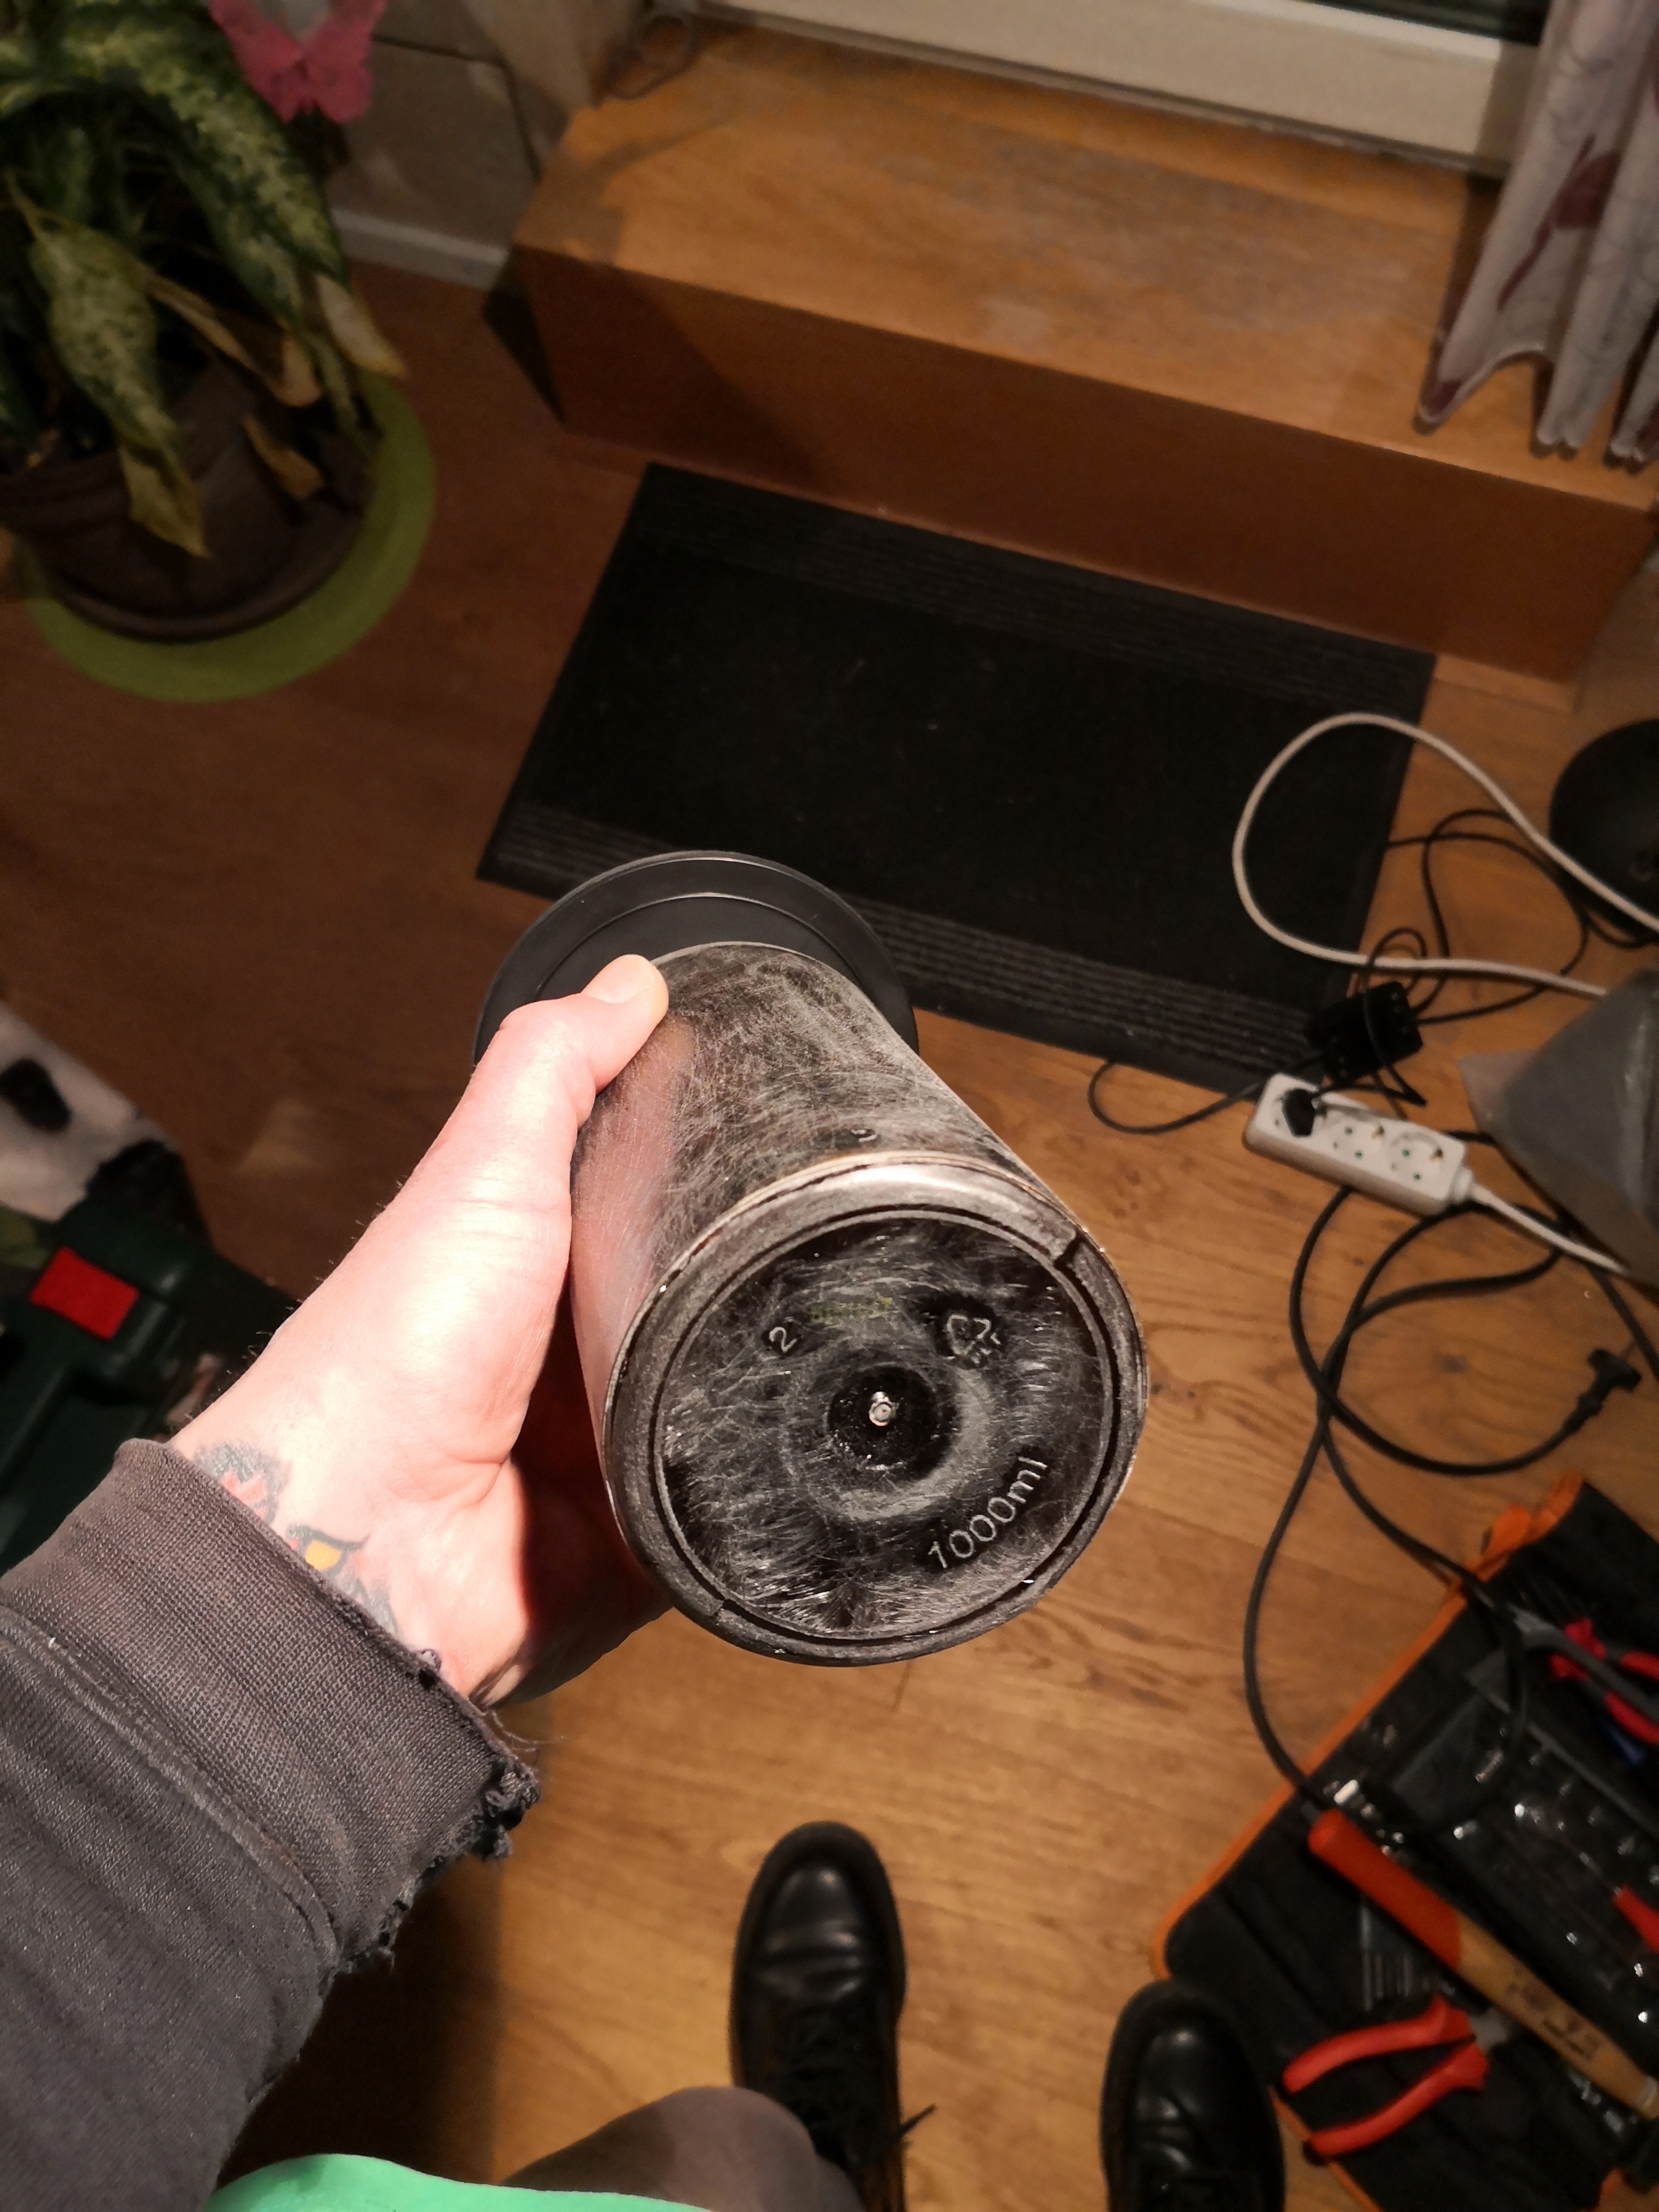
When looking at the bluray, I also closely studied the shape and color of the labpipe.
I think that it is quite thick in diameter, the top part looks to be some silver/gunmetal colour, while to me, the rest of it looks like a copper color. I have discussed this with some fellow dirty dudes and one even thought that it could be a glass pipe. Who knows... anyhow, I found some PVC piping at my local DIY store, cut it to length and had to completely rework the shape of some coupling elements to match the shape of the upper and lower and as seen on screen.
I then painted it using gunmetal and copper colored paint.
bluray:
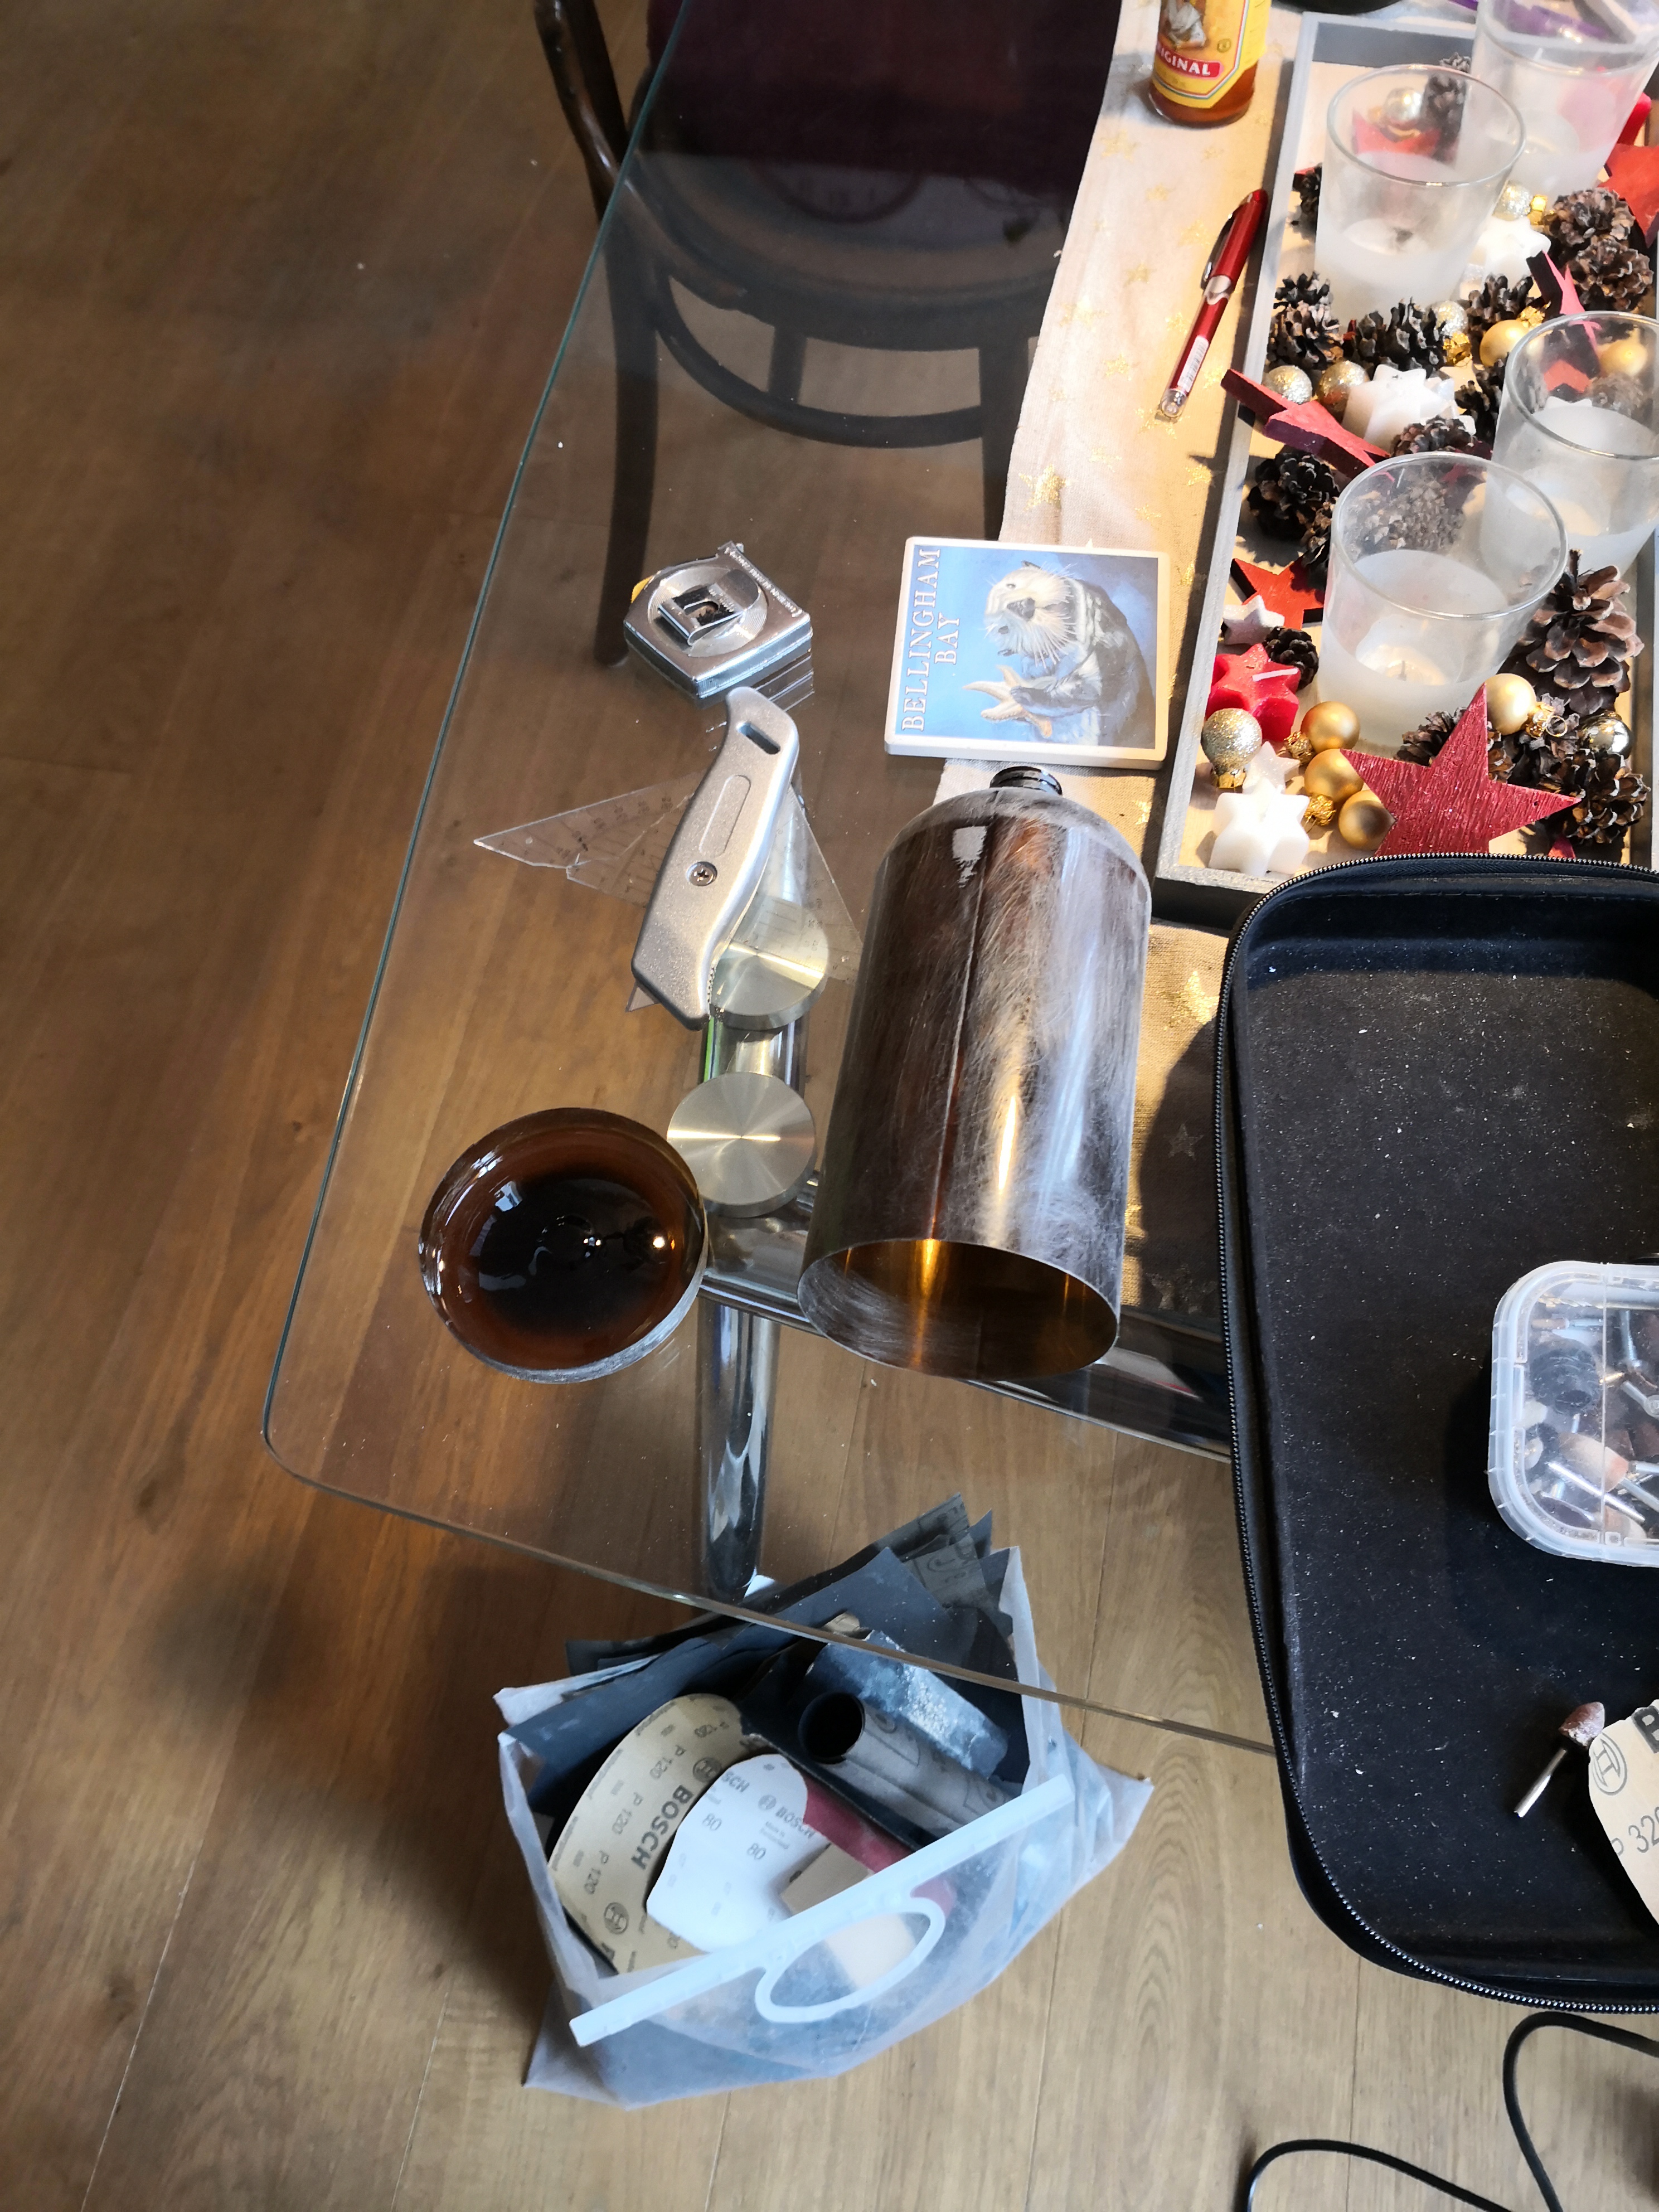
mine before assembly, tape and weathering (upside down):
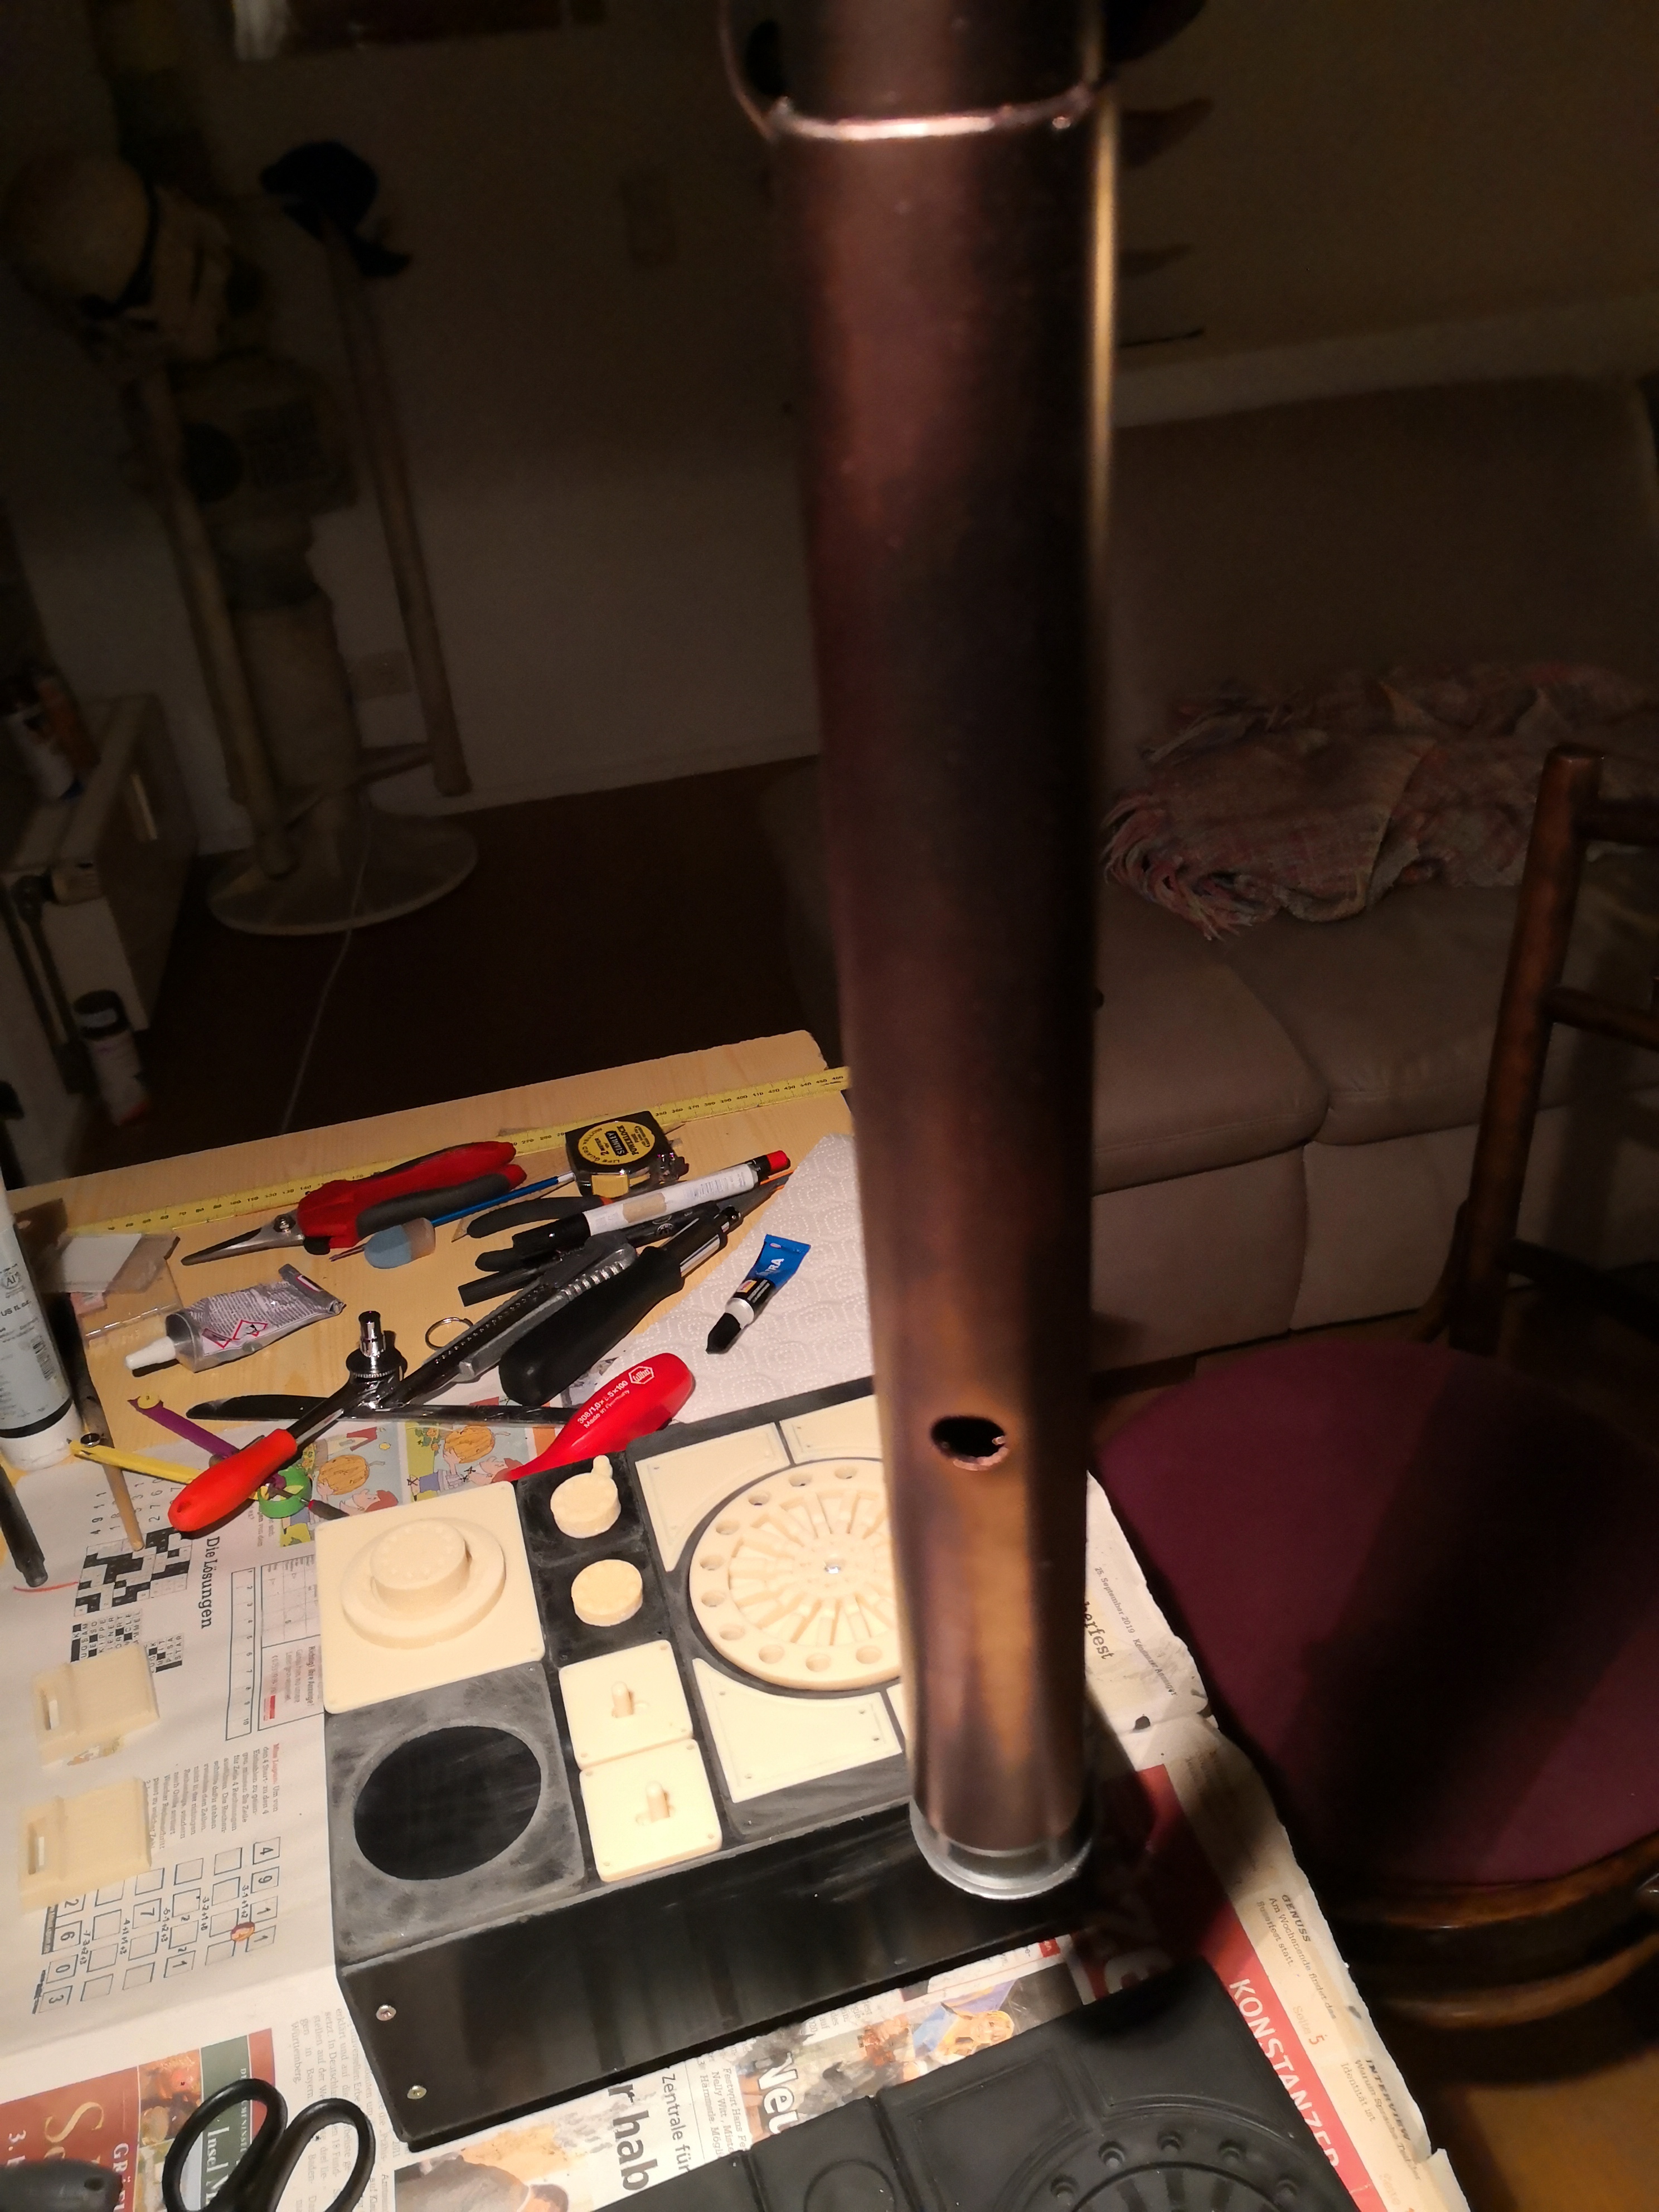
I have attached it with a screw at the top to the frame, to get the bottom half at the right angle, I have used zip ties. It is very sturdy now.
This is what it looks like on the finished pack:

-
1
-
-
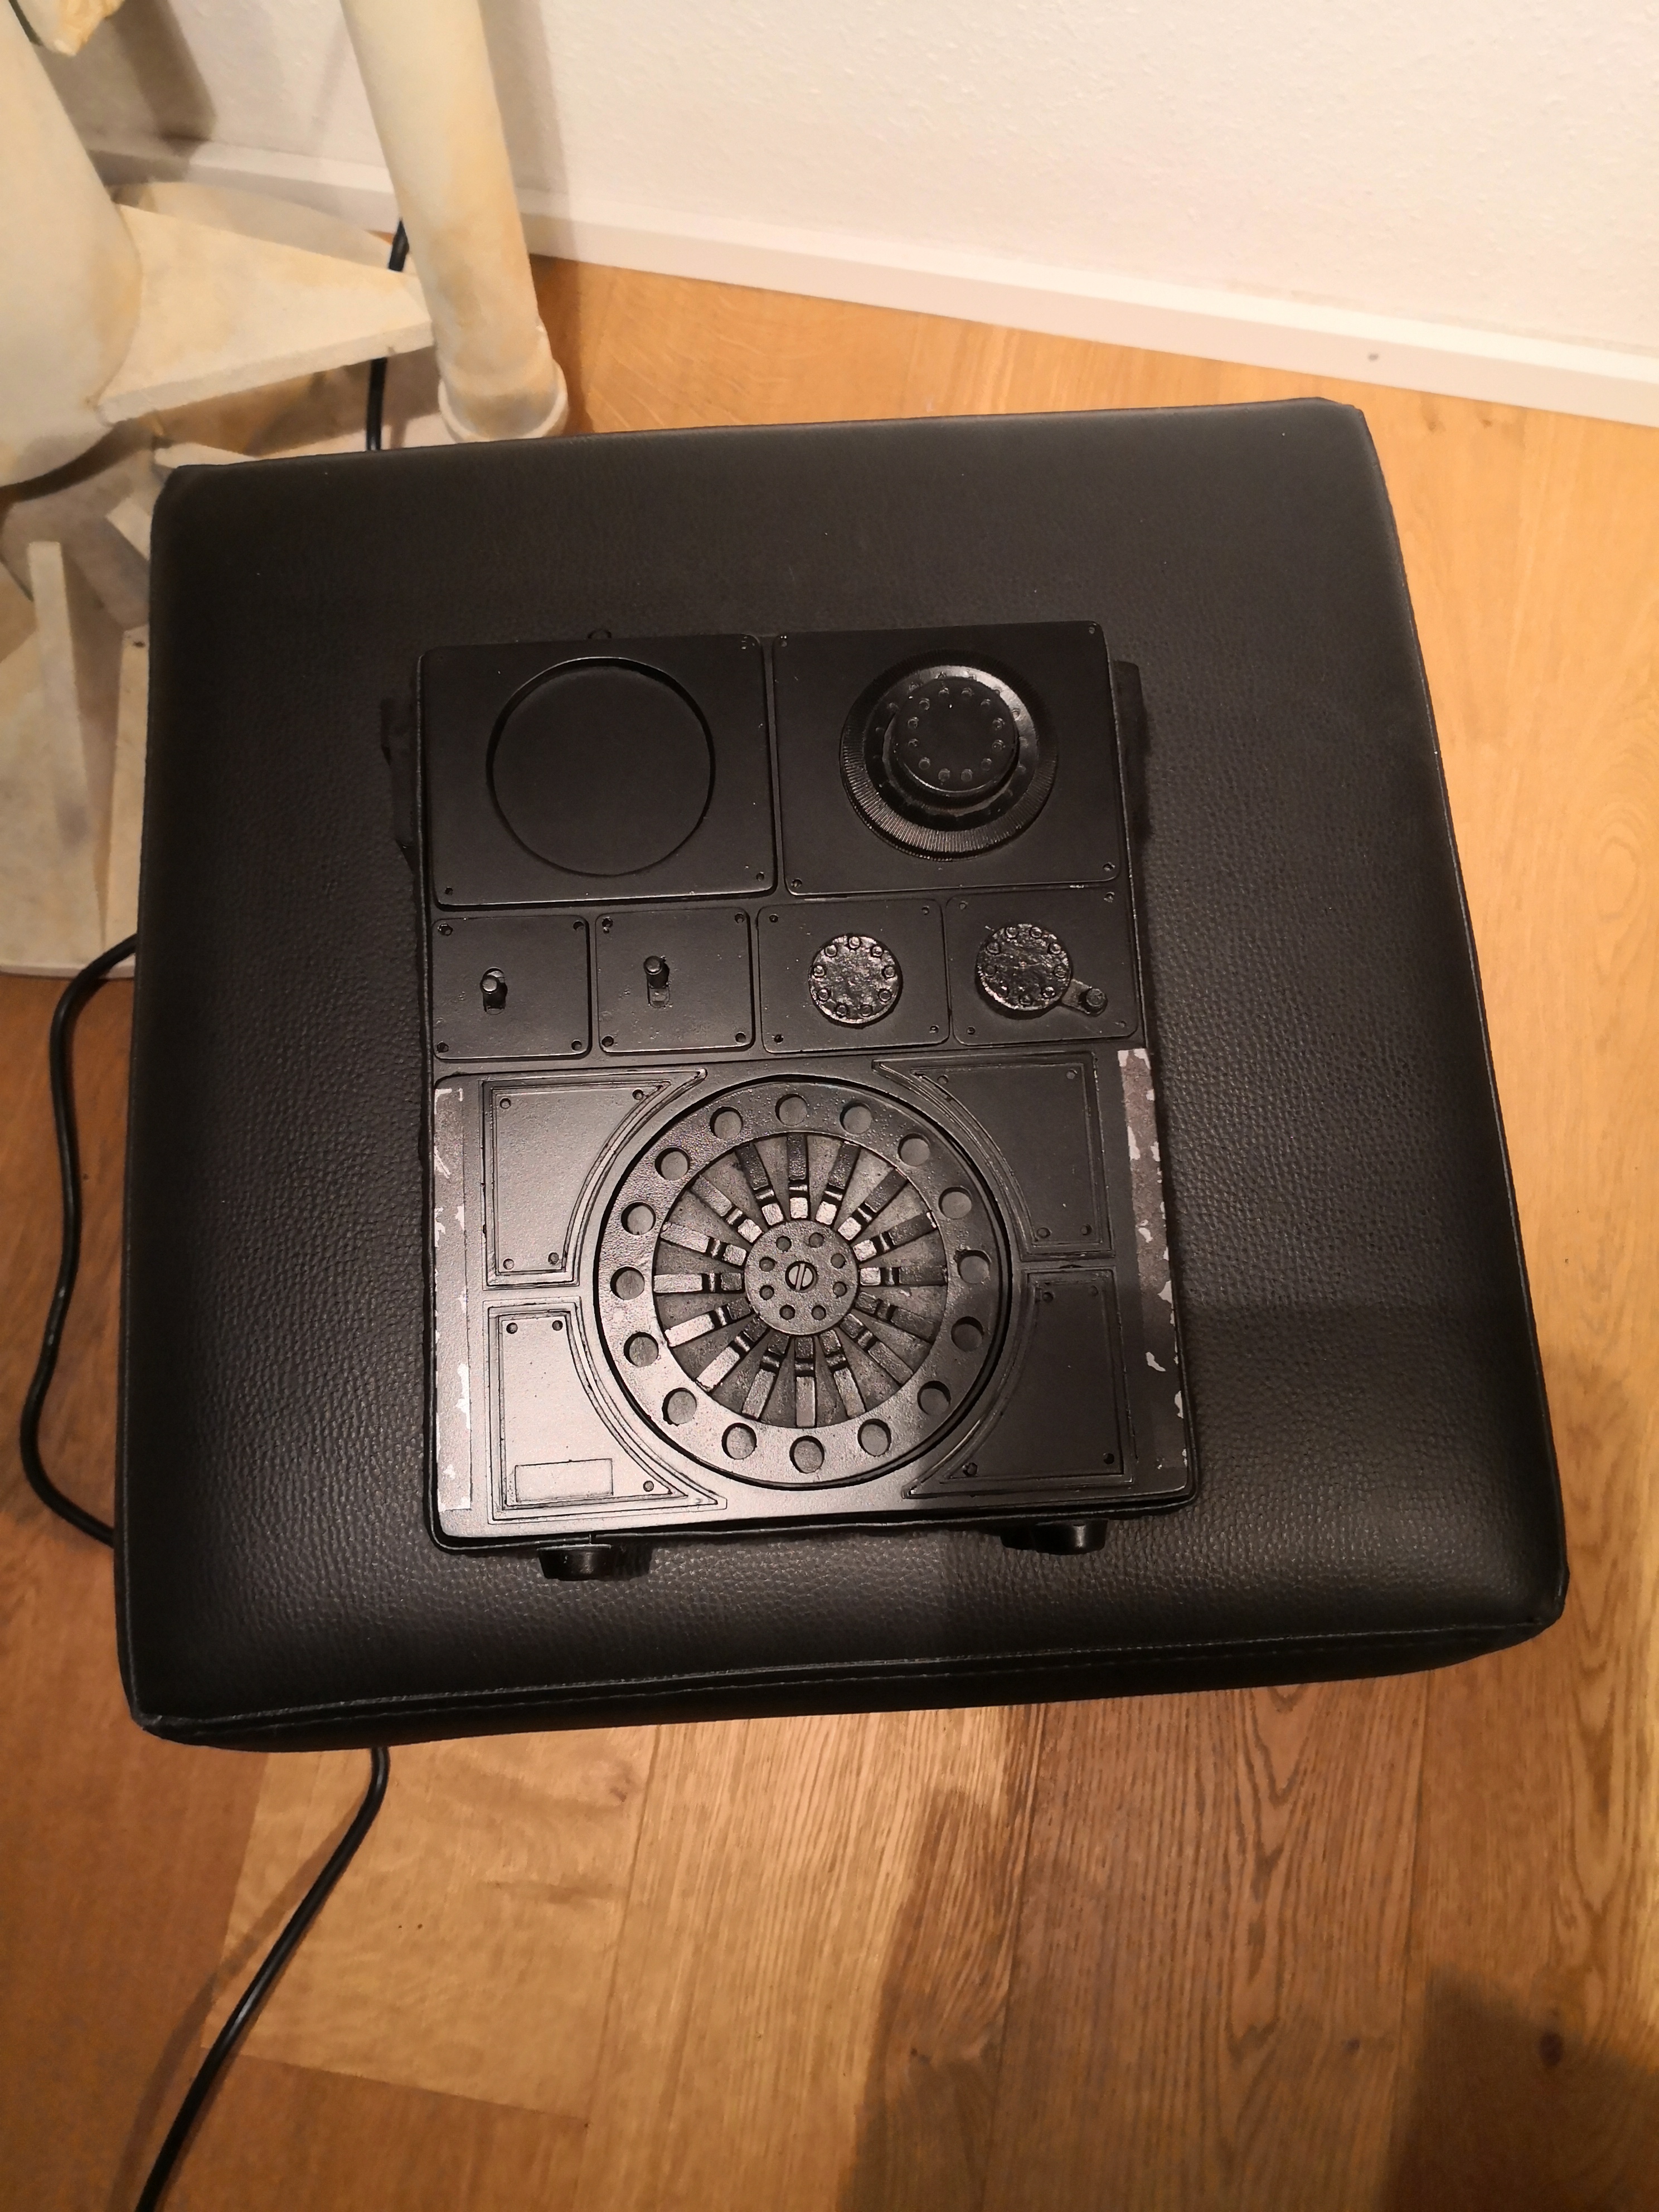
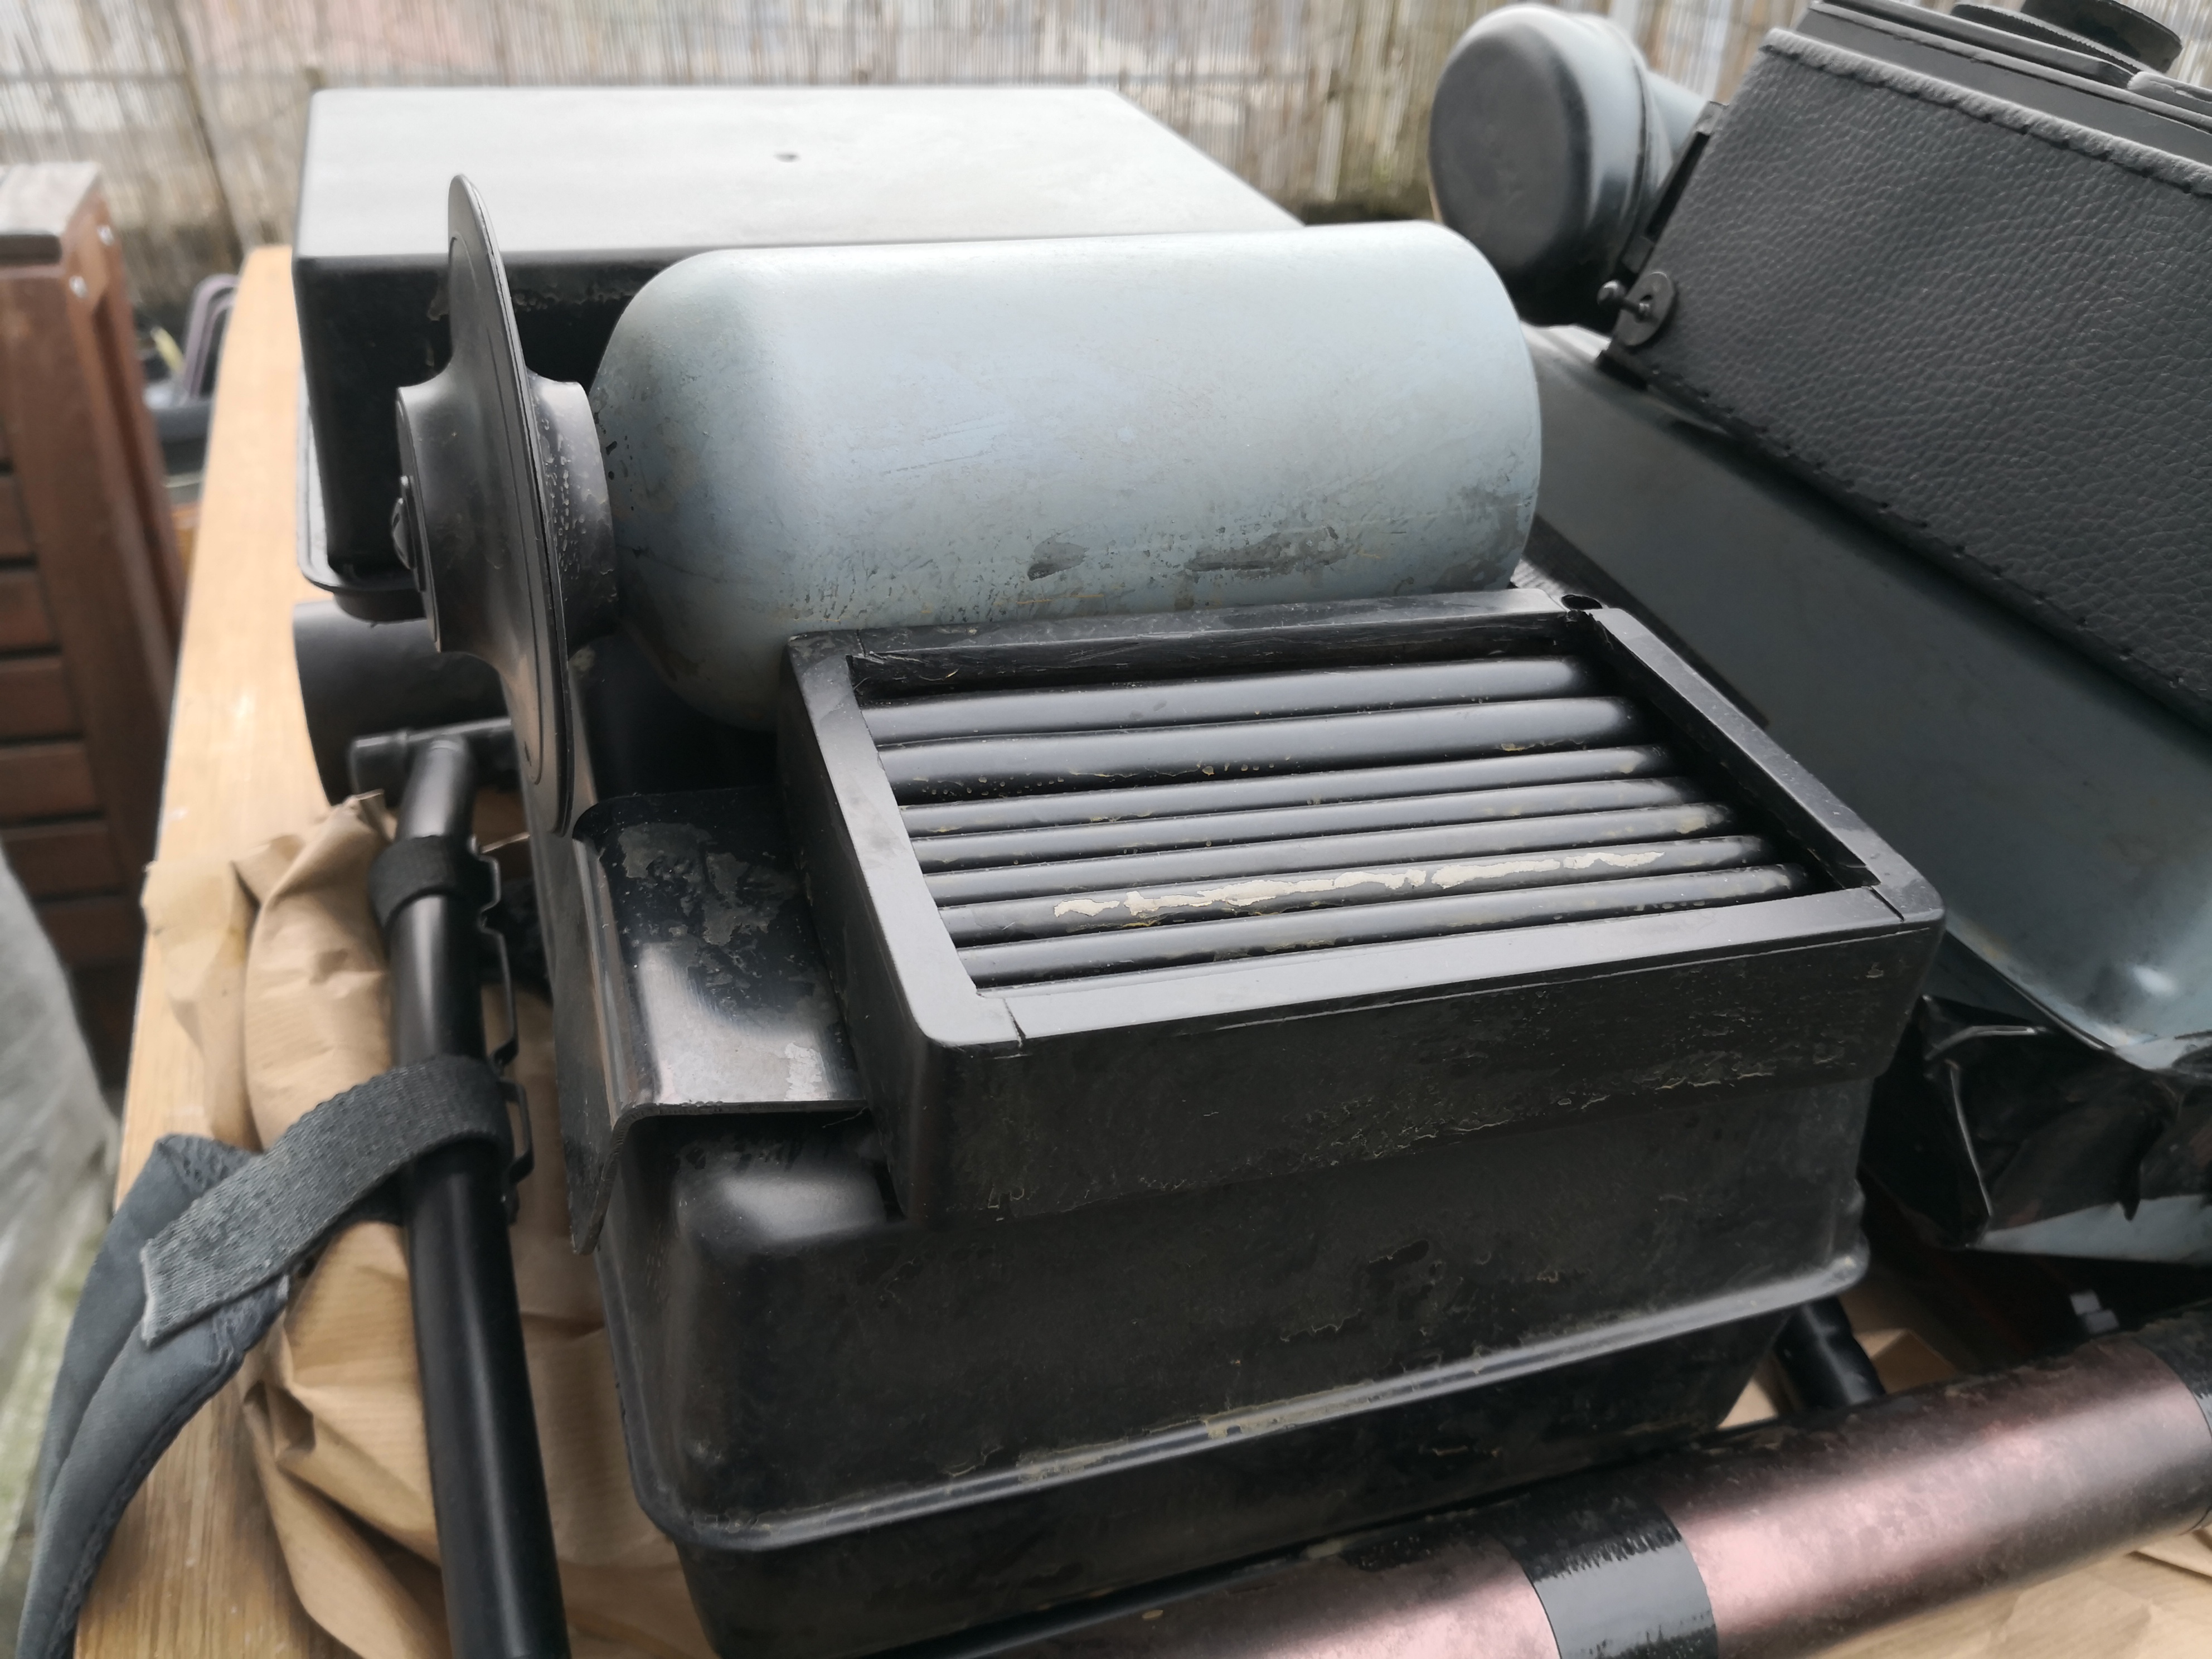
In those previous pics showing the filter, one can see that I have decided against using mictips on the plastic part behind the filter as I simply can´t see them and strongly believe that it was just shadows playing tricks on the eyes.
-
So this is what my assembled and painted filter looks like:

-
1
-
-
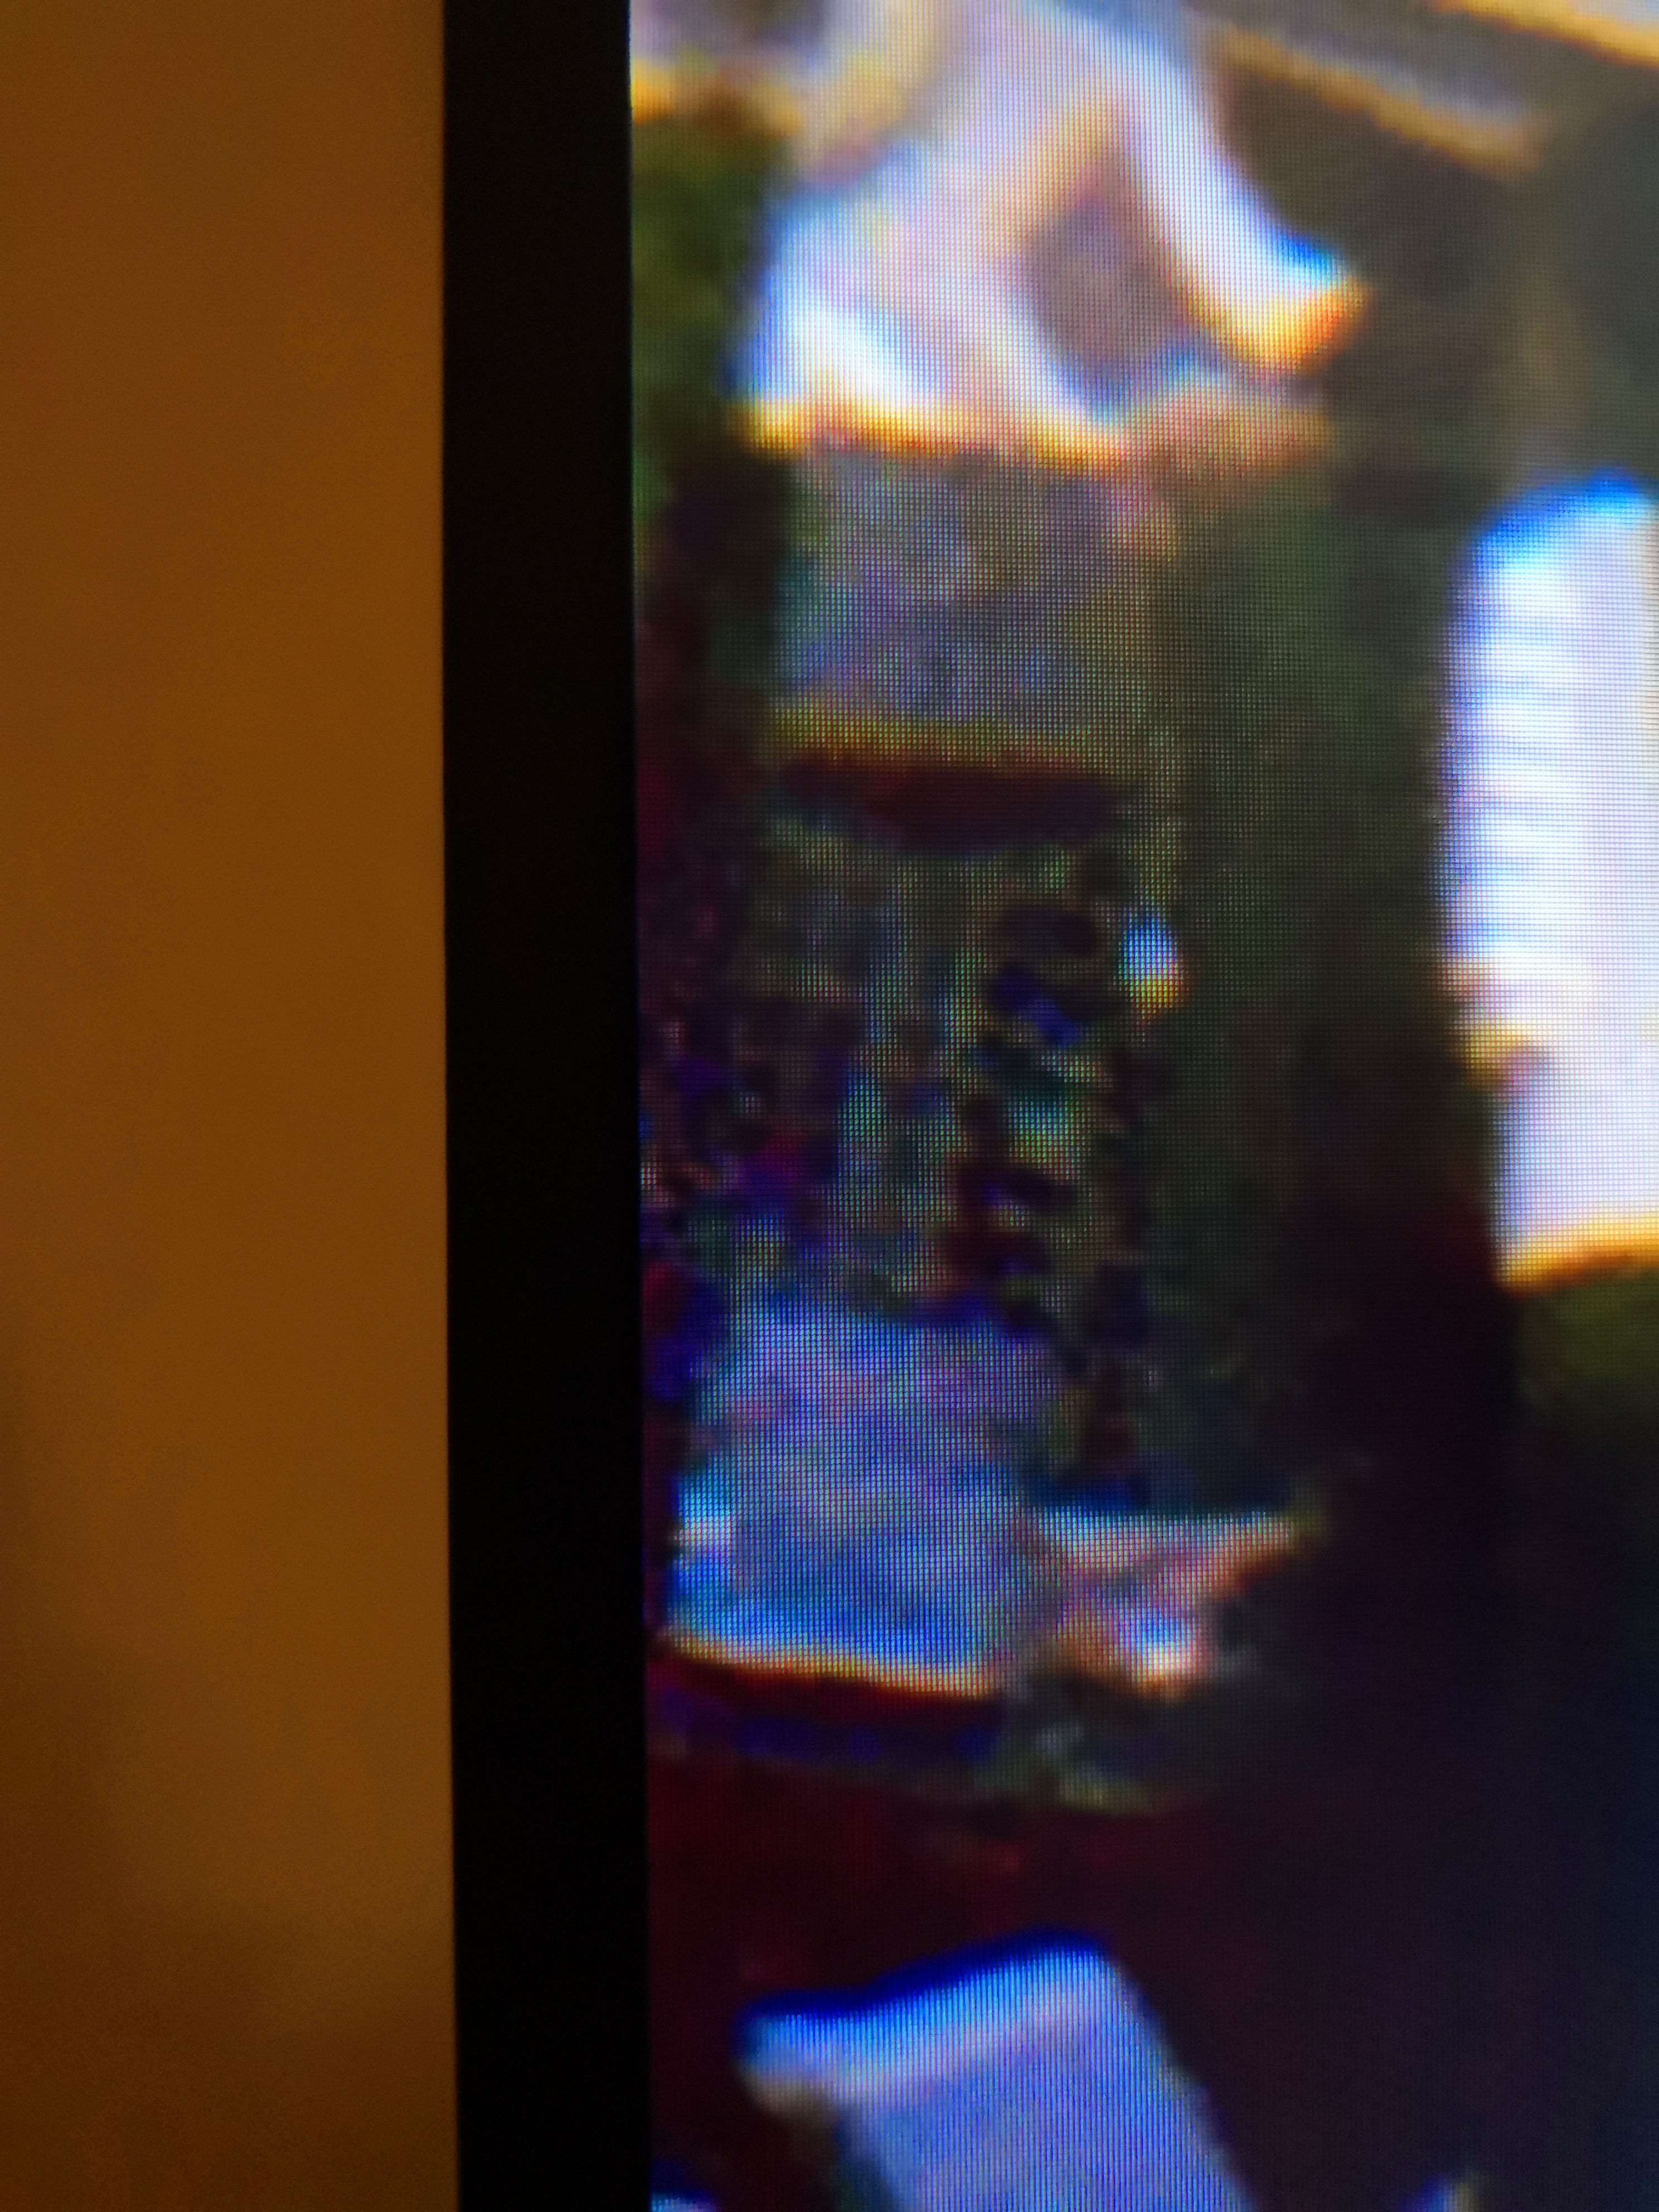
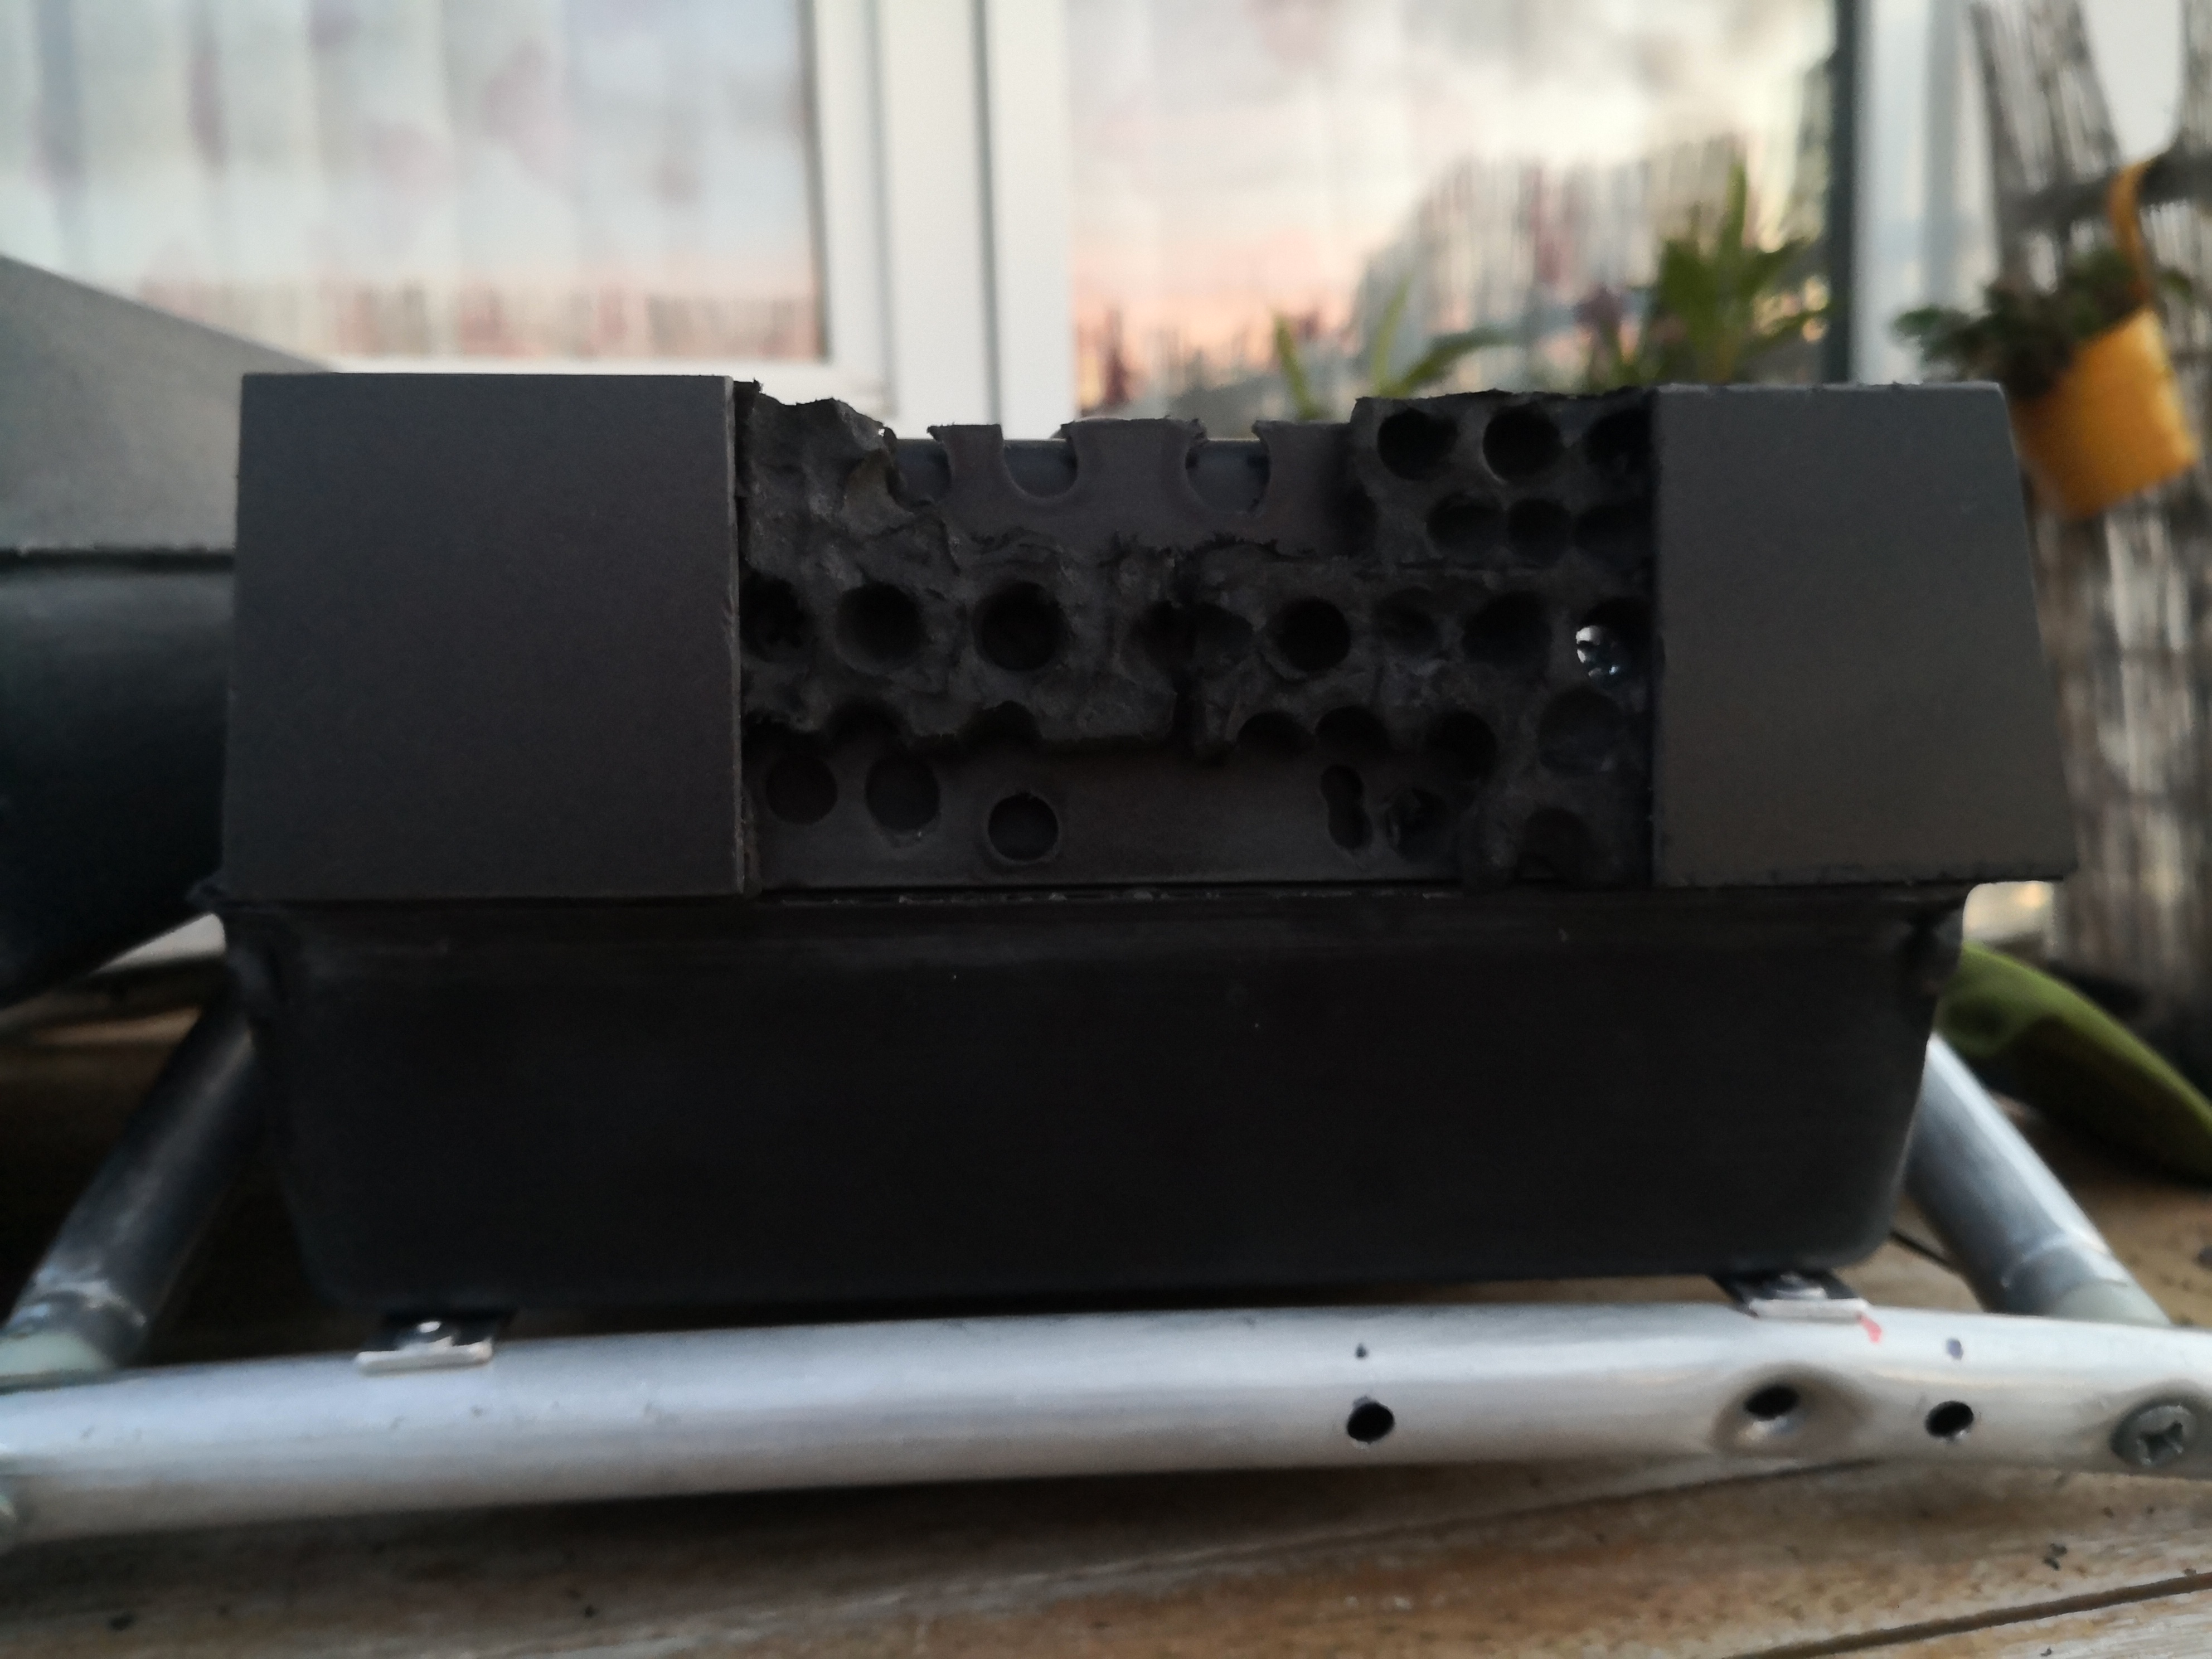
I continued with the little top-left filter and used a smaller electronics box for it. I took a different approach at the individual filter elements though. I took some pictures of my TV screen when playing ANH on bluray:

first of all to me they all seem attached at a certain angle, I think I can also see some paint cracks and finally, I personally think the the two elements on the right are bigger in diameter than the other elements on the left.
So I took the electronics box apart, cut it to the correct width and glued some black ABS pieces on top to hide the holes for the screws.
In this pic there is some tape on those black ABS strips as I had to cut it down further to match the look on screen.
and this is what the filter elements looked like before priming and painting... very funky indeed
-
1
-
-
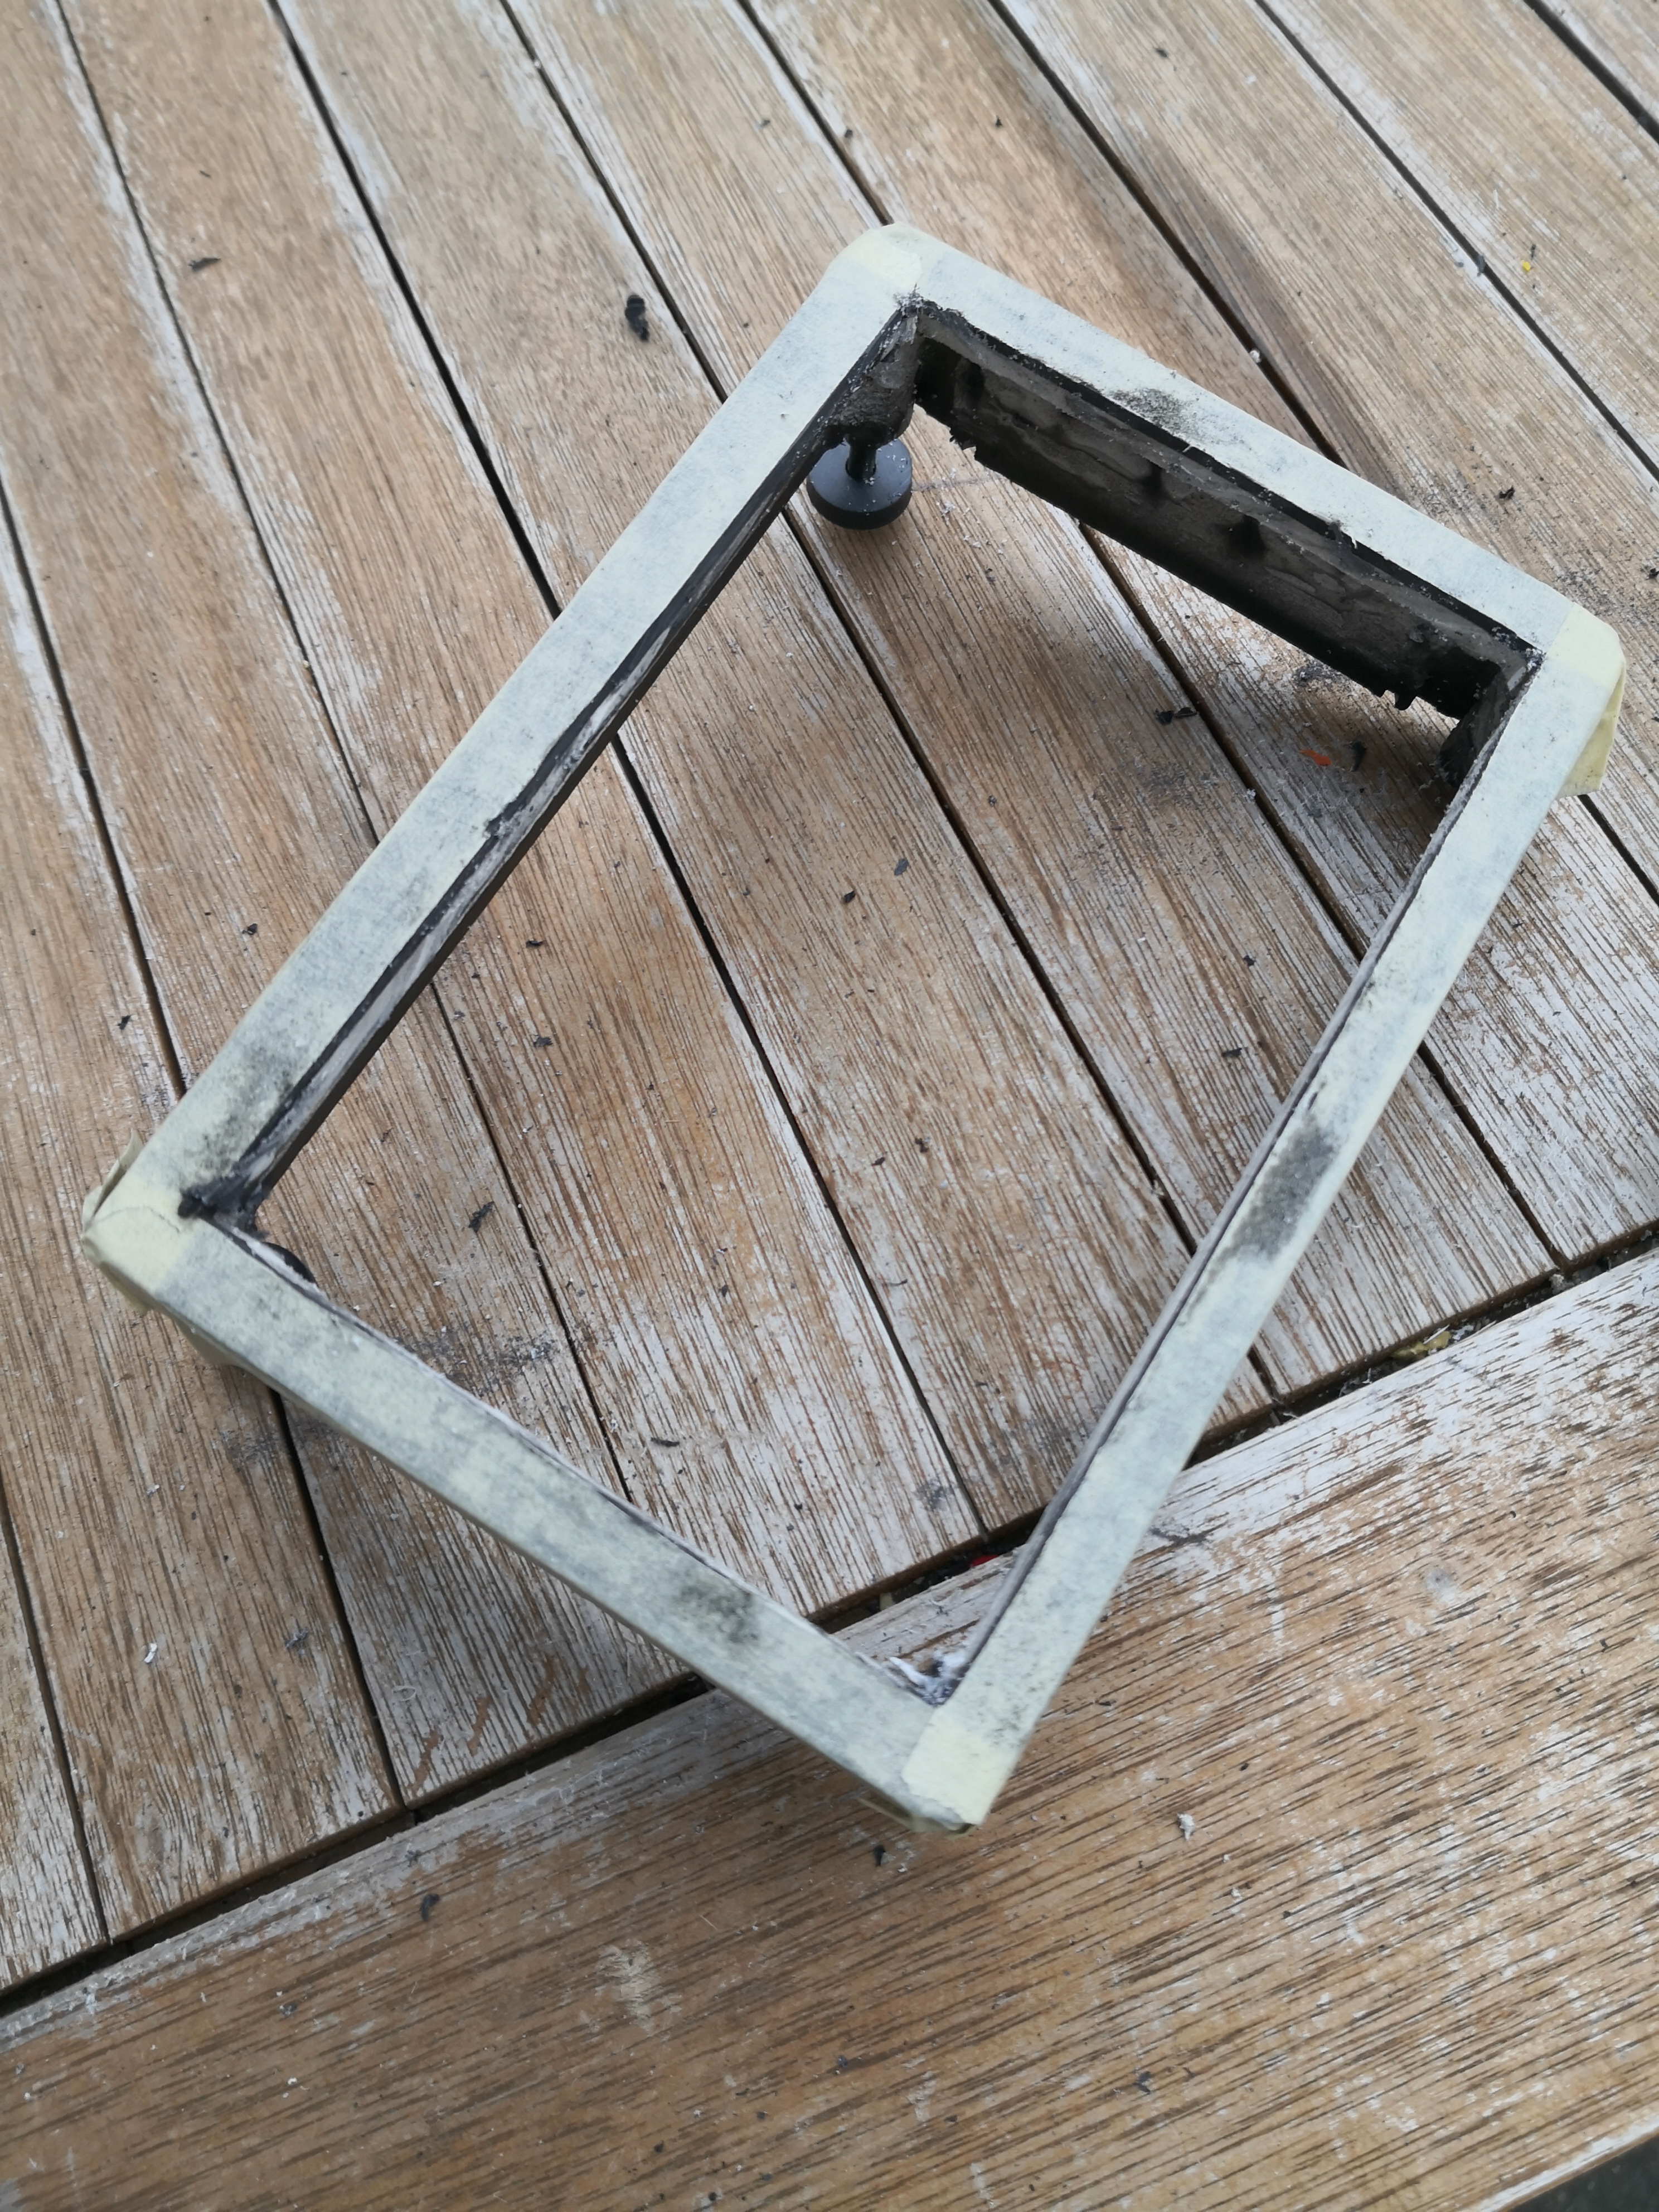
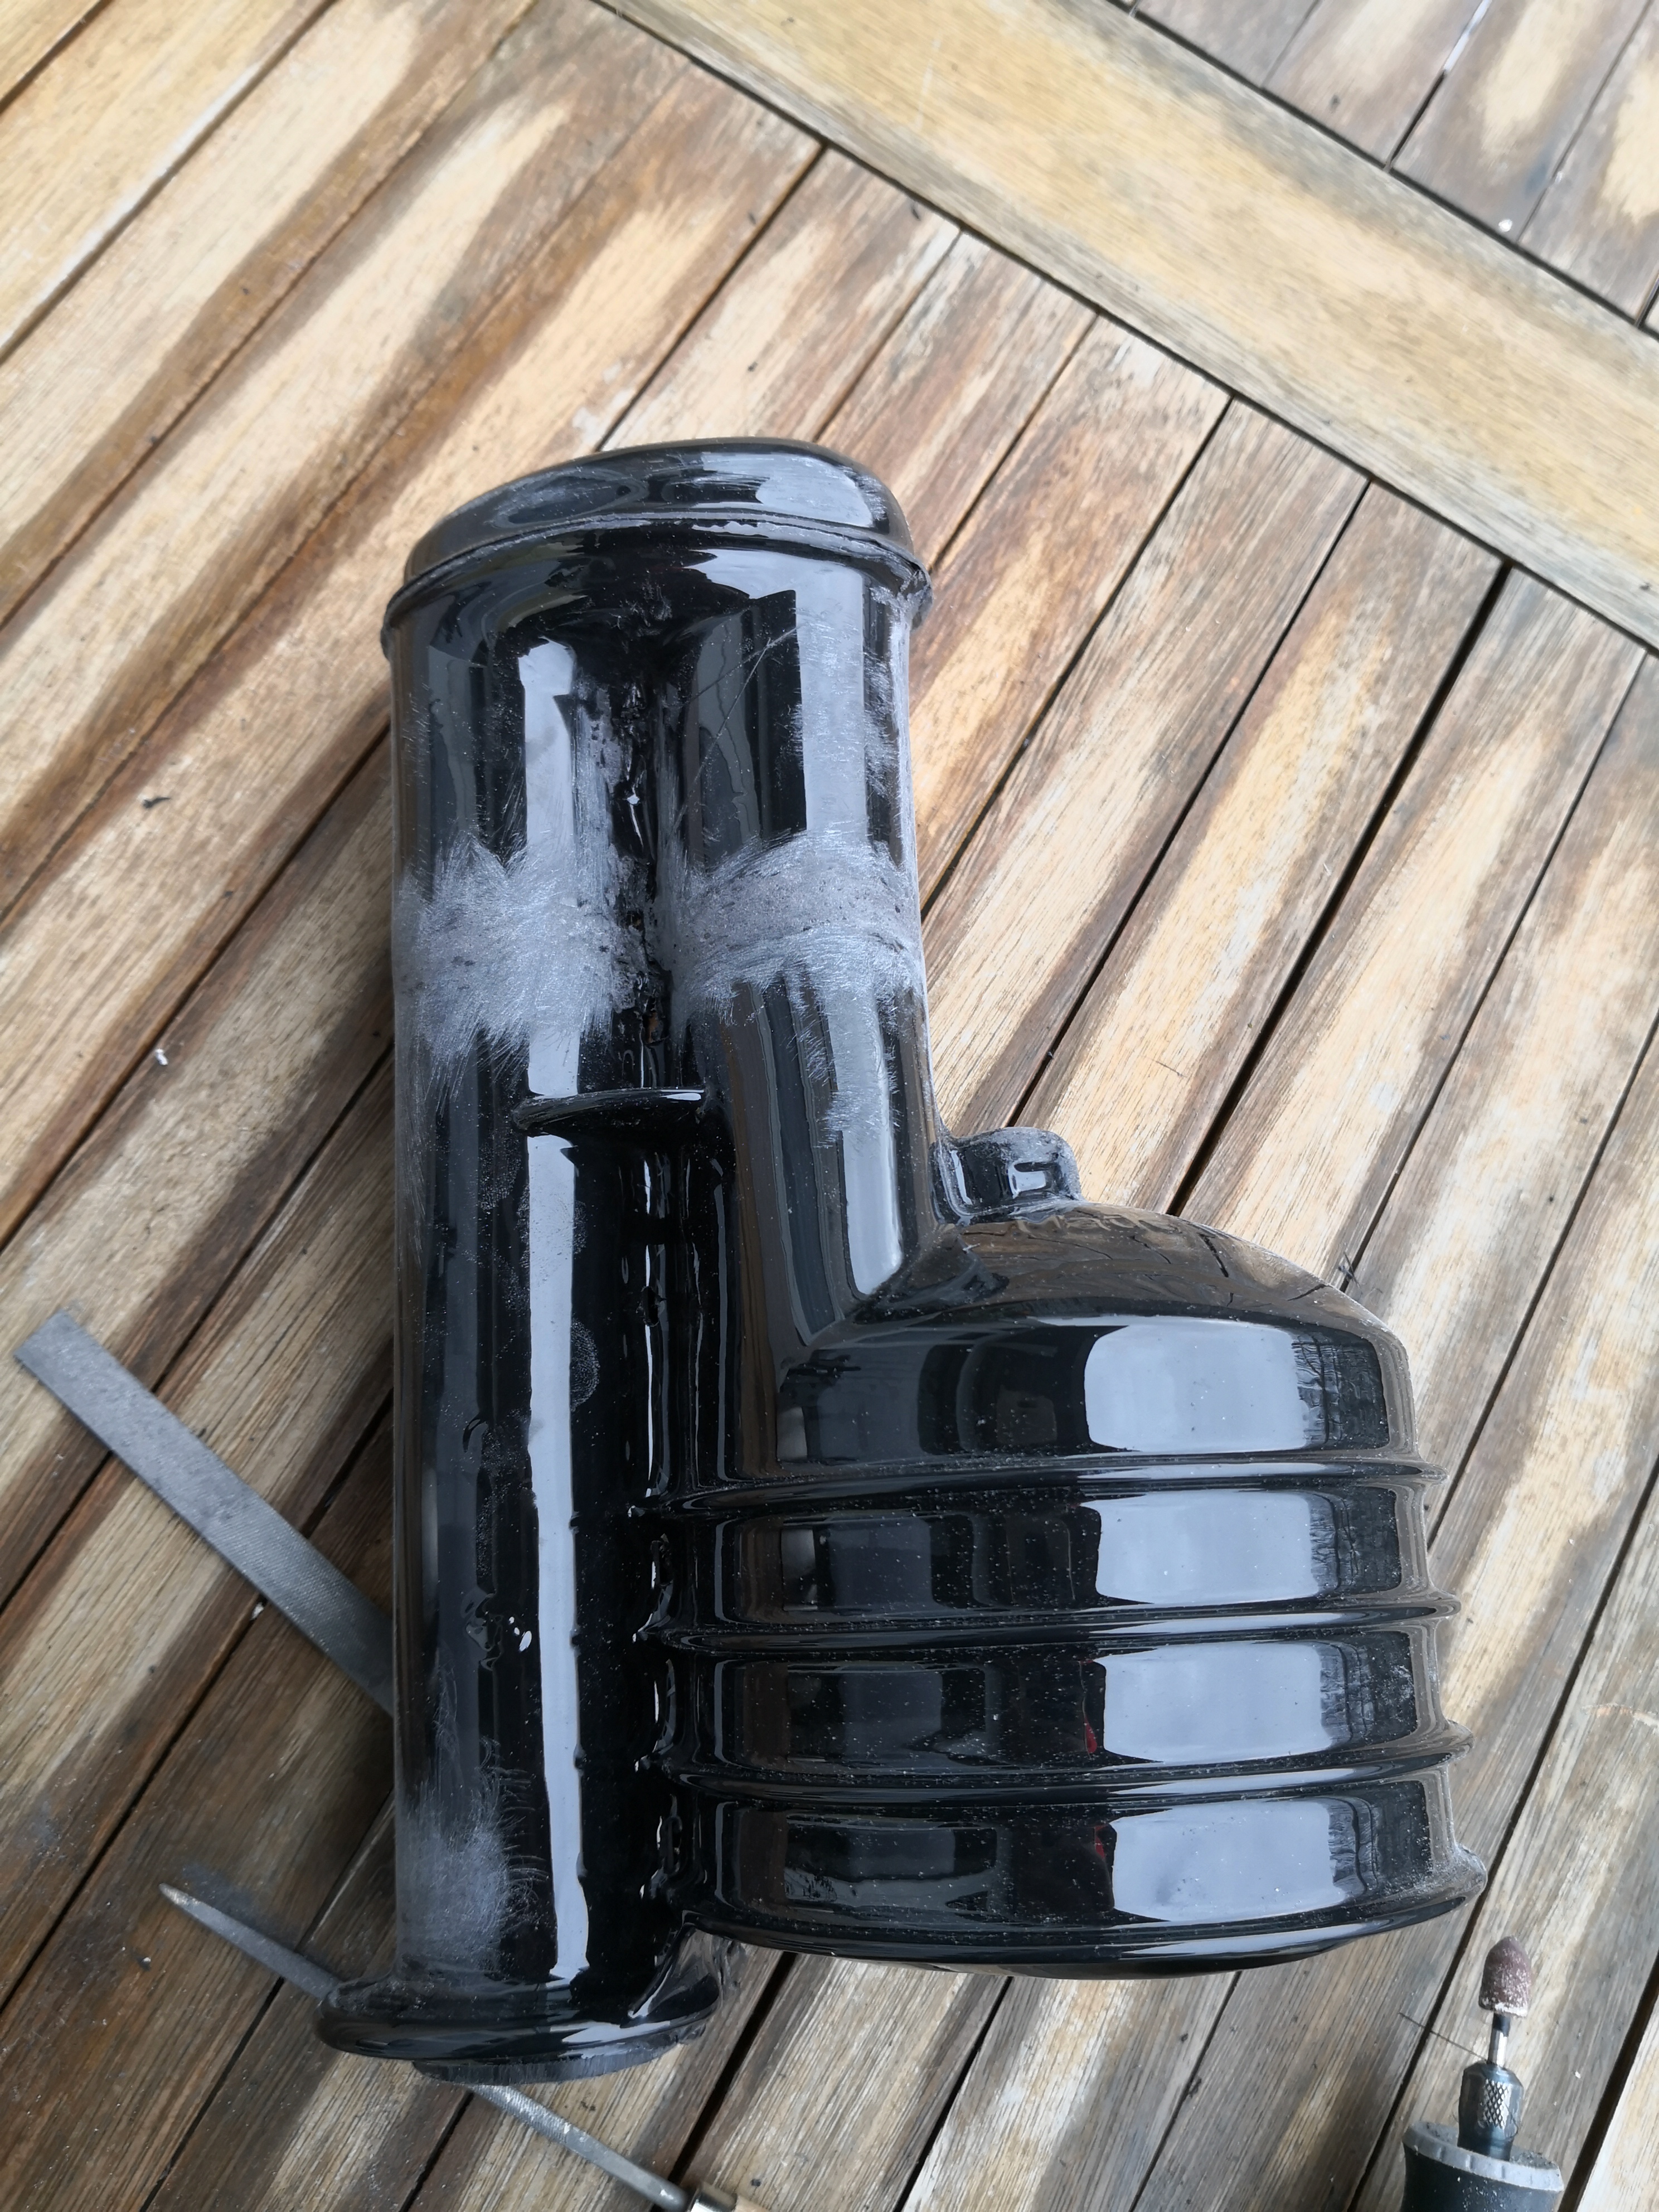
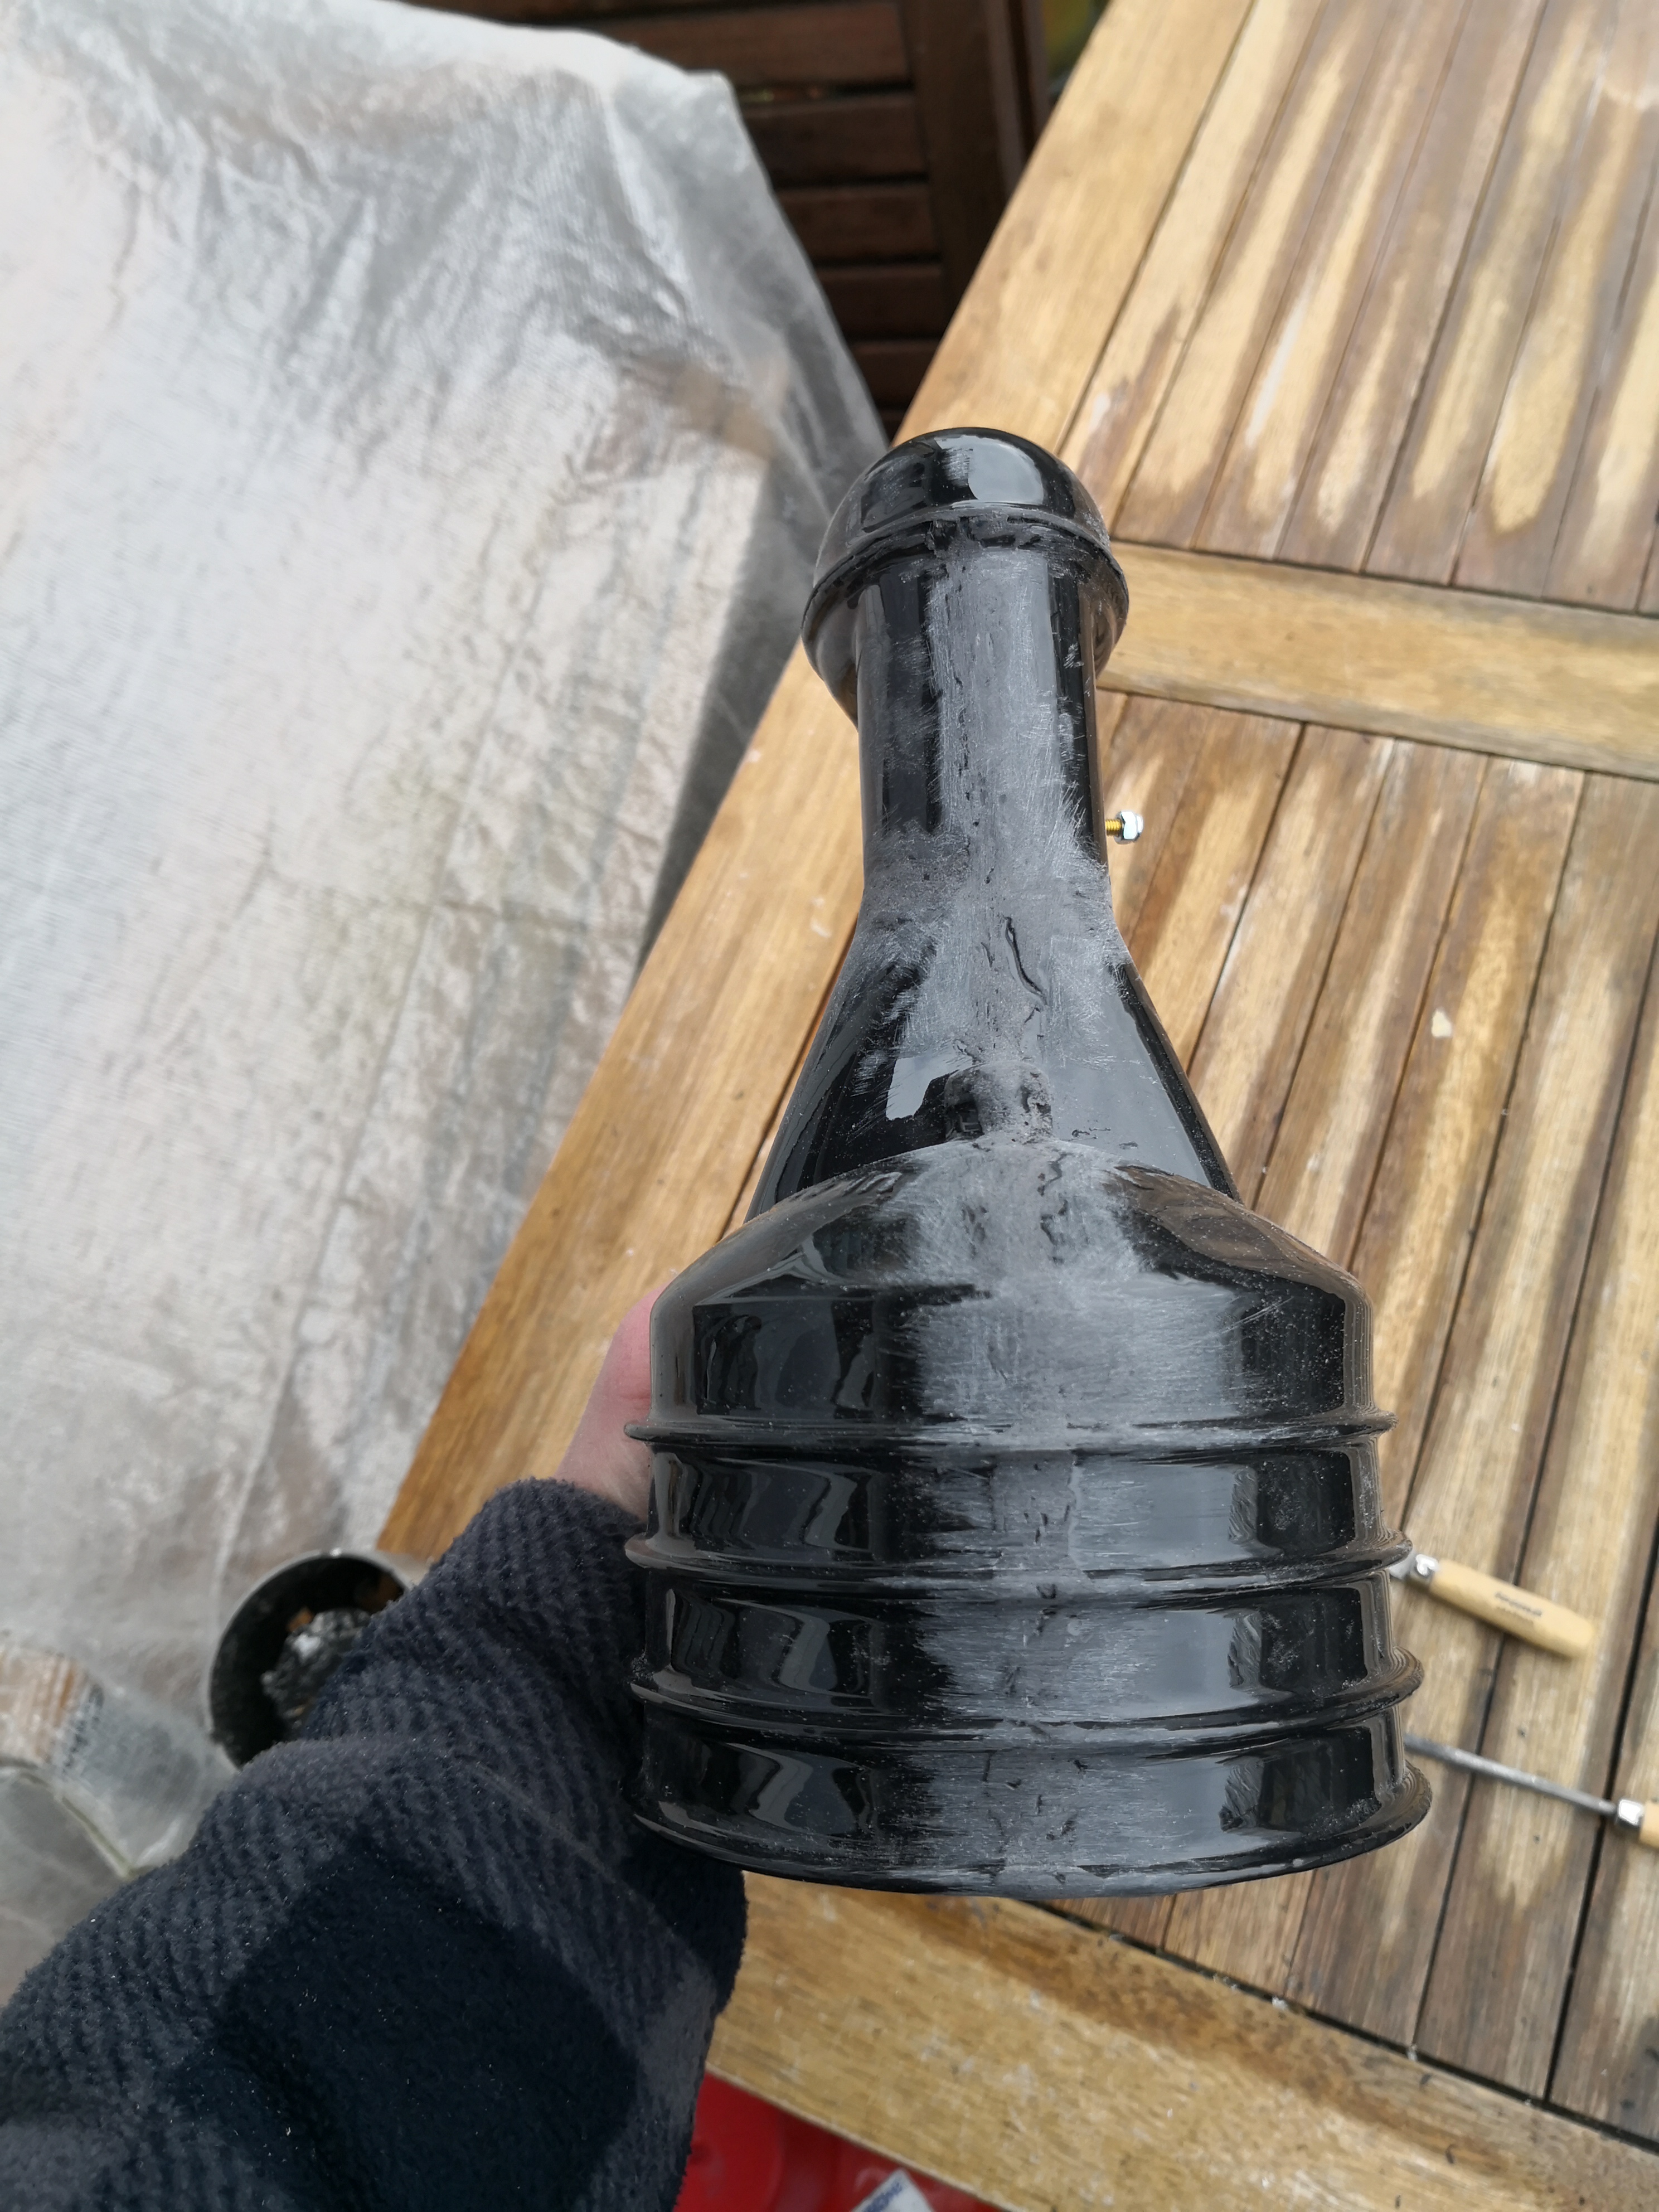
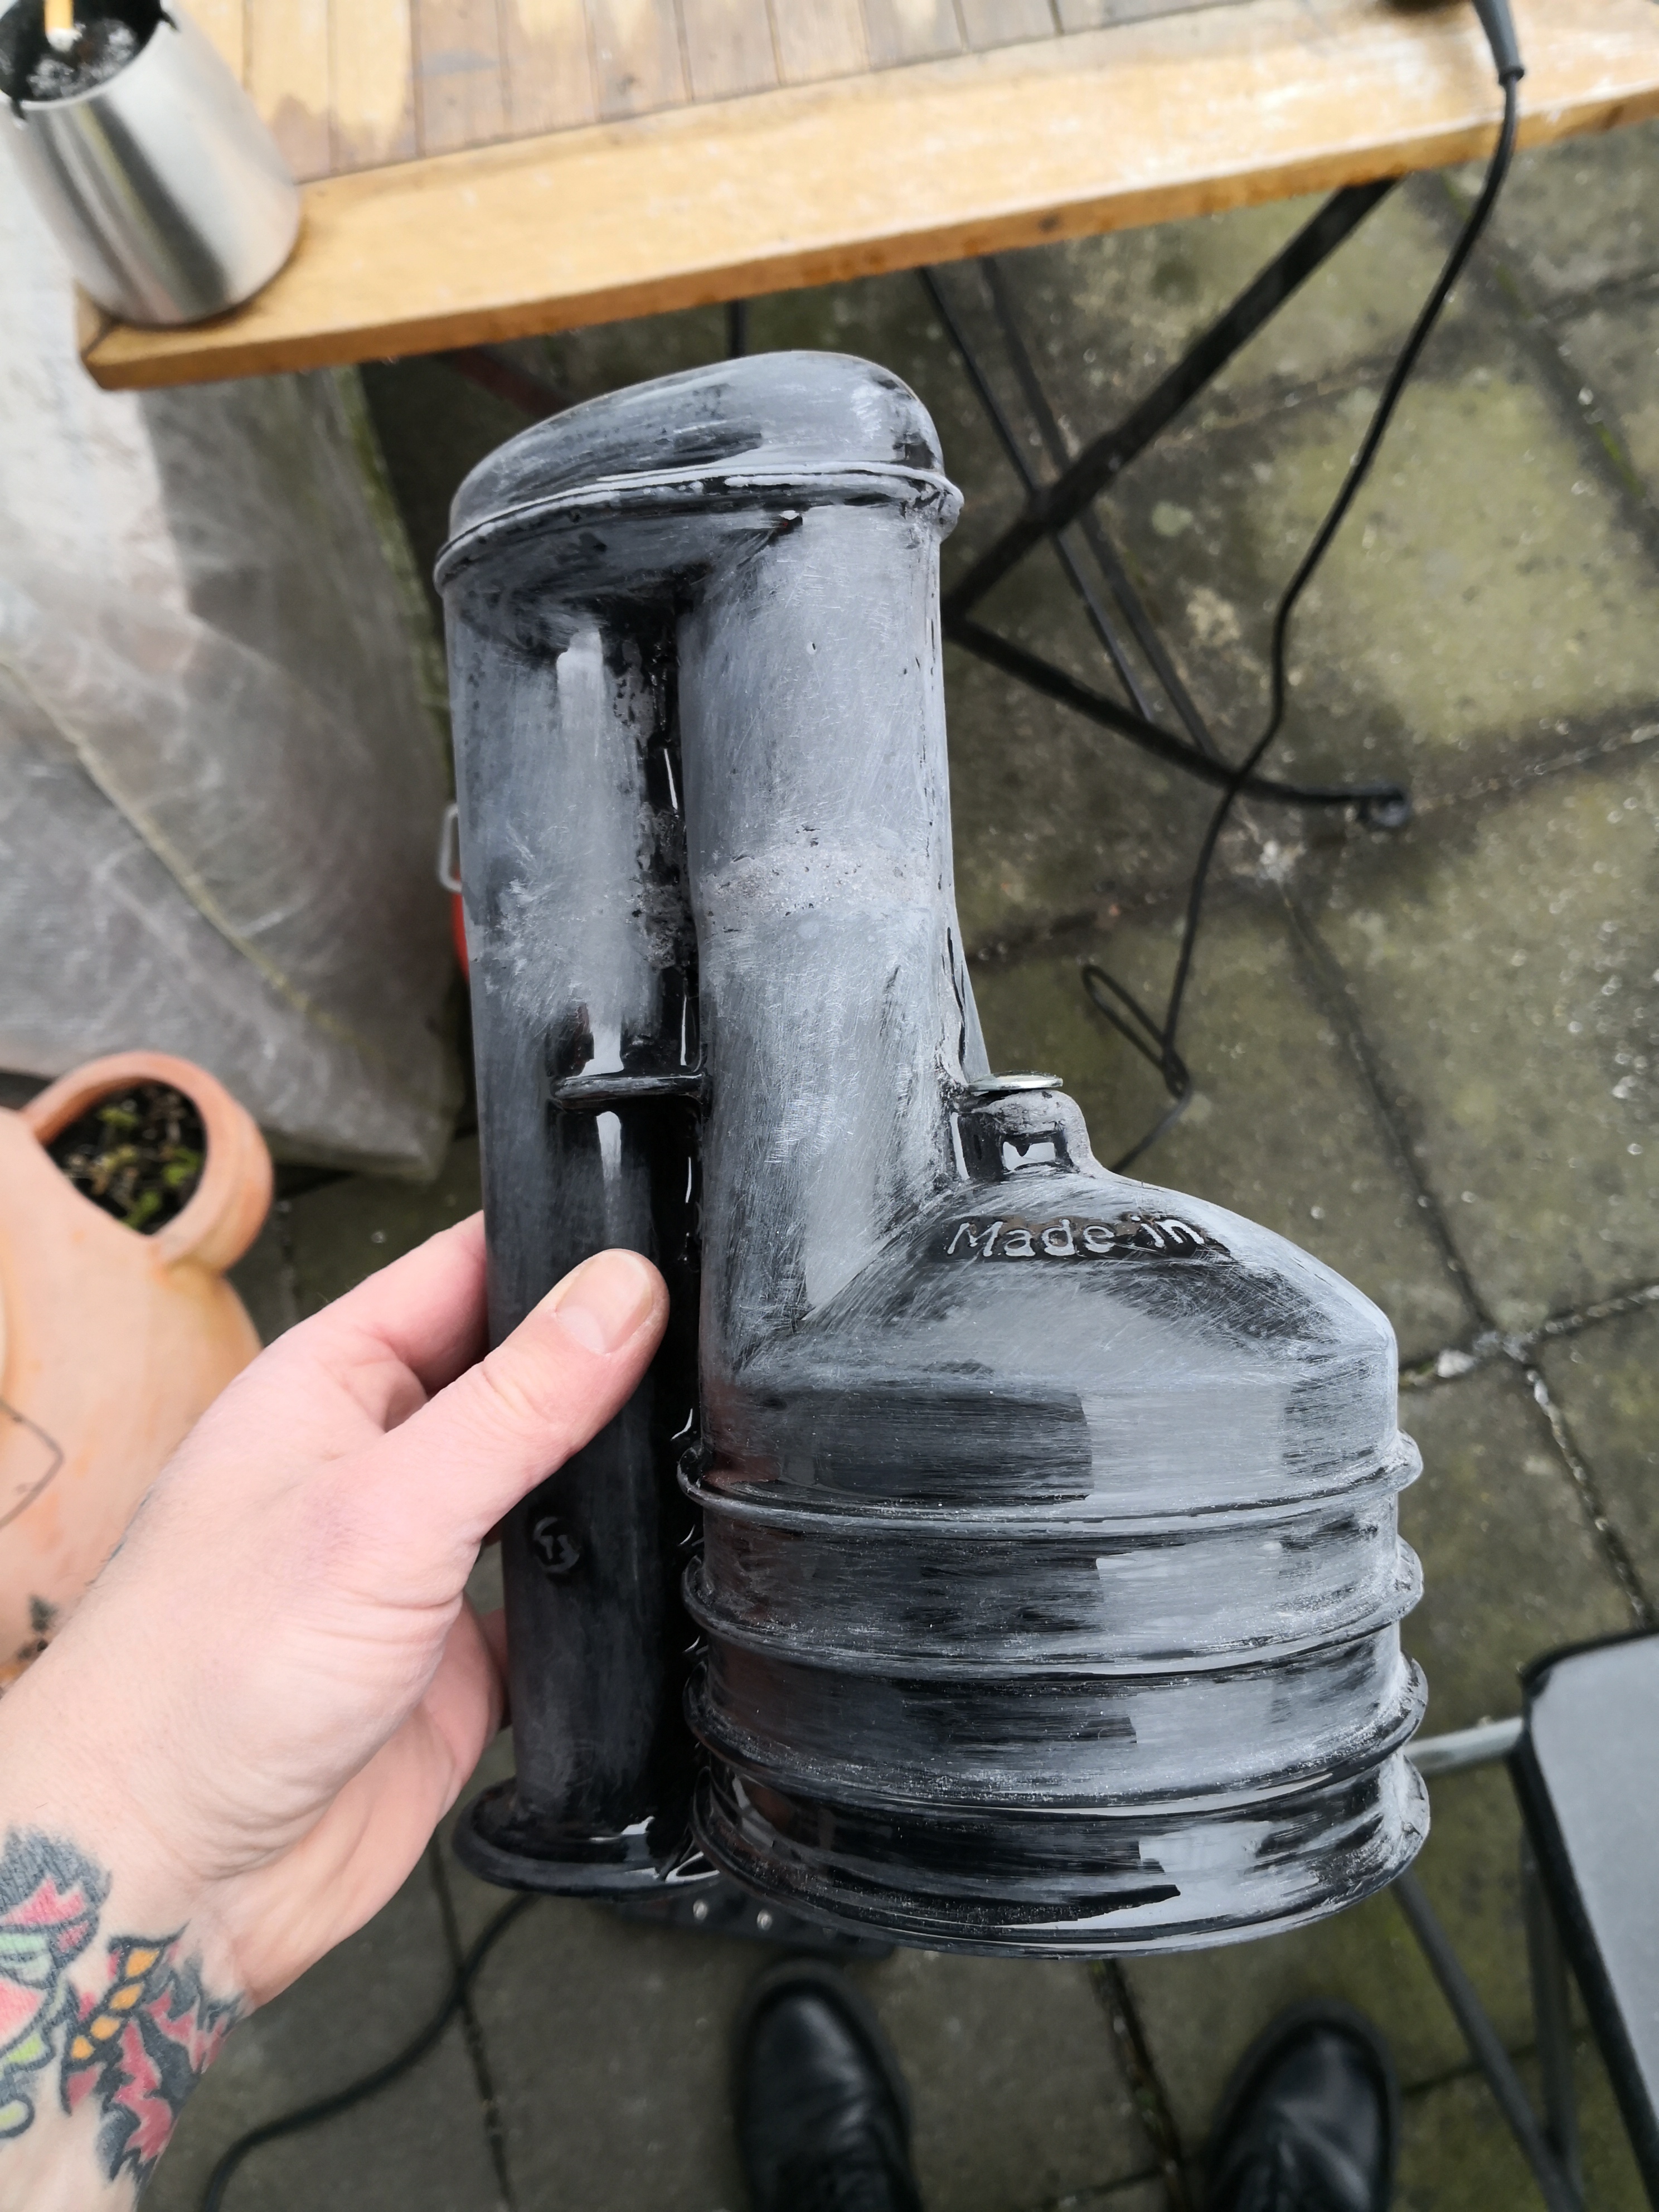
The Syphon is an RWA kit but as that was molded and vacformed of an original Shires UP100 Syphon, it had to be shortened as the screen-used syphon is a shorter UP90 as it is also seen on pack#3. Ross Walmsley´s syphon´s are great but shortening them is a pain in the ...
I´ve used E6000 and zip ties to assemble this one, first one half and the next day the other to keep it from shifting around. I closed the gaps with HIPS sludge made from the leftovers from trimming. this works very well and keeps it uniform as I am afraid of using putty as it might crack or even if it gets hit, showing a different color underneath.
so this is what it looked like before painting, I even took the time to file out the square hole for the bolt that is needed to attach the plunger cap to the syphon so it stays securely in place, I then used epoxy glue to attach it.

after painting it satin black, note that the plunger cap has already been attached as well as the bolts need to attach it to the seed tray:
So this is what the pack looked like at that moment:
-
2
-
-
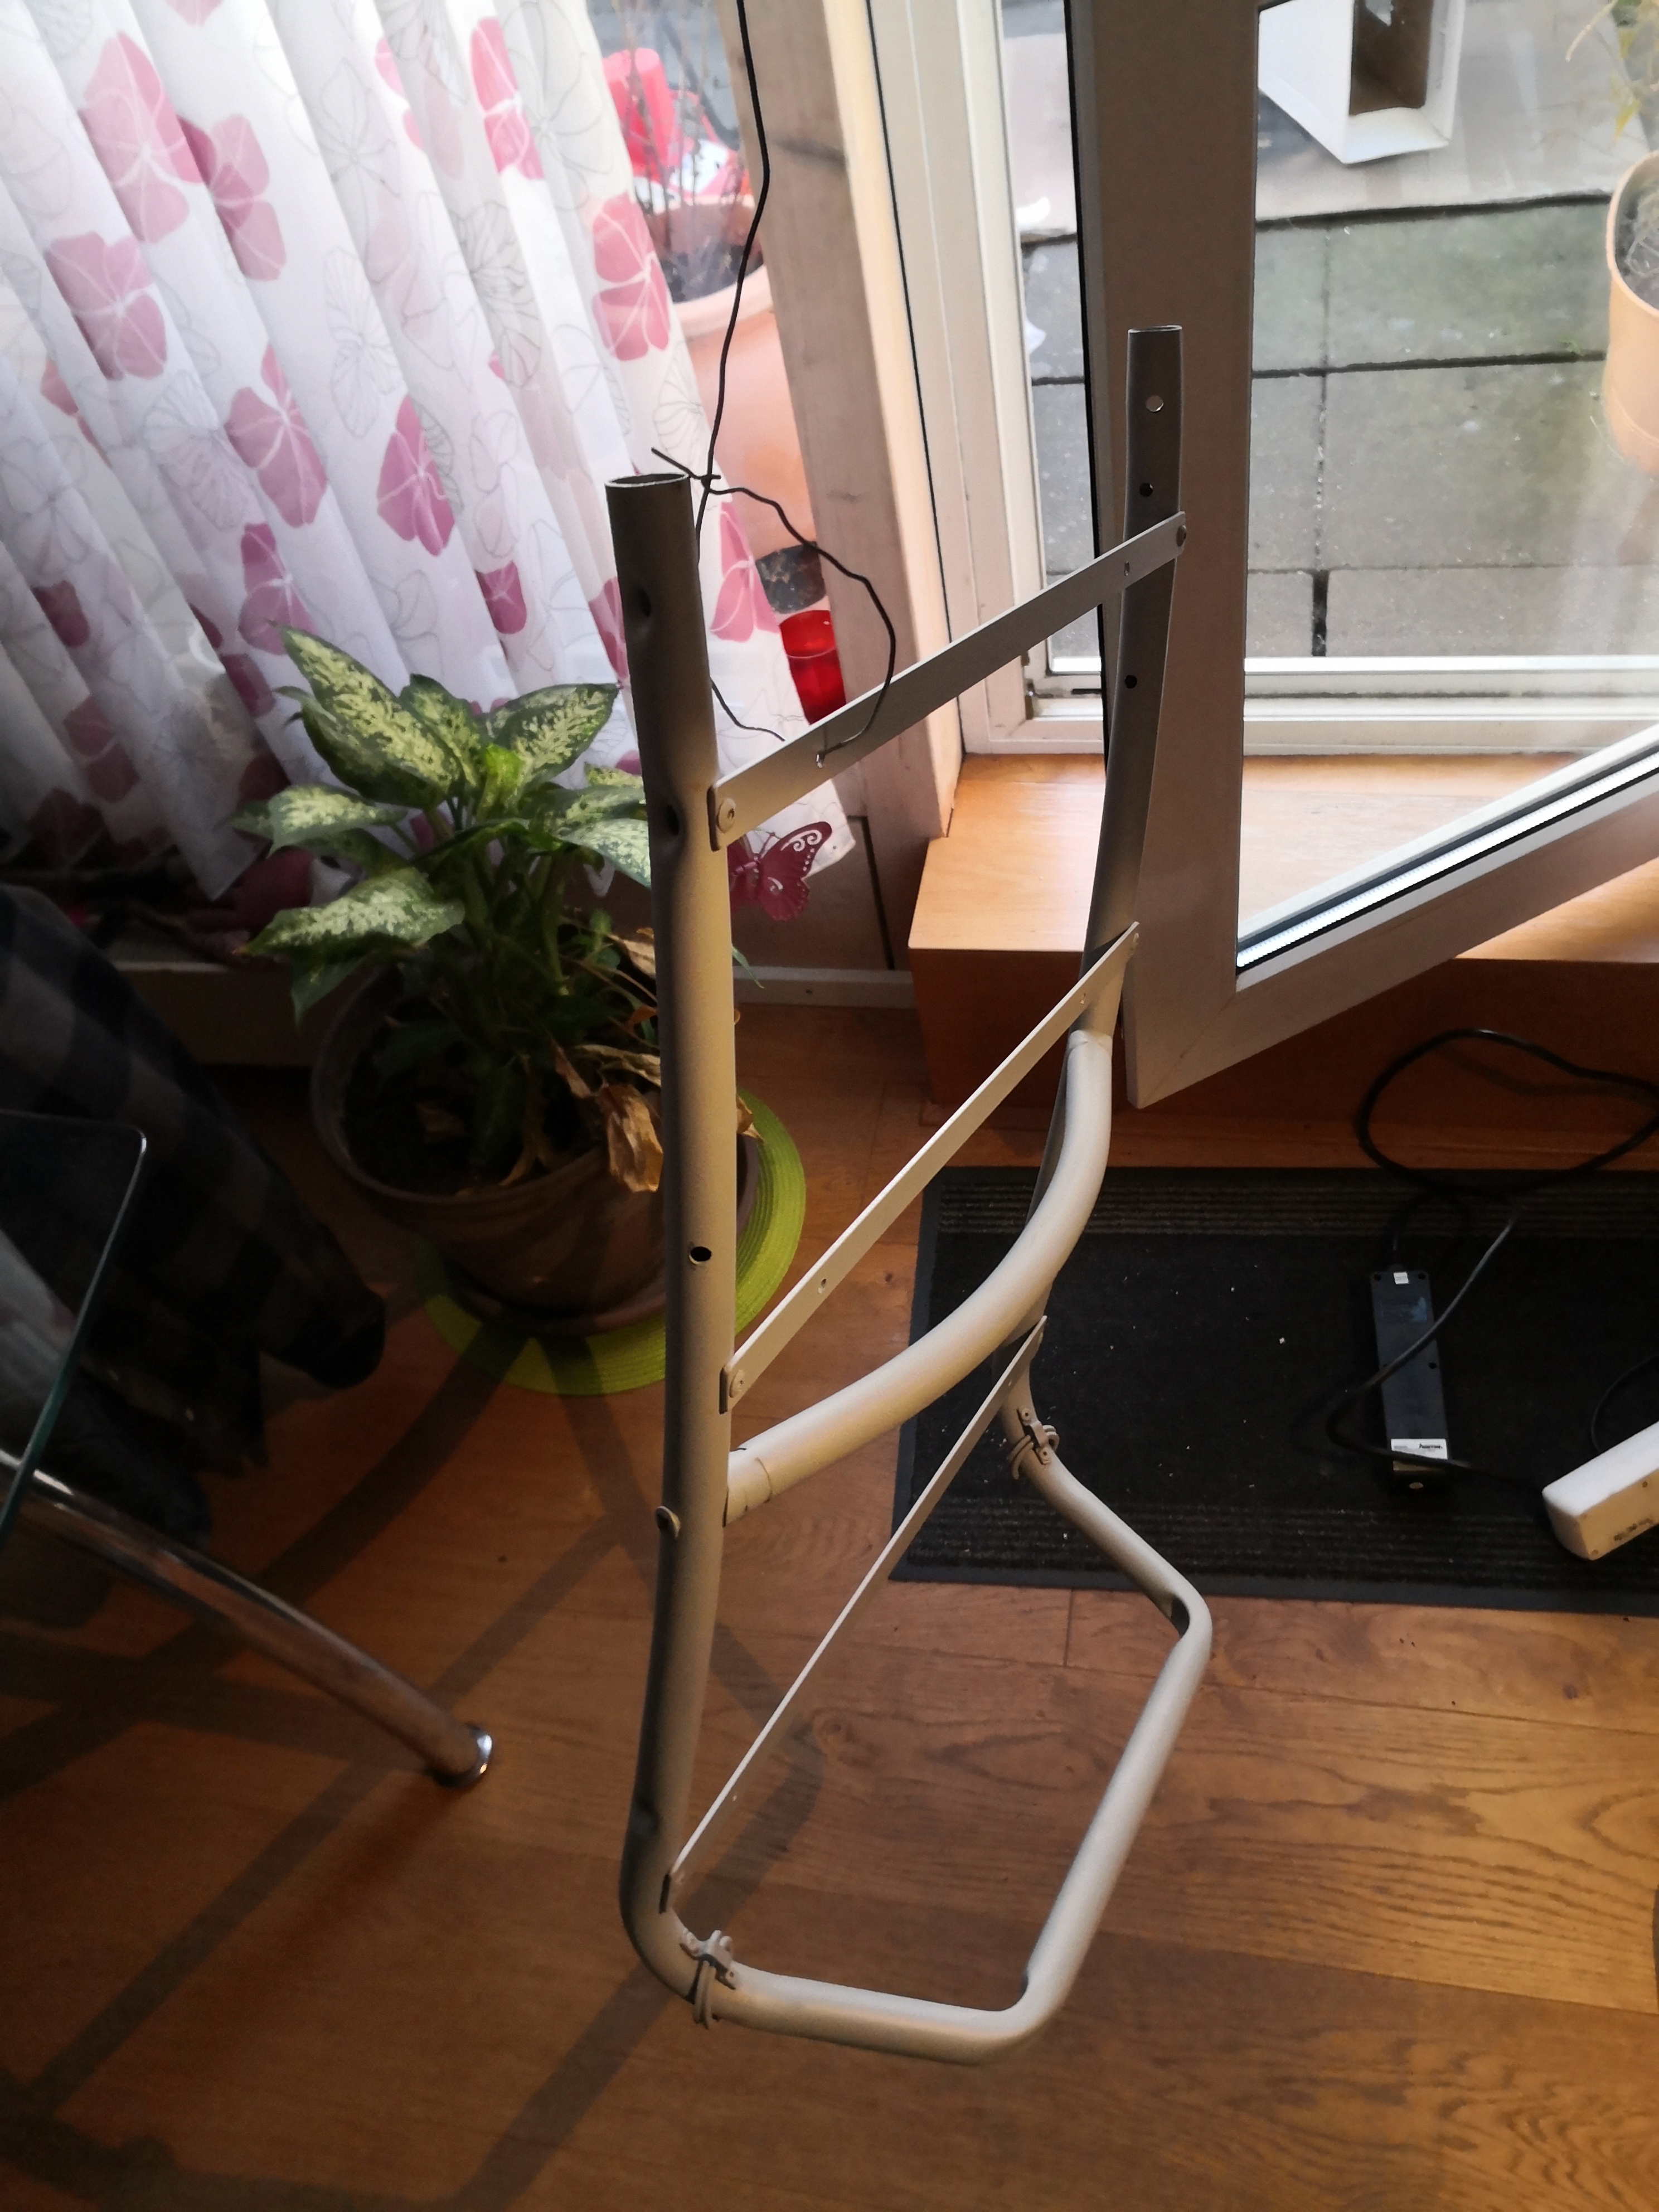
I´ve cut down the frame and I am using the same method of repositioning the bar in the middle to attach the top of the lower seed tray to it:
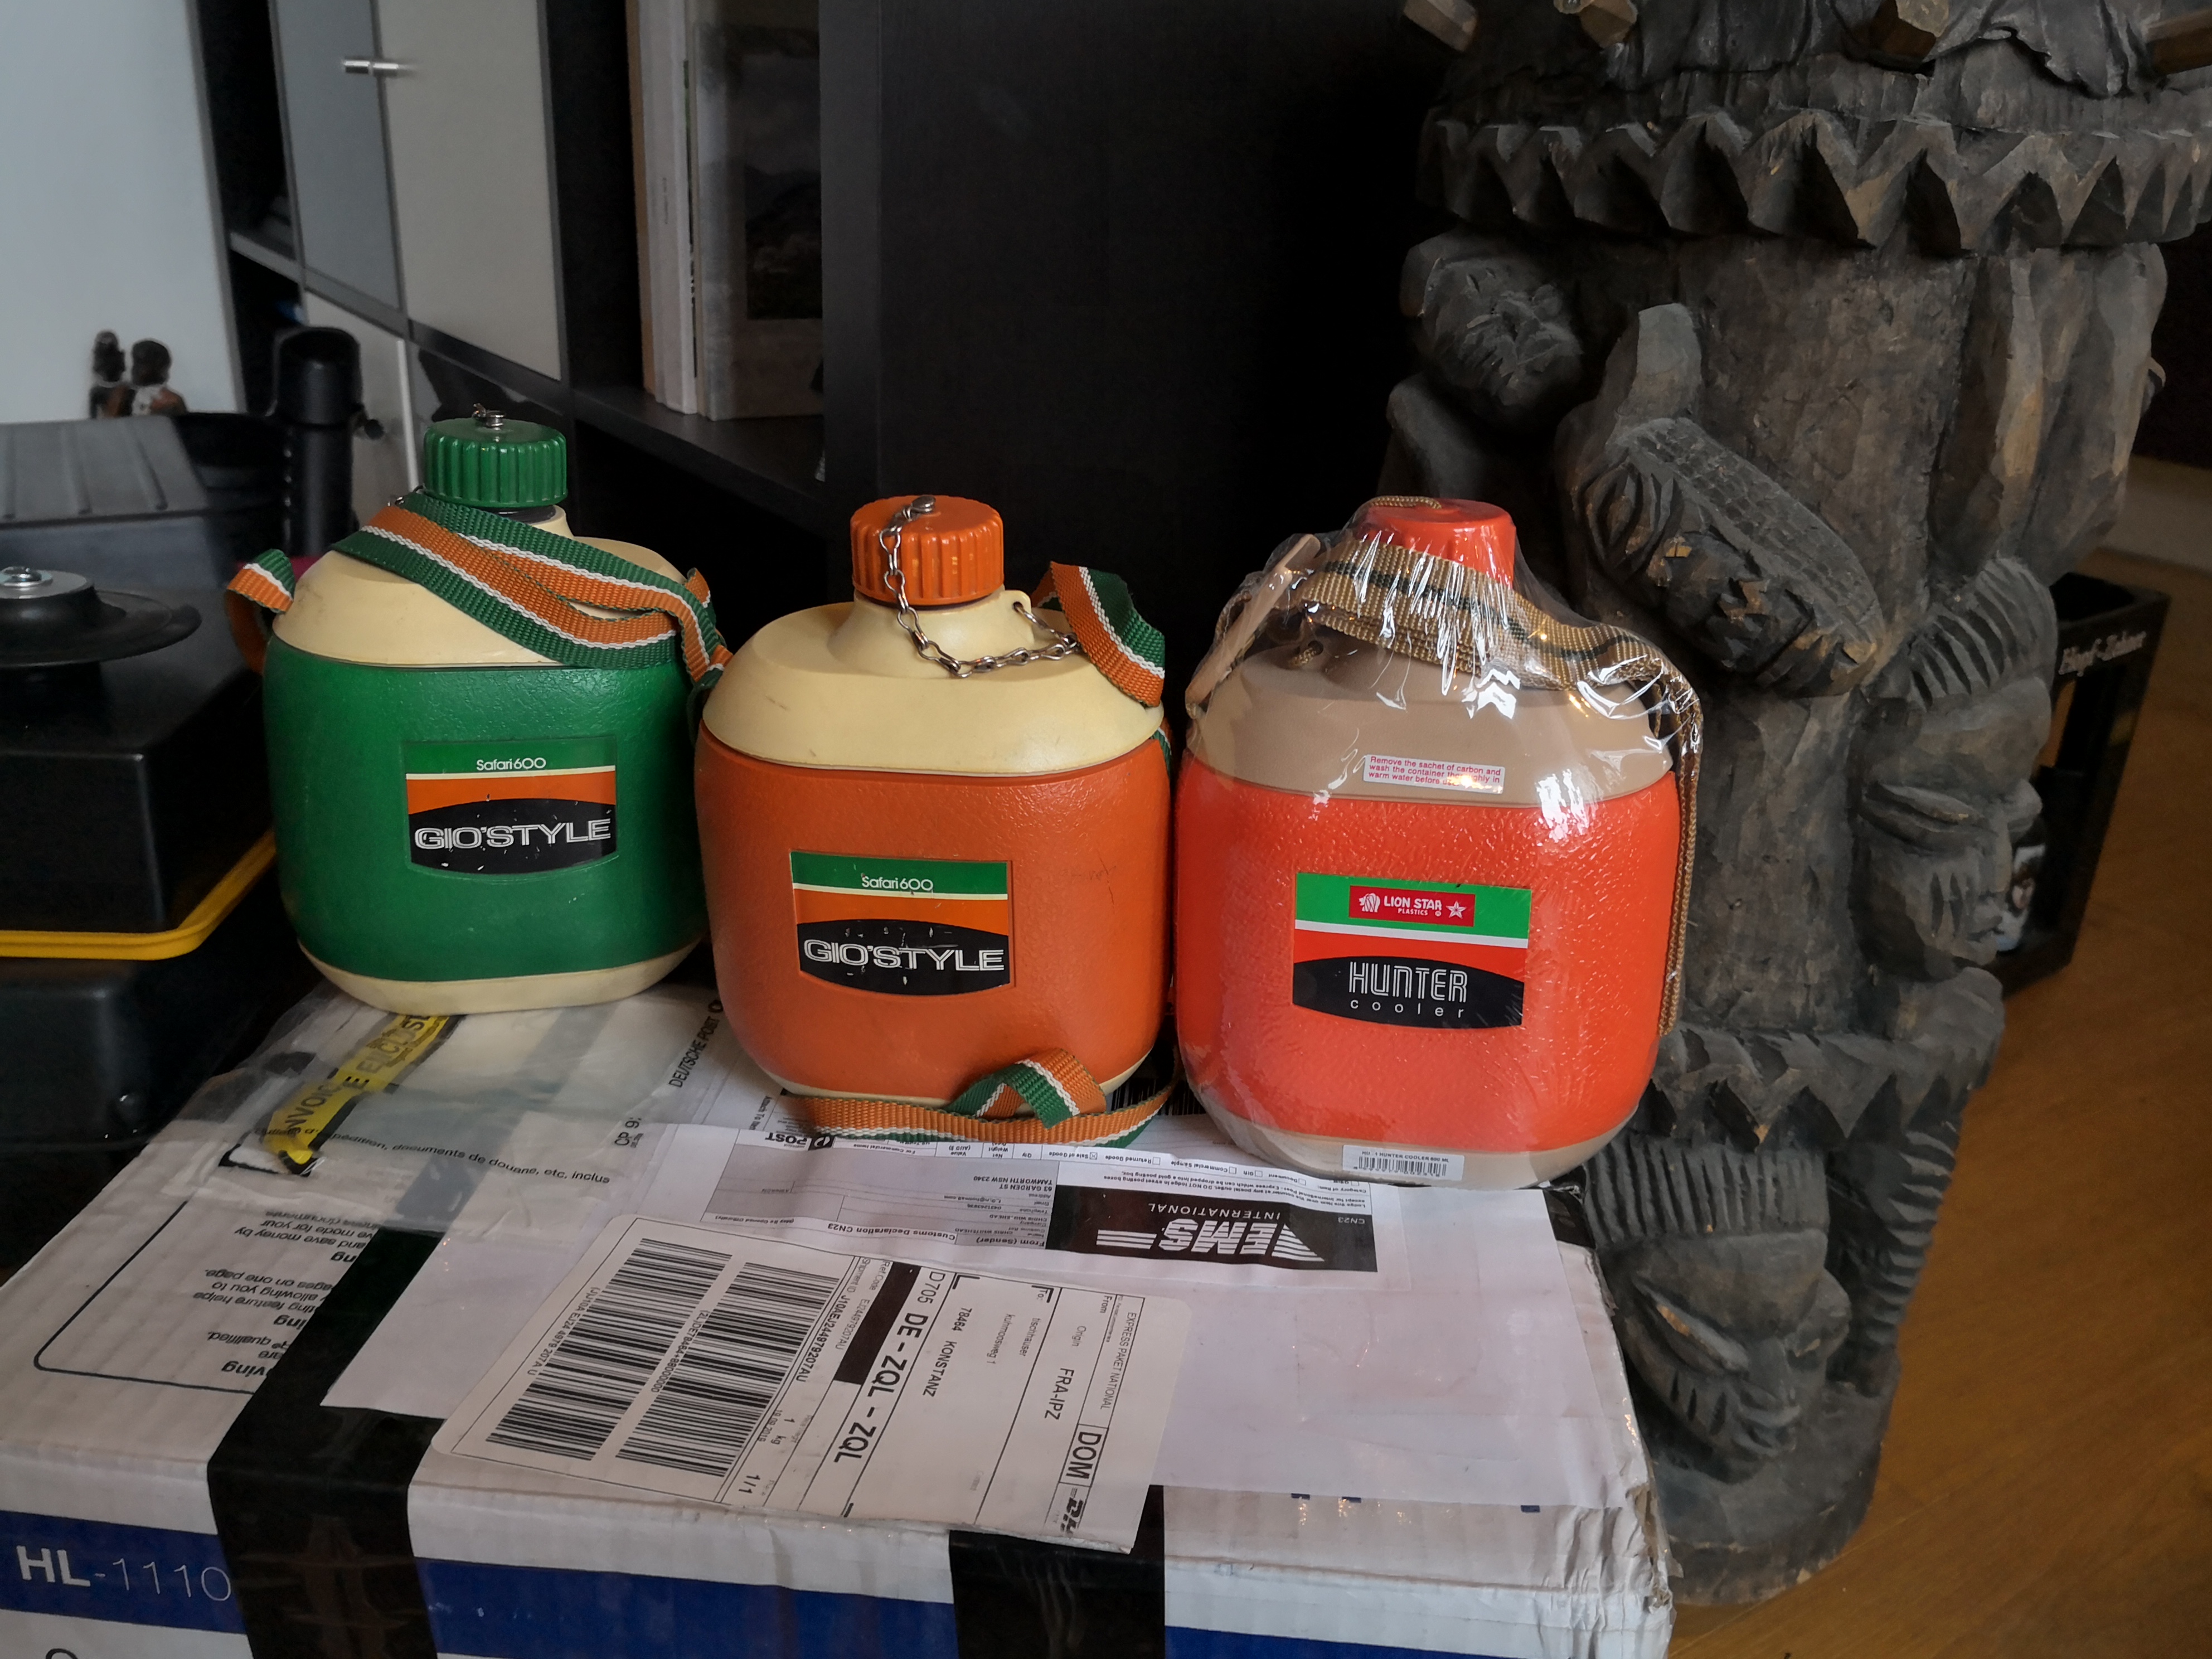
Although I was lucky to find two! Gio´Style canteens for a bargain at a Spanish auction side (was very thankful for Google translator as I don´t speak a lot of Spanish) I´d rather use a Lionstar canteen which m4vrick was so kind to supply for me as I was going to take it apart anyway, first to get rid of the additional weigth of the inner bottle, second for easier assembly and spraypainting.
-
1
-
1
-
-
Hey my friends, after upgrading my pack#3 to SWAT standards, which you can see in this thread:
it was time for something new. I always liked the layout and the details of pack#1 and after reading 519 Trooper´s build, which you can find here:
I was inspired to start the build.
I have to thank 519 Trooper for writing such a great tutorial and I mainly followed his build thread which also contains a whole lot of great reference material so I will focus on those aspects where I chose a different approach.
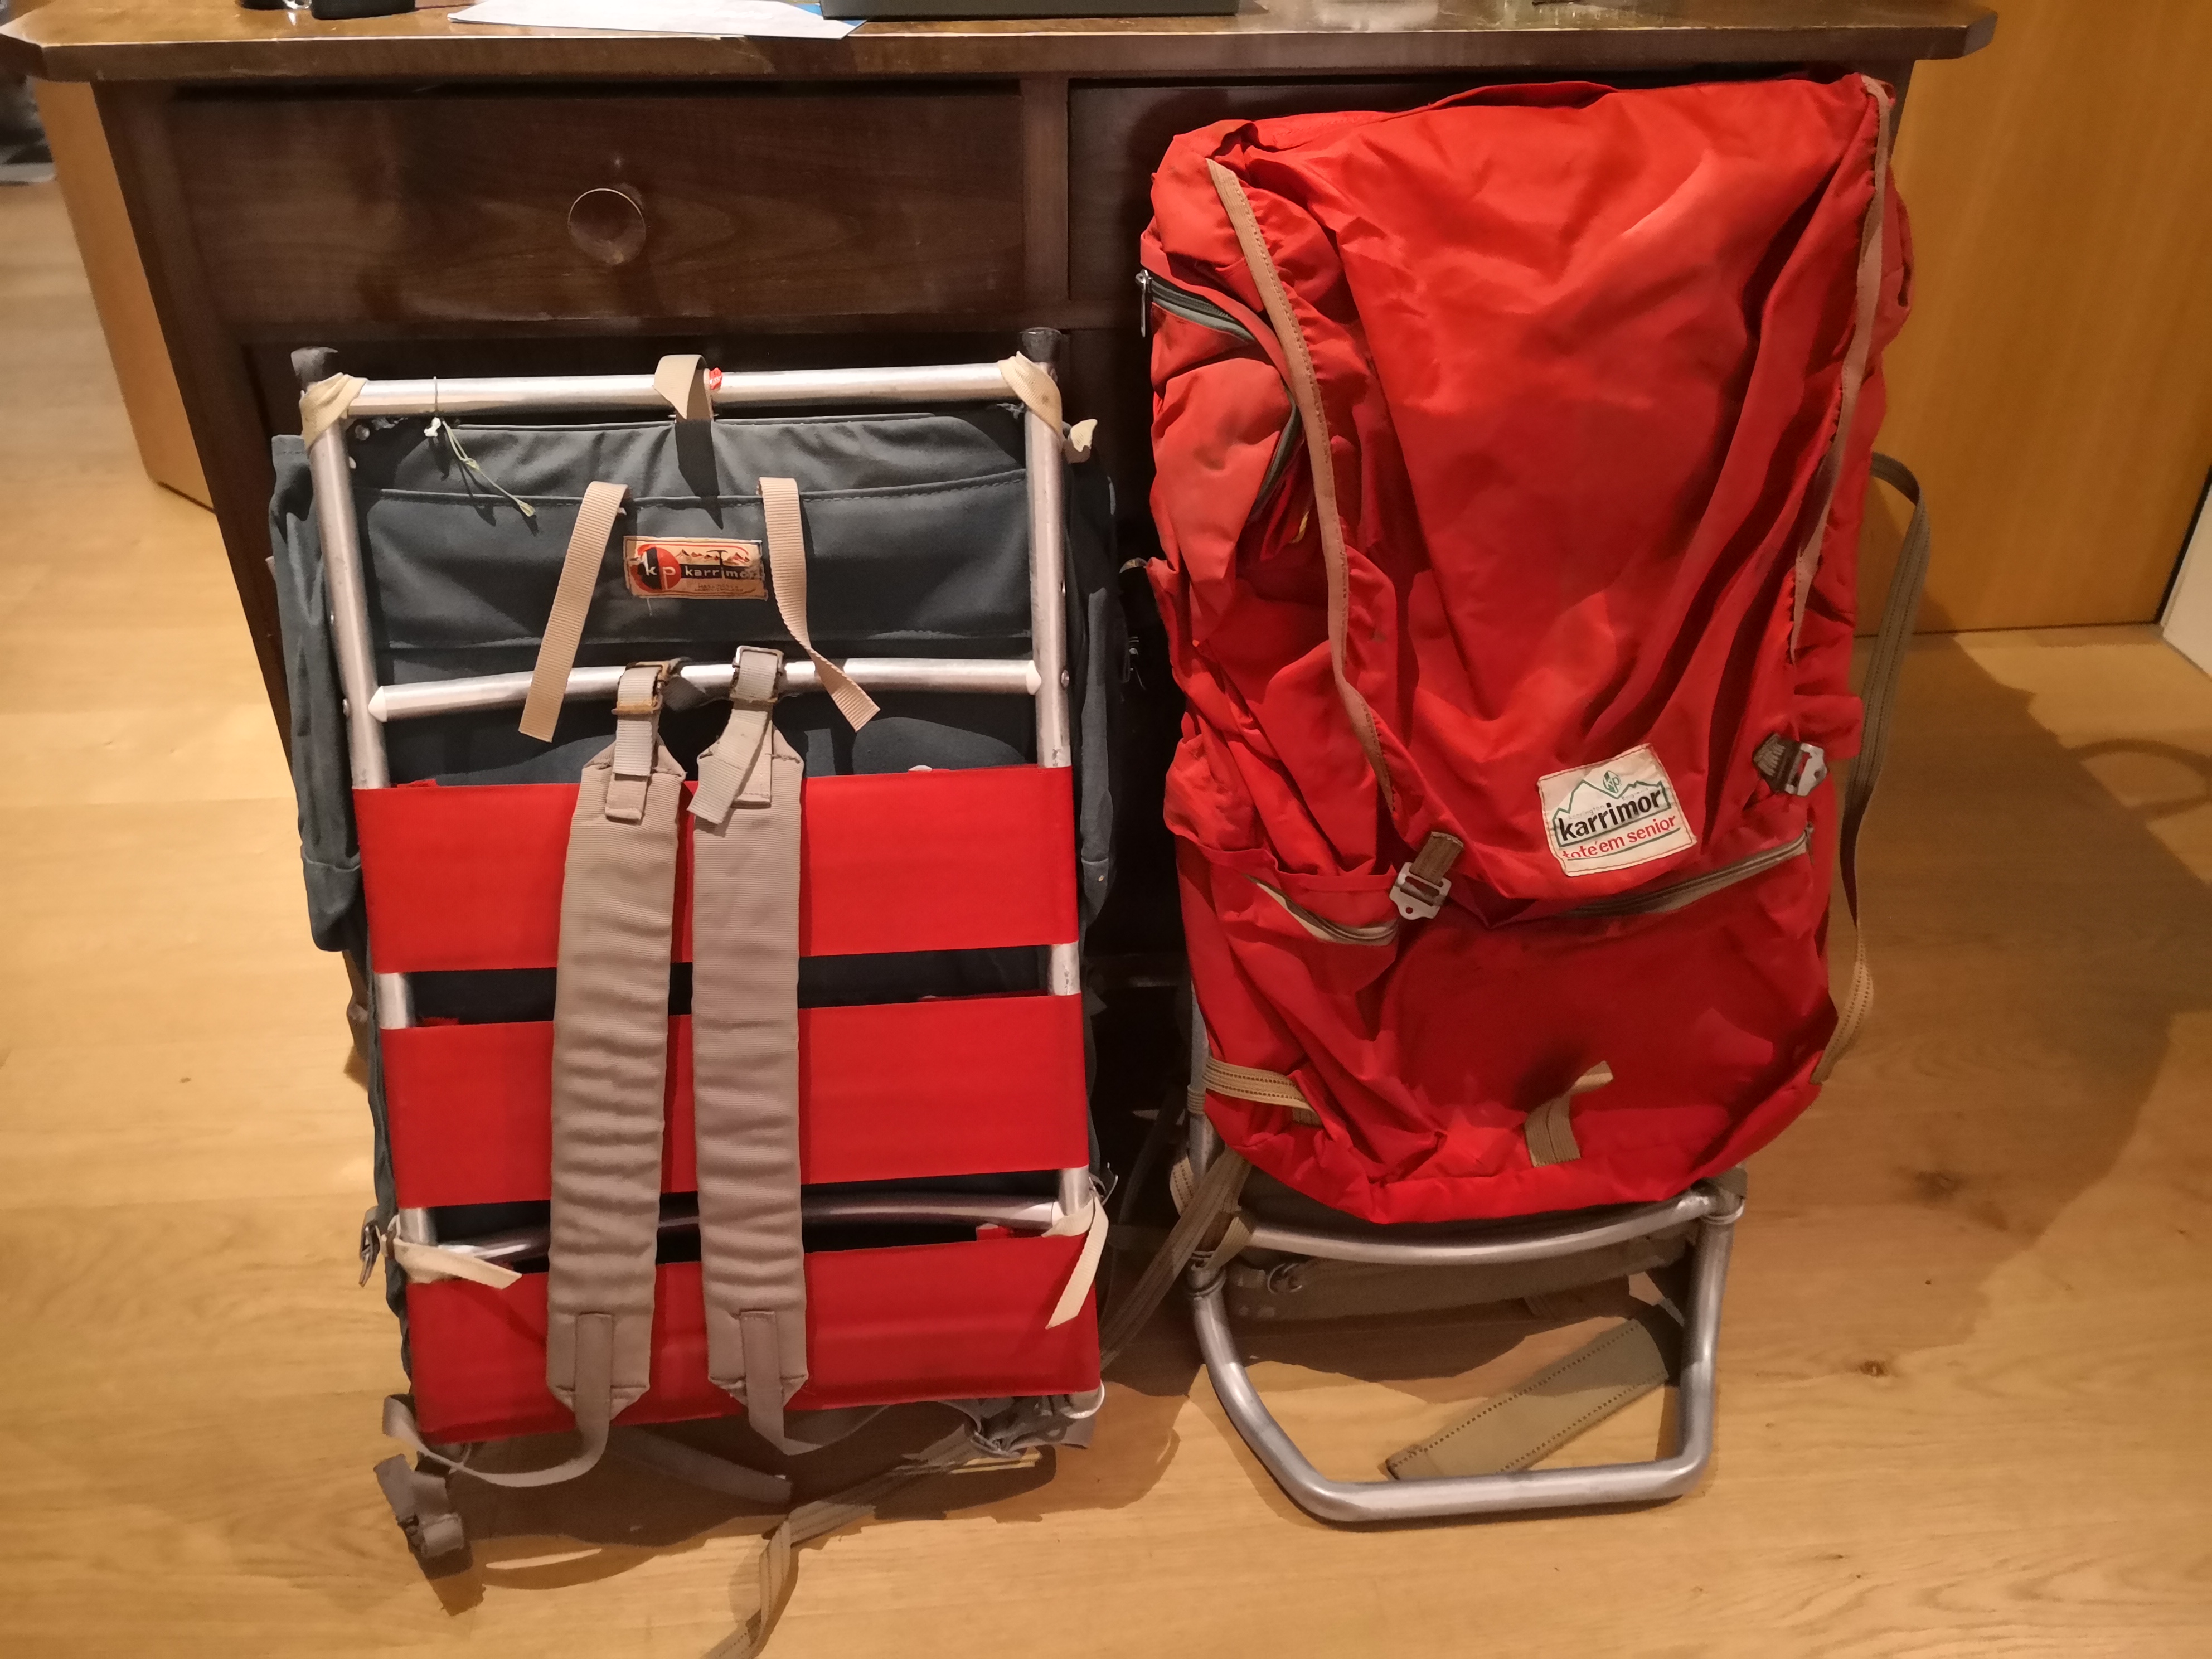
I still have some Karrimor frames at home and was able to get one which didn´t have the right shape but the correct red fabric back support straps.
After getting all the right parts ready (my spec list is almost identical to that of 519 Trooper
 )
)
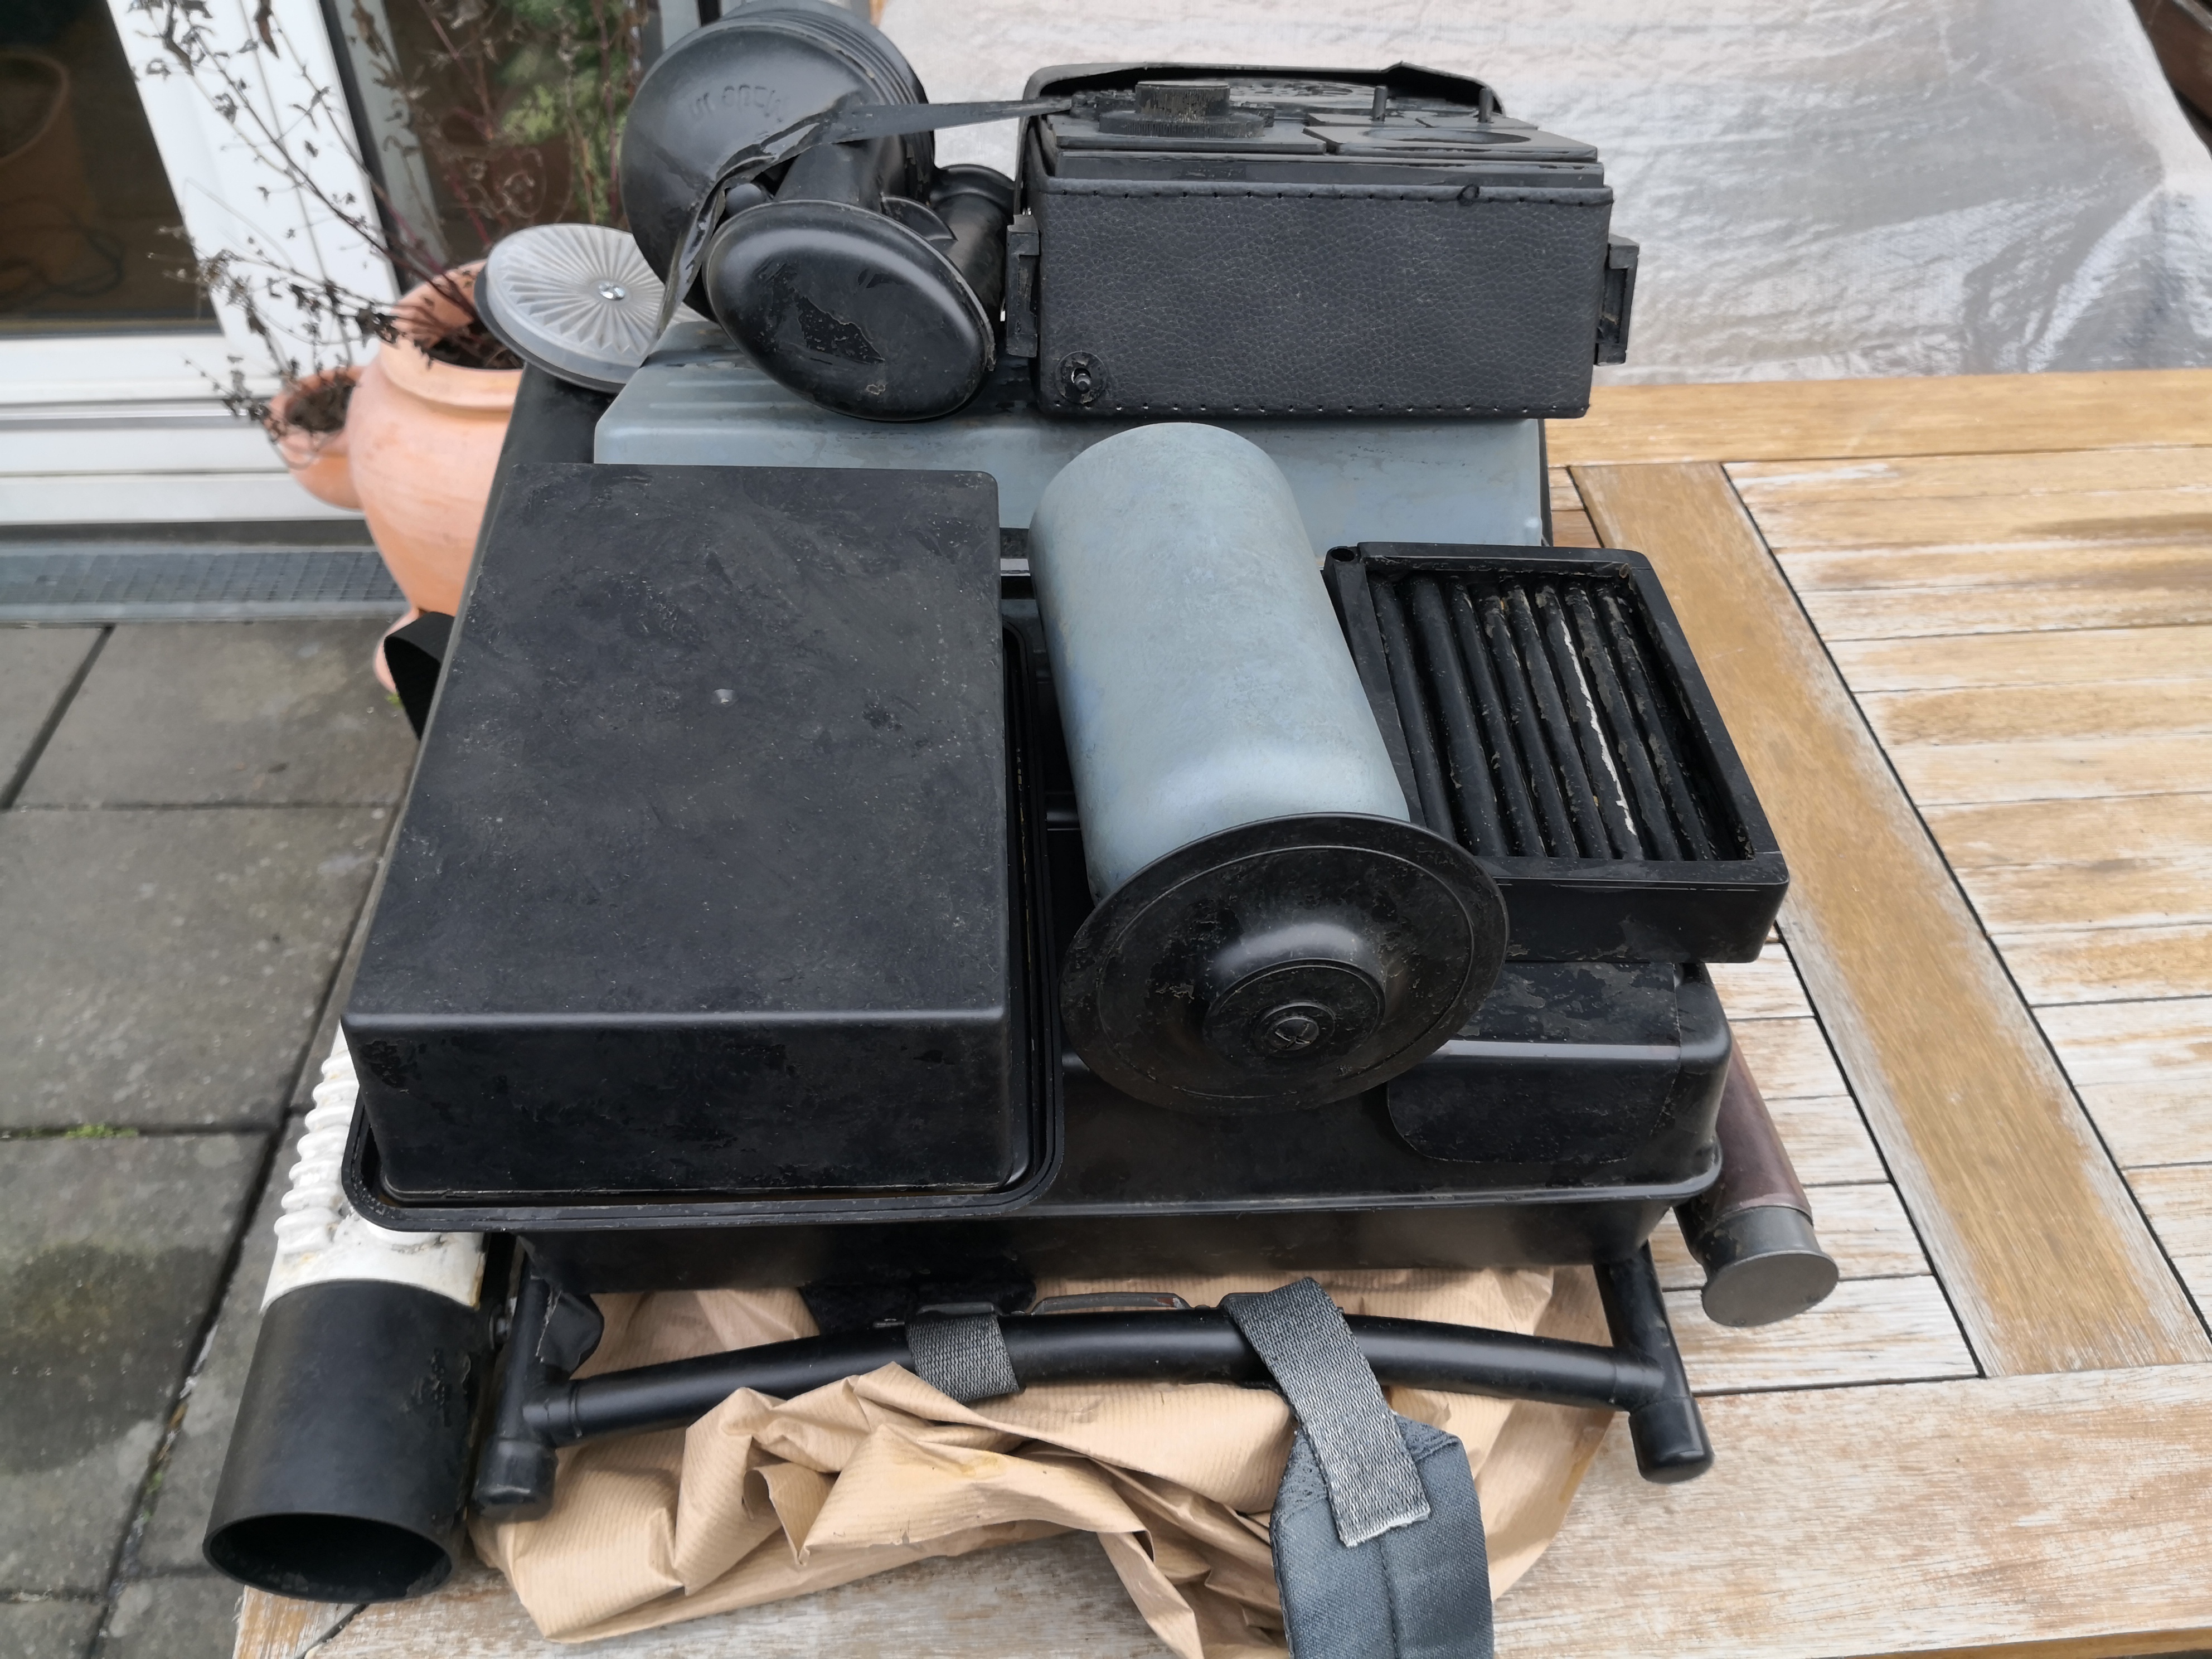
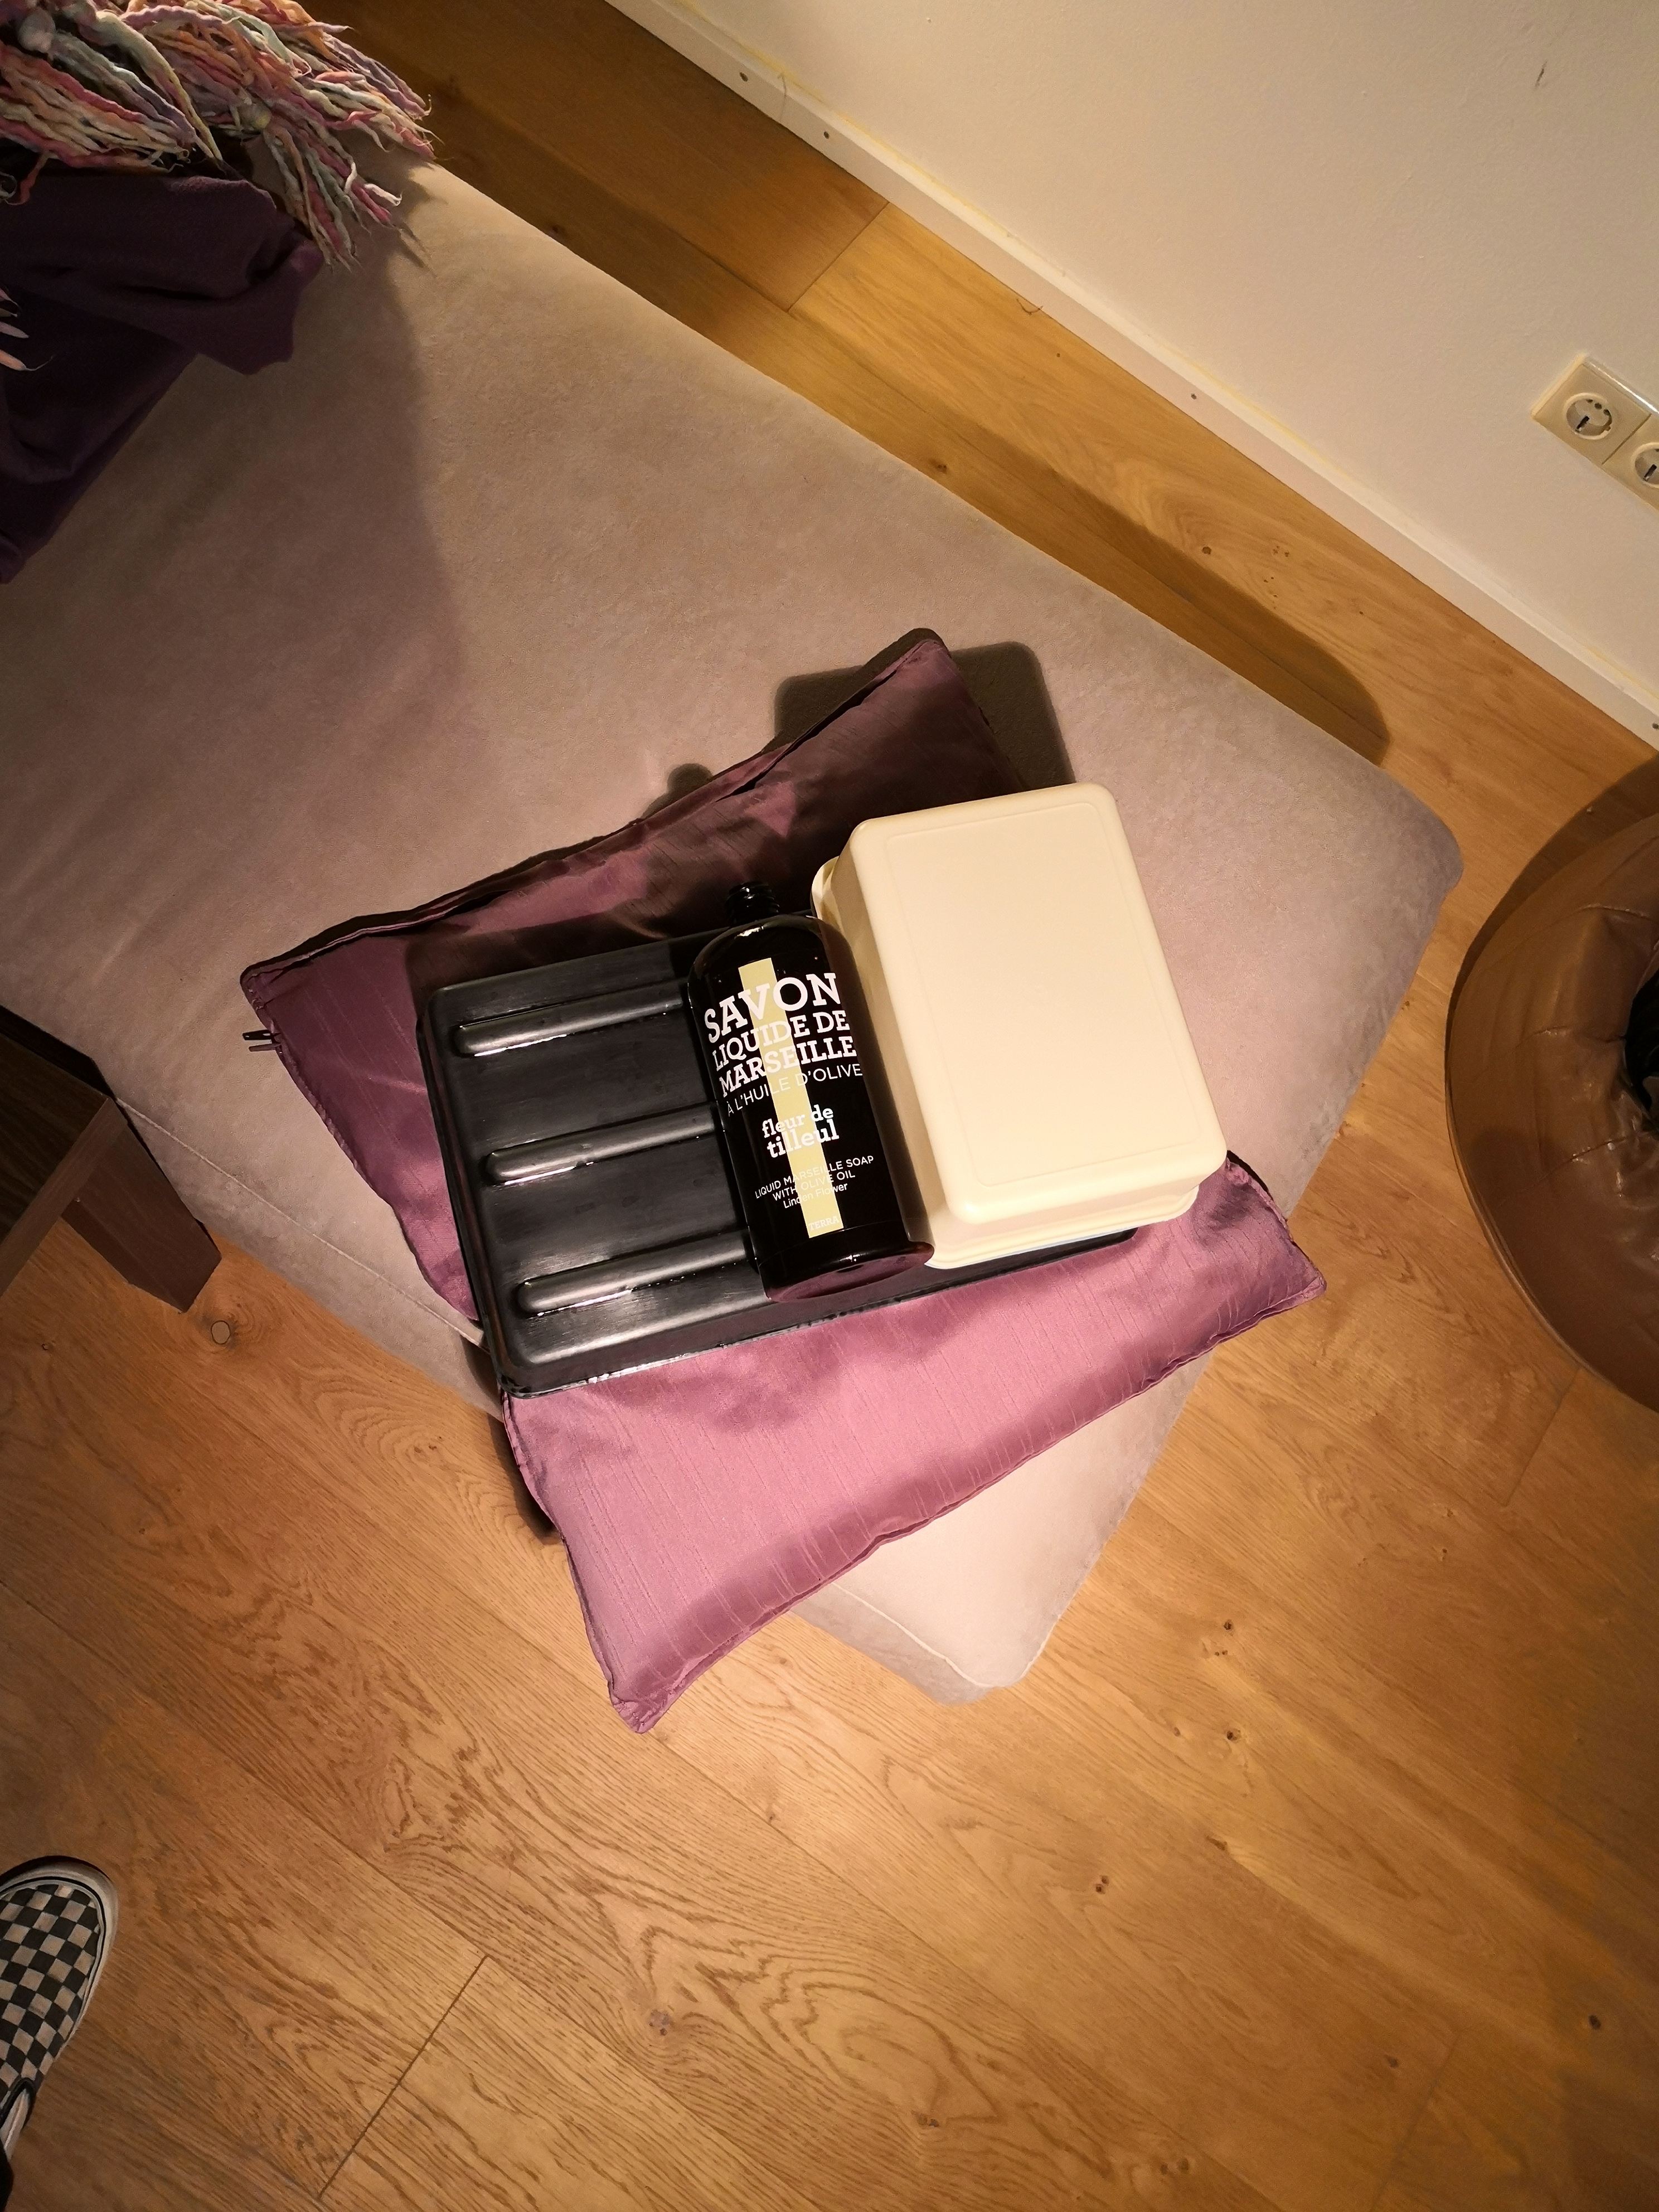
I put it all together to see what the layout and the dimensions looked like.
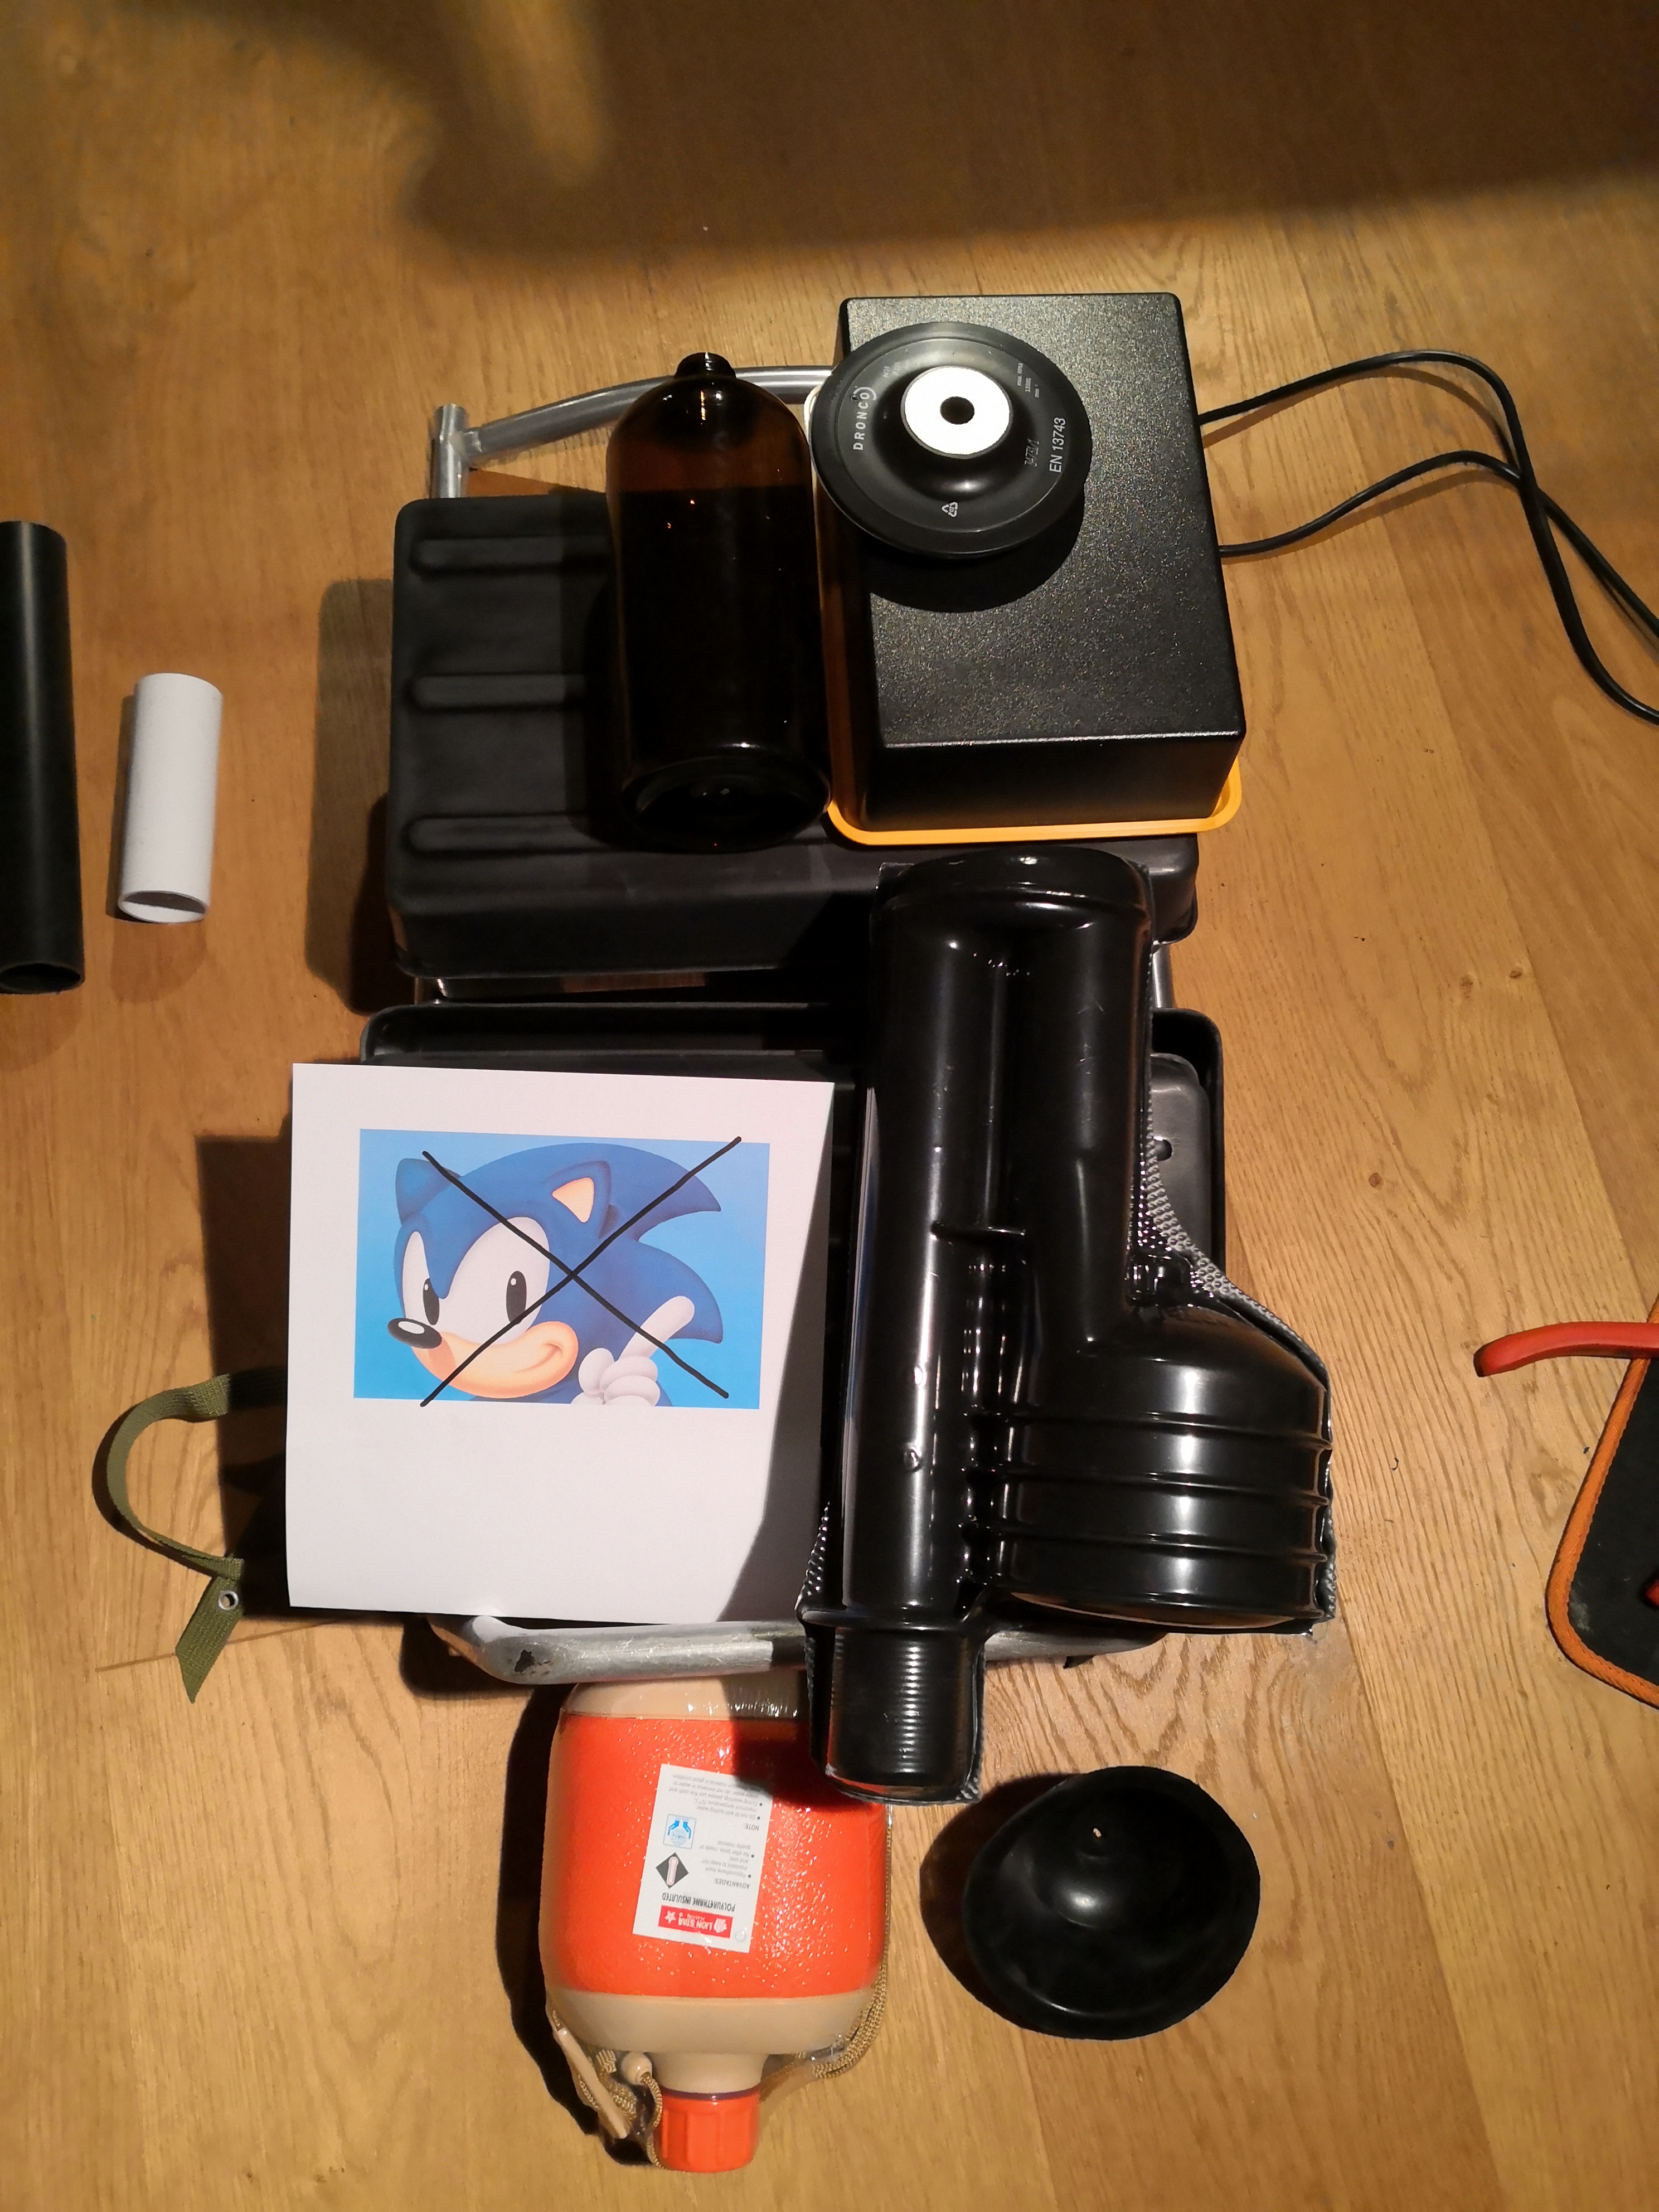
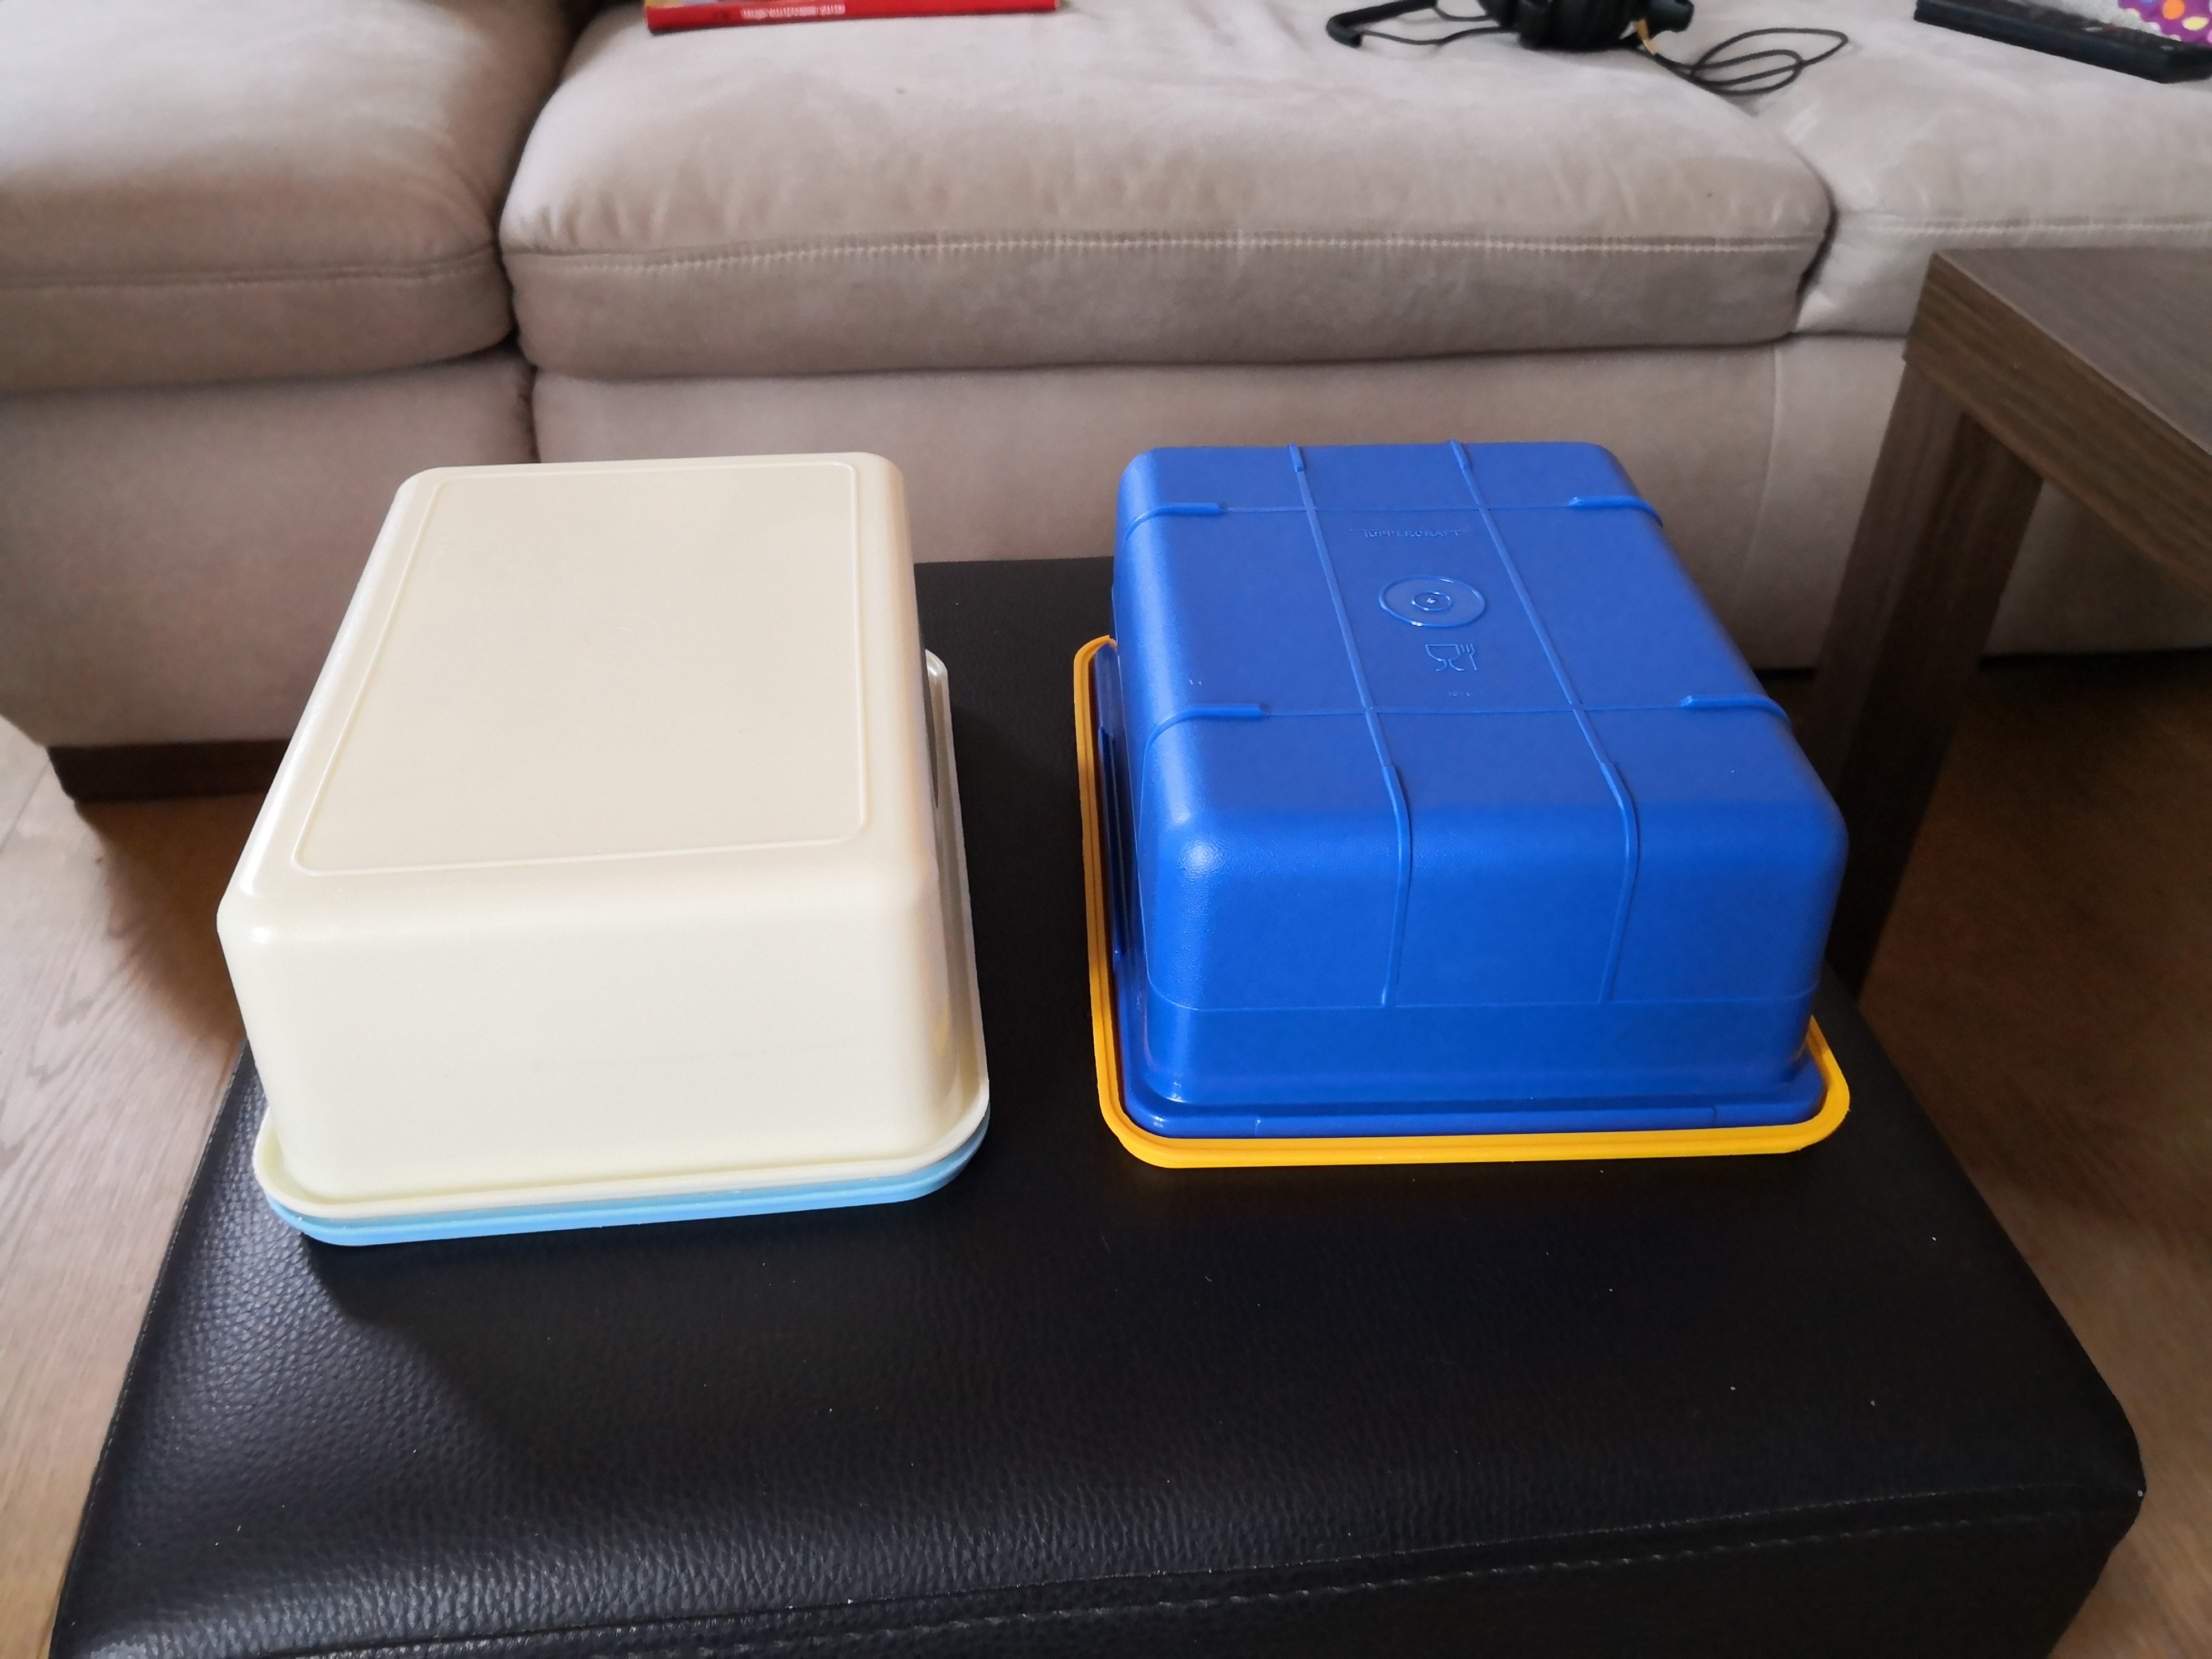
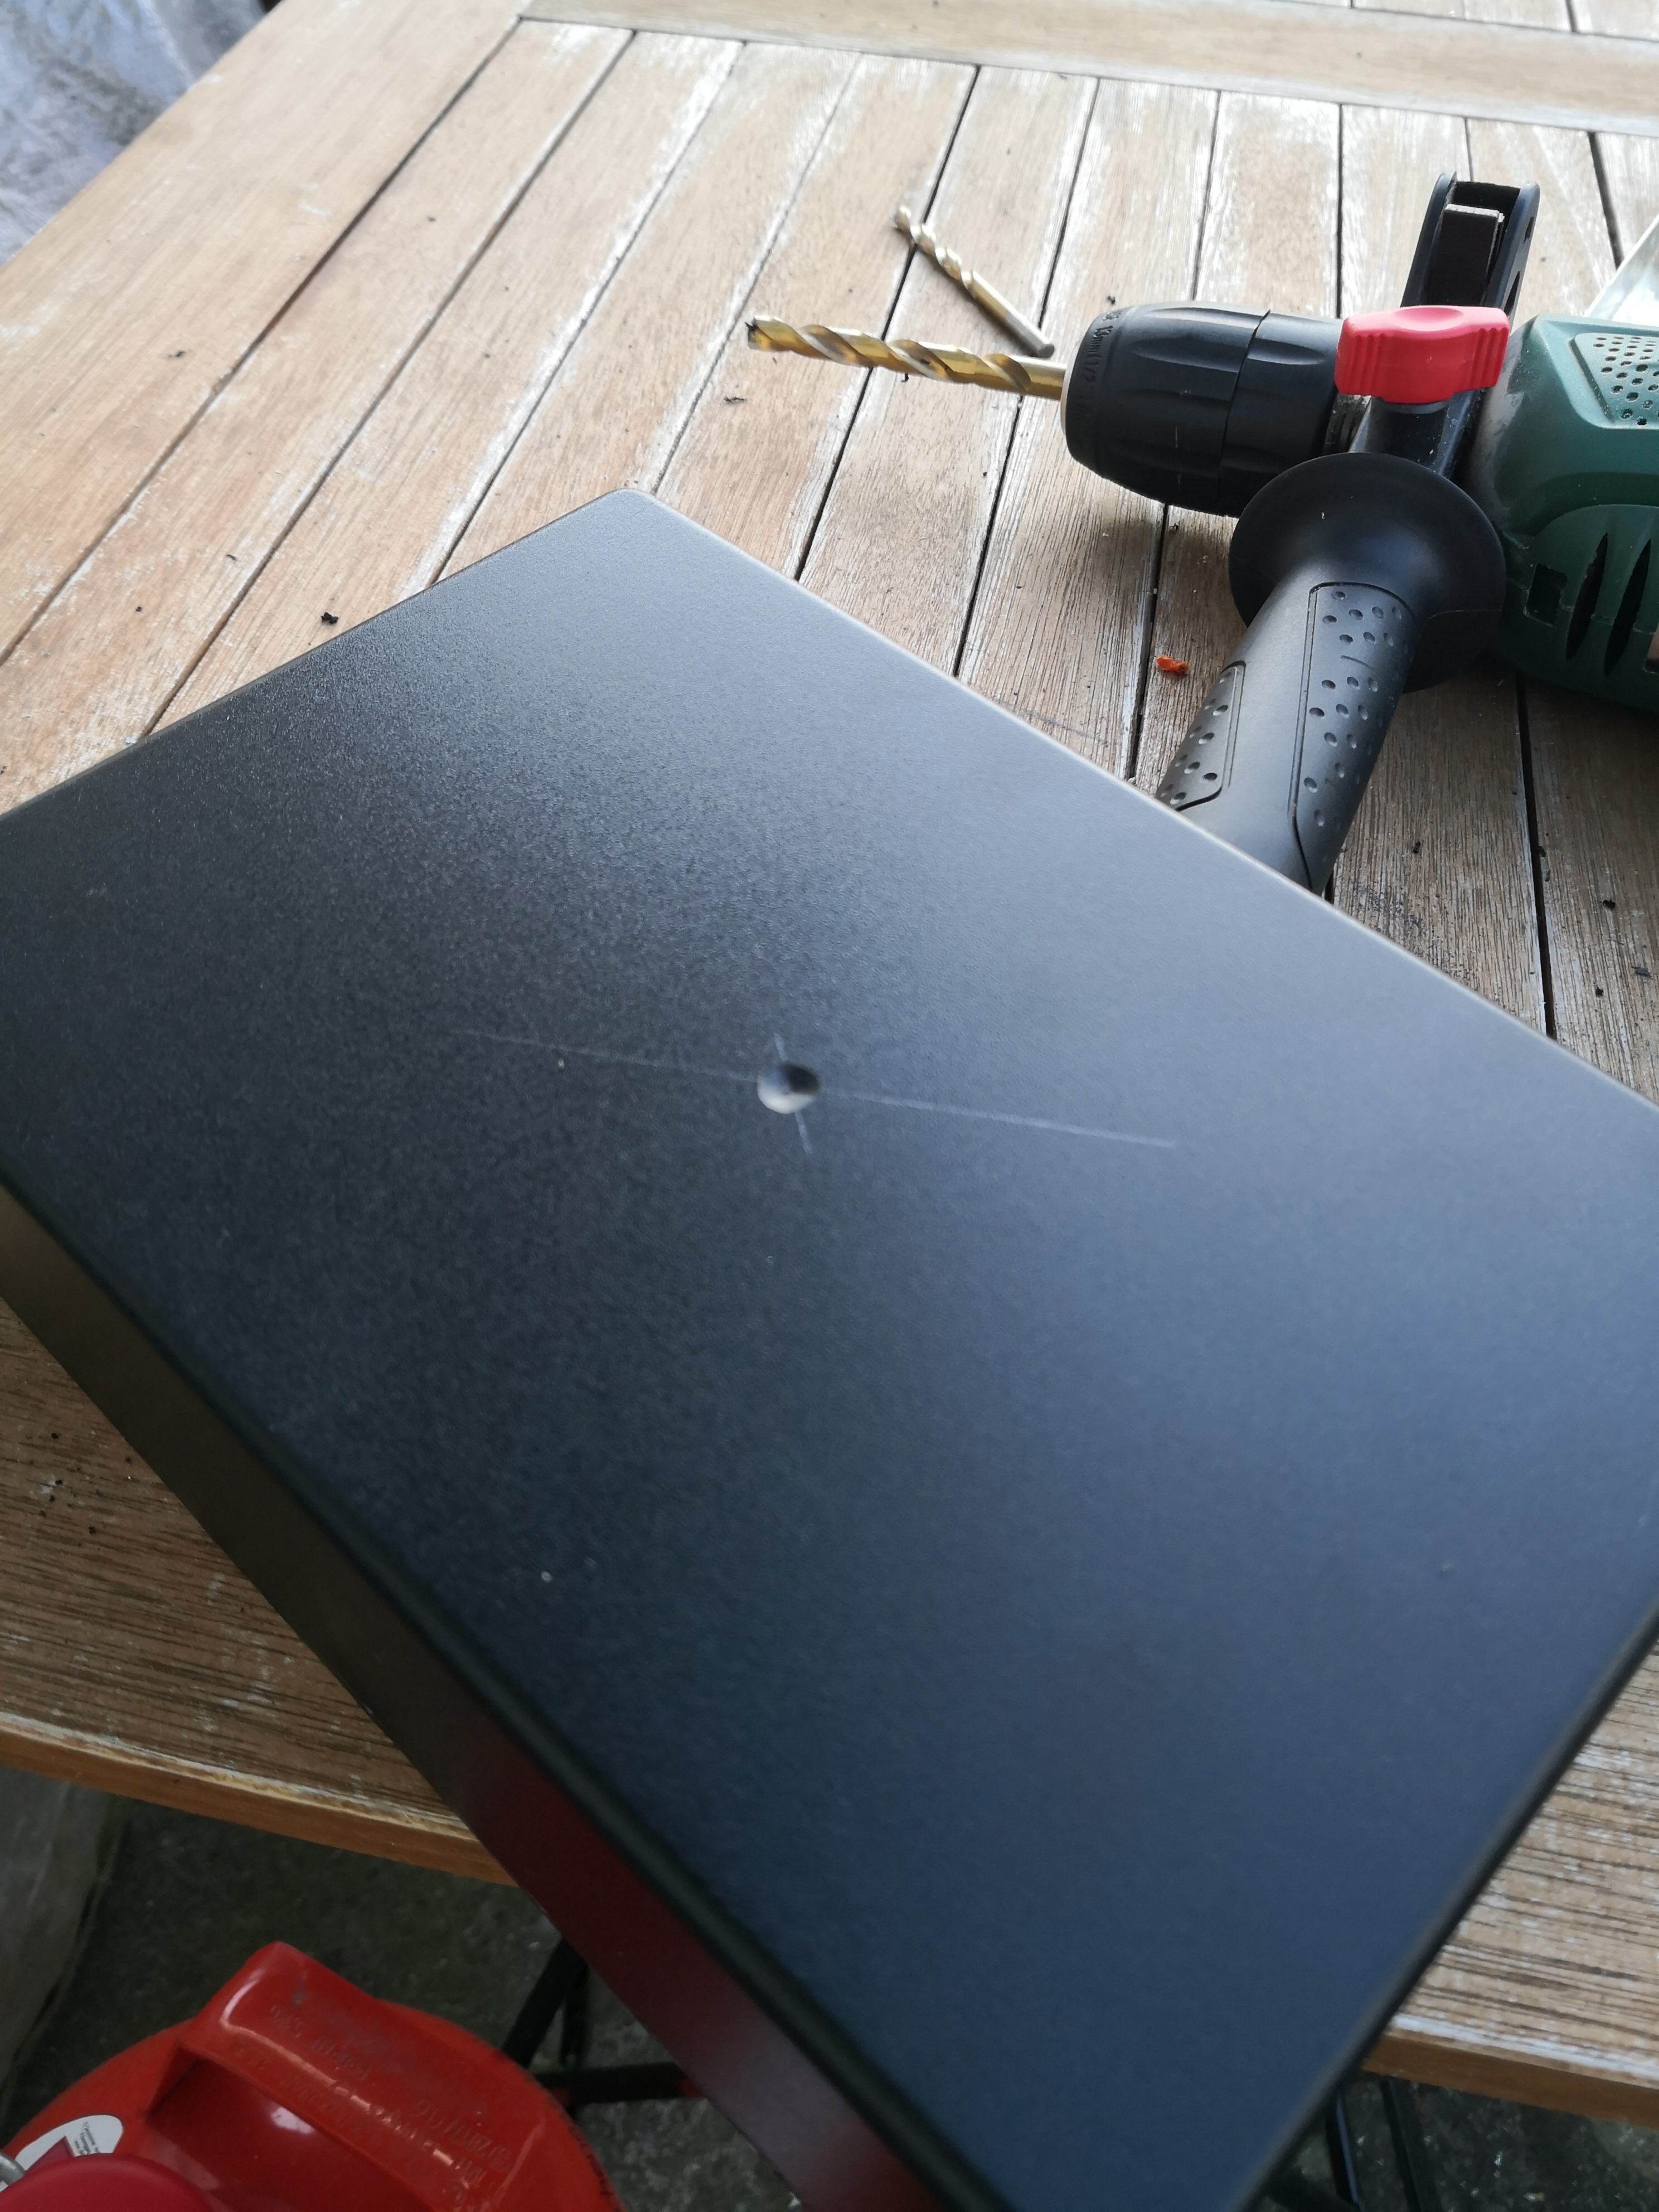
It also took me some time to decide which box to take for the box on the right at the top. I don´t really think that it´s a Brexton Box as the edges seem too sharp in the screen grabs, the Brexton box has quite round edges. I even bought a colorful used Tupperware box of ebay. the size was good but the shape wasn´t, so I finally decided to use that boxes yellow lid and for the box I used a black electronics project box and bolted them together.
but I think I can see a small indentation in the middle of the screen-used box, added that:
before:
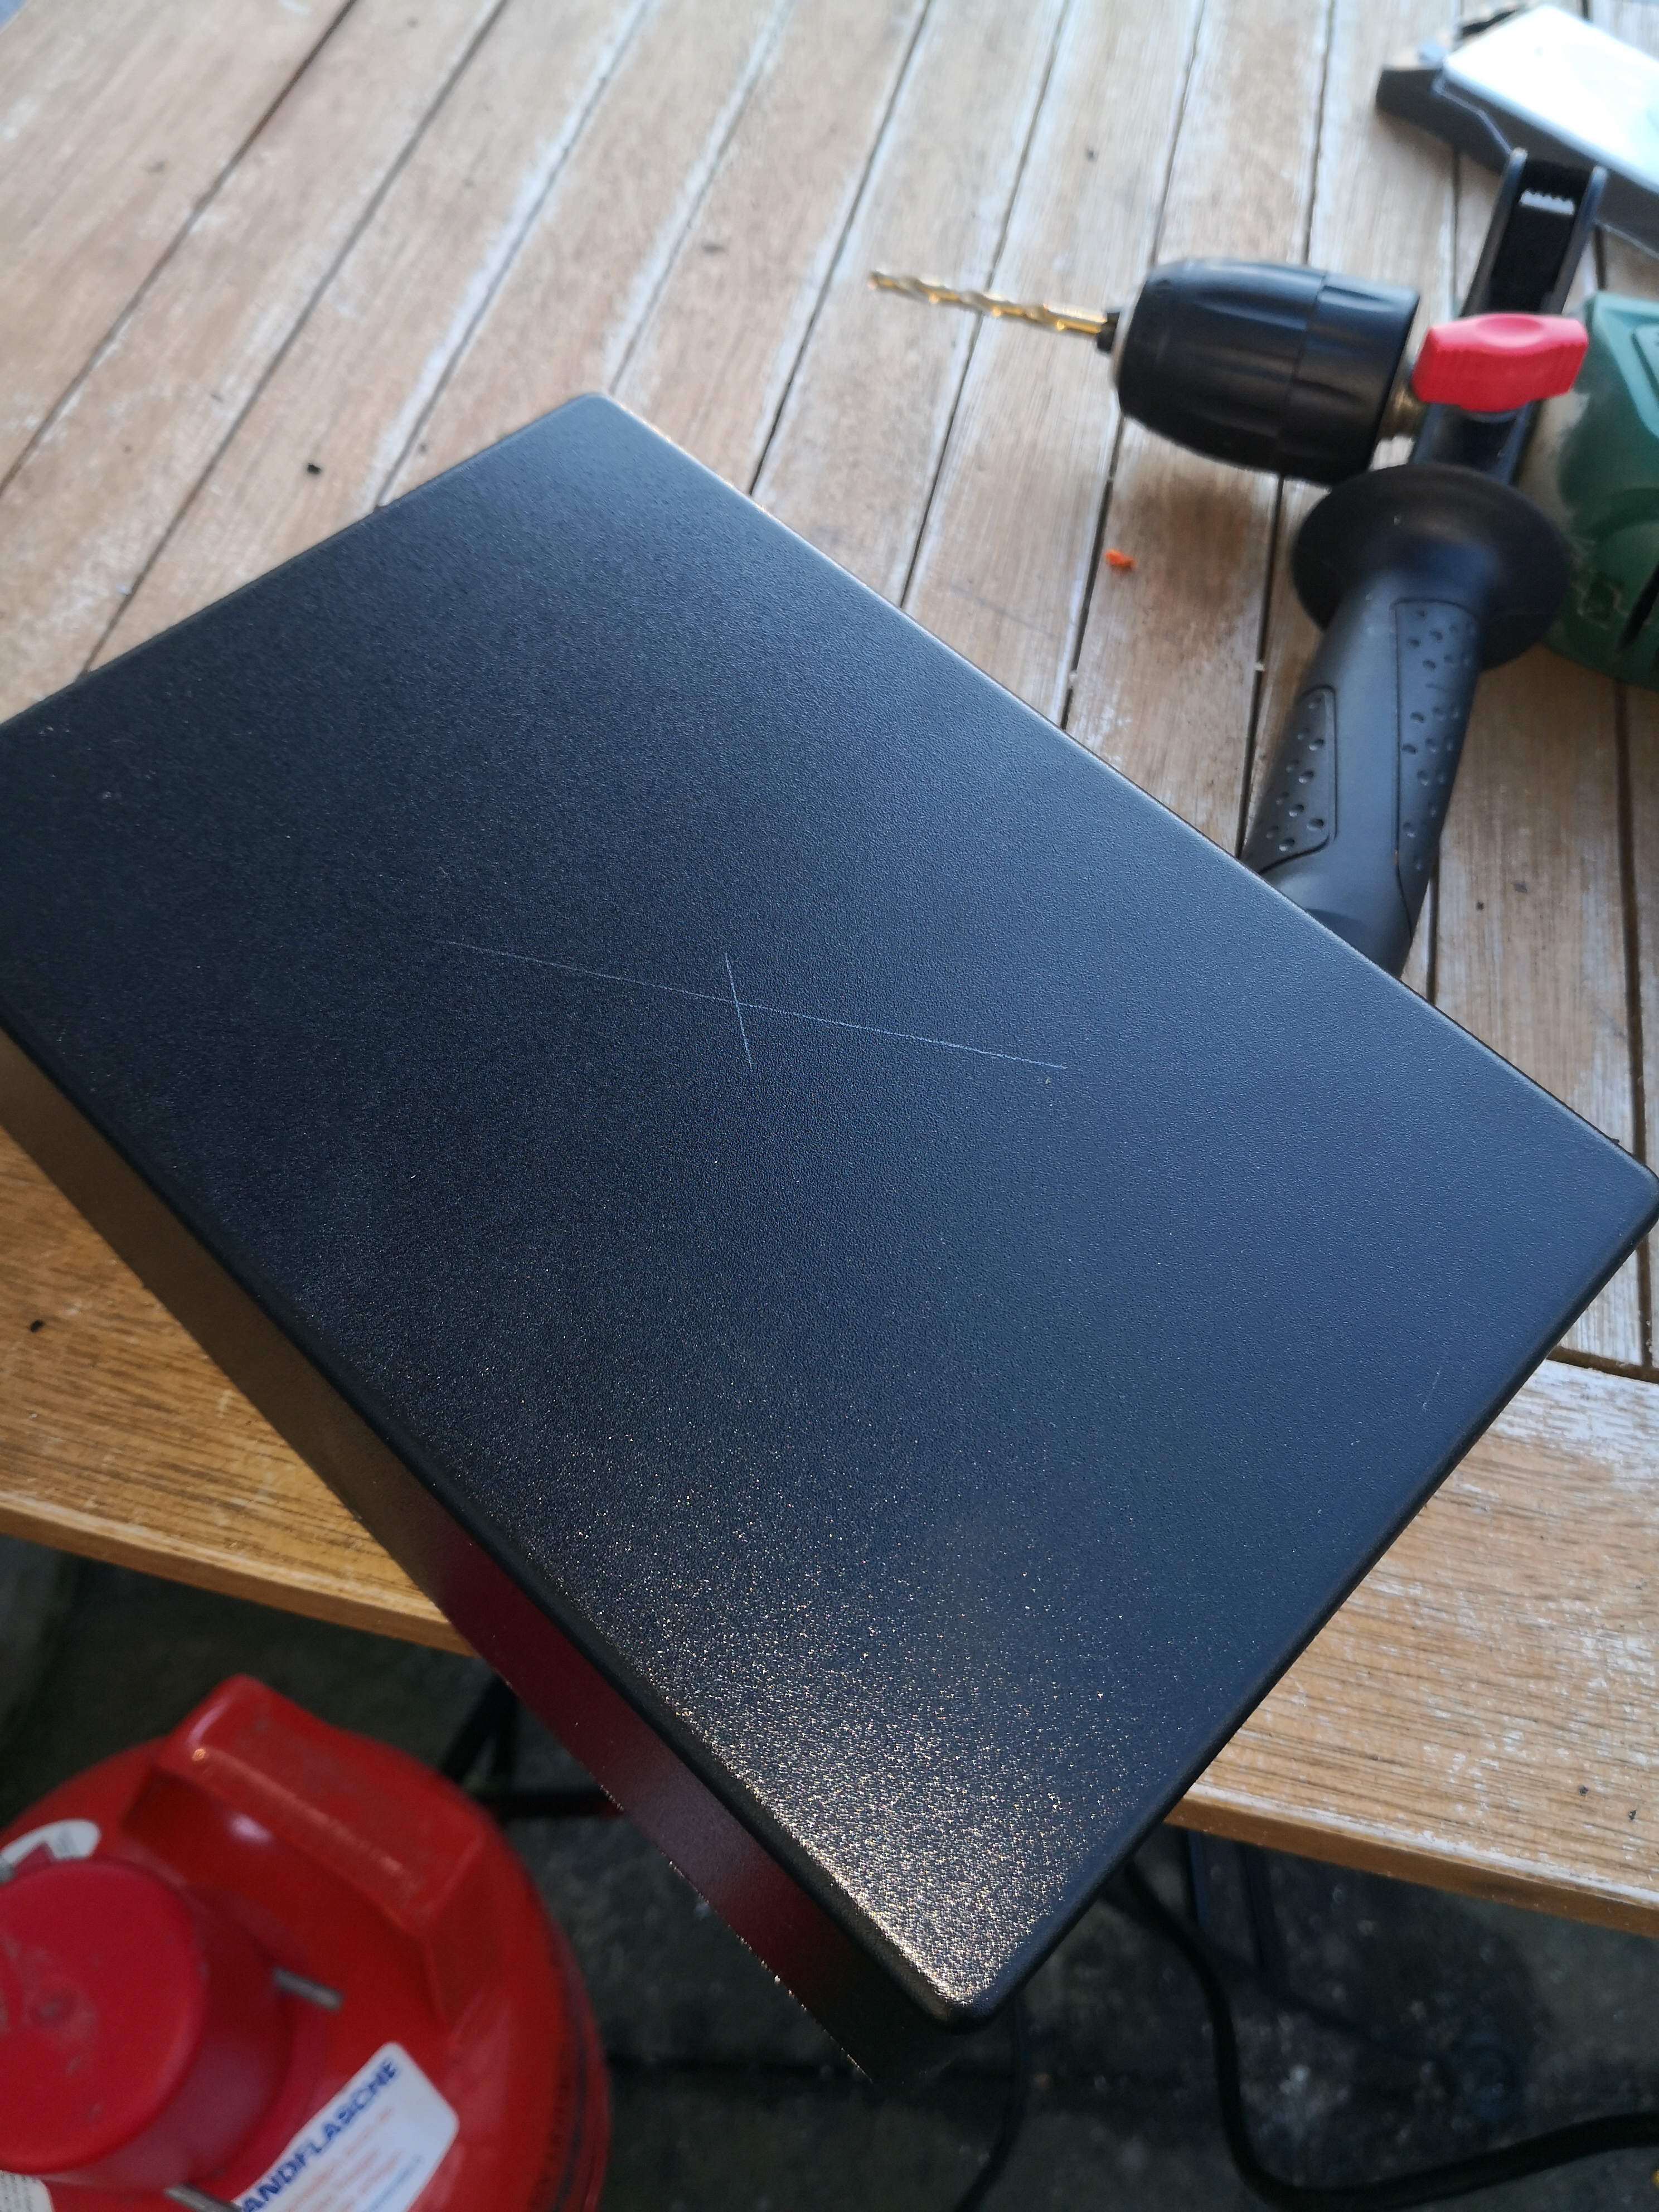
after:
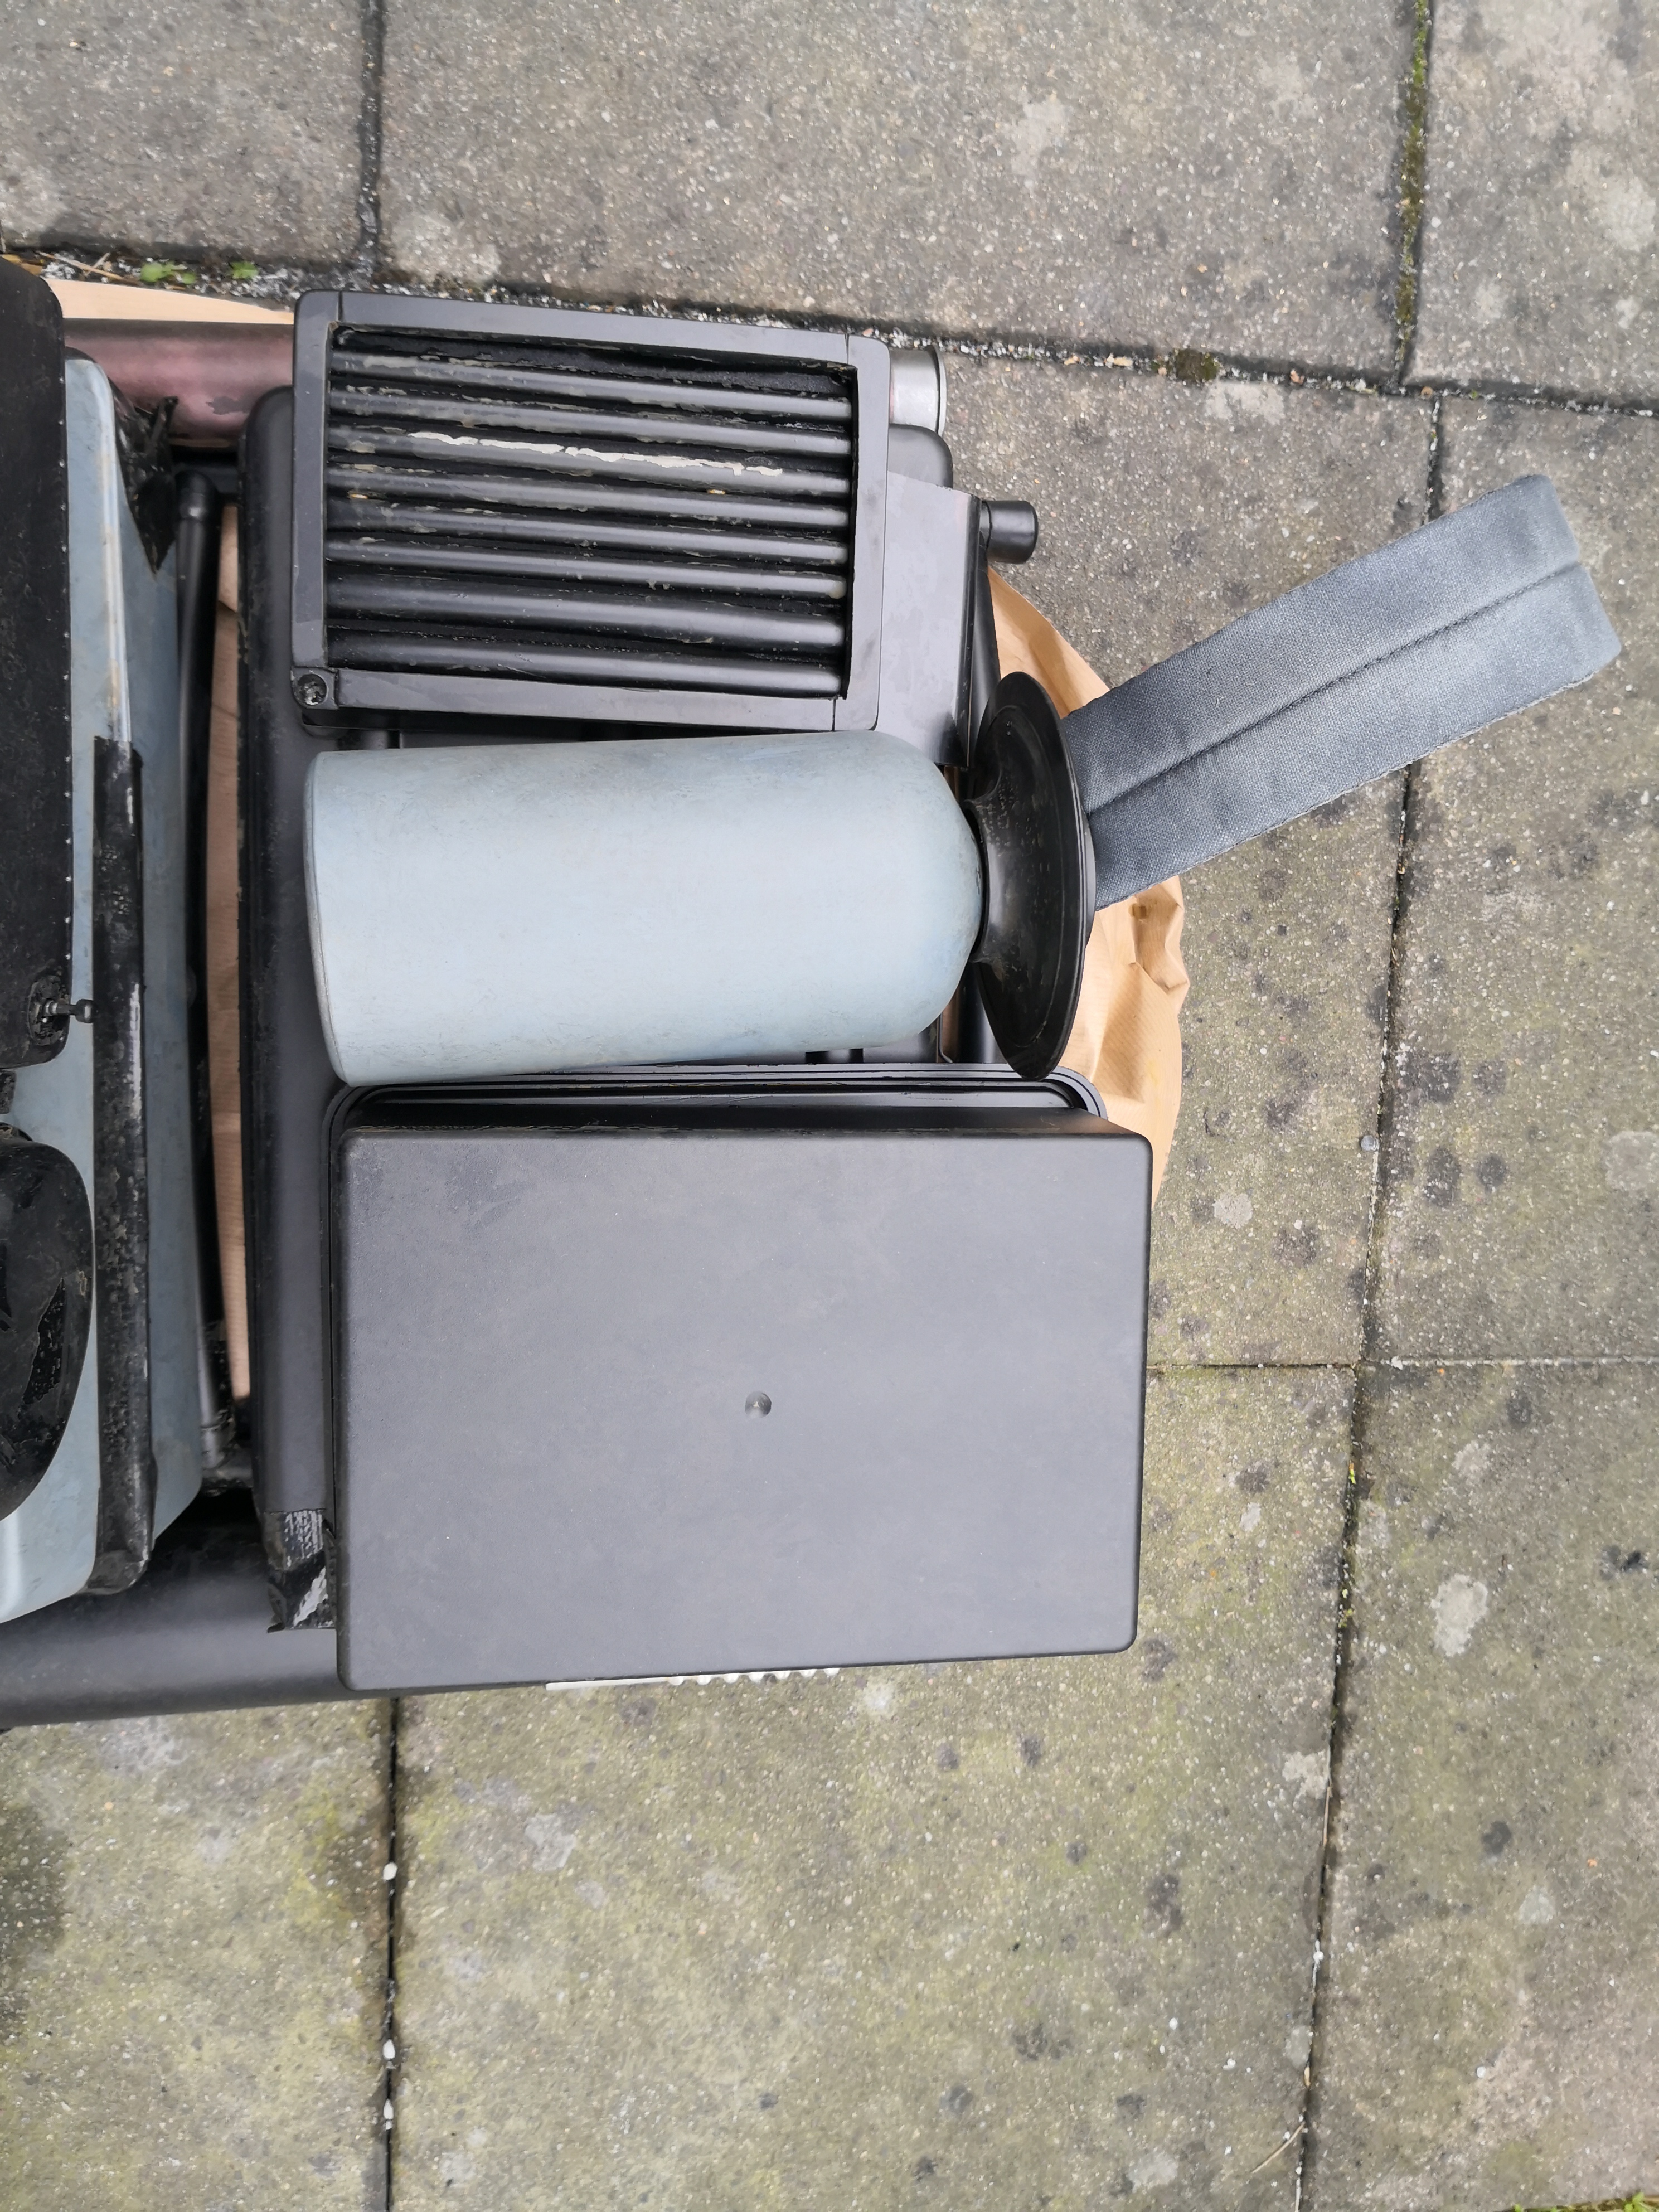
I then started working on the bottle on the top tray, had to search for a while to find one where I liked the shape at the top but it still was too long so I had to shorten it where I deviate from other approaches as I found it easier to cut it off at the bottom and then insert the bottom part again, I´ve left a tiny lip and just cut out a little triangle in this lip so I was able to easily push it in and I glued it back inside using E6000. Afterwards I sanded it down and voila, the edge wasn´t really visible anylonger and surely would be even more unobtrusive after spraypainting and weathering.
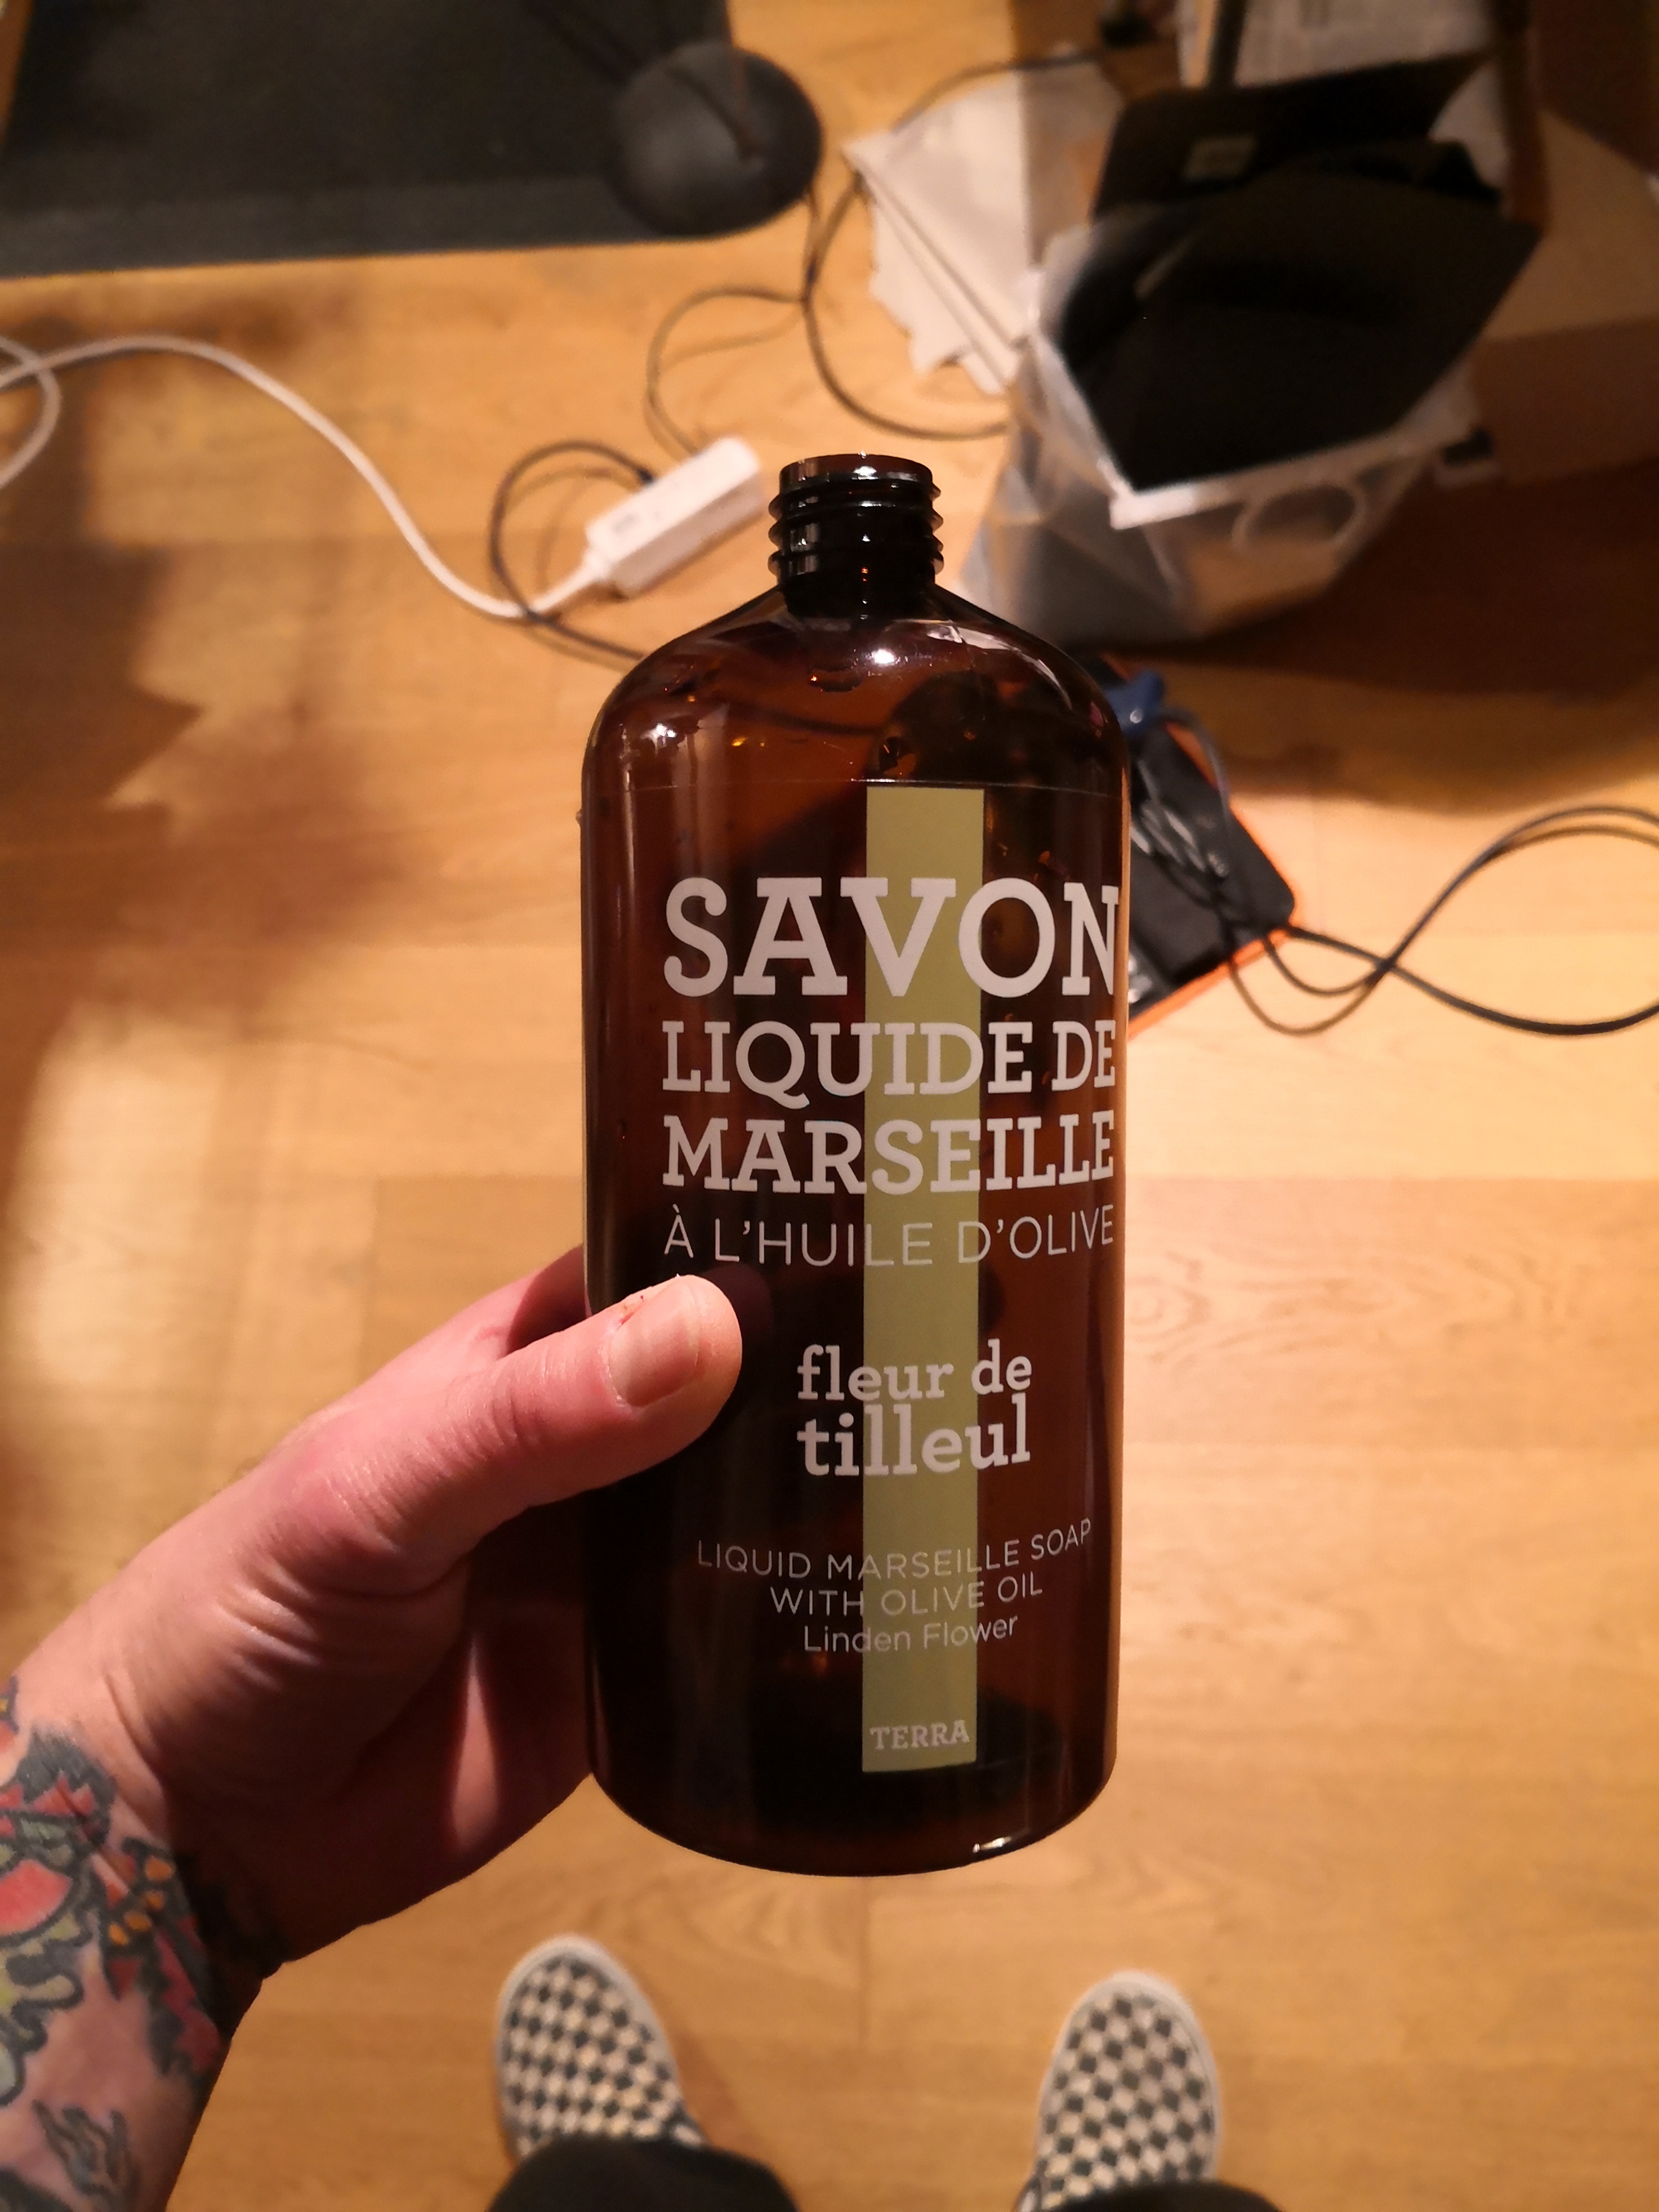
I´m sorry now that I didn´t document every step of this build with pictures but I hope you get the idea.
edit: I´ve found the missing picture, showing the bottle as I had cut it apart:
-
2
-
-
Most screenaccurate way? Probably not using enough glue and no support at all, so it comes off after the first few steps
:

-
Not a bad idea RoCKo. I did something similar by supporting it from the back with some left-over coverstrip remains, not attached at such an angle though. To keep it from riding underneath the thigh, I've just attached some foam on the inside of the shin at the front and on the backside of the thigh.
-
1
-
*DONE* TD-55519 Requesting Deployment
in MEPD Police Officer Program
Posted
That sometimes depends on the maker of your armor and whether it is acrylic capped ABS, as paint doesn't stick very well to the material. Actually 48 hours should be fine. Some add a final layer of clearcoat or even hairspray, maybe try it on a scrap piece a part of your armor which is less noticeable, just in case you aren't happy with the result.