
LoveMonkey
-
Posts
1,524 -
Joined
-
Last visited
-
Days Won
18
Content Type
Events
Profiles
Forums
Everything posted by LoveMonkey
-
LoveMonkey's Alley Check Captain Build (AM 2.0 Armor)
LoveMonkey replied to LoveMonkey's topic in Sandtrooper Armor
Thanks for the advice. I've been getting the same suggestions from garrison members, so once it gets approved, it will get coated. No, I just switched them in the picture. It's on the right shin. -
LoveMonkey's Alley Check Captain Build (AM 2.0 Armor)
LoveMonkey replied to LoveMonkey's topic in Sandtrooper Armor
So while at Comic Con I worked with fellow garrison members on my internal strapping system and weathering. Neither is completely done but progress was made. After Comic Con, I went back with a damp rag and worked off a lot of the paint we put on, attempting to recreate that classic Sandtrooper look. I think it looks great. My GML is going to have me work with another member to get the final touches done. Here’s to being done in the next few weeks for Halloween! Does anyone have any suggestions to keep the paint from rubbing off? I noticed that there were streaks in the paint where the armor rubbed against each other while being transported in my bin and I don't want it to come off after a few months after all of this hard work. -
So while at Comic Con I worked with fellow garrison members on my internal strapping system and weathering. Neither is completely done but progress was made. After Comic Con, I went back with a damp rag and worked off a lot of the paint we put on, attempting to recreate that classic Sandtrooper look. I think it looks great. My GML is going to have me work with another member to get the final touches done. Here’s to being done in the next few weeks for Halloween! Does anyone have any suggestions to keep the paint from rubbing off? I noticed that there were streaks in the paint where the armor rubbed against each other while being transported in my bin and I don't want it to come off after a few months after all of this hard work.
-
Welcome!
-
I worked some more on the weathering. I used mineral spirits to strip some of the burnt umber away and then added some lighter brown, yellow, tan, and gray. I know that you can still see some of the brush strokes in these pictures. I did not have as much time as I wanted to work on weathering today after trying the fix the bucket but I wanted to play around with the new colors I had purchased and see what effect I could get. This is the result. I mostly wanted to get some of the colors right.
-
LoveMonkey's Alley Check Captain Build (AM 2.0 Armor)
LoveMonkey replied to LoveMonkey's topic in Sandtrooper Armor
So, I made progress since my last update in three areas: strapping system, bucket, and weathering. The strapping system is pretty straight forward. I made new snap plates and installed them now that I purchased the correct size snaps. They are gluing and since I already post pictures of that, no need to repeat. Second, the bucket. After trying to mount the left ear starting at the bottom and it not working at all, I decided to start with the top two screws. I was able to make the top two screws fit for the most part and it seemed pretty flush. I then pushed the bottom down and held it in place while my wife screwed in the base screw at the bottom. Here is what it looks like from a side profile: What I’m concerned about is that after pushing the ear flush and holding it for my wife to place the final screw, the top screws are now at an angle, which you can see in the pictures below. They stick out from the ear enough that I notice it when compared with the right ear. They are also at an angle inside the bucket. The general public might not notice but I do and it bothers me. The only thought I’ve had so far to remedy this would be to remove one of the top screws, drill the hole a little bit bigger, replace the screw, and then repeat with the other top screw. By making the holes a little bigger might help them sit flush. And when I say bigger, I might just go back in with a ⅛” drill bit and go through all the holes at the same time, thus helping them all line up correctly. However, before I do anything and before I attached the nuts on the inside of the bucket I thought I would ask for your advice. Also, I worked some more on the weathering. I used mineral spirits to strip some of the burnt umber away and then added some lighter brown, yellow, tan, and gray. I know that you can still see some of the brush strokes in these pictures. I did not have as much time as I wanted to work on weathering today after trying the fix the bucket but I wanted to play around with the new colors I had purchased and see what effect I could get. This is the result. Anyways, there you have it. More progress. Since I did not meet my Comic Con deadline, my new deadline is the end of the month, 09/30/2015. To Be Completed: 1. Finish Helmet Assembly ---Faceplate Assembly ---Inner Padding ---Seals, Green Lenses, etc. 2. Thighs ---Attach ammo boxes 3. Minor trimming on chest and back attachment 4. Canvas belt and ammo belt attachment 5. Internal Strapping System 6. Weathering -
Welcome Kevin!
-
LoveMonkey's Alley Check Captain Build (AM 2.0 Armor)
LoveMonkey replied to LoveMonkey's topic in Sandtrooper Armor
Well, like in a game of poker, you have to know when to fold. I think it is time to fold in reaching my goal of being approved this week for Comic Con, which is next week. There is just too much to do and I don’t have the time to do it in. I also had quite a few setbacks since my last time working on Saturday. After some discussion with my GML, I need to lighten and reduce my weathering. I’m not sure if I can use what I have or if I should just remove all the paint and start over. When I get a chance to go back to Michael’s and get some more paint colors I’ll be able to try and see if I can use what I have so far. So there’s a good couple of hours that I spent on weathering that I need to redo. Then, today, I had a garrison member come and try and help me finish the strapping system. We found out that the snaps I ordered online are not right. What I mean is that the post is too long and when you try and flatten it, it is too big and overlaps at the wrong point, not allowing the snap to fully close between the male and female parts. You can see in the picture below in the webbing where the post is right up against the lip of the snap after being bent using snap pliers, and does not allow it to close properly. You can also see the comparison of the black snap I bought and the extra Dritz snap that he had available and the difference in the post size. Be careful ordering from stecksstore, not because they are bad quality, but they may not be the right snap for the nylon webbing material I am using but might be a better fit for a thick piece of leather. I had to remove all the snap plates that I had already installed, thus setting me back a few more hours and I now need to go buy a completely new set of snaps and new webbing as I used all of it to make the snap plates. Due to some issues at home, I was not able to make it to the store in time tonight to buy replacement supplies. I had taken the night off from work to get more work done and now I can’t do anything to make progress tonight. Needless to say I’m quite discouraged tonight. Maybe tomorrow. -
Congrats! That is great news.
-
Thanks for the advice. I'll be tackling it again in just a little bit.
-
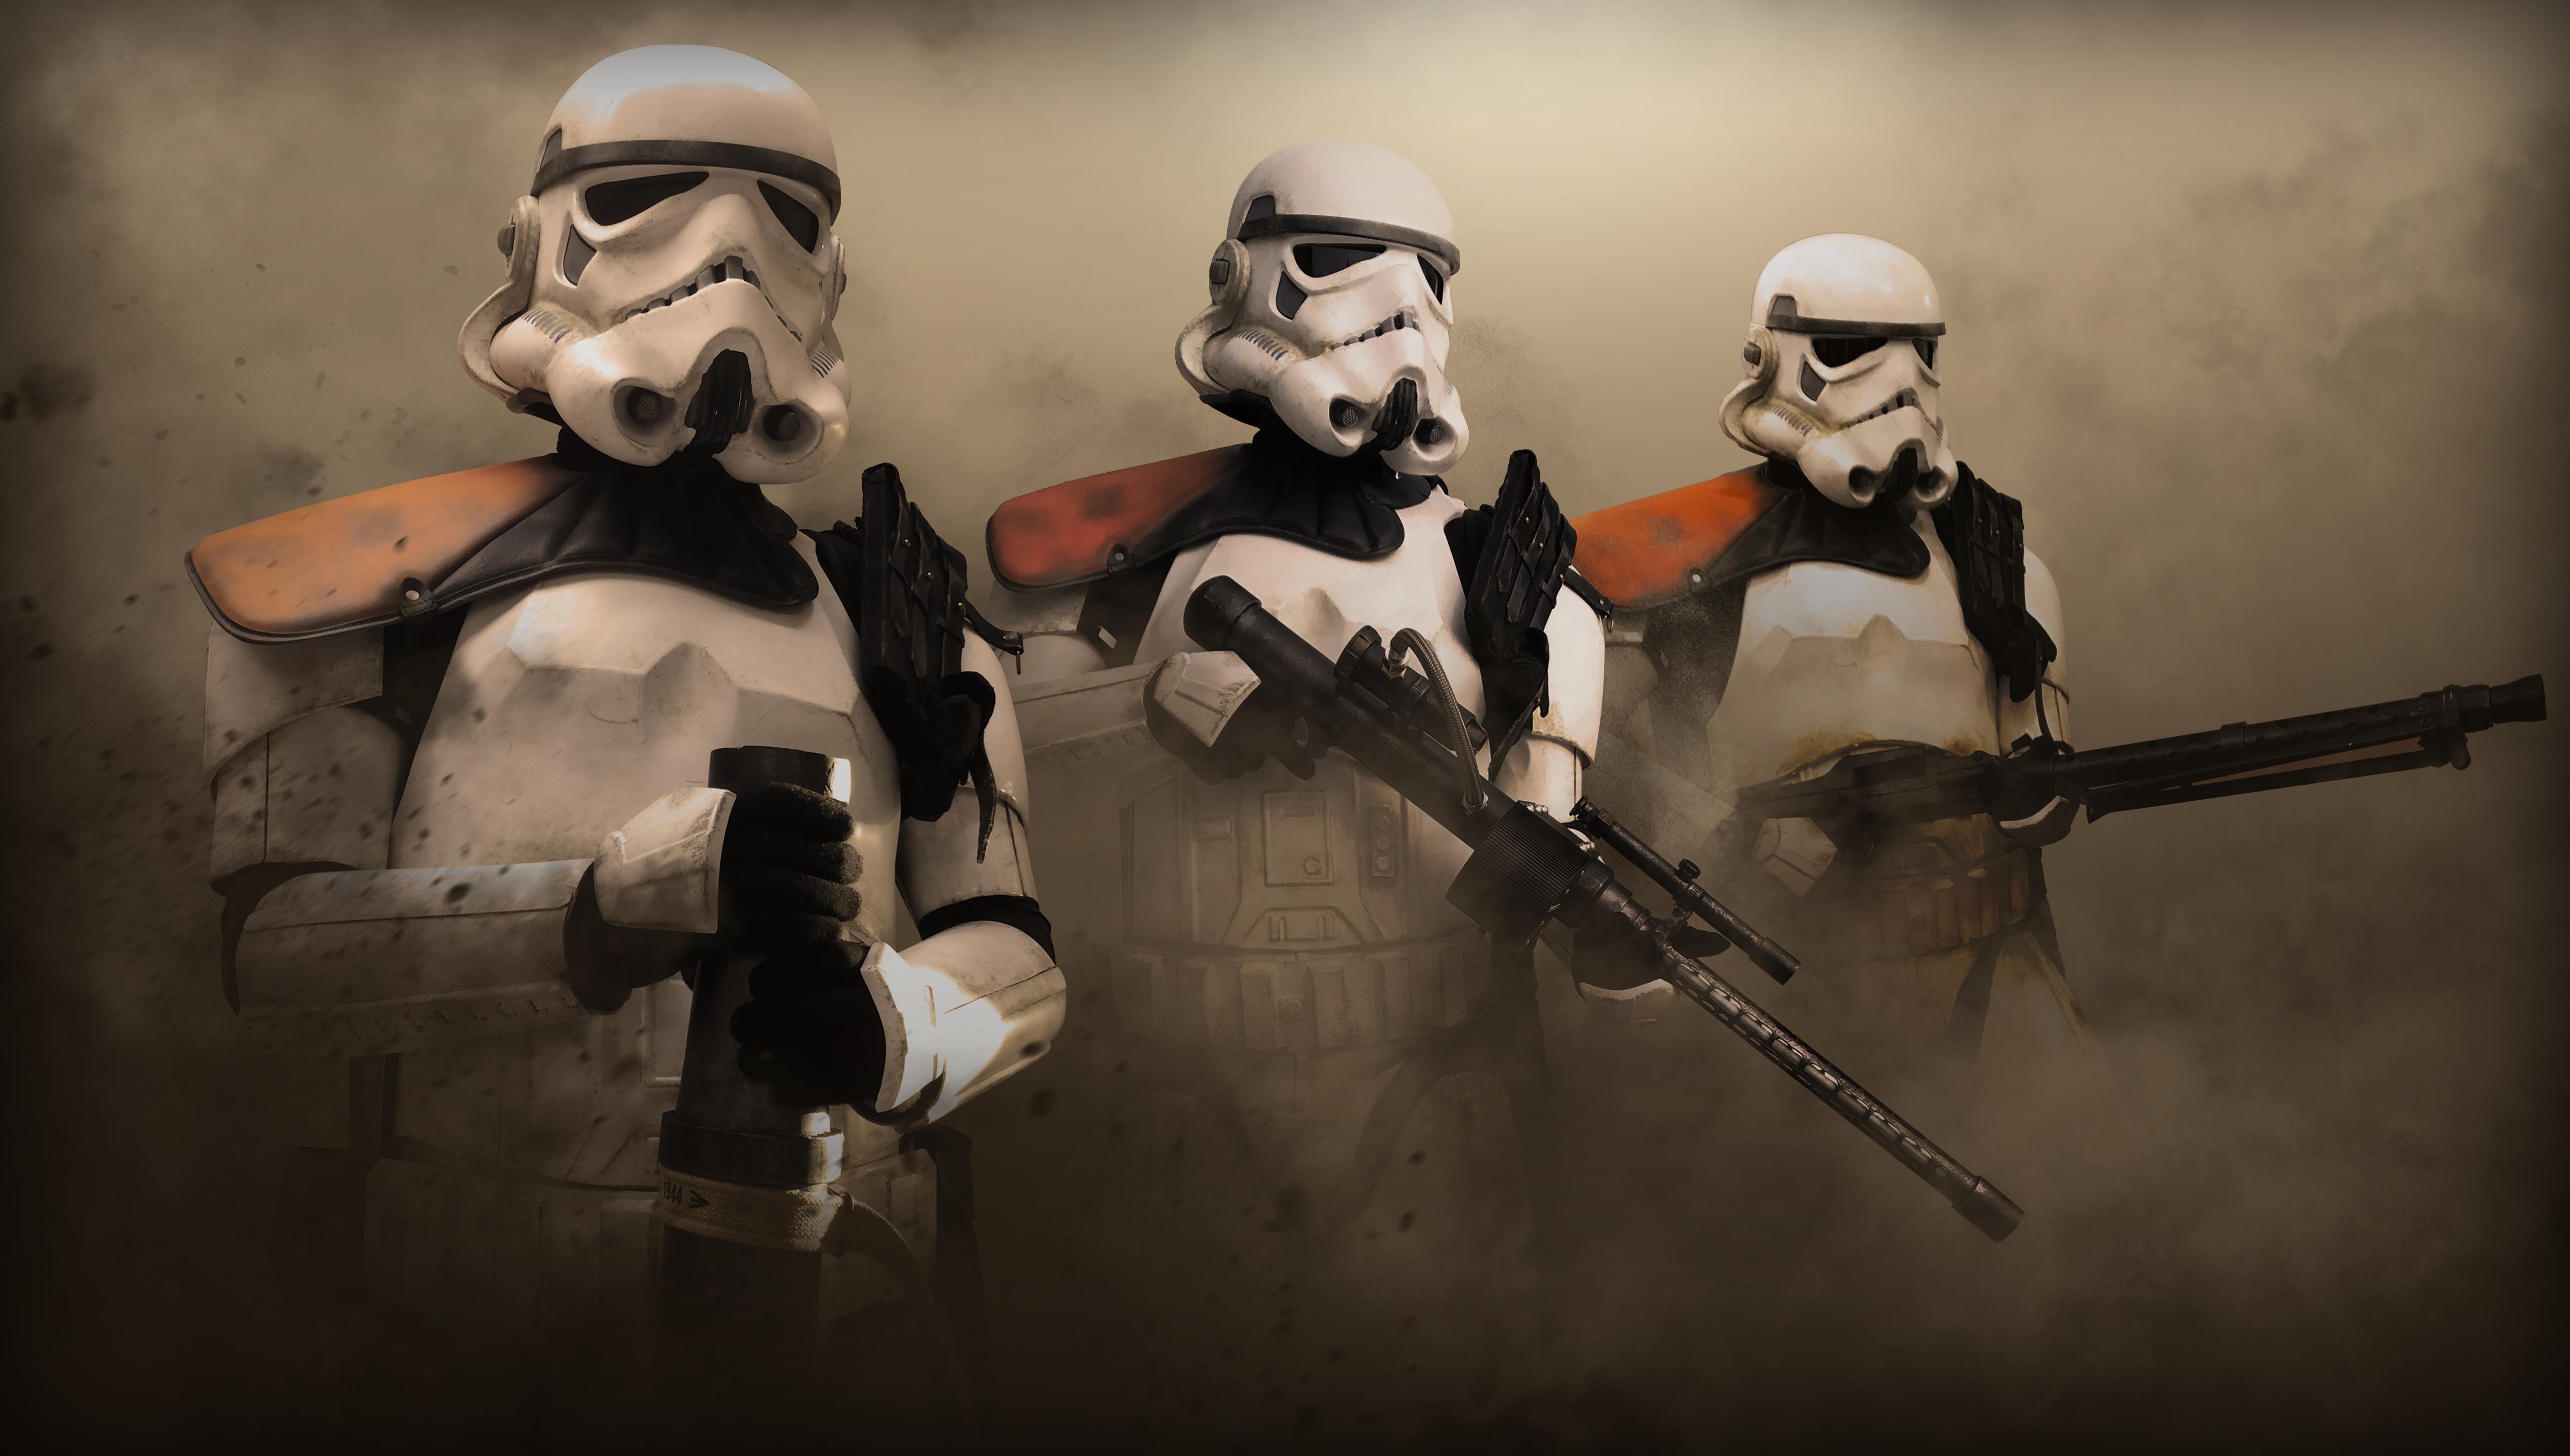
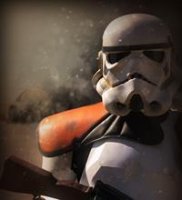
Well, with less than a week to go for my Salt Lake Comic Con deadline, it's time for the finishing touches, aka weathering. Not all of it is done, but I was able to knock out the forearms, biceps, shoulder bells, and shins in about 3 hours, maybe 4. I used pandatrooper’s method, but instead of the two layers, I did just the burnt umber dirt layer. I really like how it turned out and this is some of the most fun I’ve had with this build. Maybe it’s because the end is in sight, but I just love the way it looks. Some of my garrison members have commented that it looks a bit dark and a lot dirtier than what is seen on screen. Which I agree. However, I'm not aiming for SWAT status (P.O. at best). I really like how it turned out and it just looks like I got really dirty looking for those droids. Anyways, comments and suggestions are welcome. And if I do need to lighten it up, now that the acrylic paint has dried, what suggestions do you guys have to make it not so dark? To be continued...
-
LoveMonkey's Alley Check Captain Build (AM 2.0 Armor)
LoveMonkey replied to LoveMonkey's topic in Sandtrooper Armor
Less than a week to go for my Salt Lake Comic Con deadline. After some frustrations with the helmet (which I don’t want to talk about ), I decided to tackle the weathering today. Not all of it is done, but I was able to knock out the forearms, biceps, shoulder bells, and shins. I used pandatrooper’s method, but instead of the two layers, I did just the burnt umber dirt layer. I really like how it turned out and this is some of the most fun I’ve had with this build. Maybe it’s because the end is in sight, but I just love the way it looks. I also started gluing the inside snap plates for my inner strapping system. I plan on rotating the magnets I do have over the weekend so that after I’m off work on Monday night, I will have most of that gluing done. Here is what is left to do: 1. Finish Helmet Assembly ---Faceplate Assembly ---Decals ---Inner Padding ---Seals, Green Lenses, etc. 2. Thighs ---Attach ammo boxes 3. Minor trimming on chest and back attachment 4. Canvas belt and ammo belt attachment 5. Internal Strapping System 6. Weathering ---Thighs ---Chest ---Abs ---Kidney ---Butt ---Back ---Helmet Looking at the list, I feel like I can hit my deadline of this Thursday. Assuming there are no major headaches or problems. Now back to work... -
LoveMonkey's Alley Check Captain Build (AM 2.0 Armor)
LoveMonkey replied to LoveMonkey's topic in Sandtrooper Armor
After a weekend of work and no time for building, I was back at it again today. My newborn had a doctor’s visit in the afternoon, so I got some unexpected time to paint the helmet. I think it turned out pretty good. Accidentally put my finger in the gray teeth paint while I was doing the vocoder. I need to get some paint thinner to clean up that spot and clean up the vocoder. Also painted the mic tips that came with the kit. After painting, I had some extra time, so I decided to work on the right thigh. After several test fits and even more measuring, it fit nicely with the gap at the top coming to 22 mm. With that, I decided not to add a shim and just went with a big inner cover strip. The outer cover strip will be able to cover it all up. Will be using a back strip at 25 mm, since that is what I used on the back of the shins. What I can’t decide on is whether or not to fill in that gap with some spare ABS from the trimmings before placing the outer cover strip or just leave it be. Any thoughts? Lastly, my snaps I ordered arrived today. Got them from stecksstore.com, which is a leather company. Much cheaper than Tandy and I think the quality will be comparable, even though I’ve never worked with snaps before. This bag of 100 snaps and tool cost approximately $28, with priority shipping costs included. Can’t beat that deal. With all of that done today, I compiled a list of what needs to be done by the Comic Con submission deadline of 09/17/2015. Here goes: 1. Finish Helmet Assembly ---Faceplate Assembly ---Decals ---Inner Padding ---Seals, Green Lenses, etc. 2. Thighs ---Finish gluing inner cover strips ---Glue outer cover strips ---Attach ammo boxes 3. Minor trimming on chest and back attachment 4. Canvas belt and ammo belt attachment 5. Internal Strapping System 6. Weathering I think that is it...Hopefully. Now the trick will be getting this list done before next Thursday. I really want to be in my armor for the Con and be apart of the Garrison photo. One more question - I’ve been debating about cutting the cod piece from the ab, and then hiding the cut with the belt. Seems like it would offer more maneuverability. Your thoughts. Anyways, thanks for the continued support. Hopefully I can play in the sandbox soon! -
Very nice, congrats on being finished
-
LoveMonkey's Alley Check Captain Build (AM 2.0 Armor)
LoveMonkey replied to LoveMonkey's topic in Sandtrooper Armor
So I've been putting in a lot of work over the past few days. Here we go, lots of updates here. Started finalizing the forearms. I need to do one more outer cover strip on only the left forearm and then they should be ready for weathering next week. Here are the forearms in progress. Also got the rear cover strip installed on both of the shins. I will be buying velcro tomorrow. Besides the sniper plate, the shins are also ready for weathering. Started on the thighs as well. I almost made the mistake of not getting the crotch curve right and placing both on the left leg. Caught myself before it was too late. I've started gluing the first inner cover strip and I will make the final fitment adjustments when it is done gluing. The left thigh feels great but the right feels a bit off. I might have cut a tiny bit too much off the back of the right thigh, but I think I can cover it with a larger inner cover strip to hold it together and still have the 25mm outer strip look just right. I'll keep you posted on Friday once the glue is fully cured on the front. Any suggestions on how to potentially fix this if needed would be great! And finally, got started on the bucket. Drilled all of the holes out from their pre-indented spots. When I have magnets available tomorrow I will glue the back and cap together. Also started drilling out the teeth. Used a borrowed dremel and boy was I uncomfortable with it. I'm really happy with how they turned out and they still need a bit of filing and sanding, but considering my lack of experience with a dremel, it's a win for me. That's all the updates for today. I'm going on a big shopping trip tomorrow to hopefully get the rest of my needs supplies, such as webbing, elastic, paint for the bucket and weathering, foam for my forearms, etc. Then back to work tomorrow night. I have until the 17th to be done so I can troop at Salt Lake Comic Con. 14 days remaining. Here's hoping I make it! -
Any idea when they will be submitted?
-
Speaking of the CRL, was was the final outcome of the voting? I ask because I am pushing to finish my build in time for Salt Lake Comic Con at the end of the month. I have about 3 weeks to get it done.
-
LoveMonkey's Alley Check Captain Build (AM 2.0 Armor)
LoveMonkey replied to LoveMonkey's topic in Sandtrooper Armor
Ok, so I've been slacking with updates, so this might be quite long. Brace yourselves! Salt Lake Comic Con is just around the corner on Sept. 24-26. The goal is to have the armor completed by then. My garrison's GML has let us all know that if we want to troop in our armor for Comic Con, we need pictures submitted a week prior. So I've got about 3 weeks until that deadline. I feel pretty confident I can get it done in time assuming I can find the time to work on it and nothing really confuses me or slows me down. So here's to hoping! Since the last post, I went over to a Garrison member's house and he helped me to size my chest/ab/kidney/back/butt/cod pieces, since those are a bit tricky to do yourself. In his opinion, they should not need much if any trimming as they fit pretty well. The goal is to get the straps/elastic installed in the pieces and then do any minor trimming if necessary. So that is a big plus! Lately I've been working on the shins. Front cover strip is installed and now I just need to install the back and the velcro to hold it shut. I've also begun work on finishing the forearms. First inner strip on the left forearm is installed and first outer strip on right forearm as well As I'm making a list to try and plan what still is left to be done, I have a few questions. 1. Because of my small wrists, there is quite a gap that shows in the wrist area. I've decided to use foam to try and fill that area in. I haven't had a chance yet to go to Michaels or Joanns, but does anyone know of a good brand of high density, water resistant foam? I'd like it not to get super compressed and gross from the sweat. 2. I'll be buying the paint for the weathering in the next week. Is the paint used on the armor also usable on the boots? 3. I'm not handy with a dremel and don't feel confident using it on the bucket to cut out a teeth. Any suggestions to make this process a bit easier without using a dremel? 4. I'll be starting the bucket here soon. Any advice that I should know out the gate to make this easier? There you have it, all of my updates. Here's to hoping the big push goes well! And thanks for all the advice you guys will give me along the way! -
*DONE* TD-18987 Requesting Deployment
LoveMonkey replied to Little Skywalker's topic in MEPD Police Officer Program
Looks awesome! Sweet build. -
*DONE* TD-16080 requesting deployment
LoveMonkey replied to Strider's topic in MEPD Police Officer Program
Looks great! -
Looking really good so far!
-
Looks really nice! I'll take notes for when I start mine.
-
LoveMonkey's Alley Check Captain Build (AM 2.0 Armor)
LoveMonkey replied to LoveMonkey's topic in Sandtrooper Armor
Went ahead and finished gluing the front inner cover strip on each shin. They look okay and fit nice and snug. Don't know what it is but each cut makes me super nervous that I've cut too much and really messed up this expensive armor kit. Not much else to do out push on and hope my research has paid off. -
Looks like a lot of fun! Thanks for sharing the pictures.
-
*DONE* TD-4468 Requesting Deployment
LoveMonkey replied to bdgr's topic in MEPD Police Officer Program
Looks great! Good luck.