-
Posts
137 -
Joined
-
Last visited
-
Days Won
11
Content Type
Events
Profiles
Forums
Posts posted by Volksjager
-
-
Congrats, well done
-
Excellent news! Thanks for the quick response and I am very happy to be deployed!
You are right Bigwam, I will upgrade to the plunger cups for the bottles as well, will look even better.
-
 1
1
-
-
PM sent for Police Officer certificate
Many thanks
-
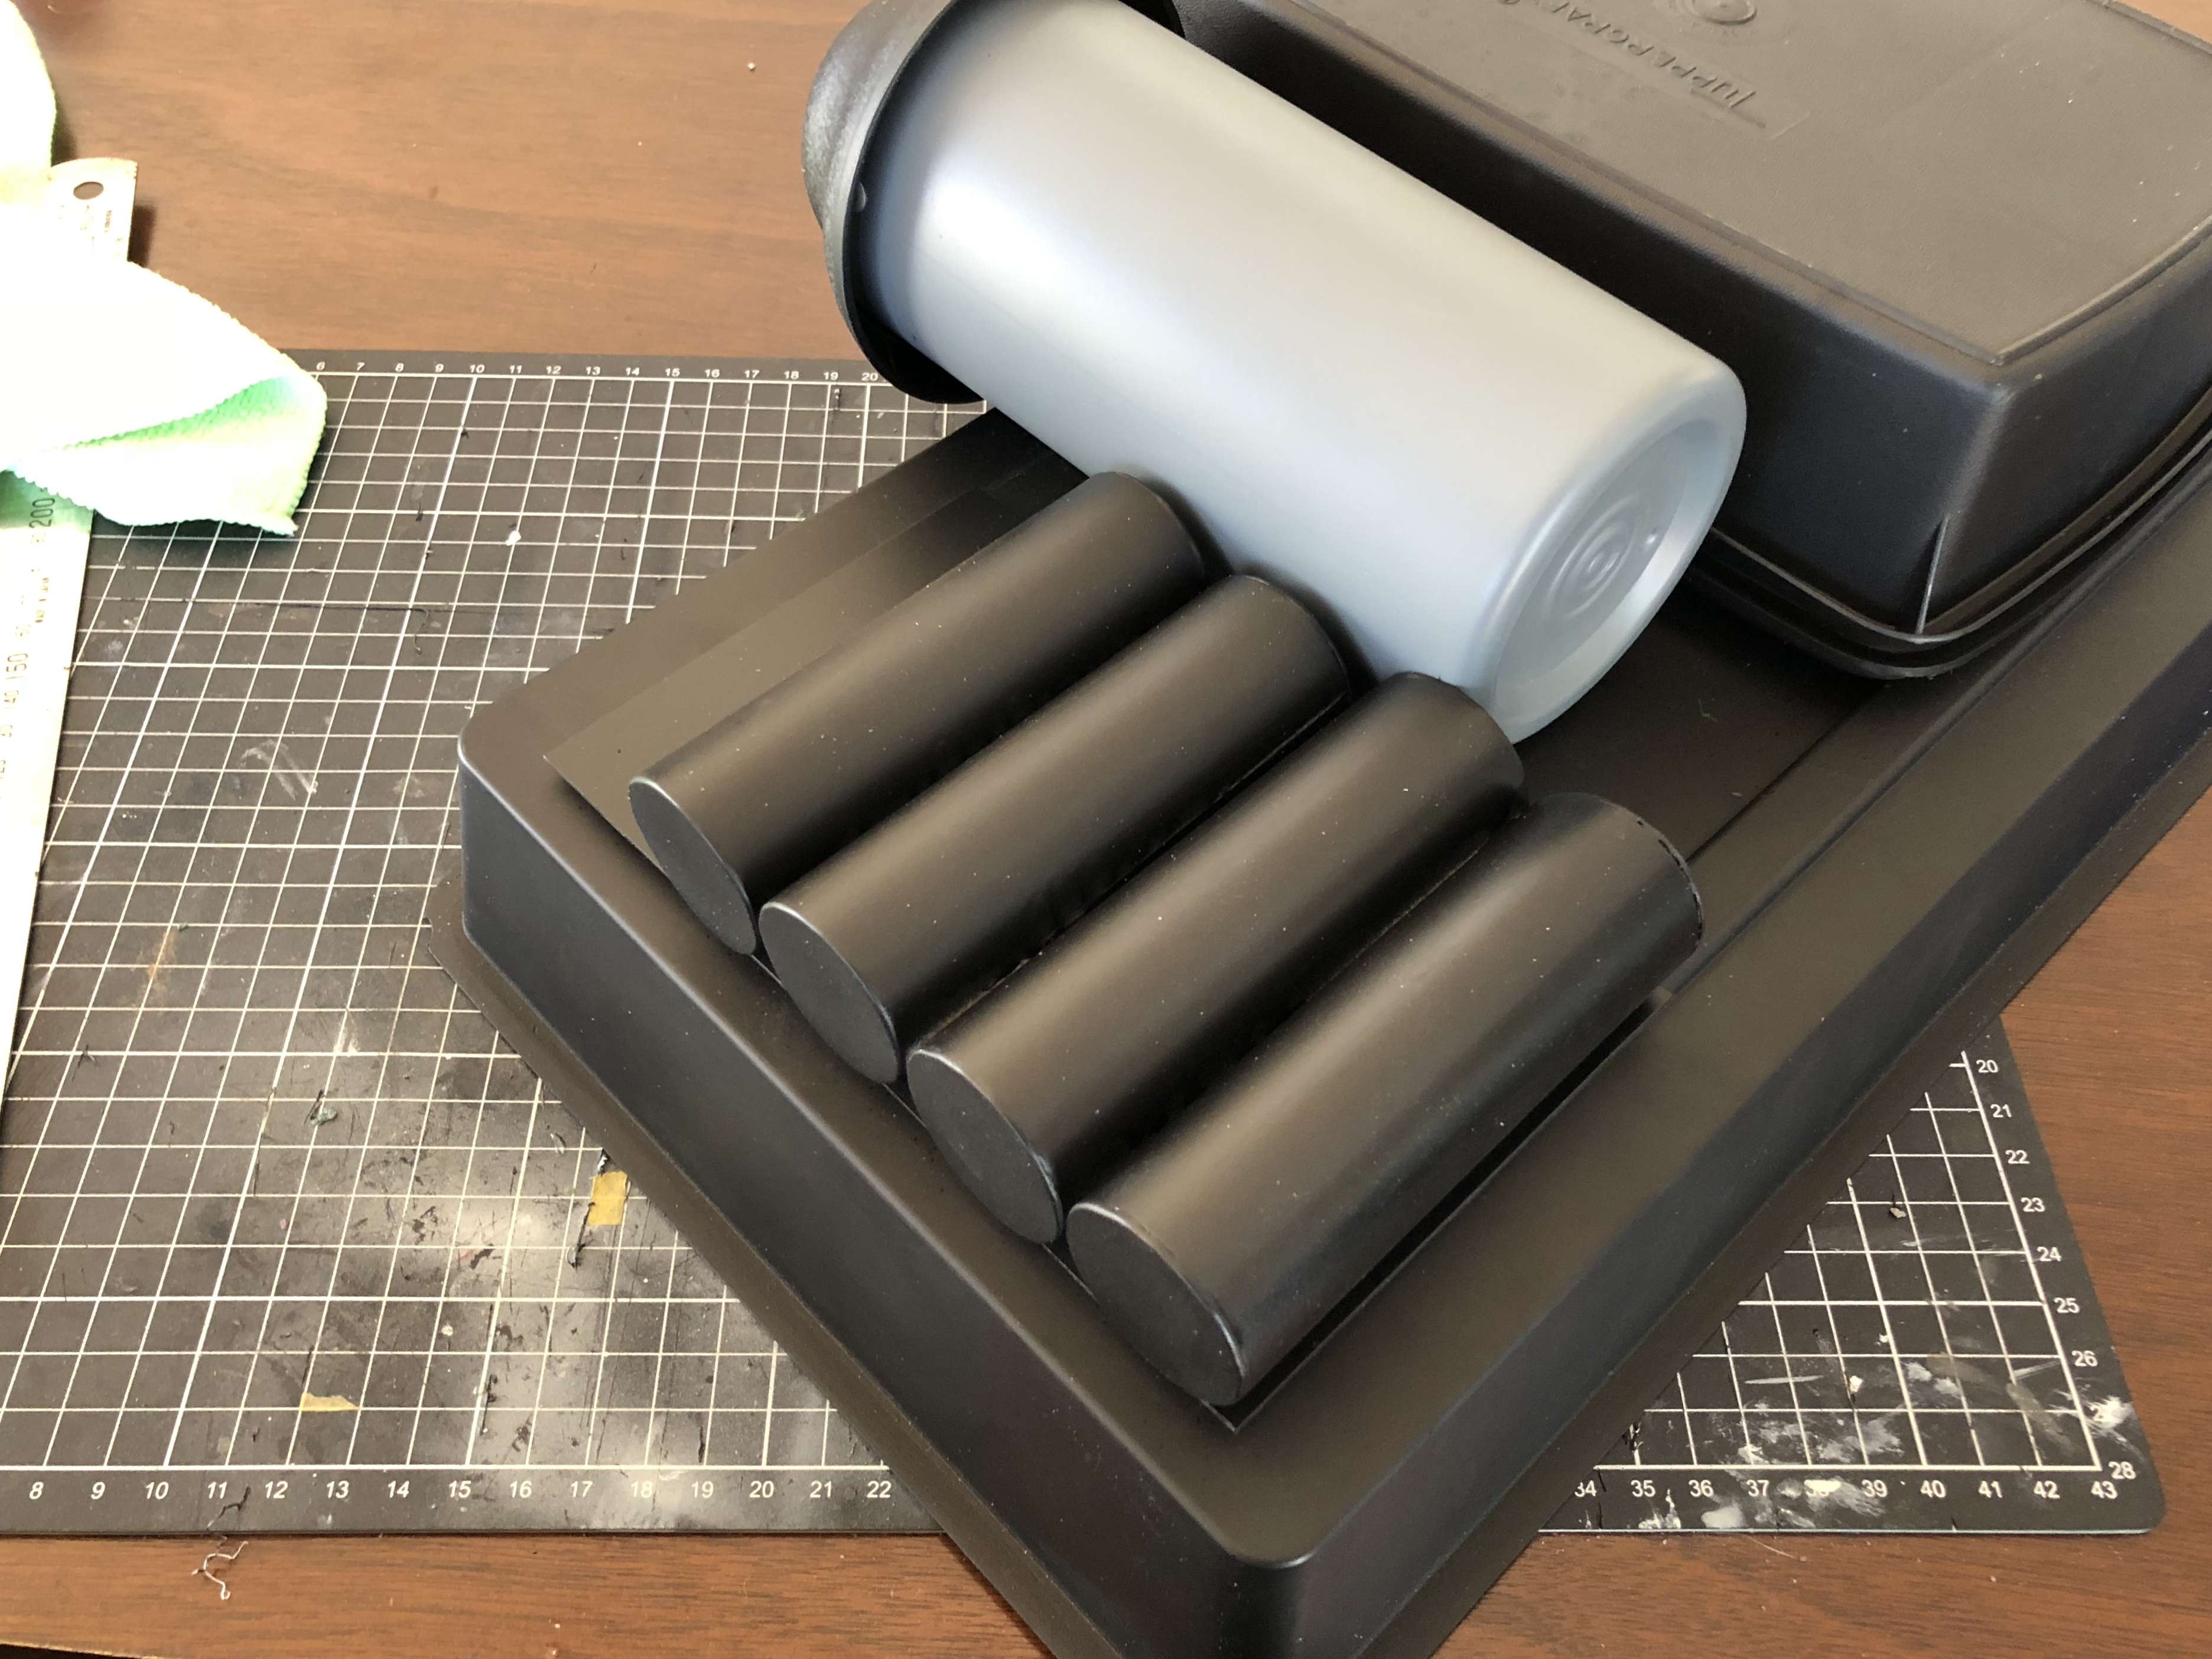
Bottles are done, now shorter and thicker than before.
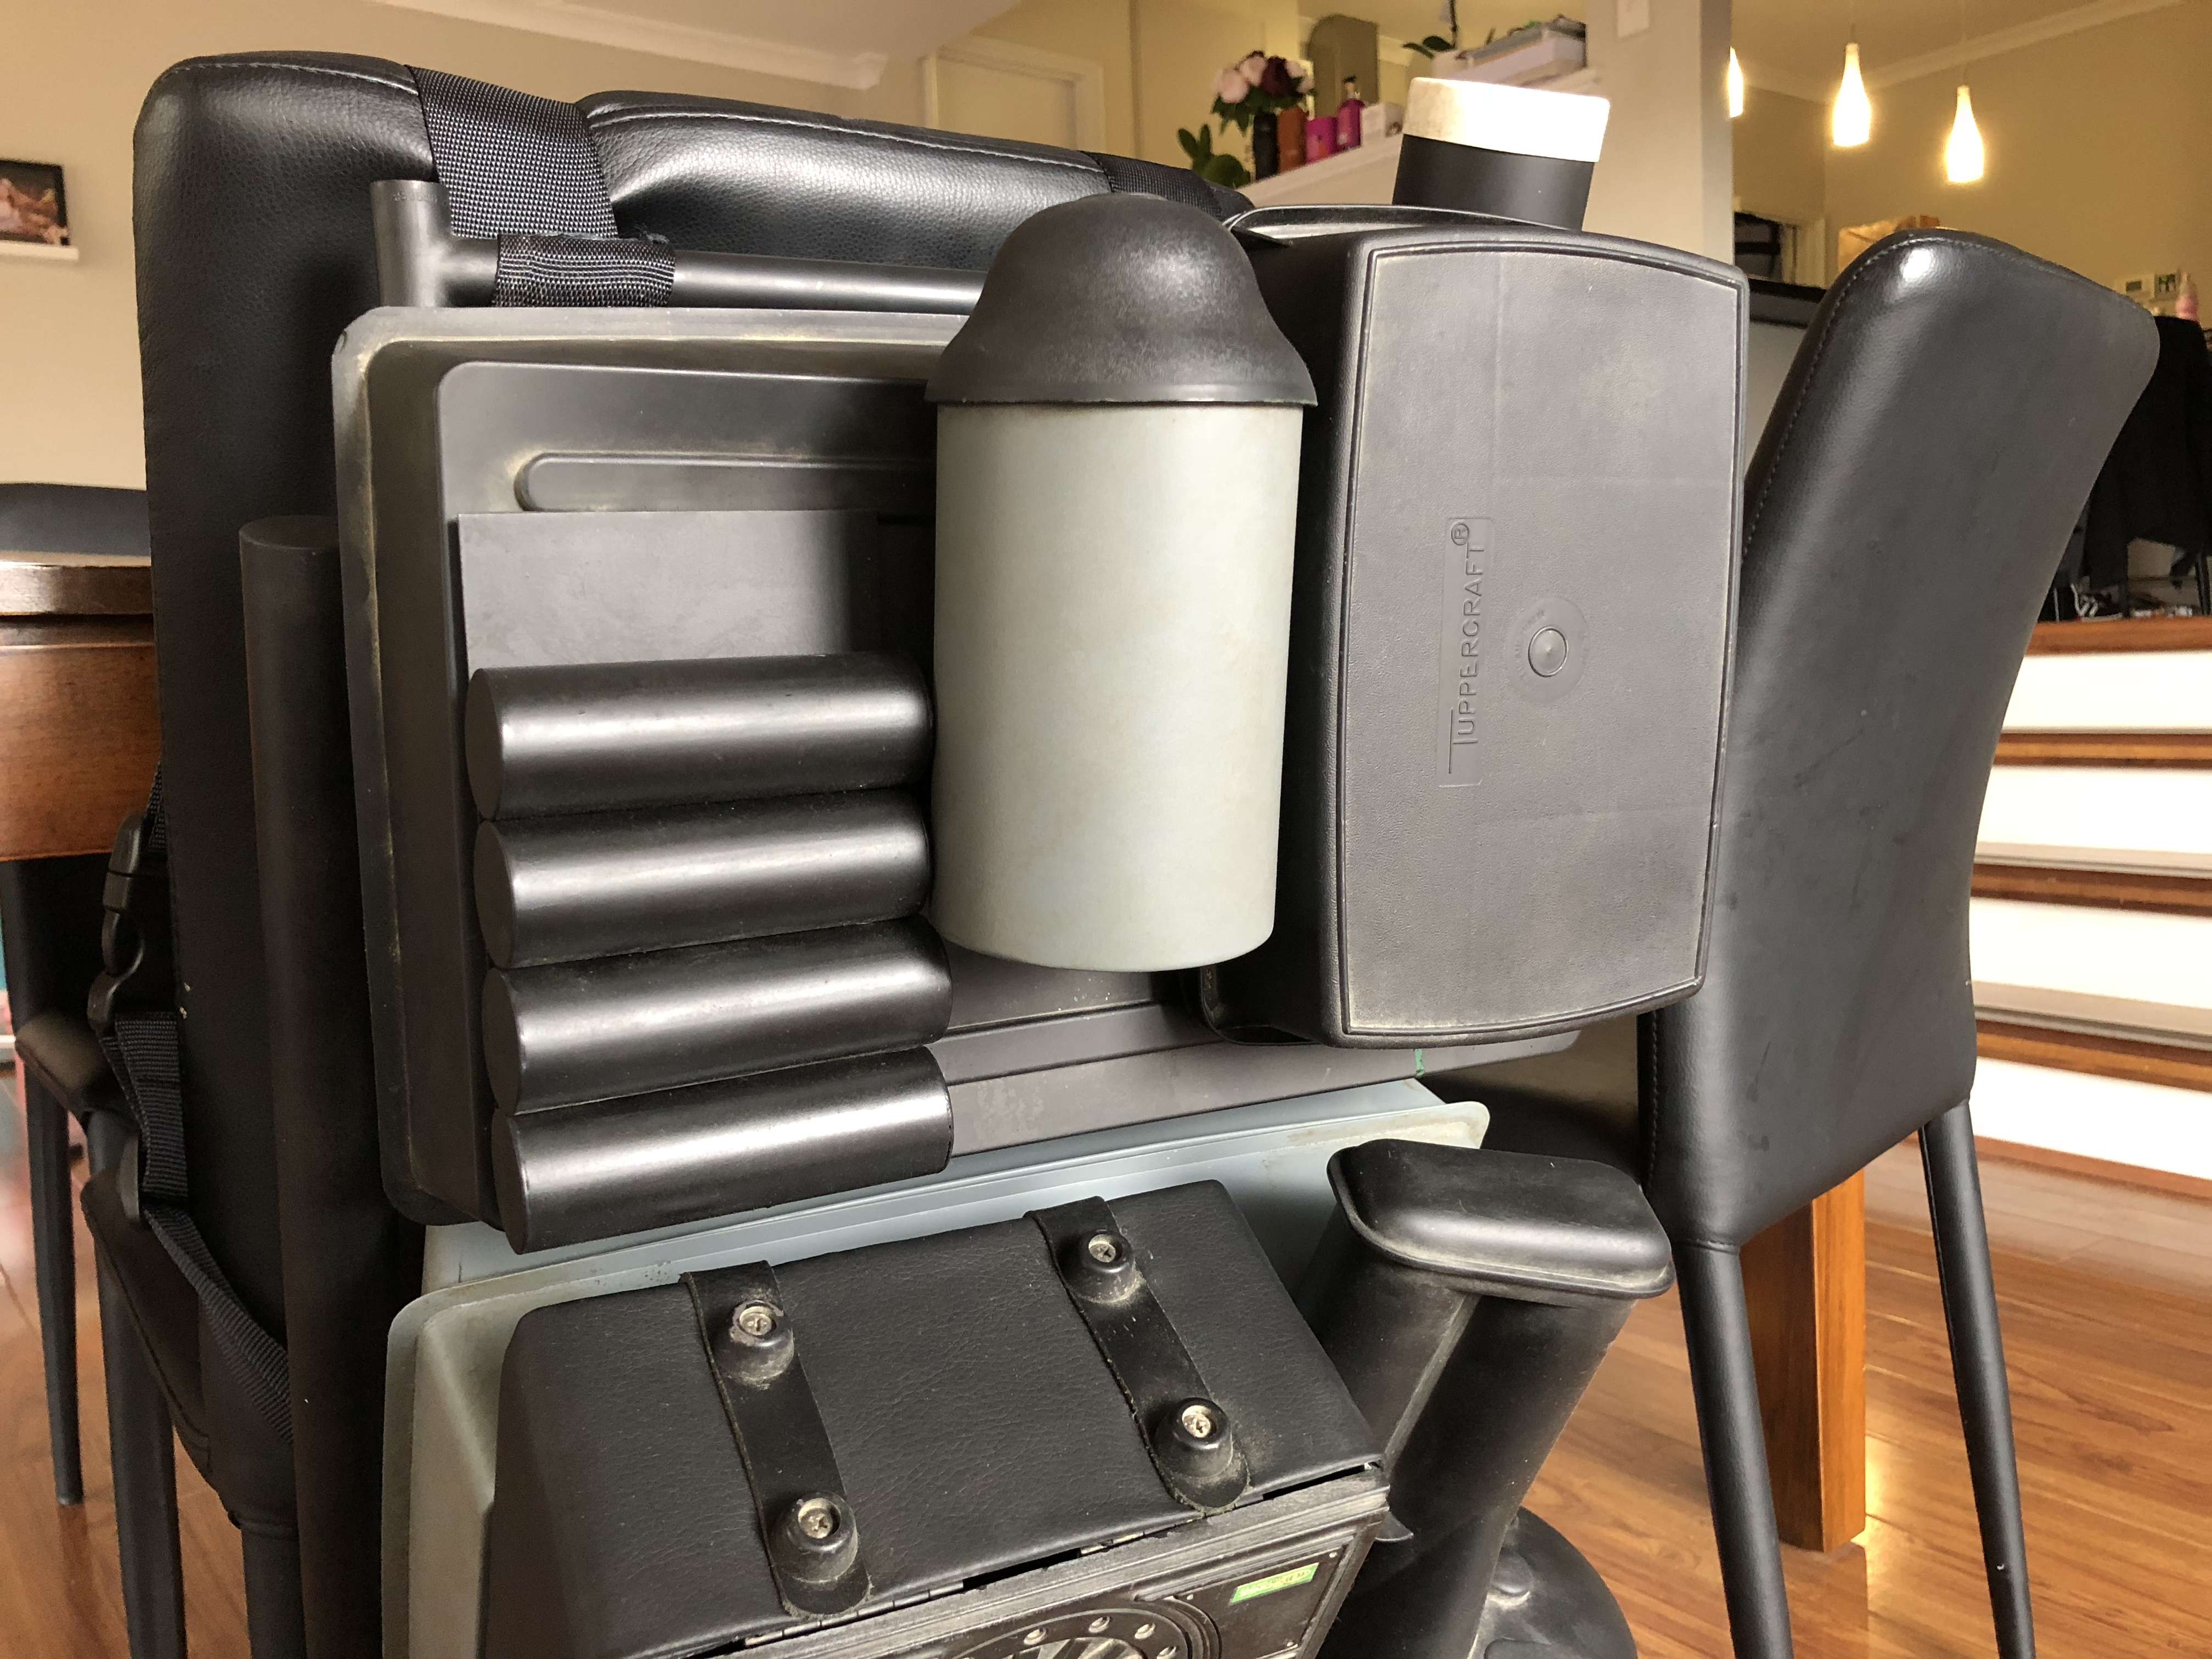
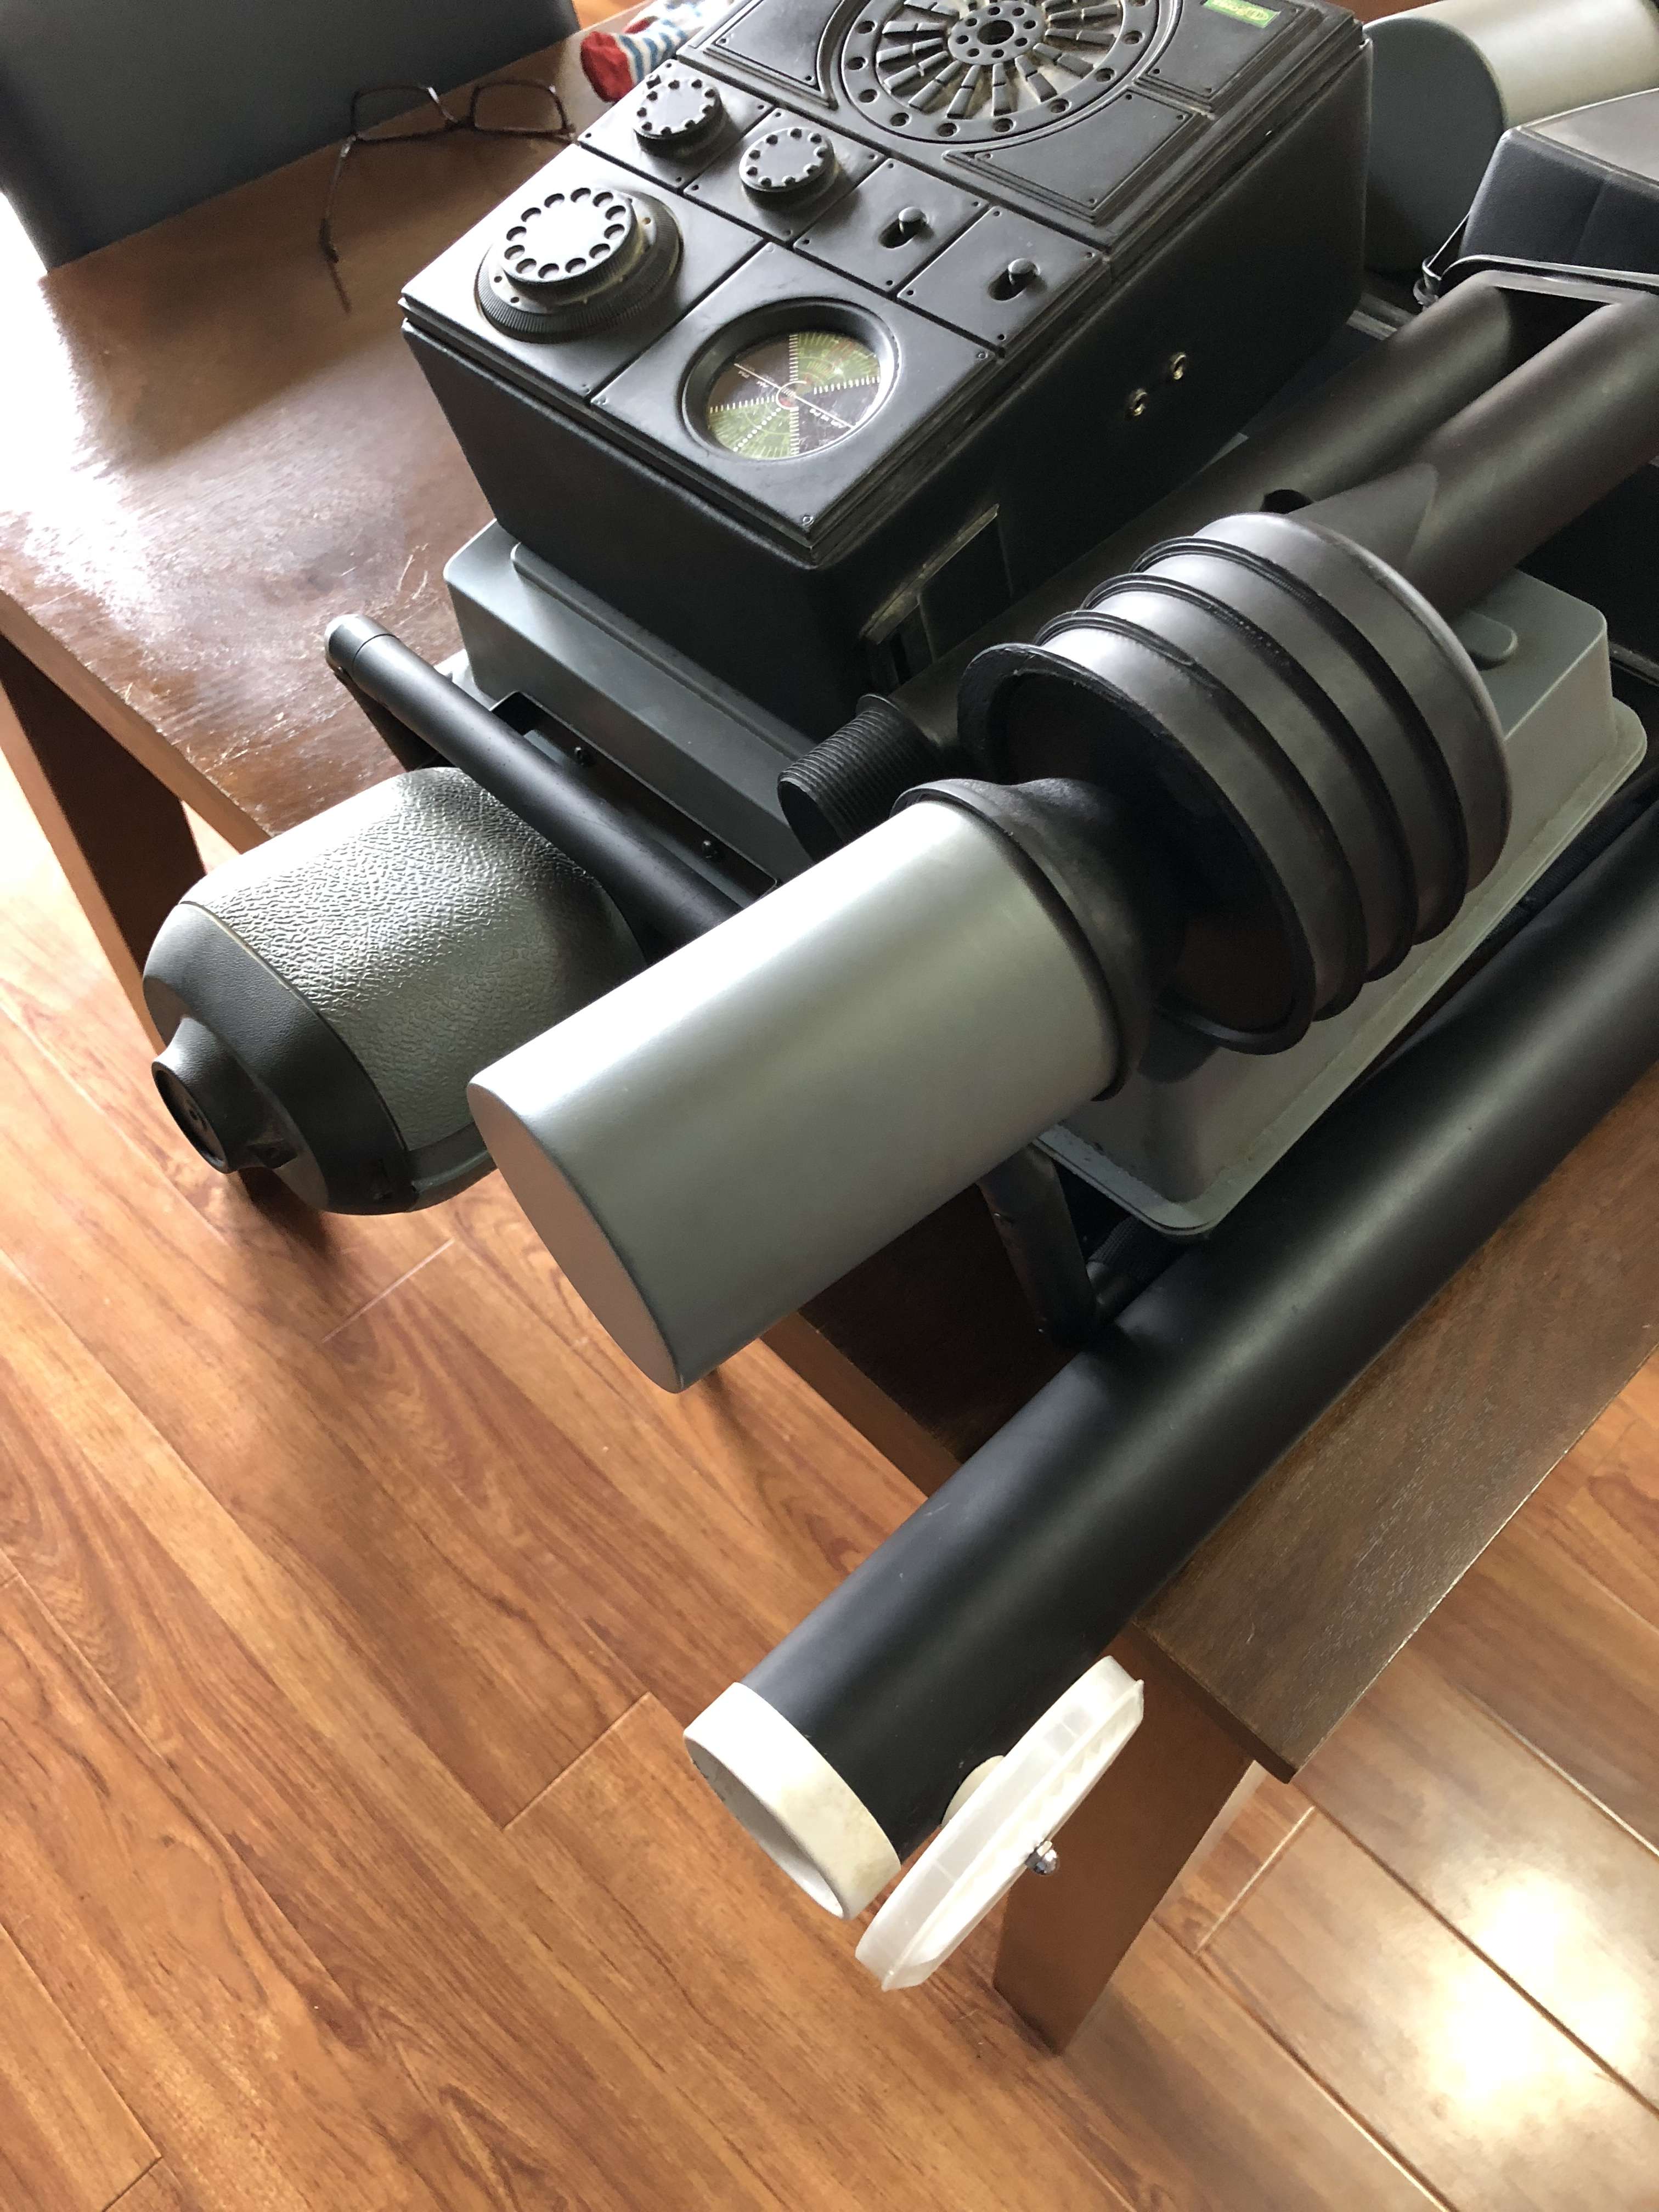
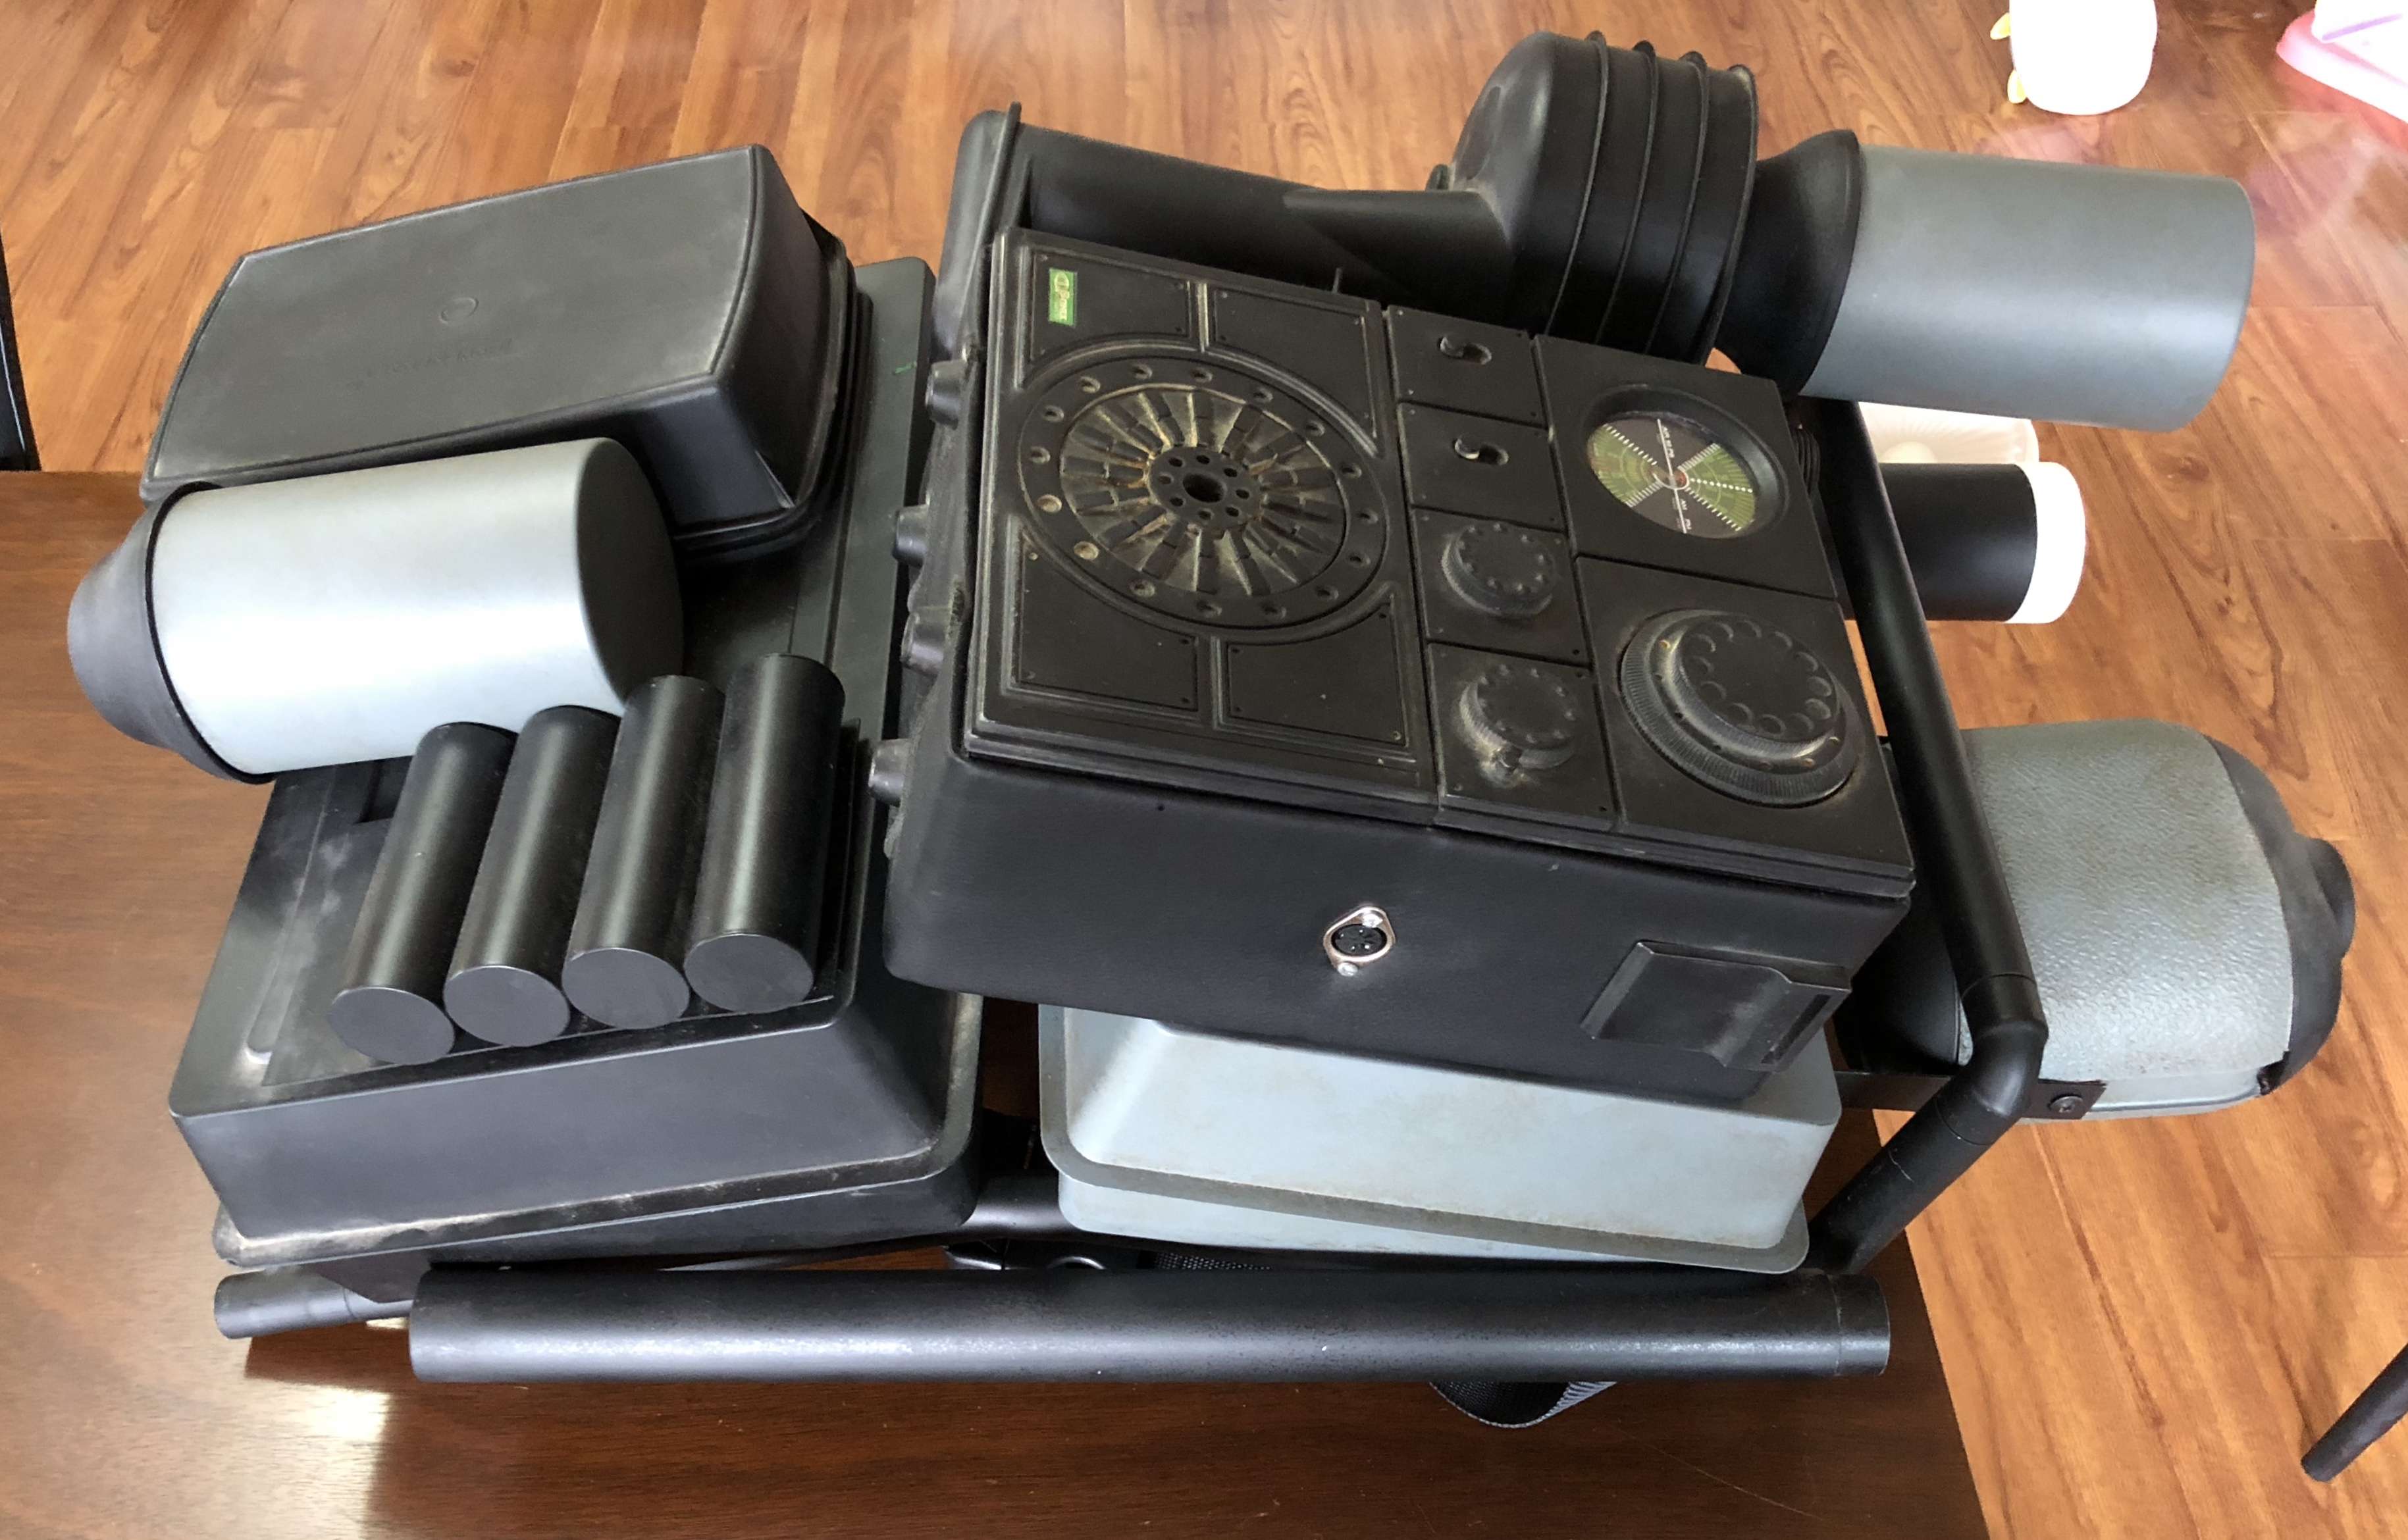
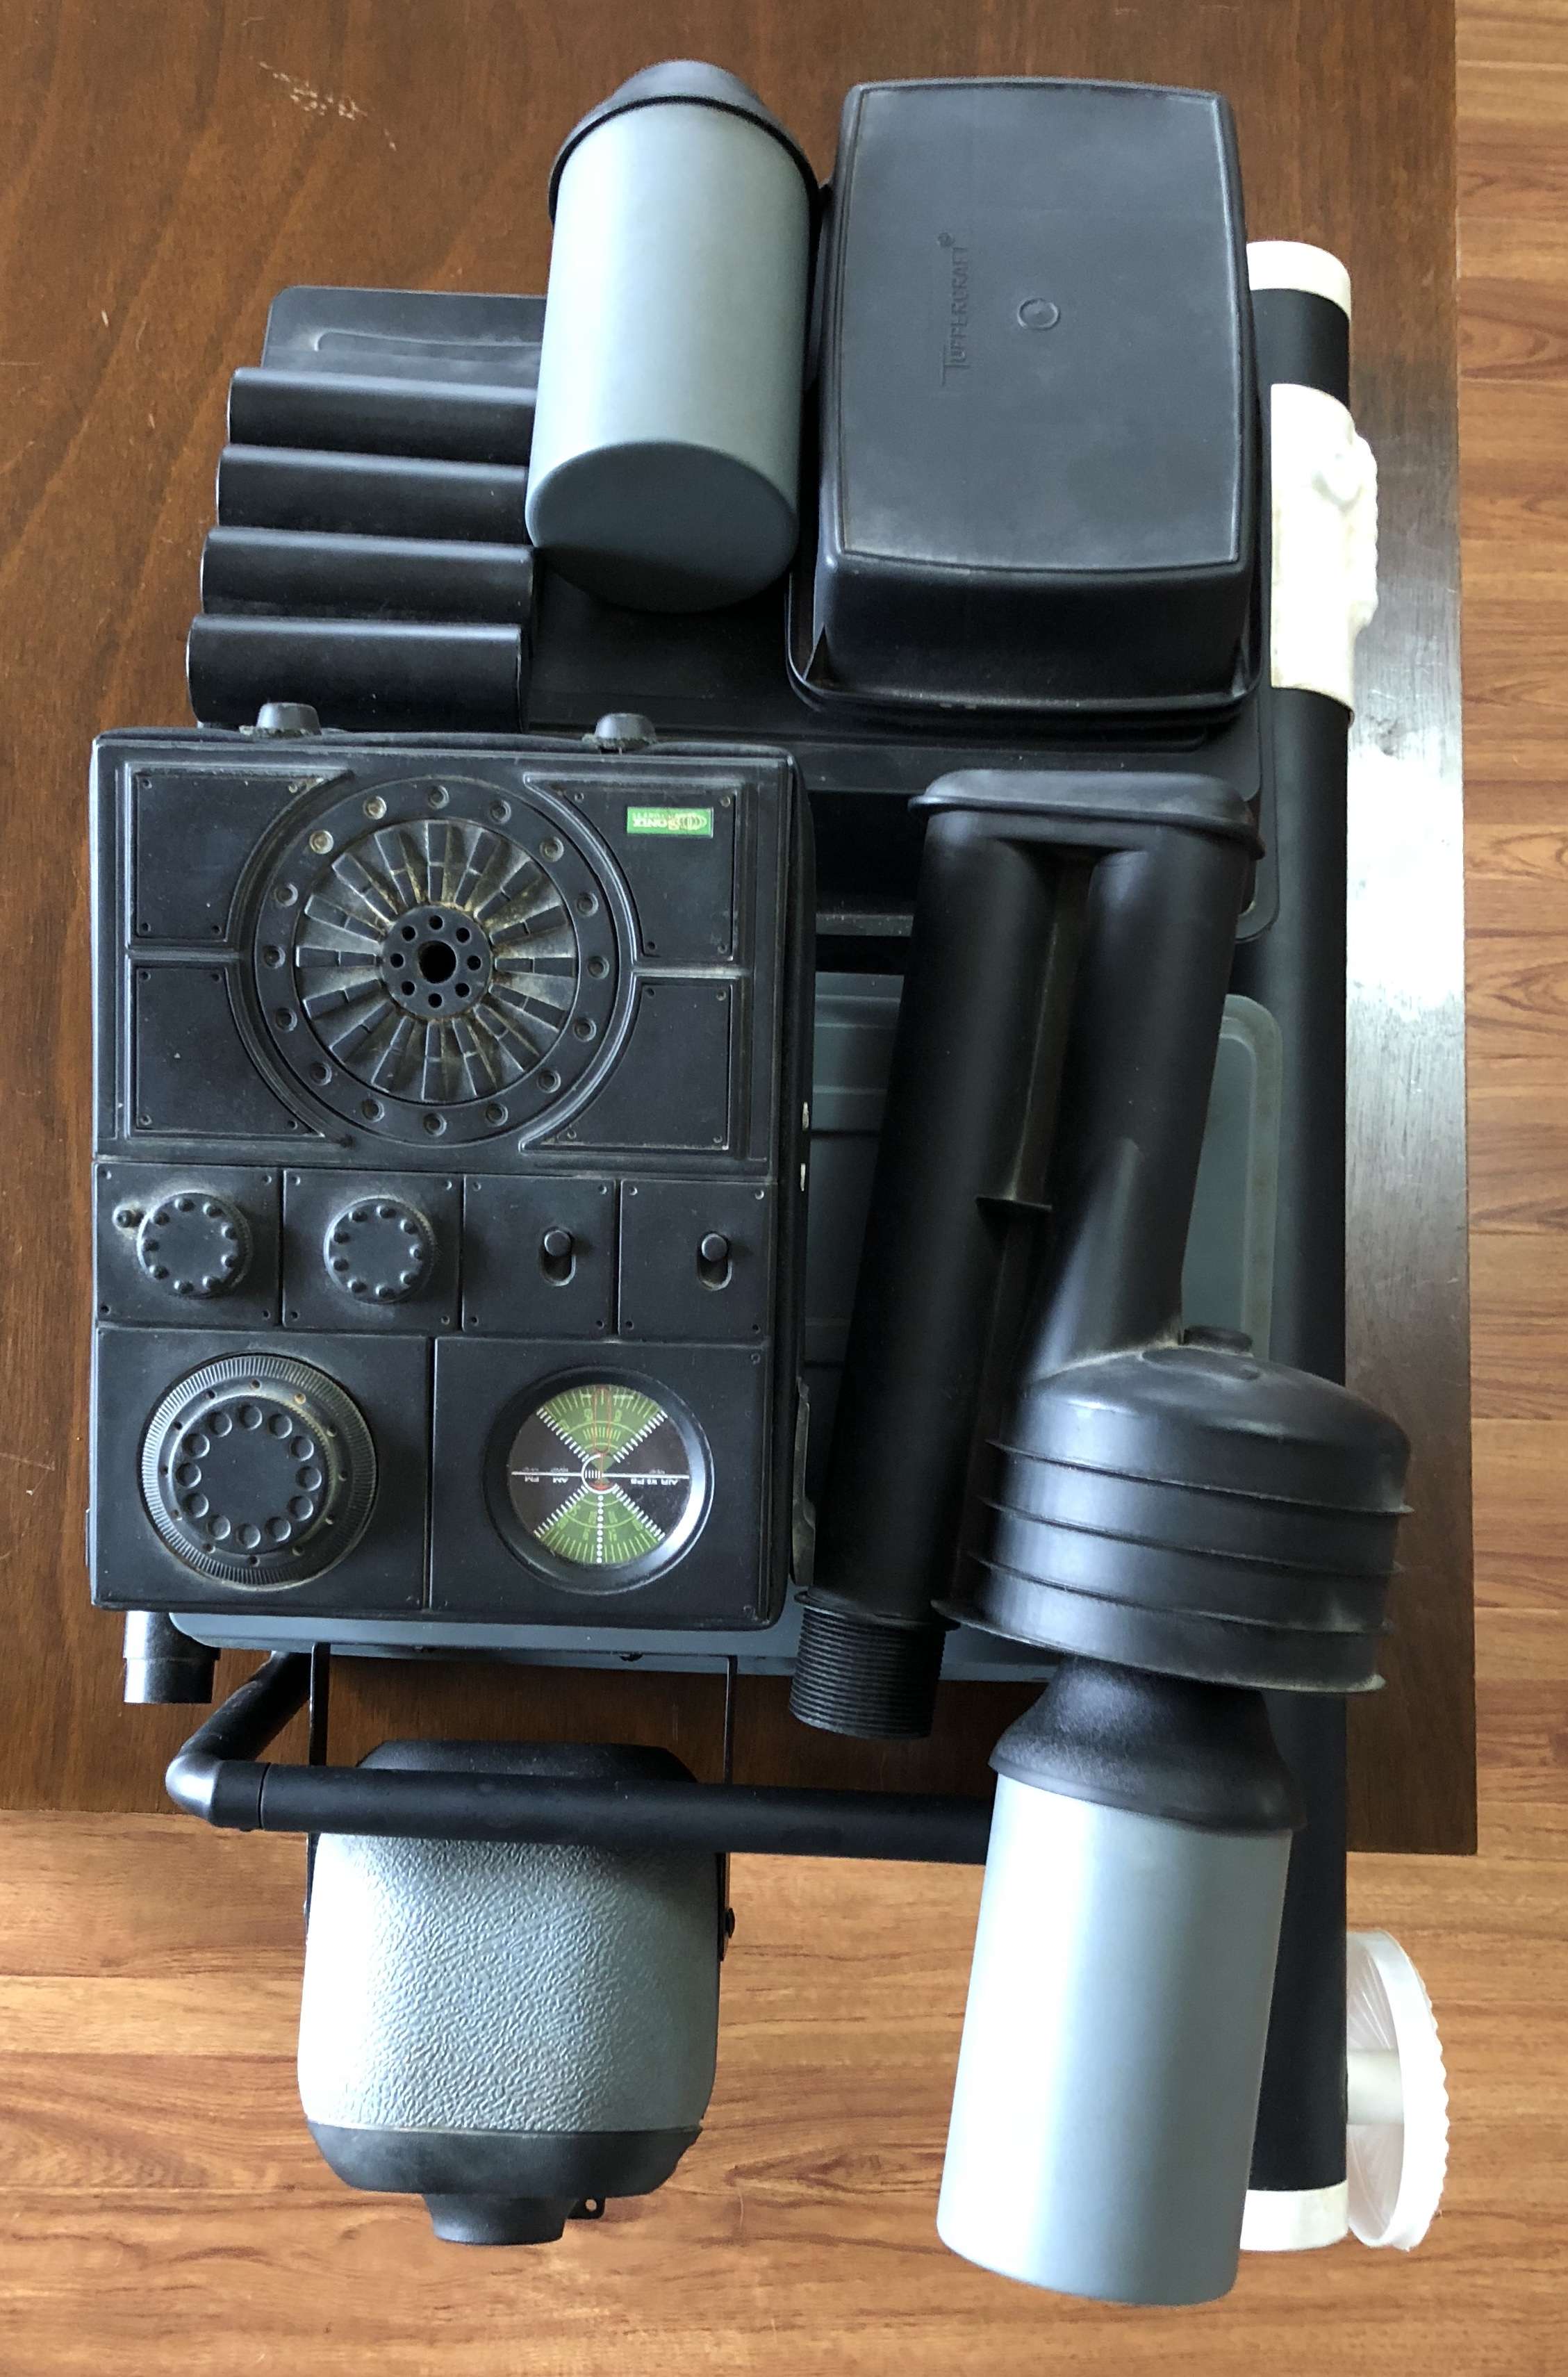
Both requested item’s have now been rectified. Please let me know if there is anything else you would like me to change.
-
 1
1
-
-
The radar dish is done
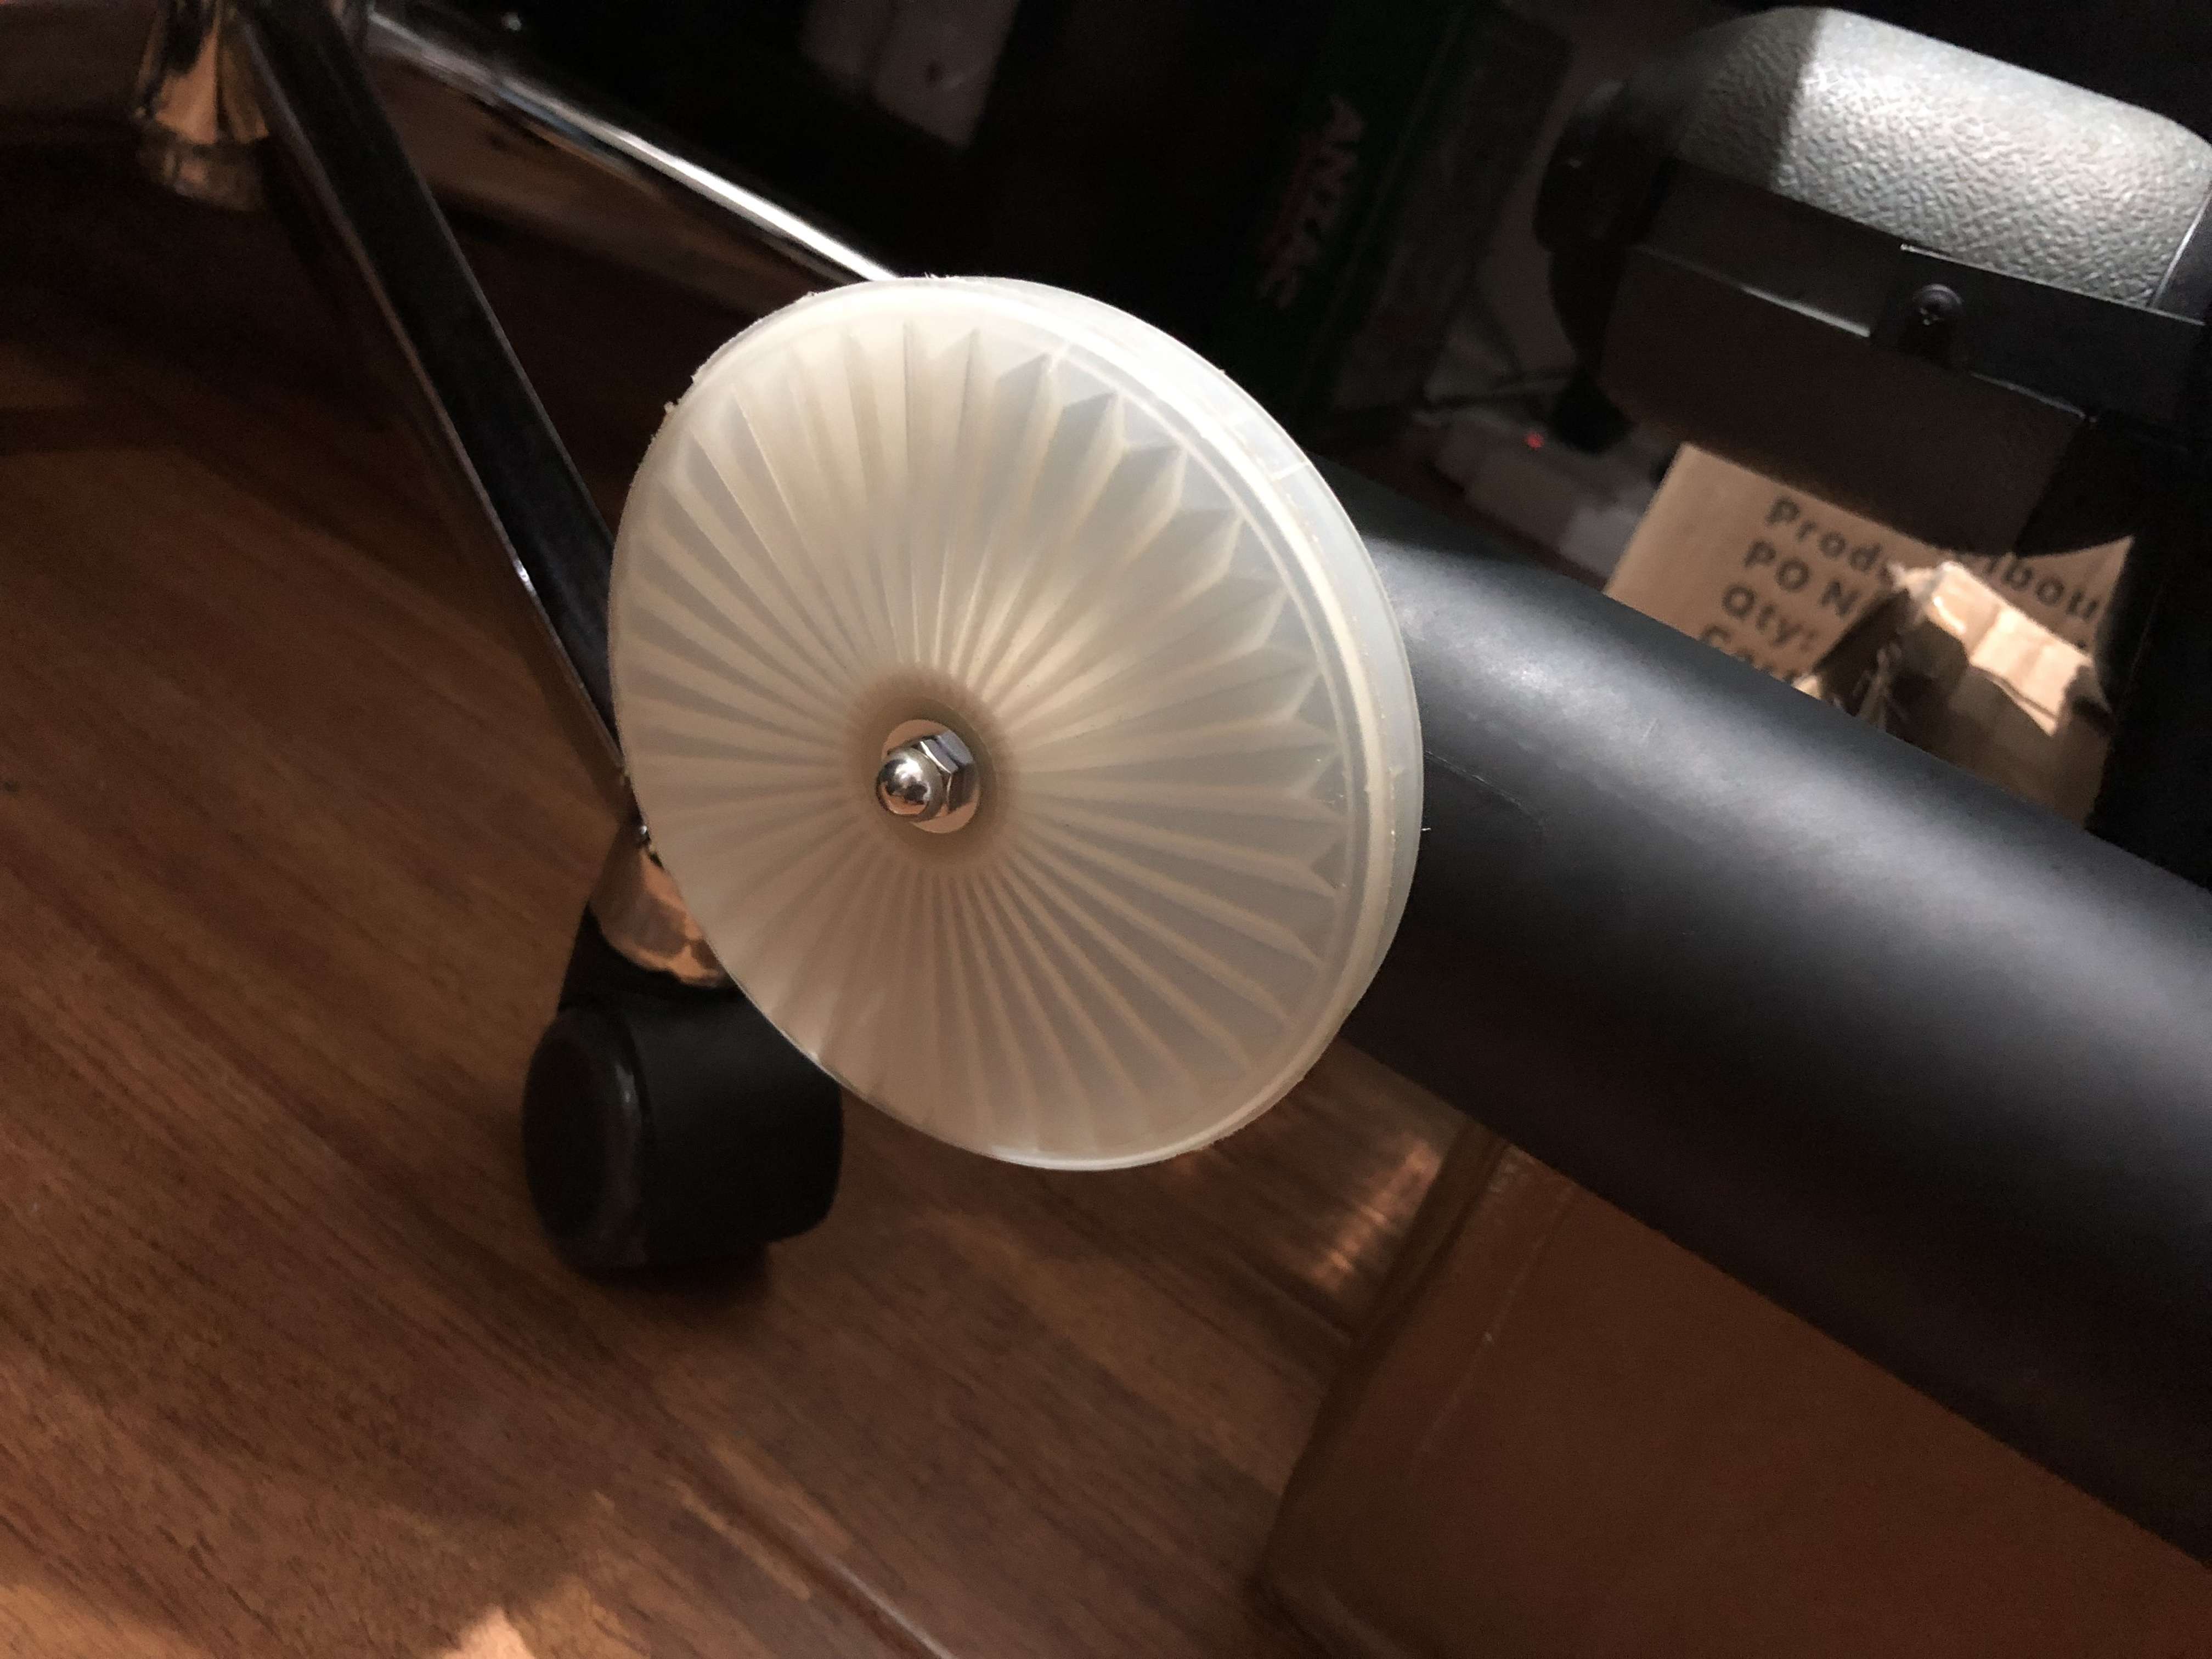
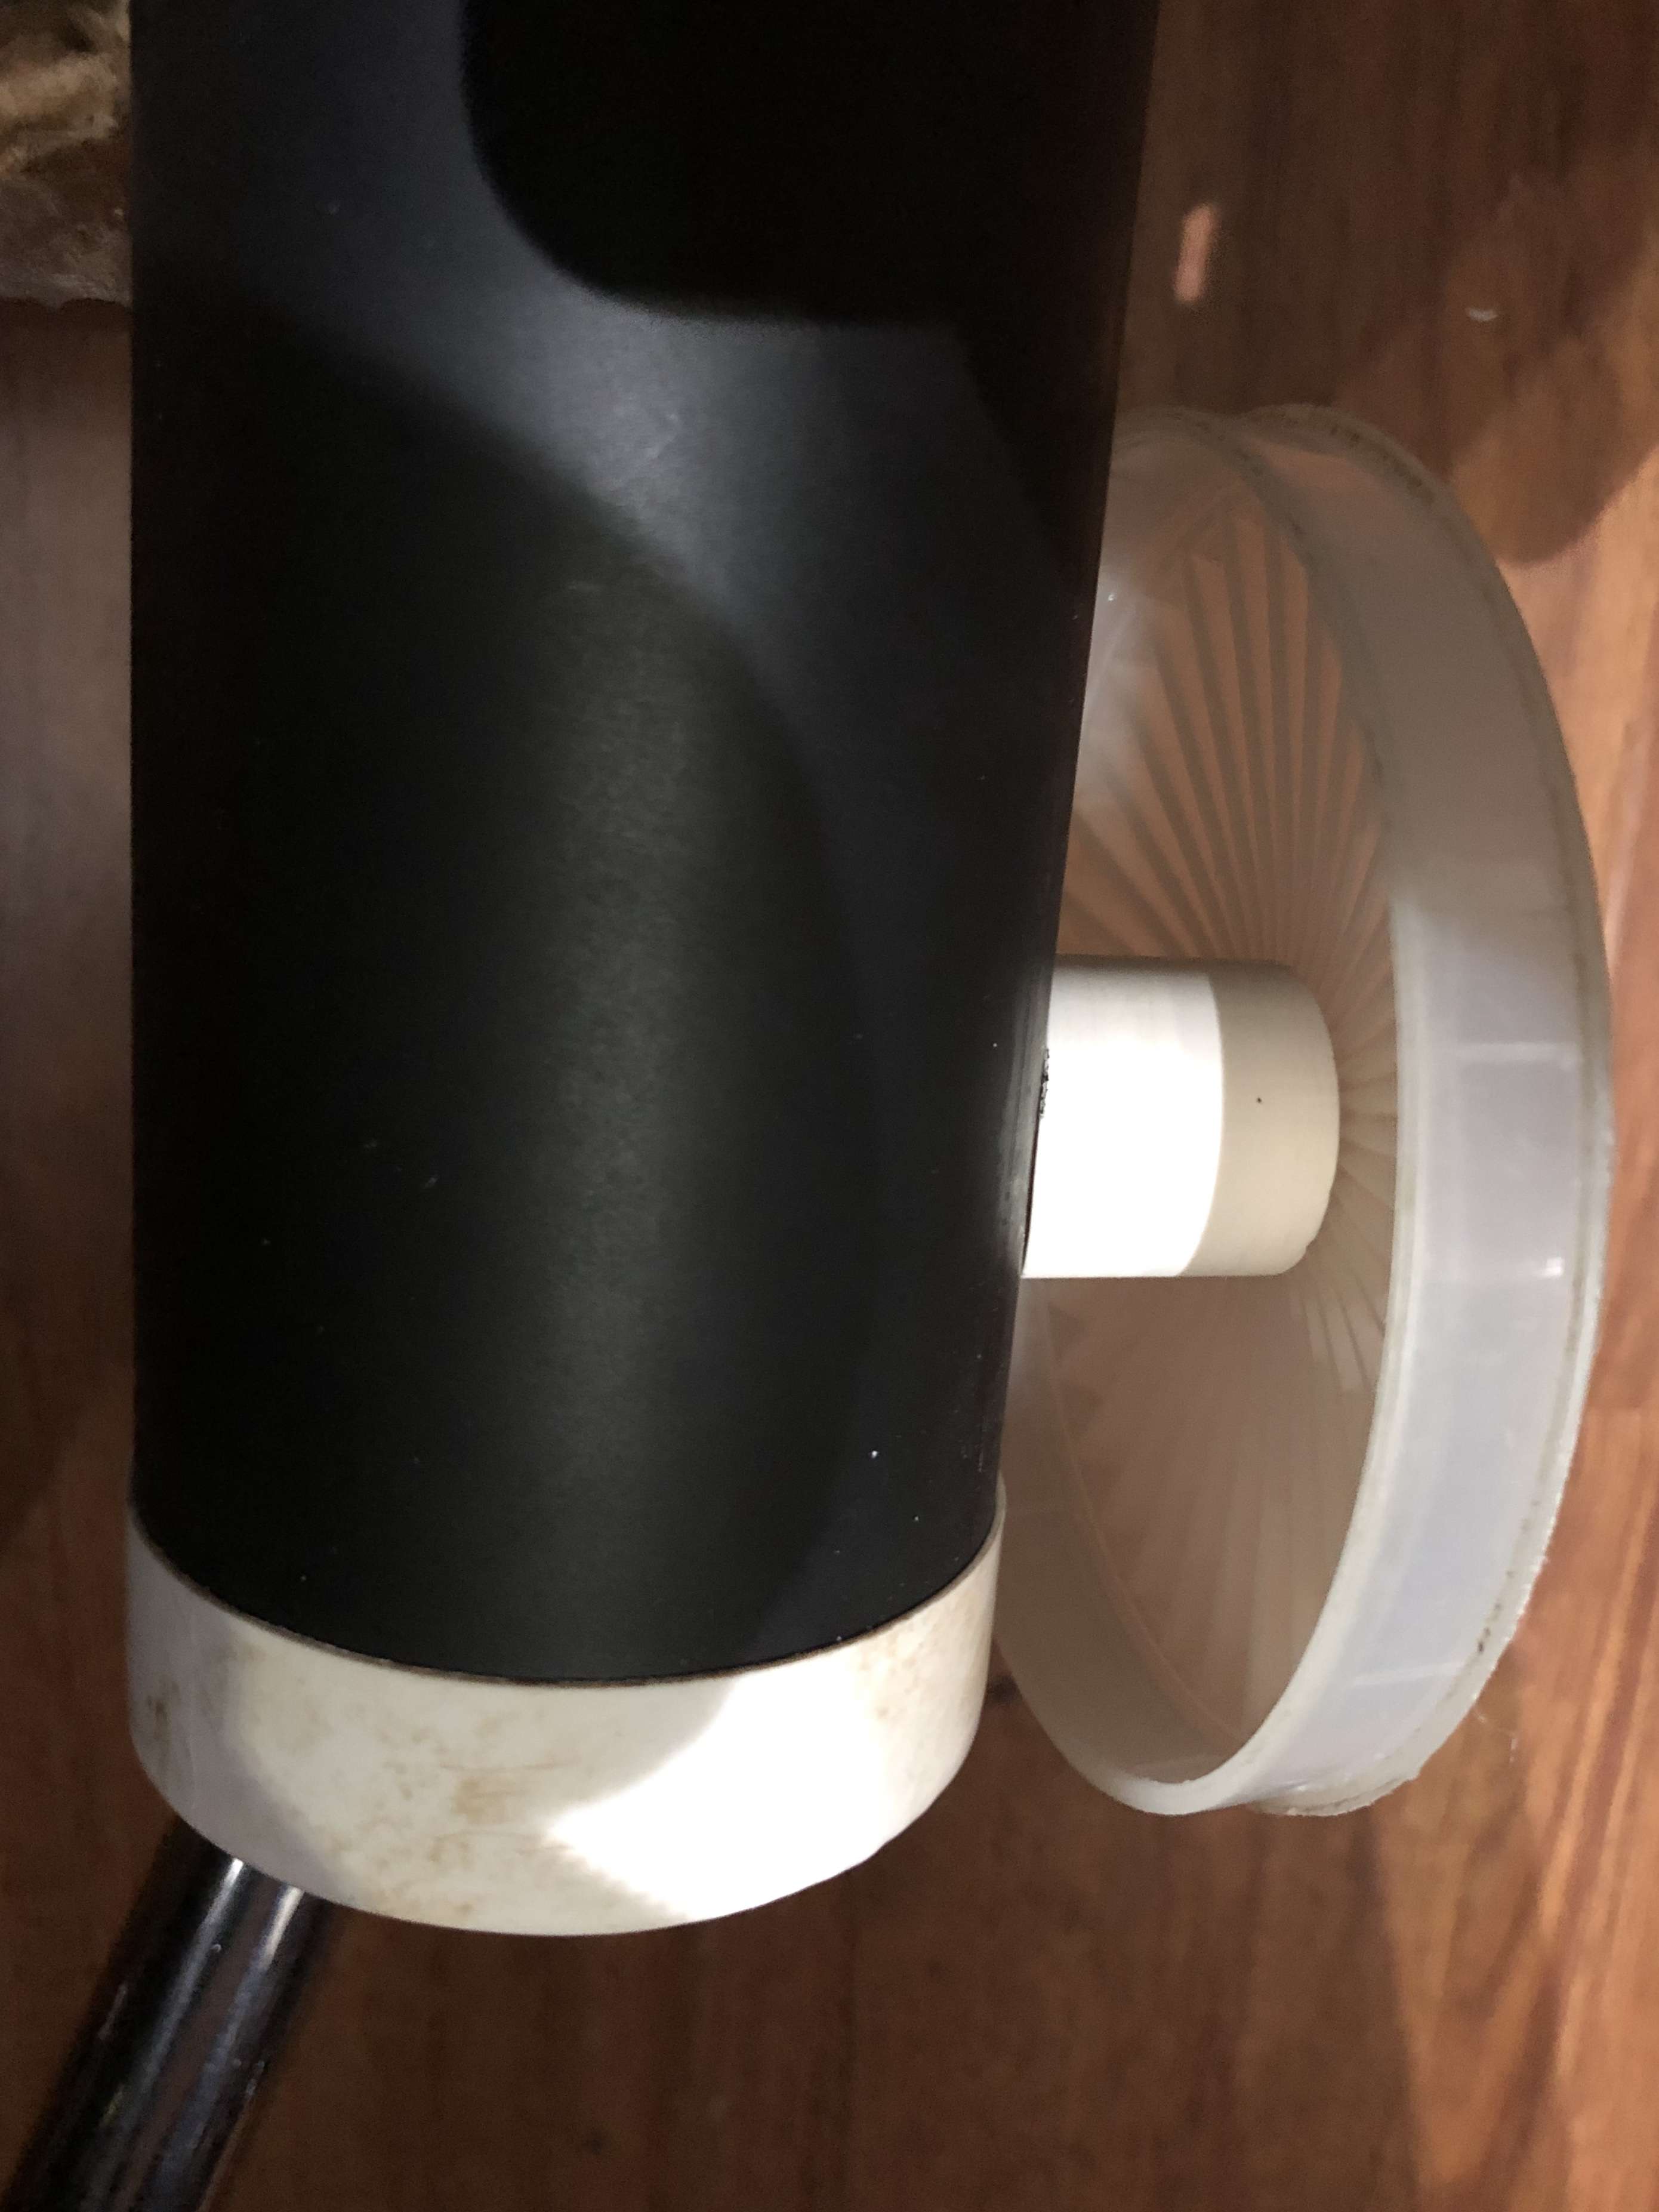
Just working on the bottles now, will post overall pics of the pack once complete
-
Many thanks, glad a couple of you like it.
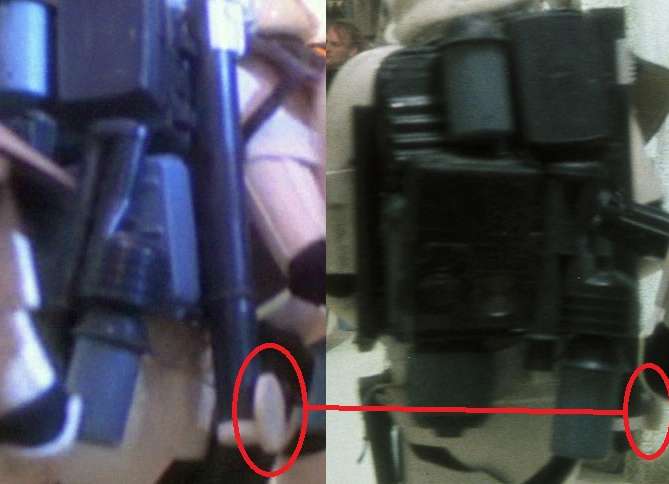
To smooth the siphon I gave it a light sand, then used 2 layers of spray putty, sanding with 400 grade wet dry in between coats. After that I put on a coat primer filler, sand then the black colour. With the seed trays I found that pack 4 has a 3 rib tray for bottom set (picture pulled from my PO application, thanks Bigwam)
Since the last update I have managed to build the corrugated section on the left side of the top tray. Was made from 30mm PVC pipe, same size I used for the lab pipe
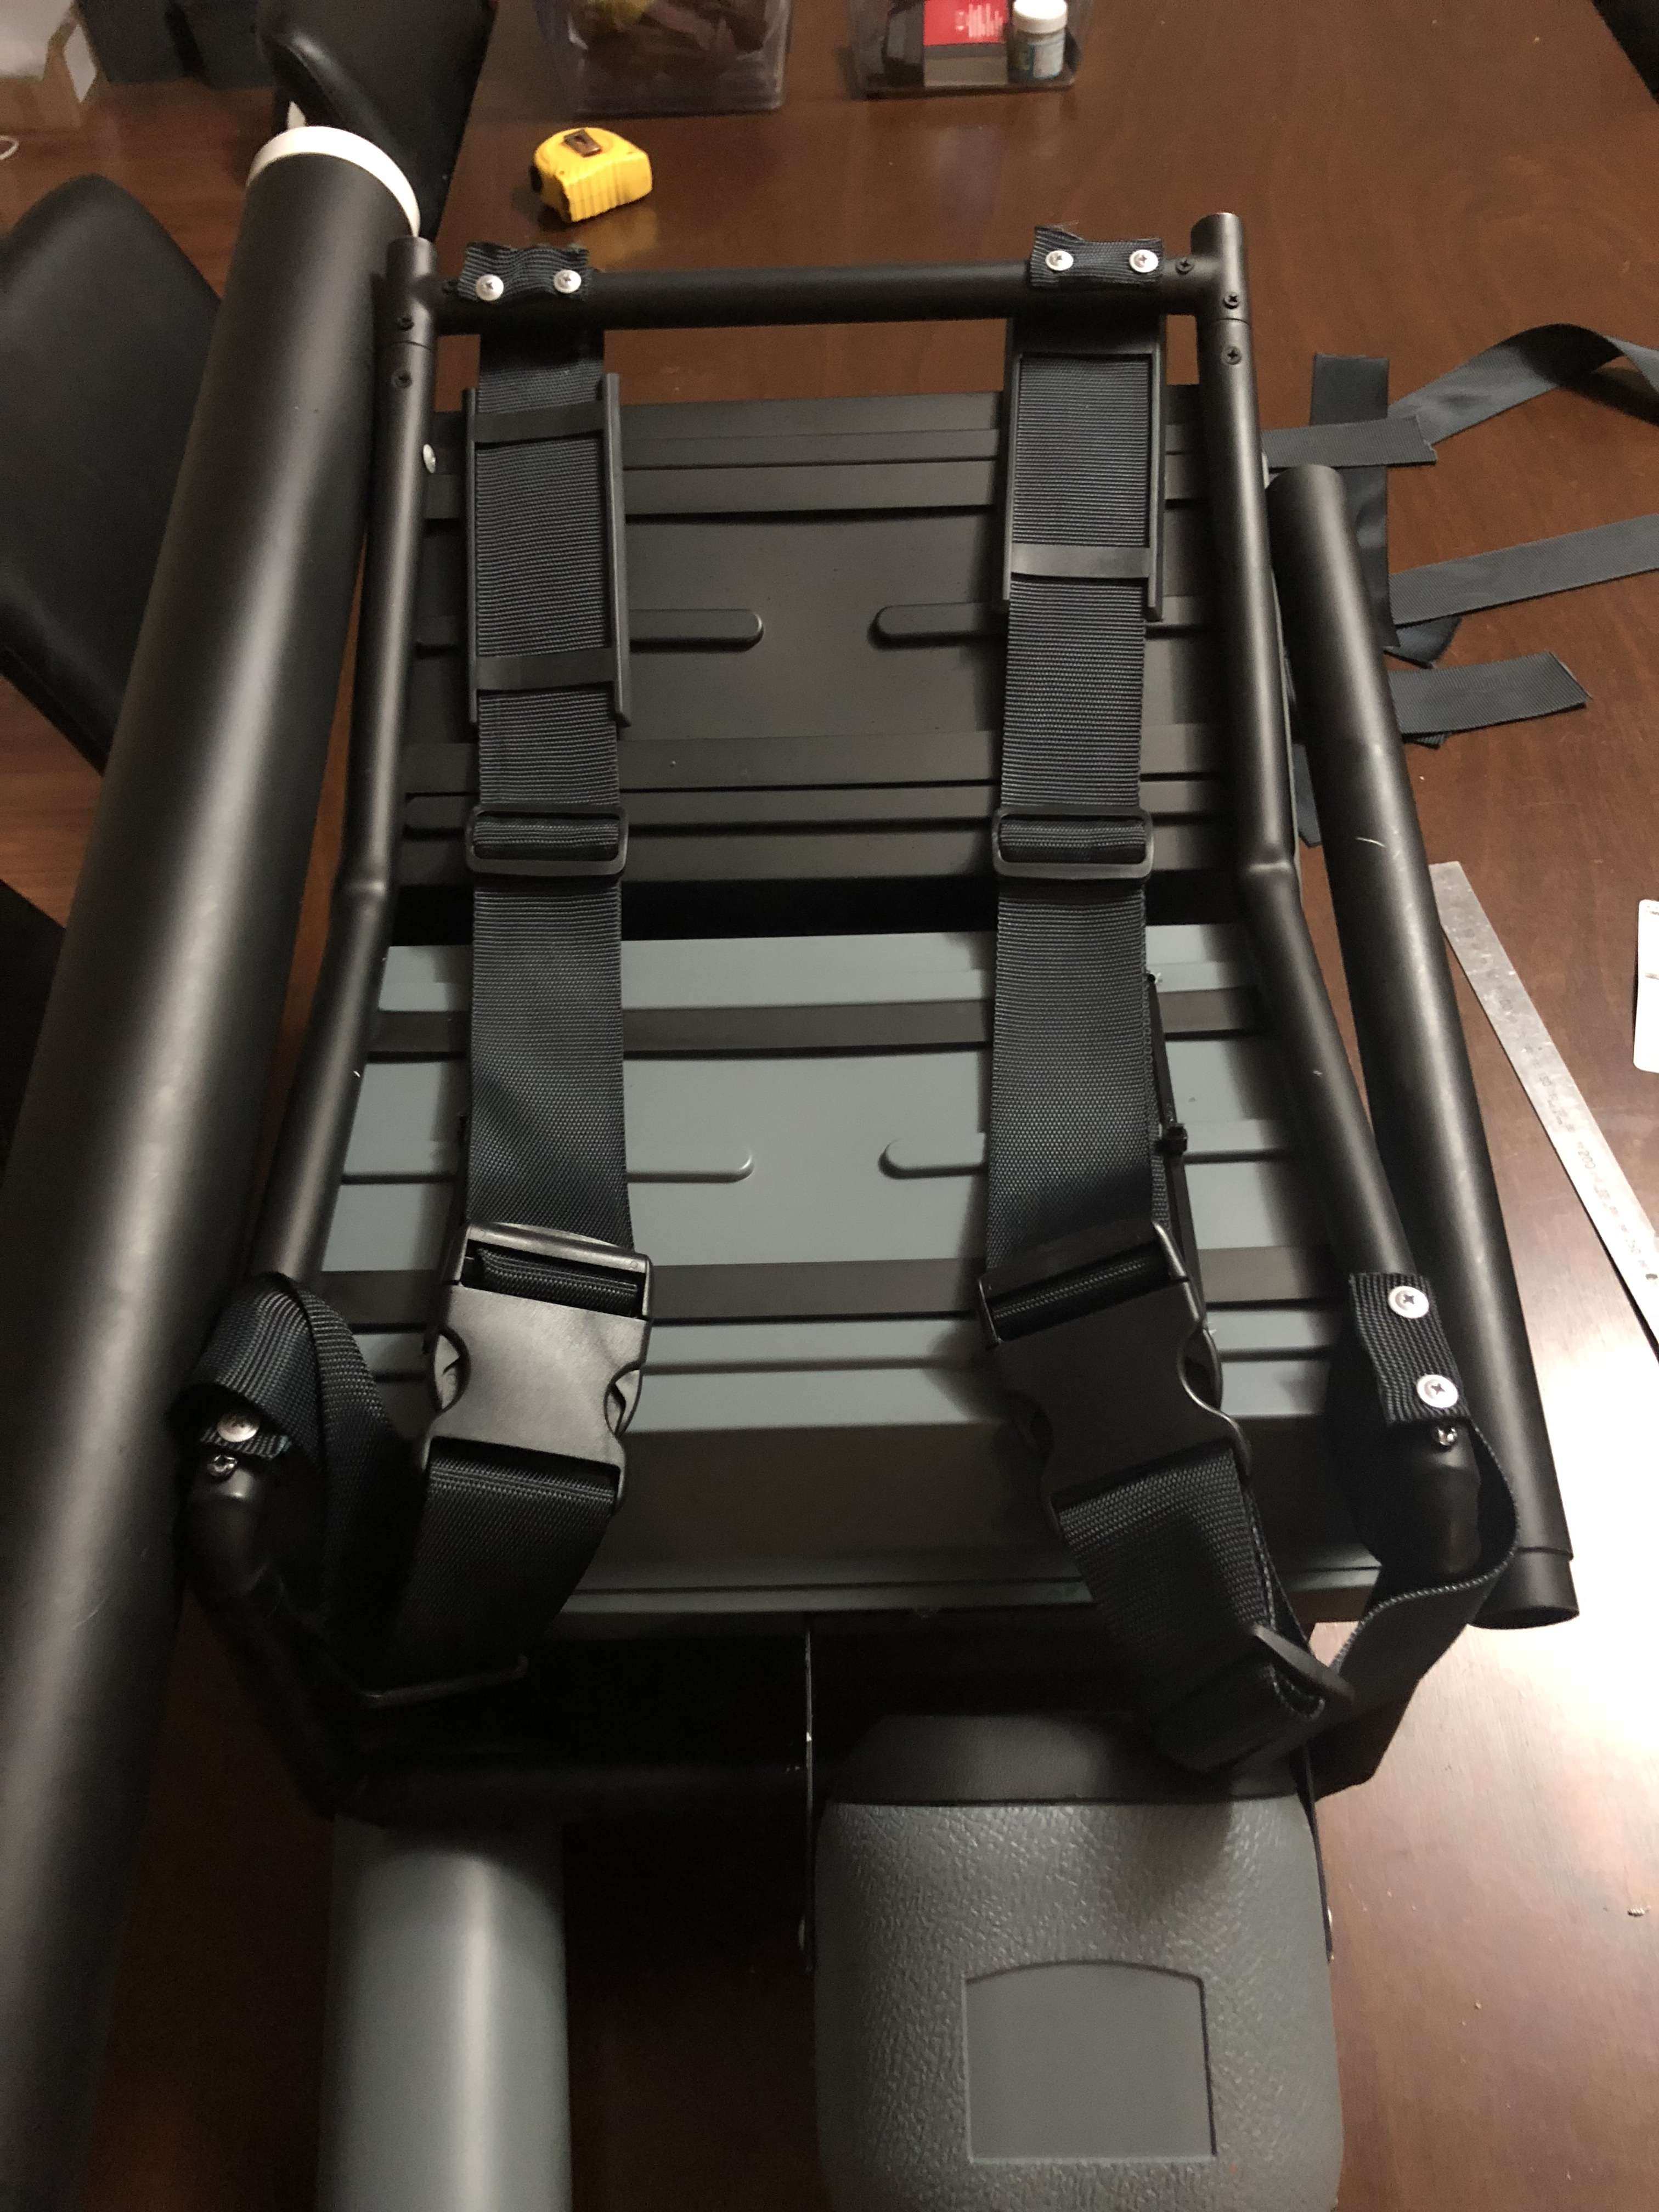
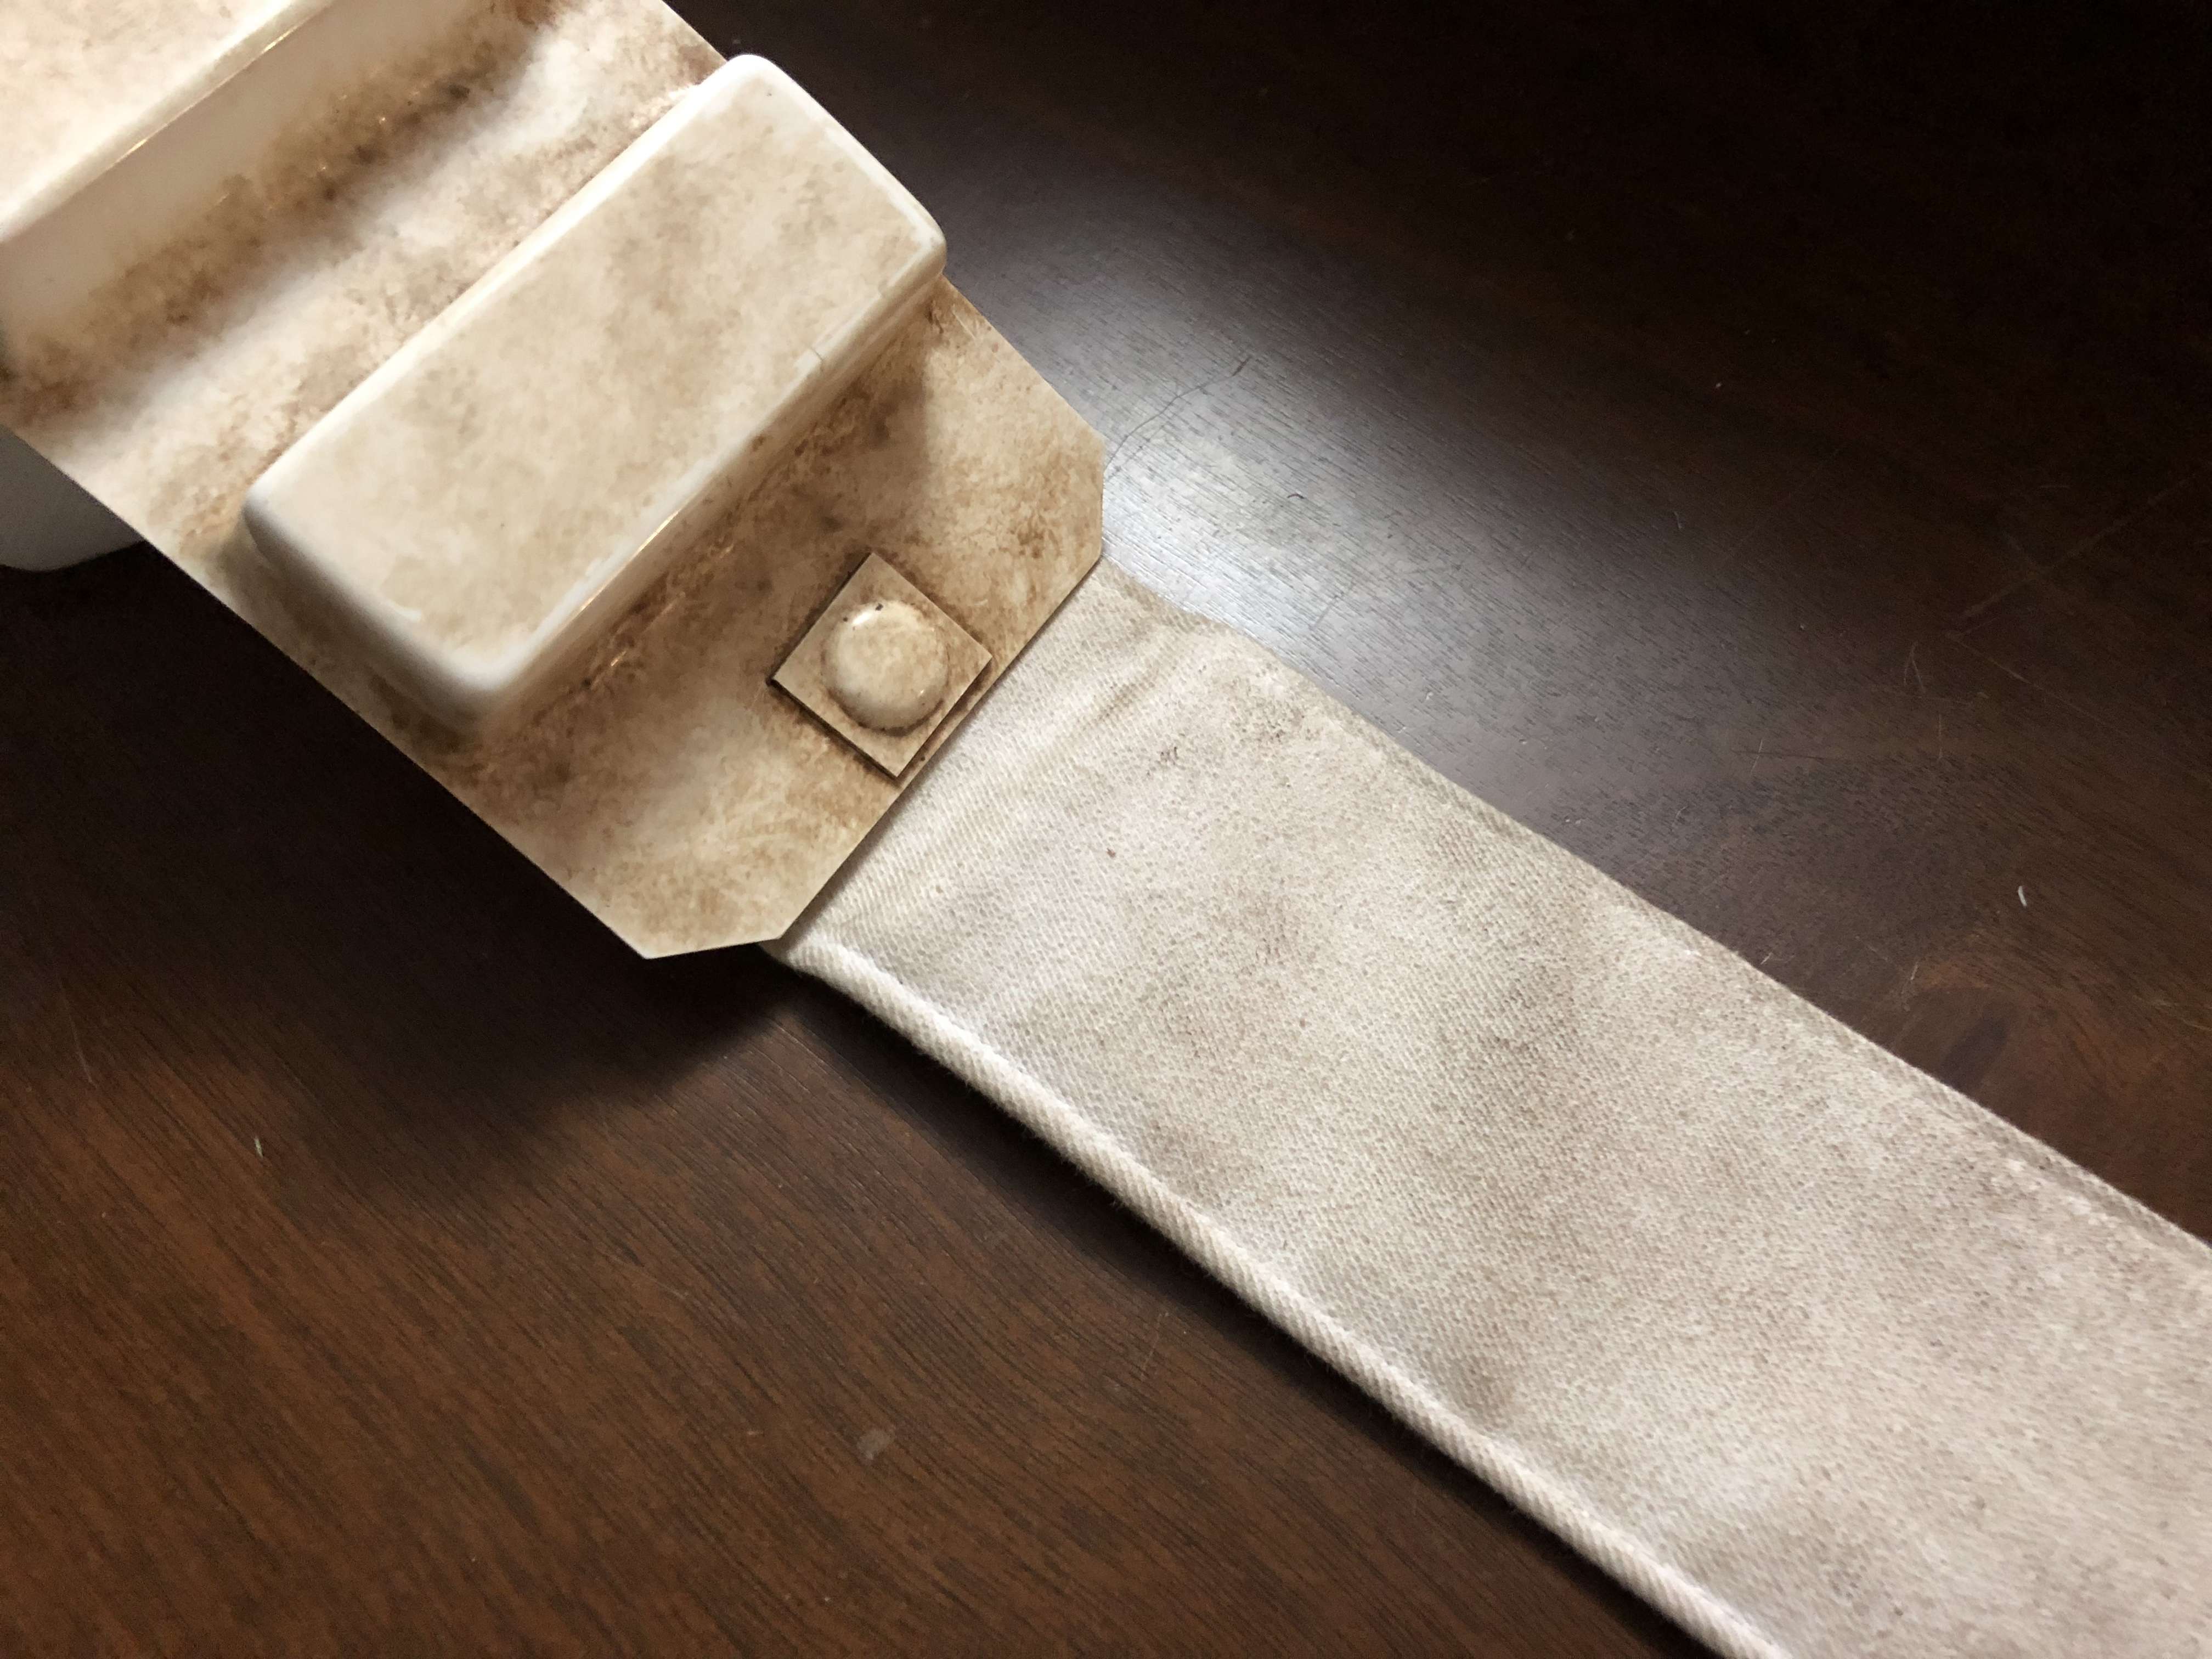
I also made my straps out of 50mm nylon strapping with size adjusters on both sides of the clip connector.
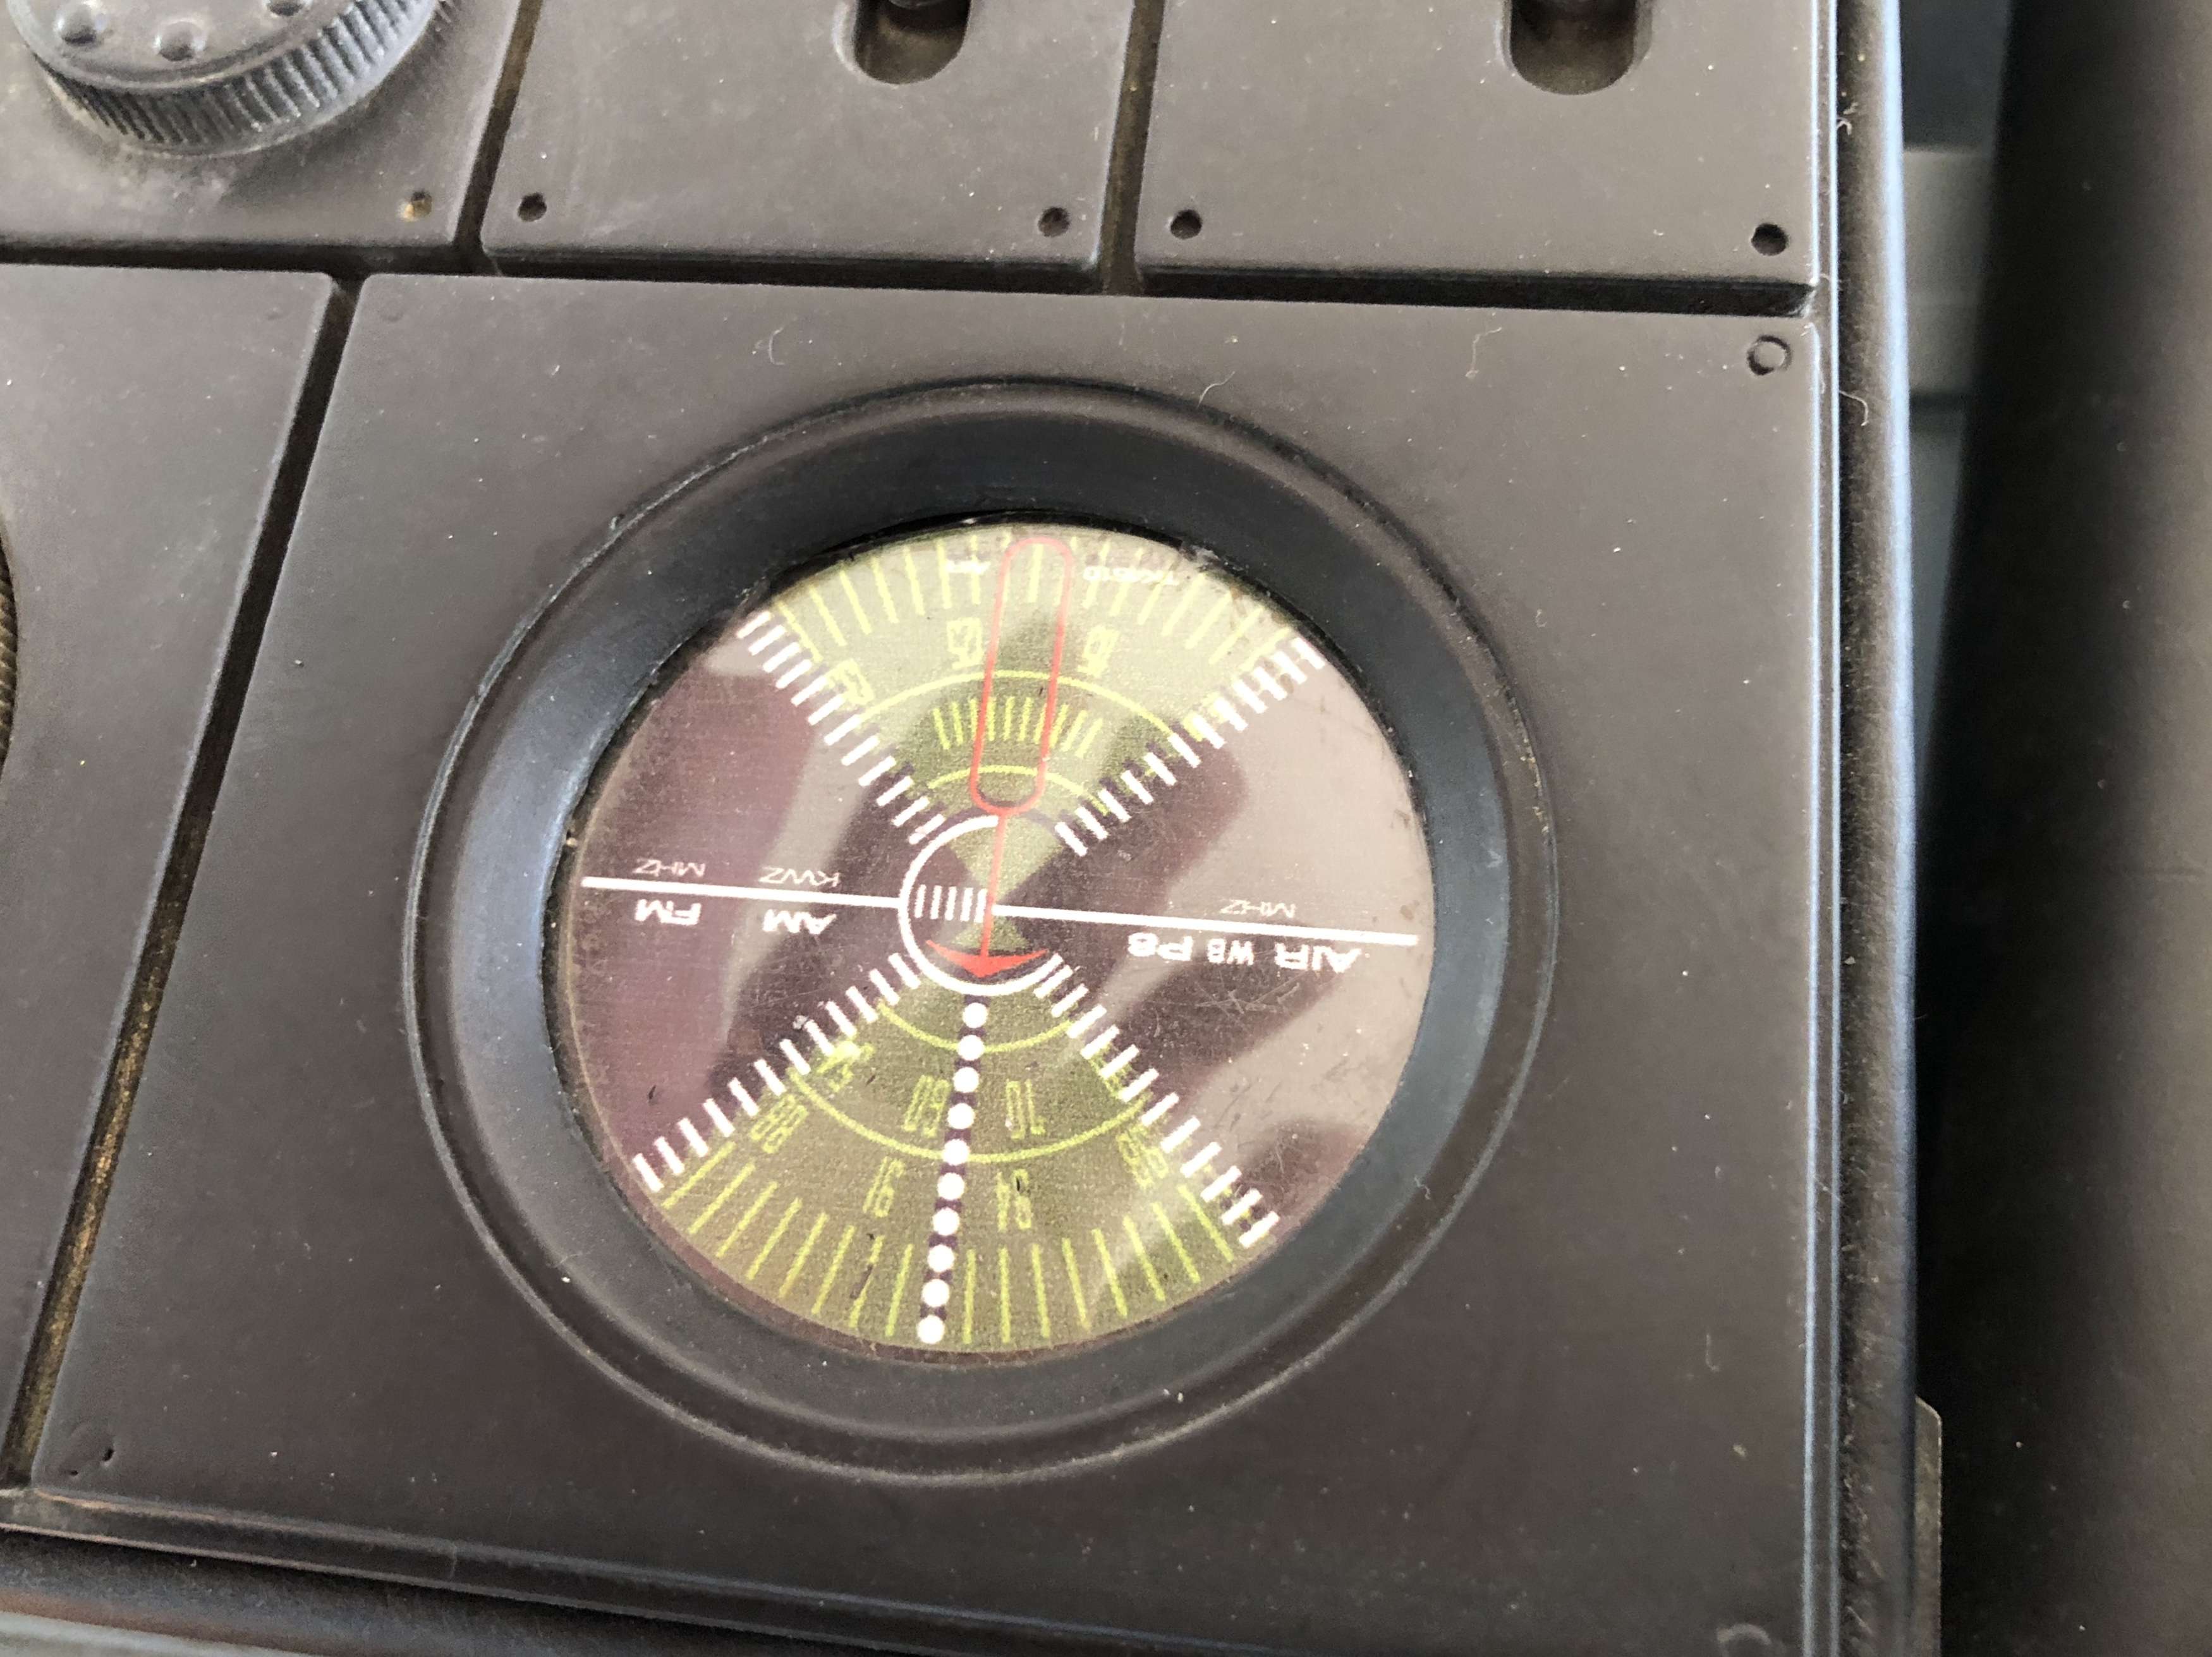
Even put some clear plastic in the dial face of the sonix to simulate the lens
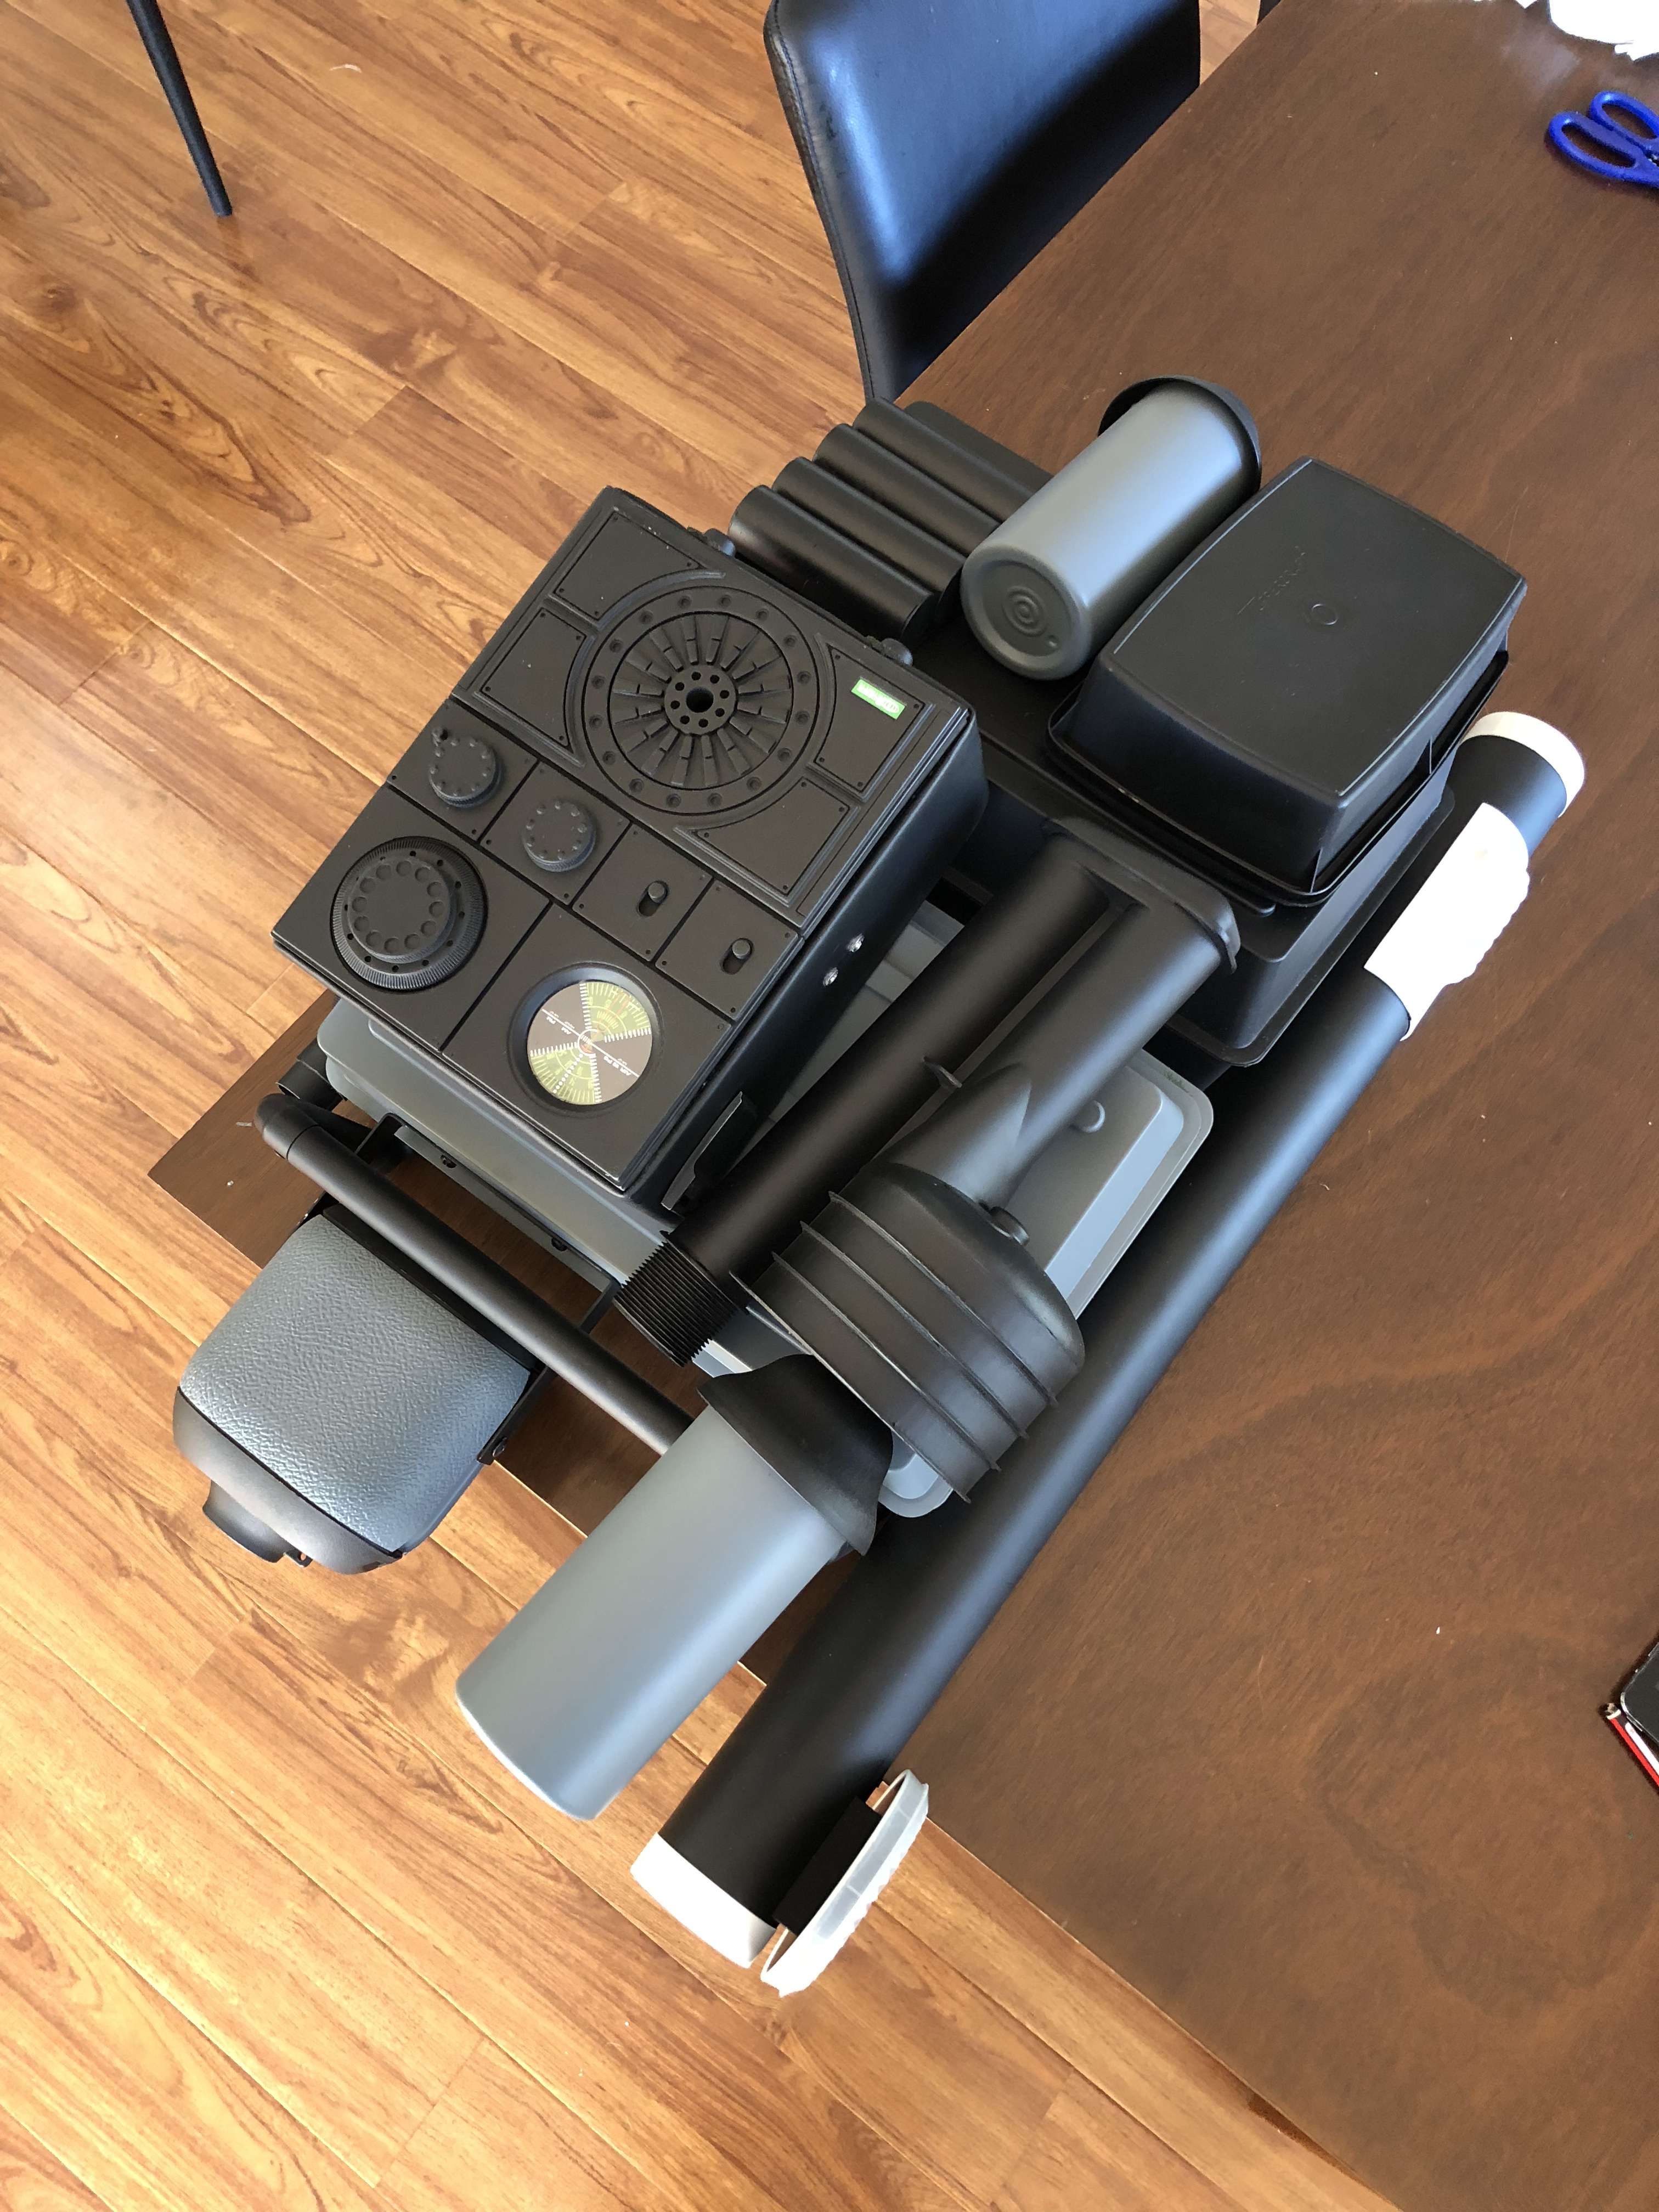
Then fix the top tray in place and it was complete
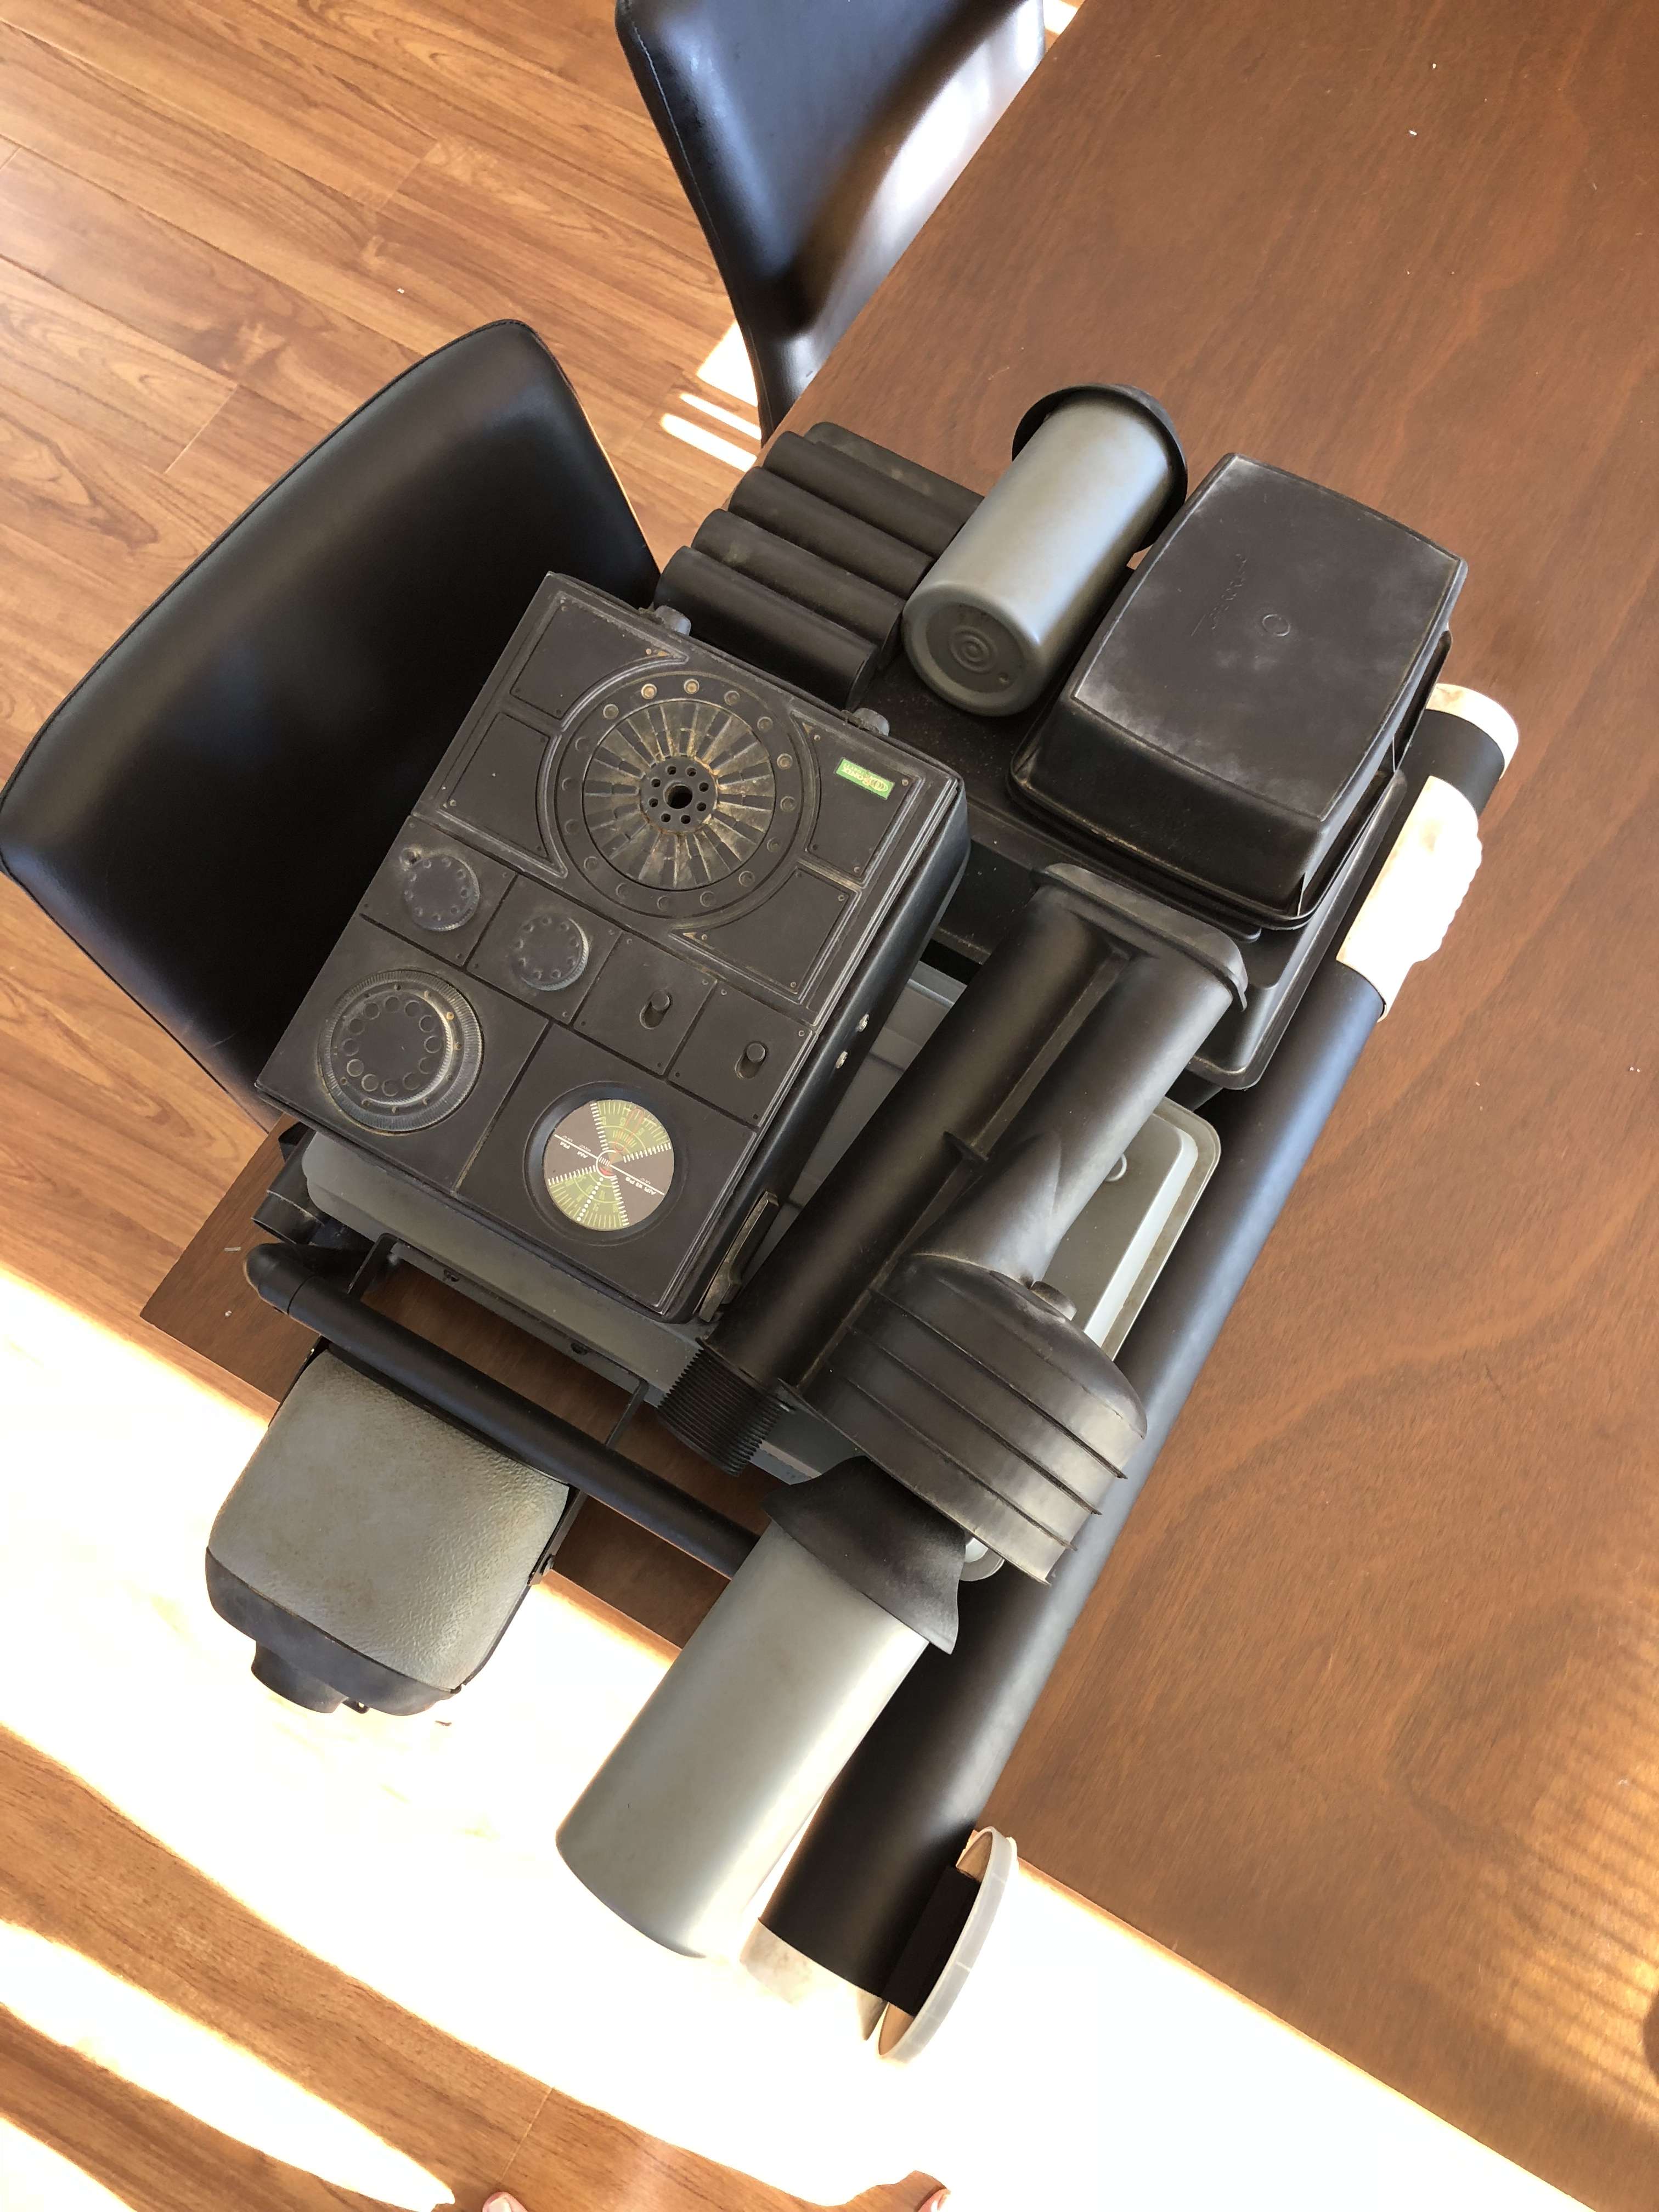
Then after a little weathering
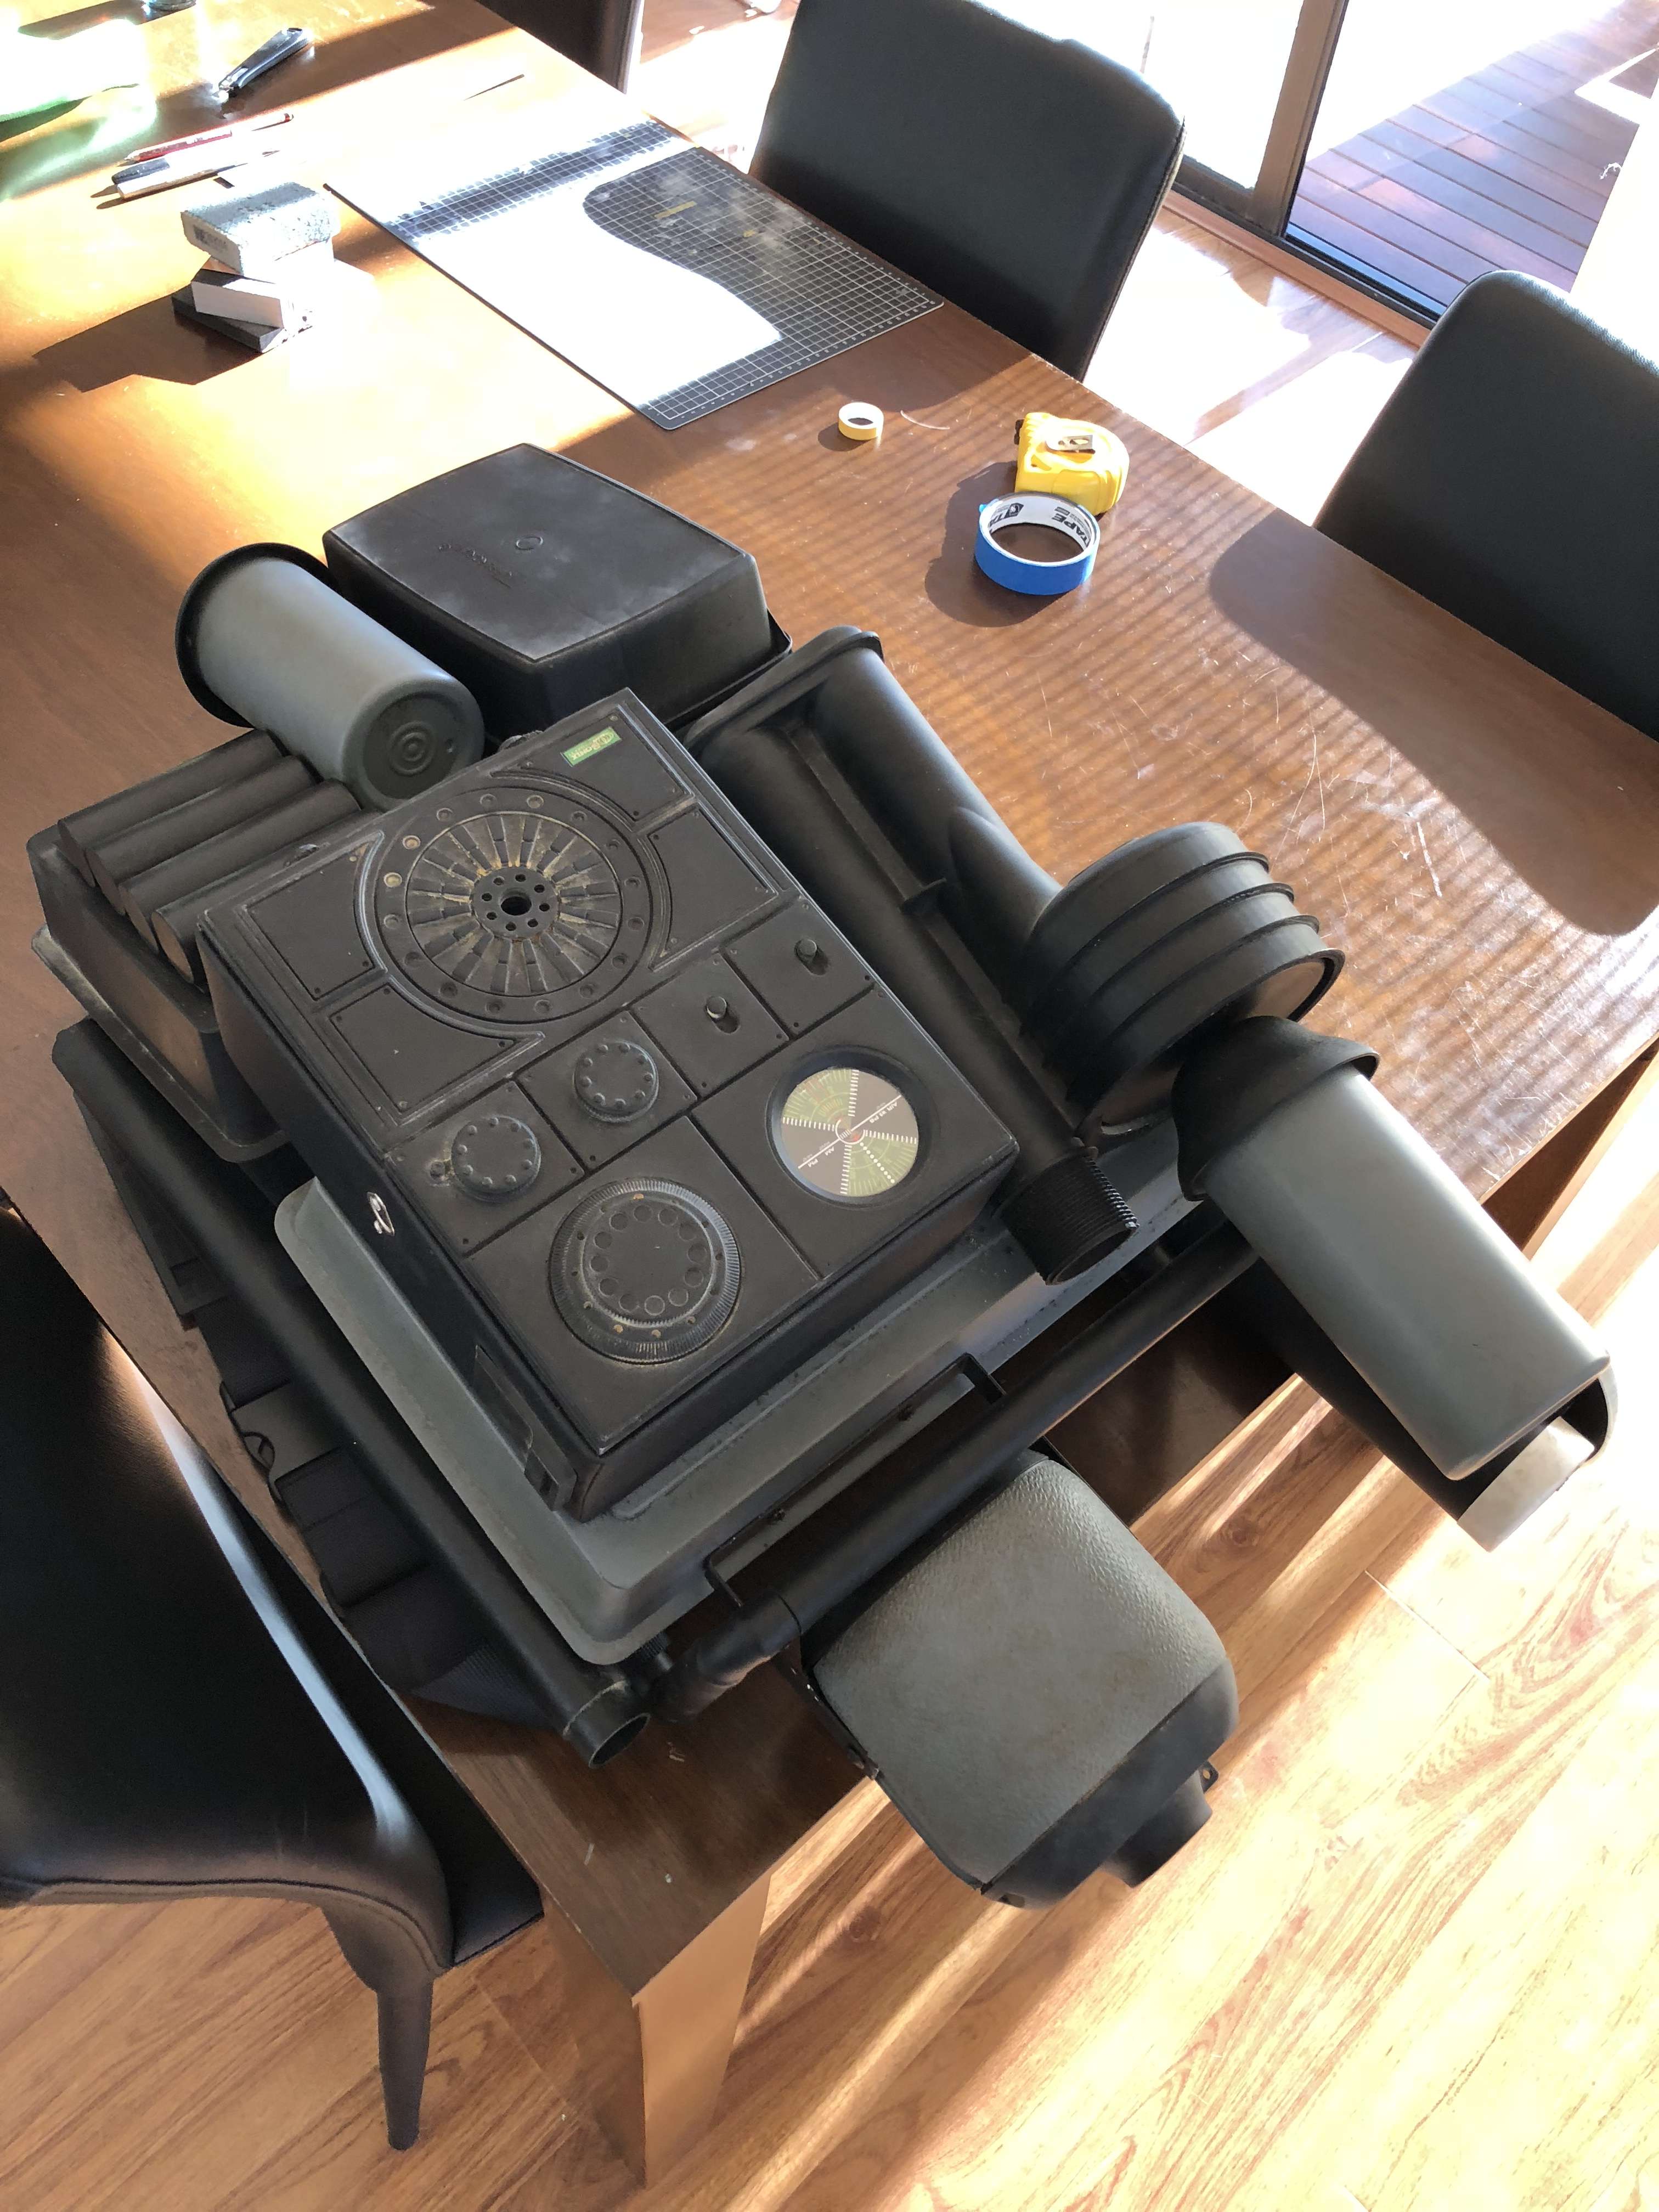
-
 1
1
-
-
Thanks for the speedy review! I will make the changes and be back ASAP.
I am glad you mentioned the no disc look as I though I had read that somewhere so I will remove my backing plate and will change the bottles.
-
Jason Brash
TD-86557 https://www.501st.com/members/displaymember.php?userID=24574&costumeID=2
Volksjager
Desert Scorpion Garrison
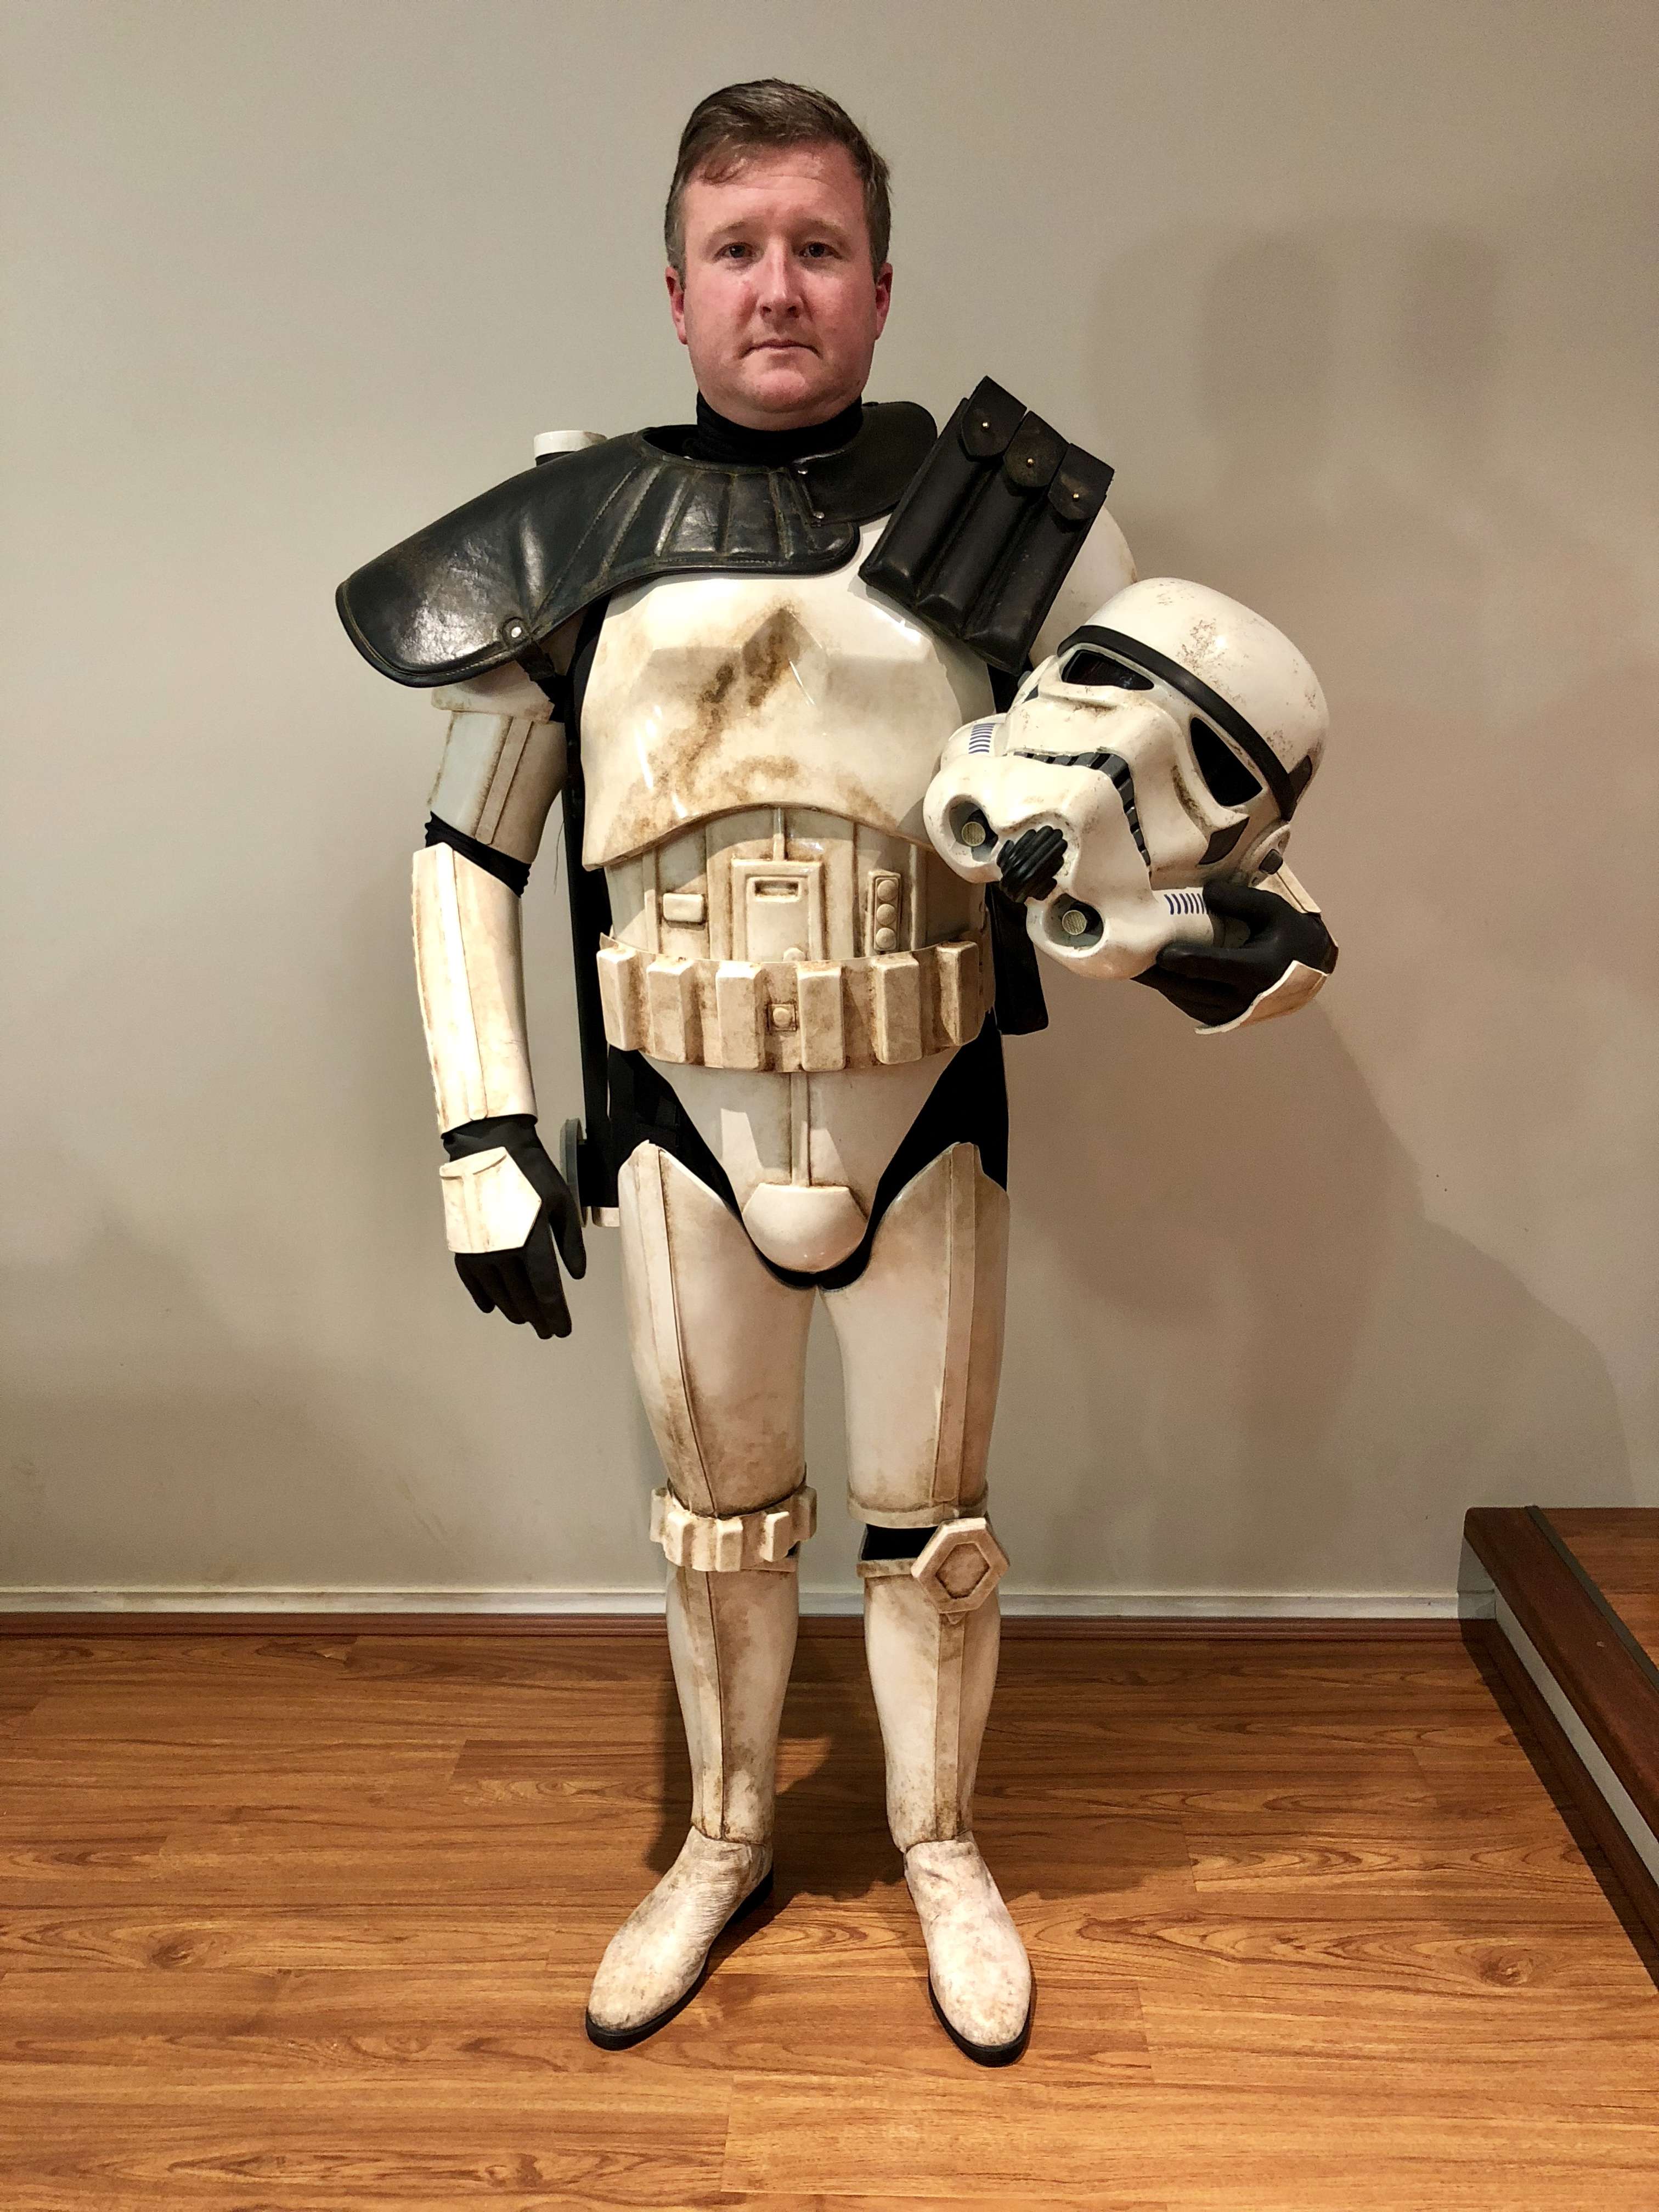
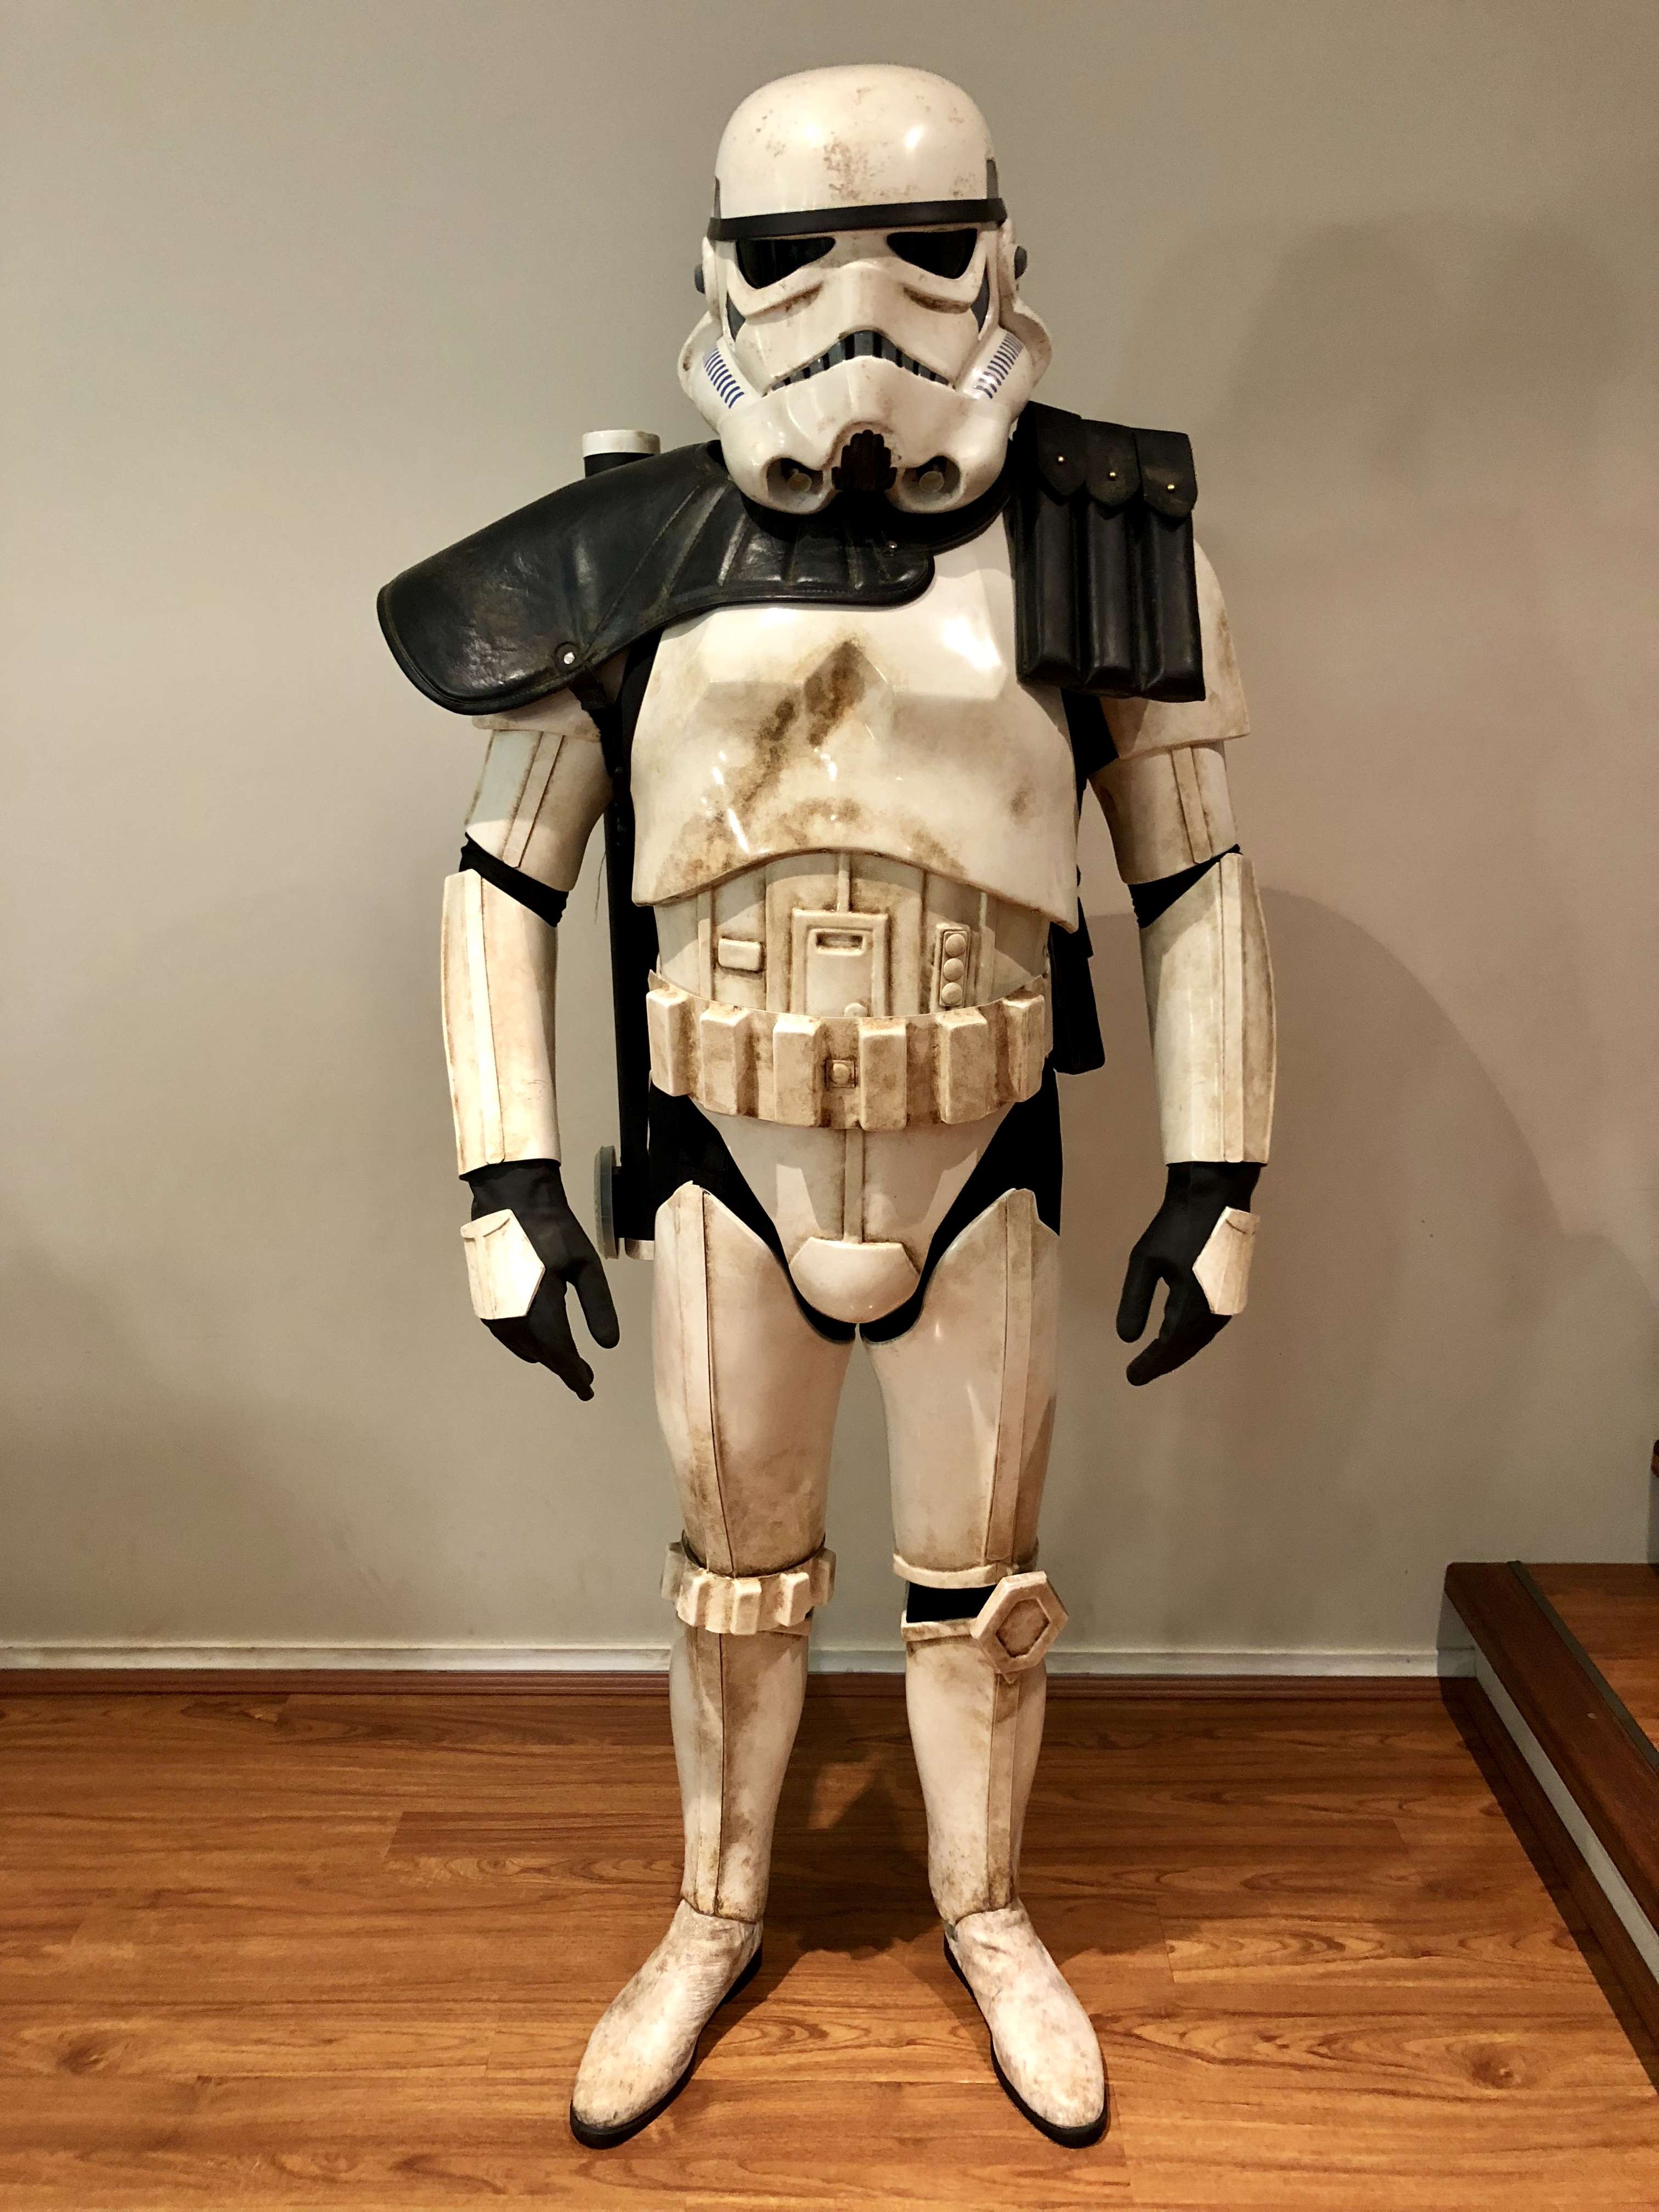
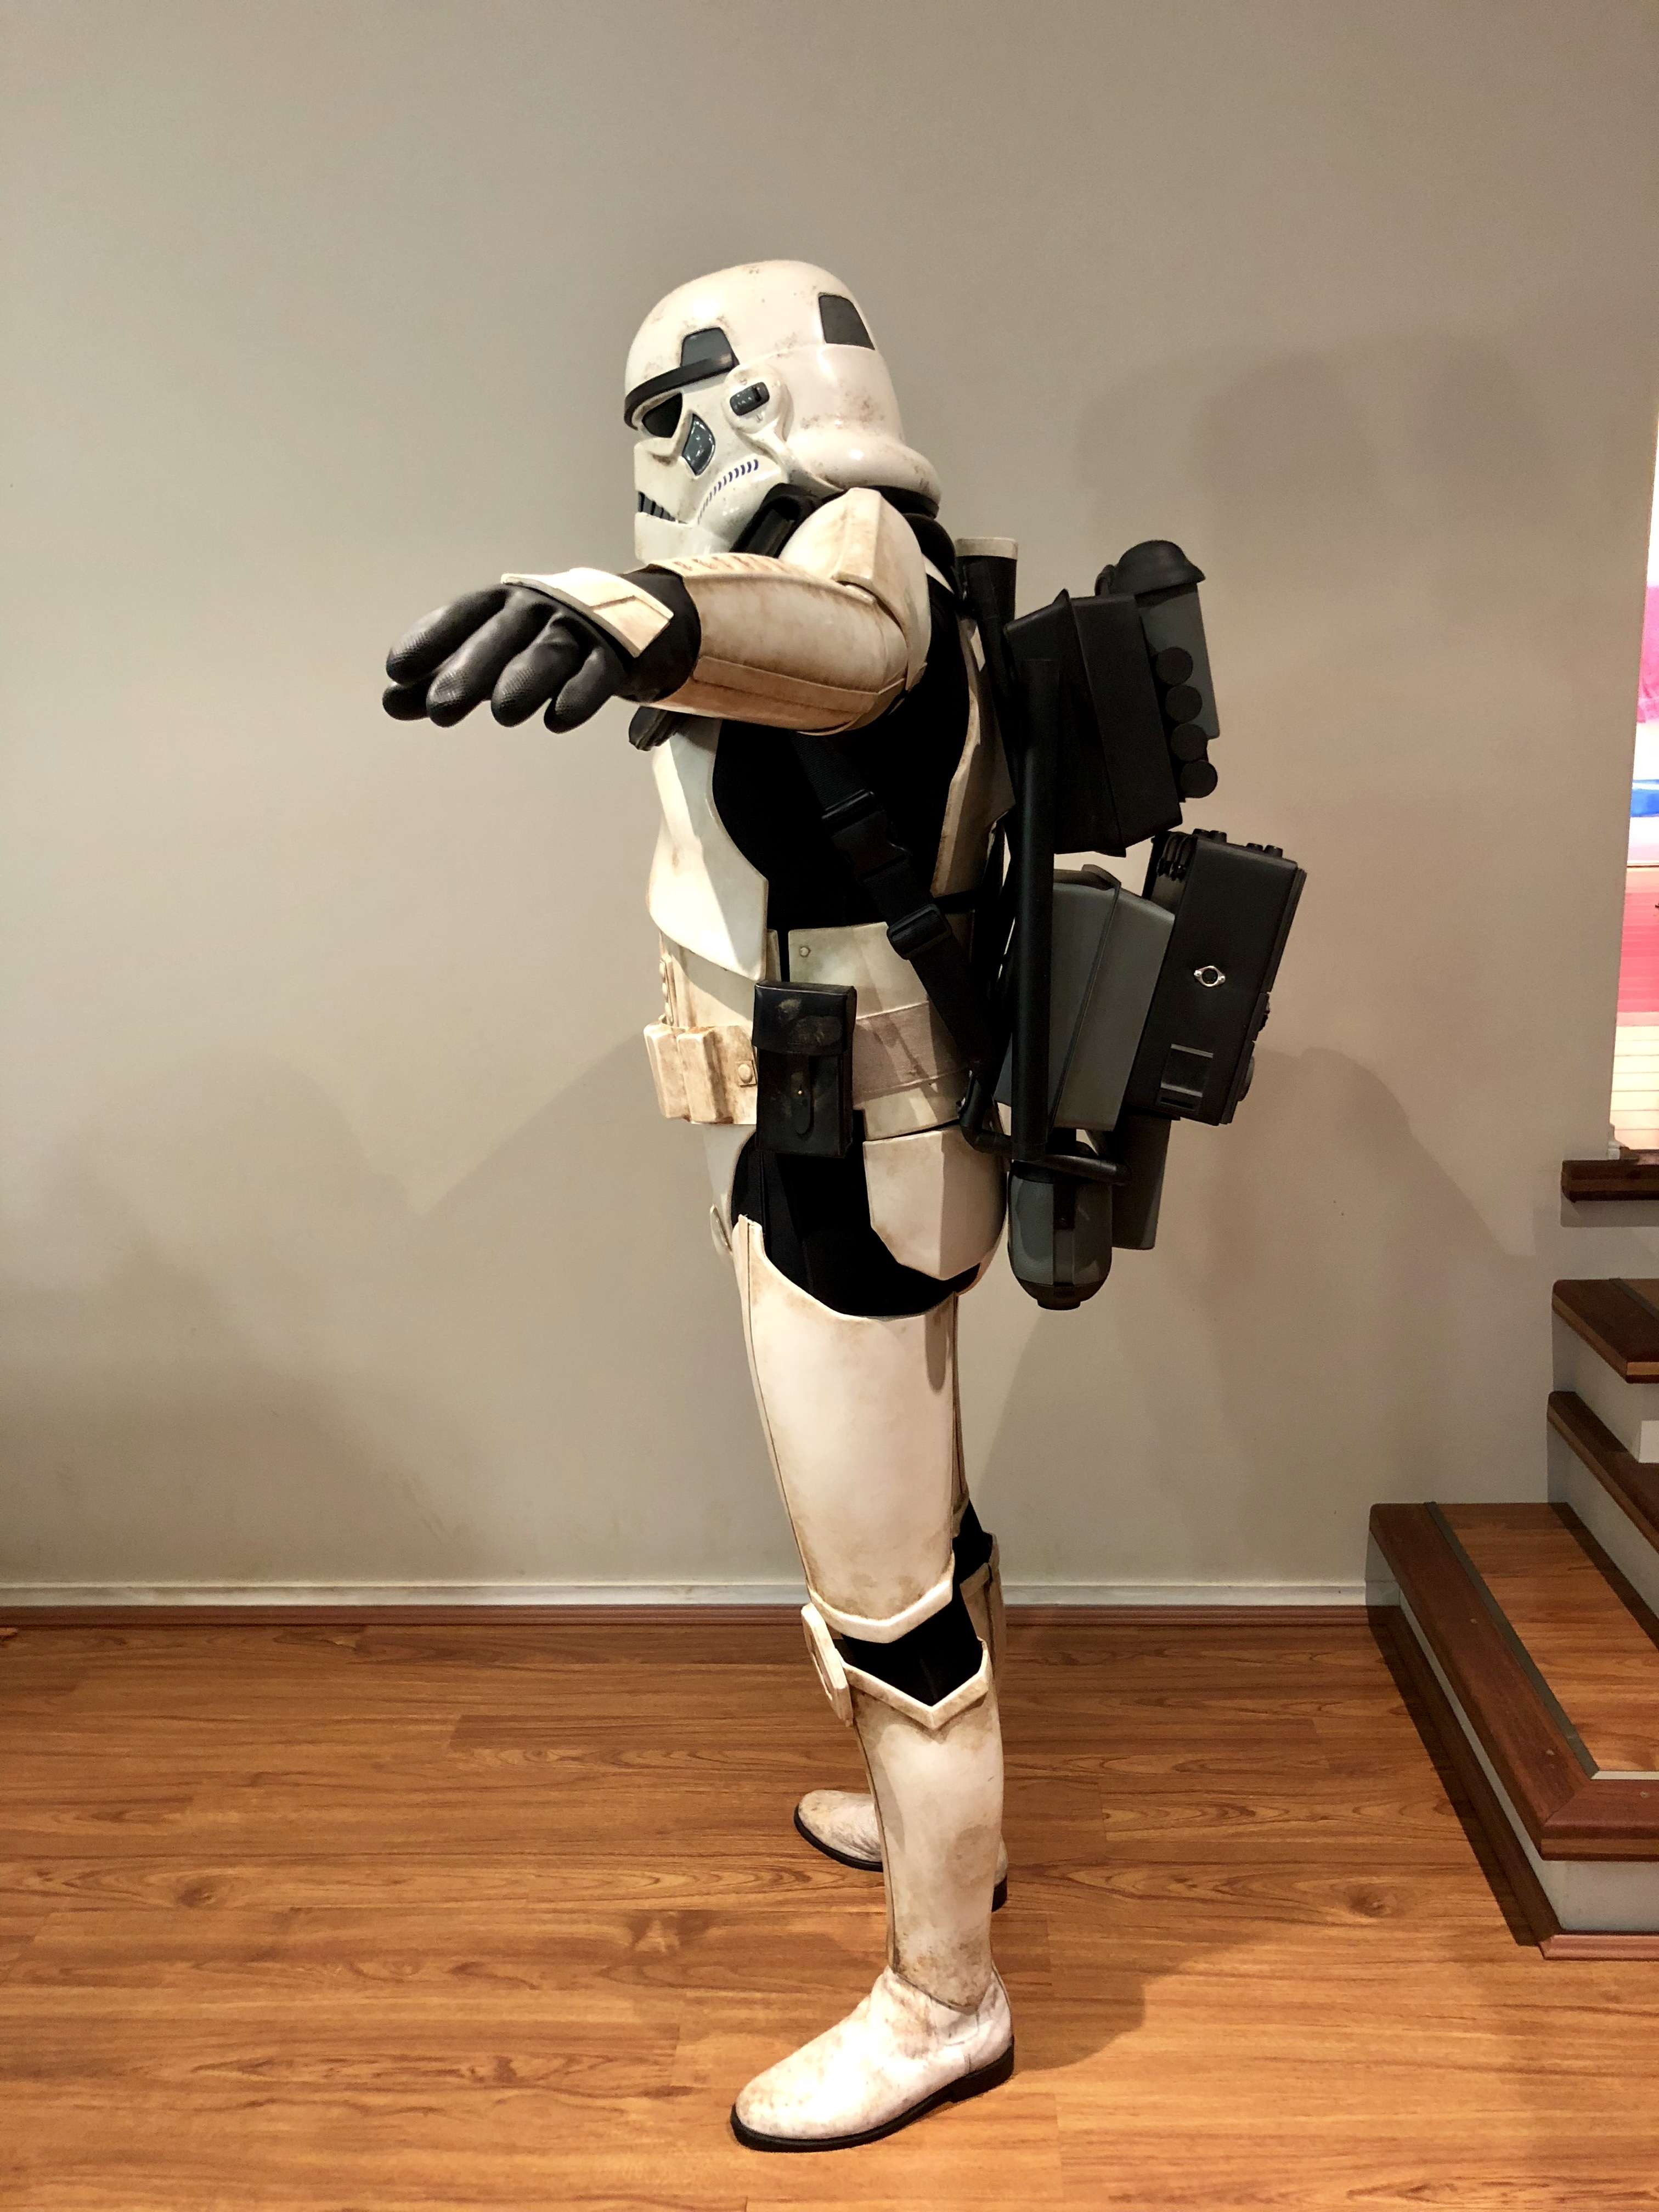
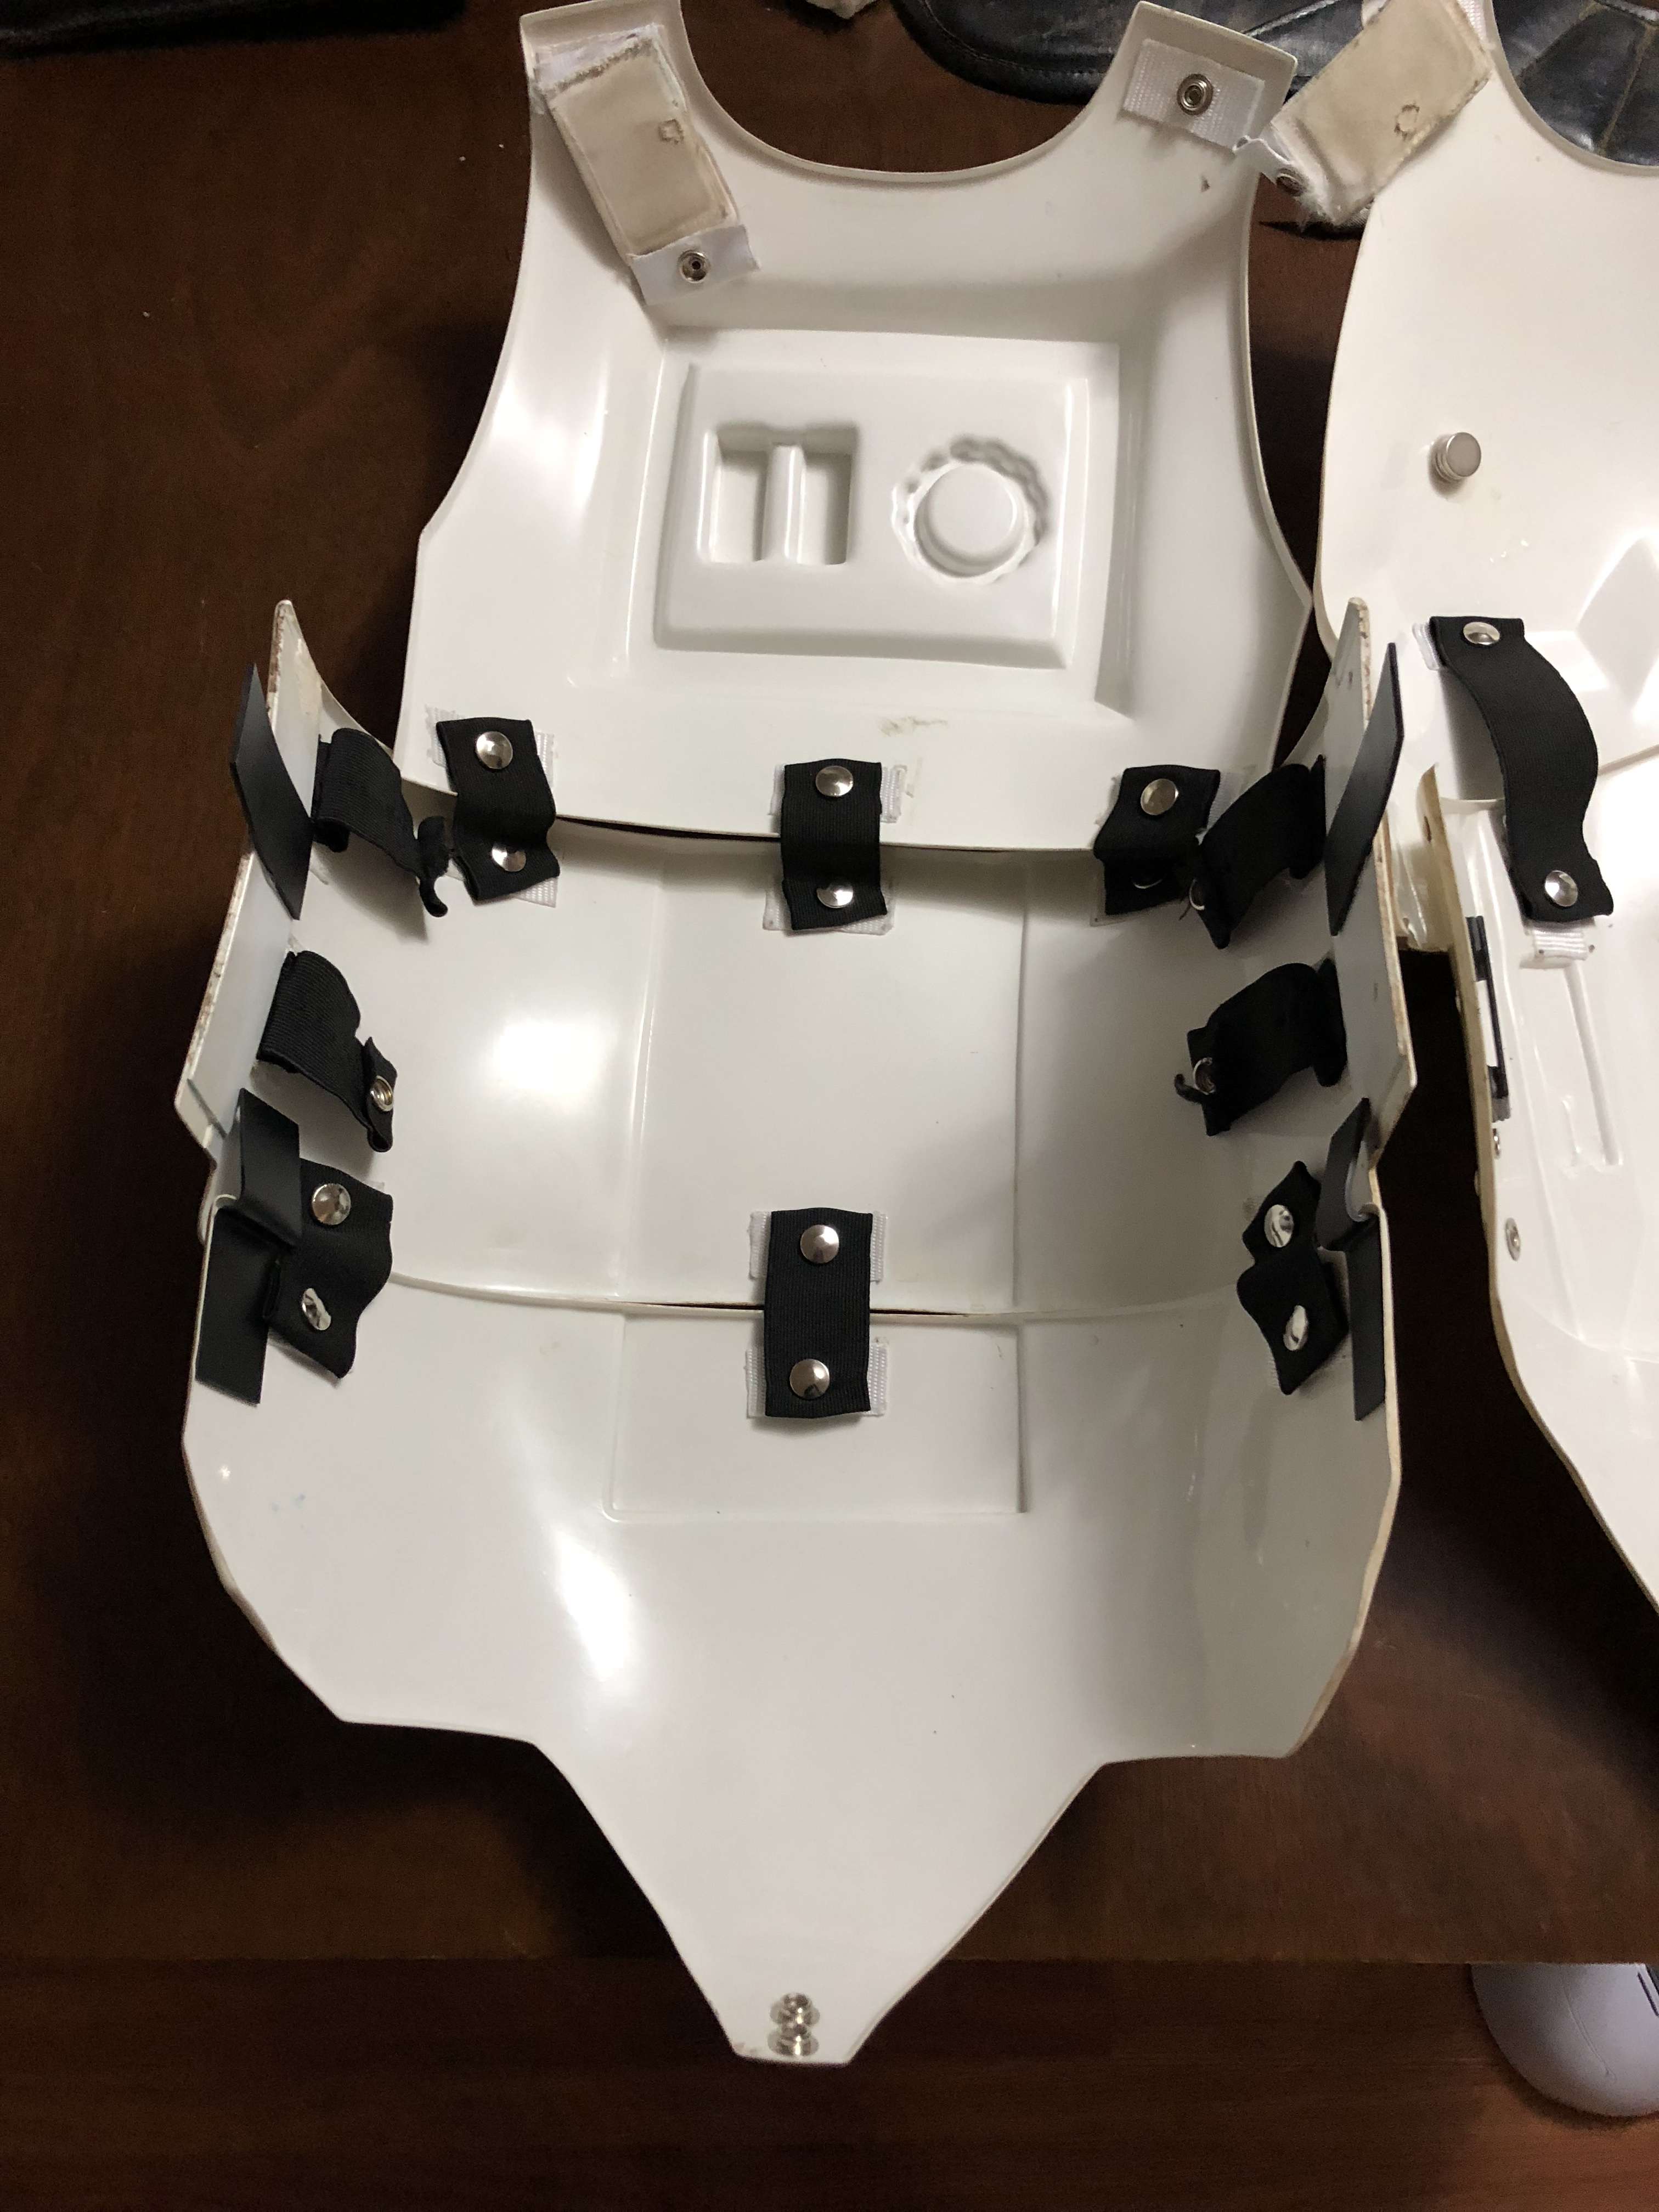
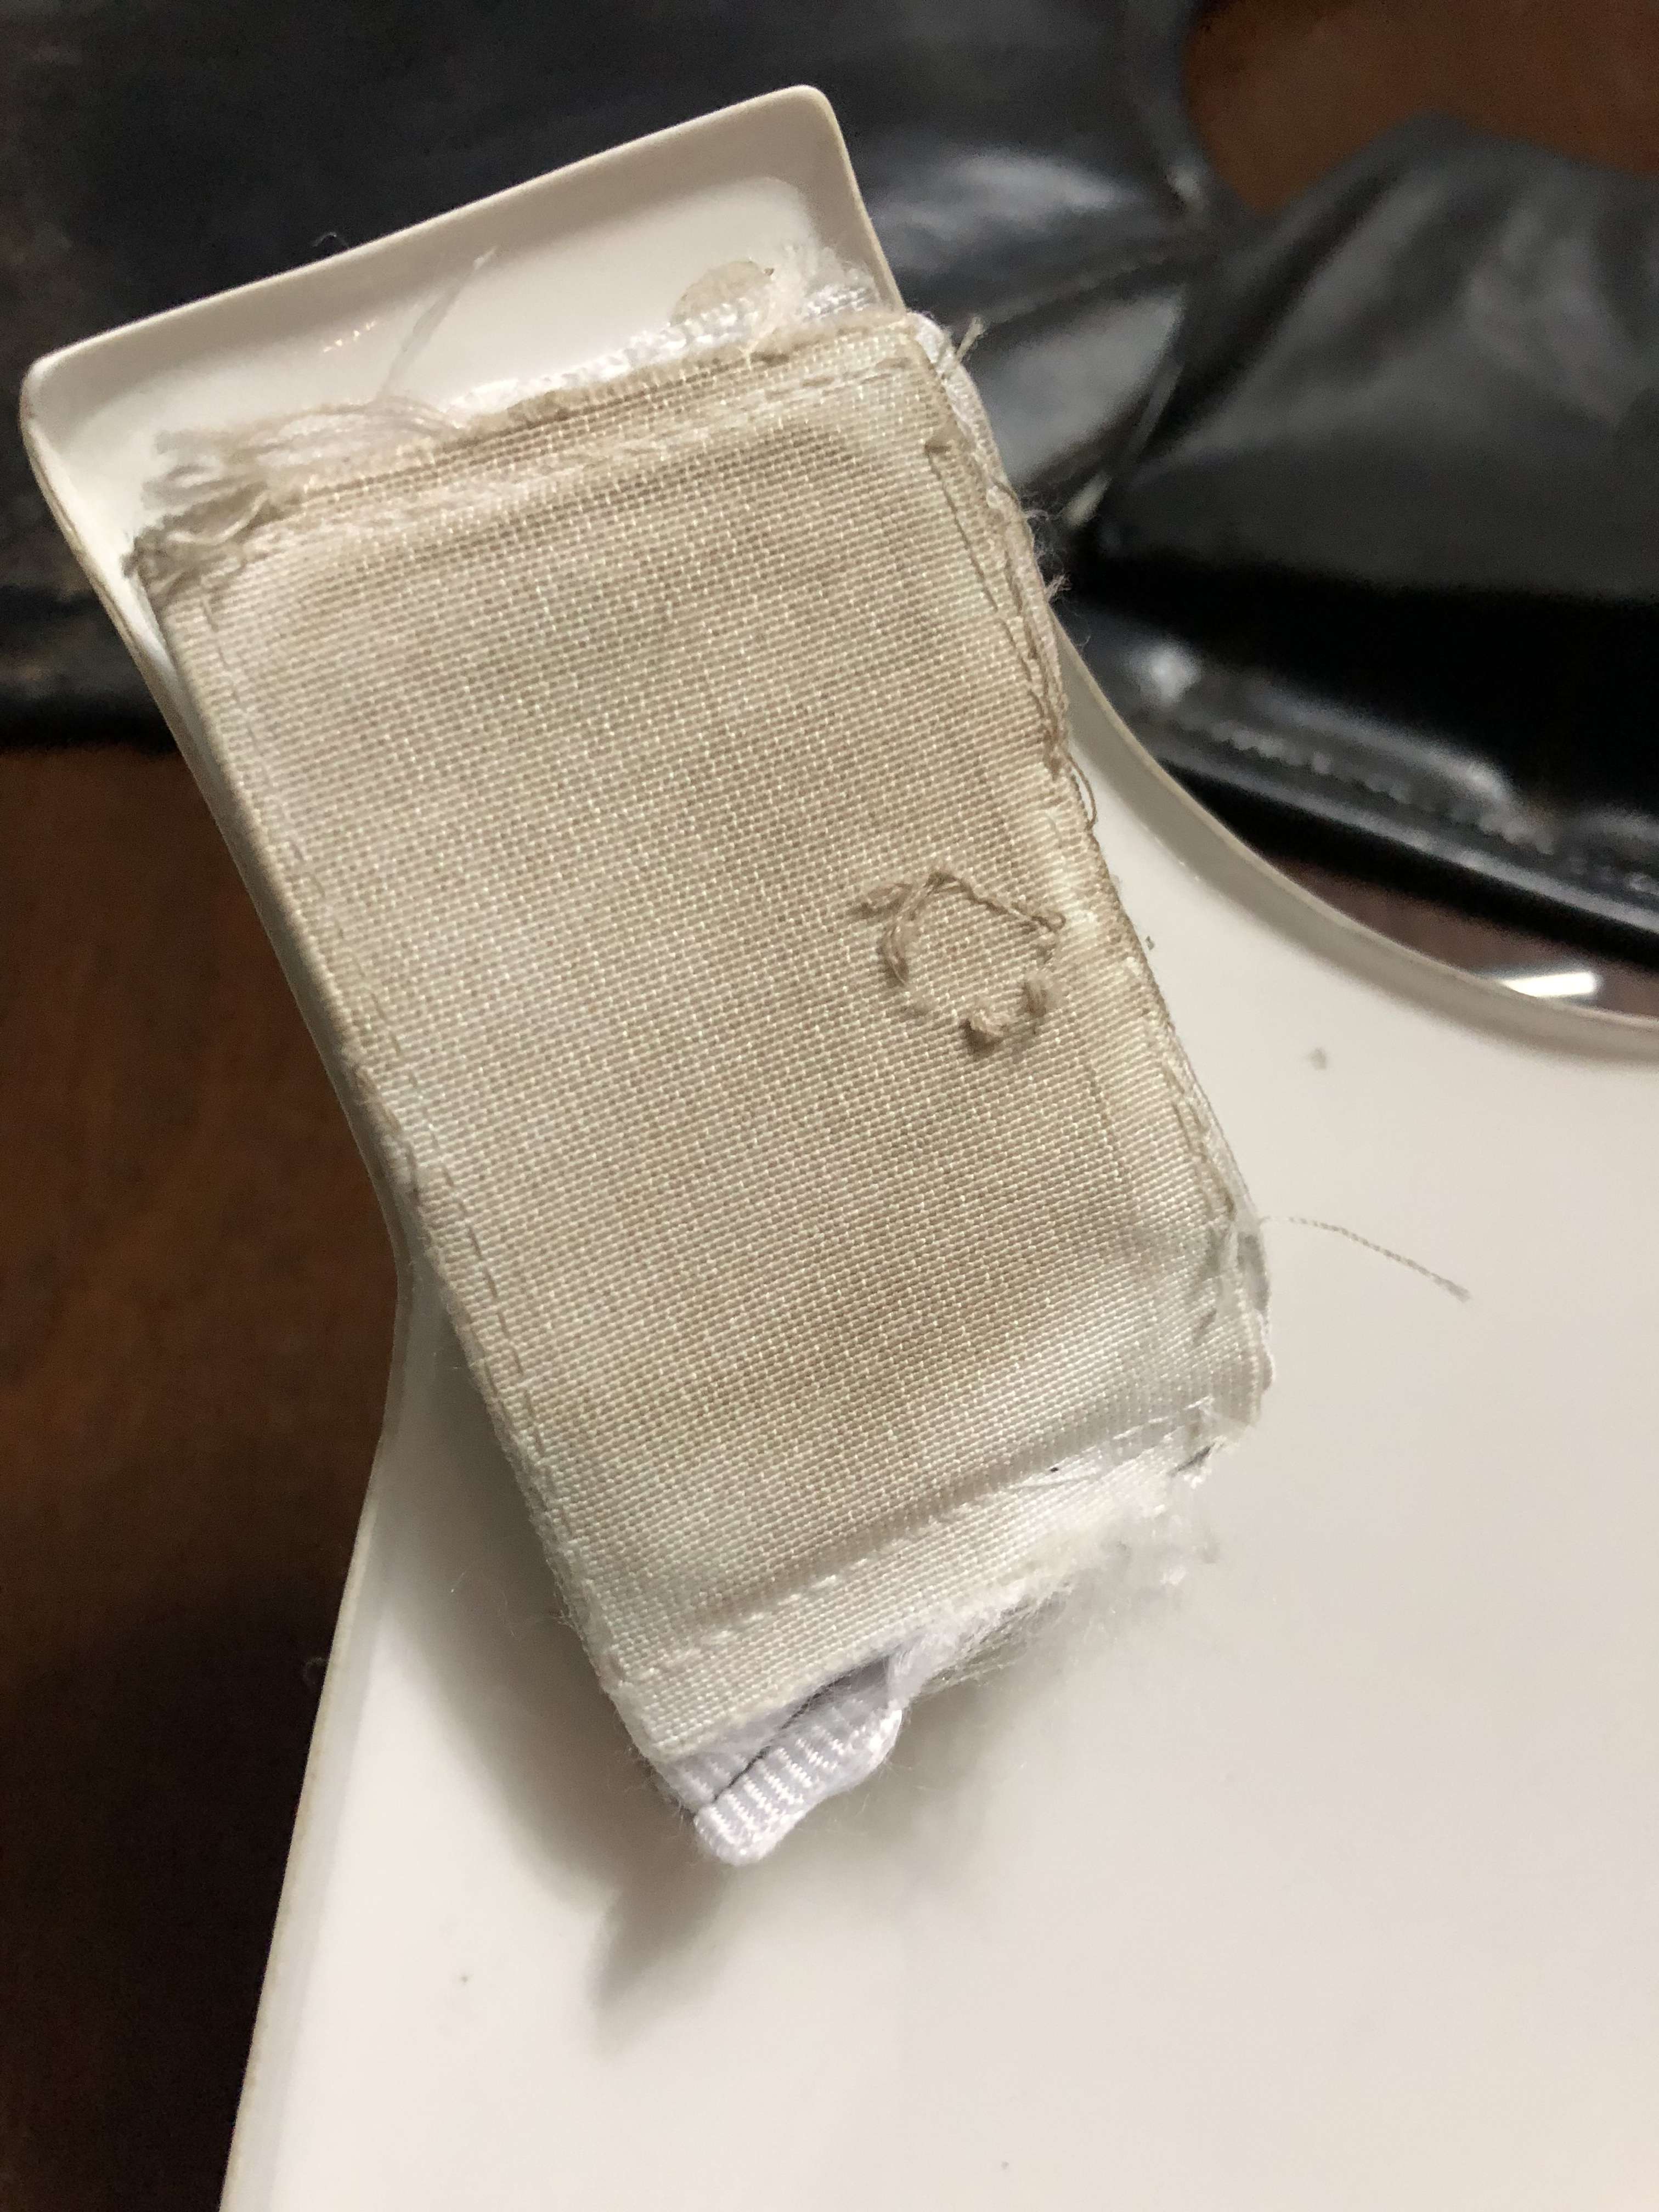
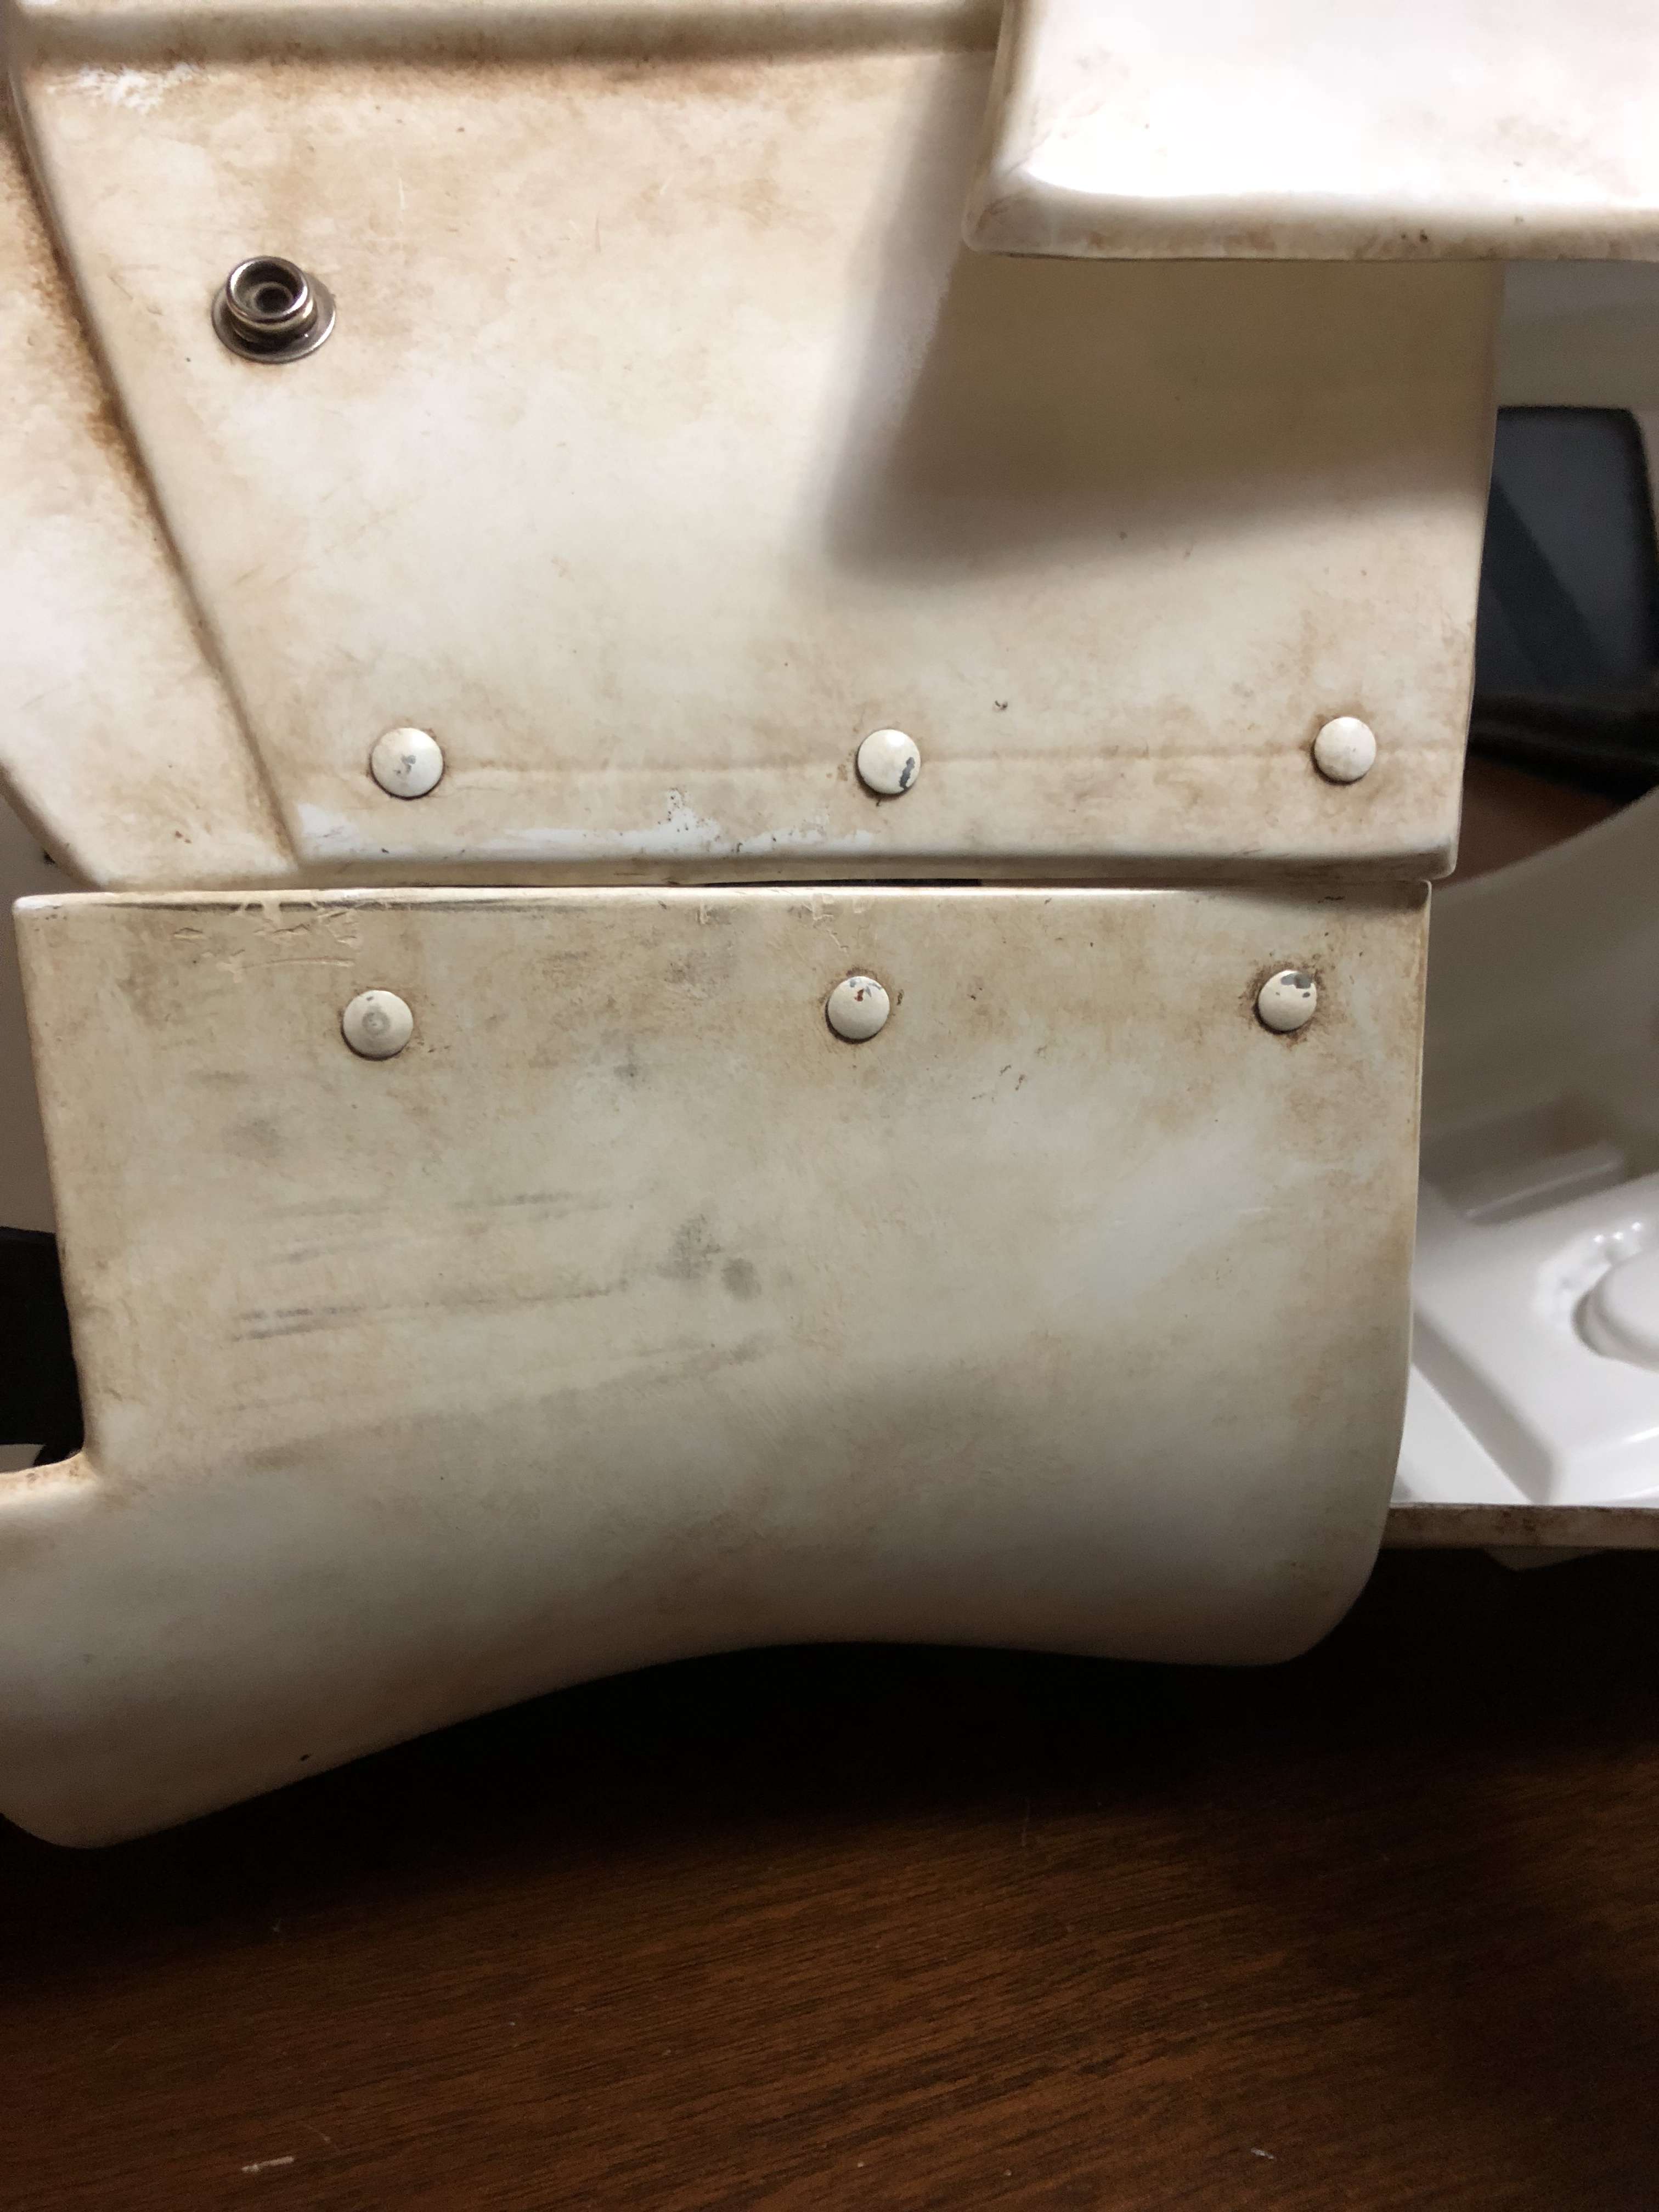
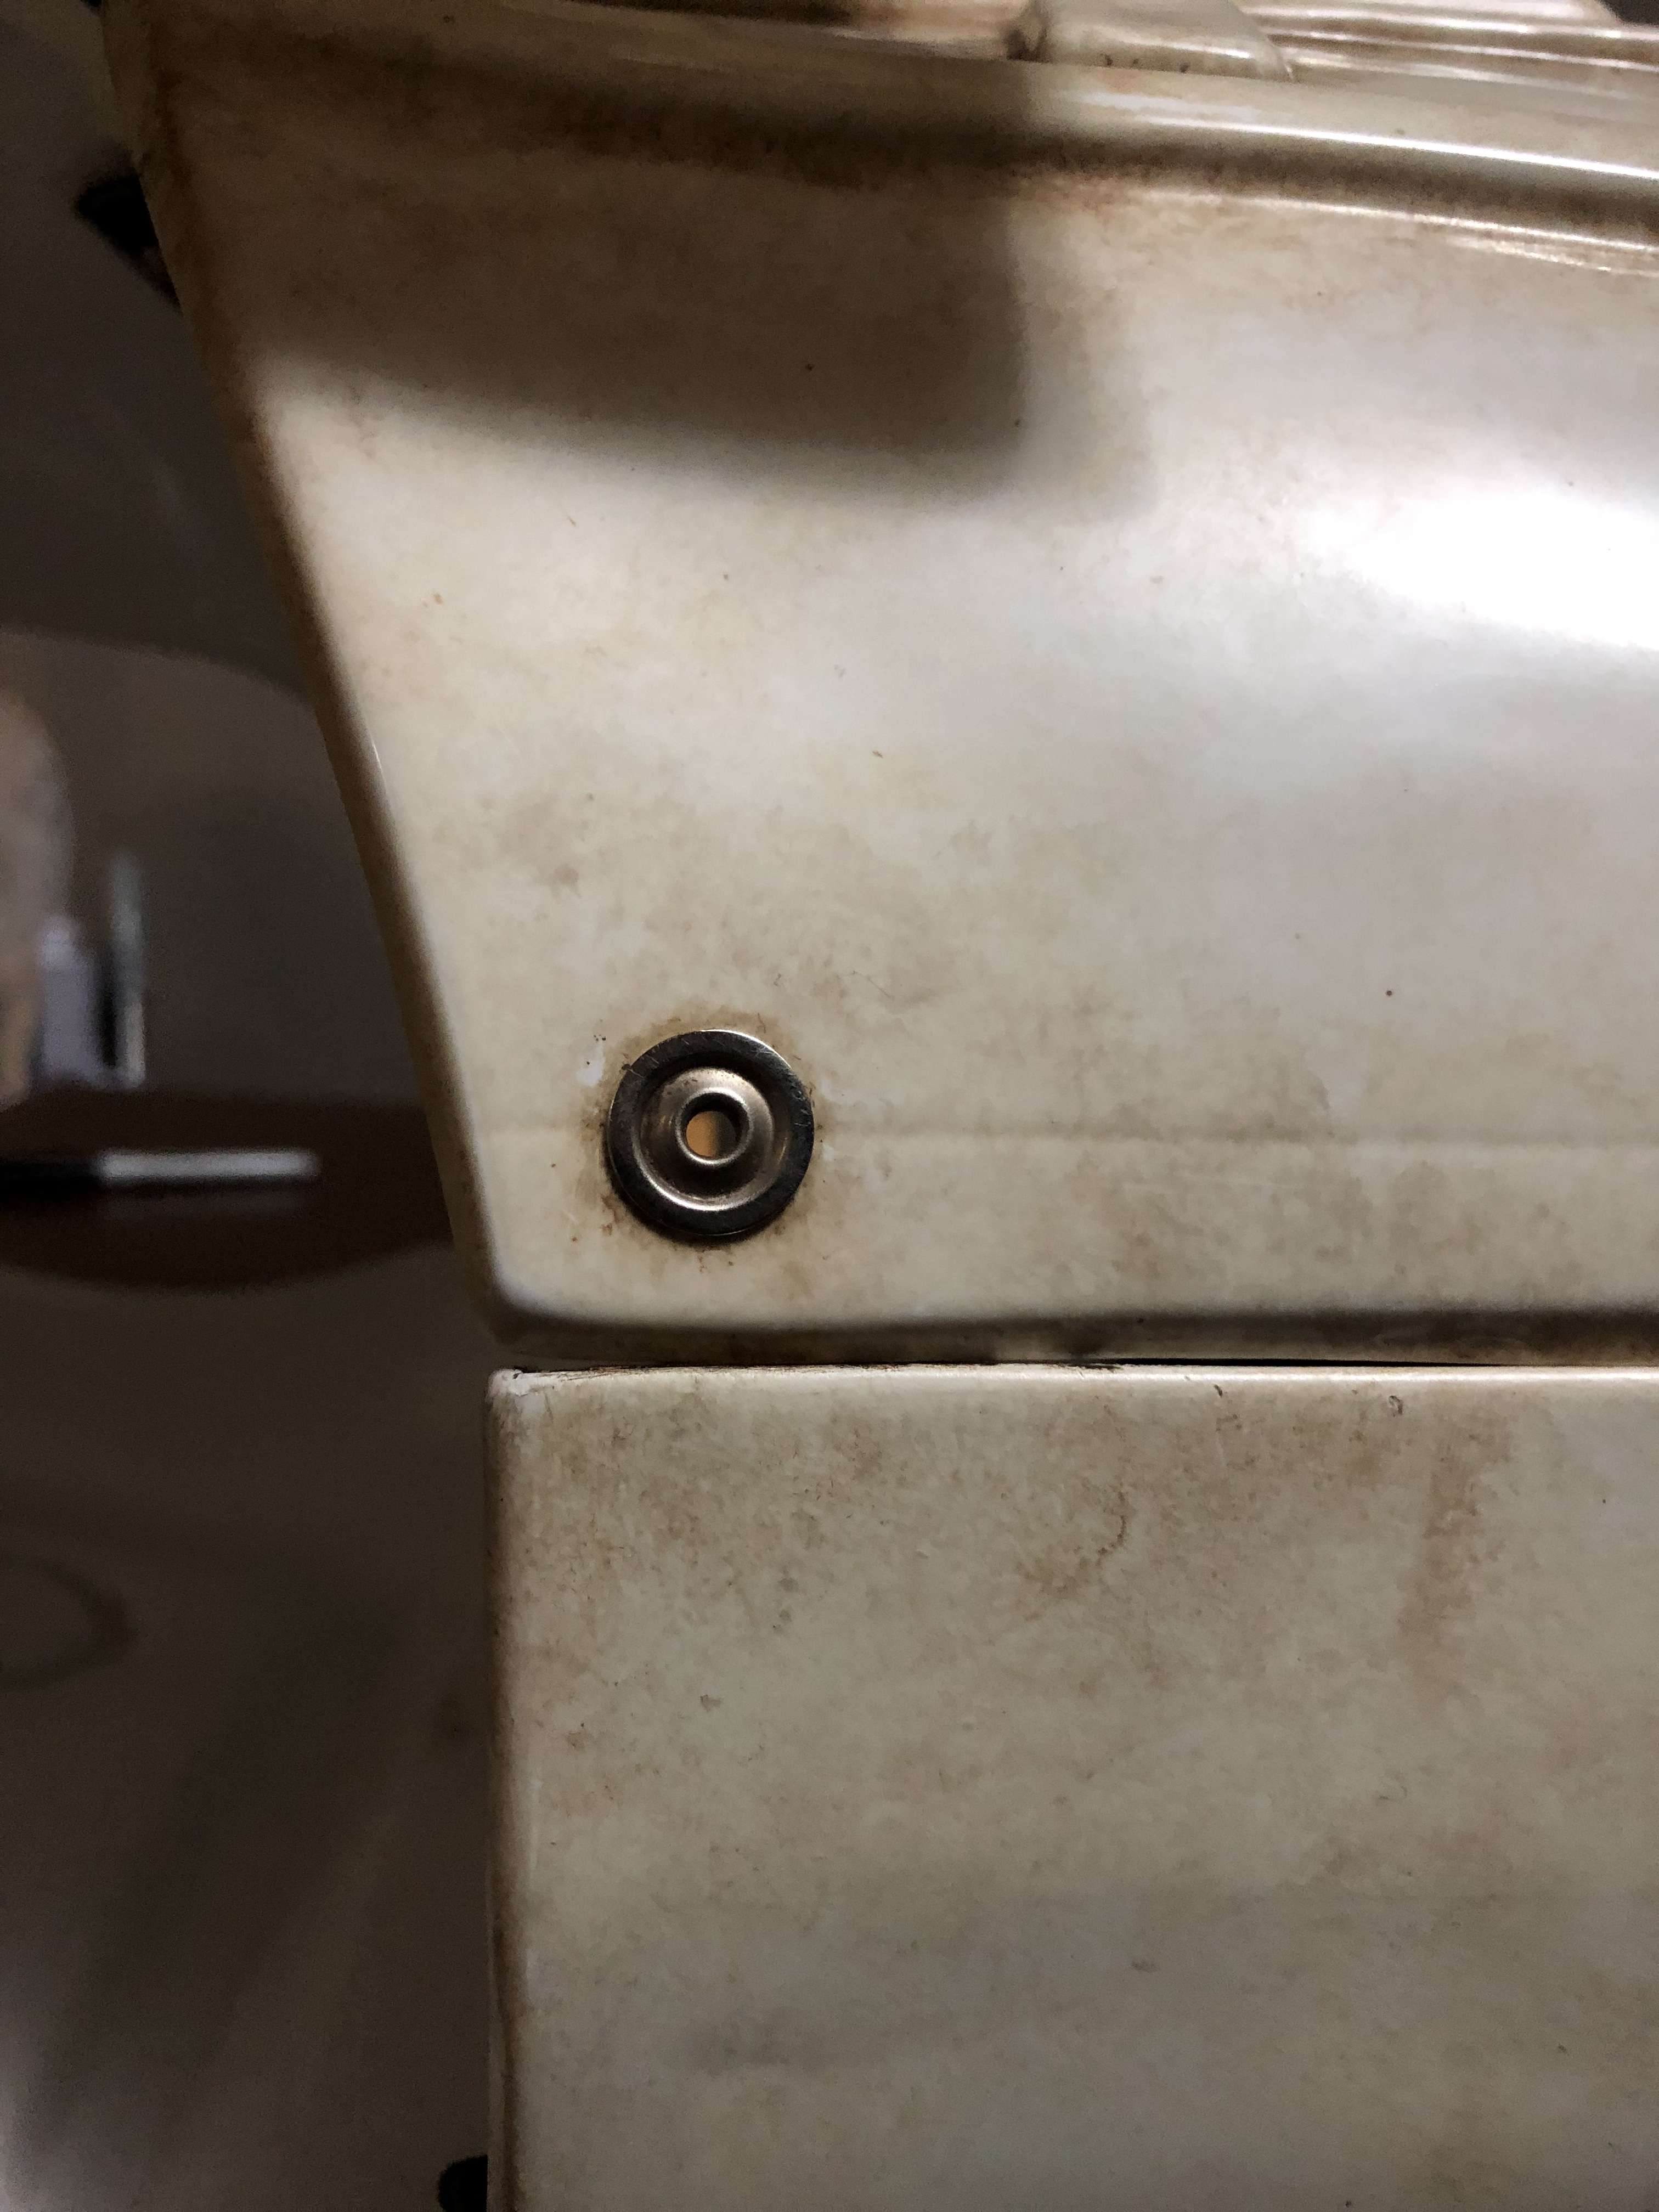
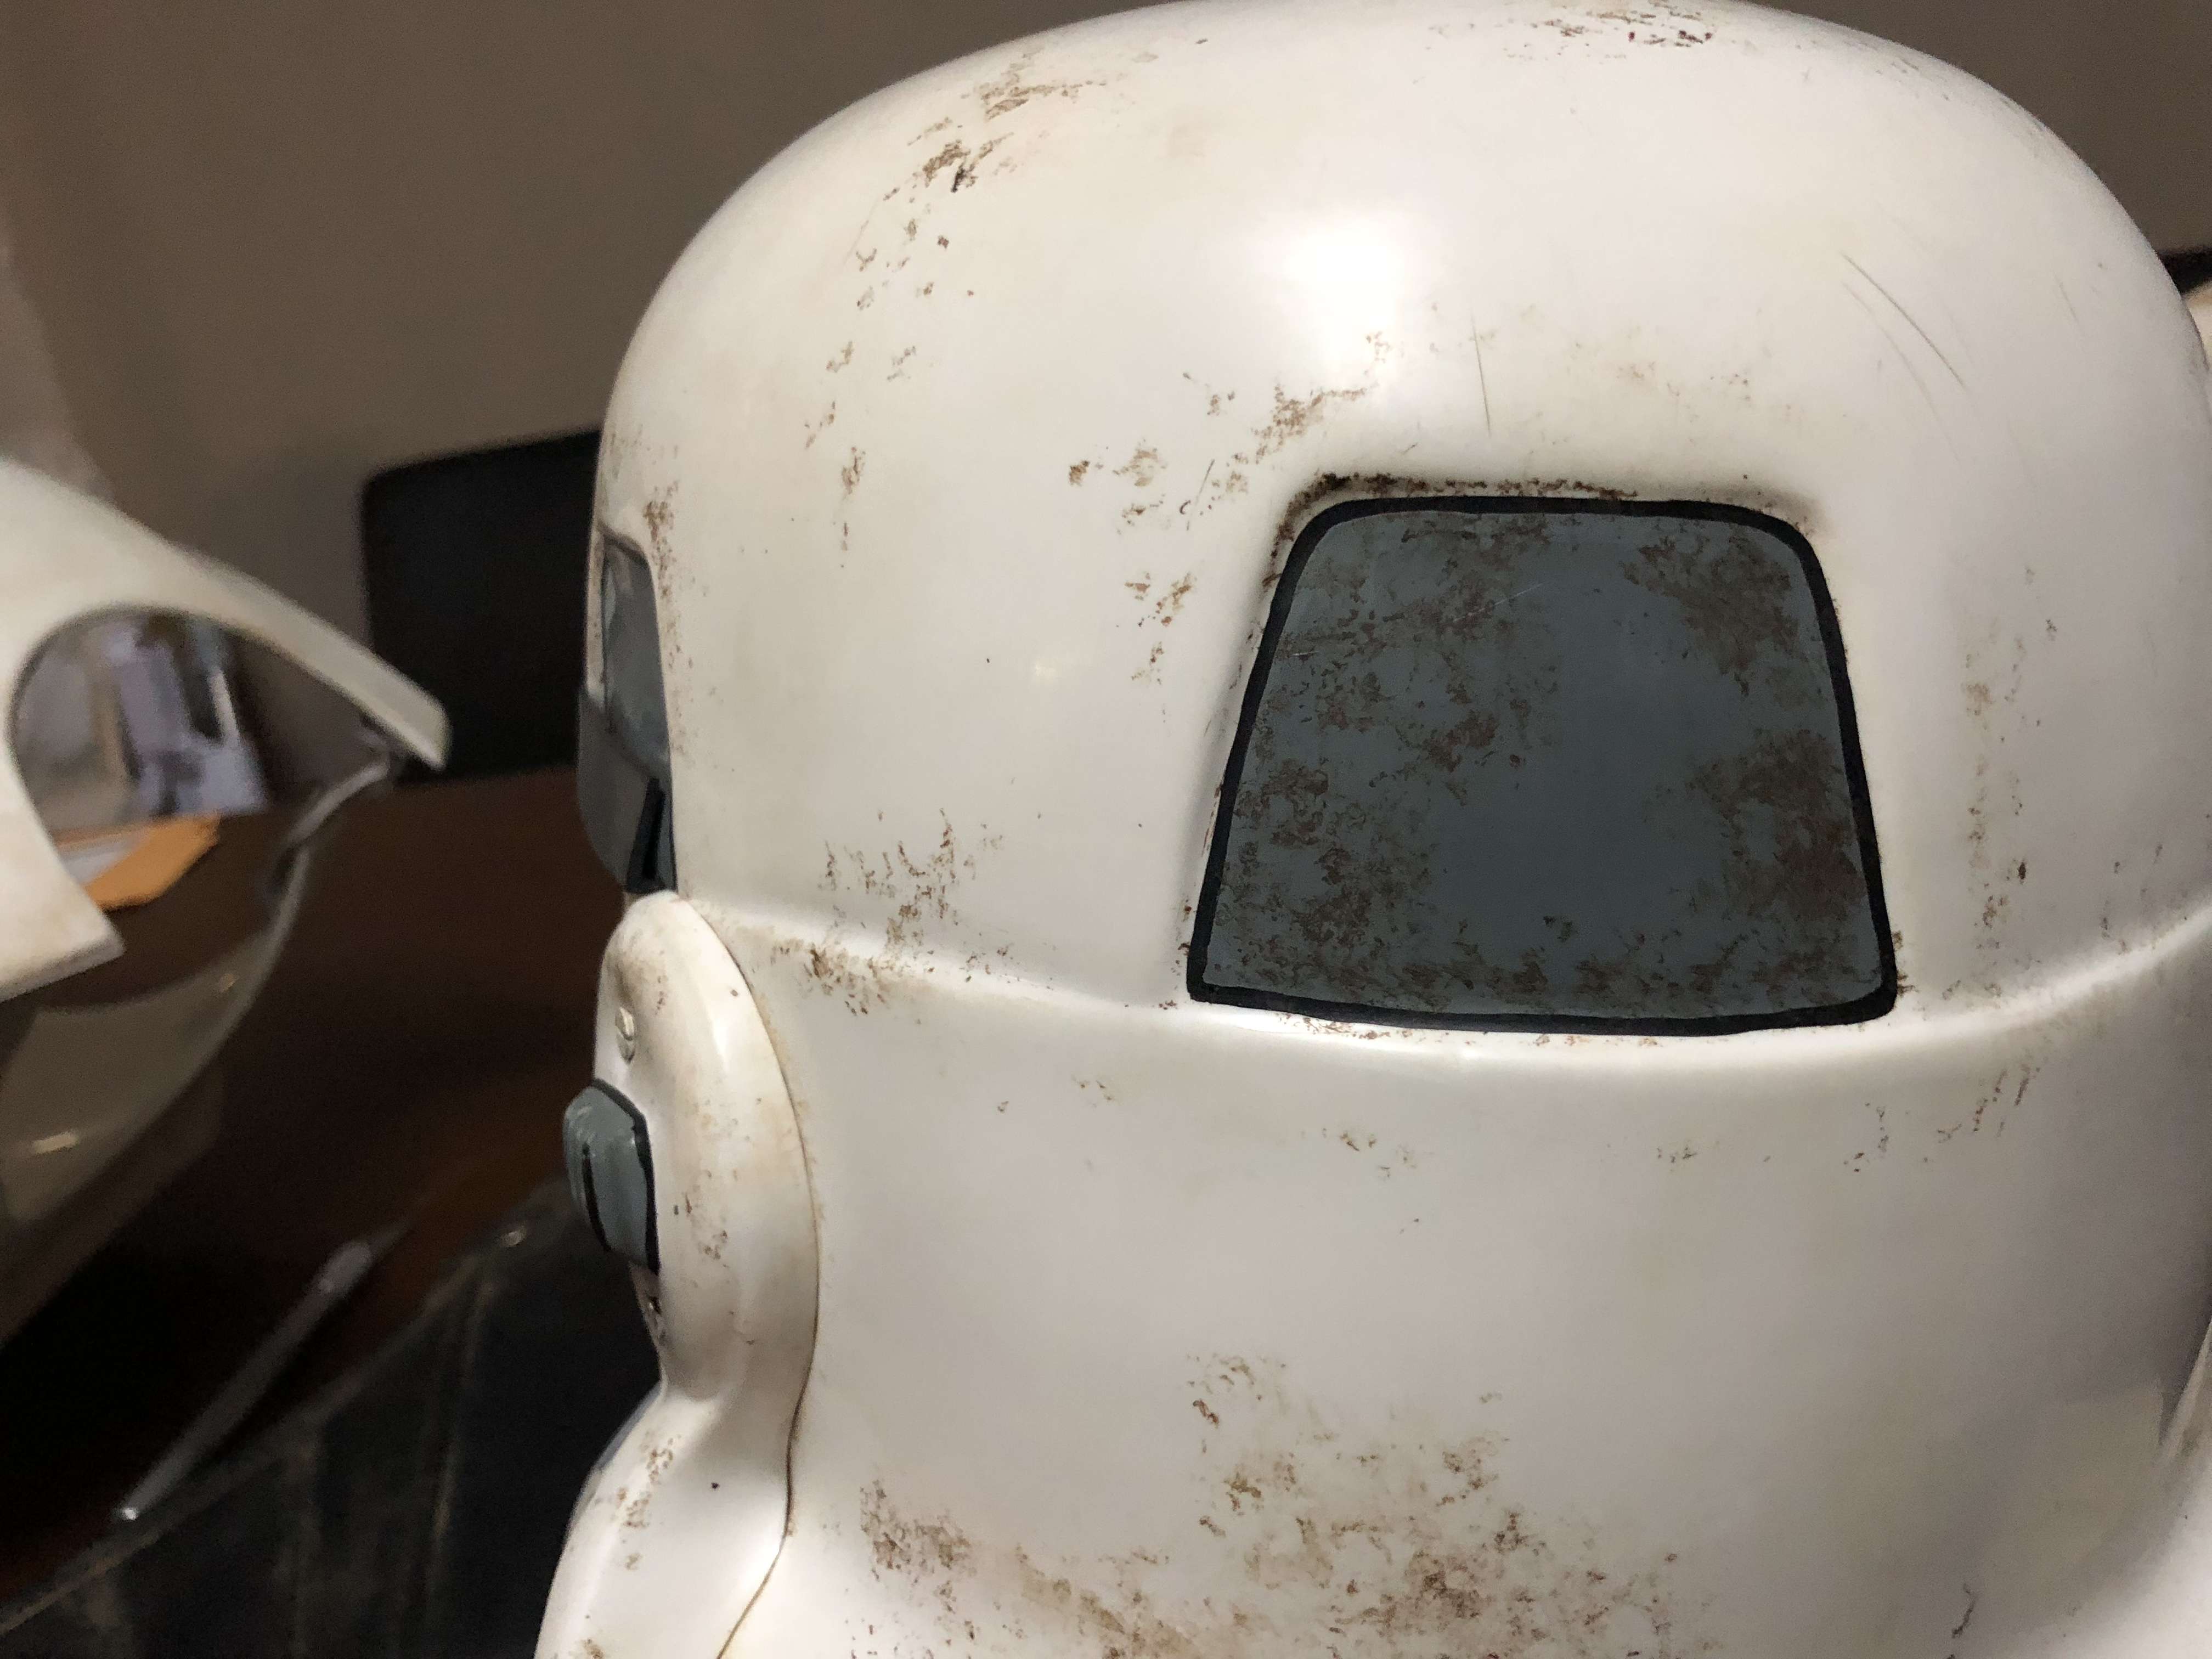
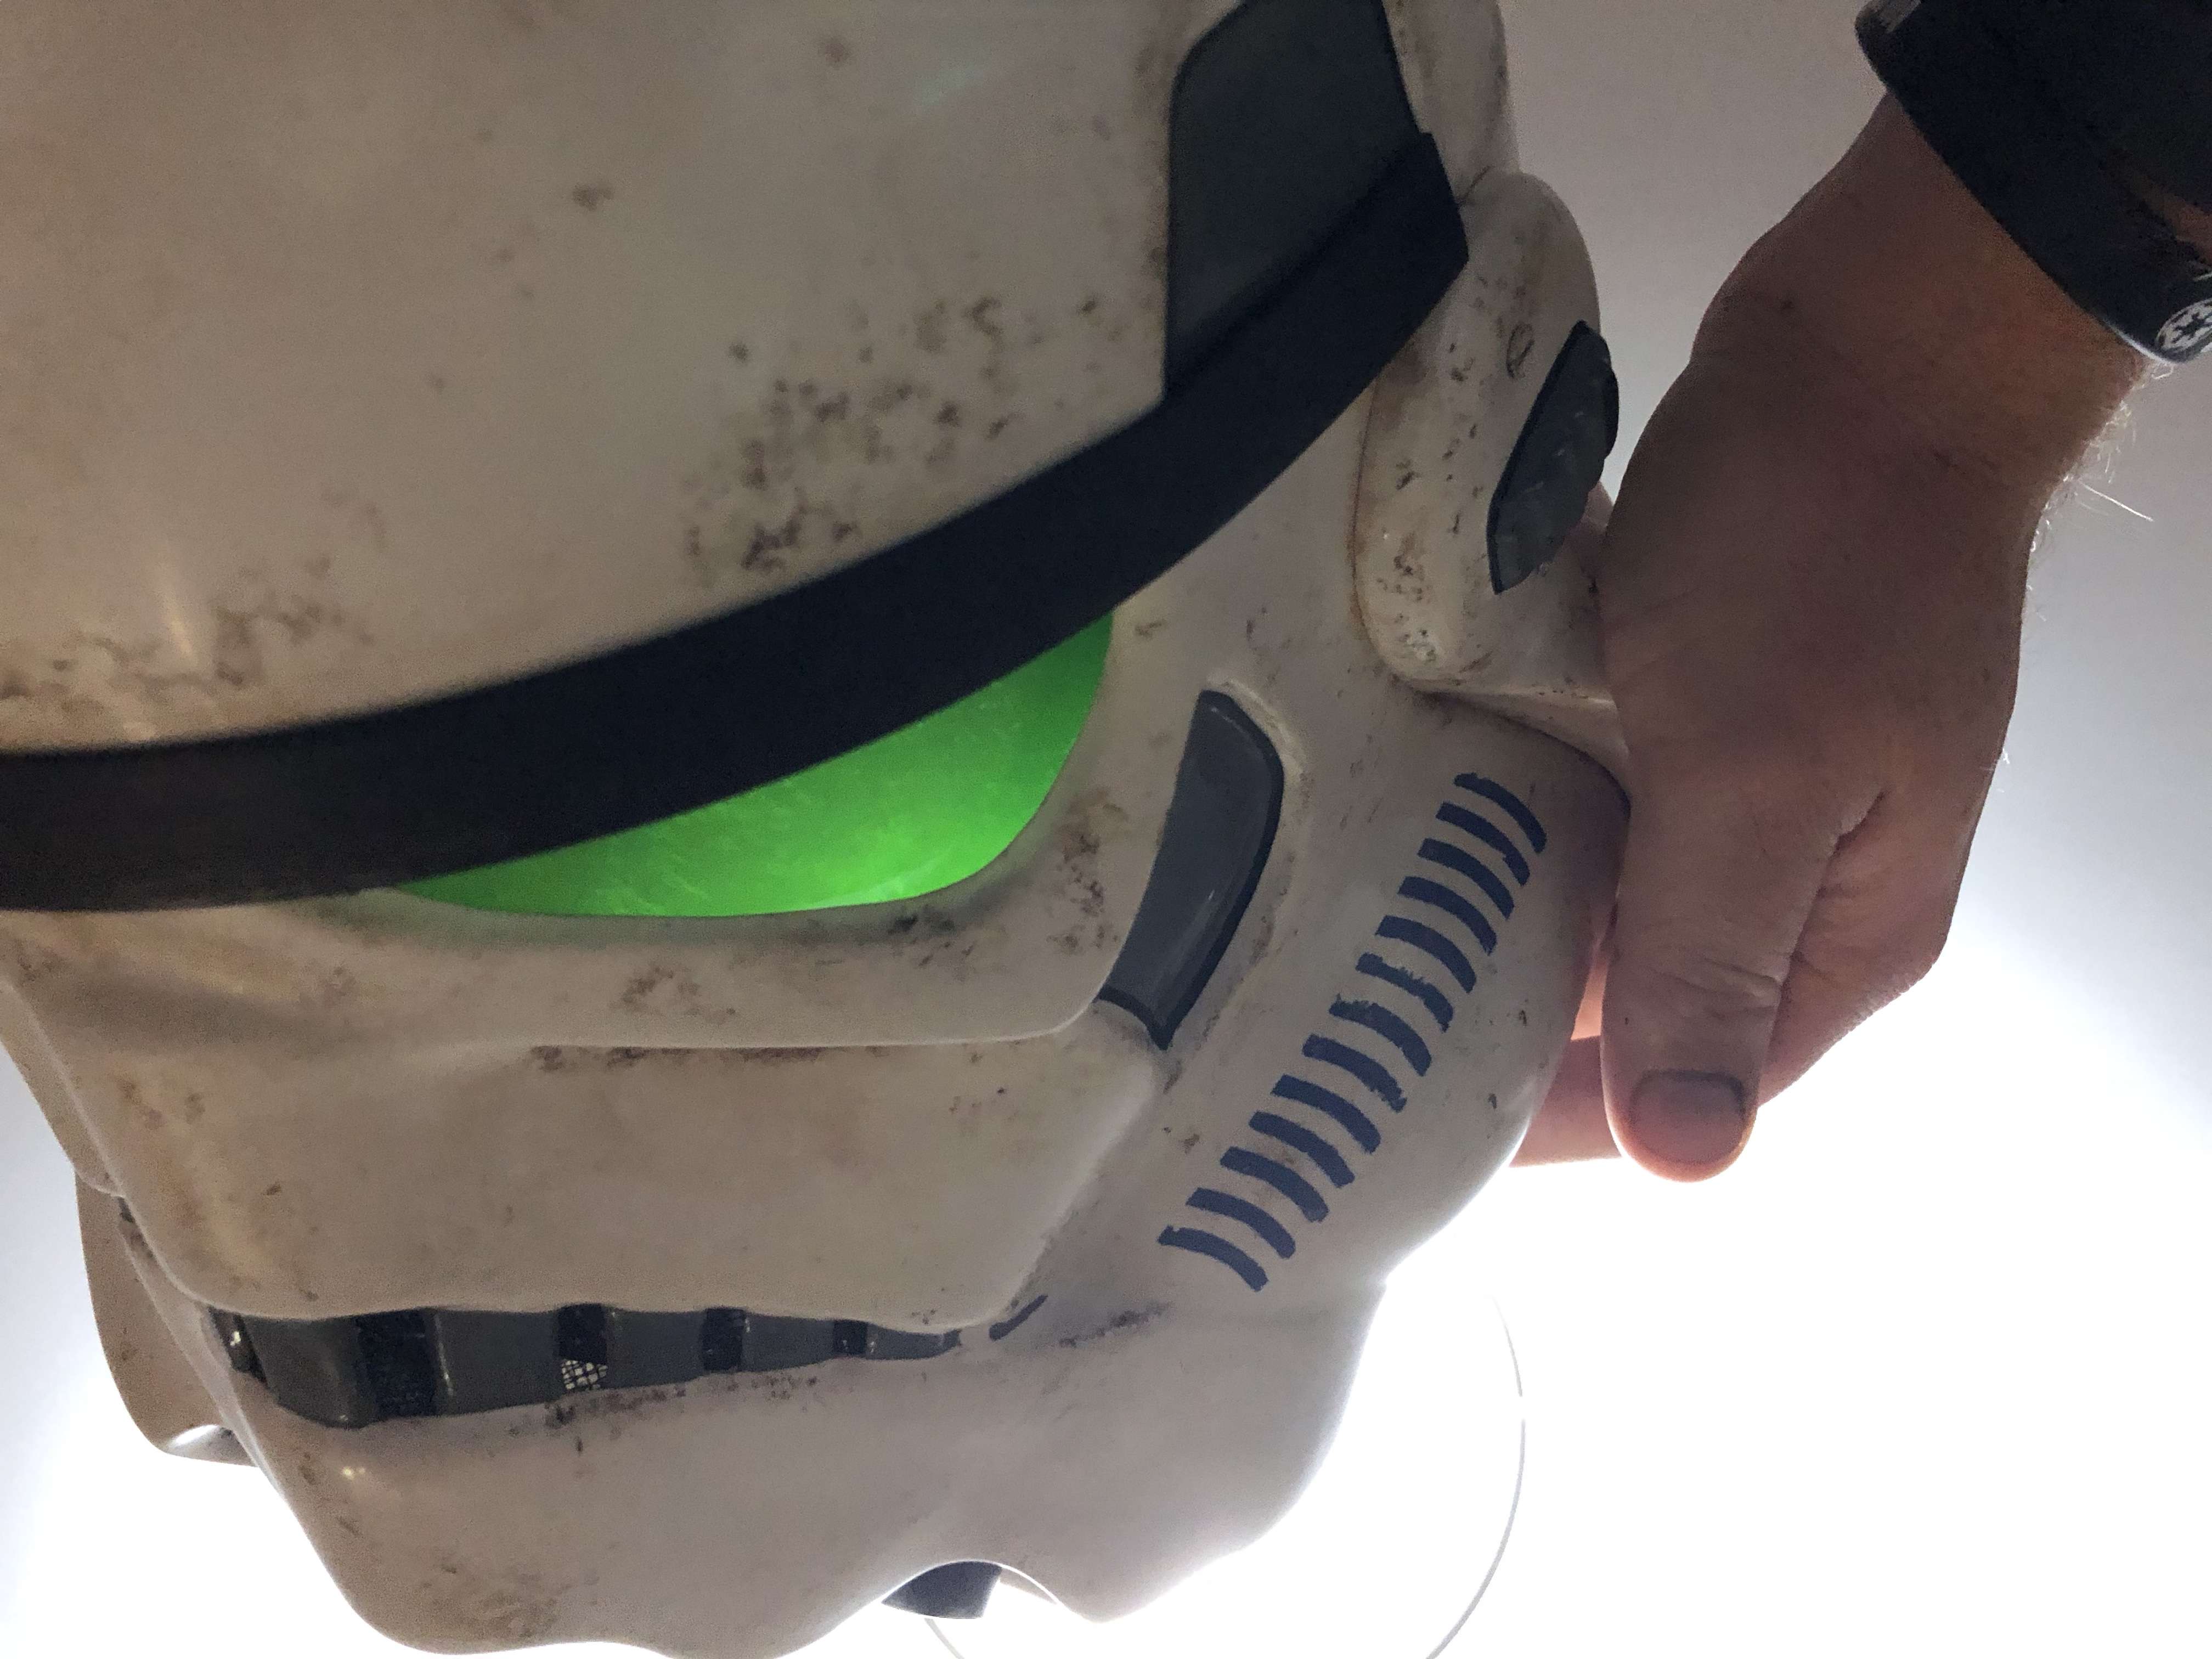
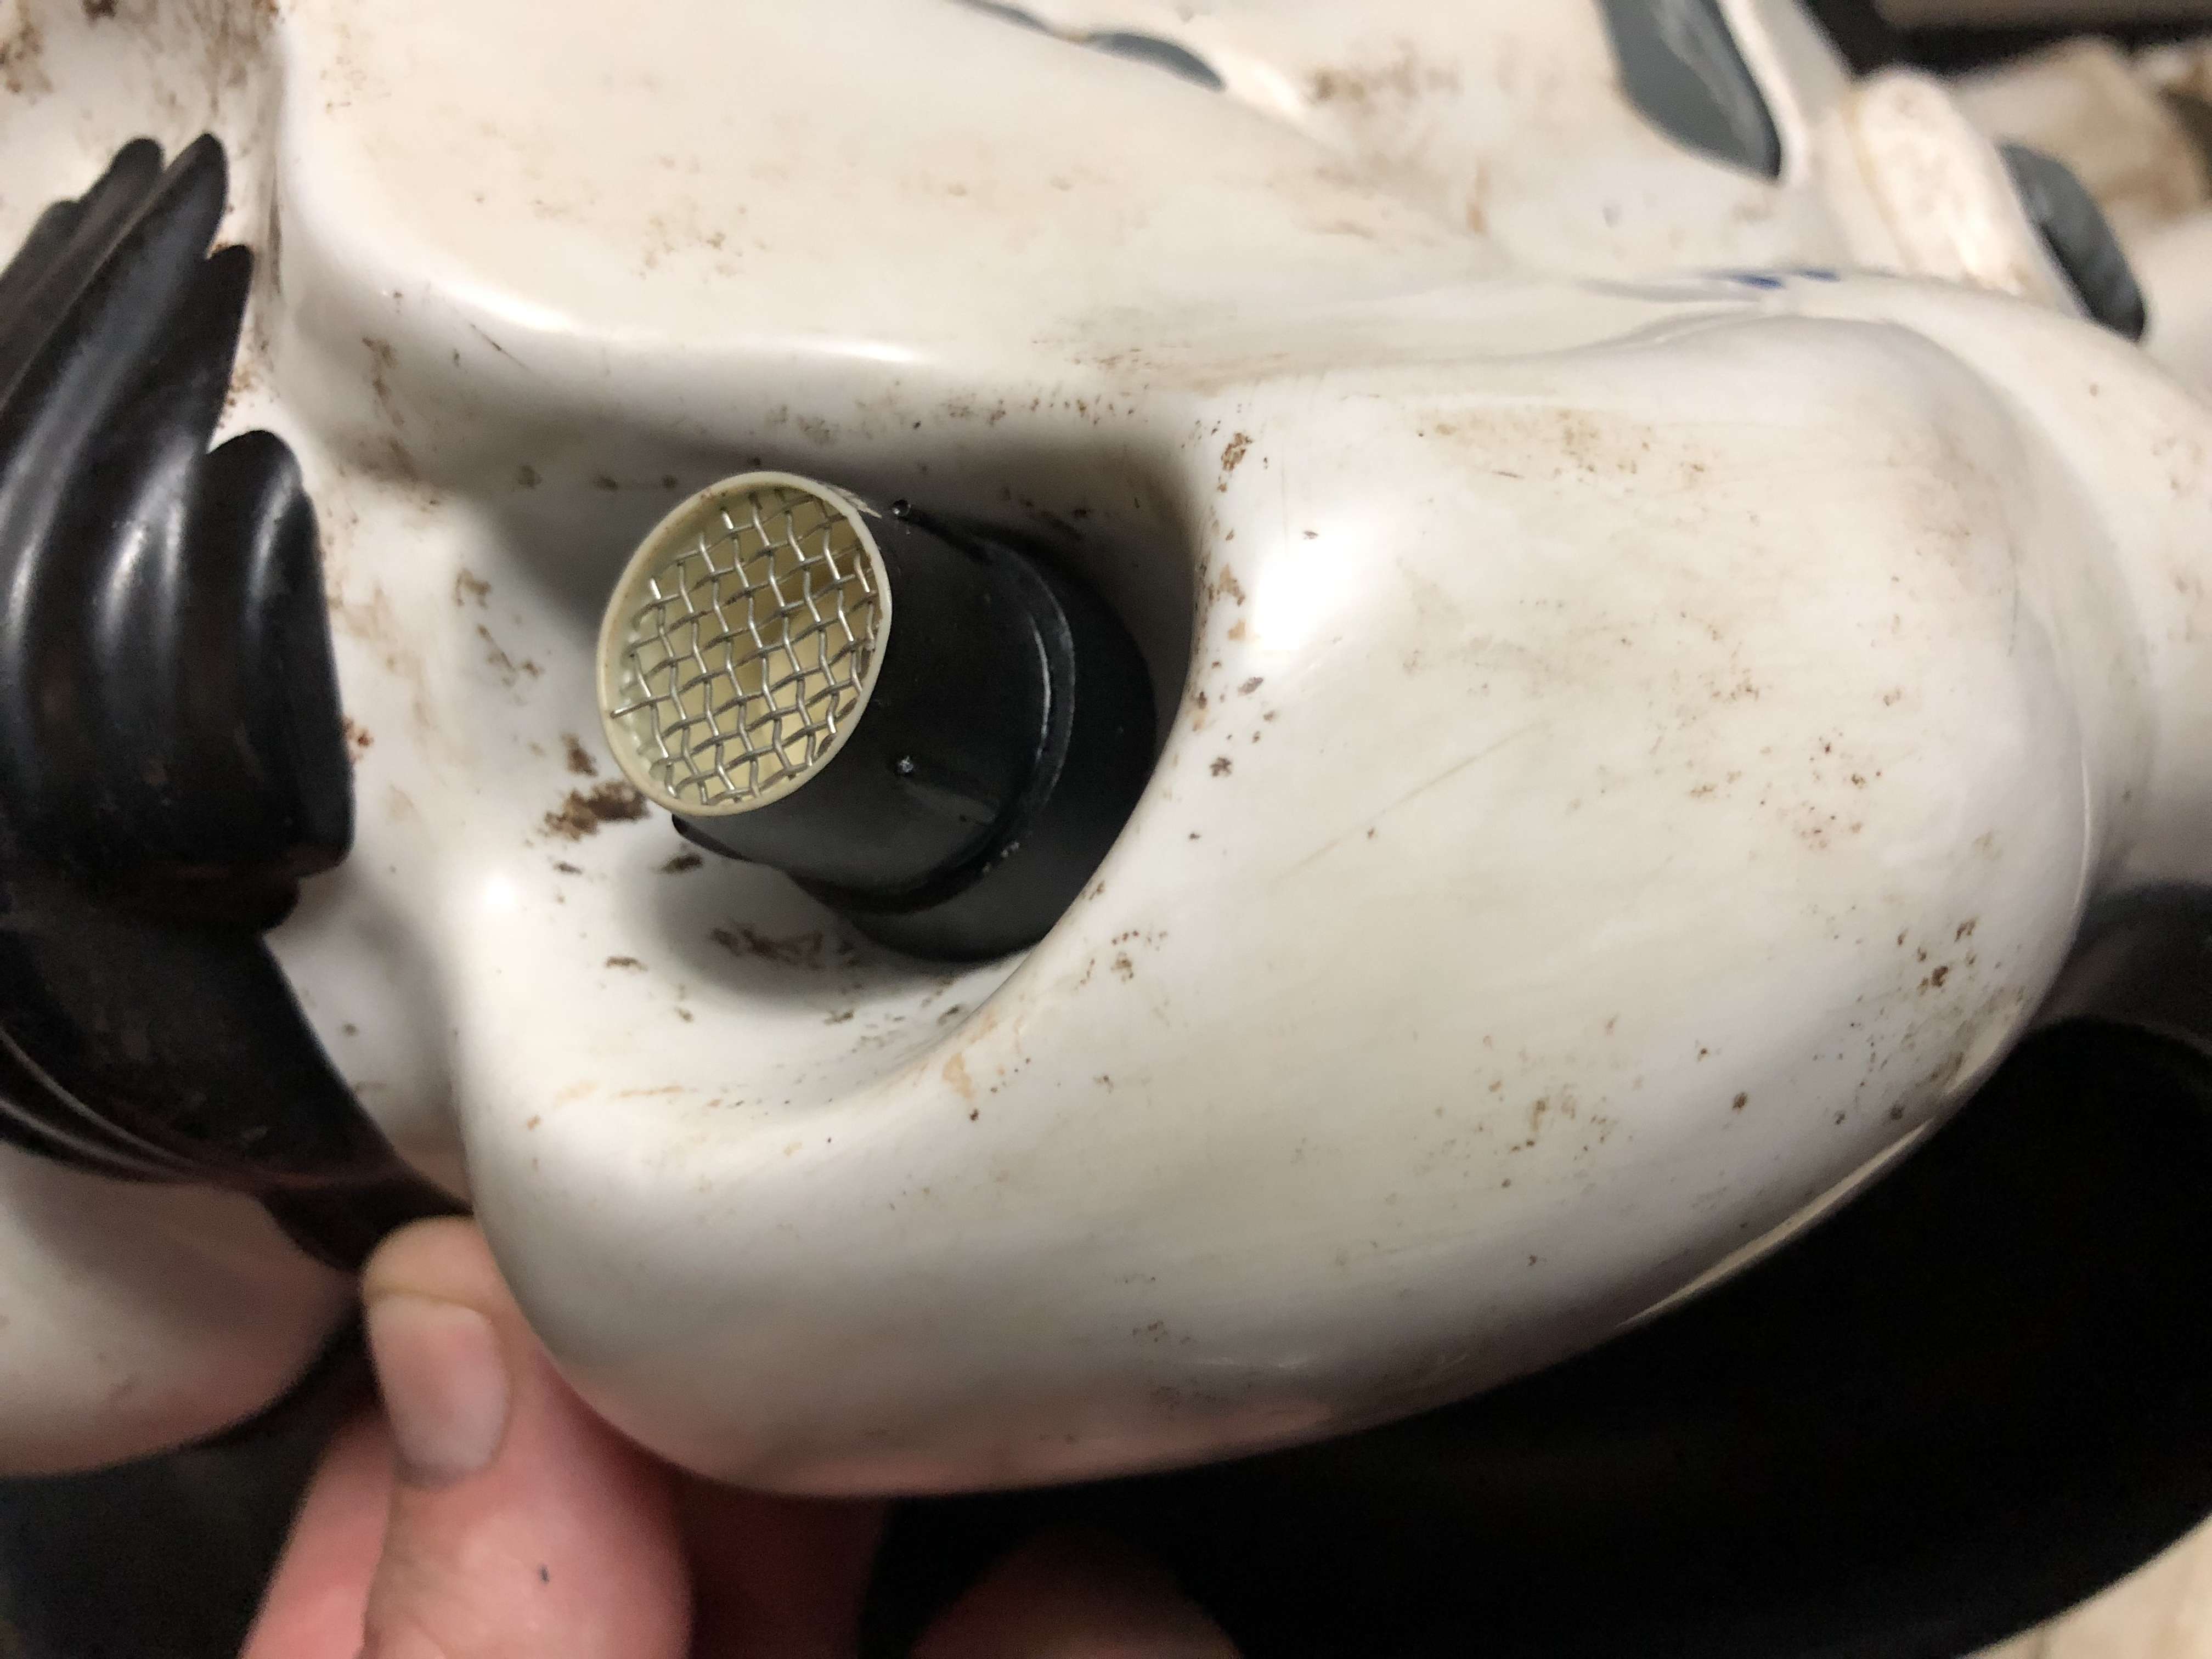
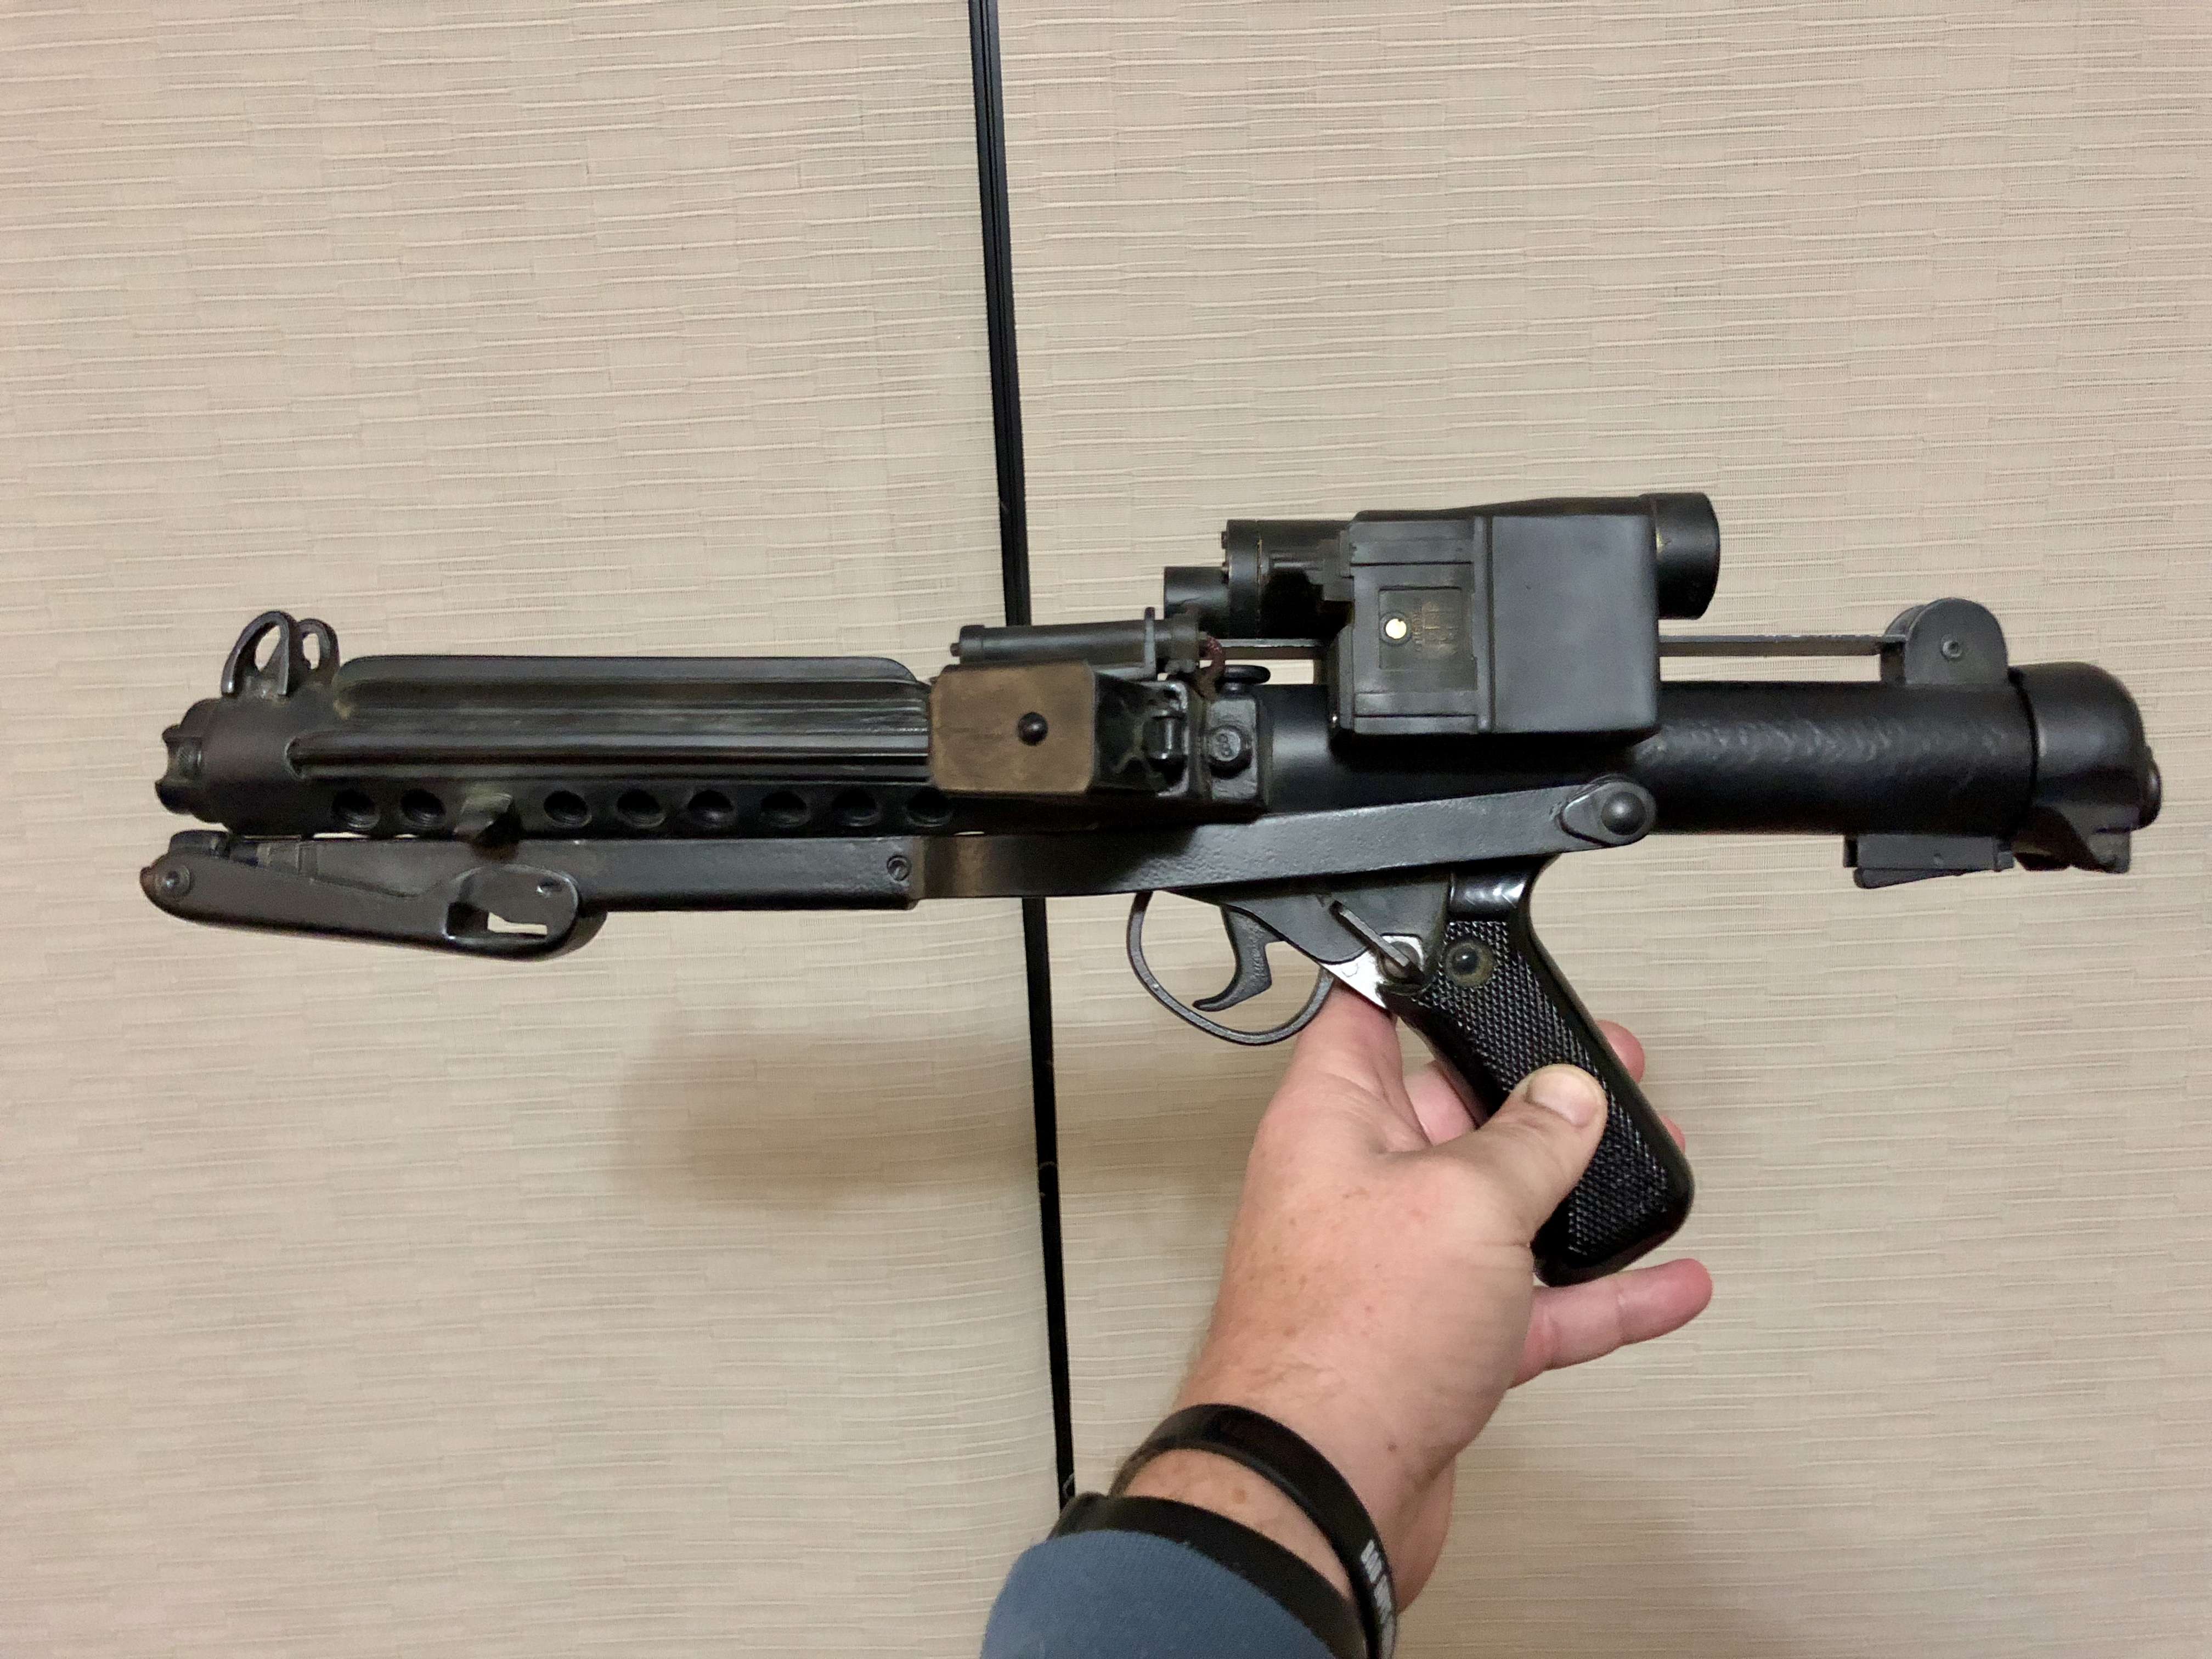
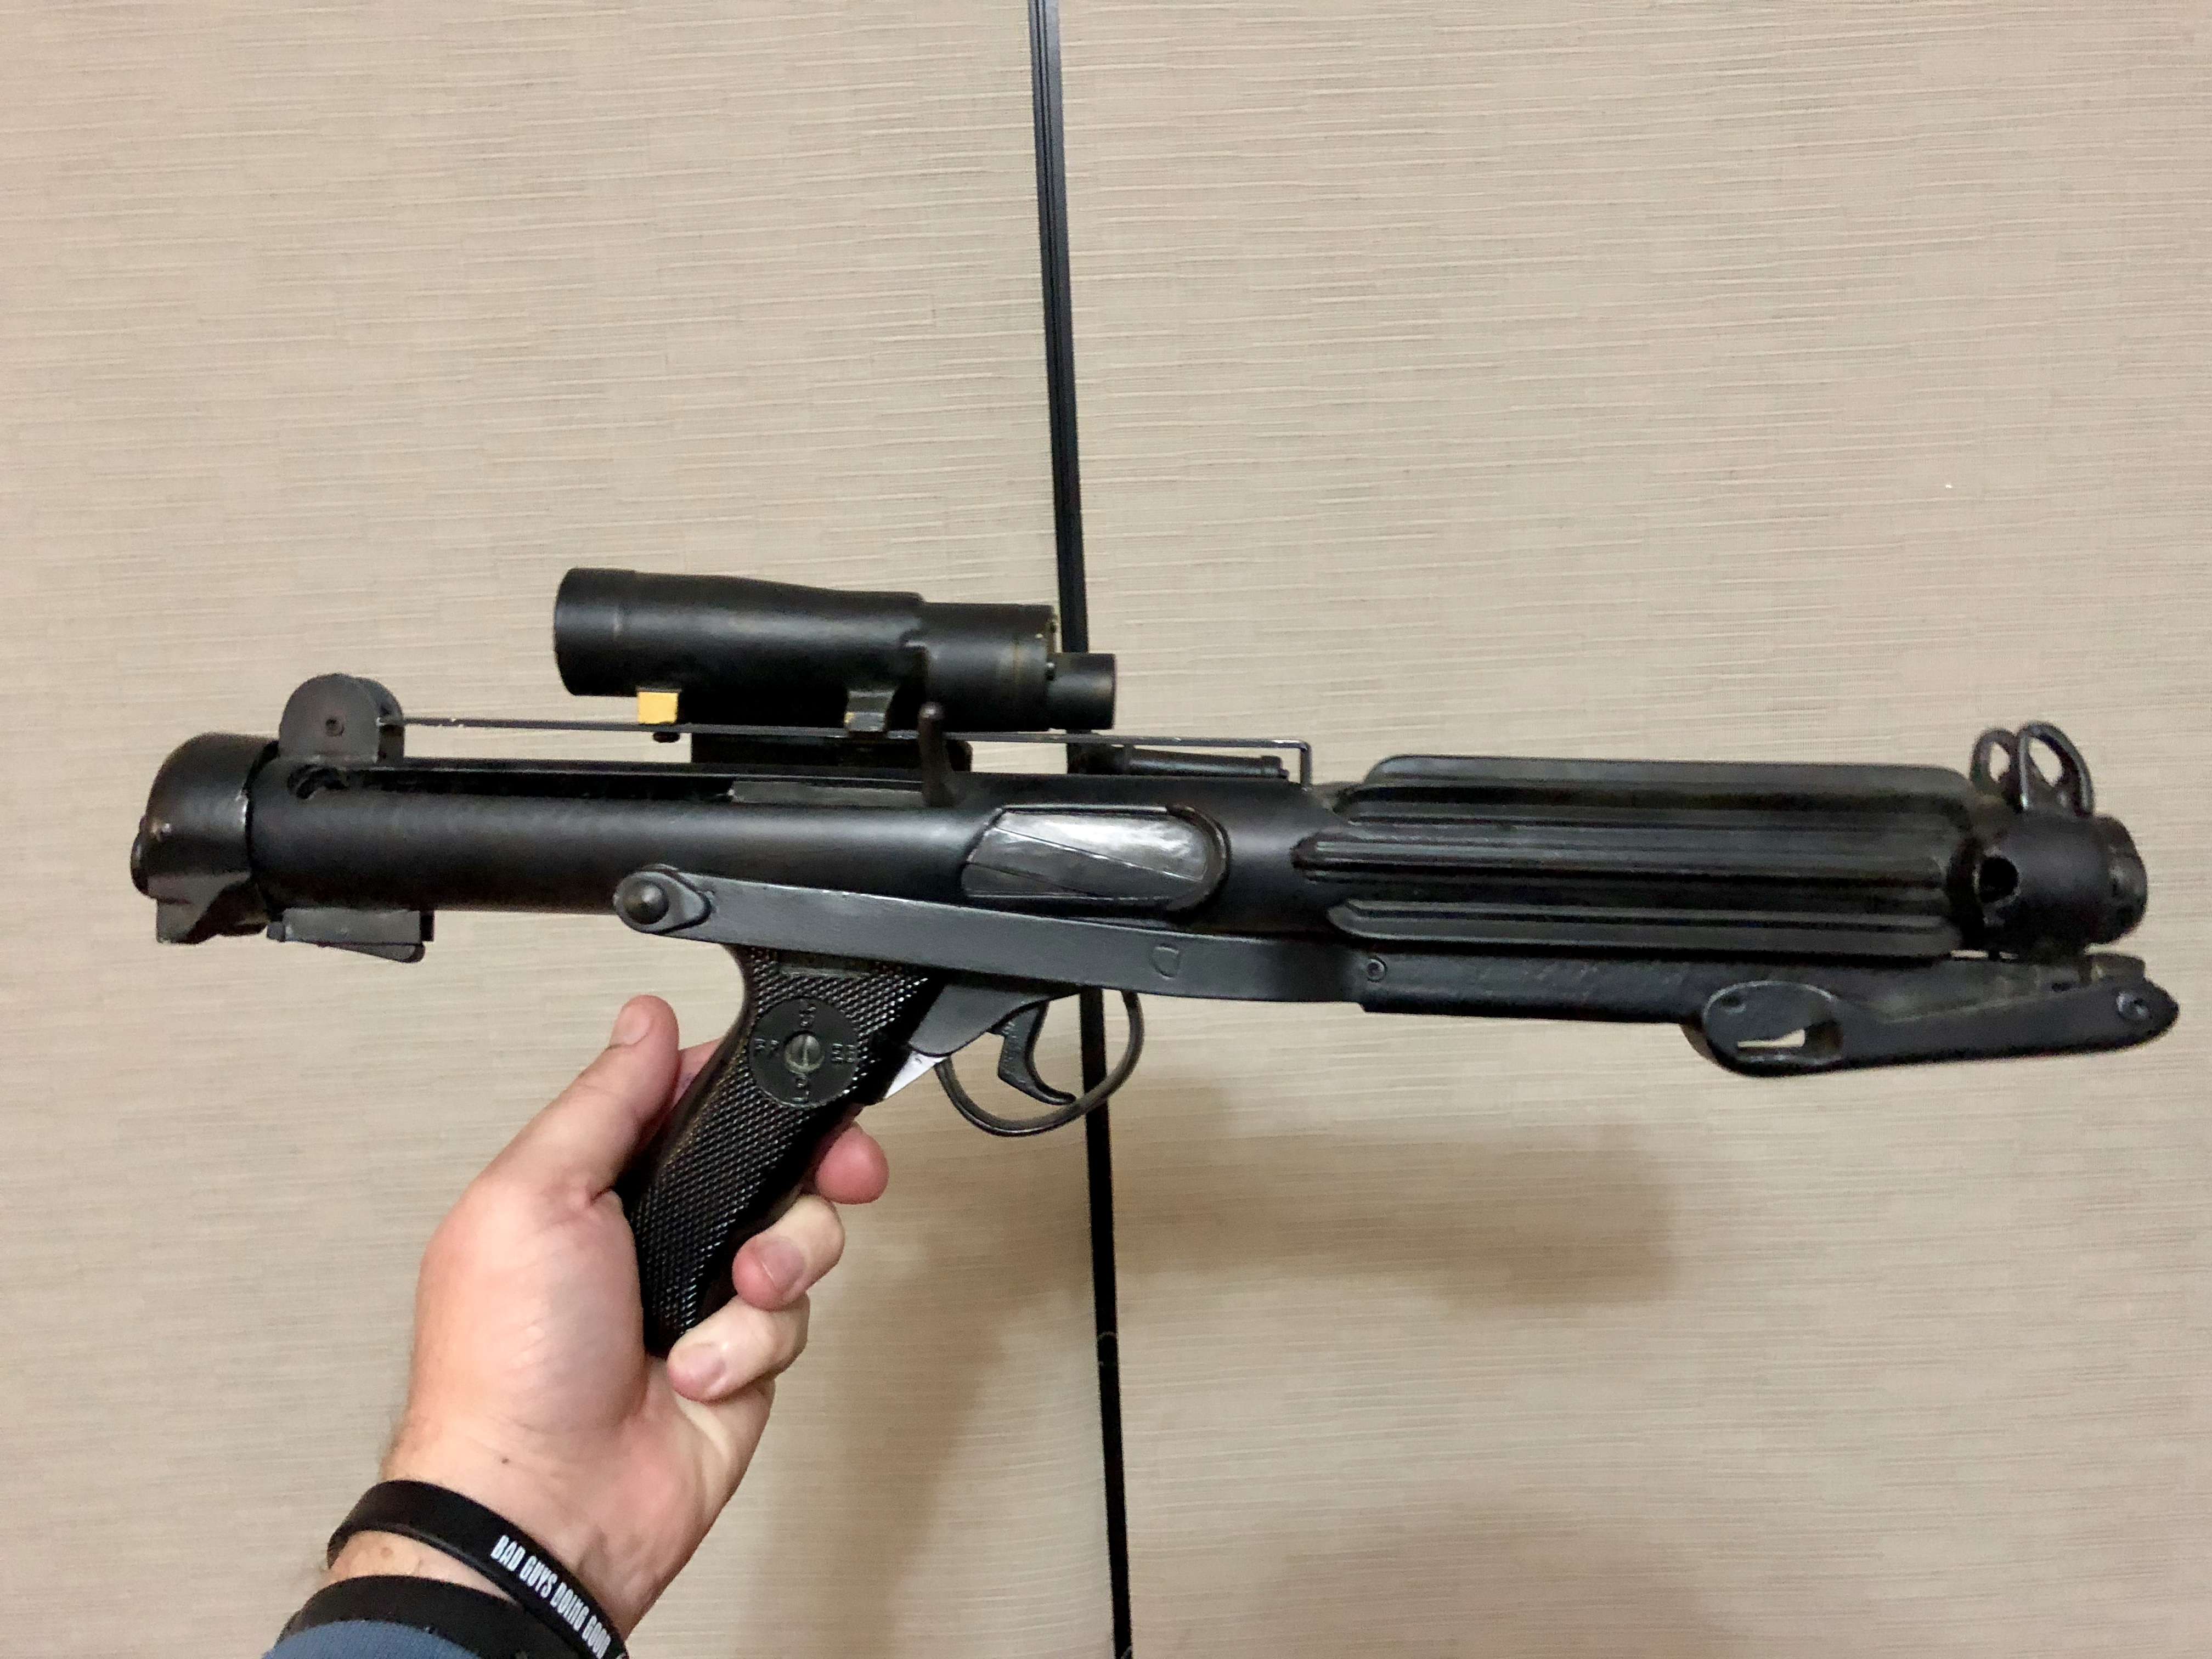
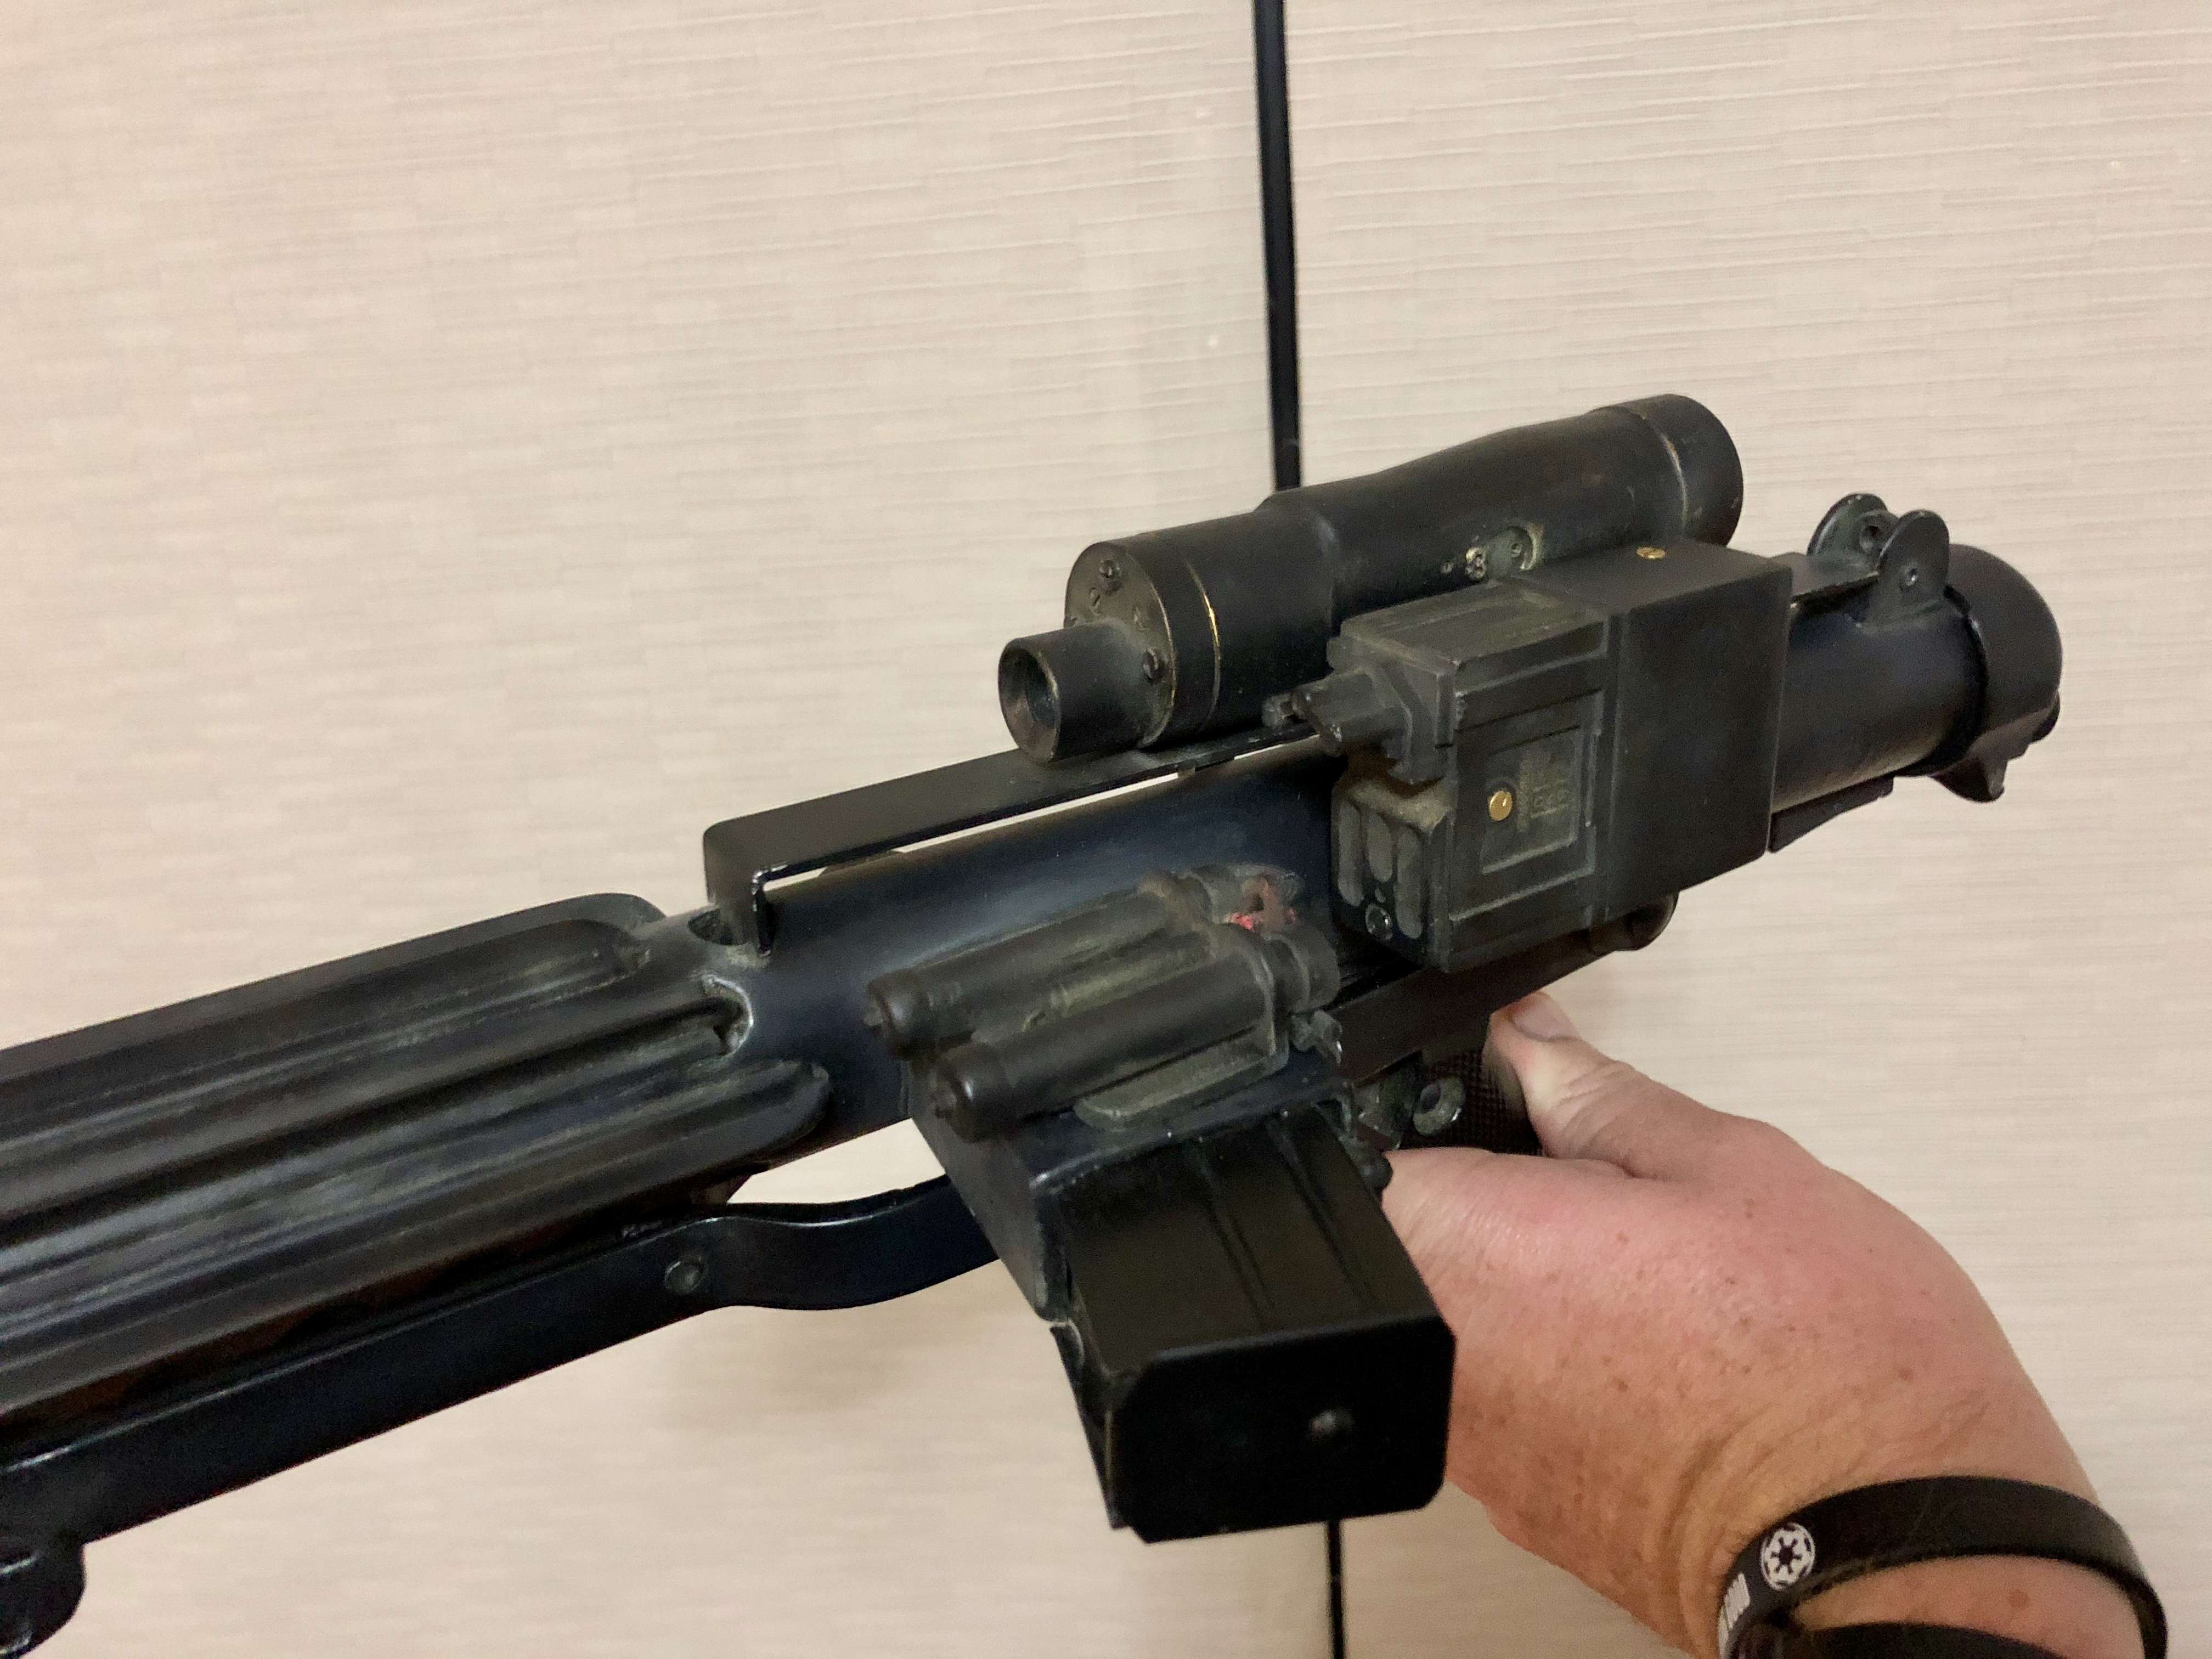
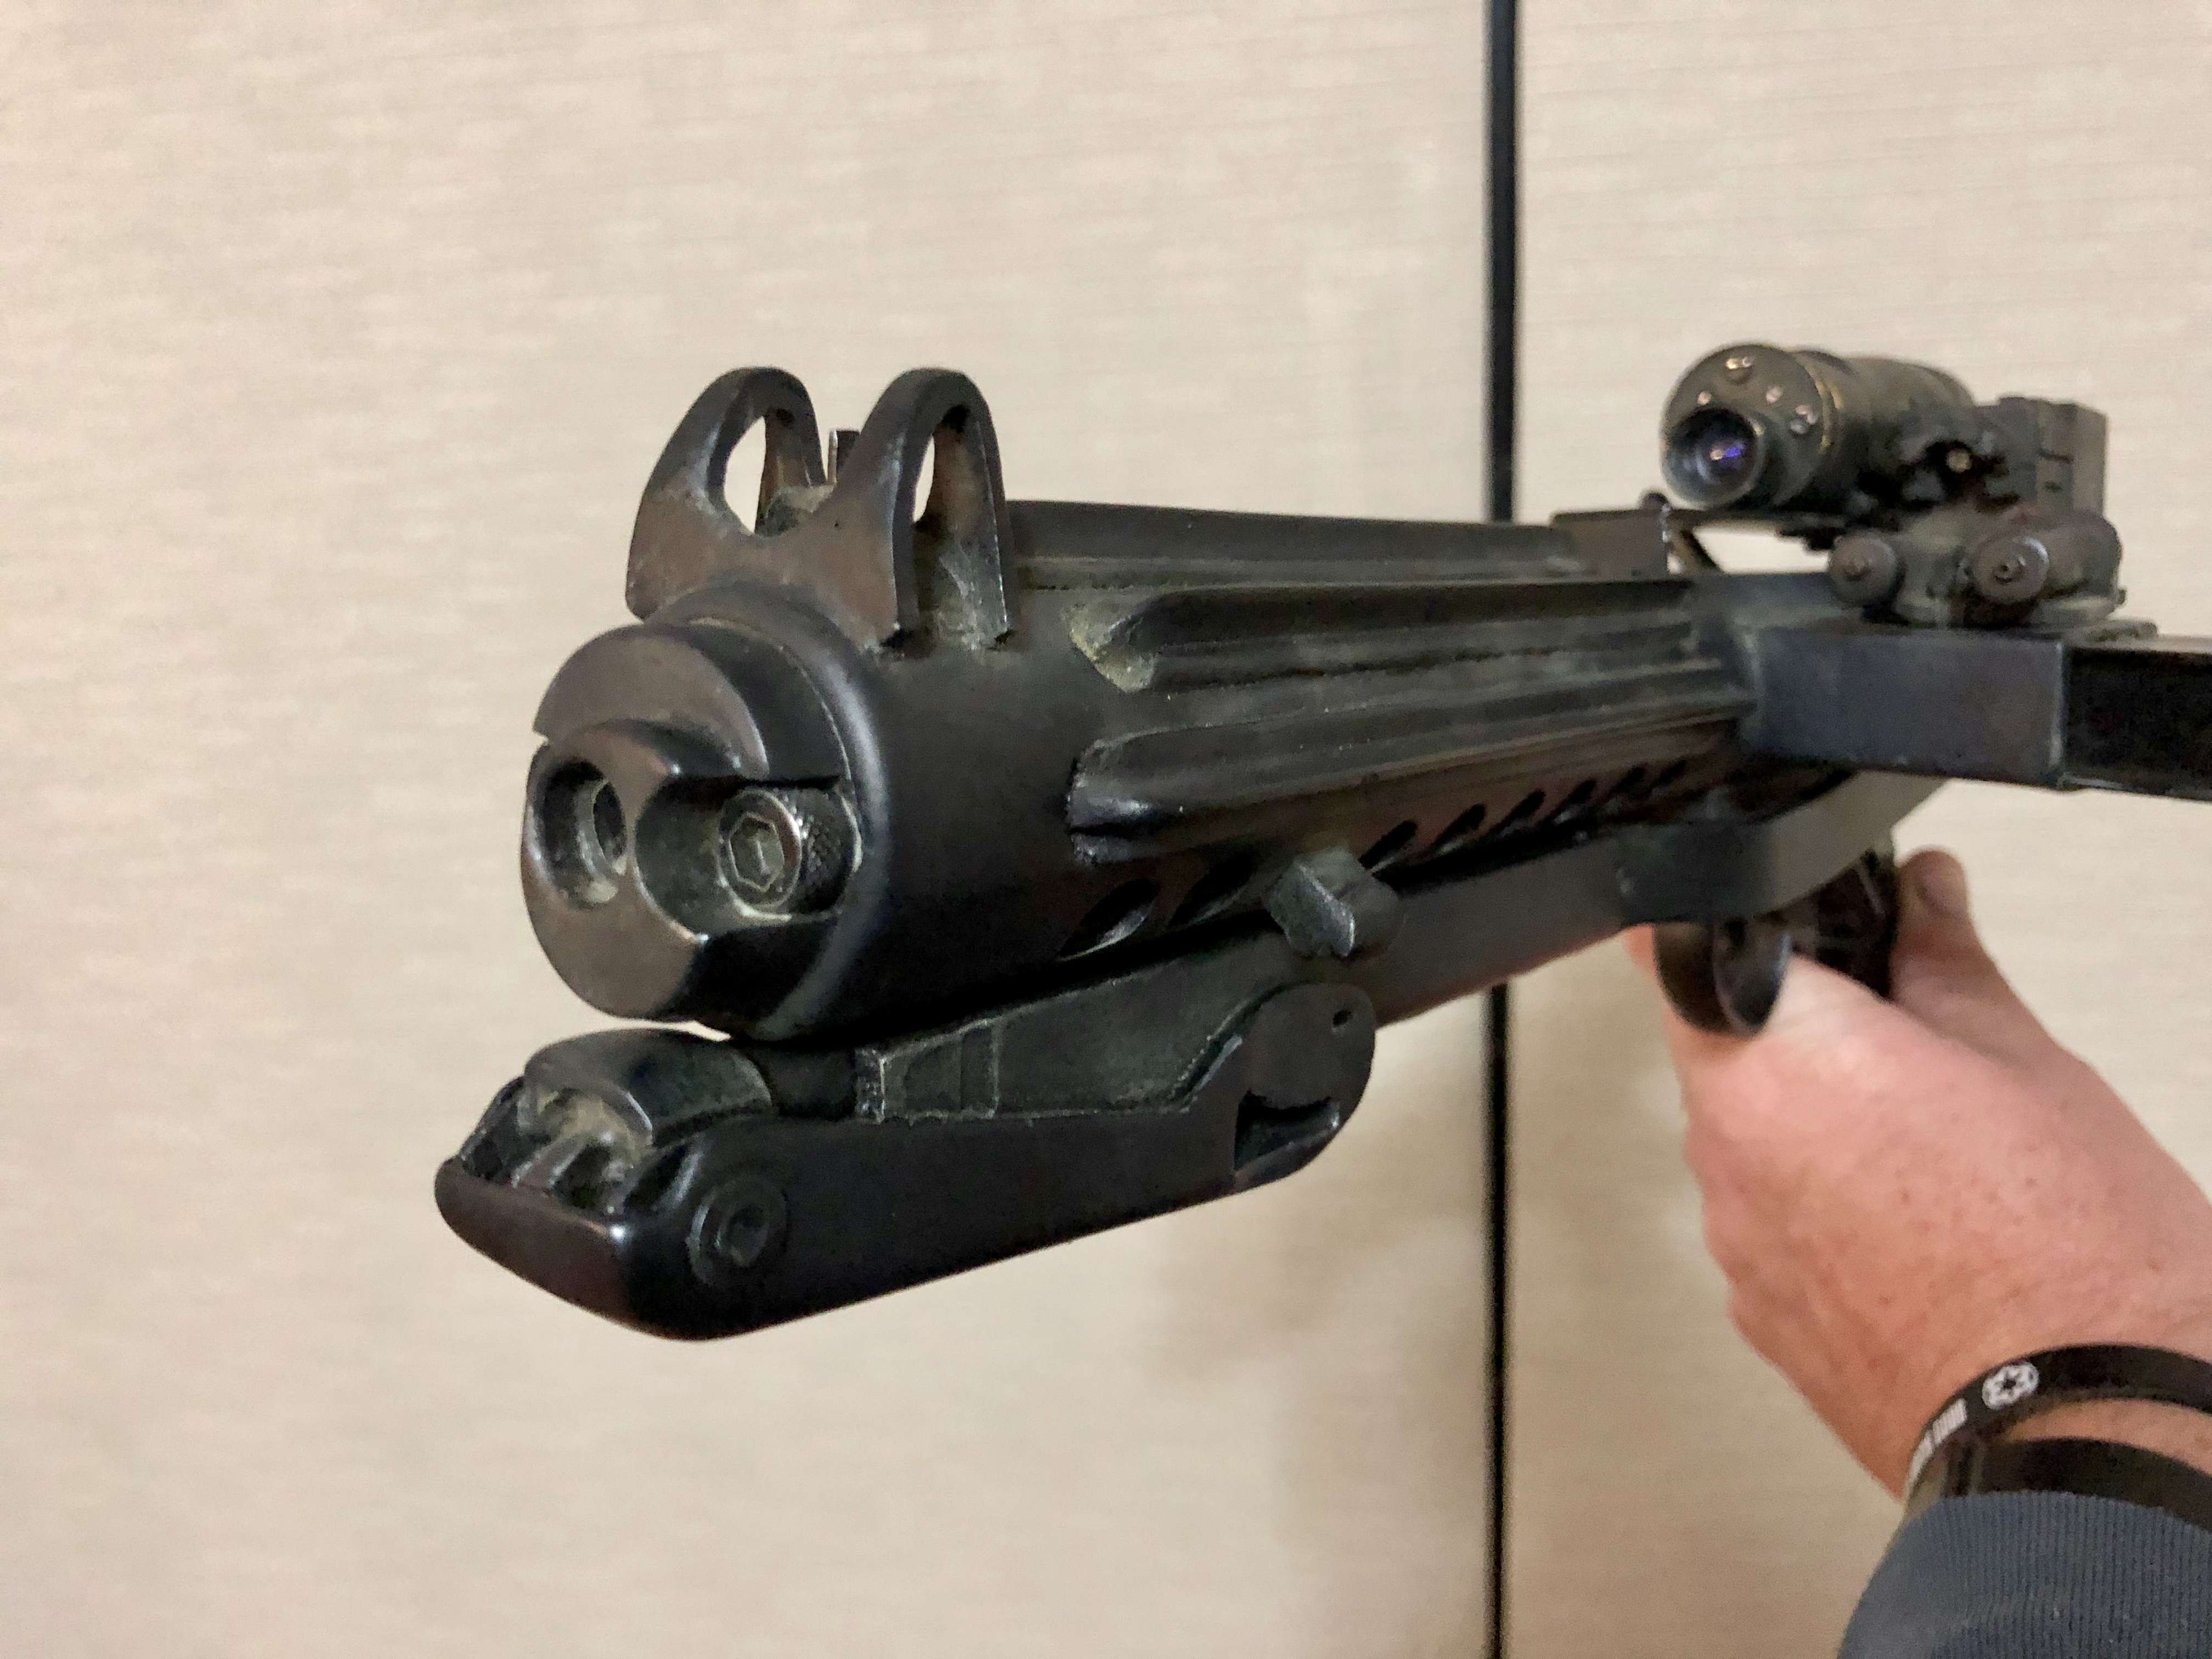
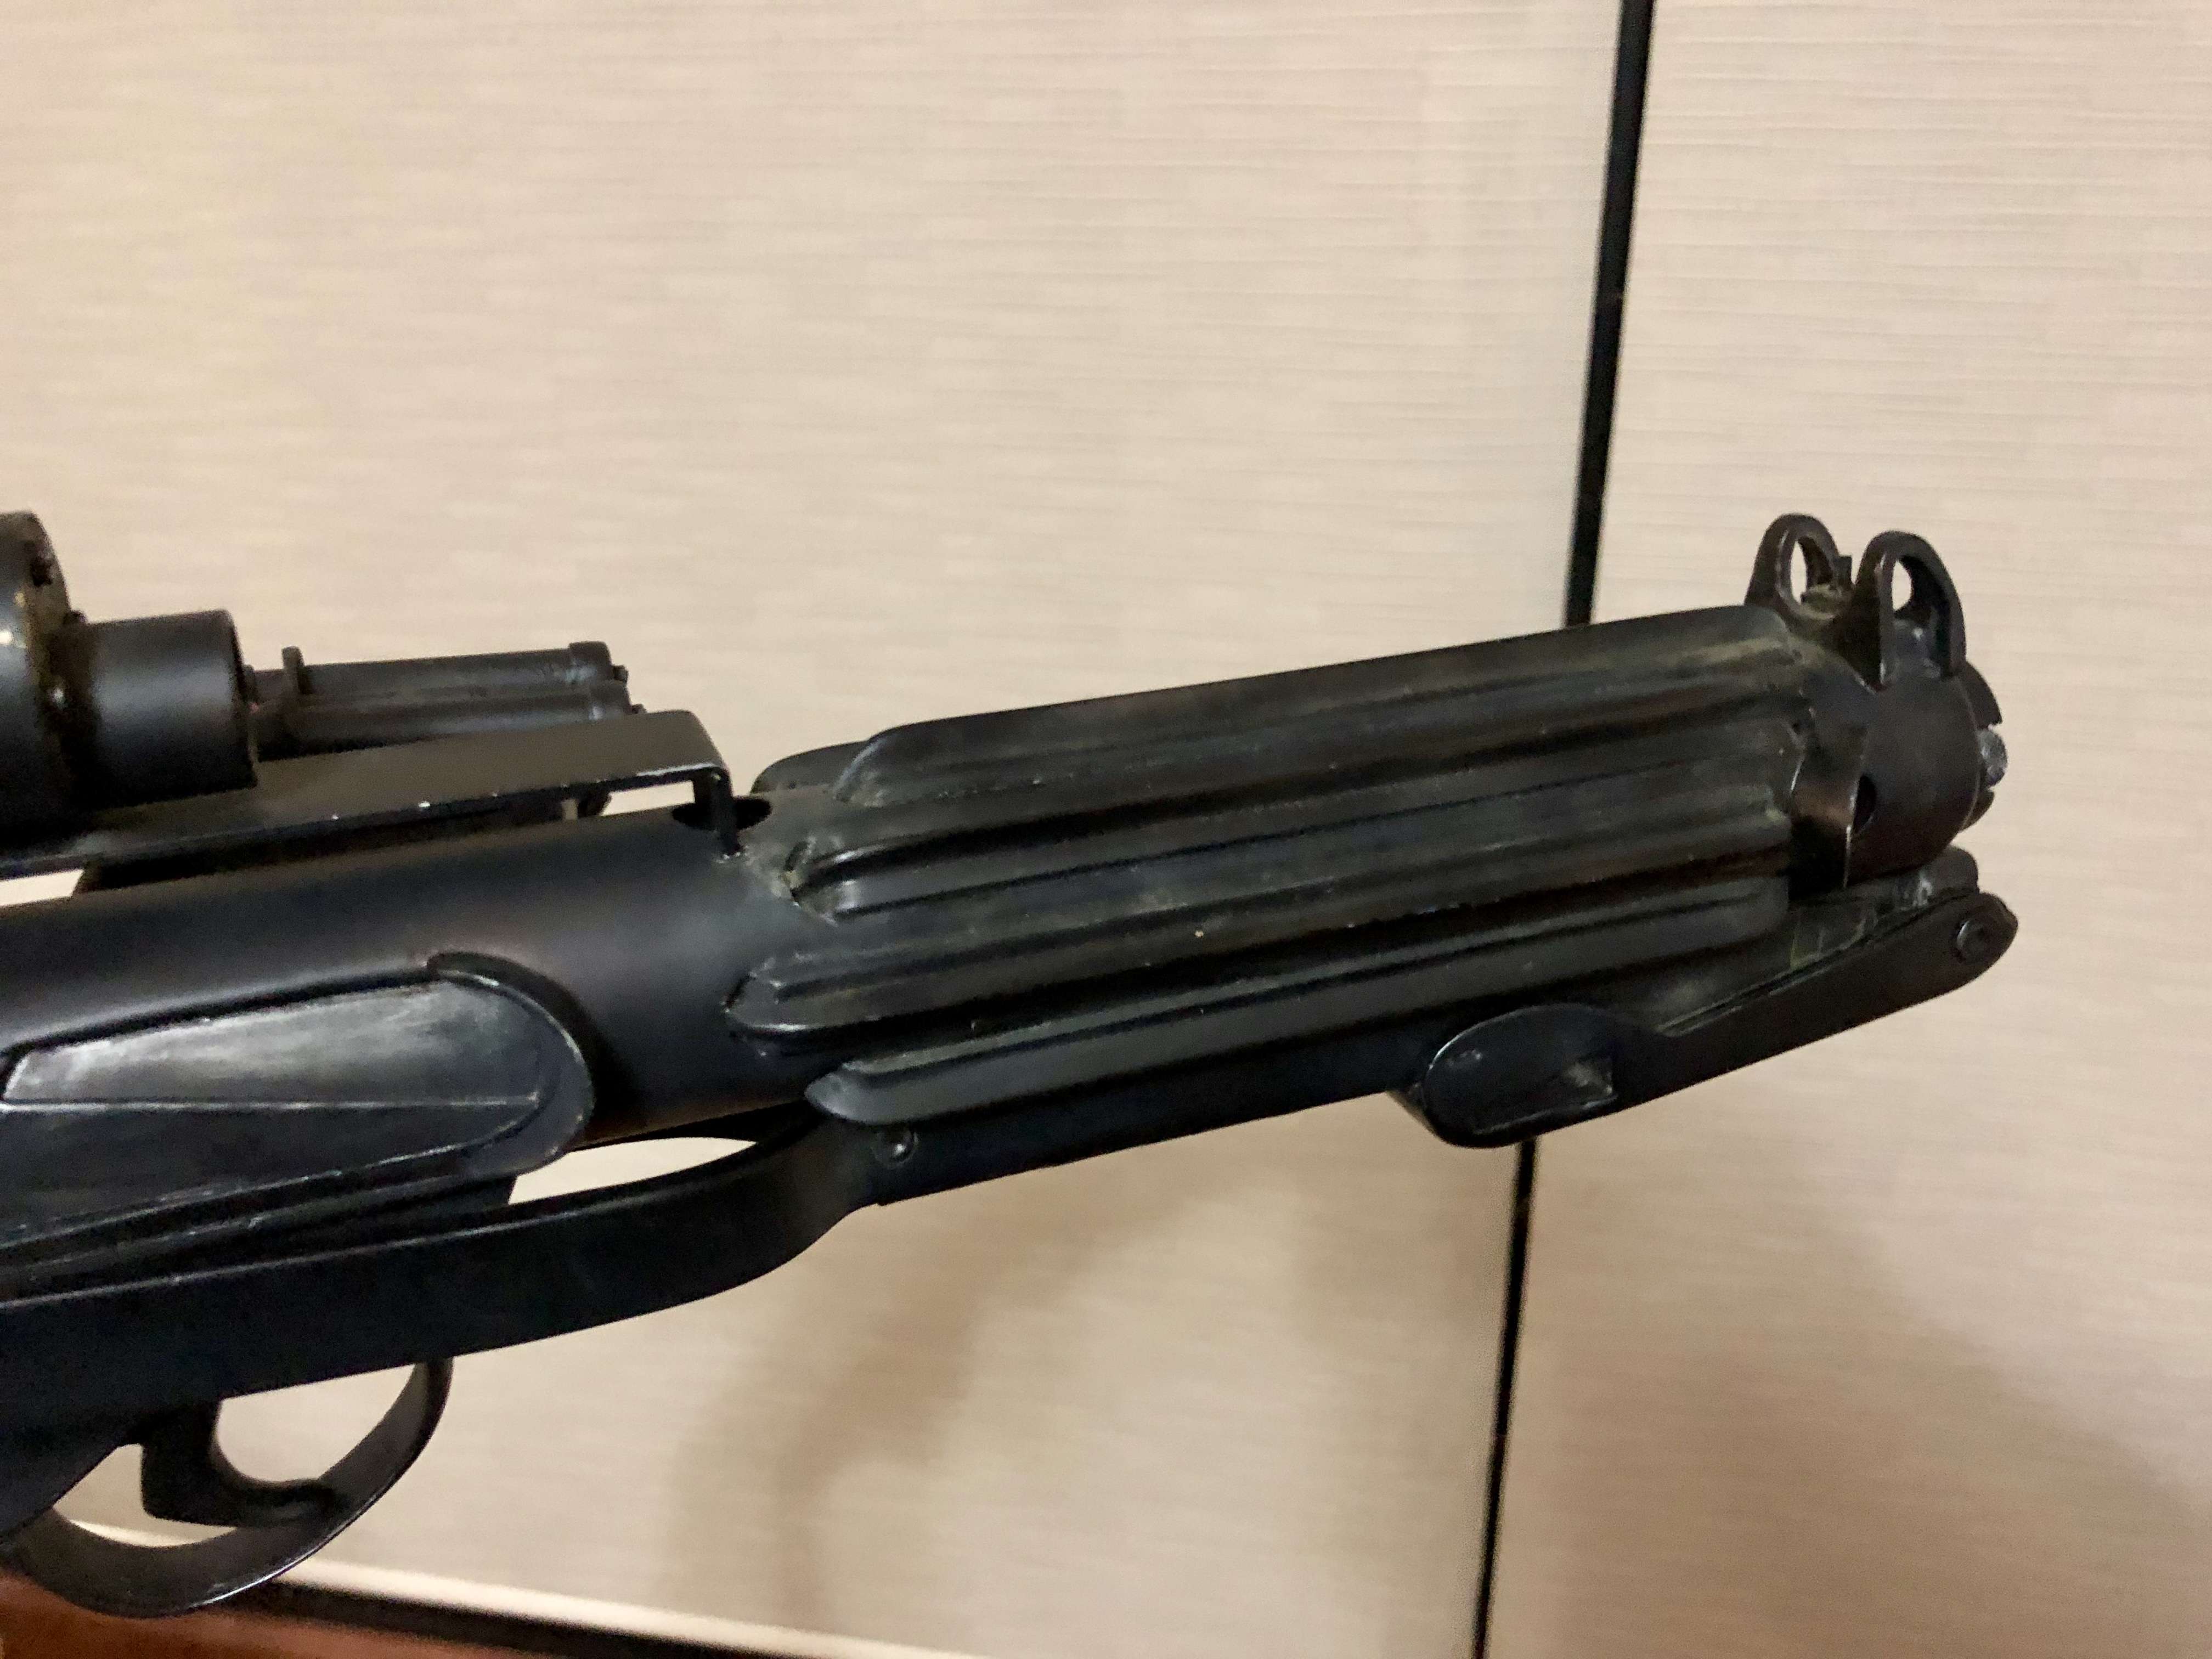

-
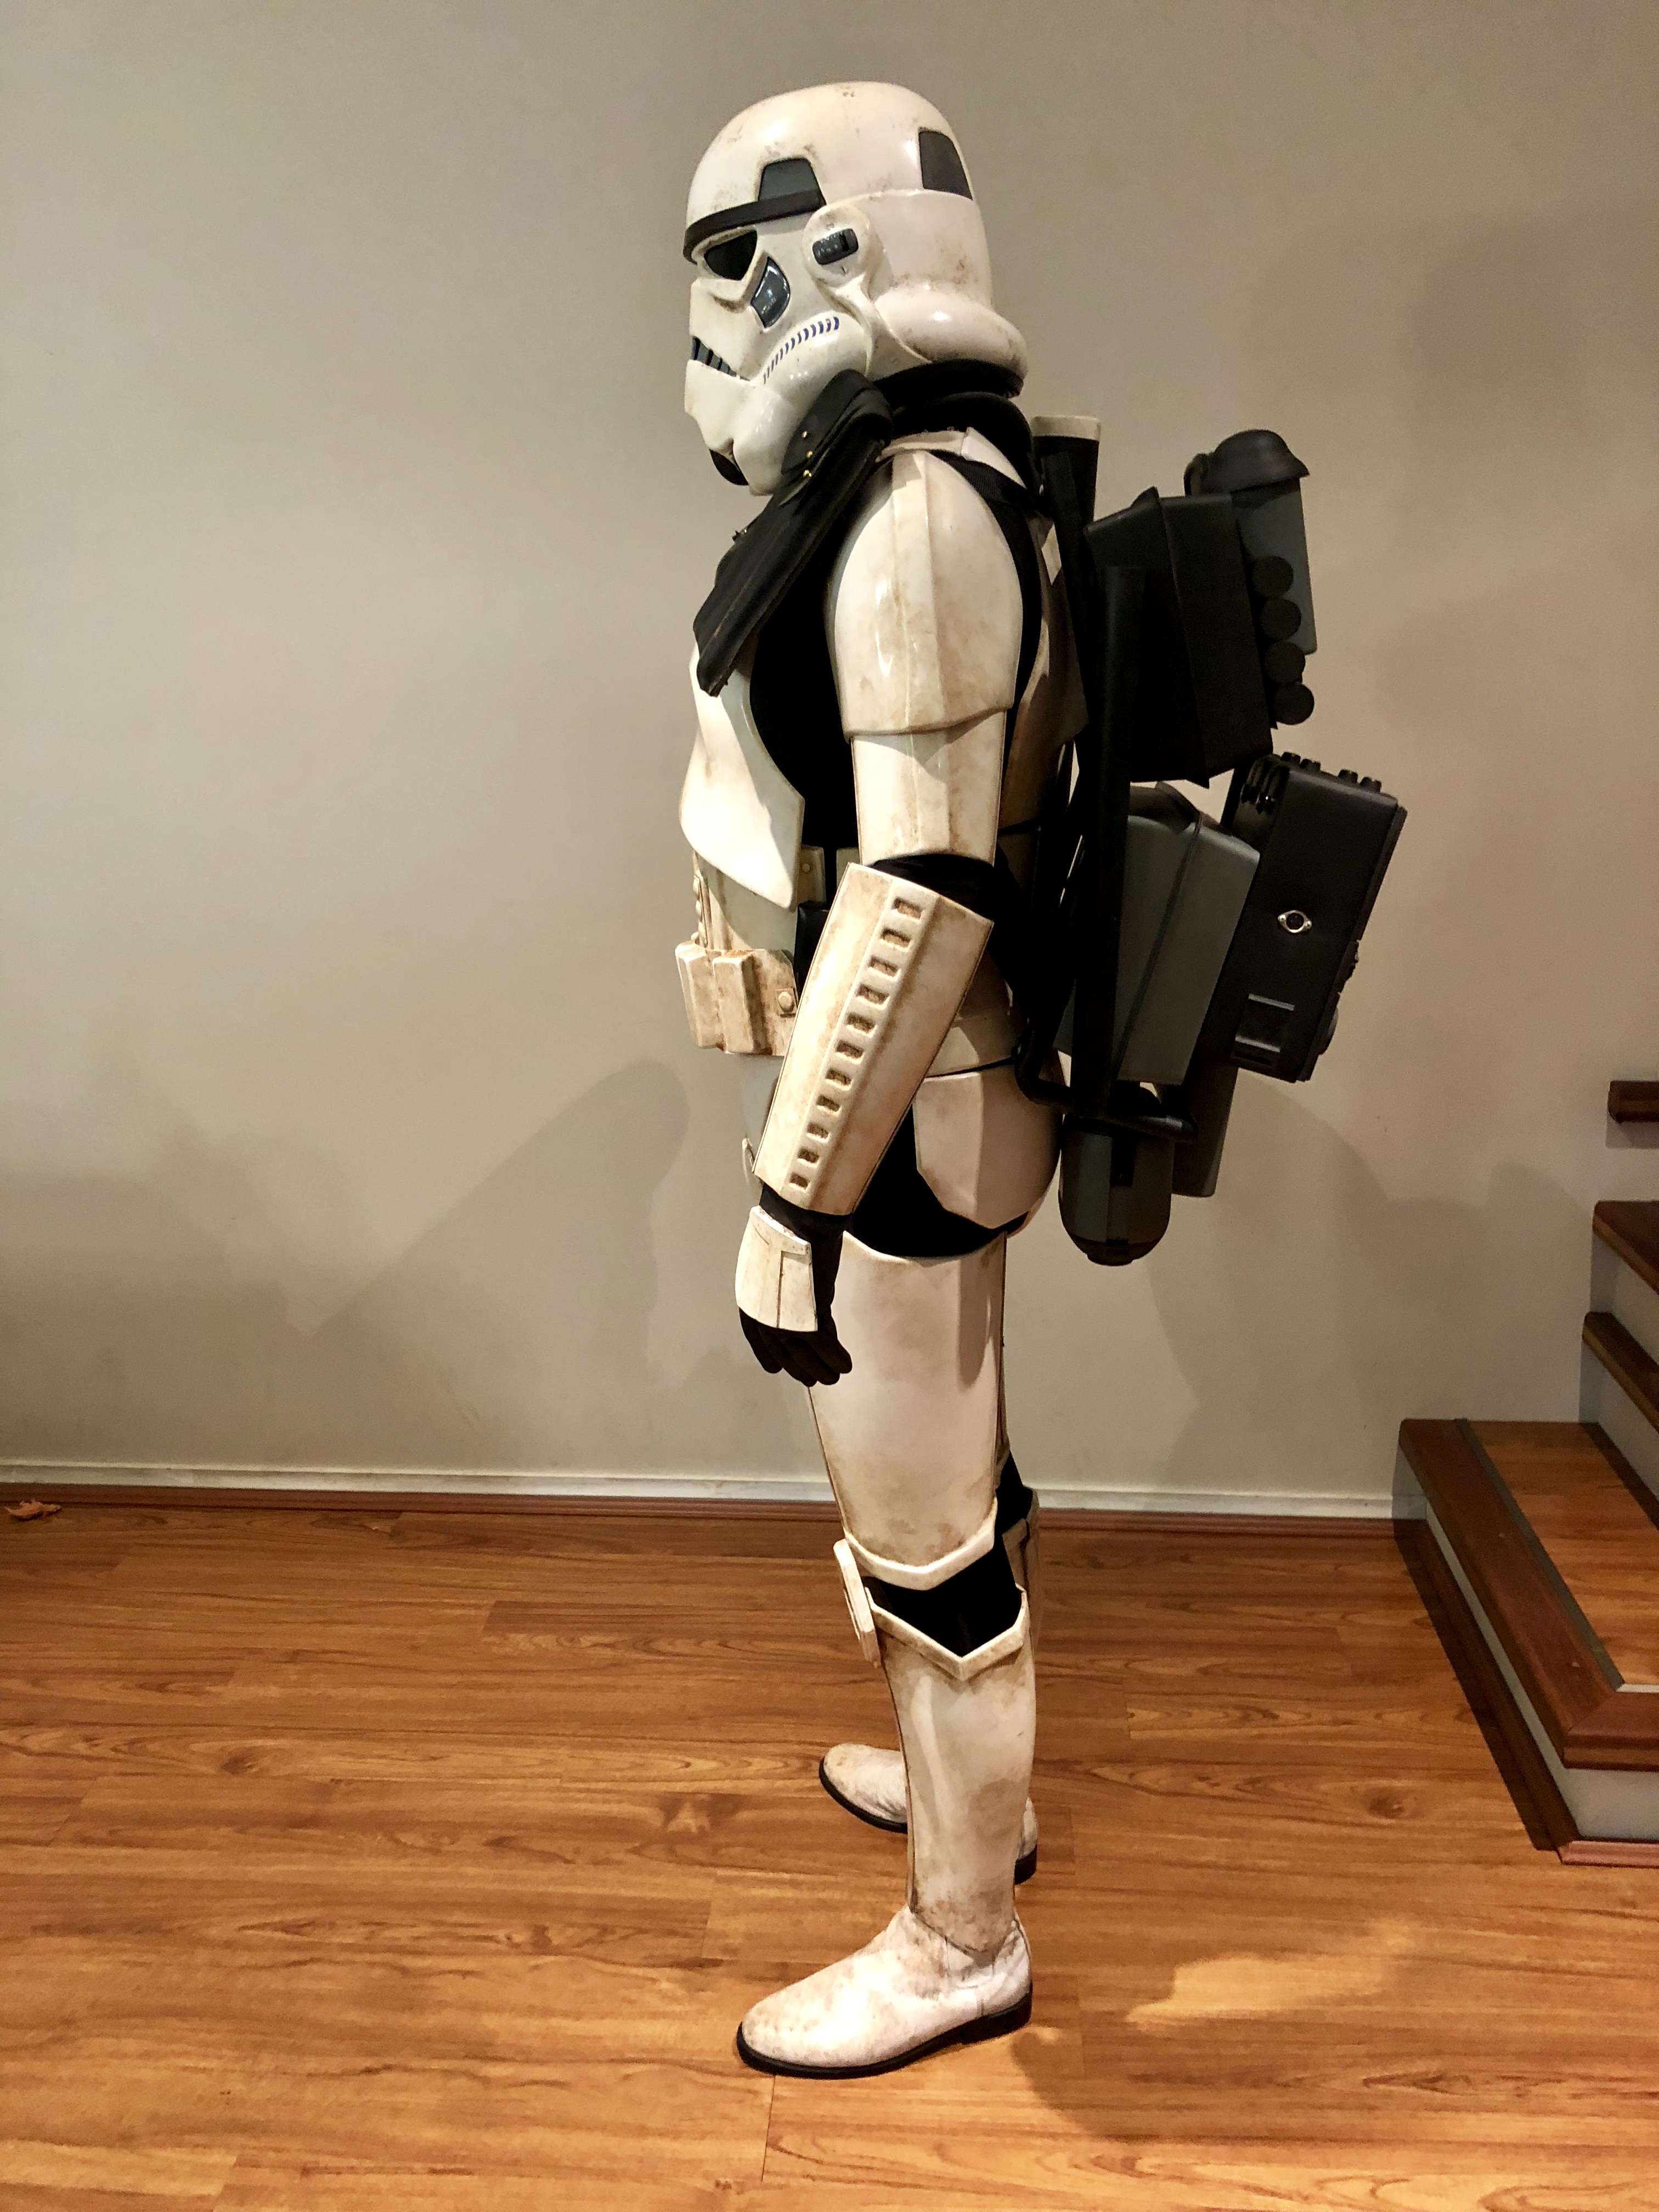
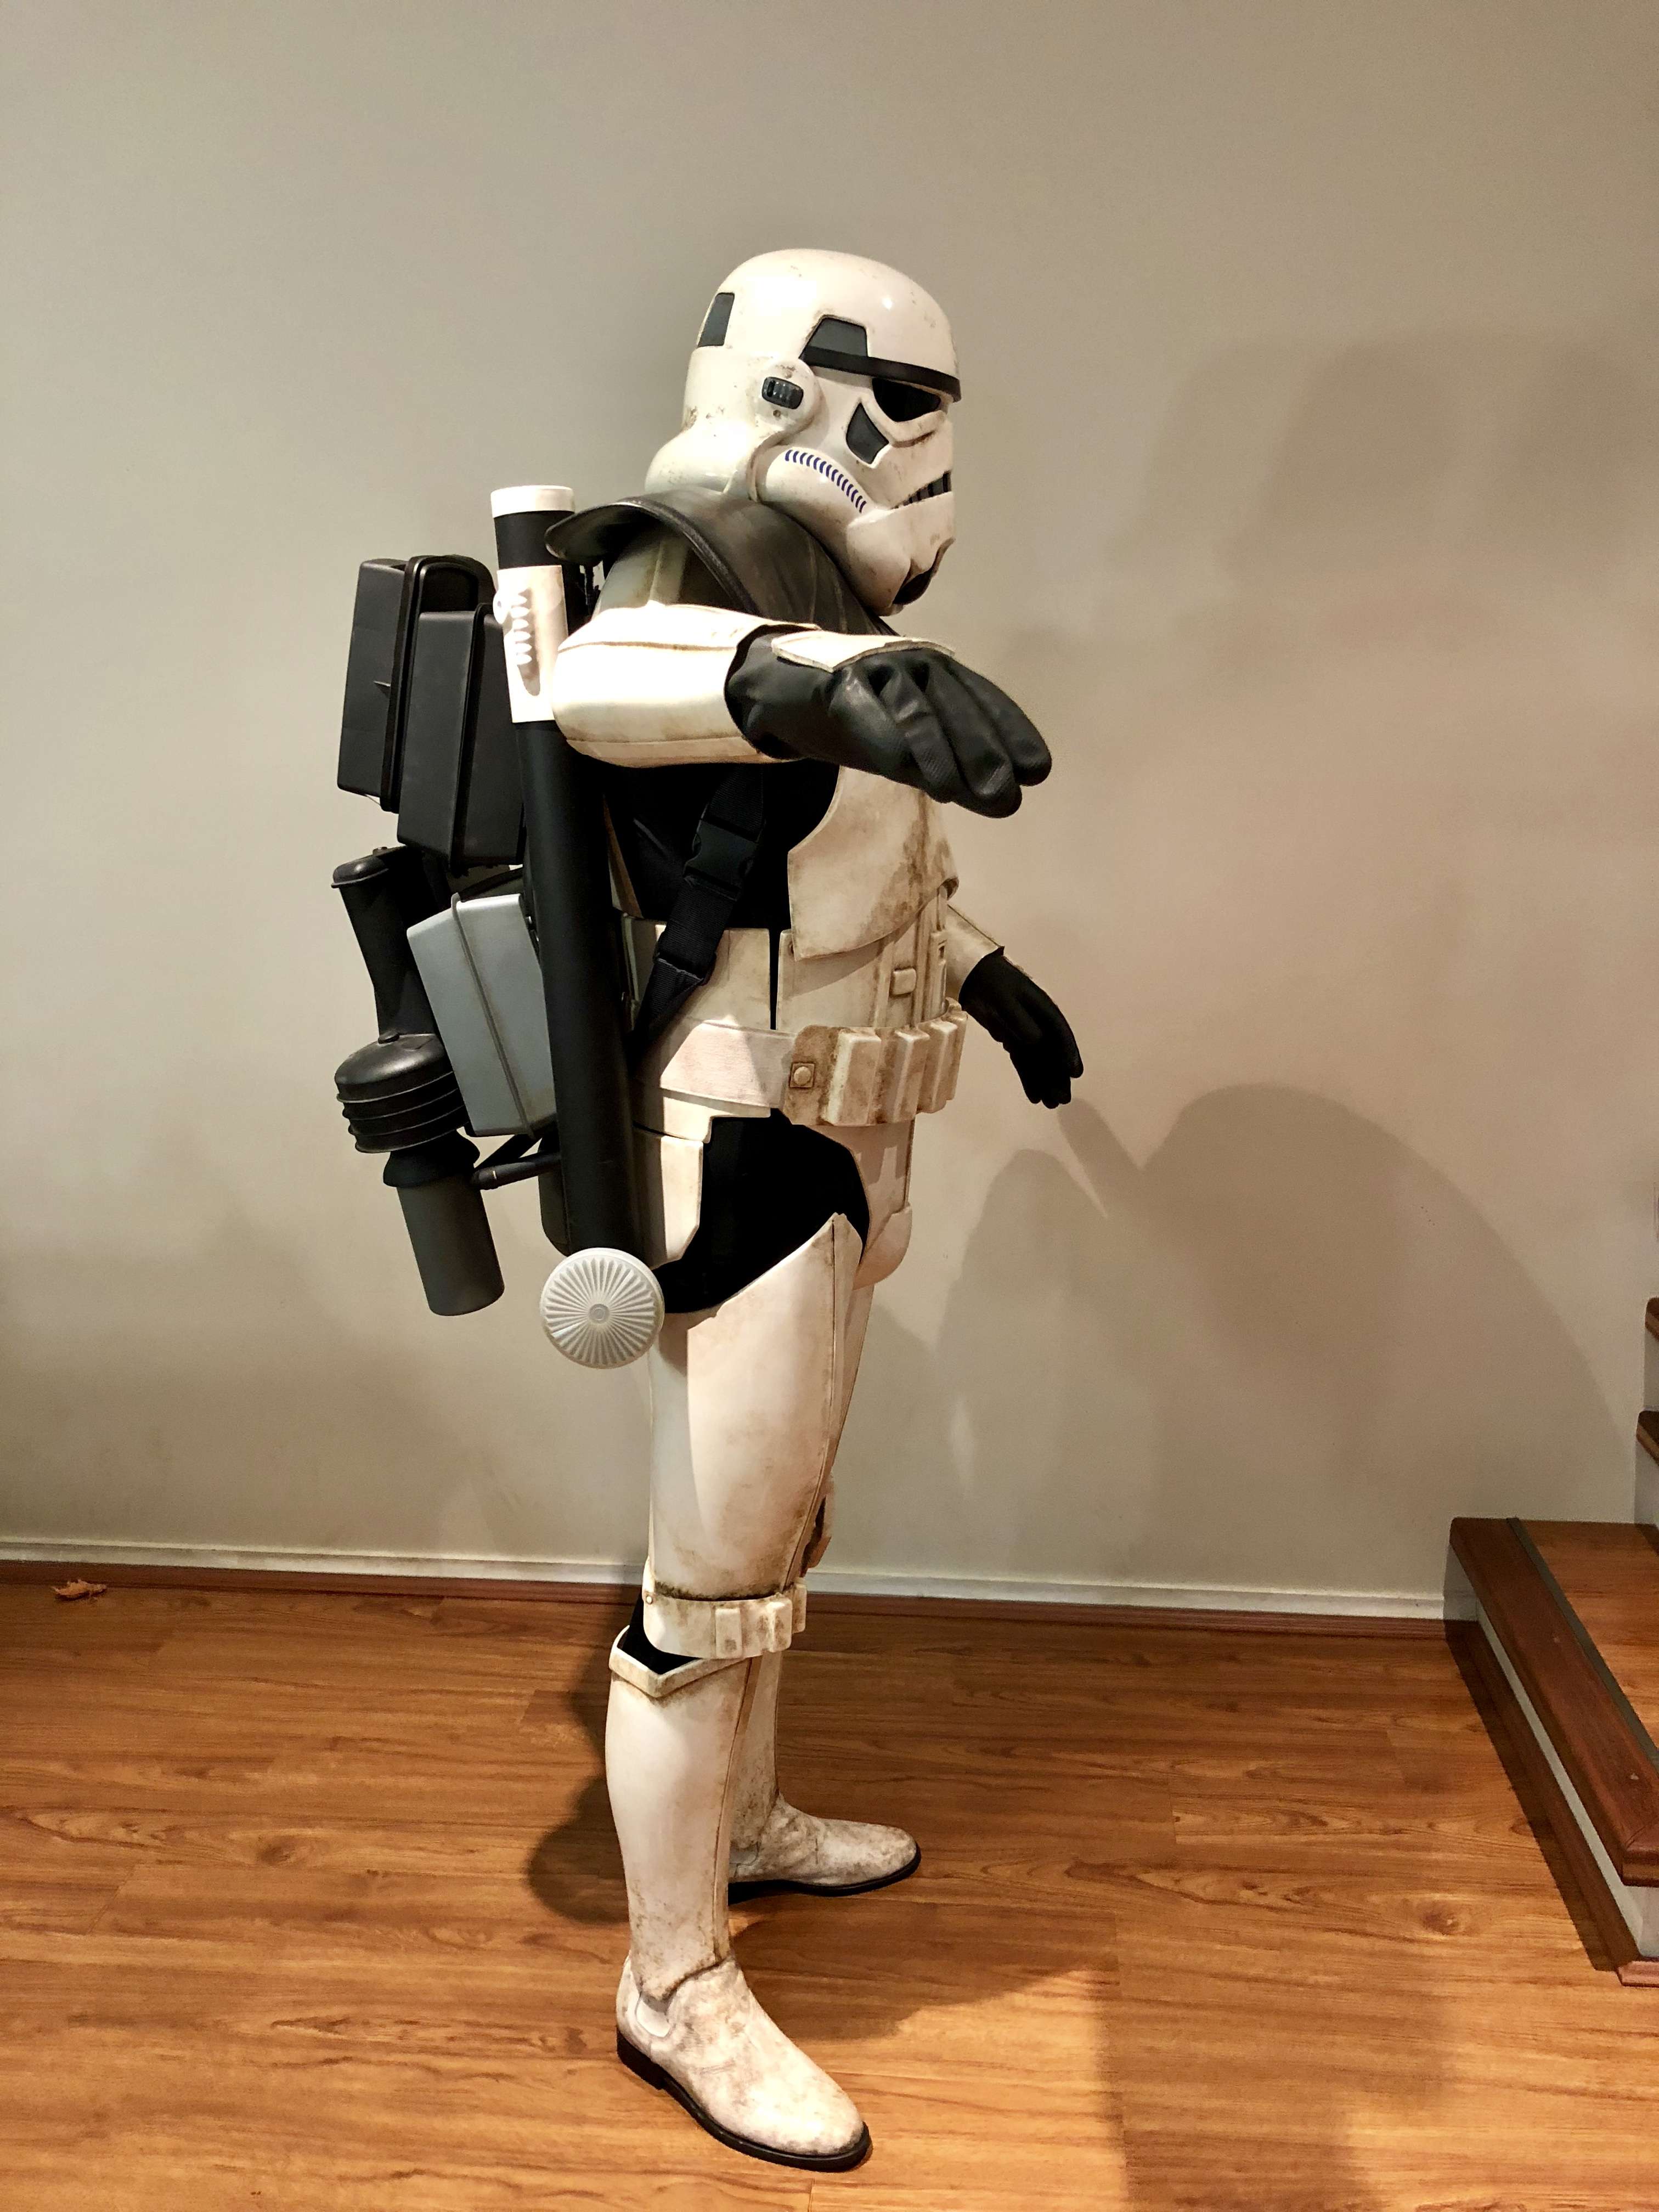
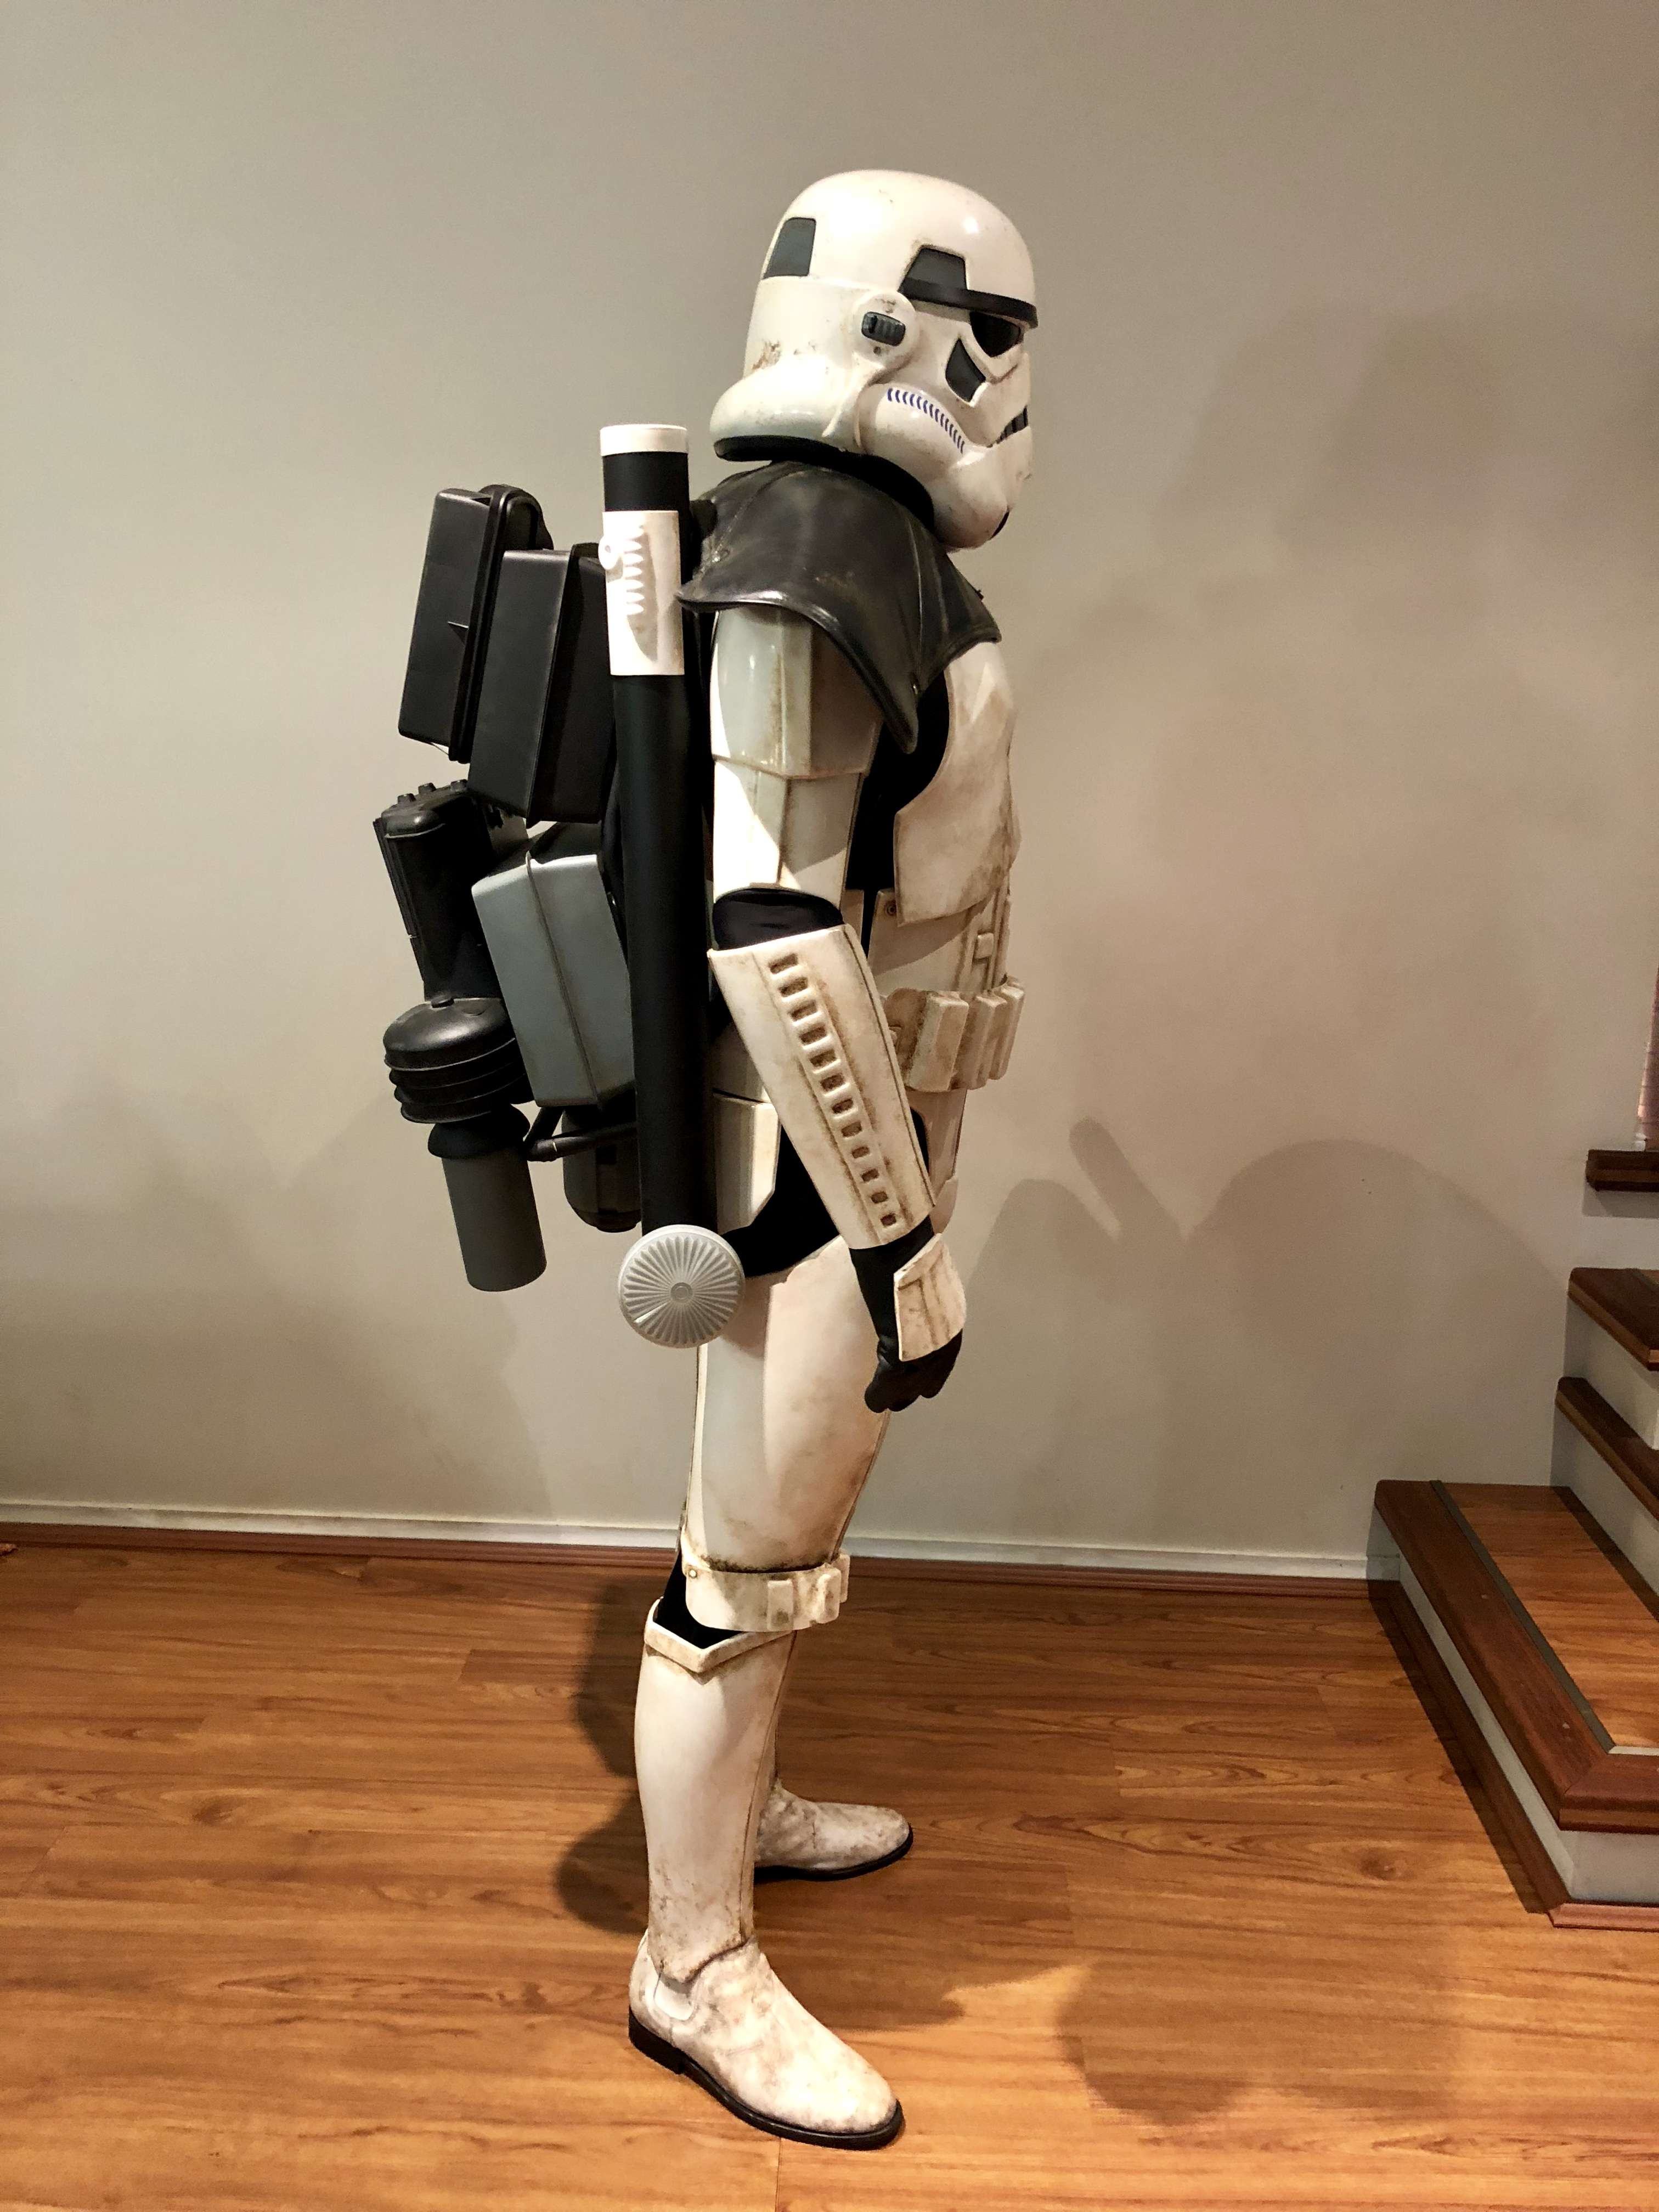
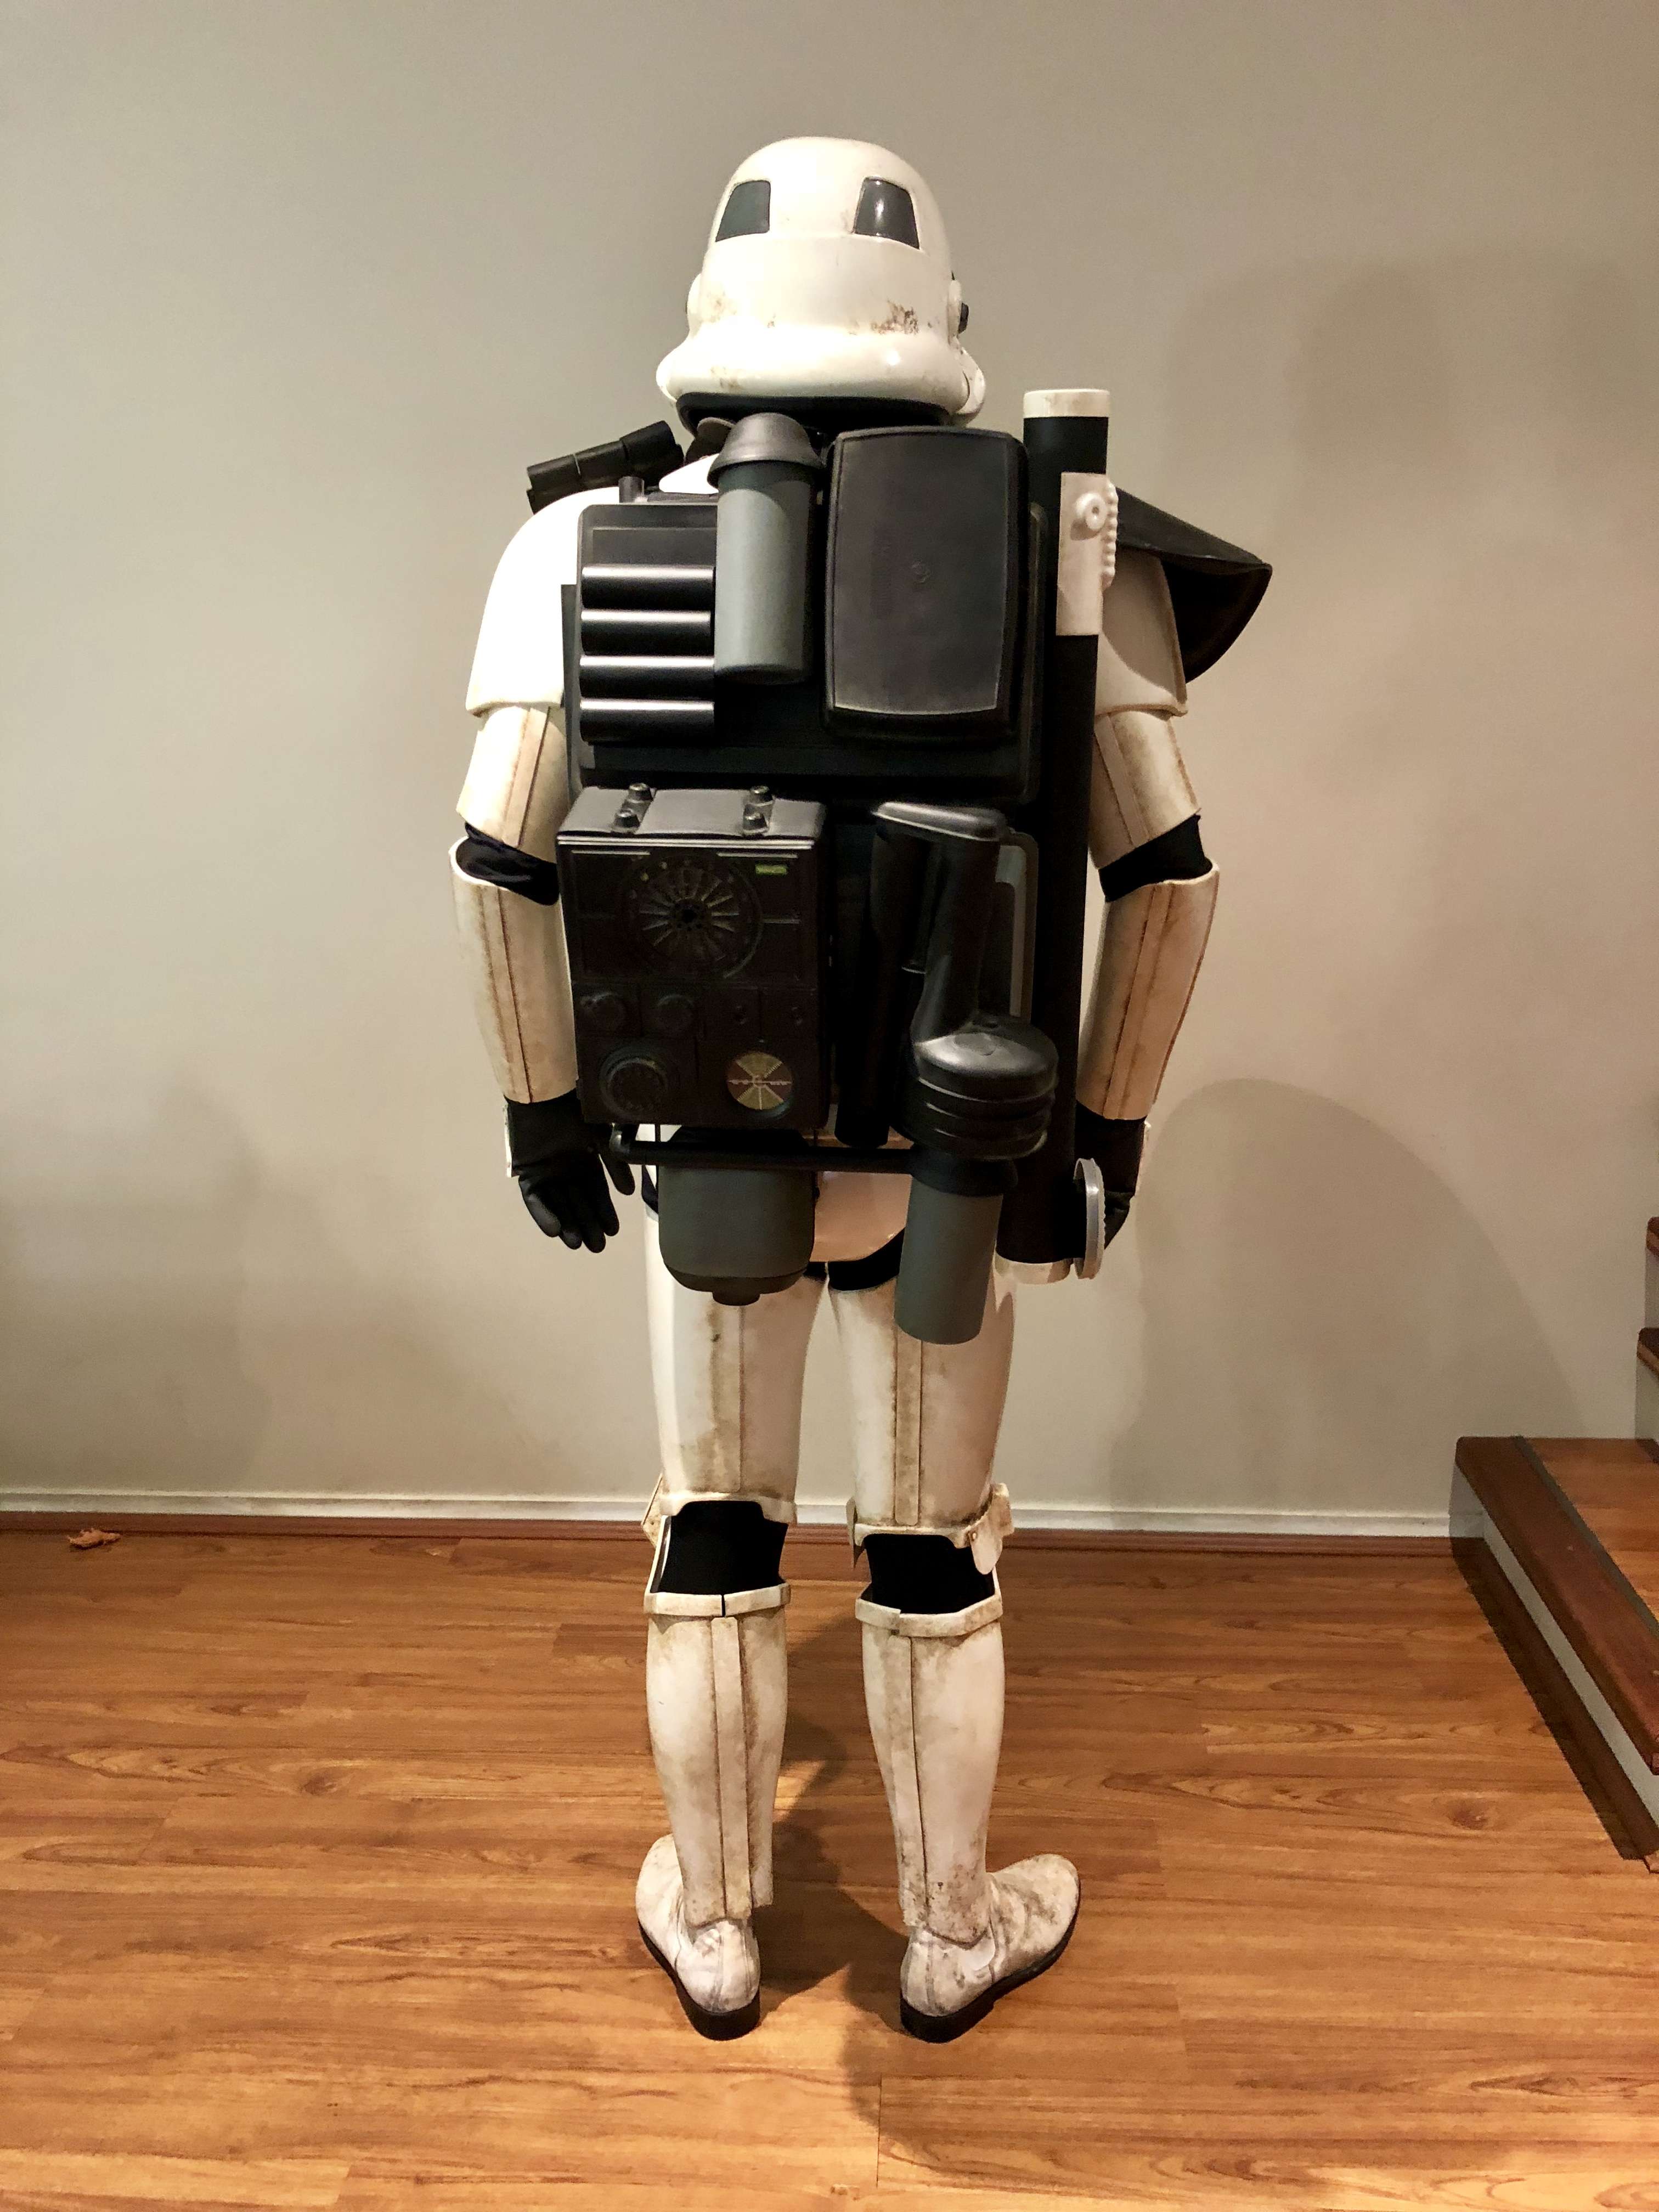
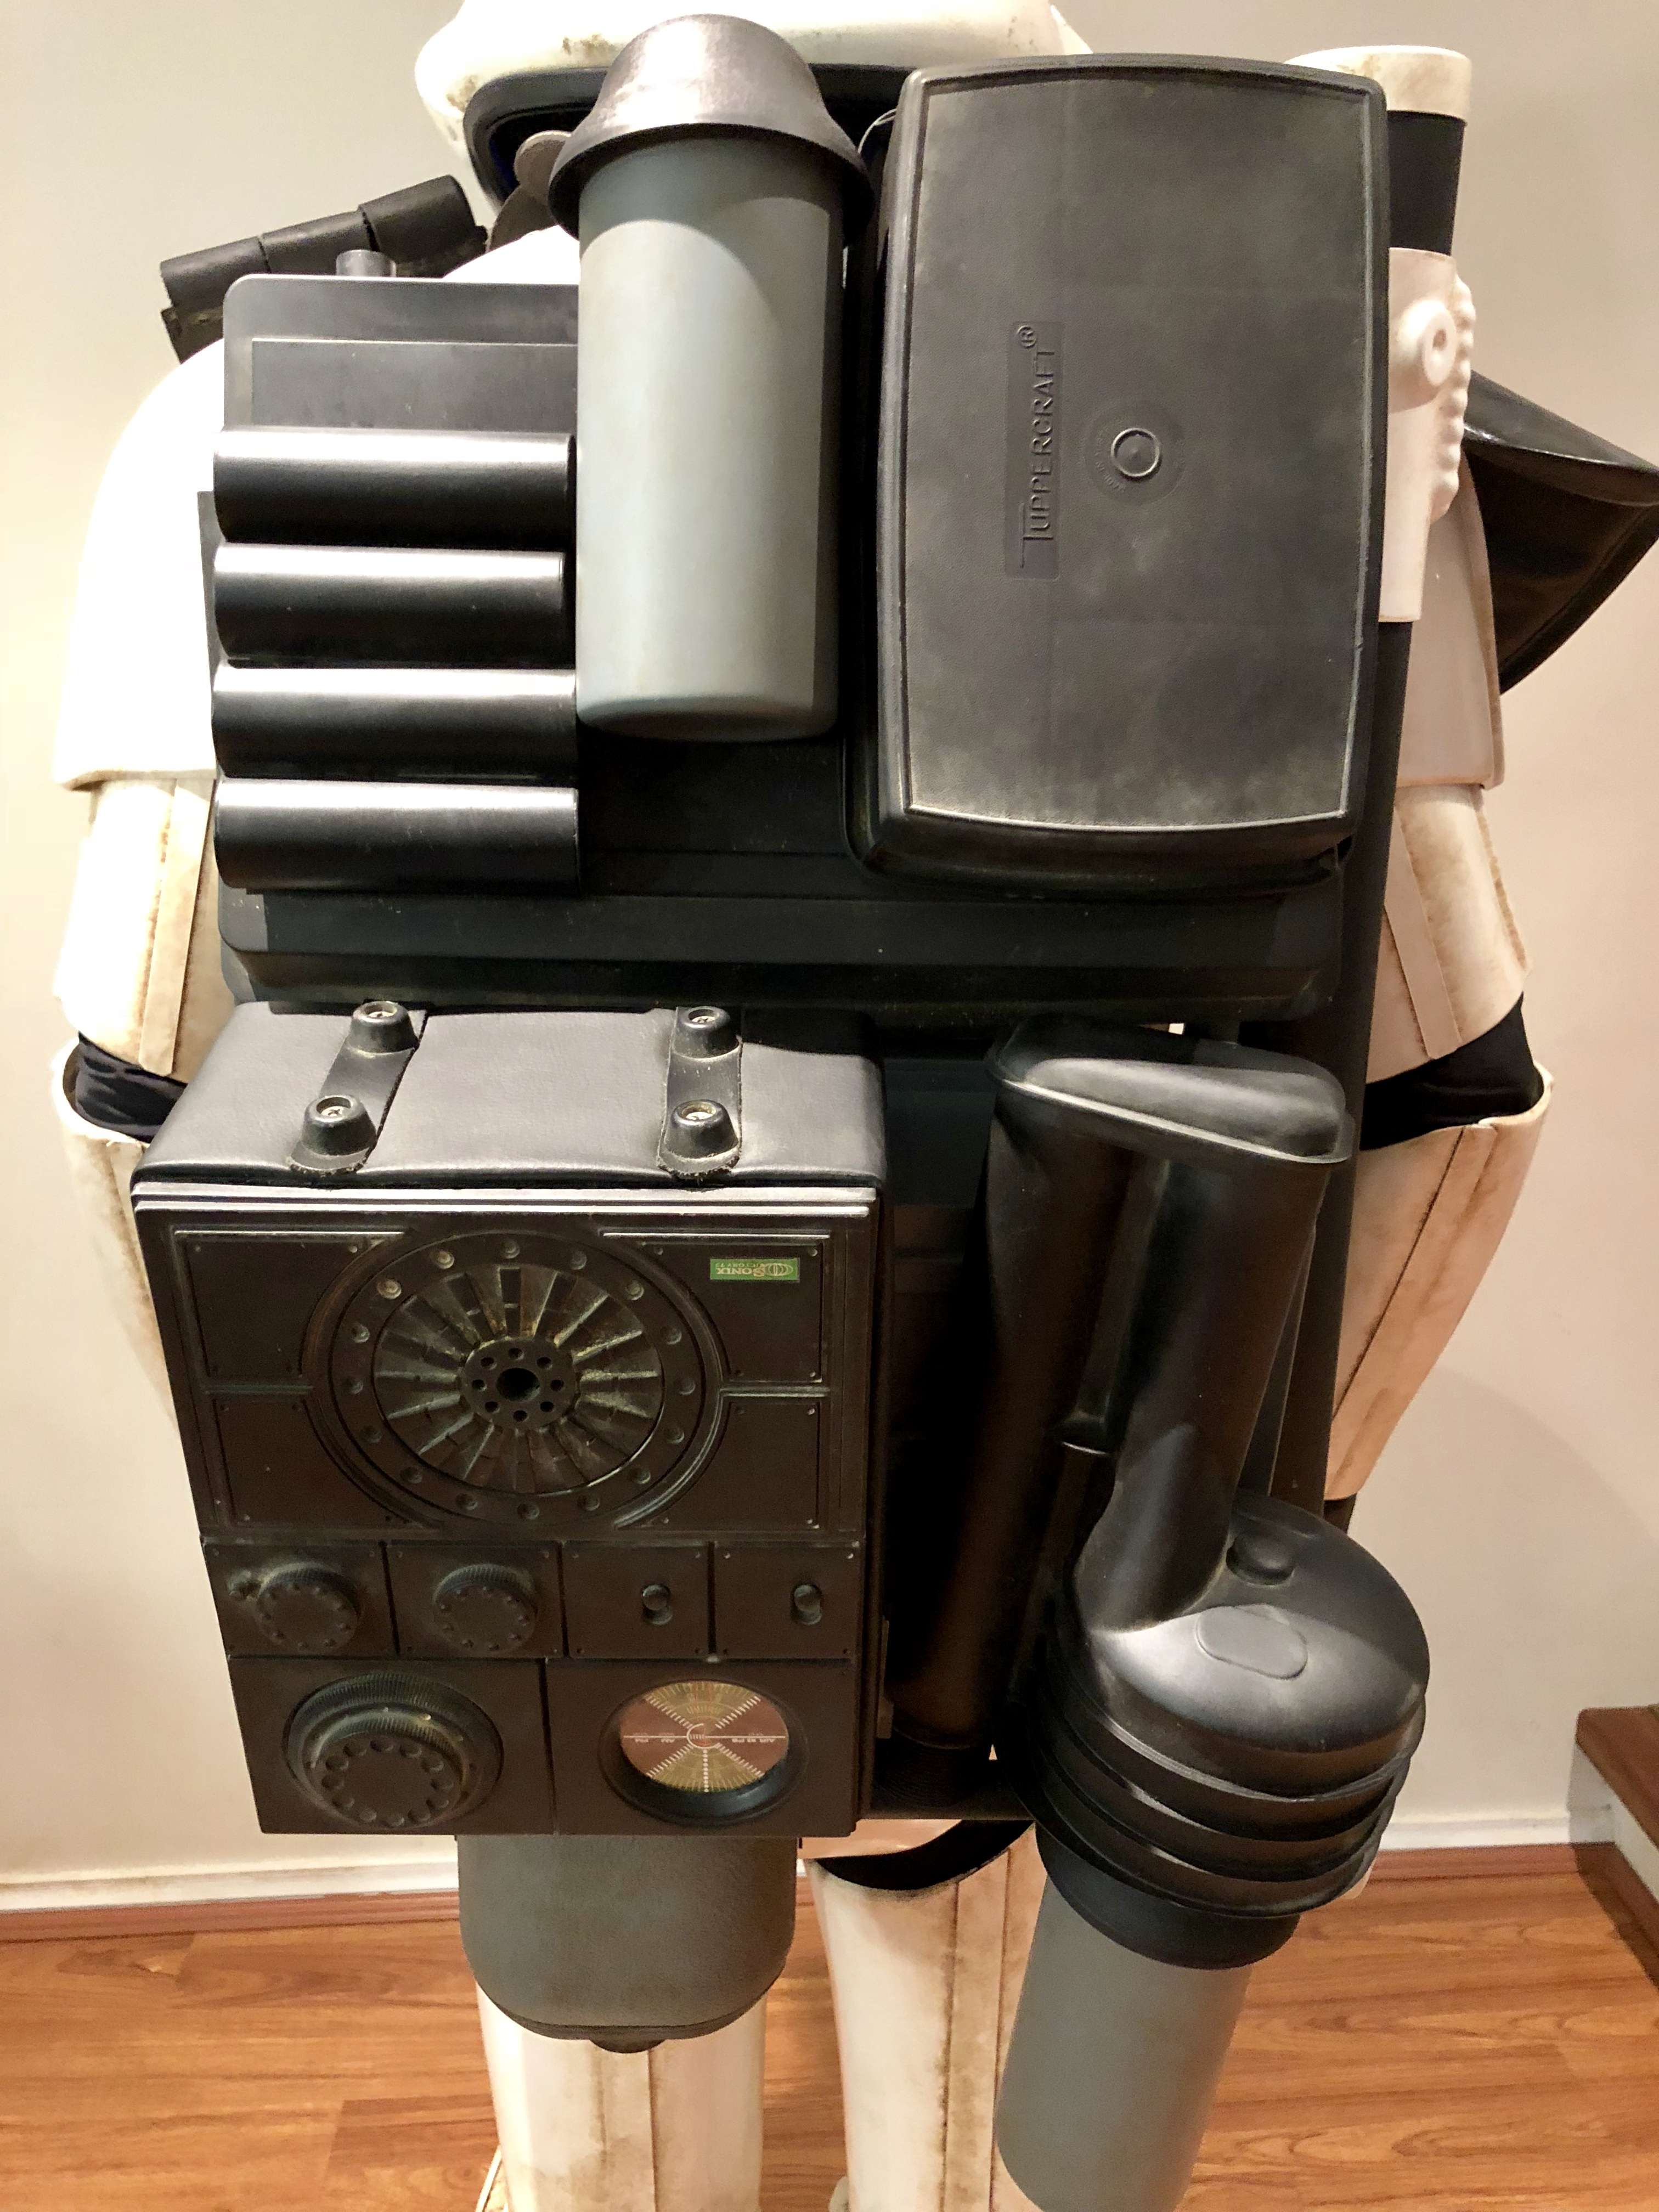
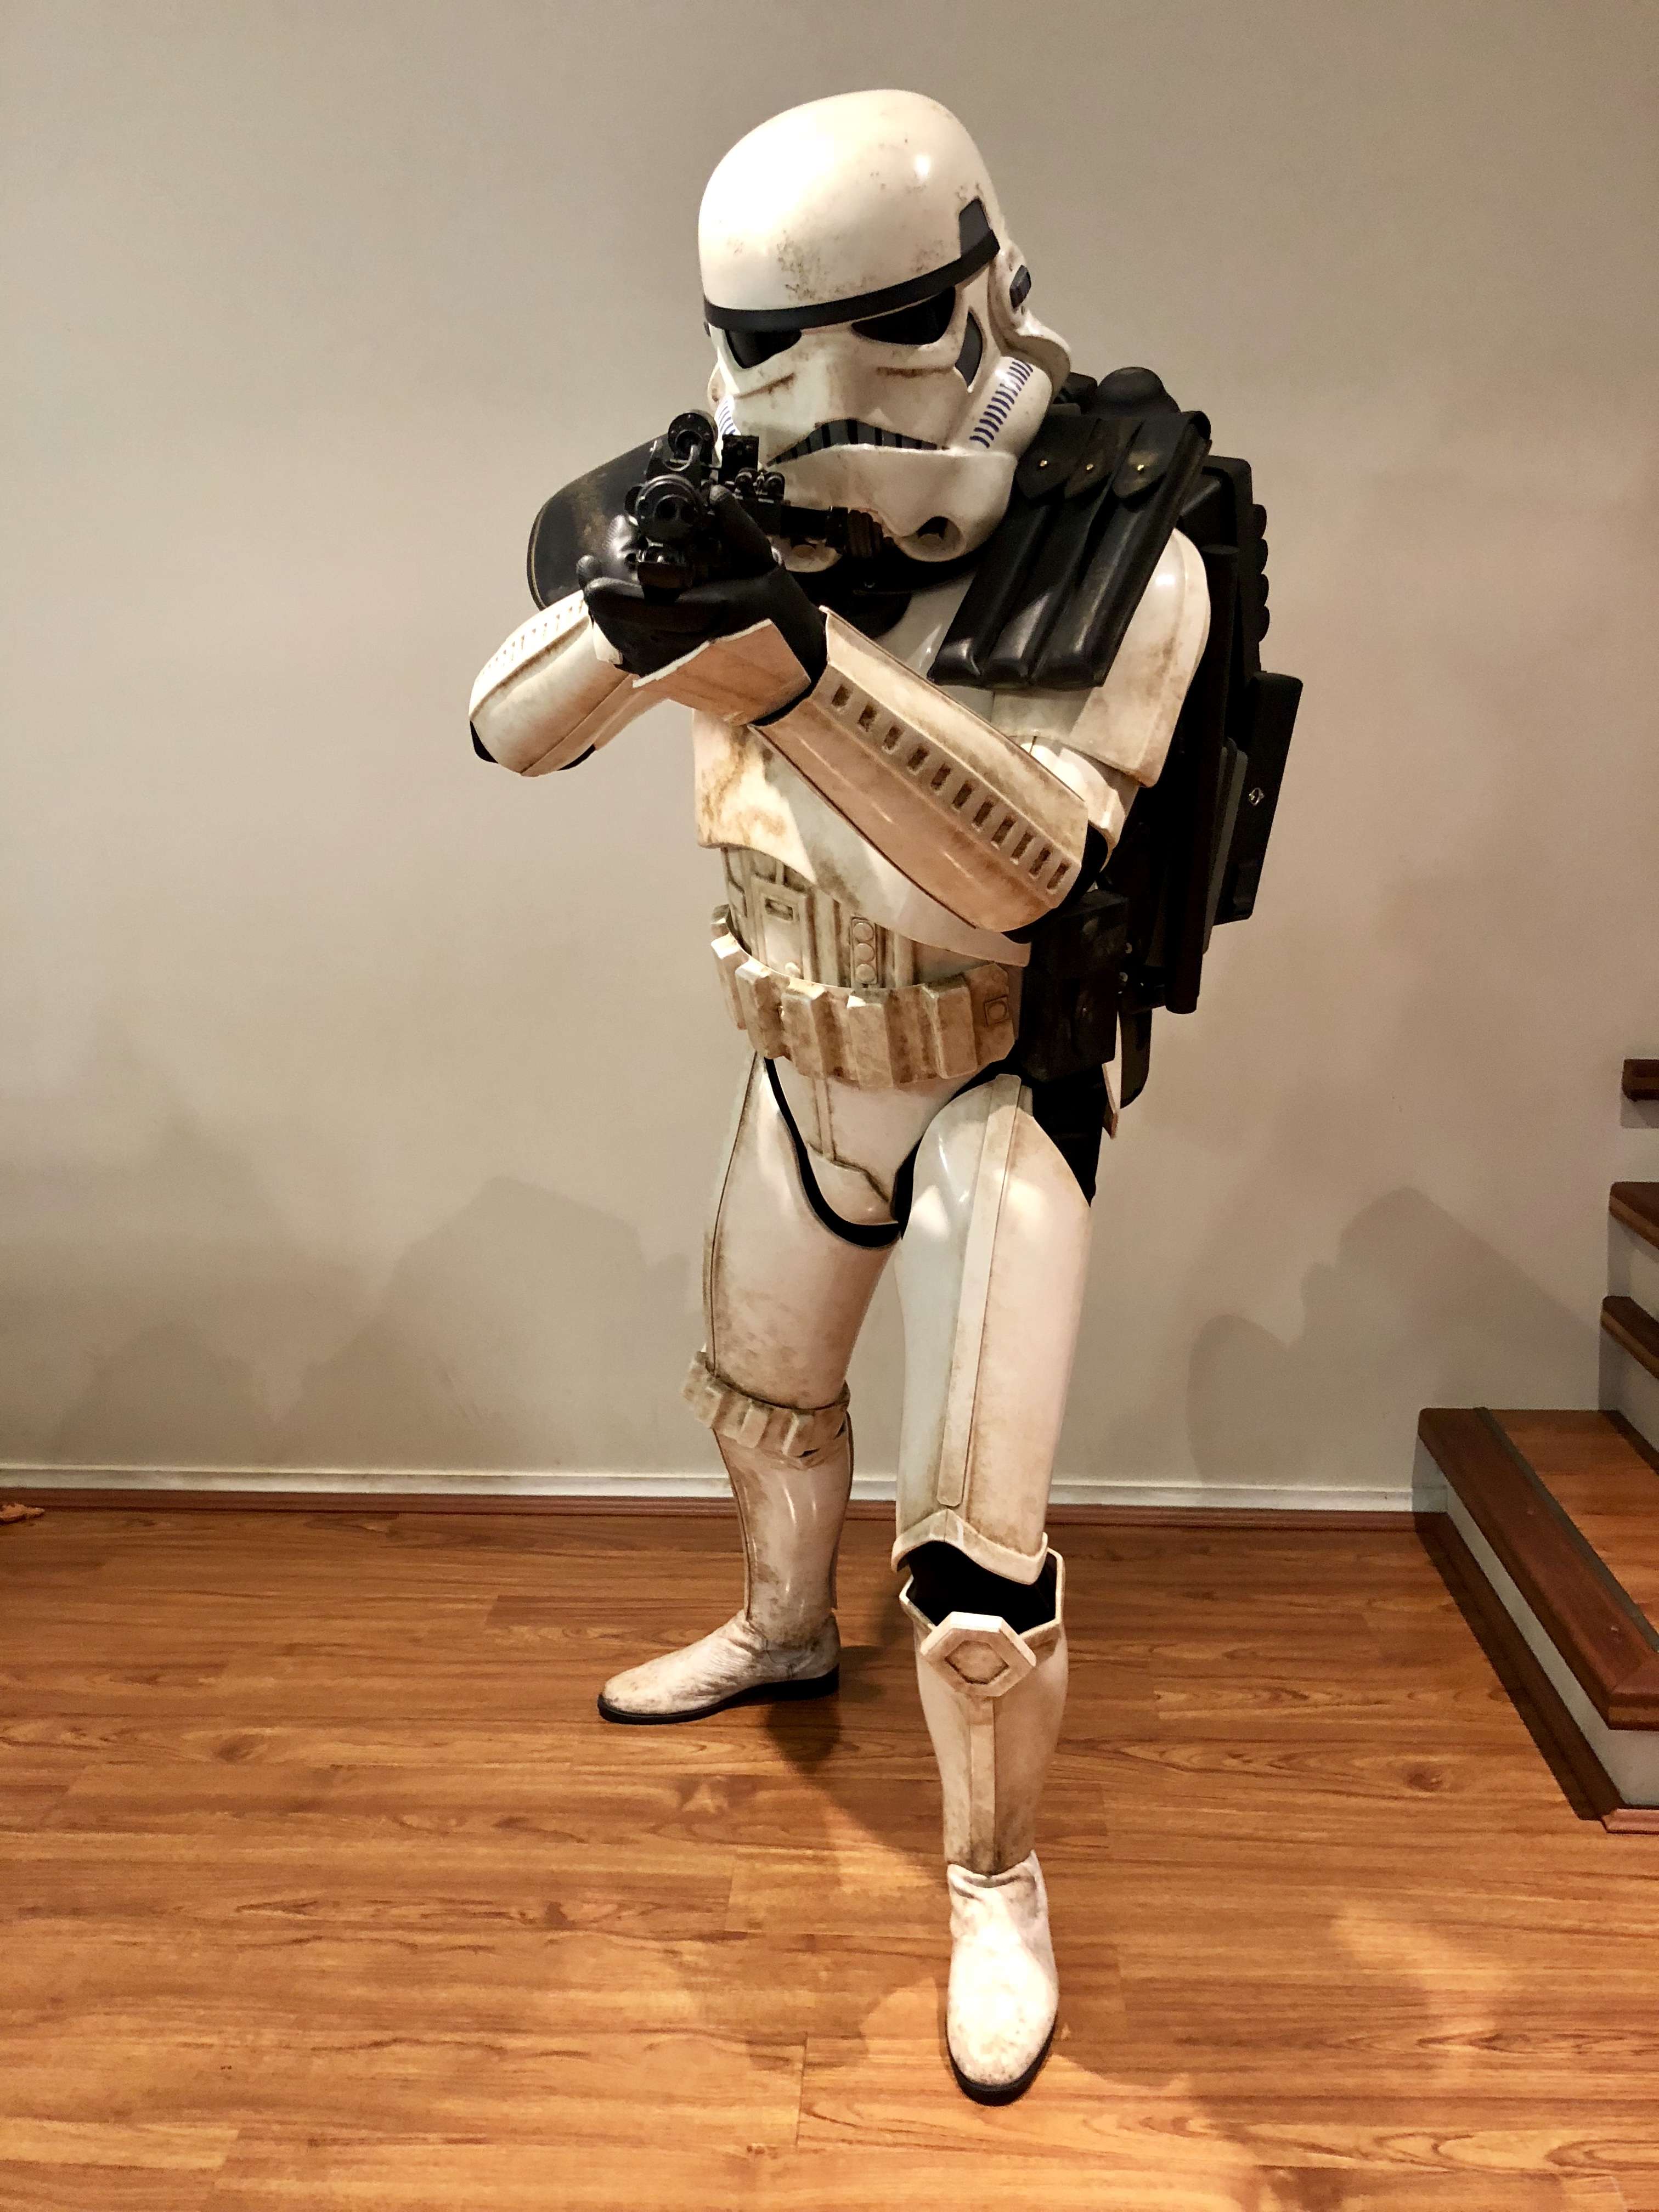
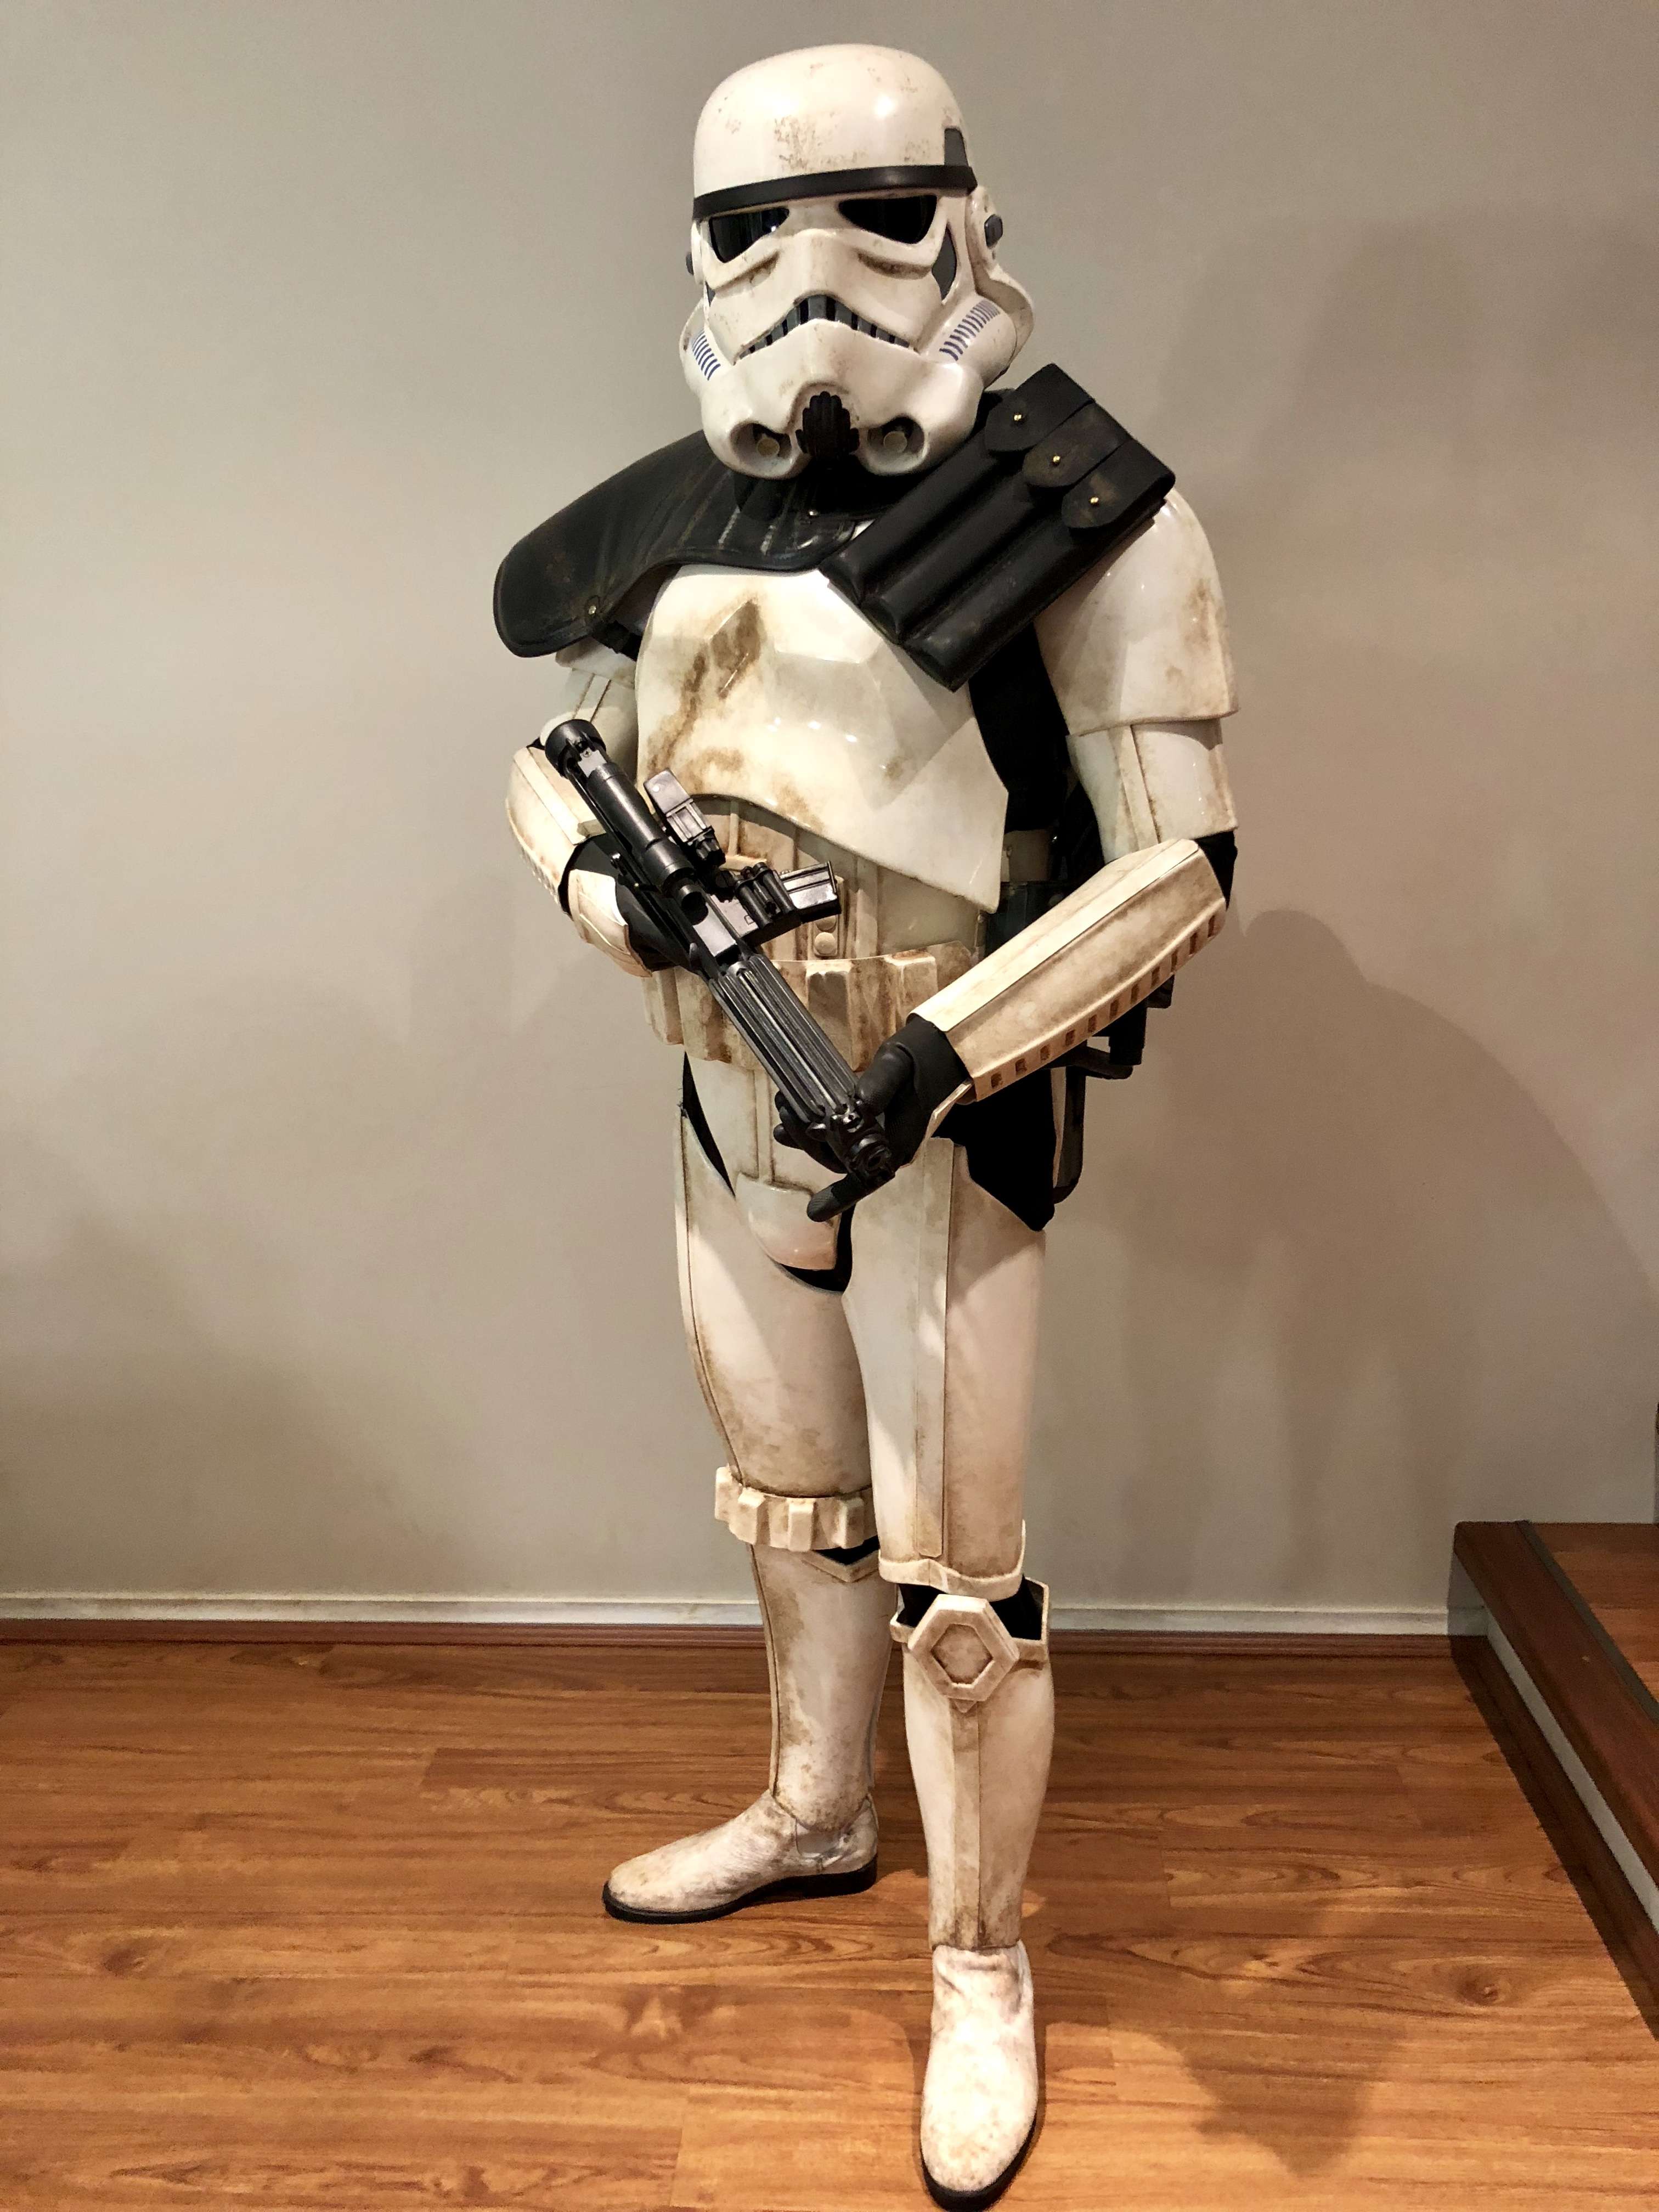
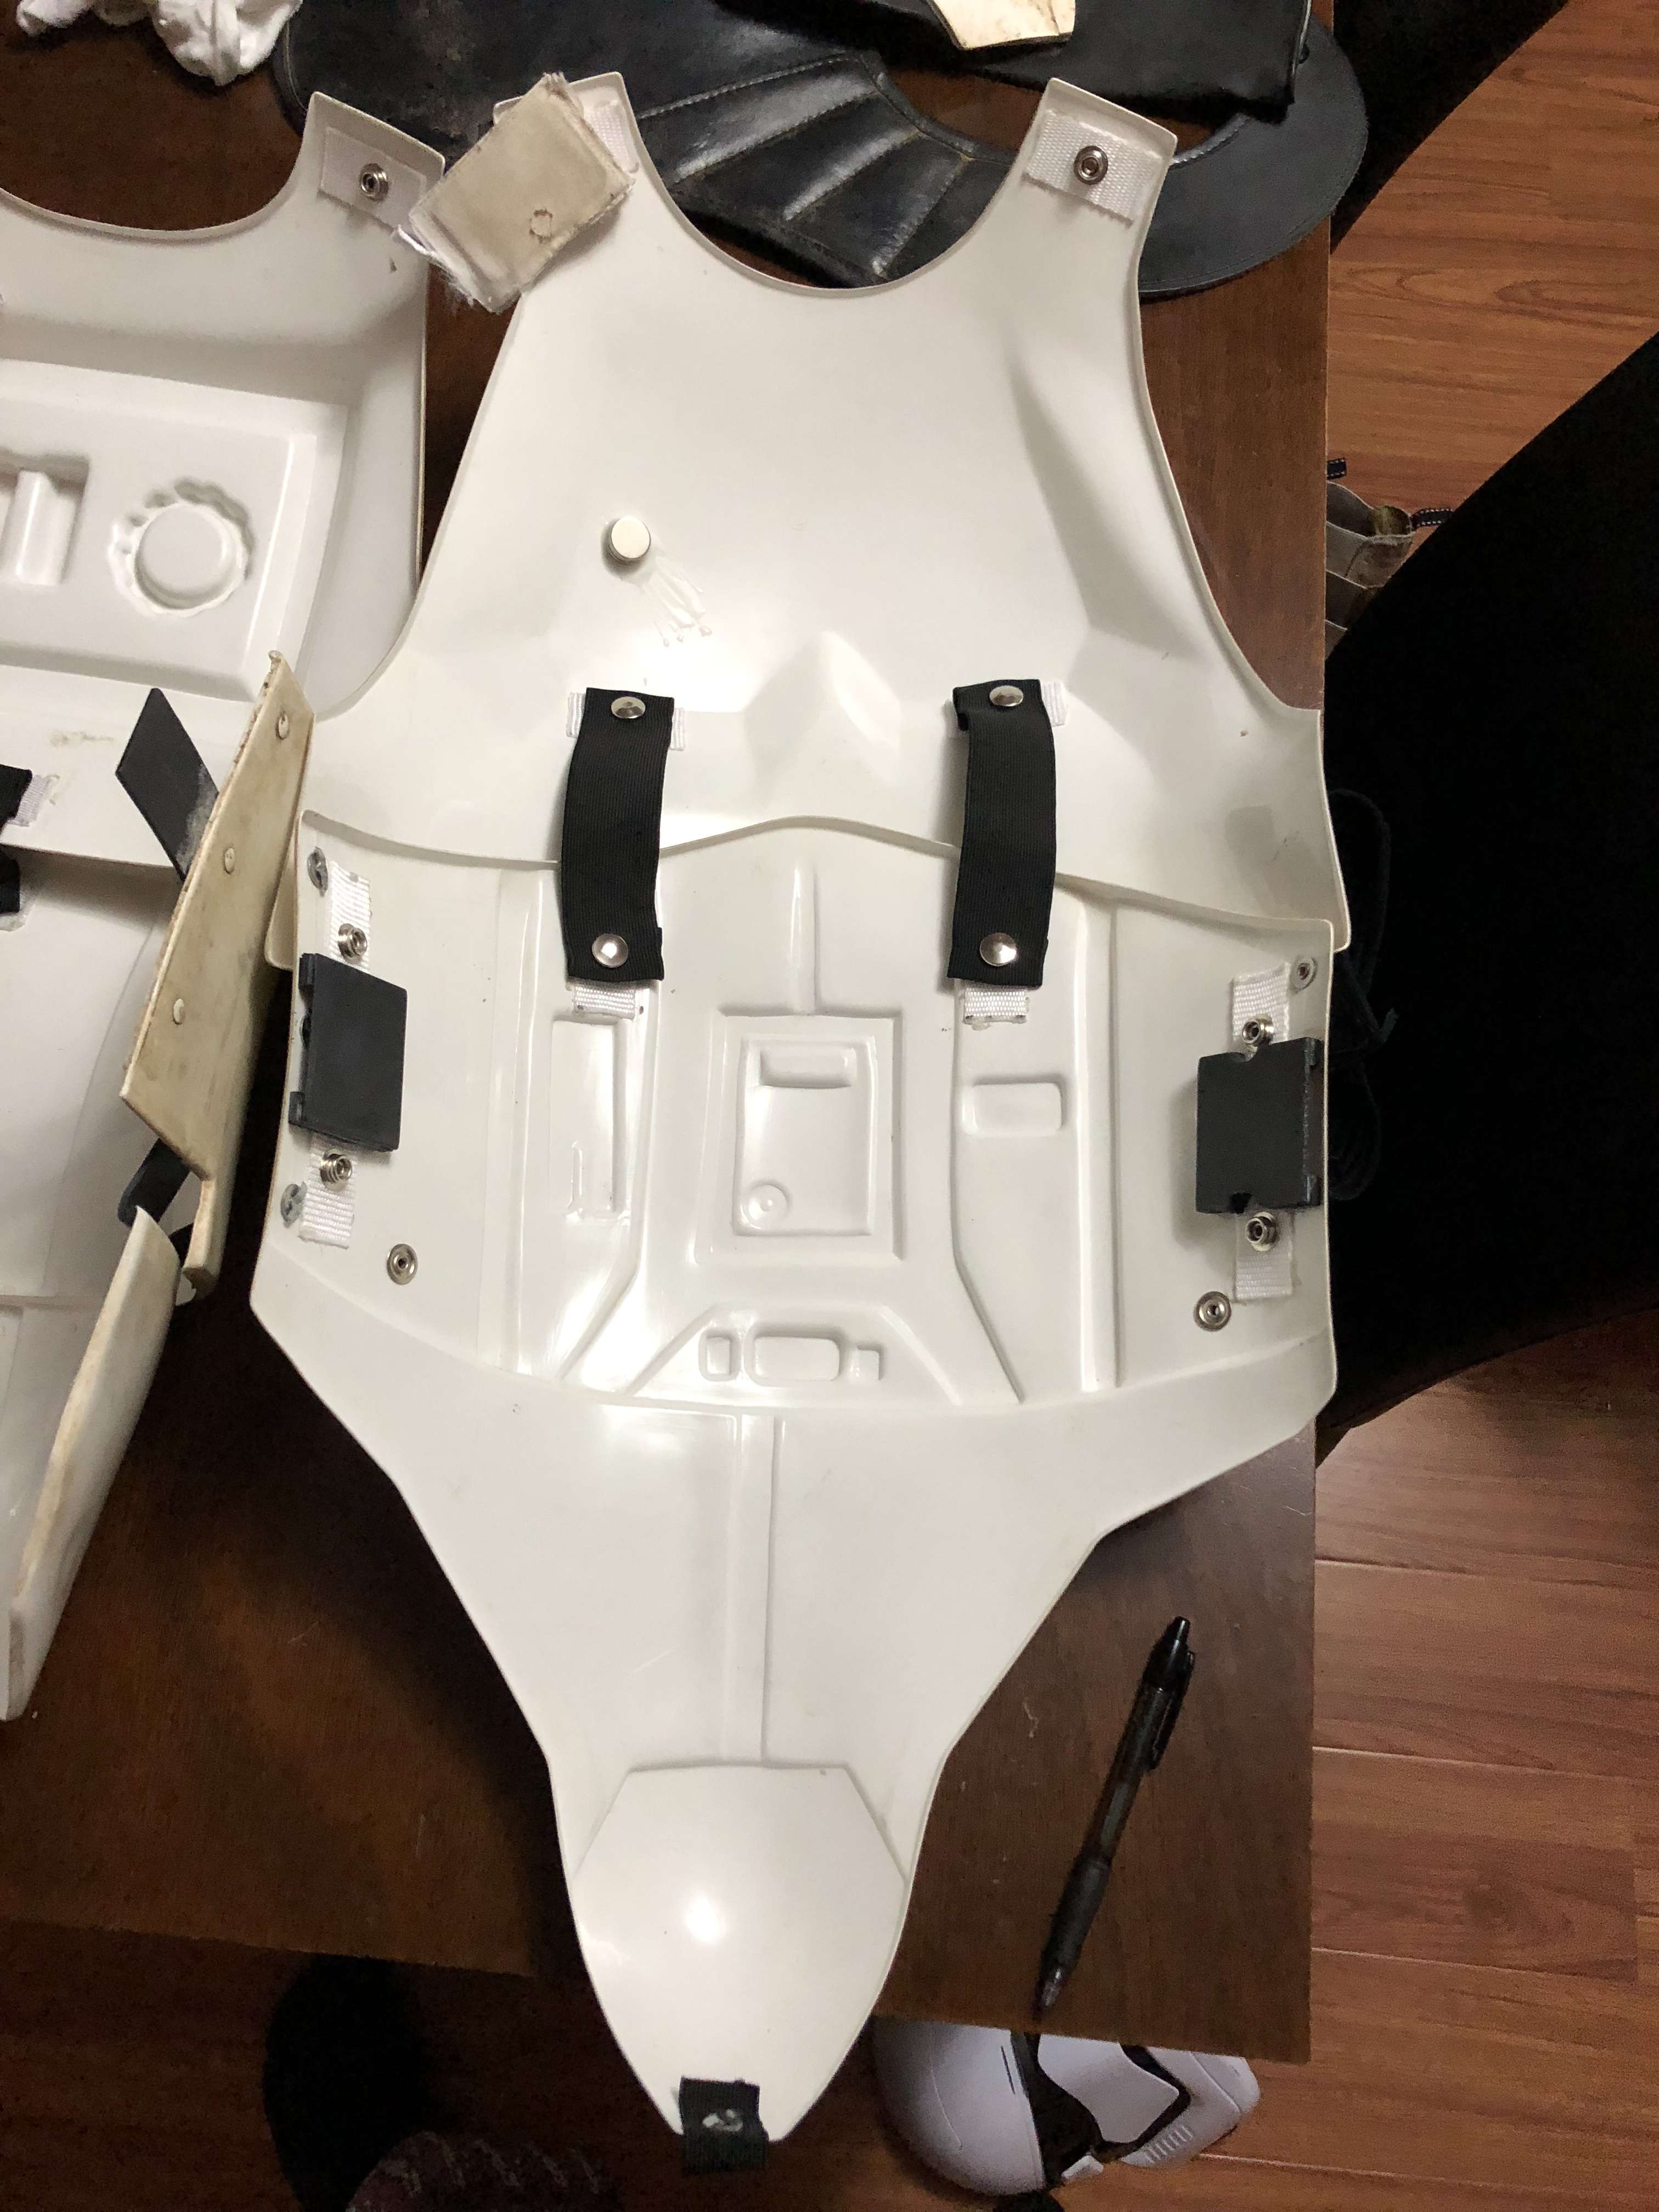
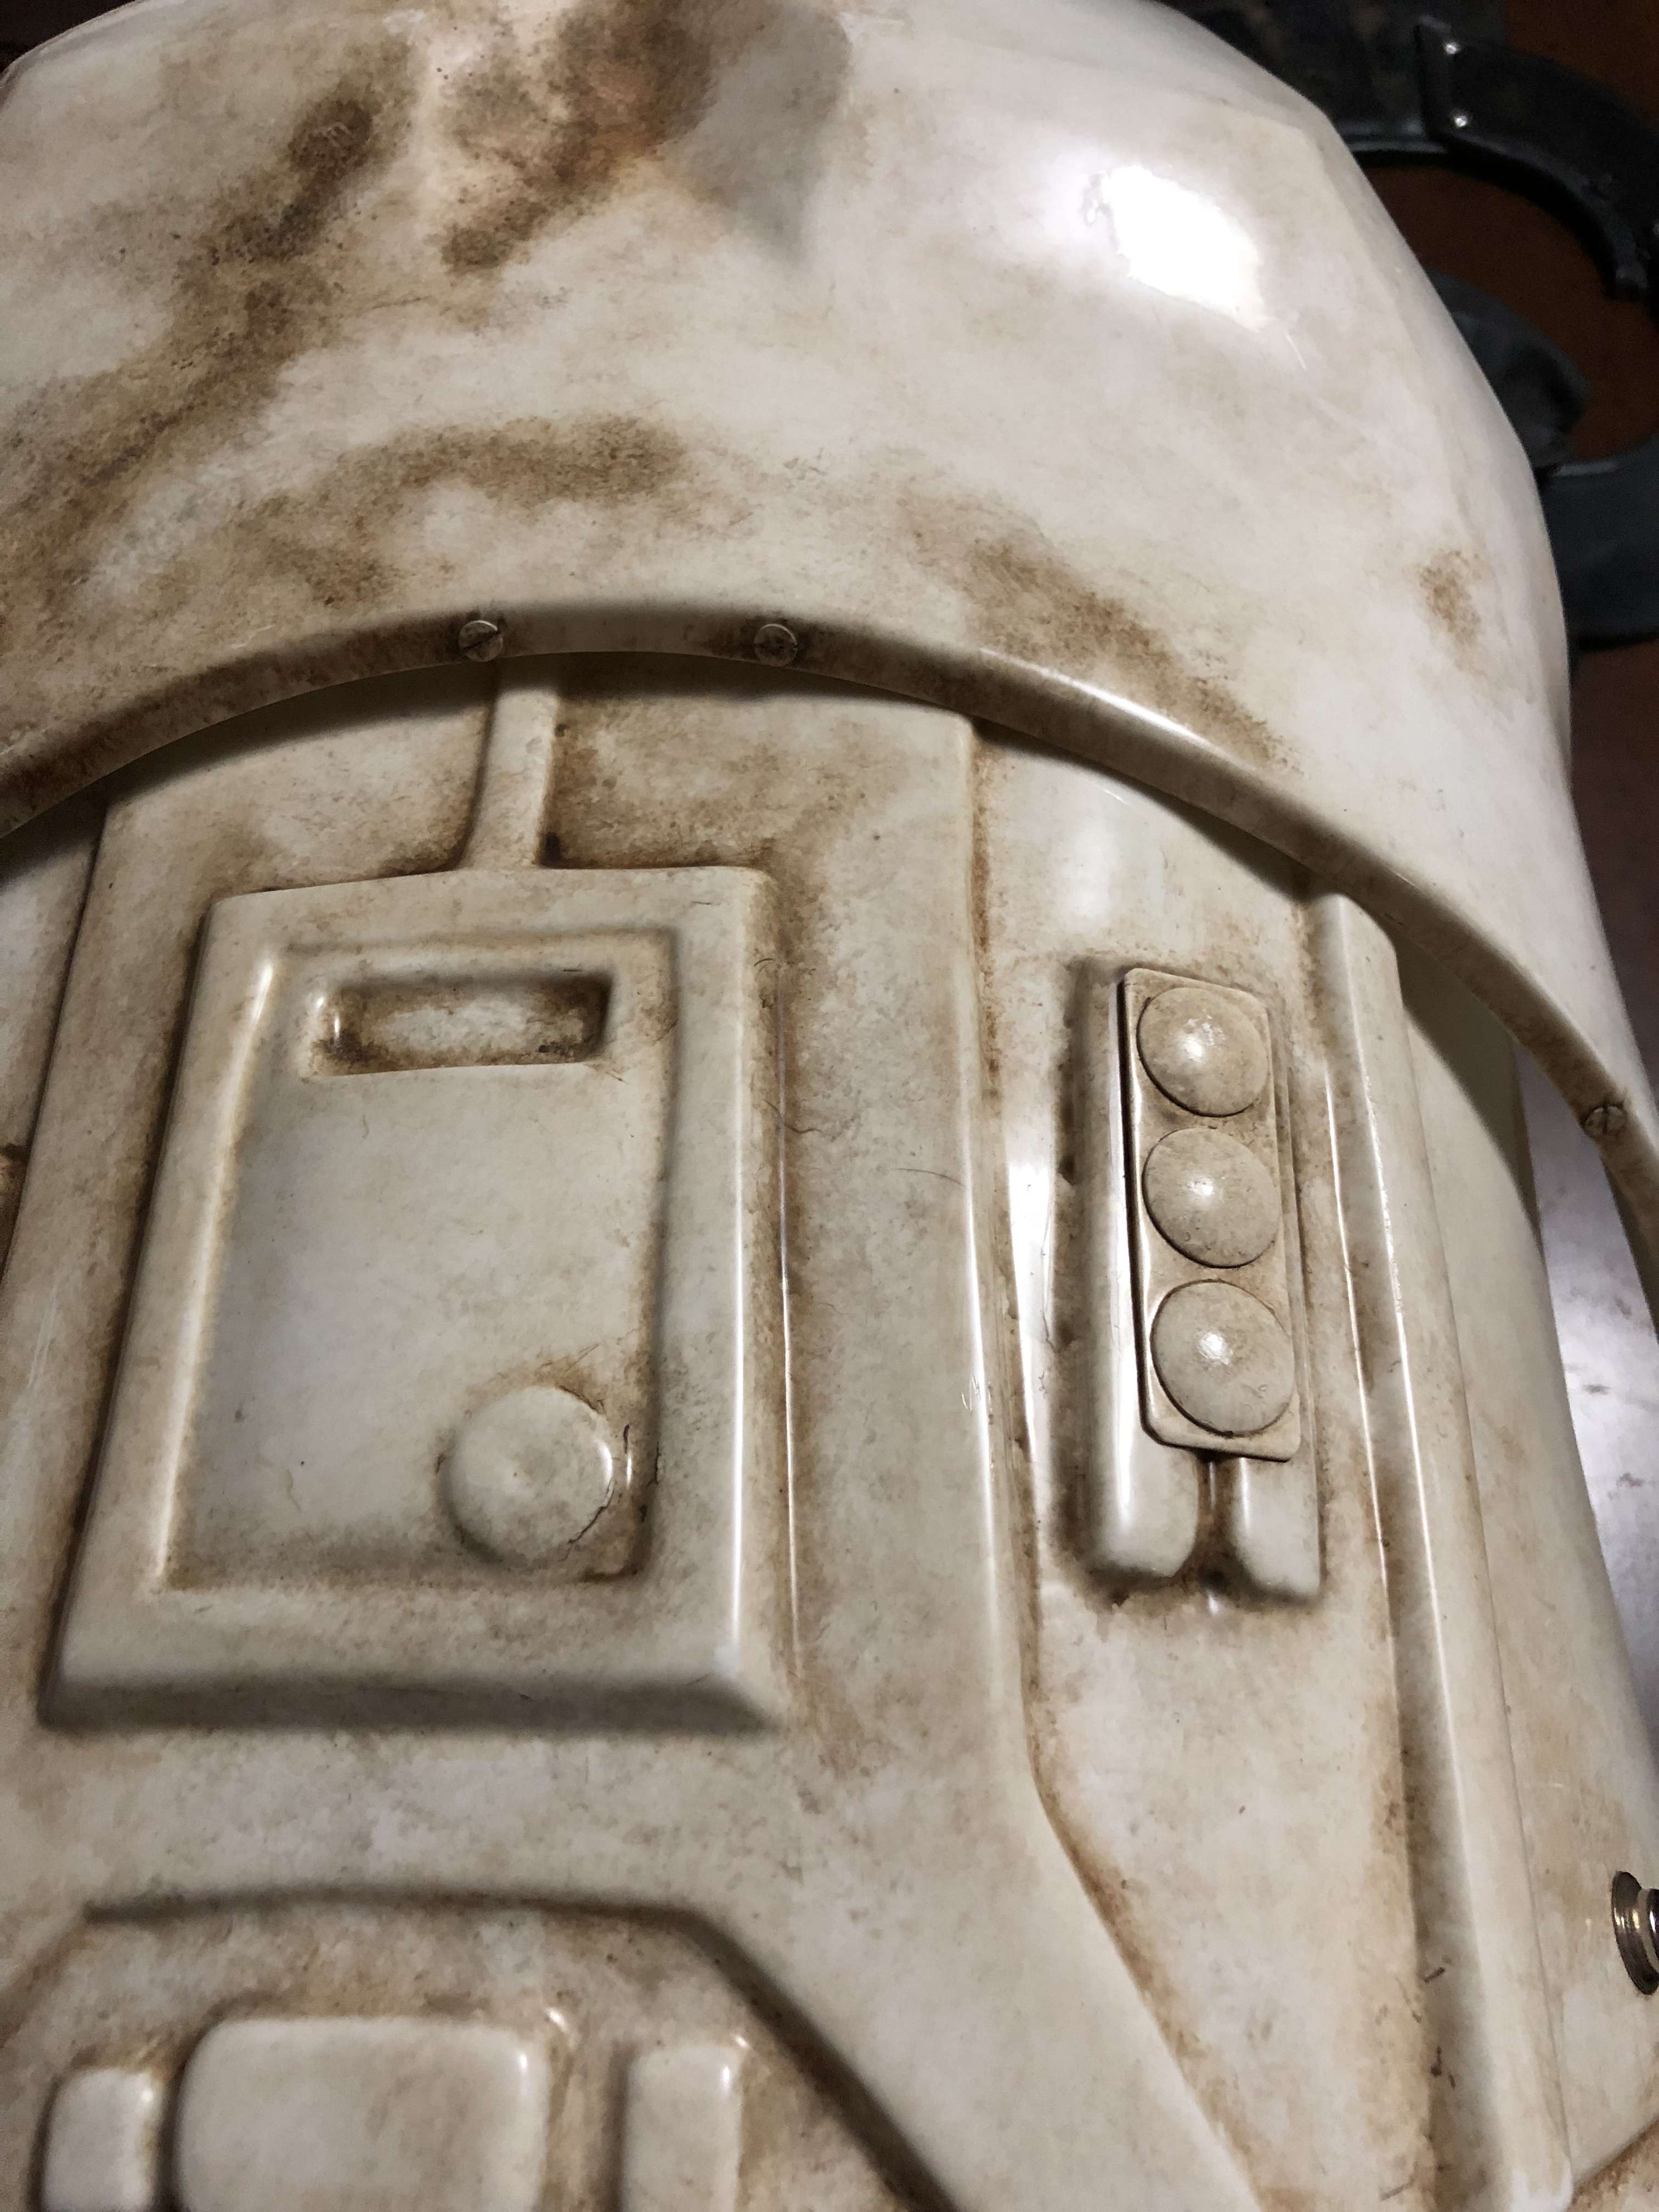
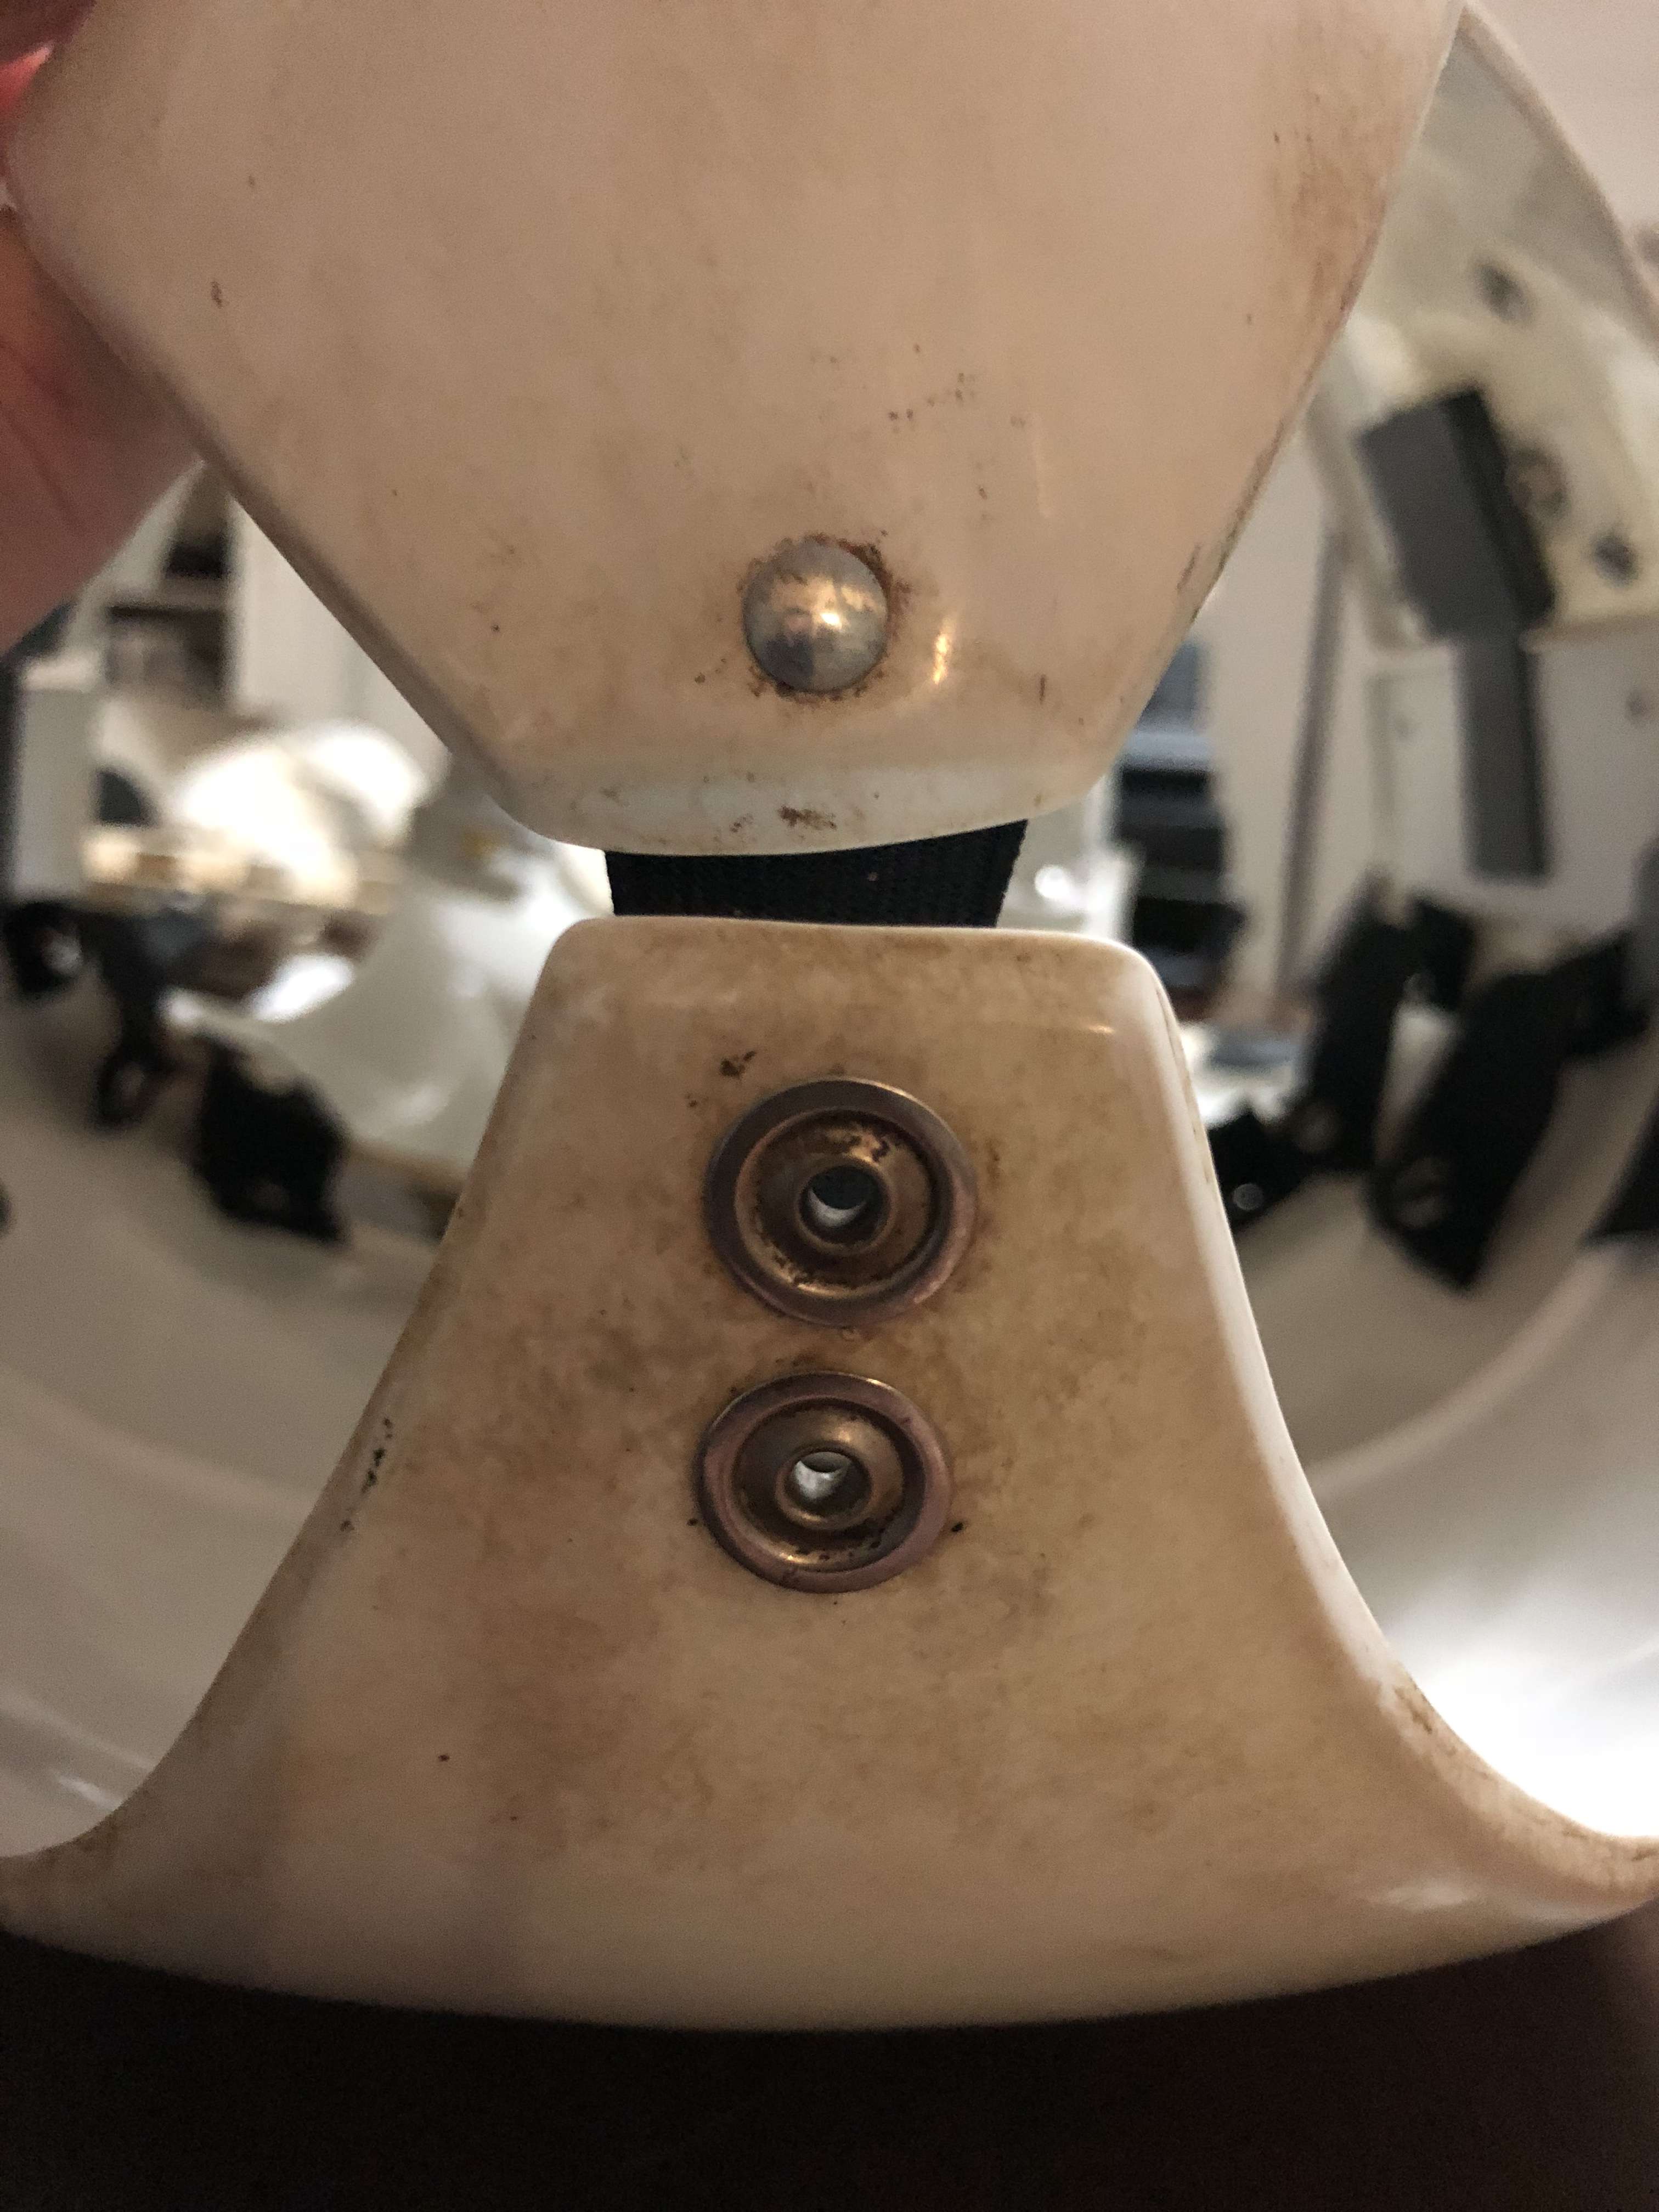
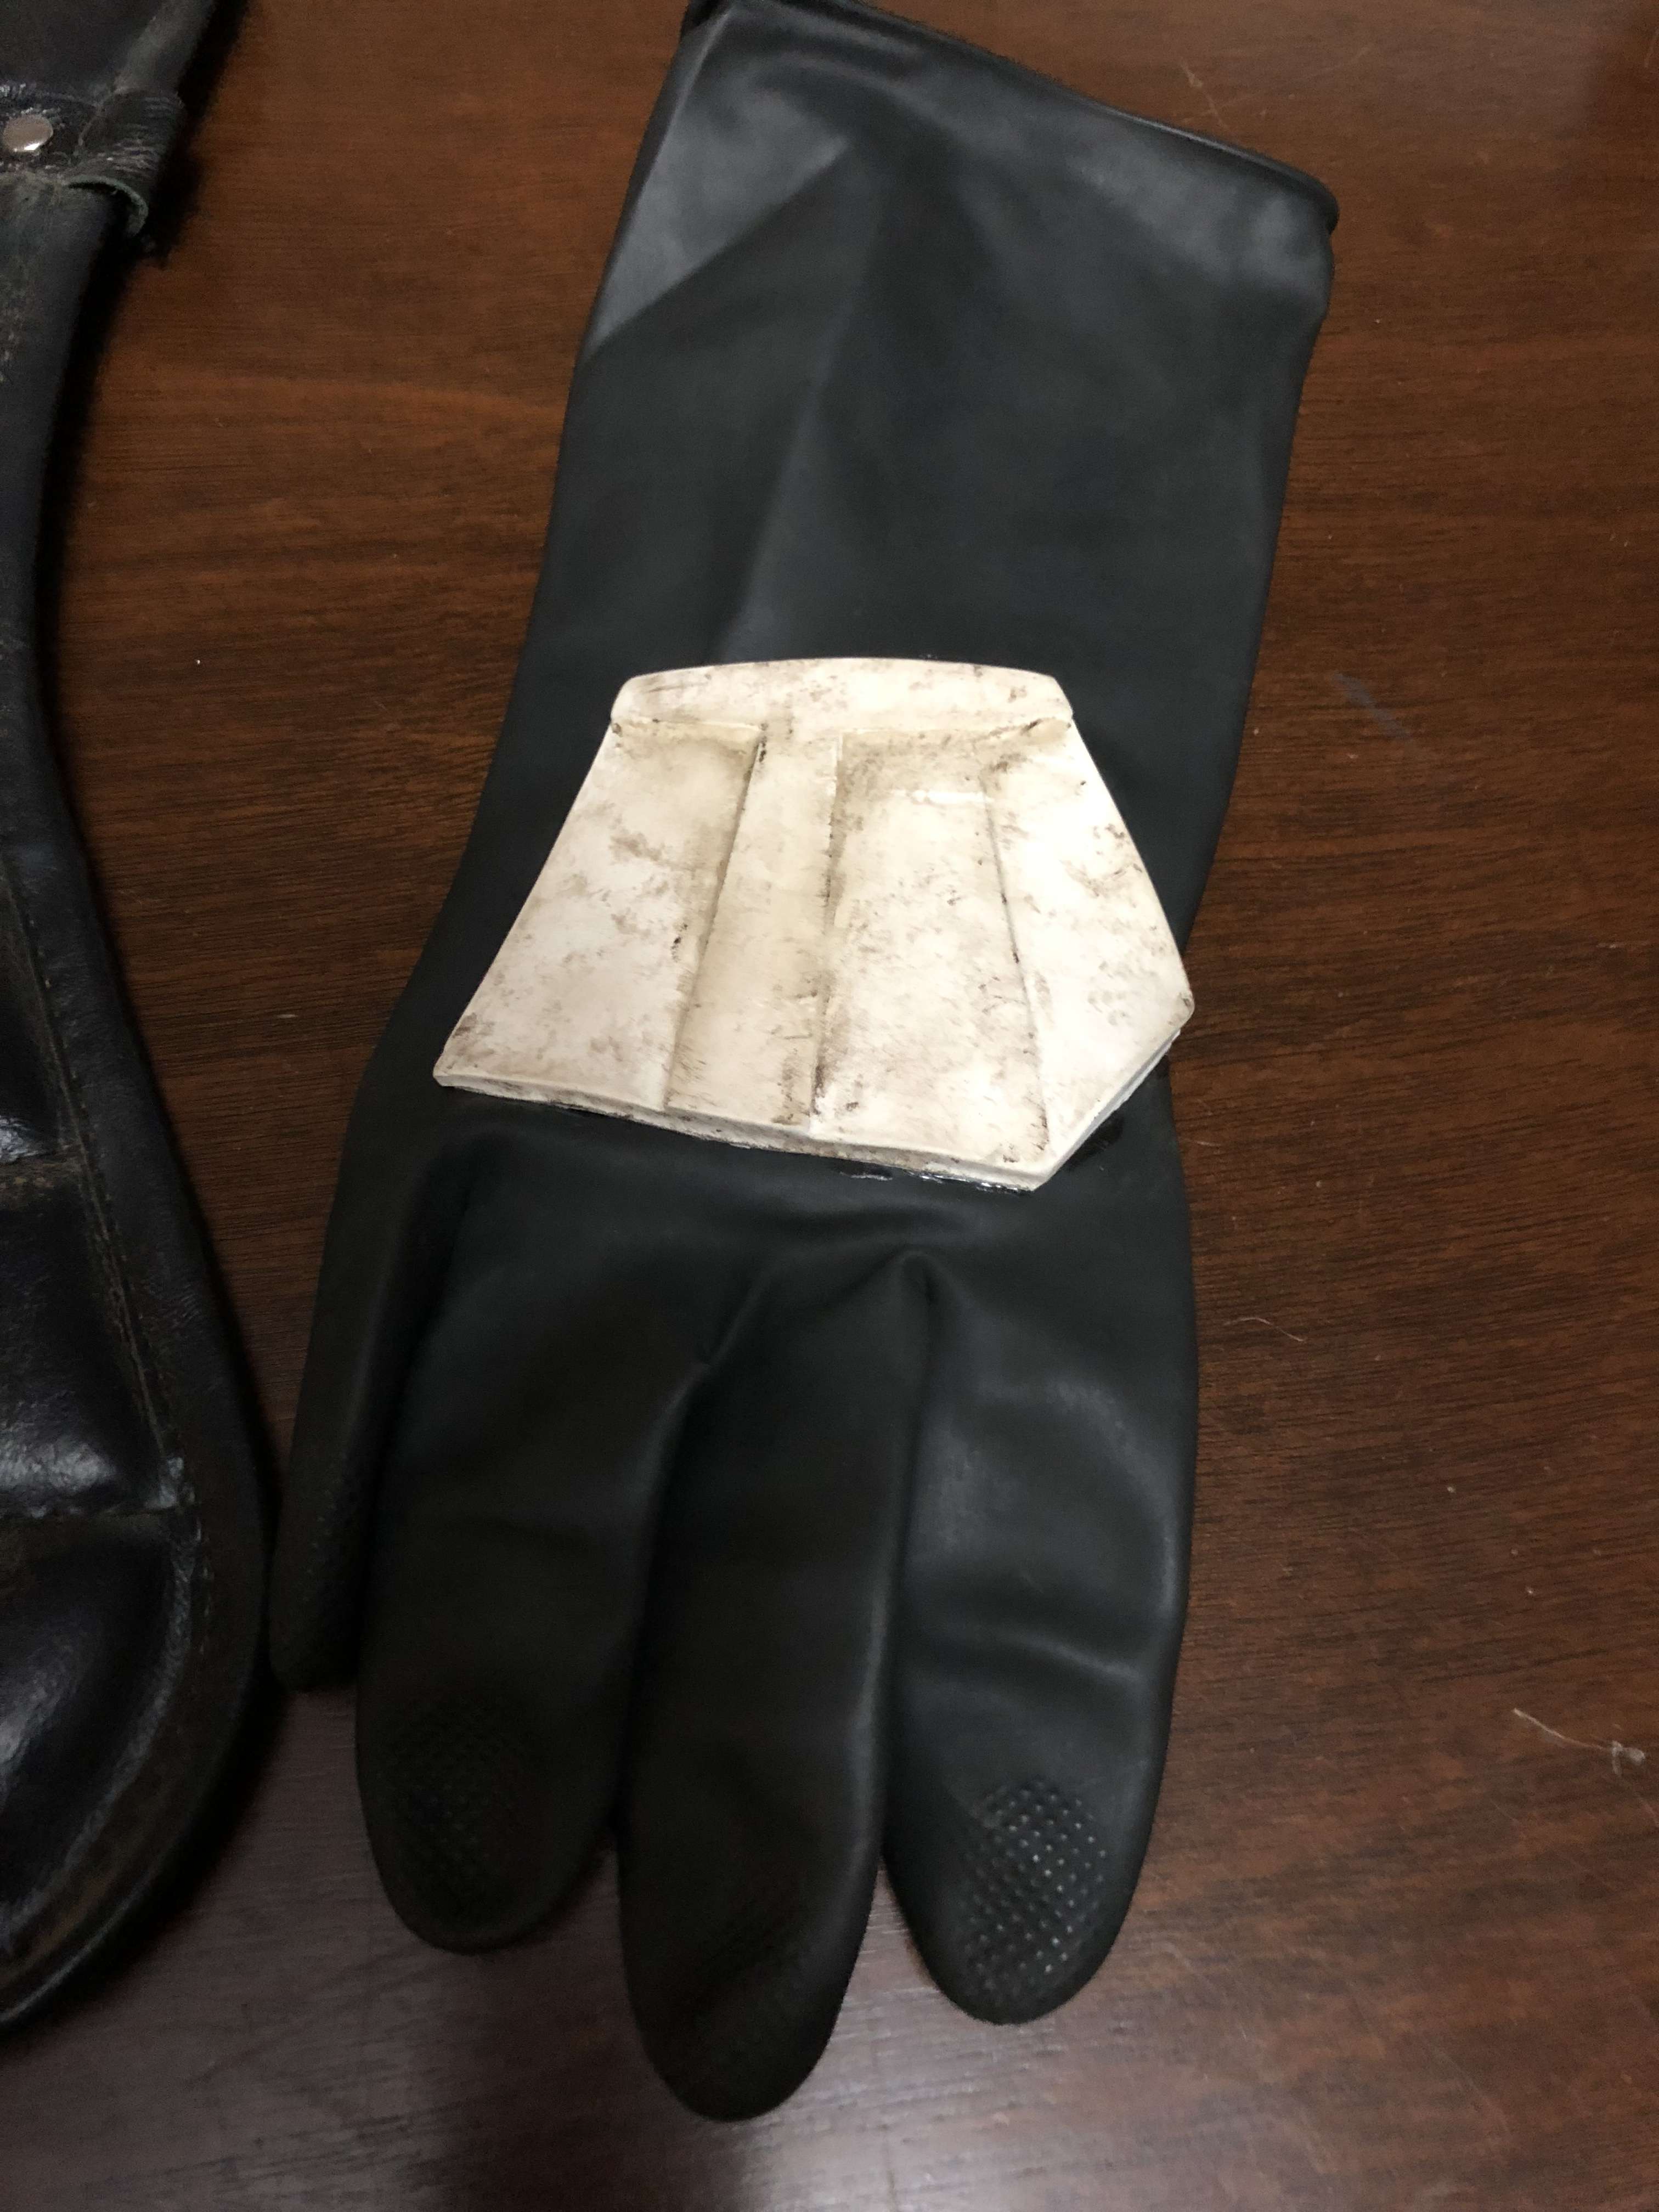
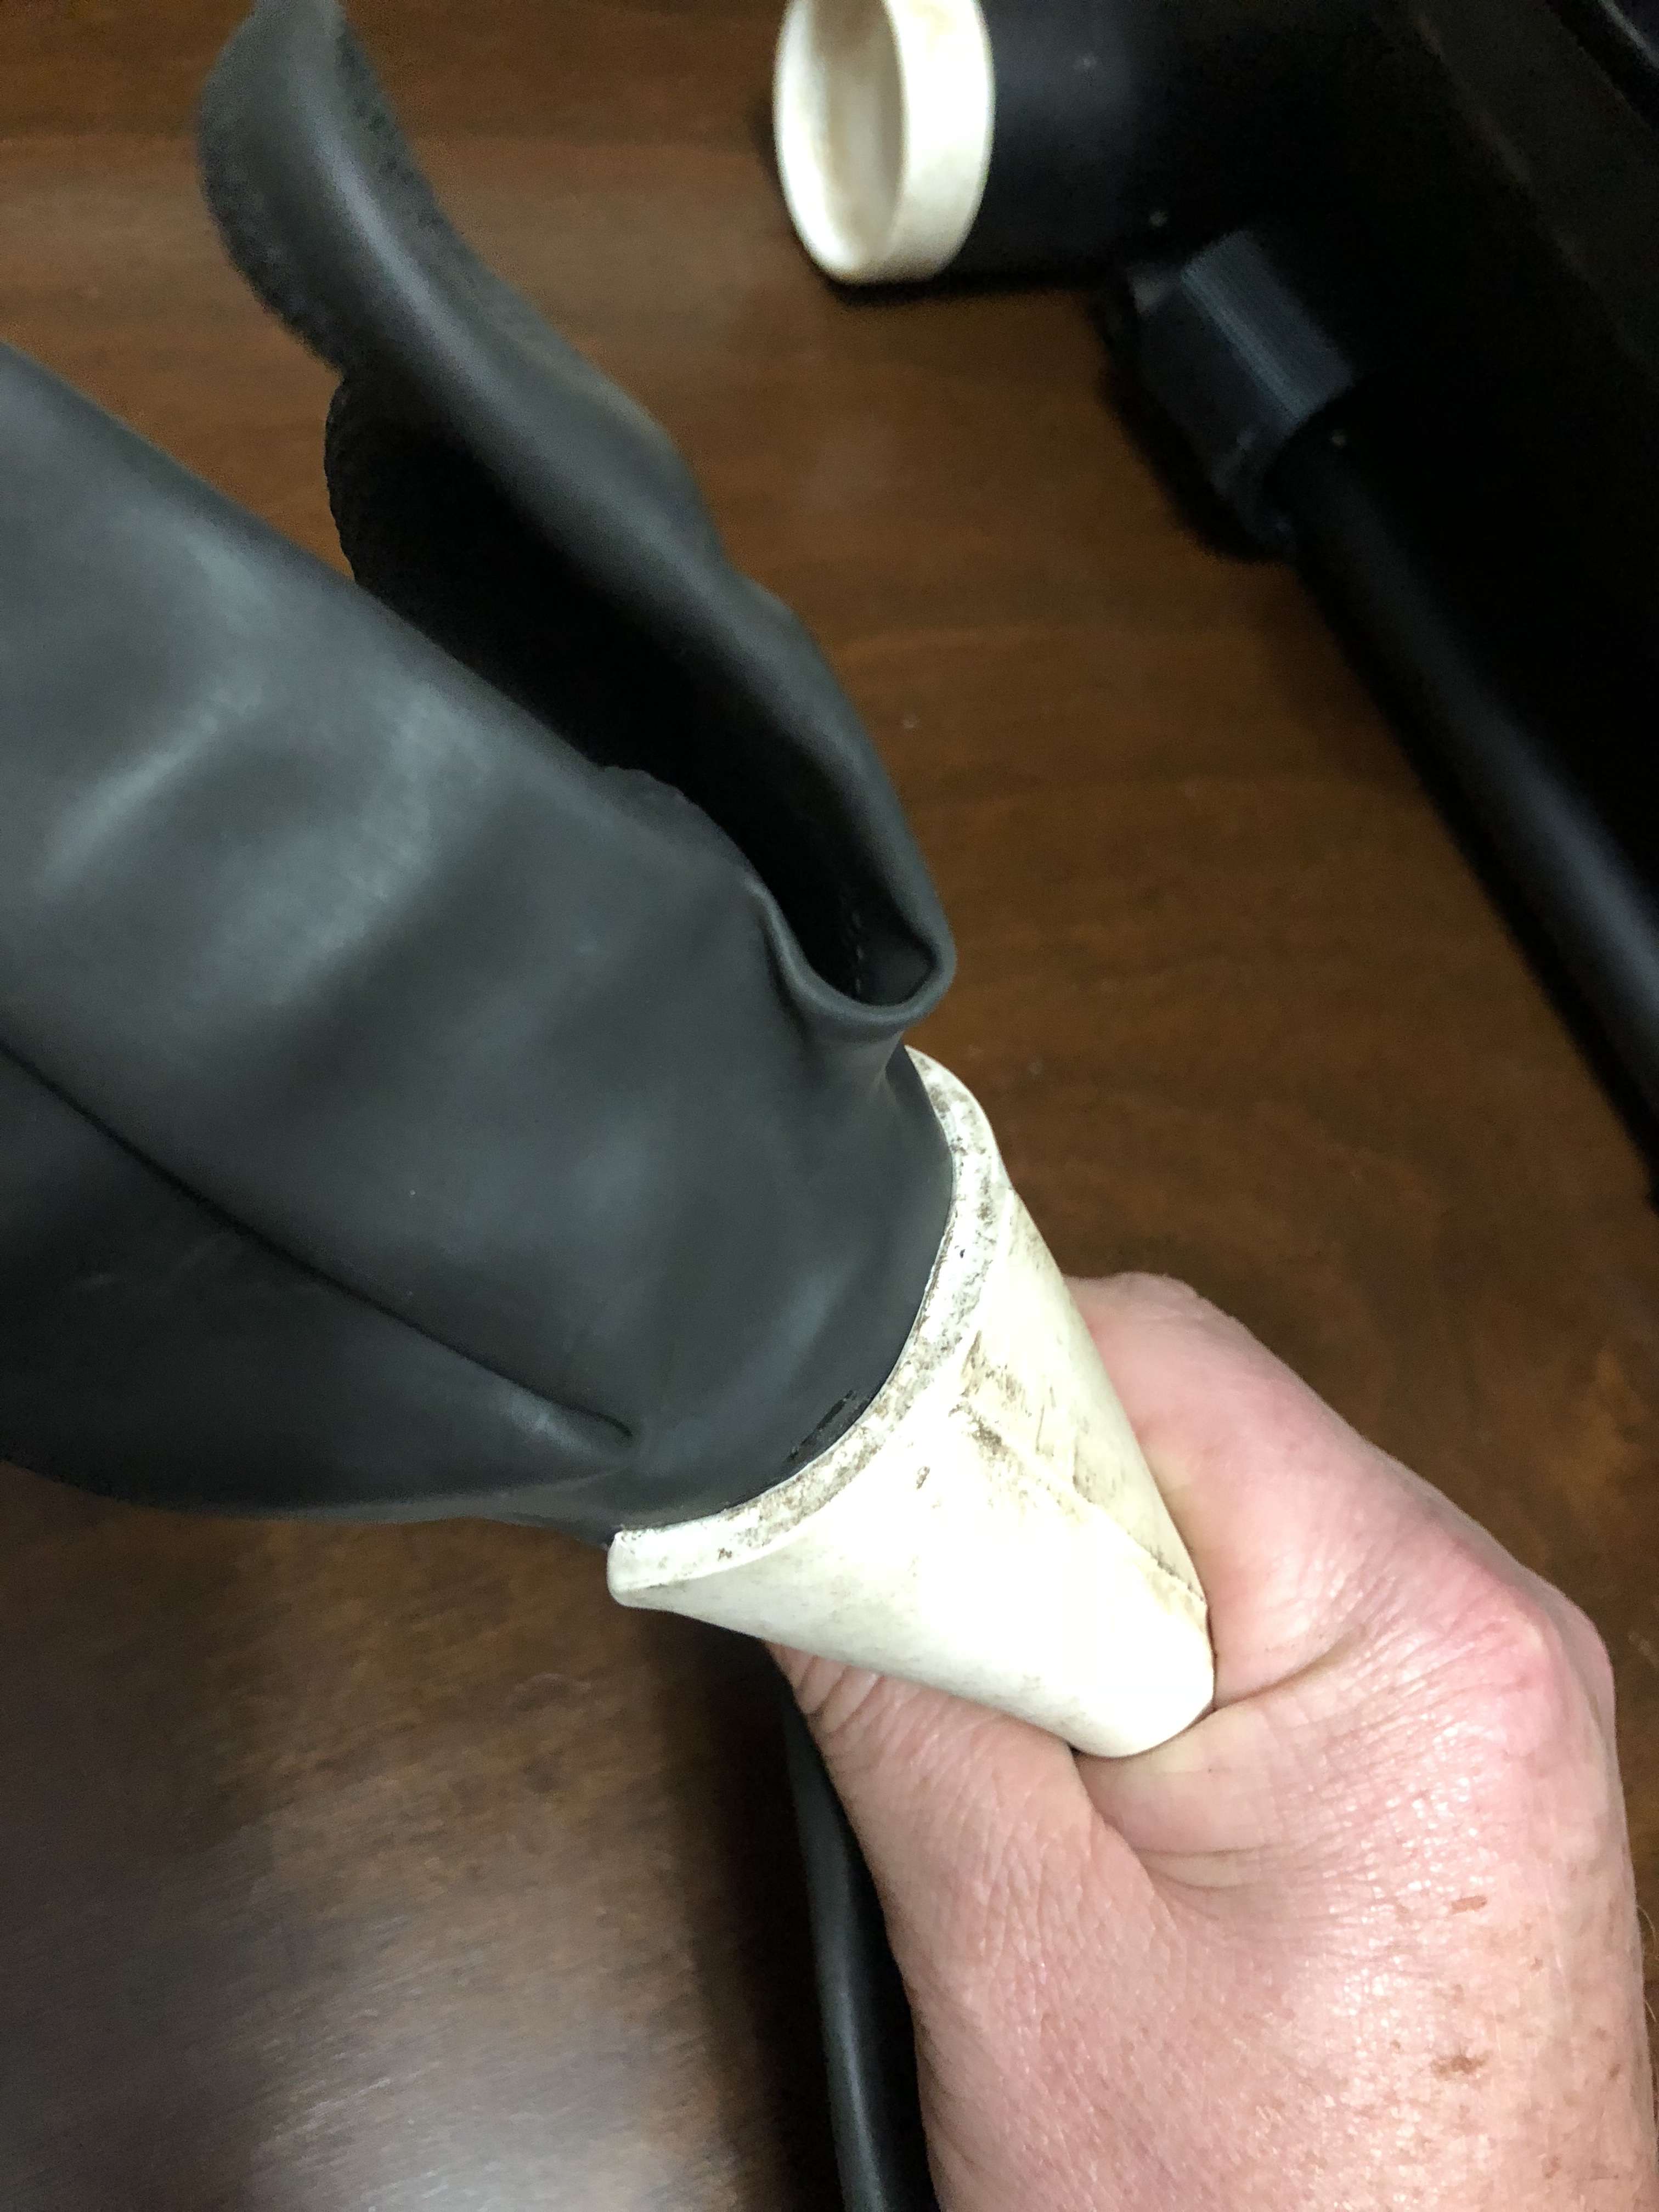
I have been working on this since I was approved as a TD earlier in the year and it's finally at a point where I would be happy to post here on MEPD. Since I wear a black pauldron and looking at emulating the ally door check trooper, I will be building pack #4. I want to build with as many local supplies as possible though I know I will have to out source some of the parts. I have a full build thread on my Garrison forums but will run through the progress I have made so far. If people want a full breakdown I am happy to do that as well
So I started off building my frame from PVC & gas pipe fittings that were the same diameter
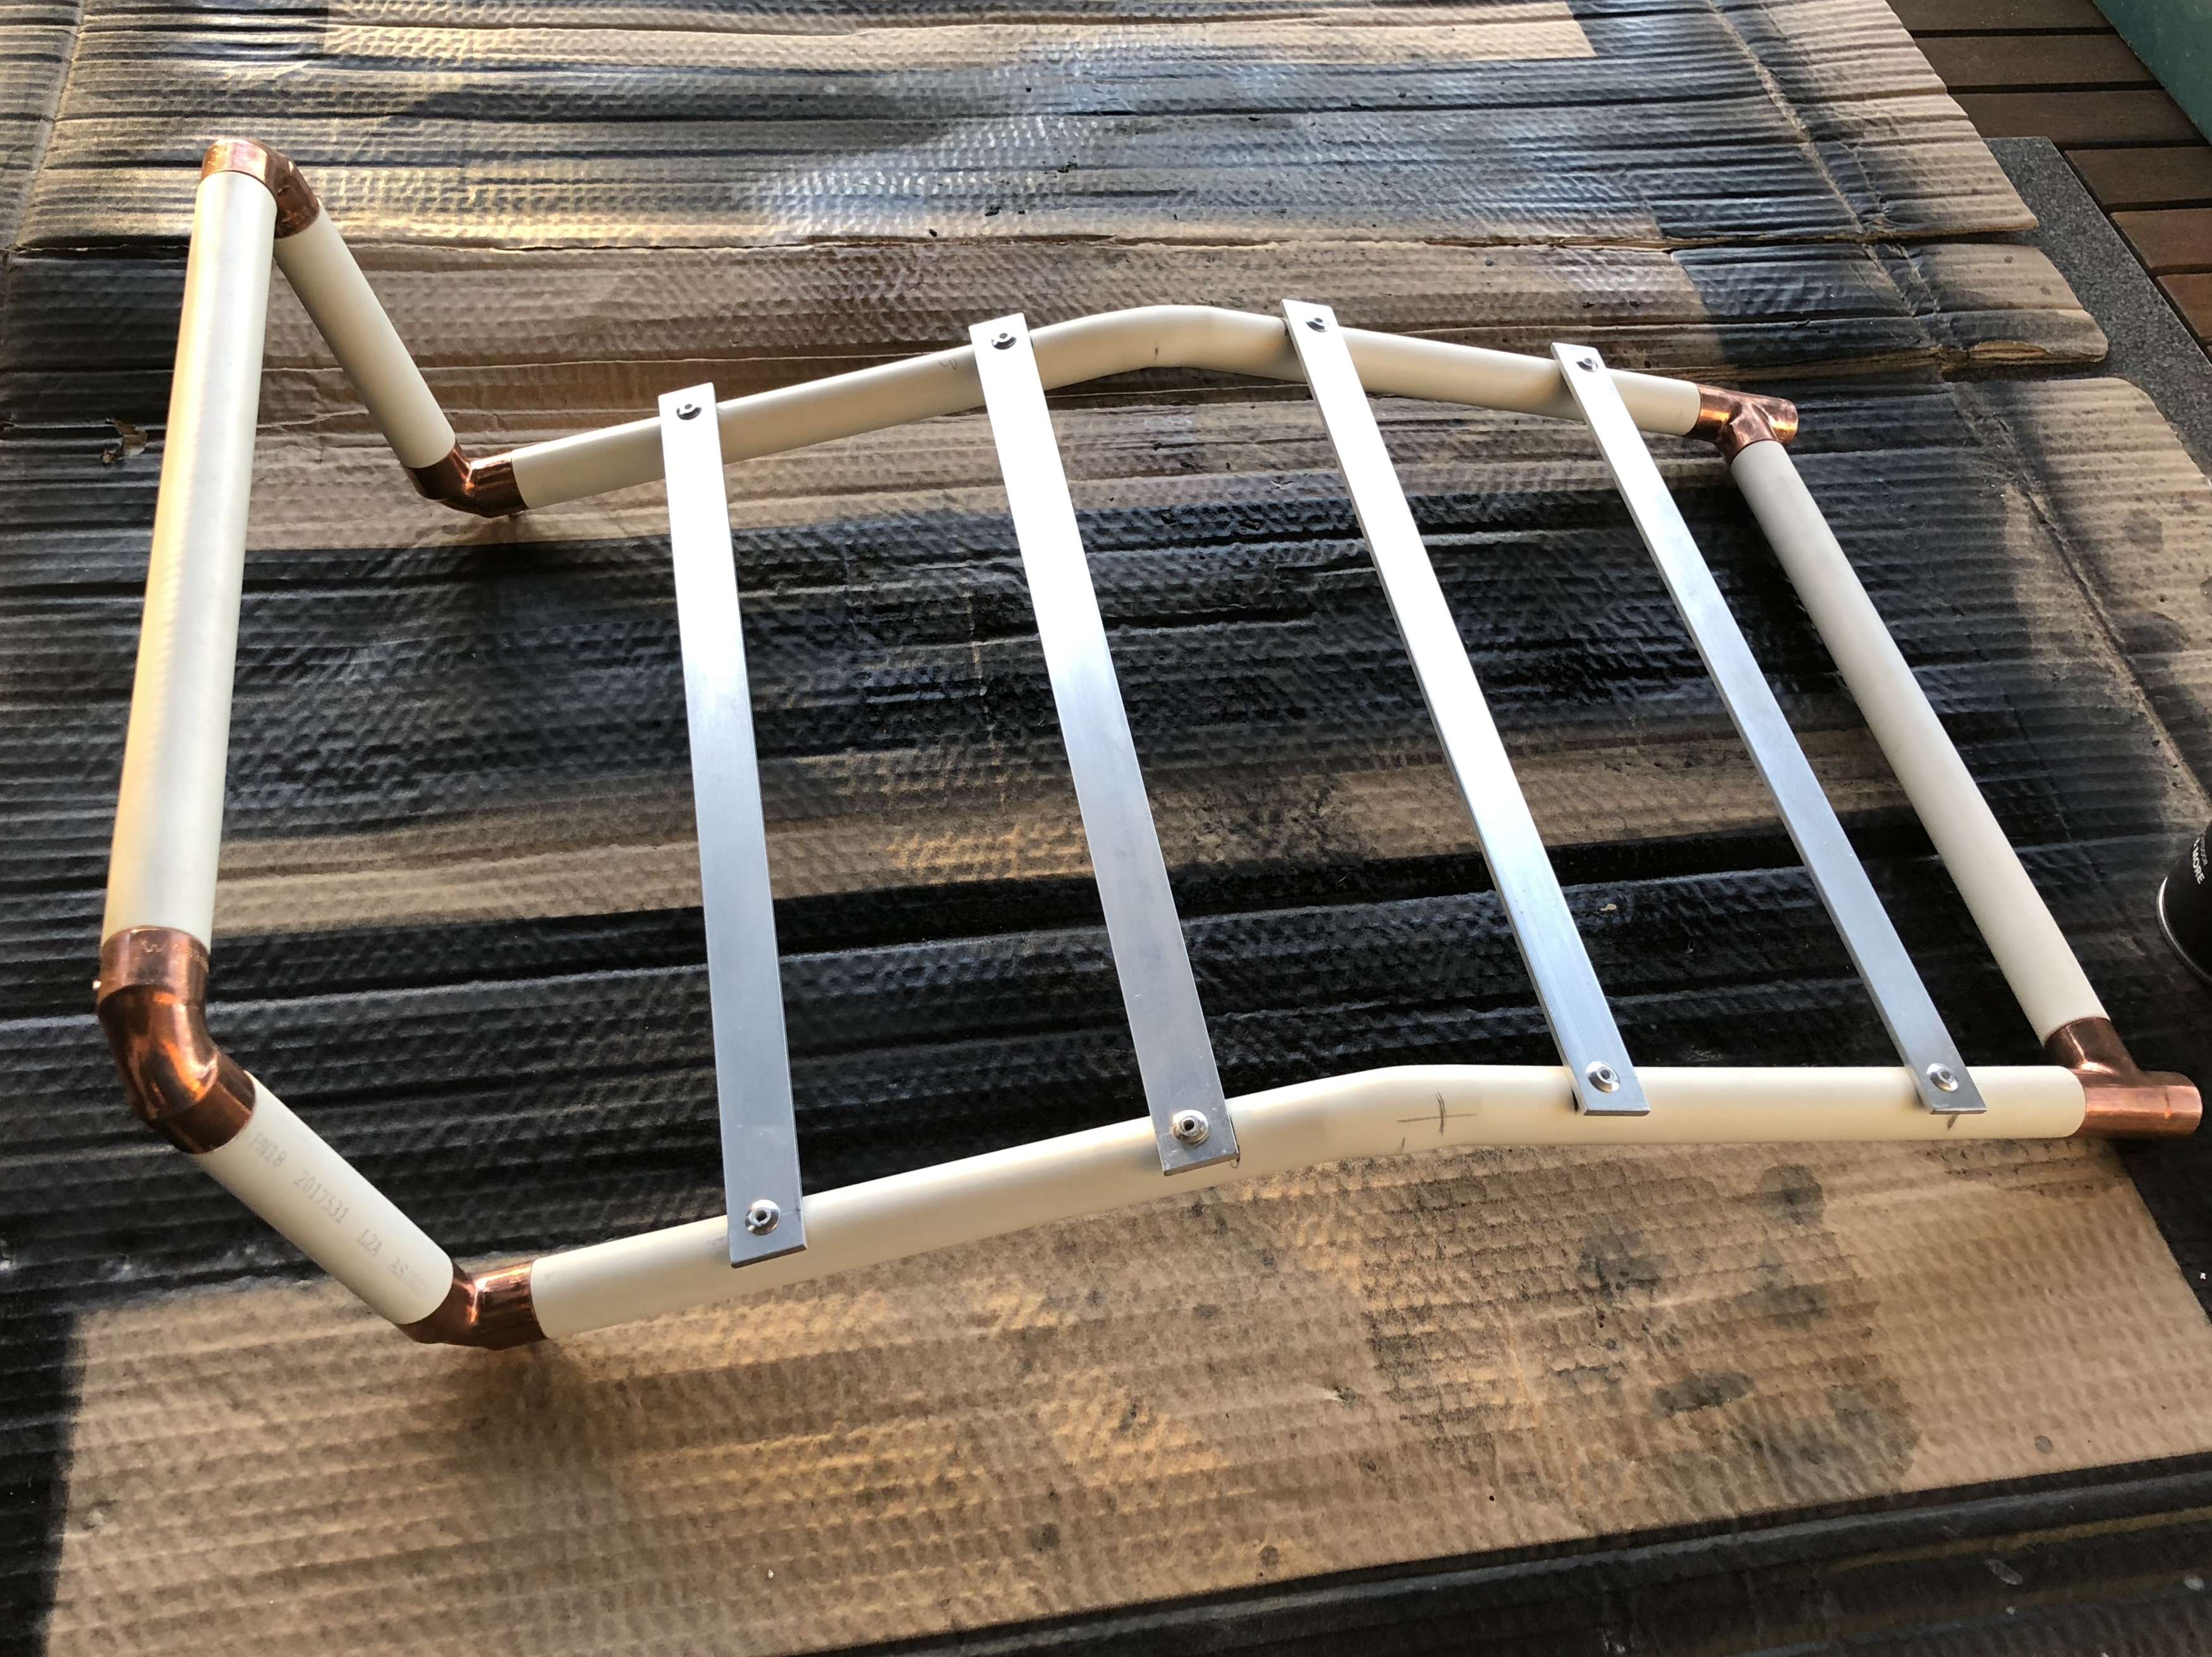
I also found some seed trays that match the sizes I found here on MEPD pretty well. Downside was they had a rim around the outside edge so I would have to take that off and refinish the edge. Here were the trays when I got them
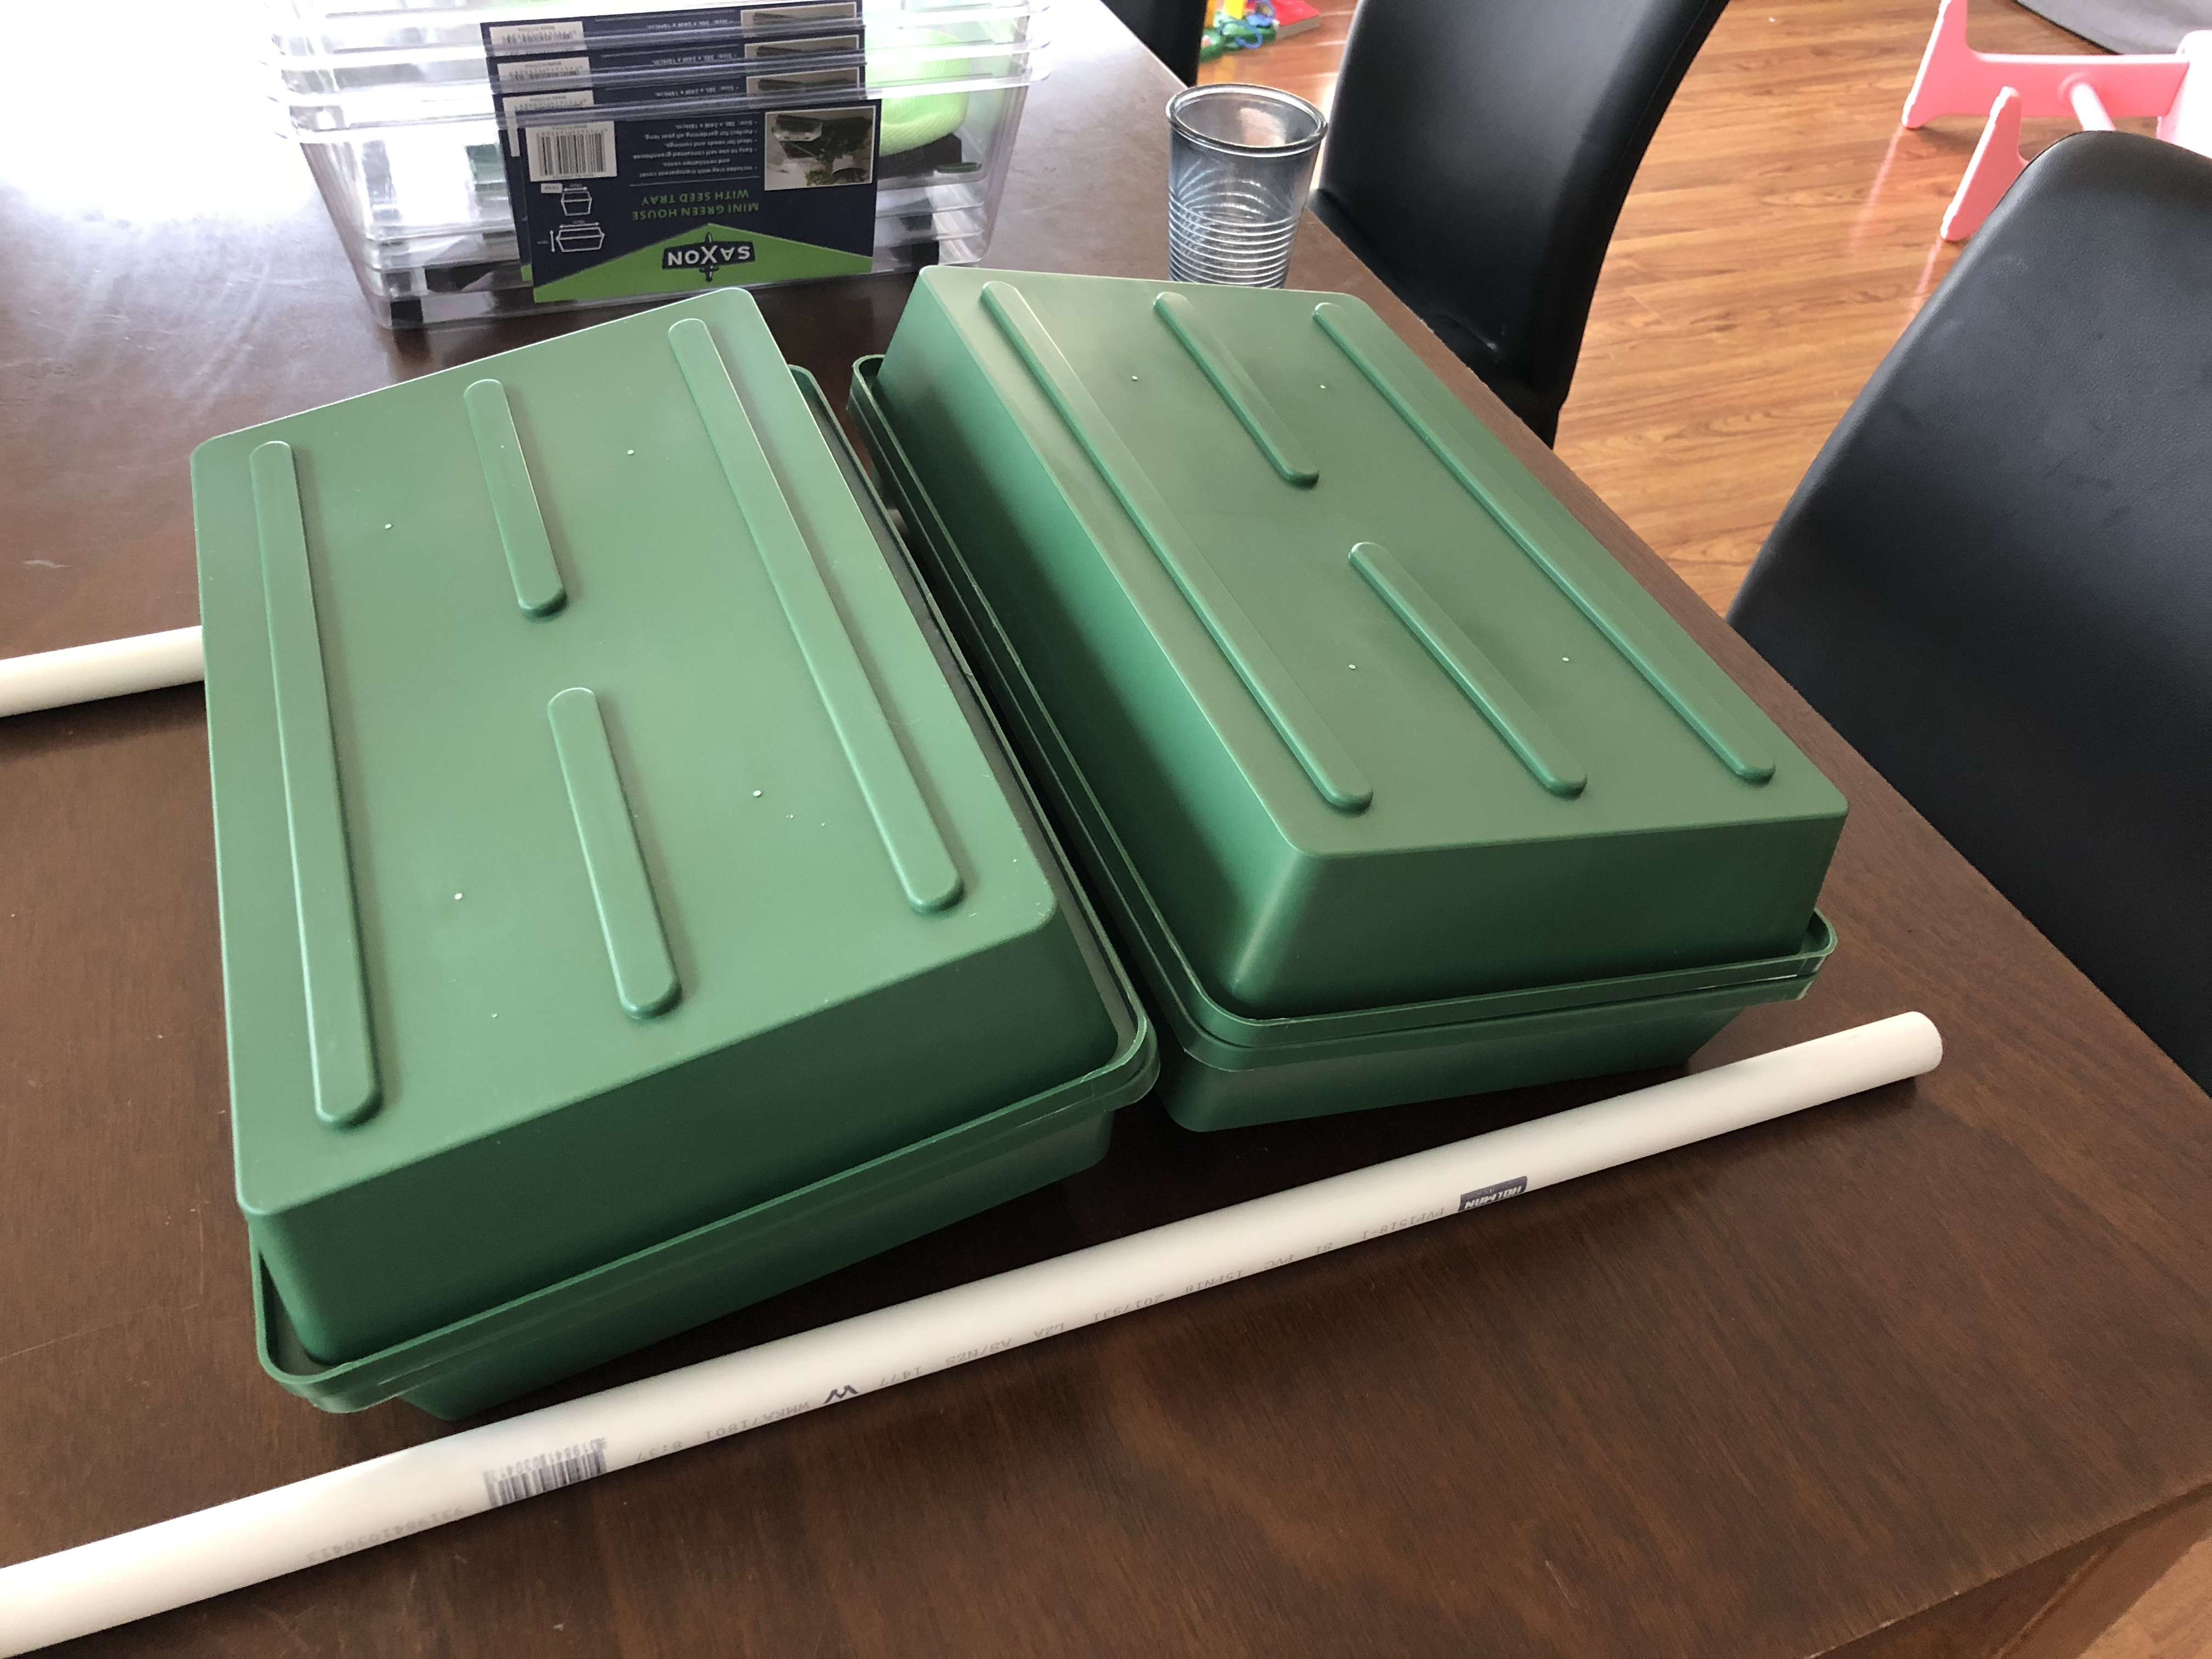
And after a little bit of surgery
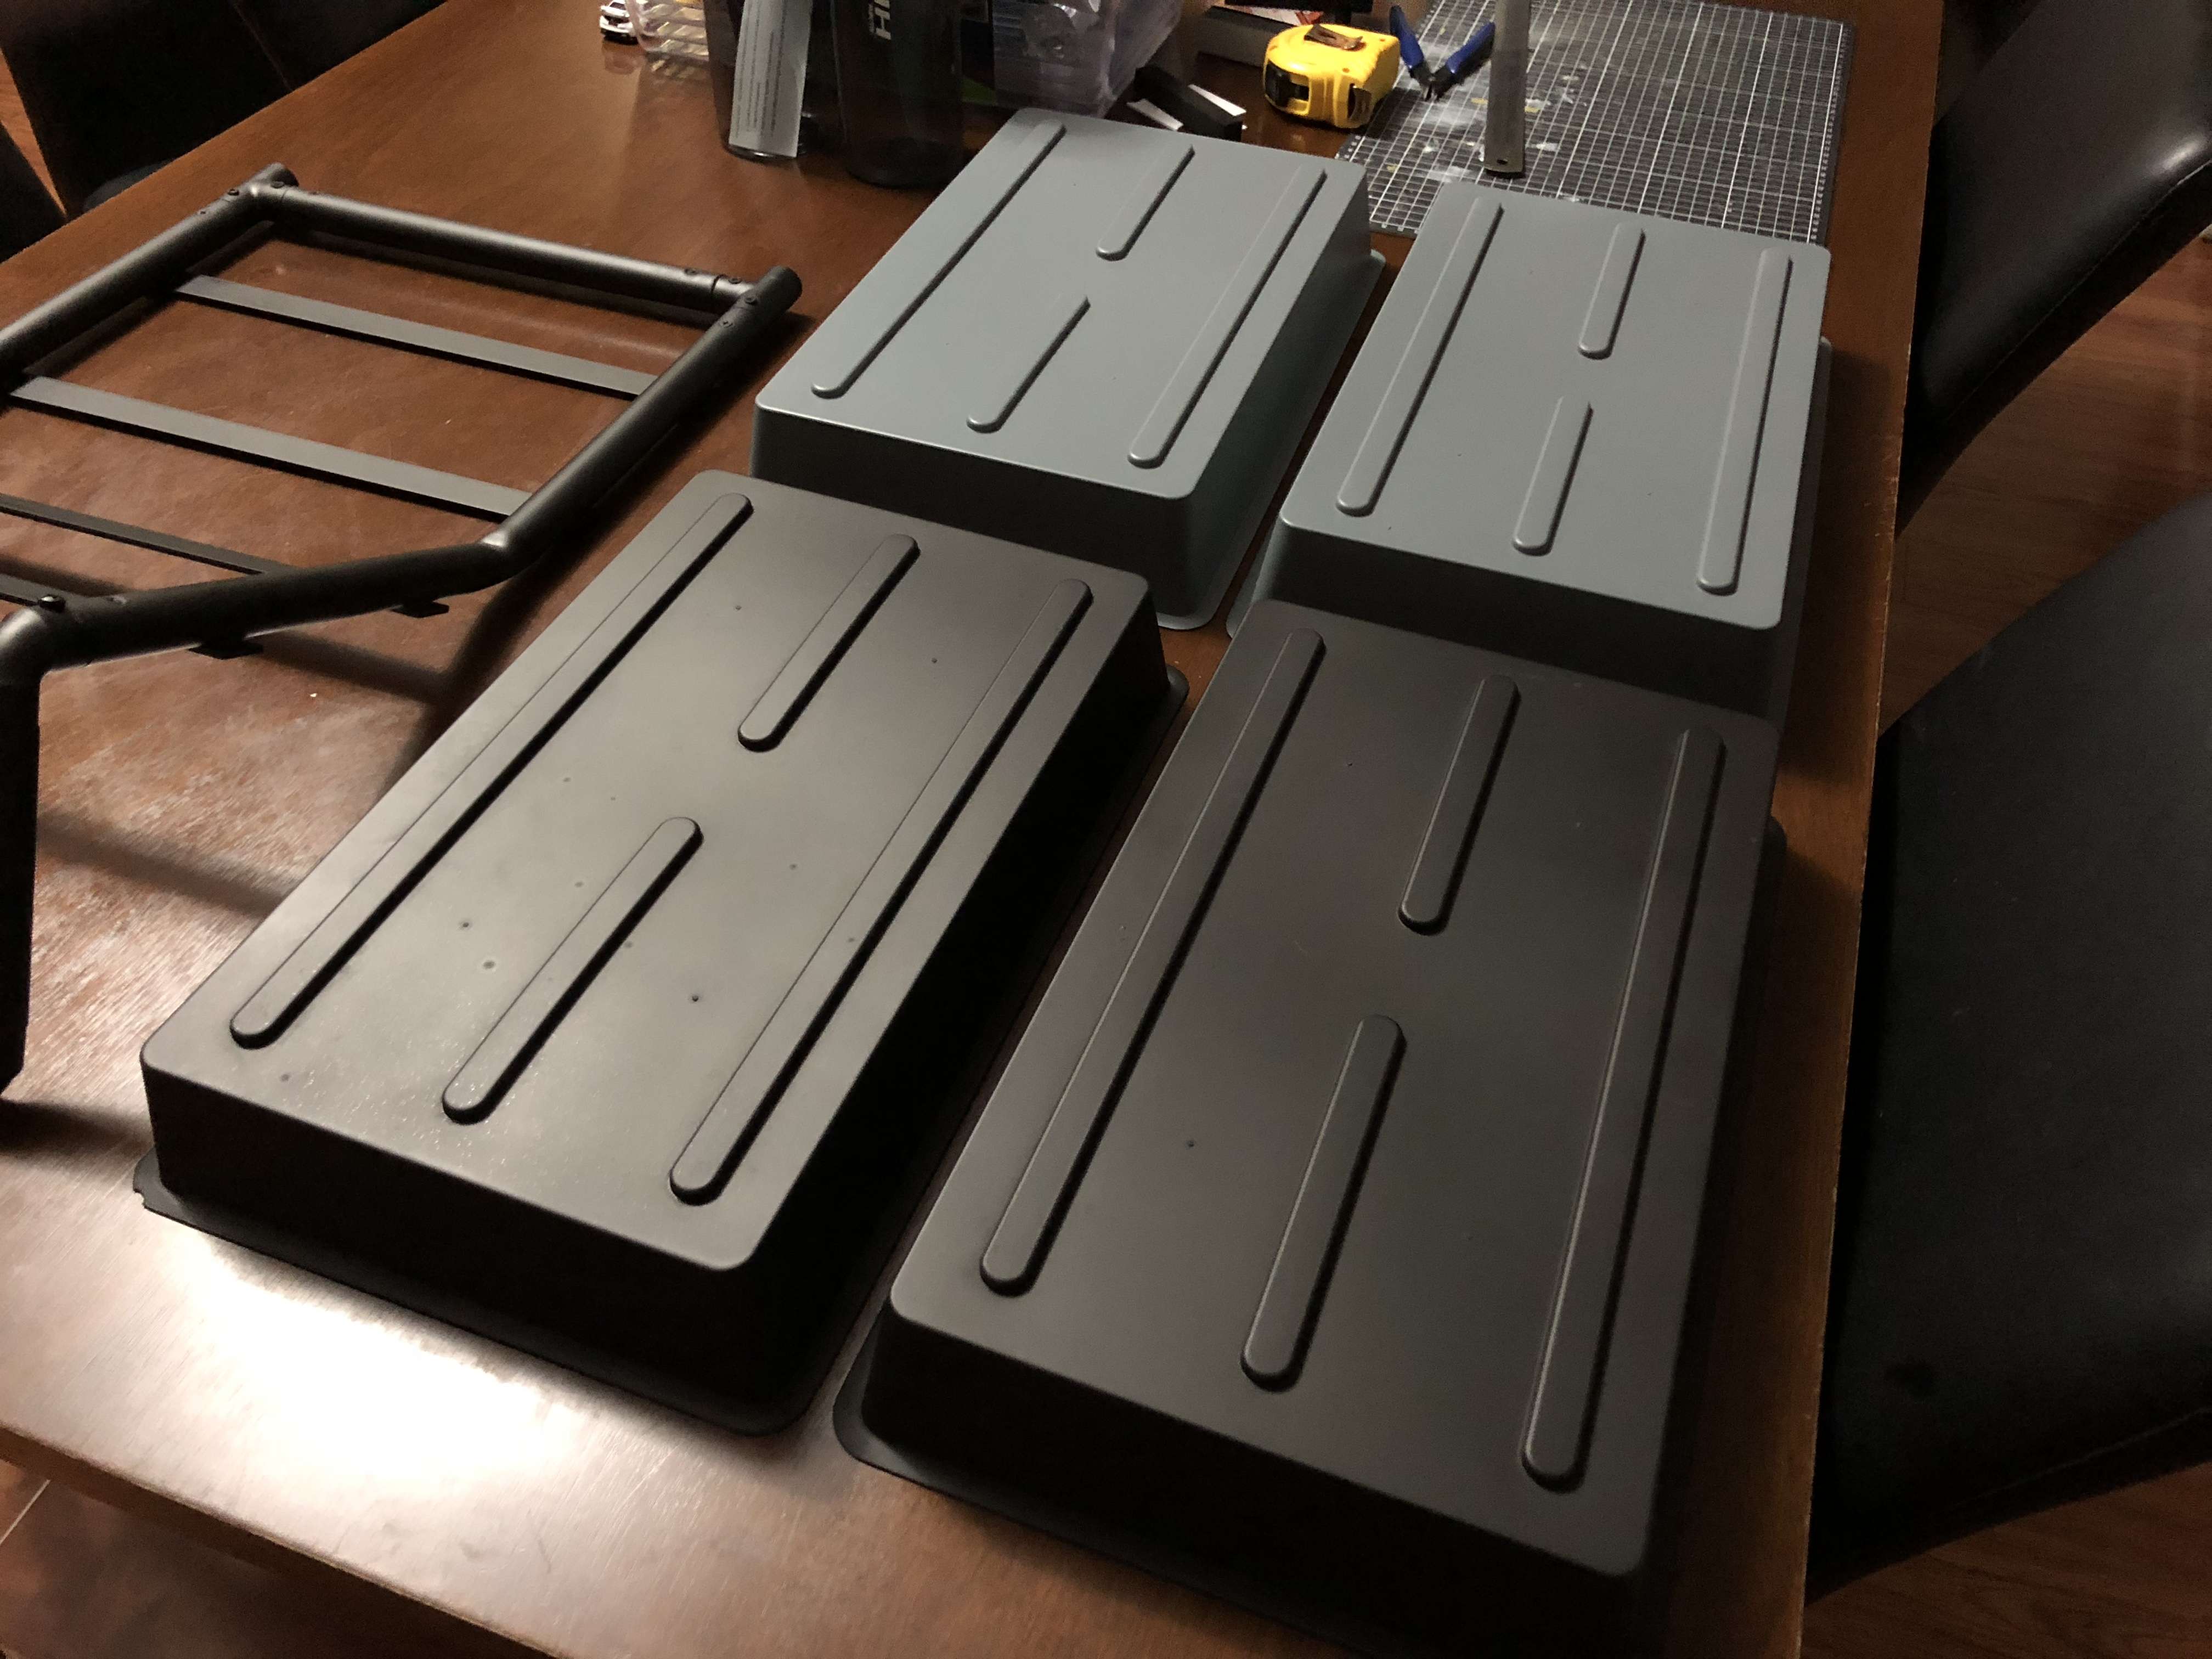
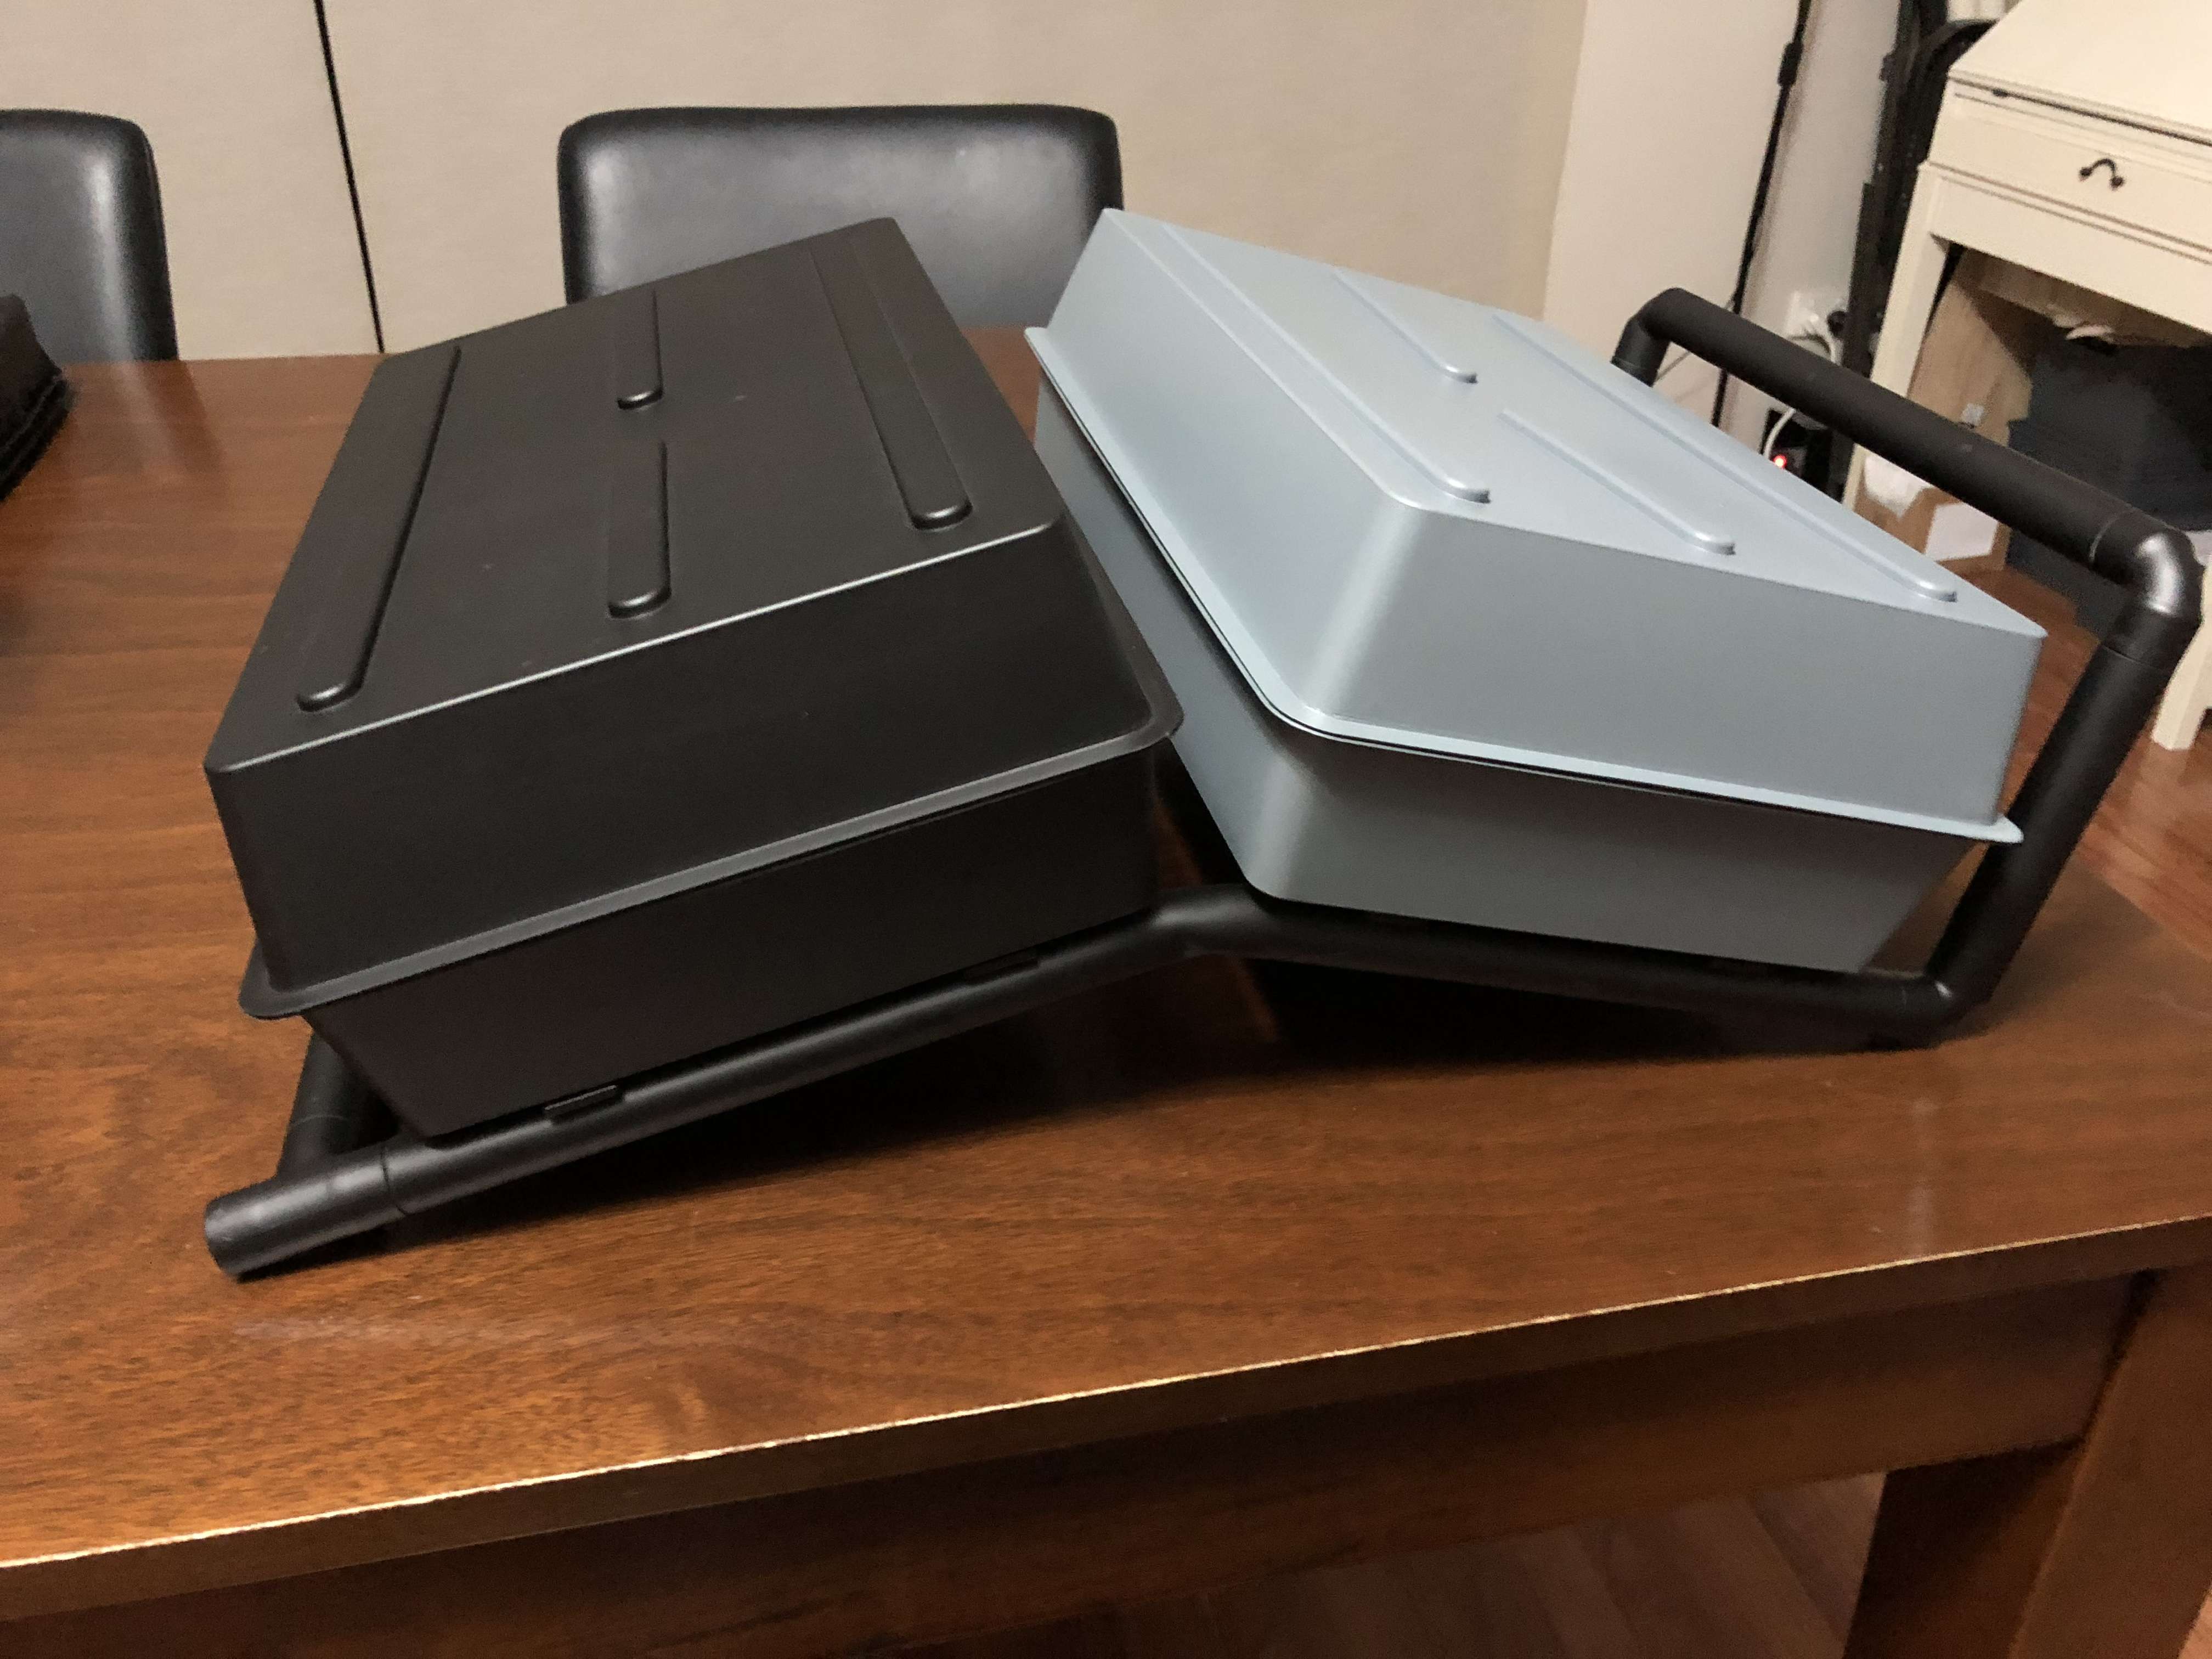
And in place on the painted frame
I purchased a Lionstar canteen from Vincent (many thank) and some tupperware pudding cups & a Stow 'n' Go locally. I converted the canteen following Airborne troopers guide and painted the parts up
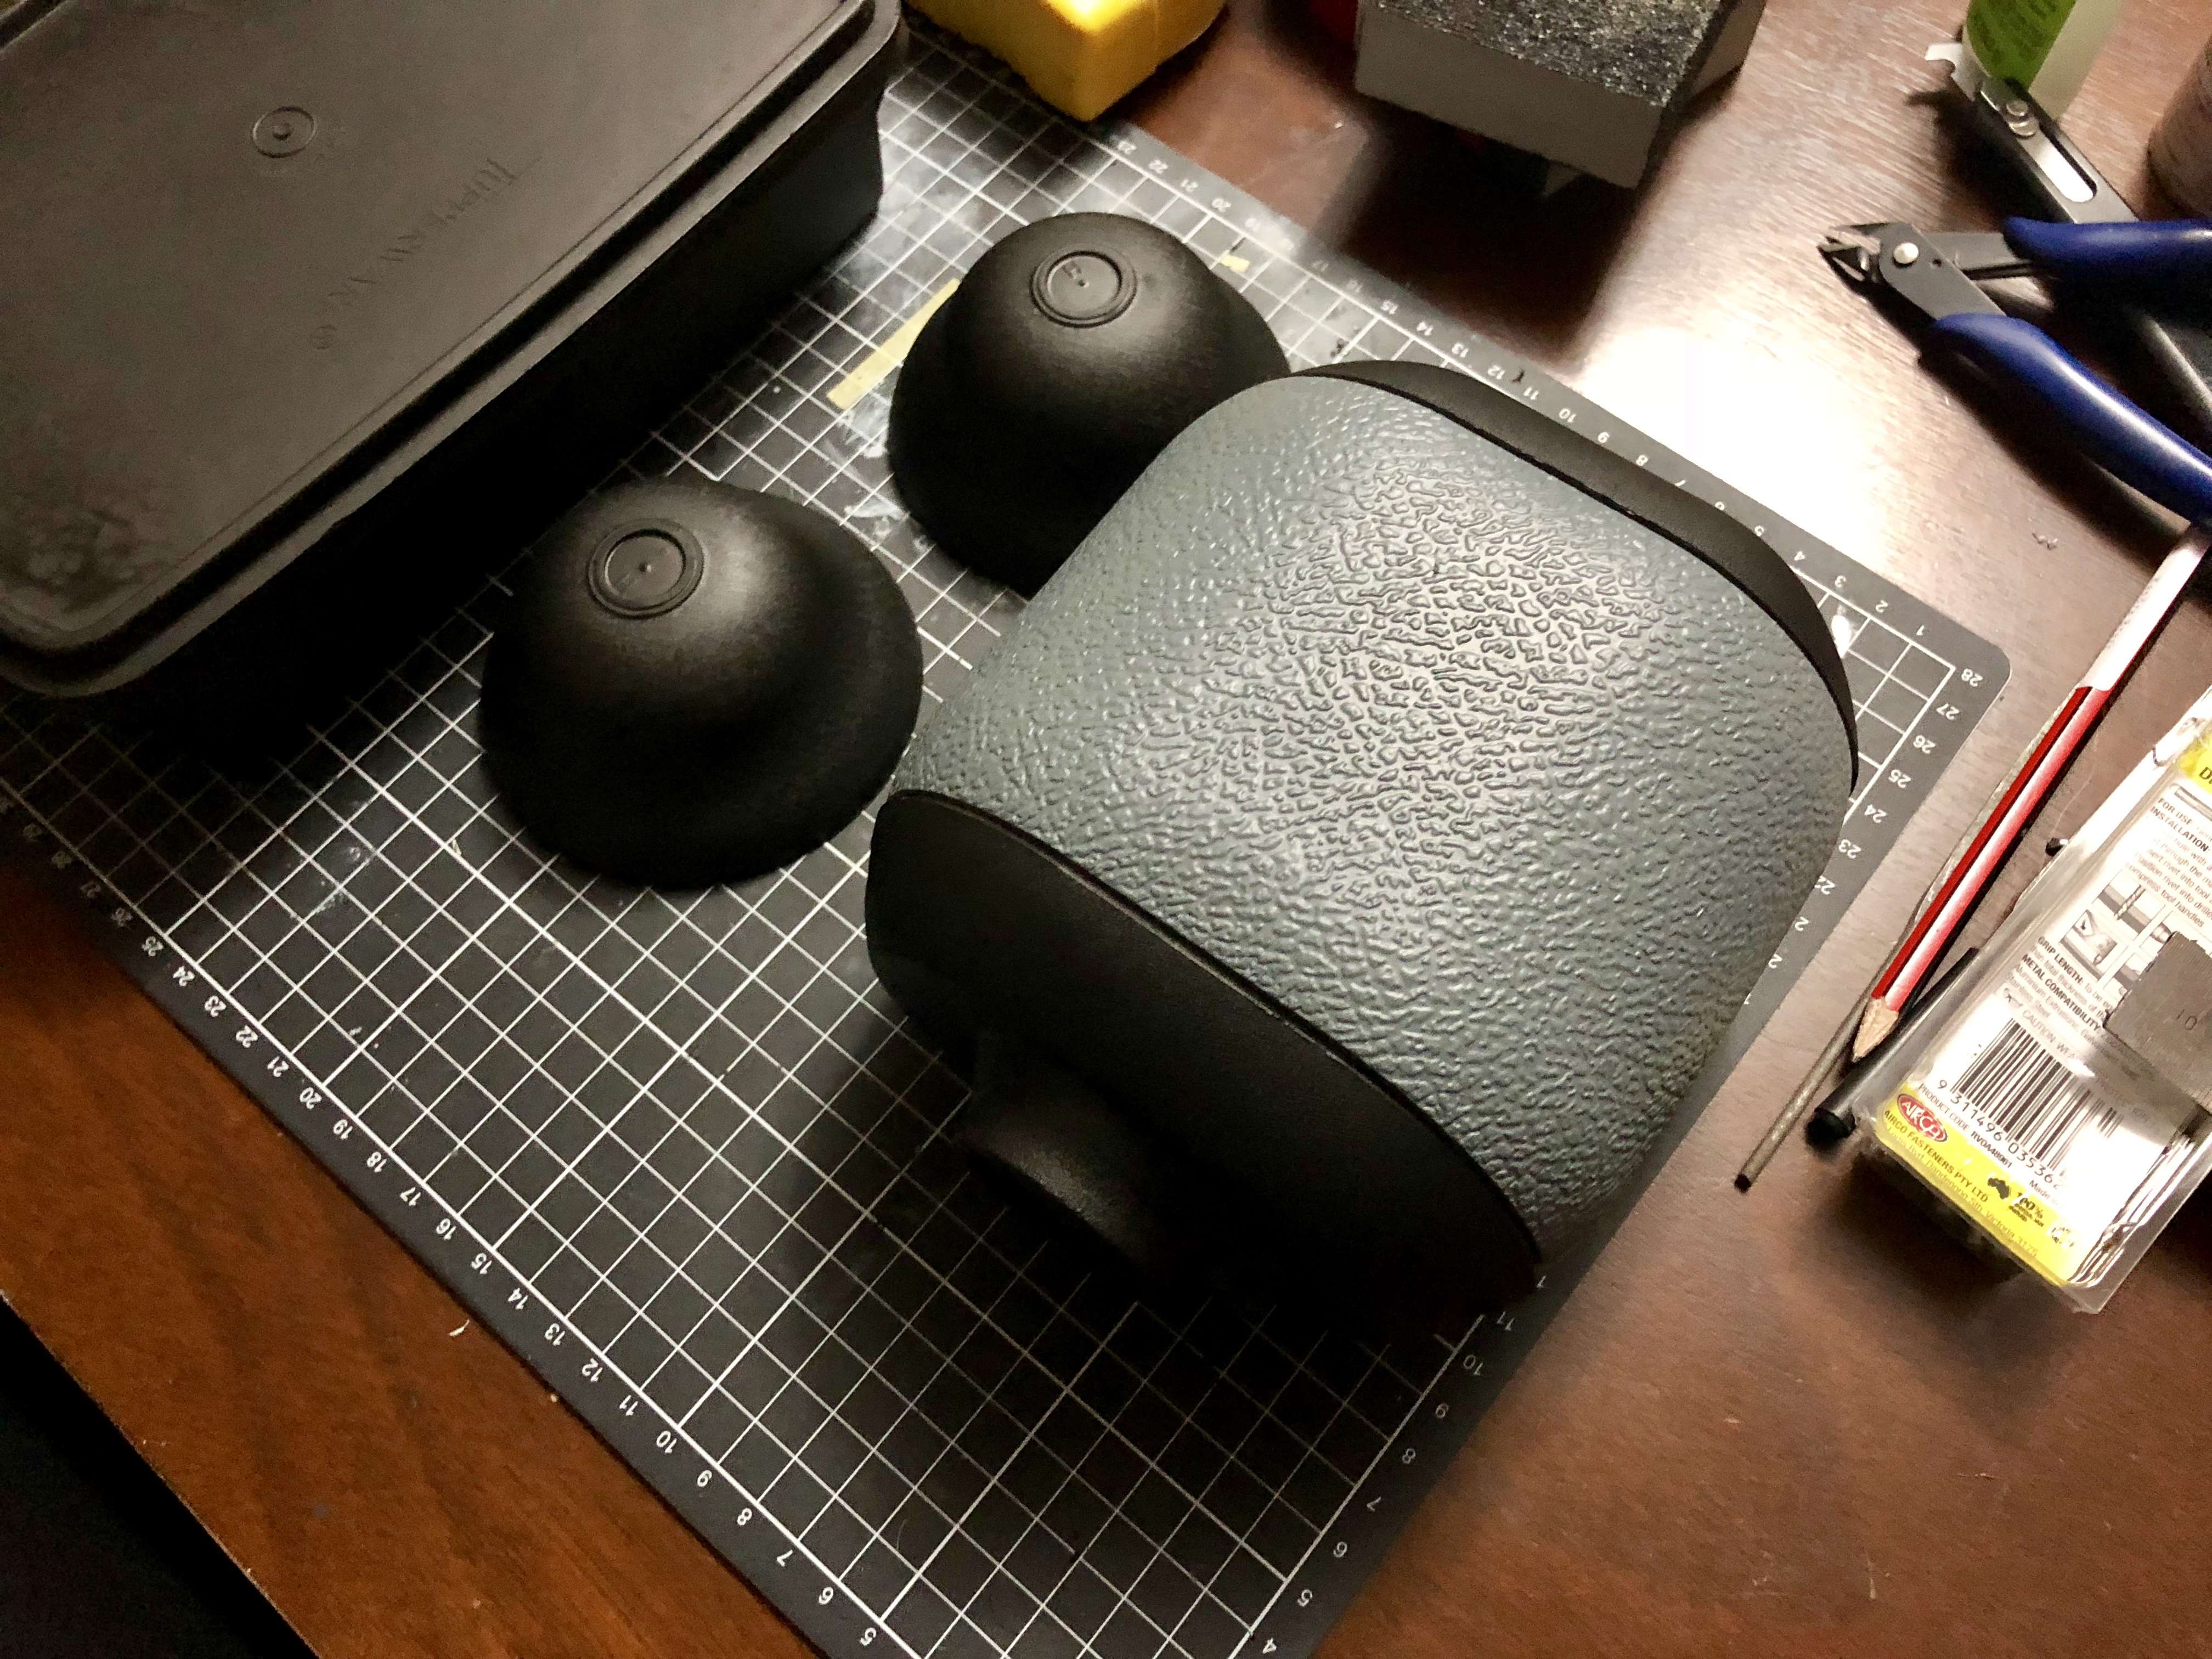
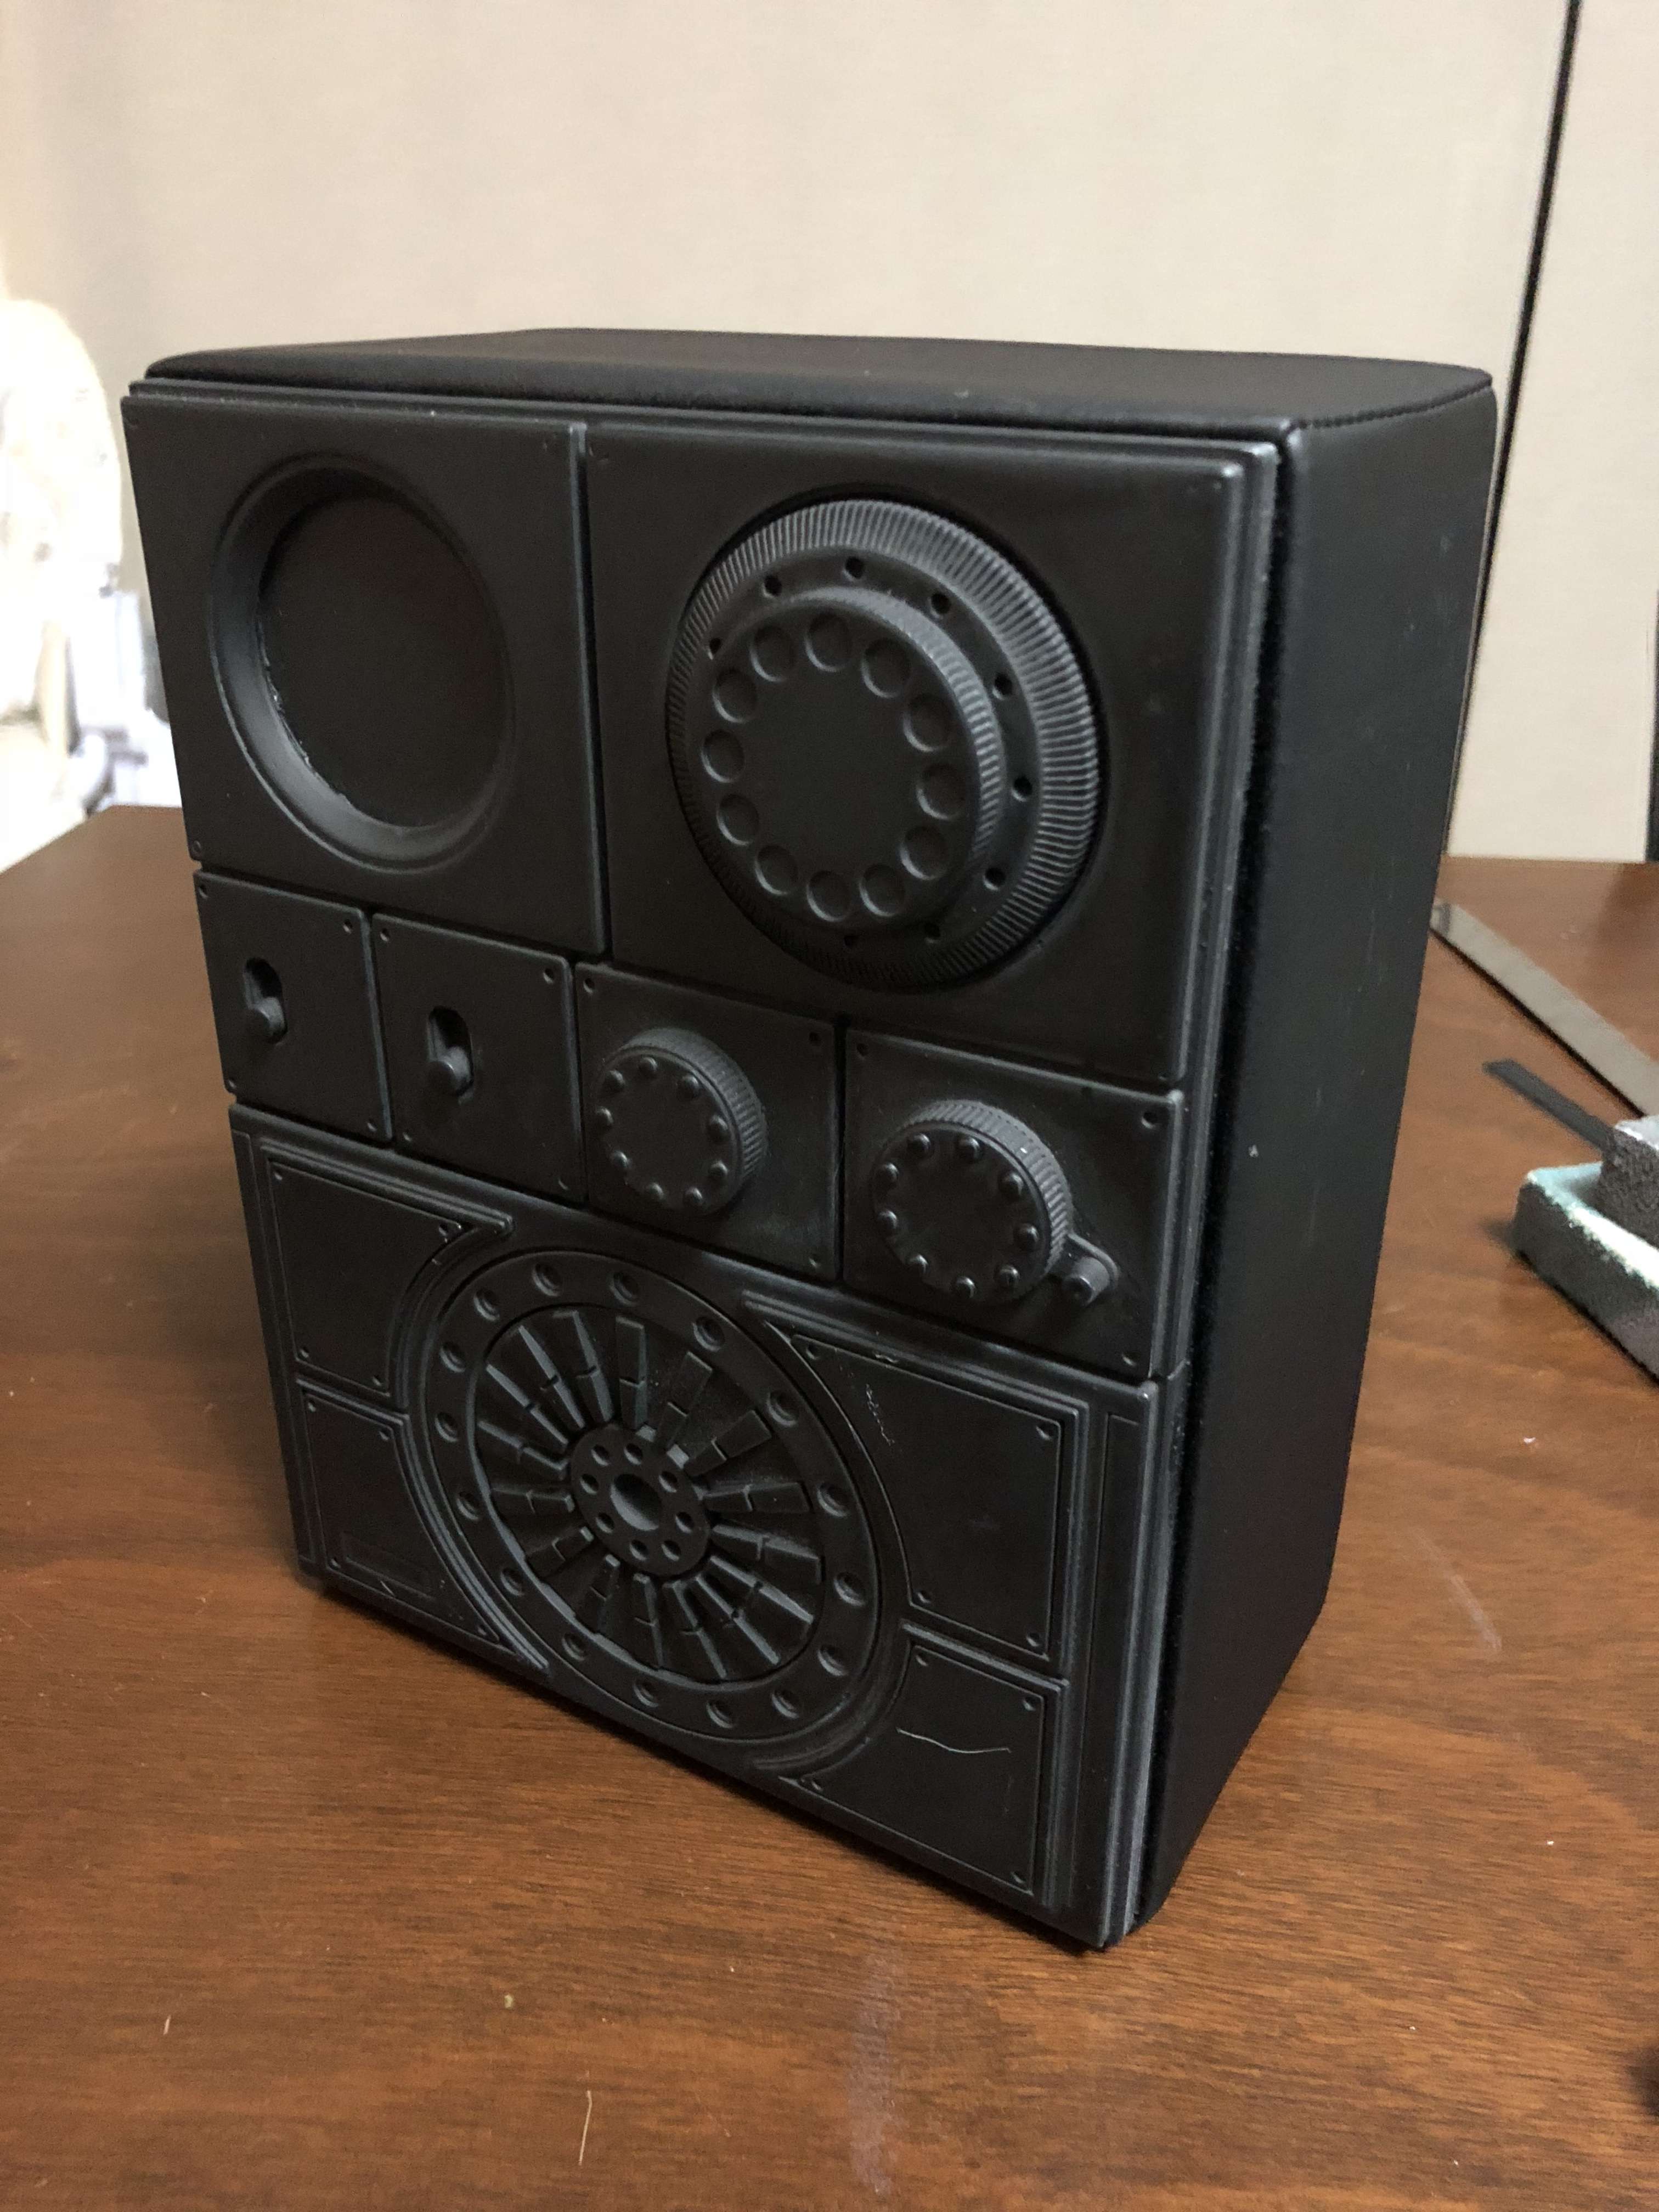
The hardest parts were always going to be radio & siphon. Luckily I was able to get a fellow Sandy and garrison member to 3d print them for me. Quality was great, just a bit of finishing to be done to them
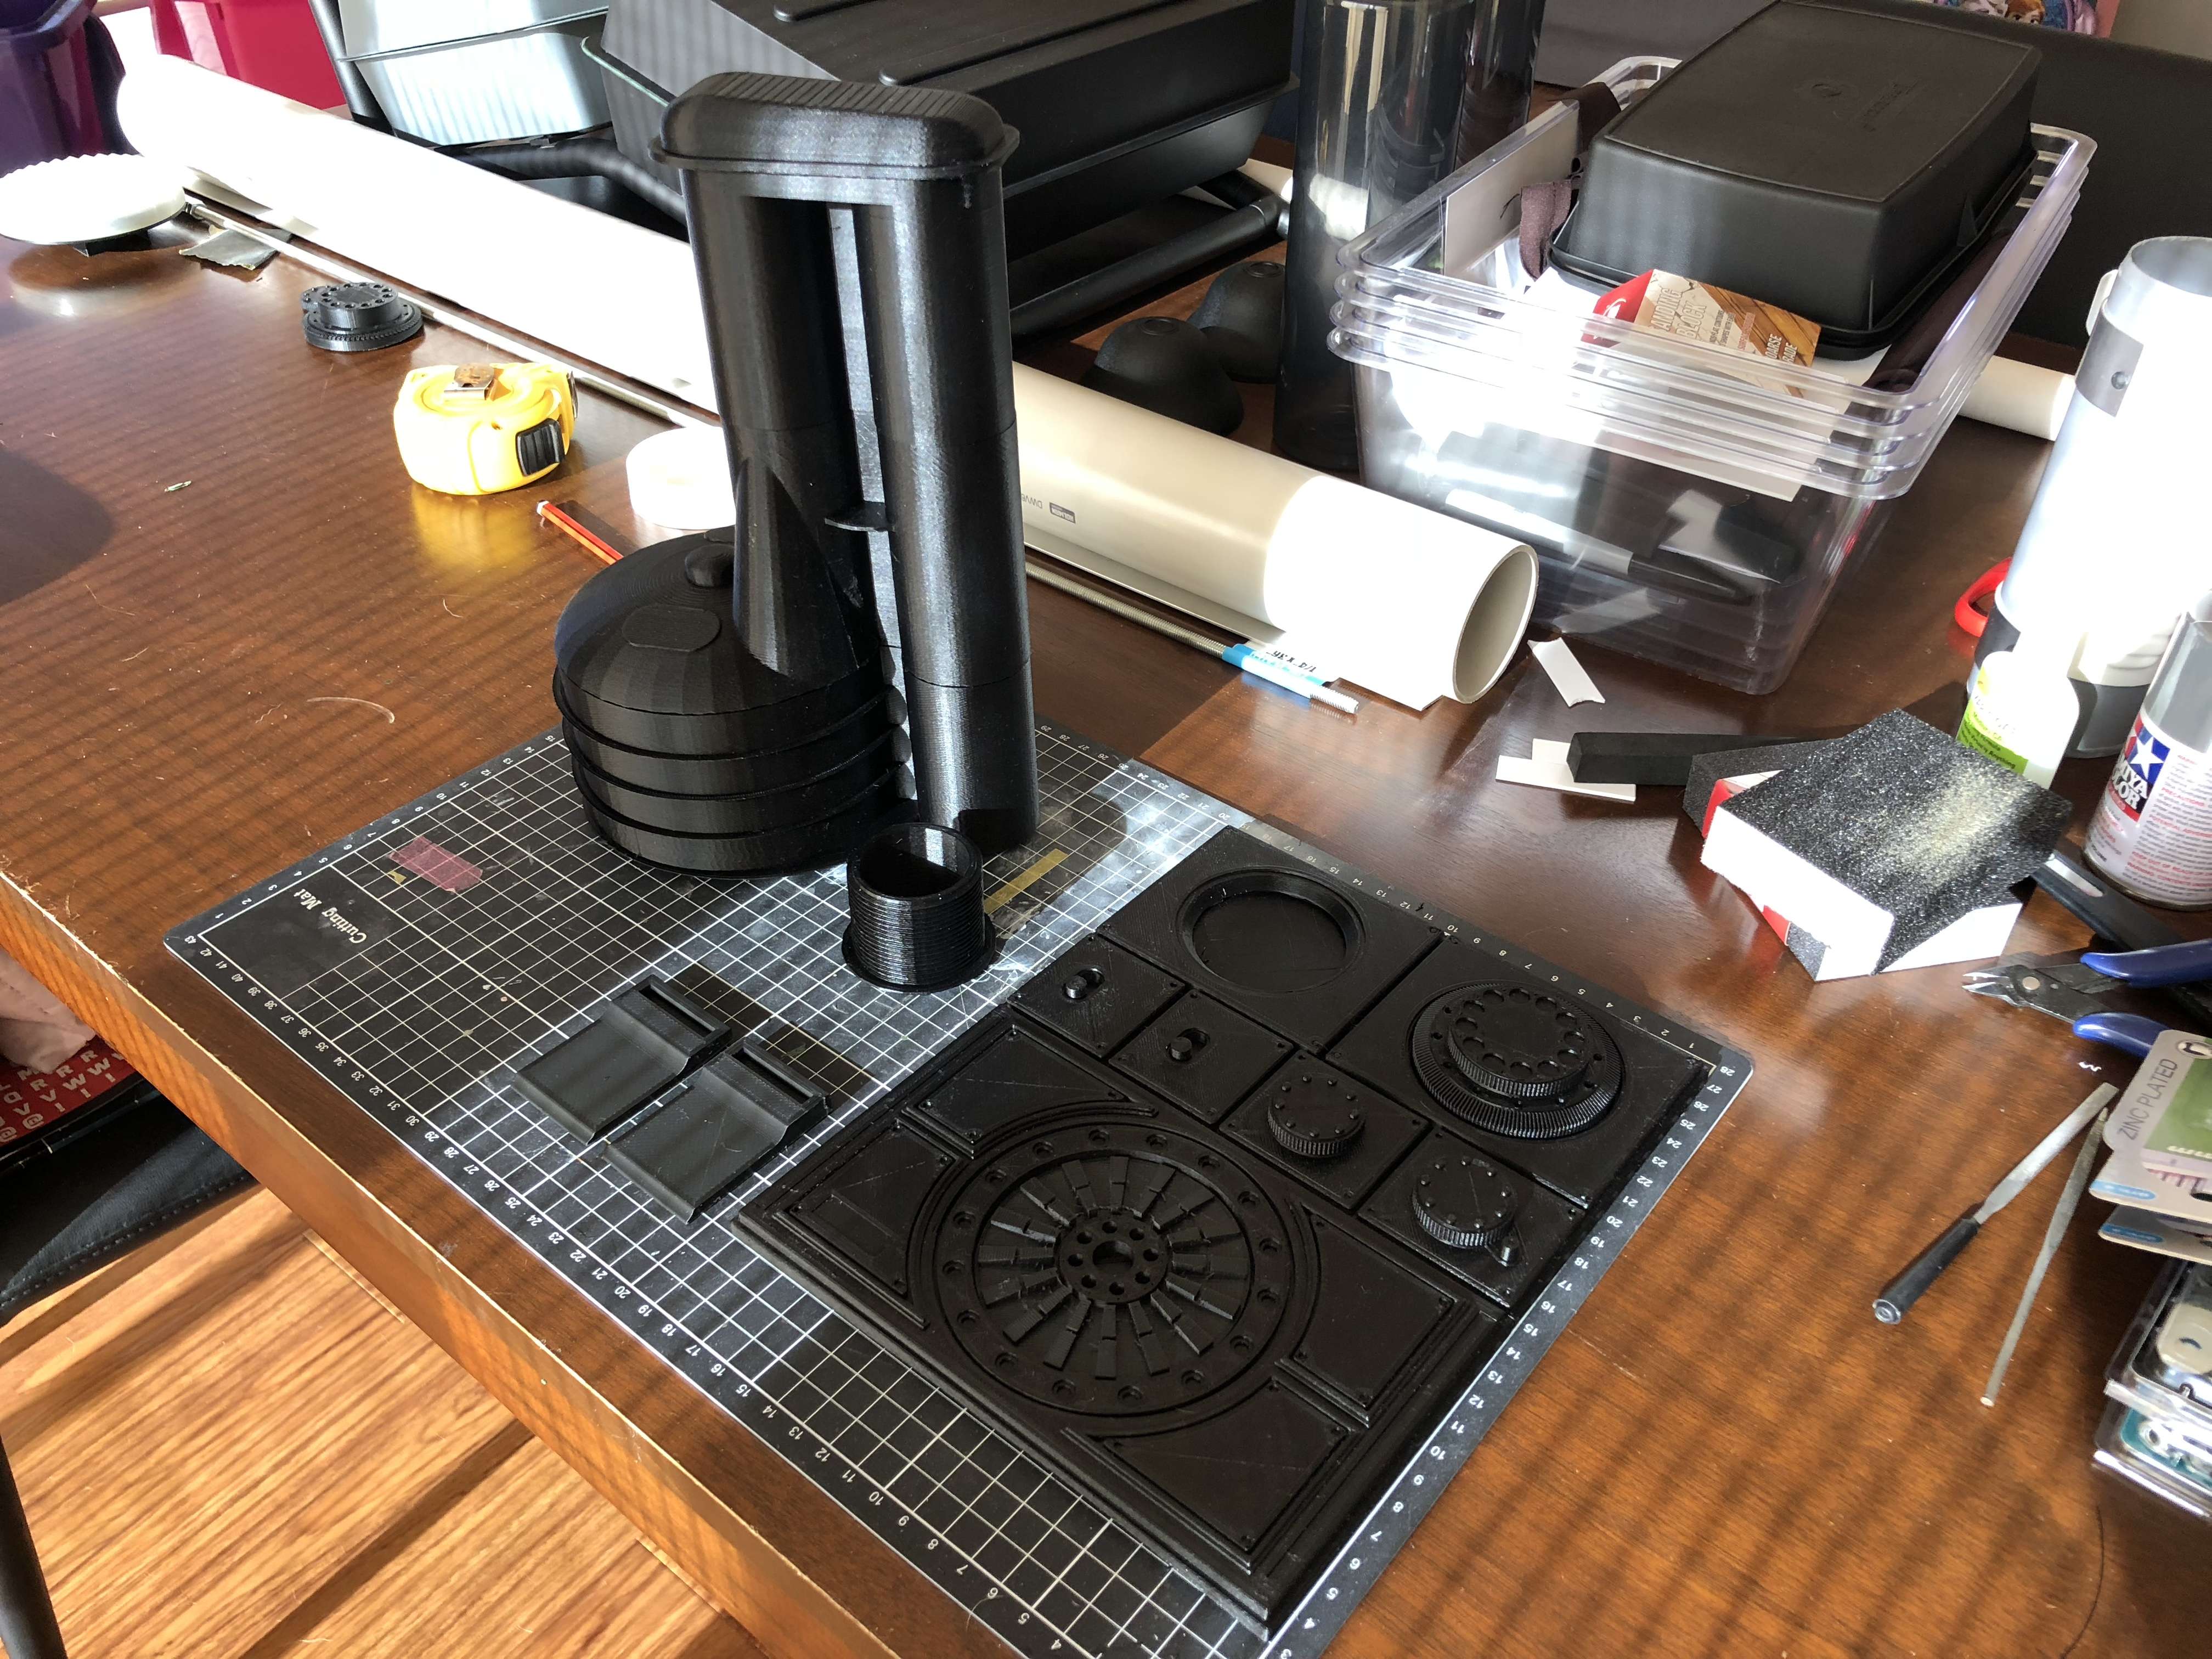
And here is the finished product
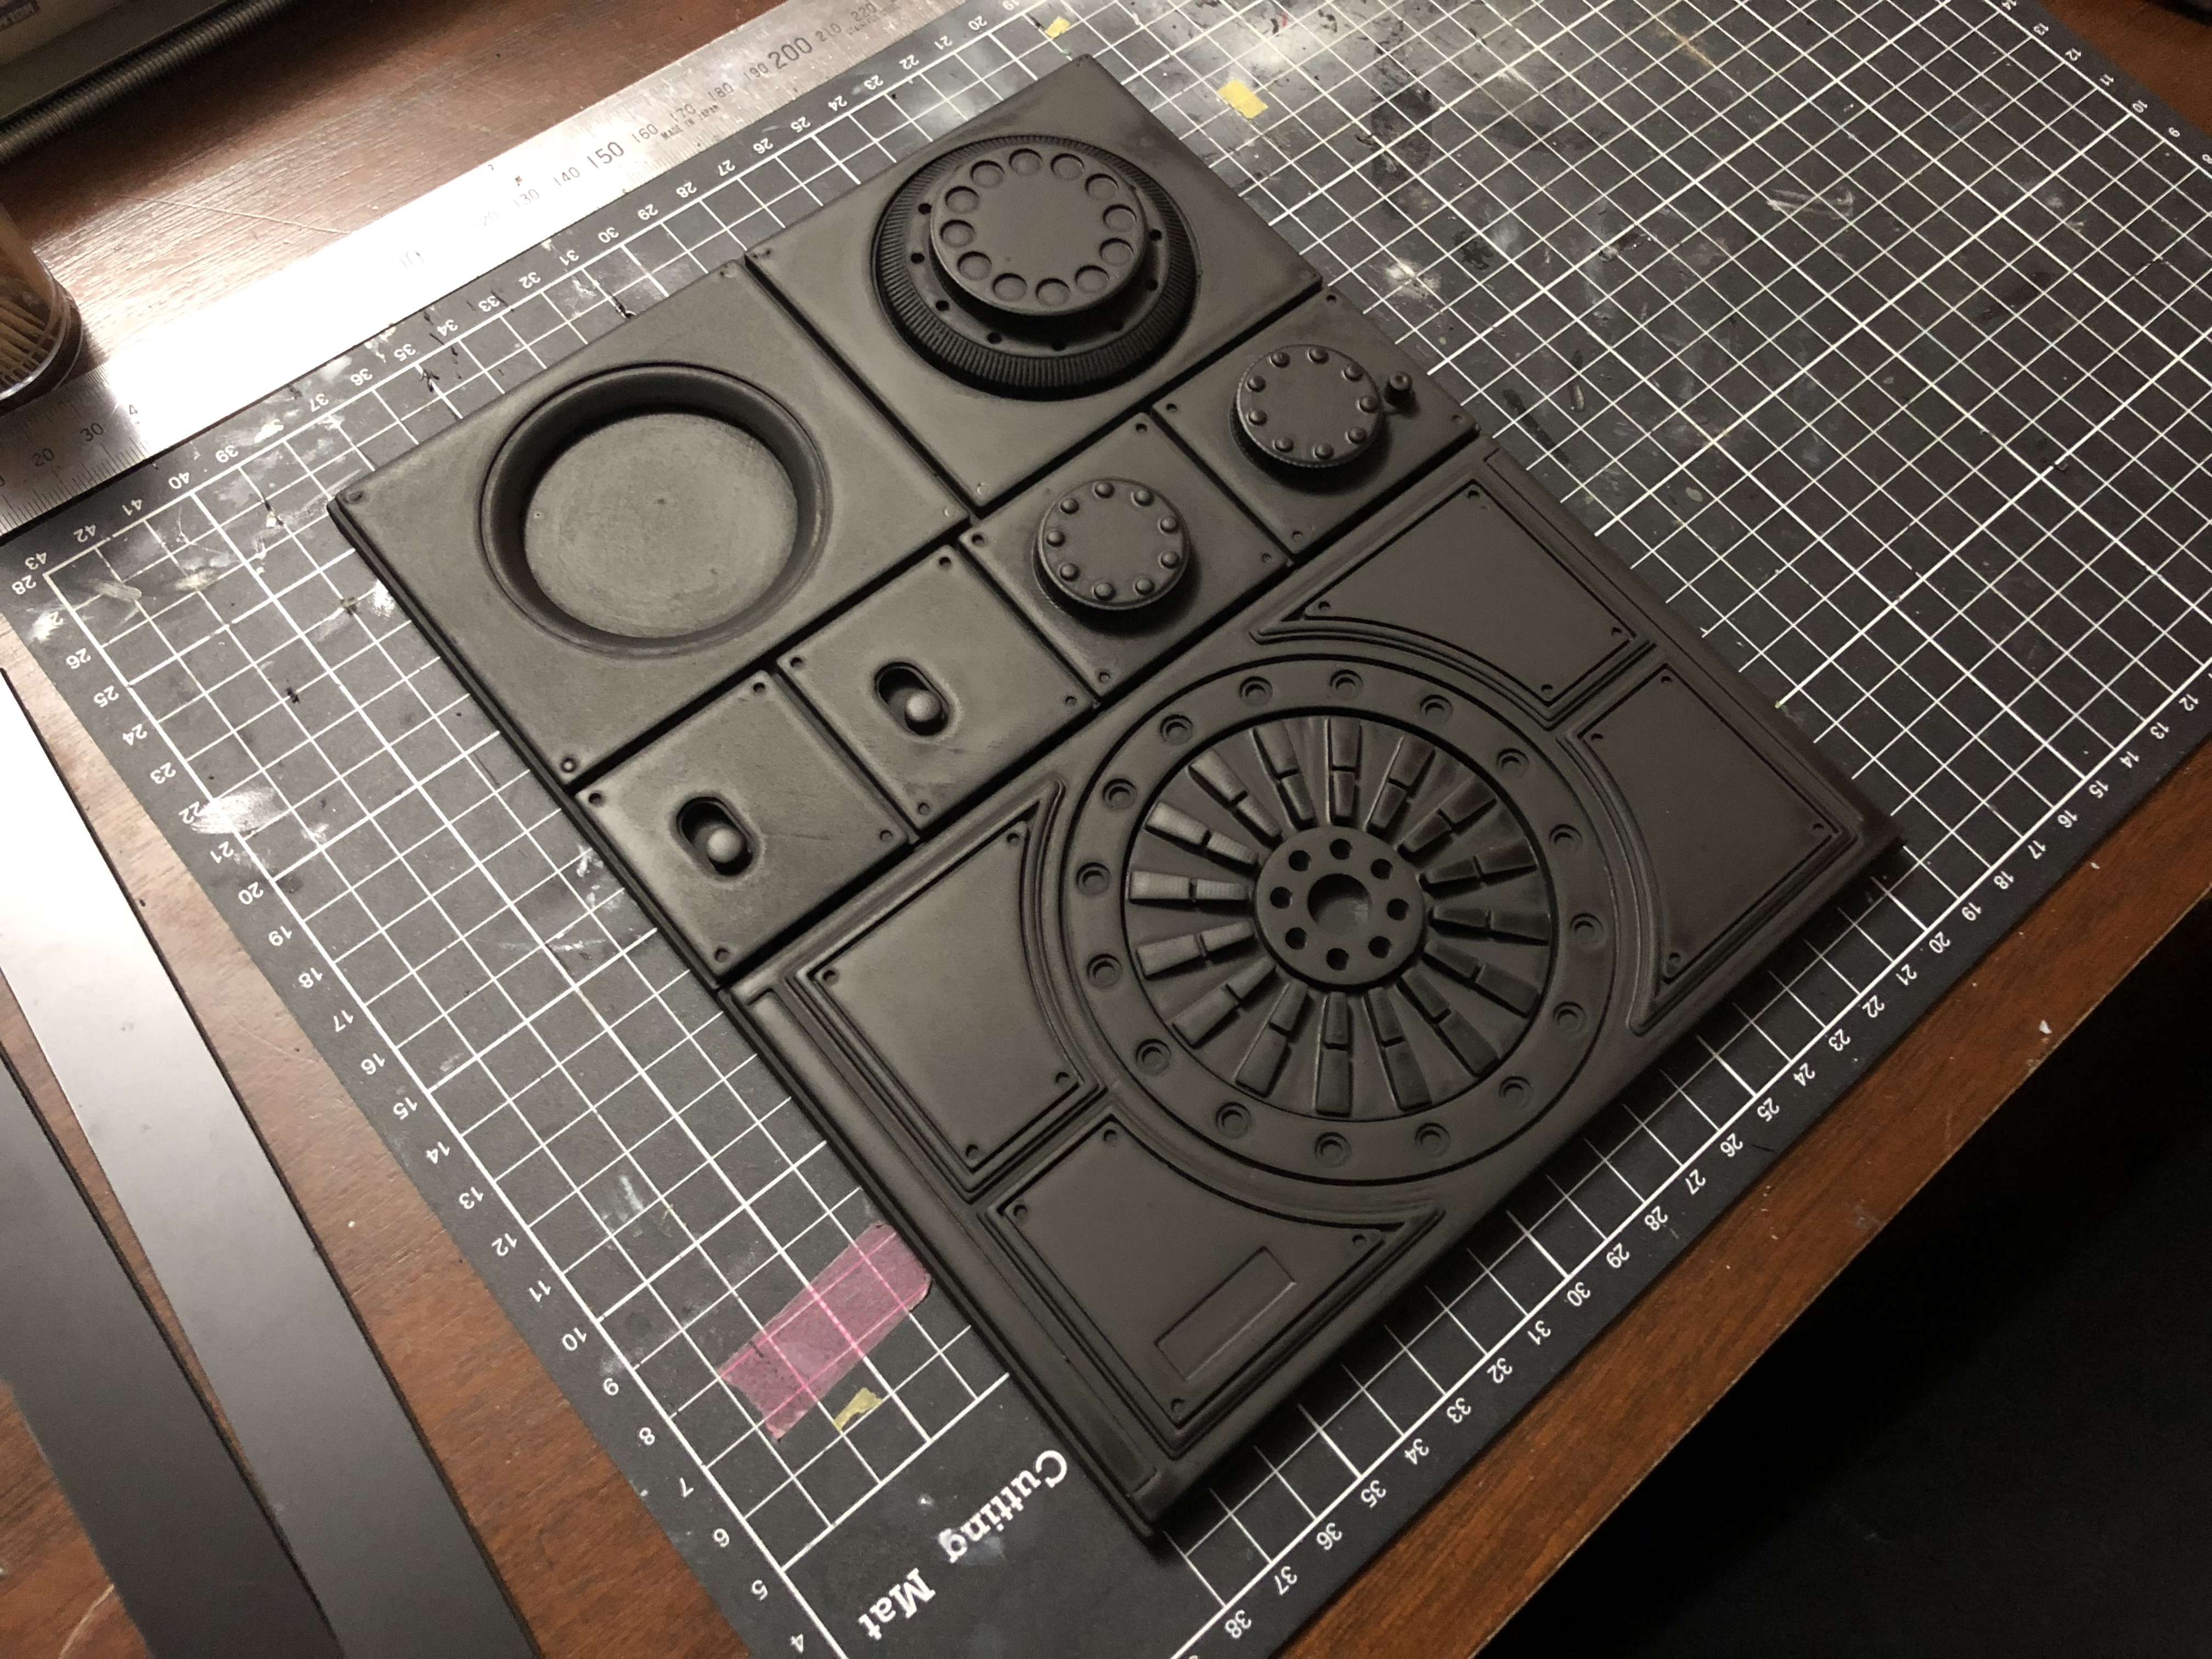
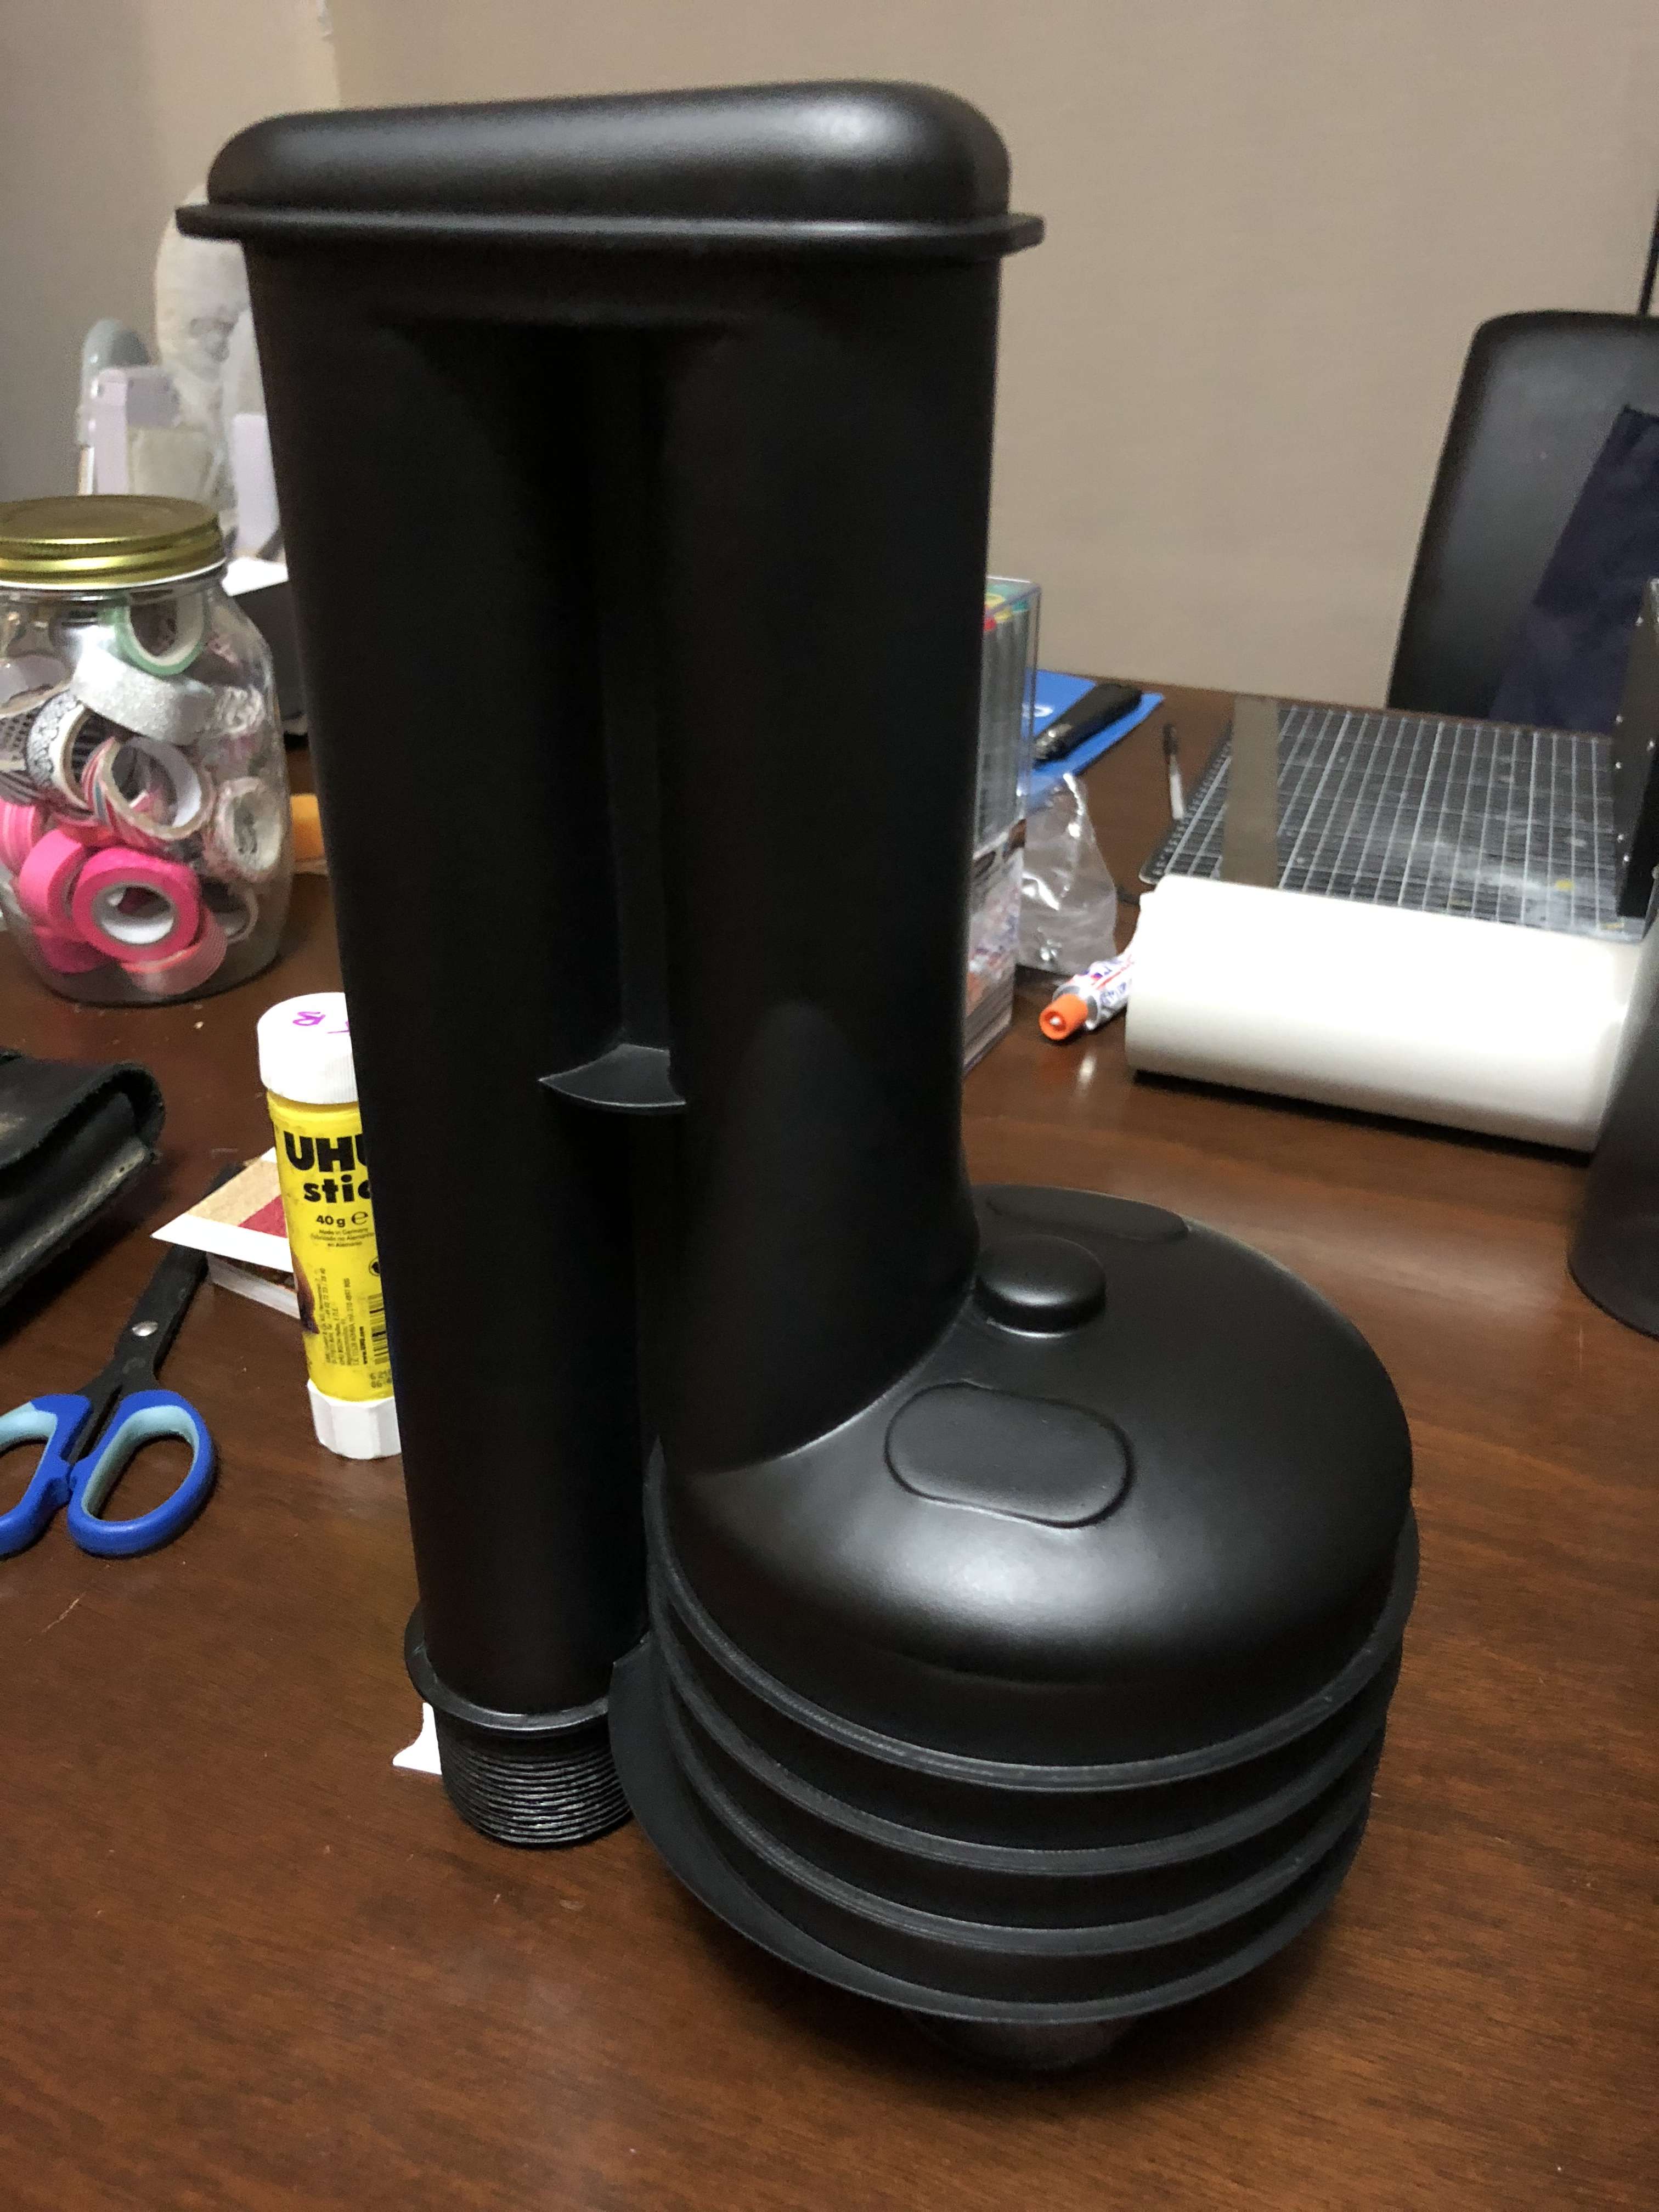
To complete the Sonix, I had to build the enclosure. I will be running an Aker inside playing background chatter so it had to open. I built the frame from Aluminium angle, made the outer walls from black plastic sheet & added some hinges and a magnetic closer for the faceplate. From there I made the leather cover, added the feet and the dial decals from Trooperbay.
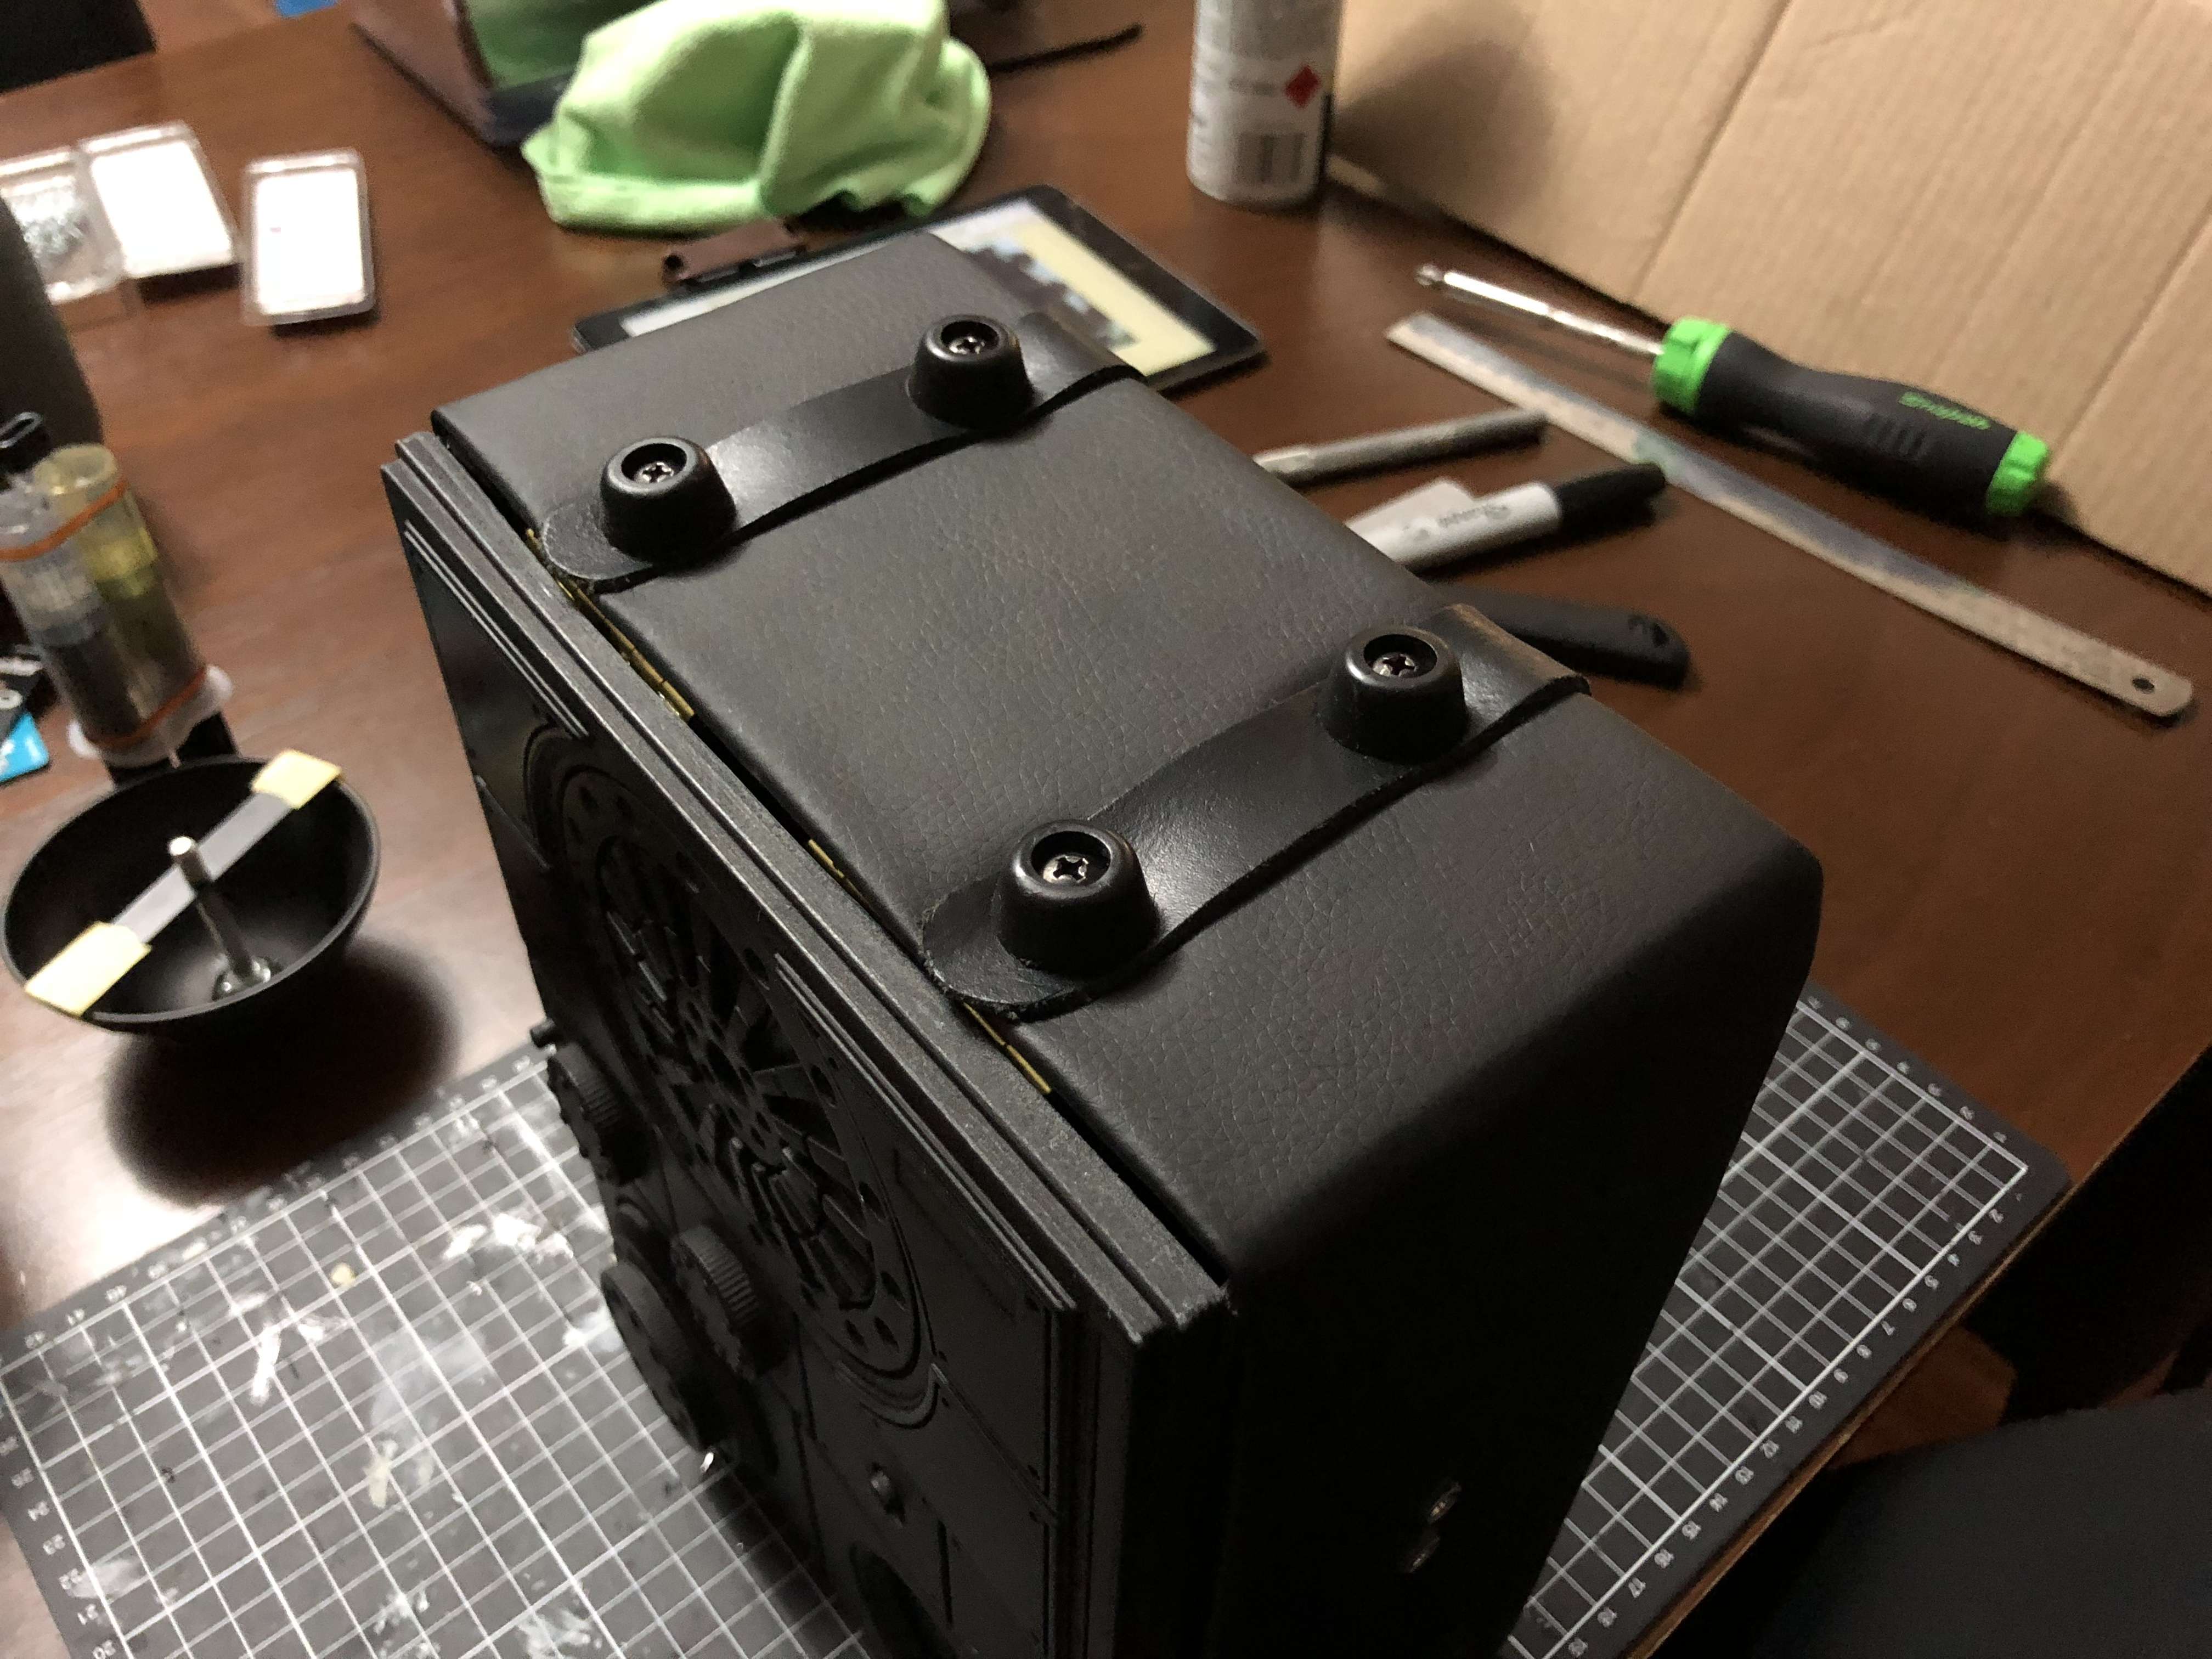
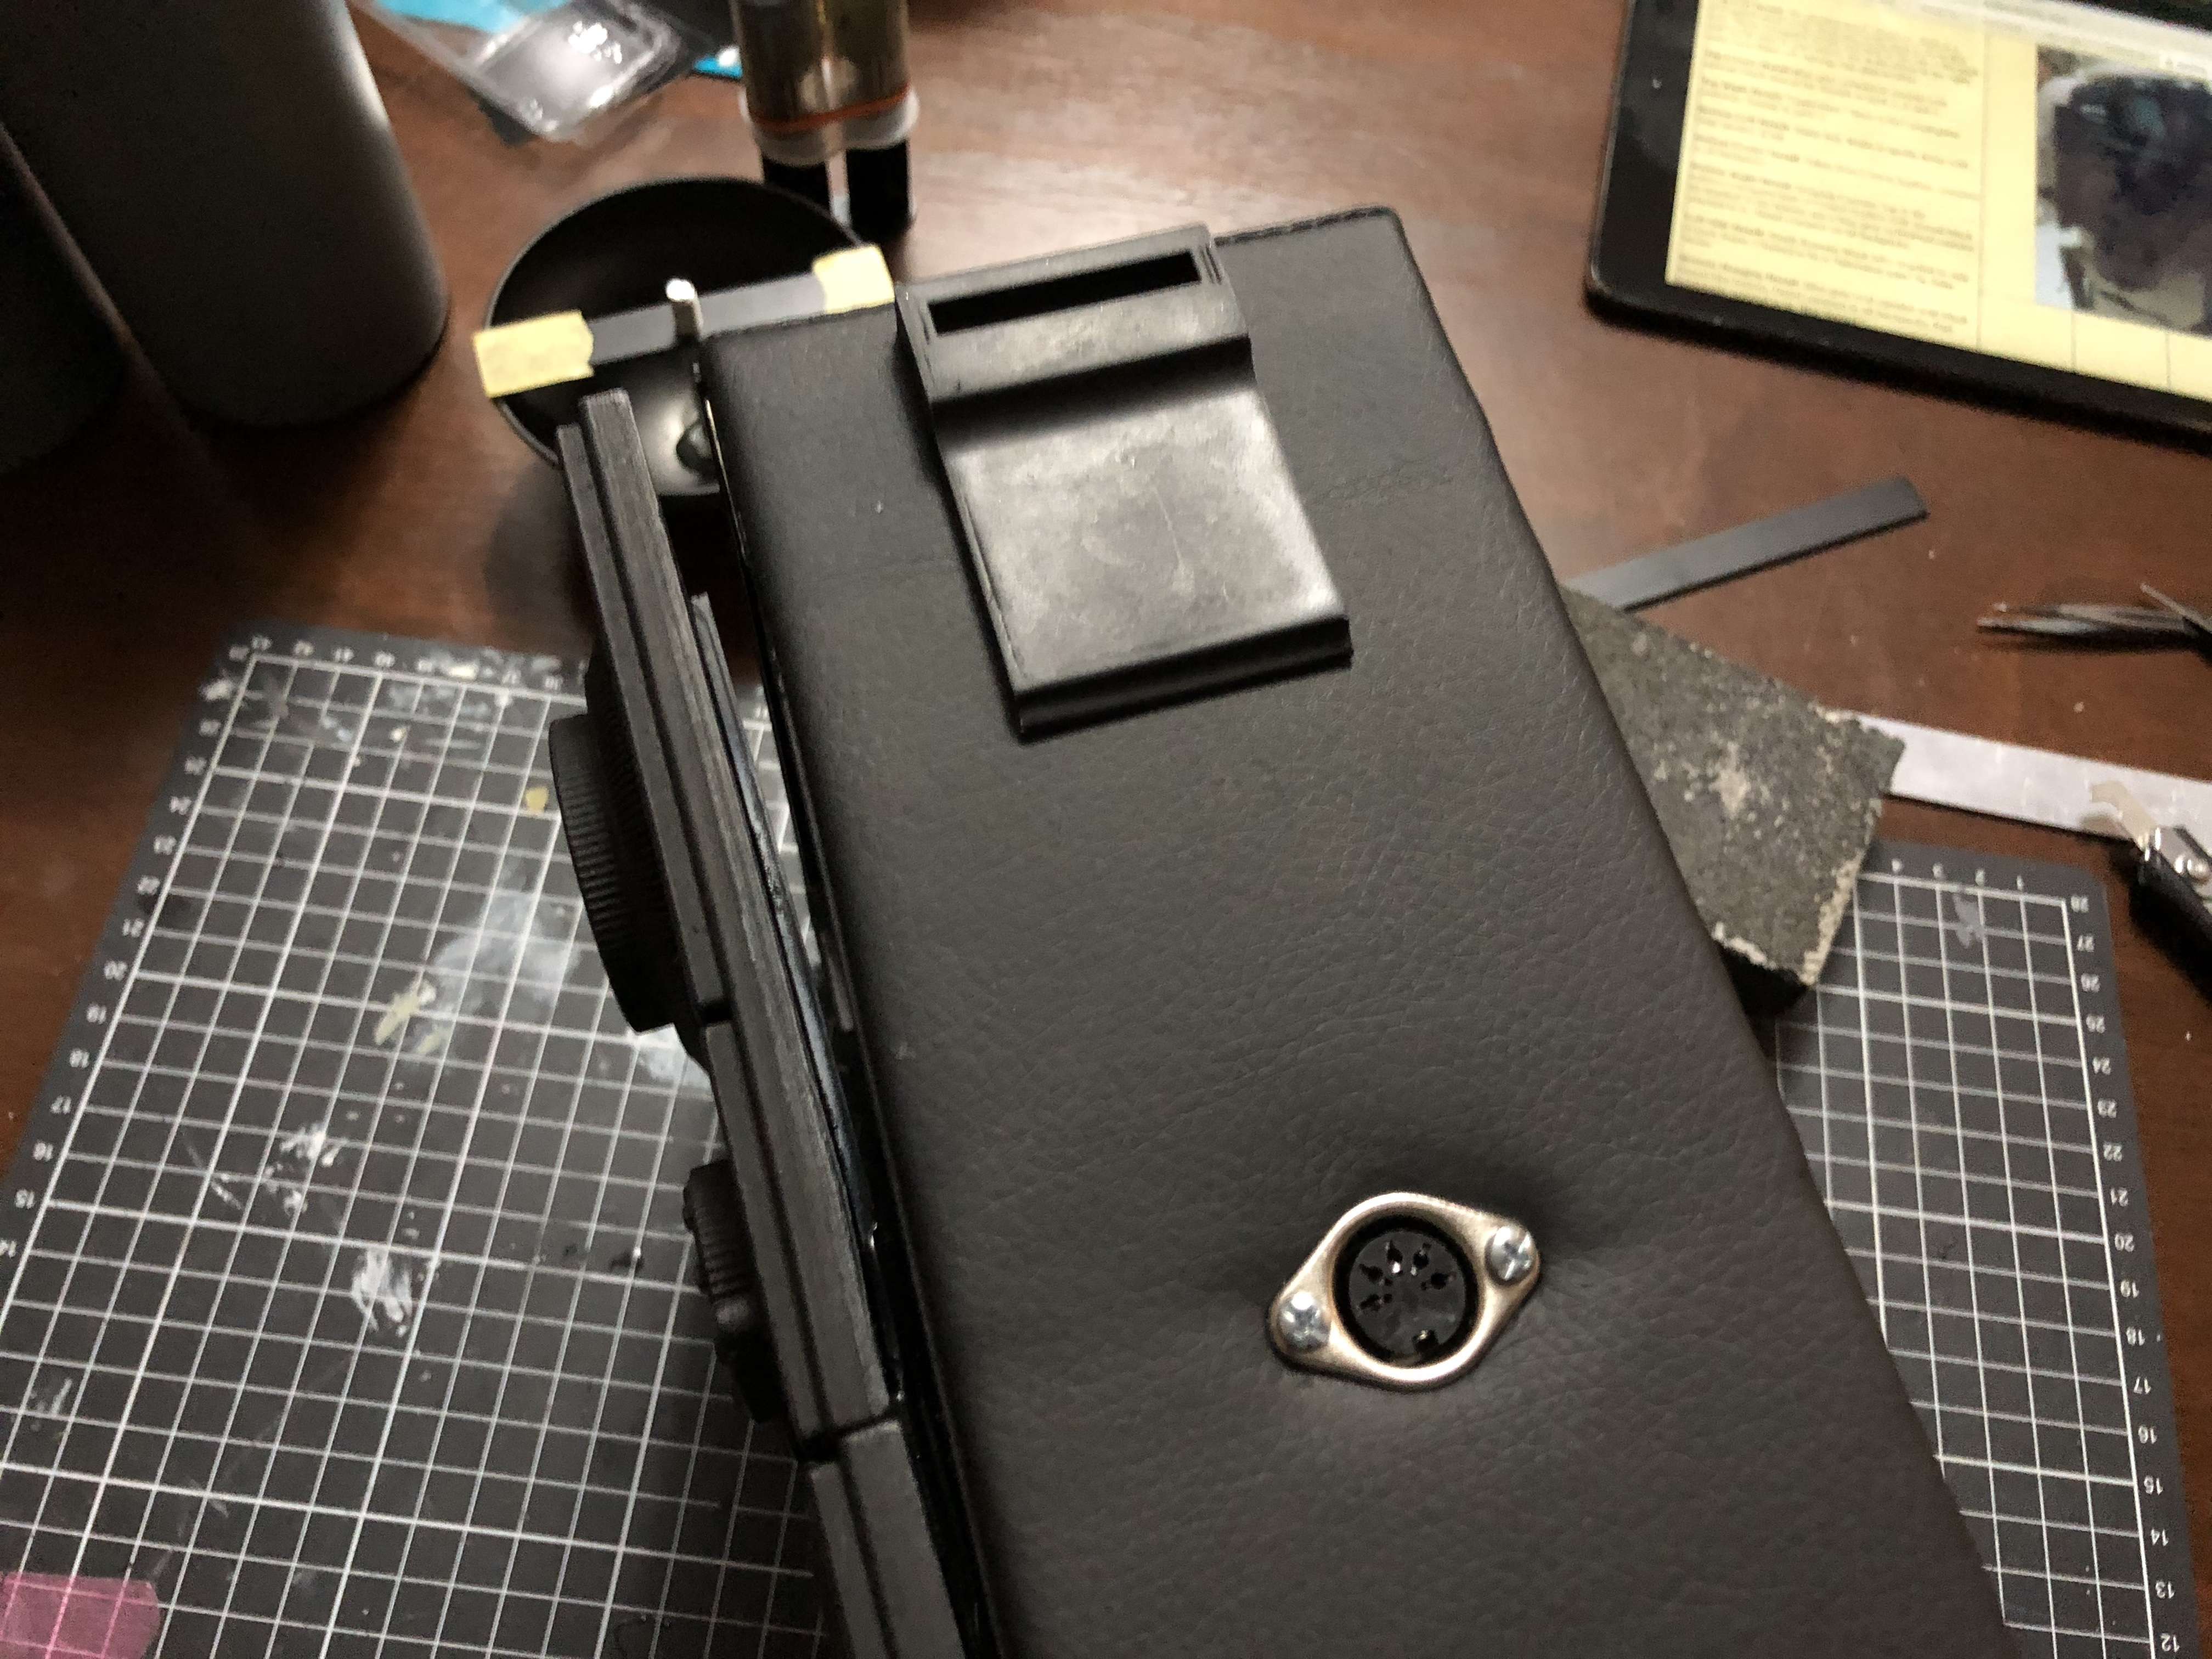
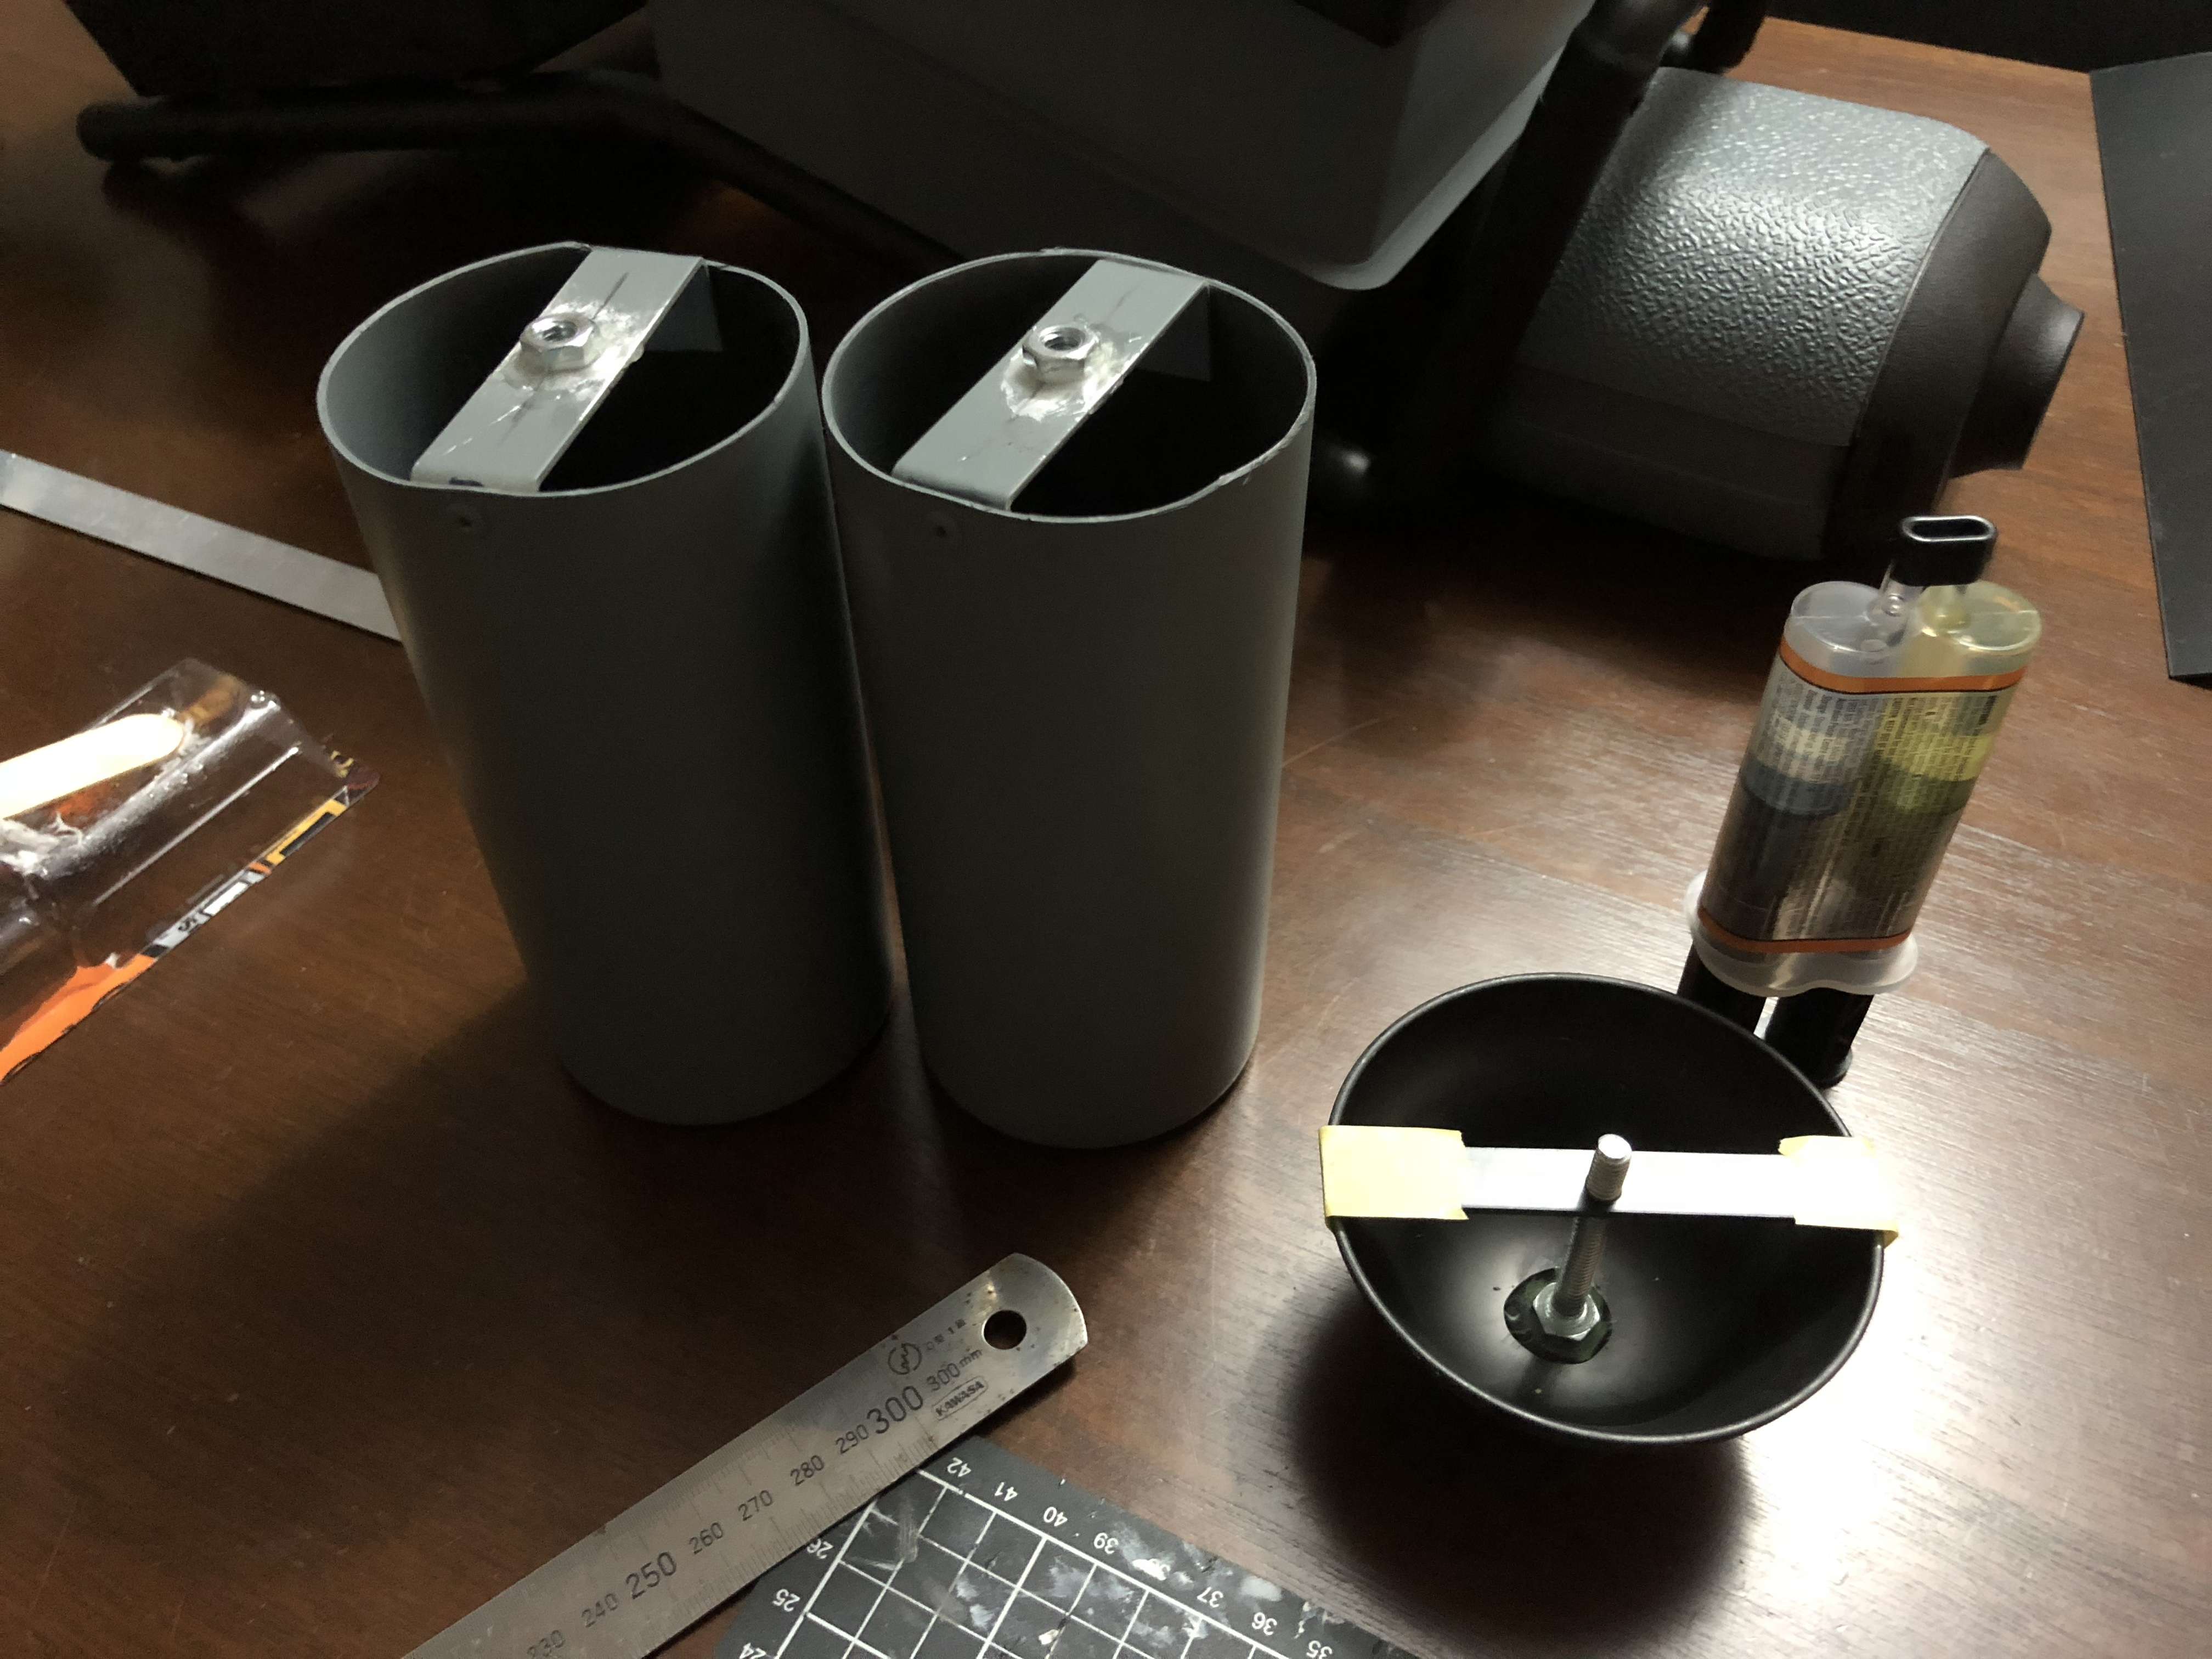
I also made the bottles from some drinking bottles I had around the house, they have the right look in comparison to the pudding cups. Made sure I could screw them onto pack as well
Now all the main components were here I started to build everything up. I bolted both the blue & black bottom trays to the frame
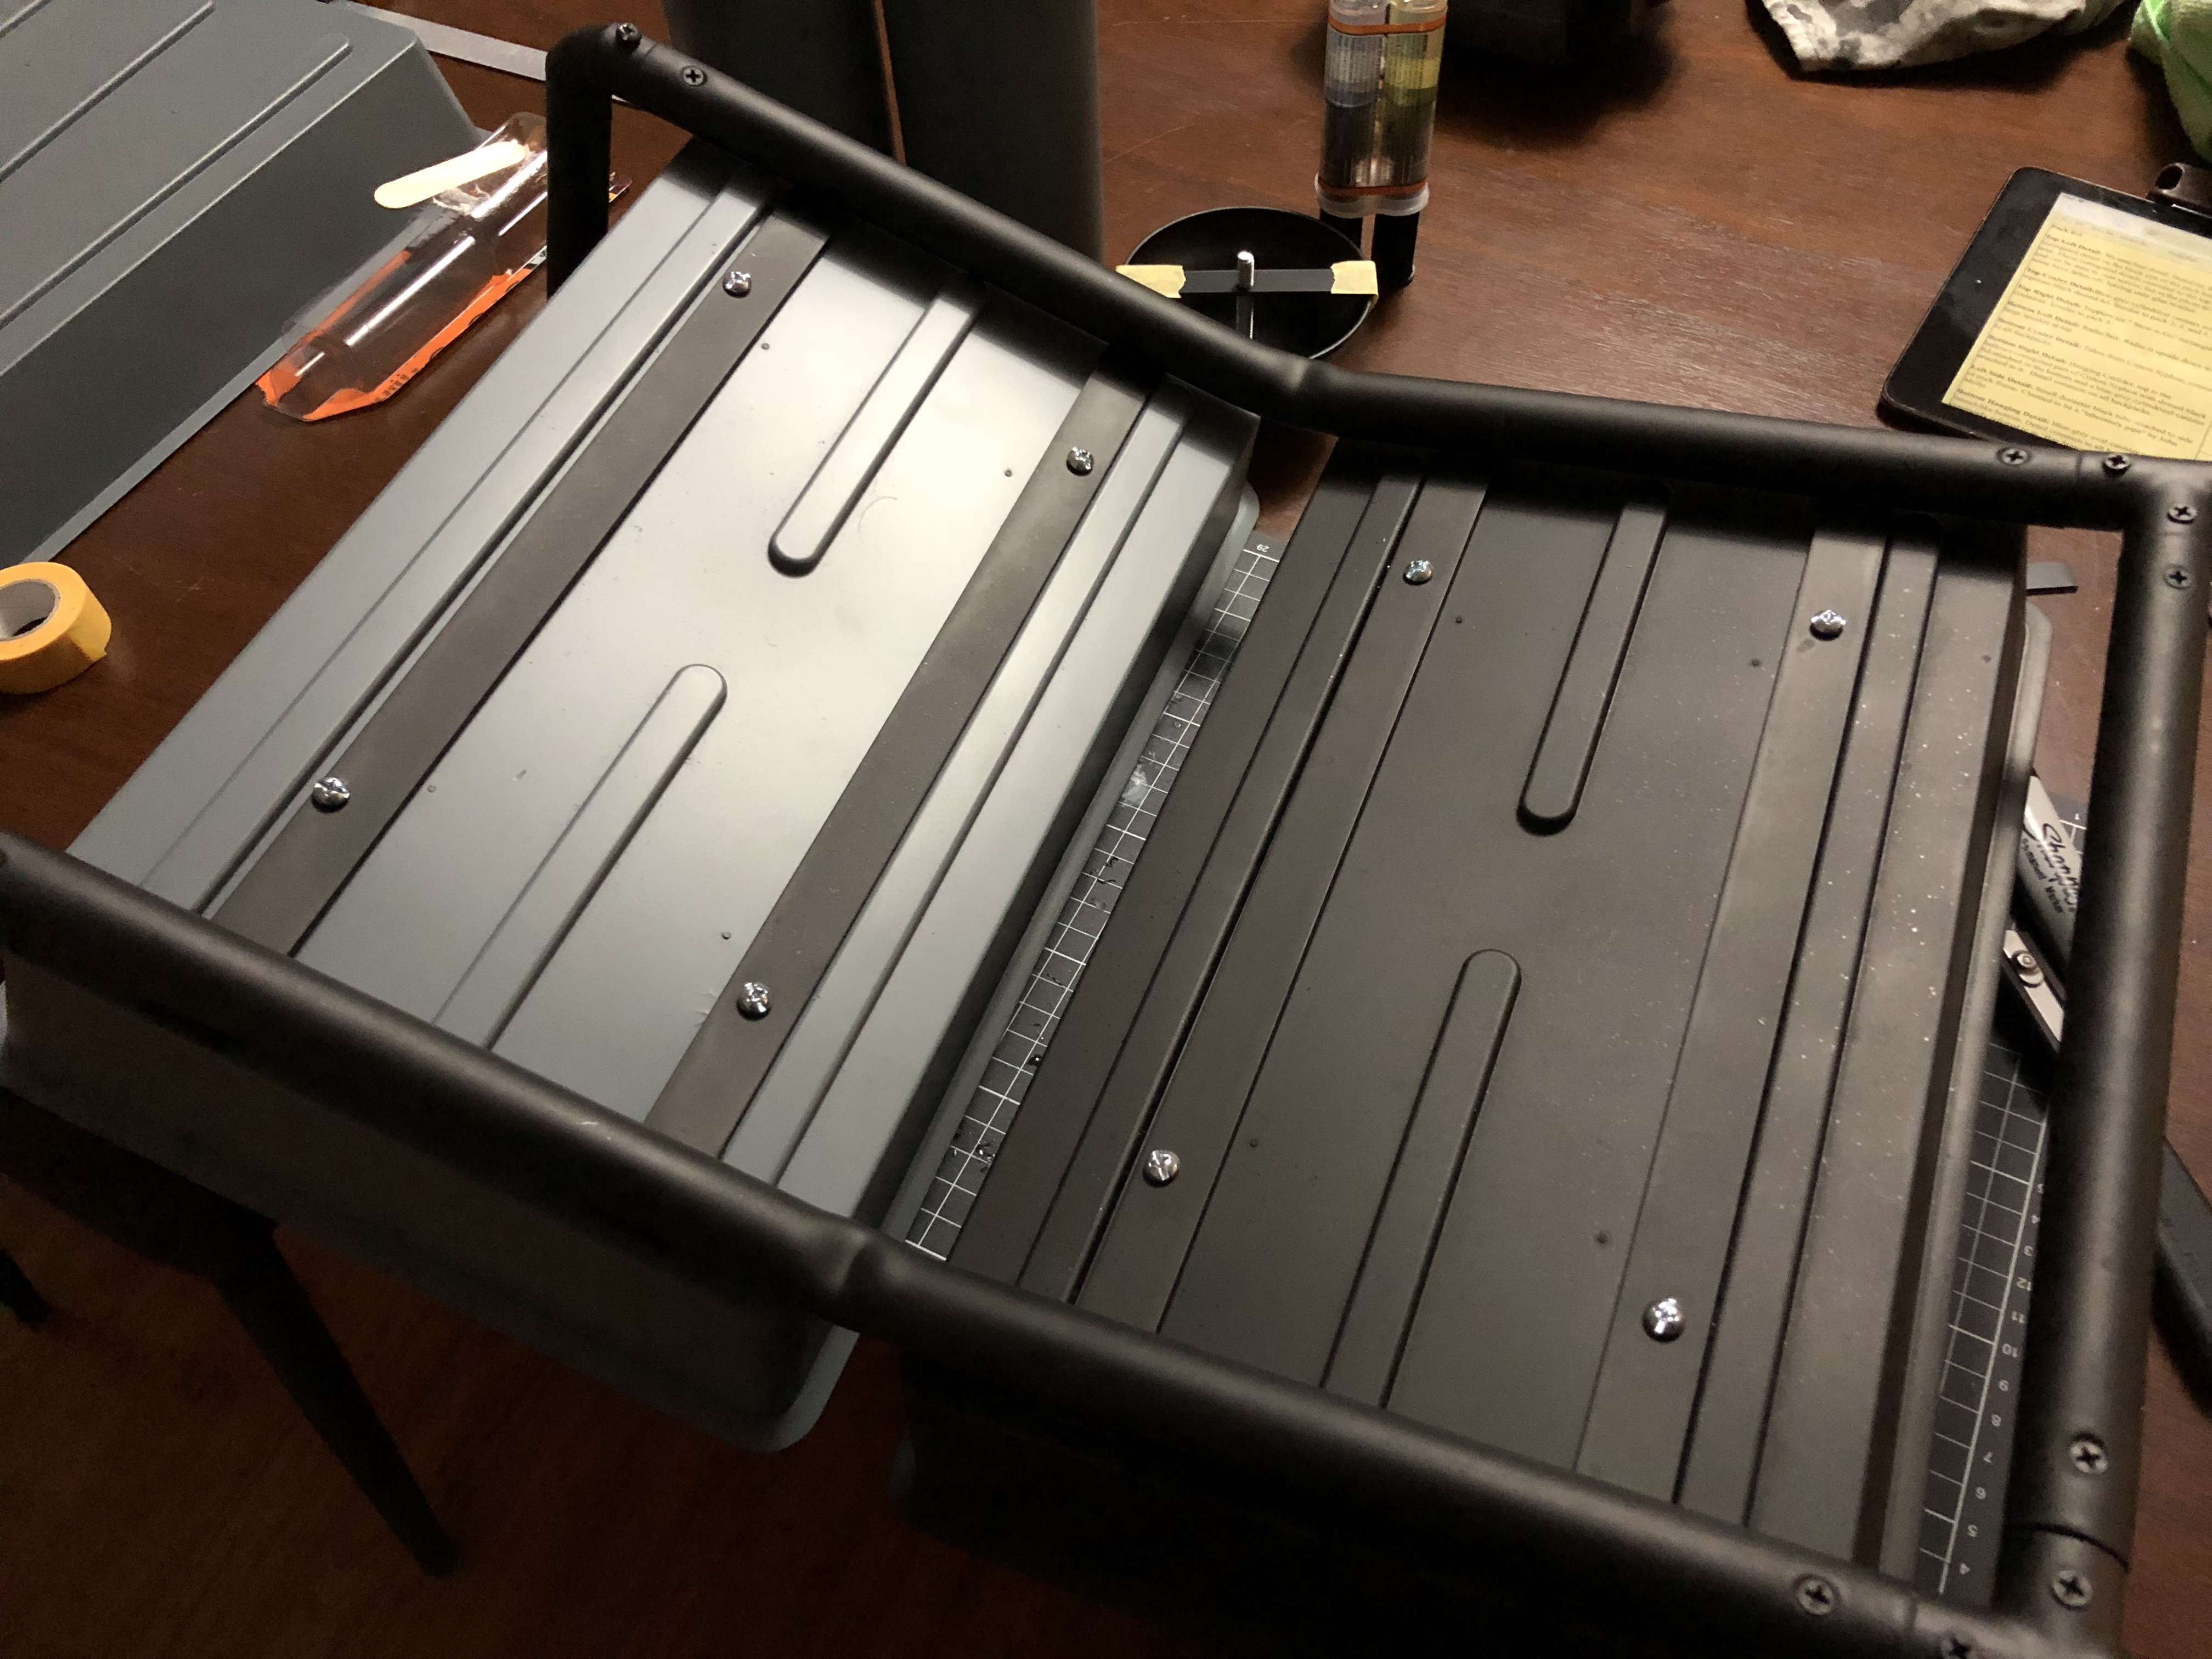
Then started to attached the items to the top trays. Here is the top blue tray completed
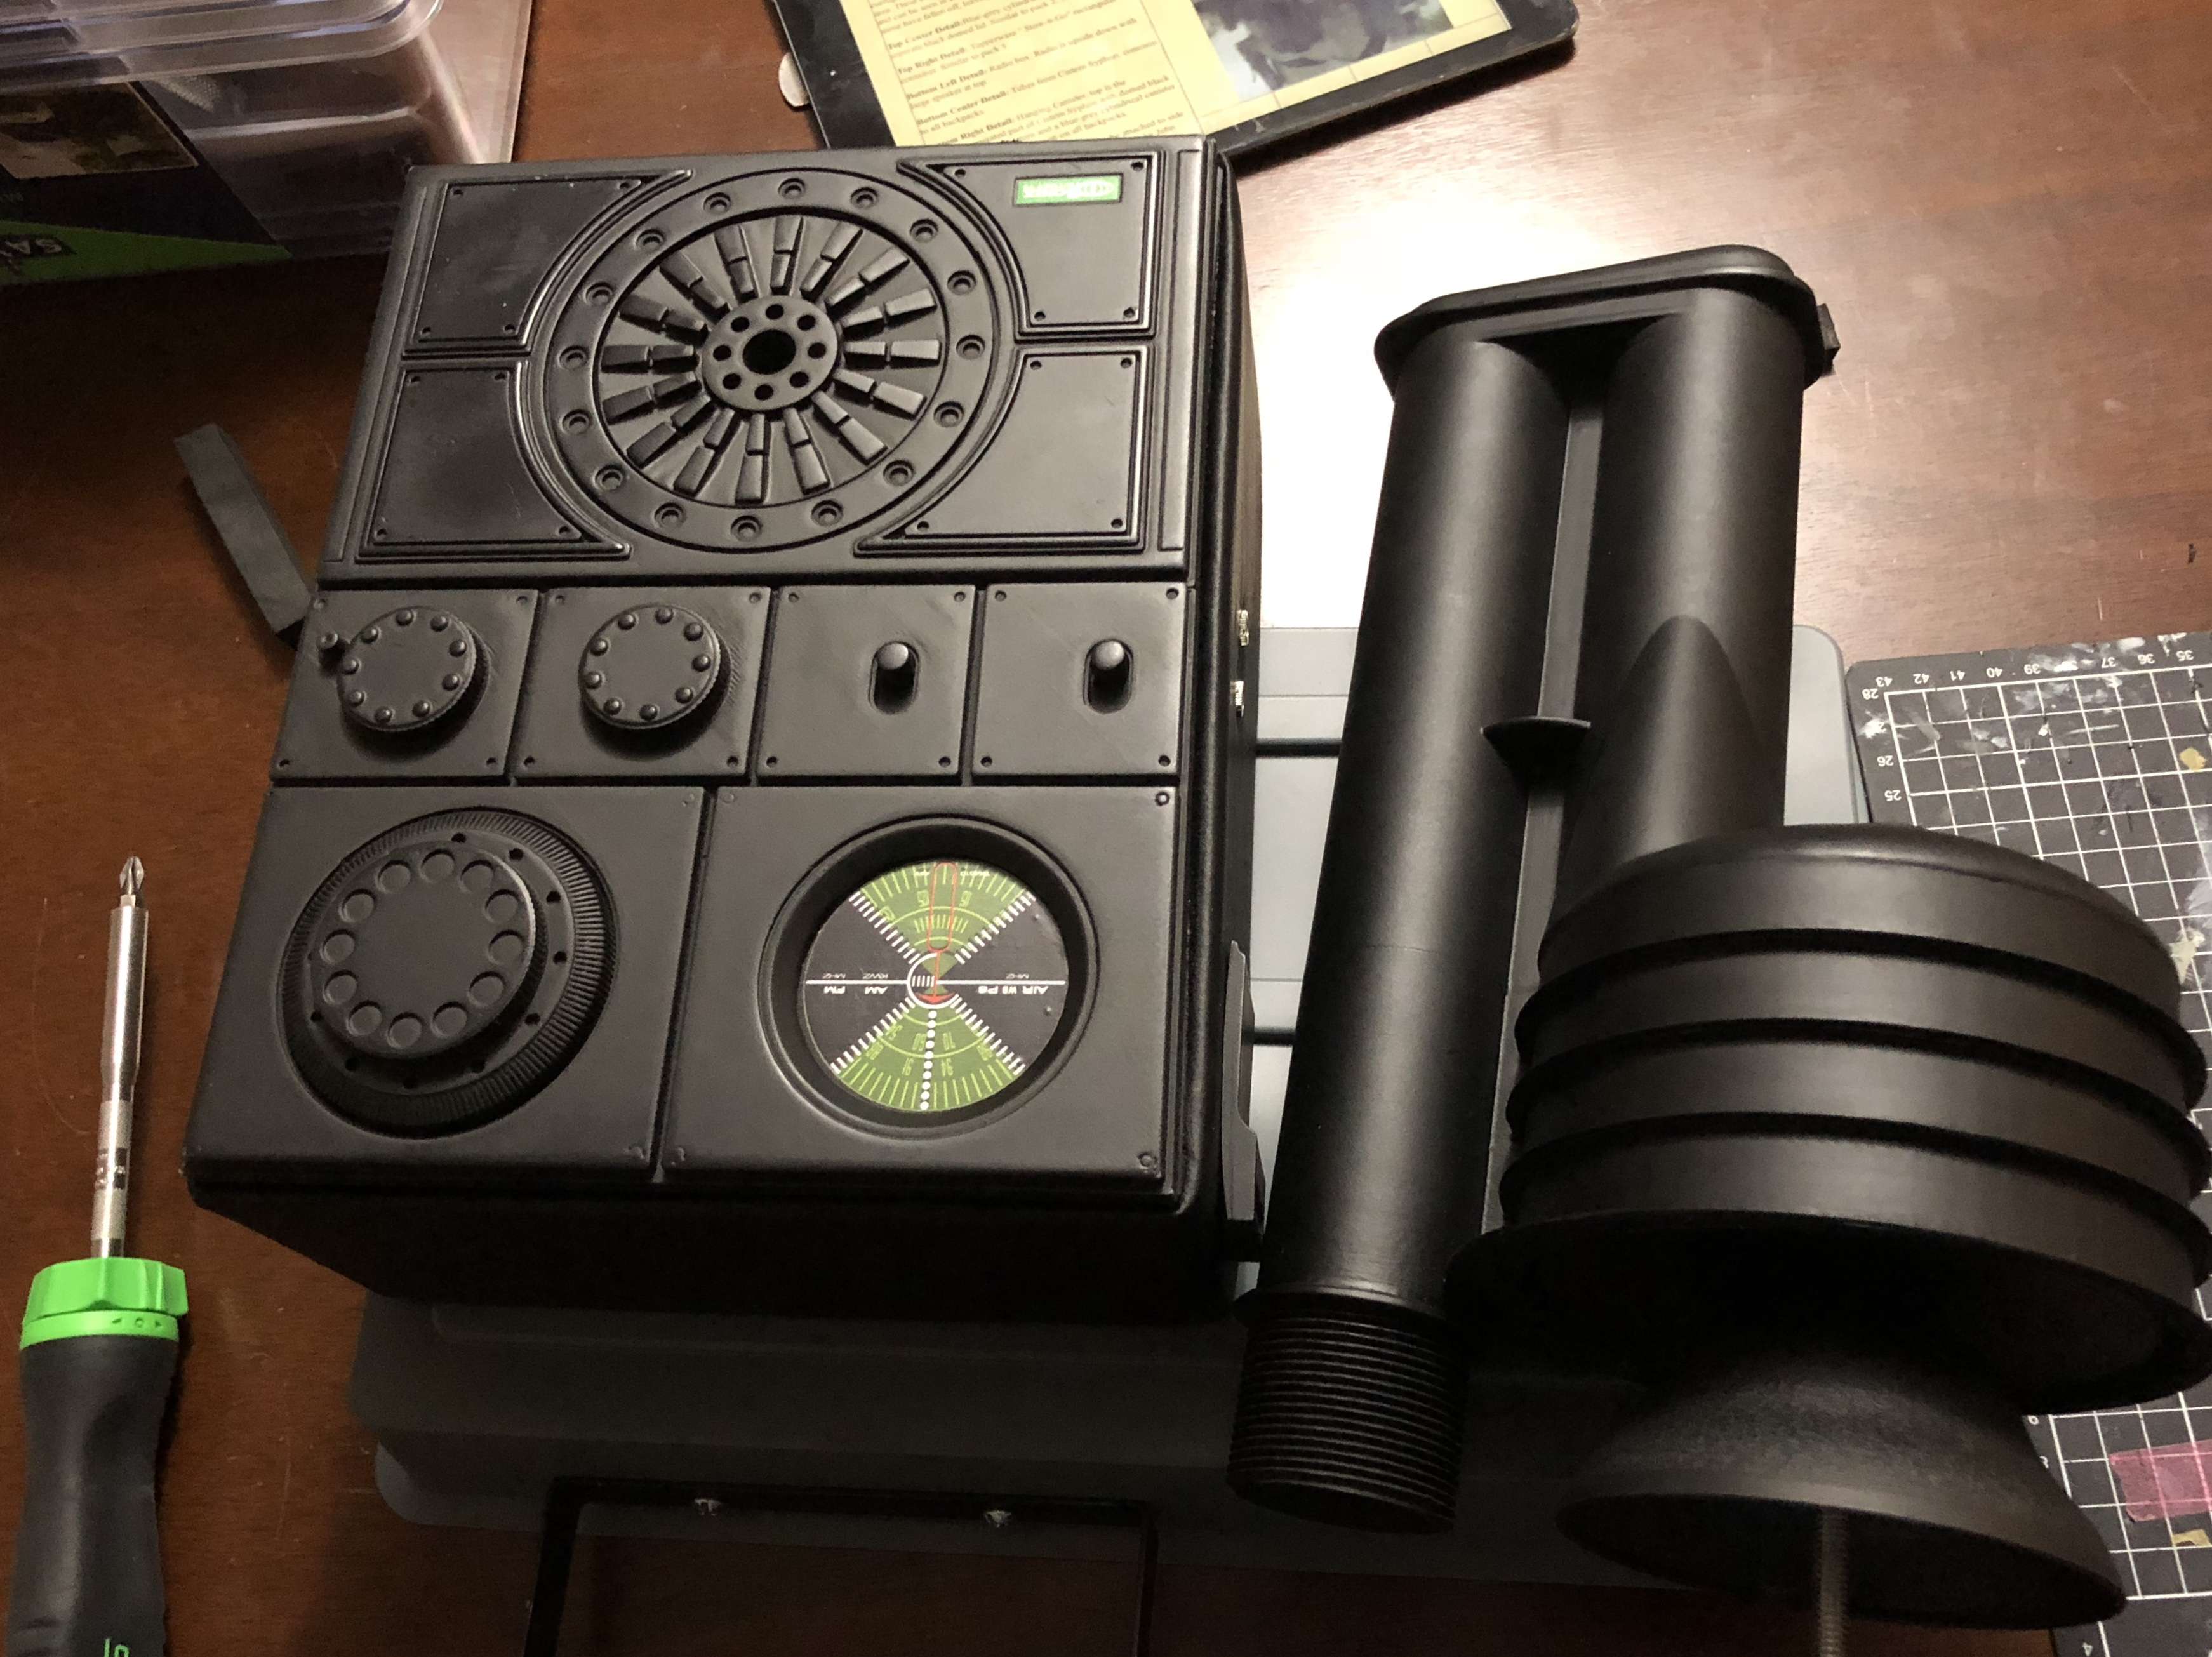
and attached the tray to pack. Starting to take shape and look like a pack
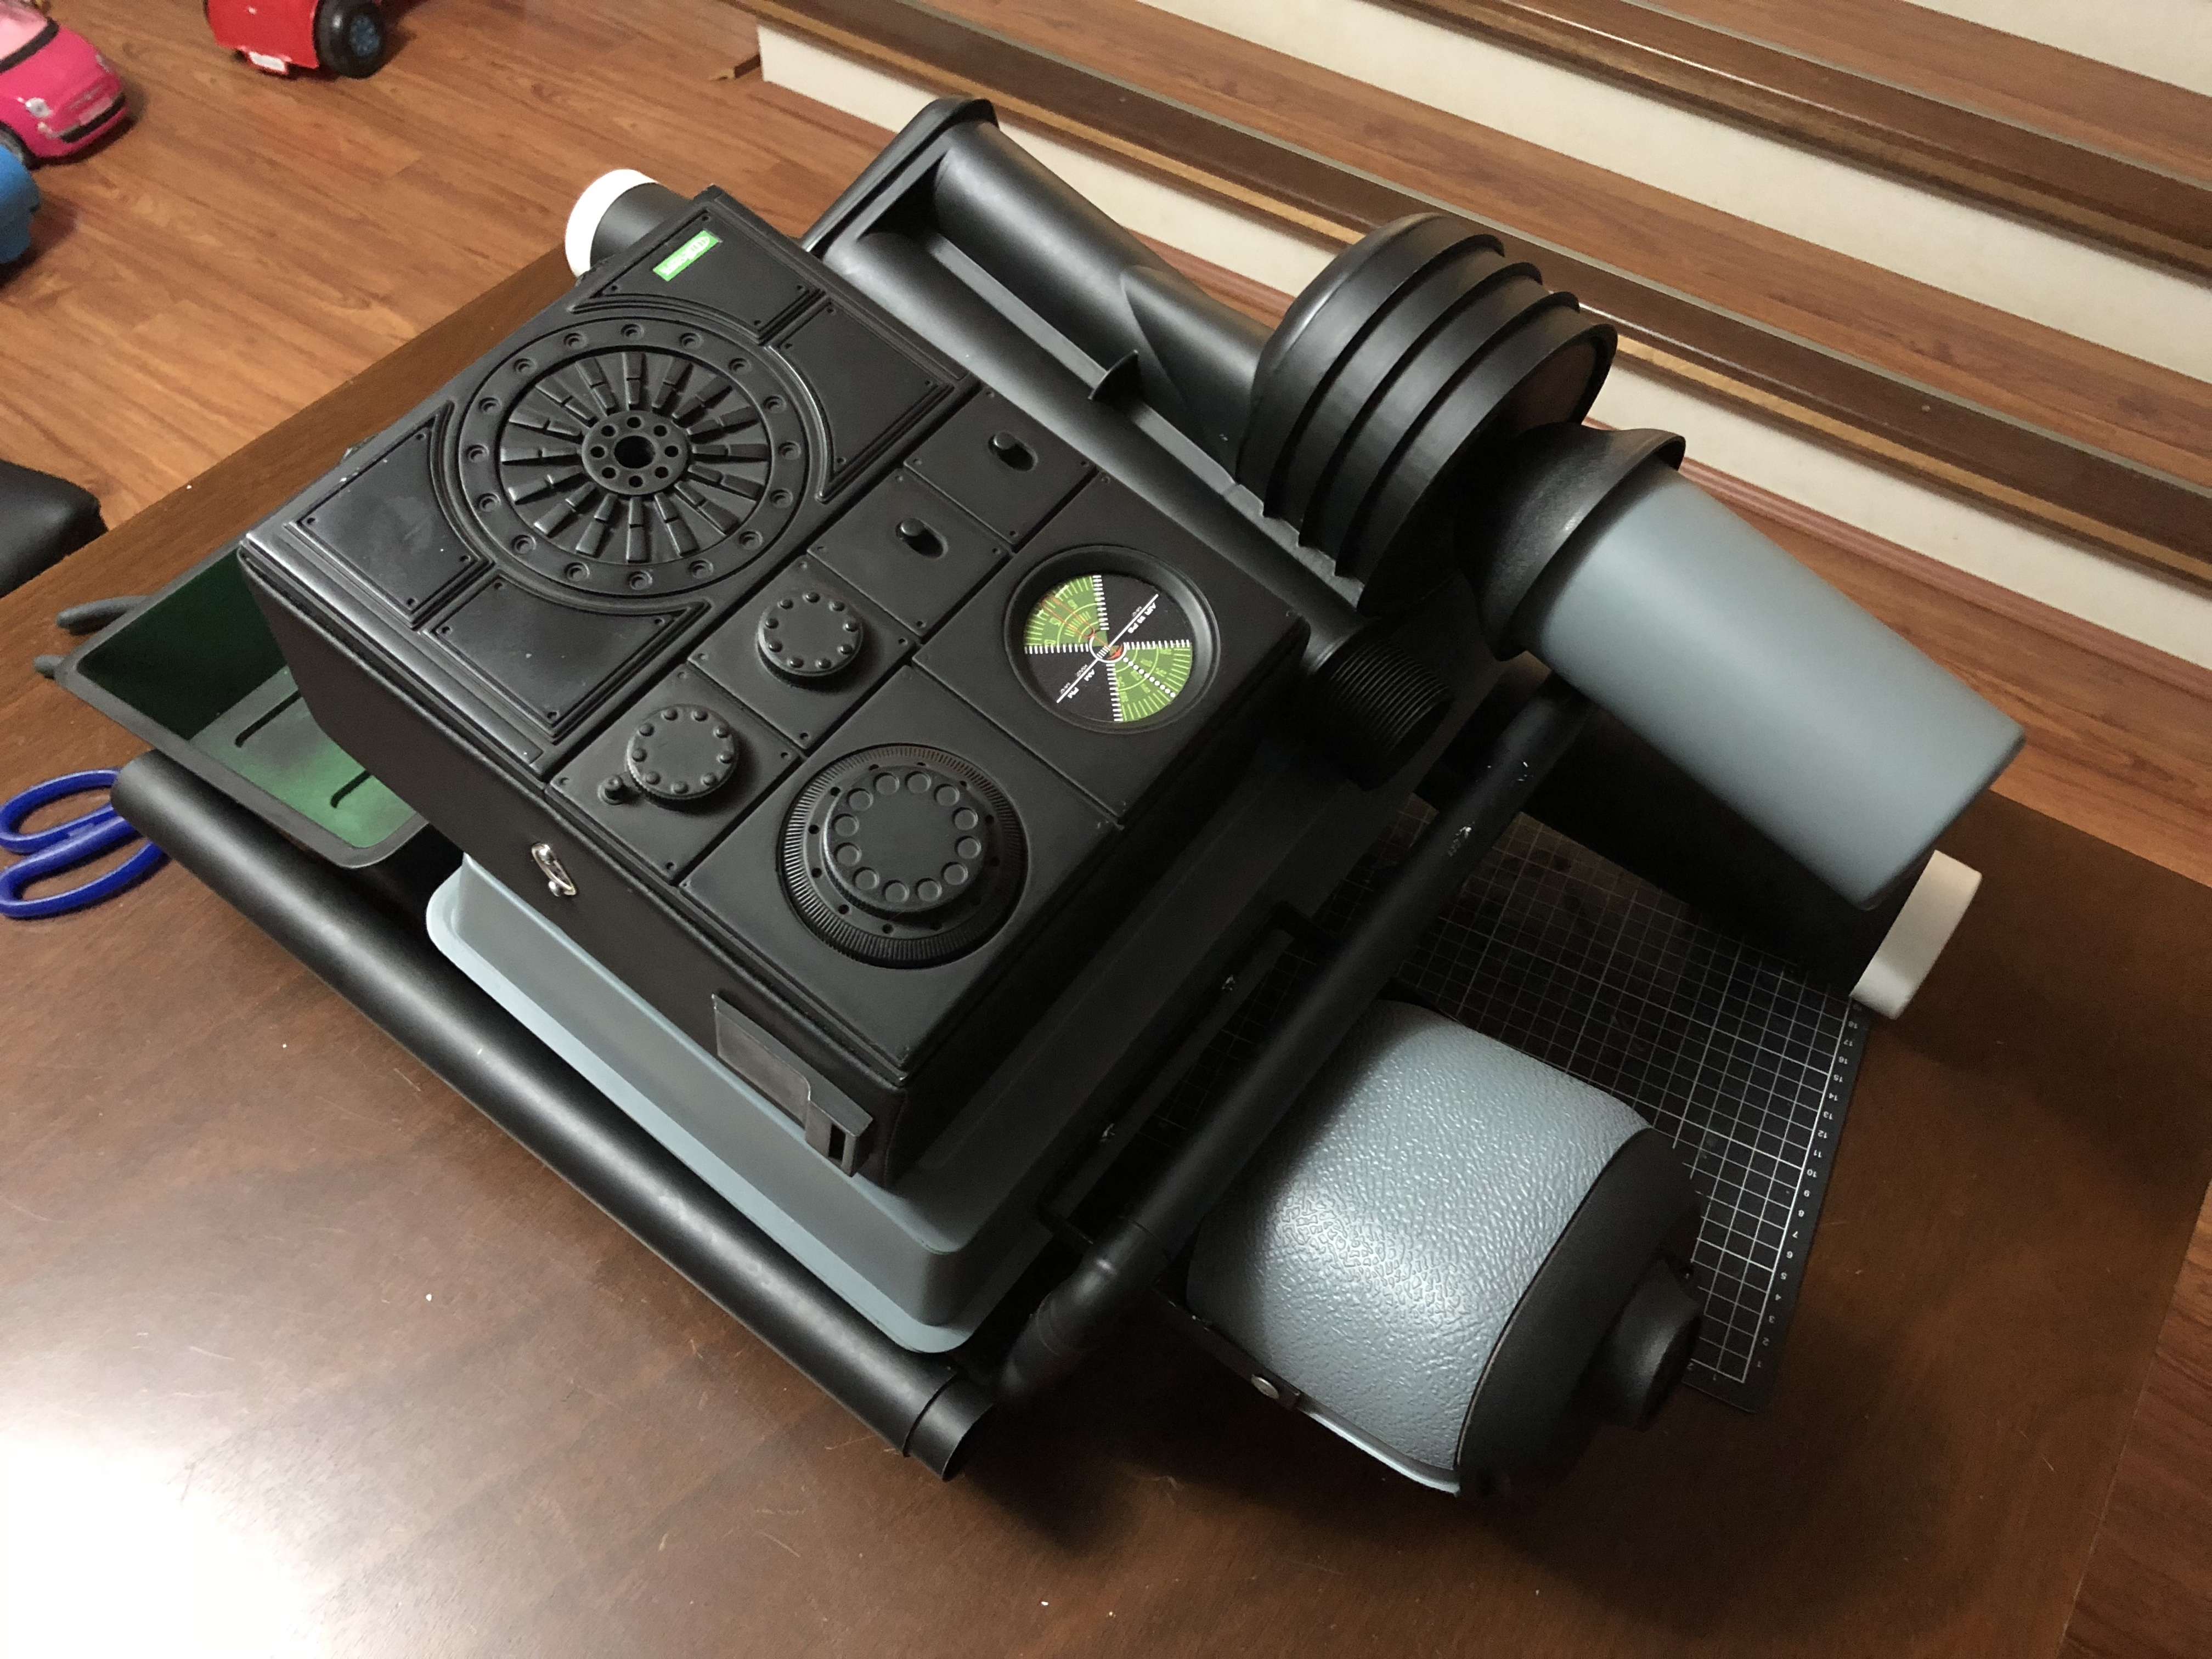
From here I will work on the last part of the top tray, the straps and complete the weathering before trying for Police officer. I will keep the topic updated as much as possible.
-
 1
1
-
-
Congrats, well done on the approval
-
 1
1
-
-
Well my weathering technique for my armour was the Panda Trooper method of dabbing on the acrylic paint and wiping off with the damp rag. Once the rag was saturated with watered down paint I ran this along my fabric parts a few times till I was happy with the tone of the weathering. At least doing it this way applies the colour slowly and it much more controllable.
-
 1
1
-
-
Looks awesome, nice work so far and looking forward to the next update
-
 1
1
-
-
Awesome work, looking forward to this when I get PO in the future!
-
 1
1
-
-
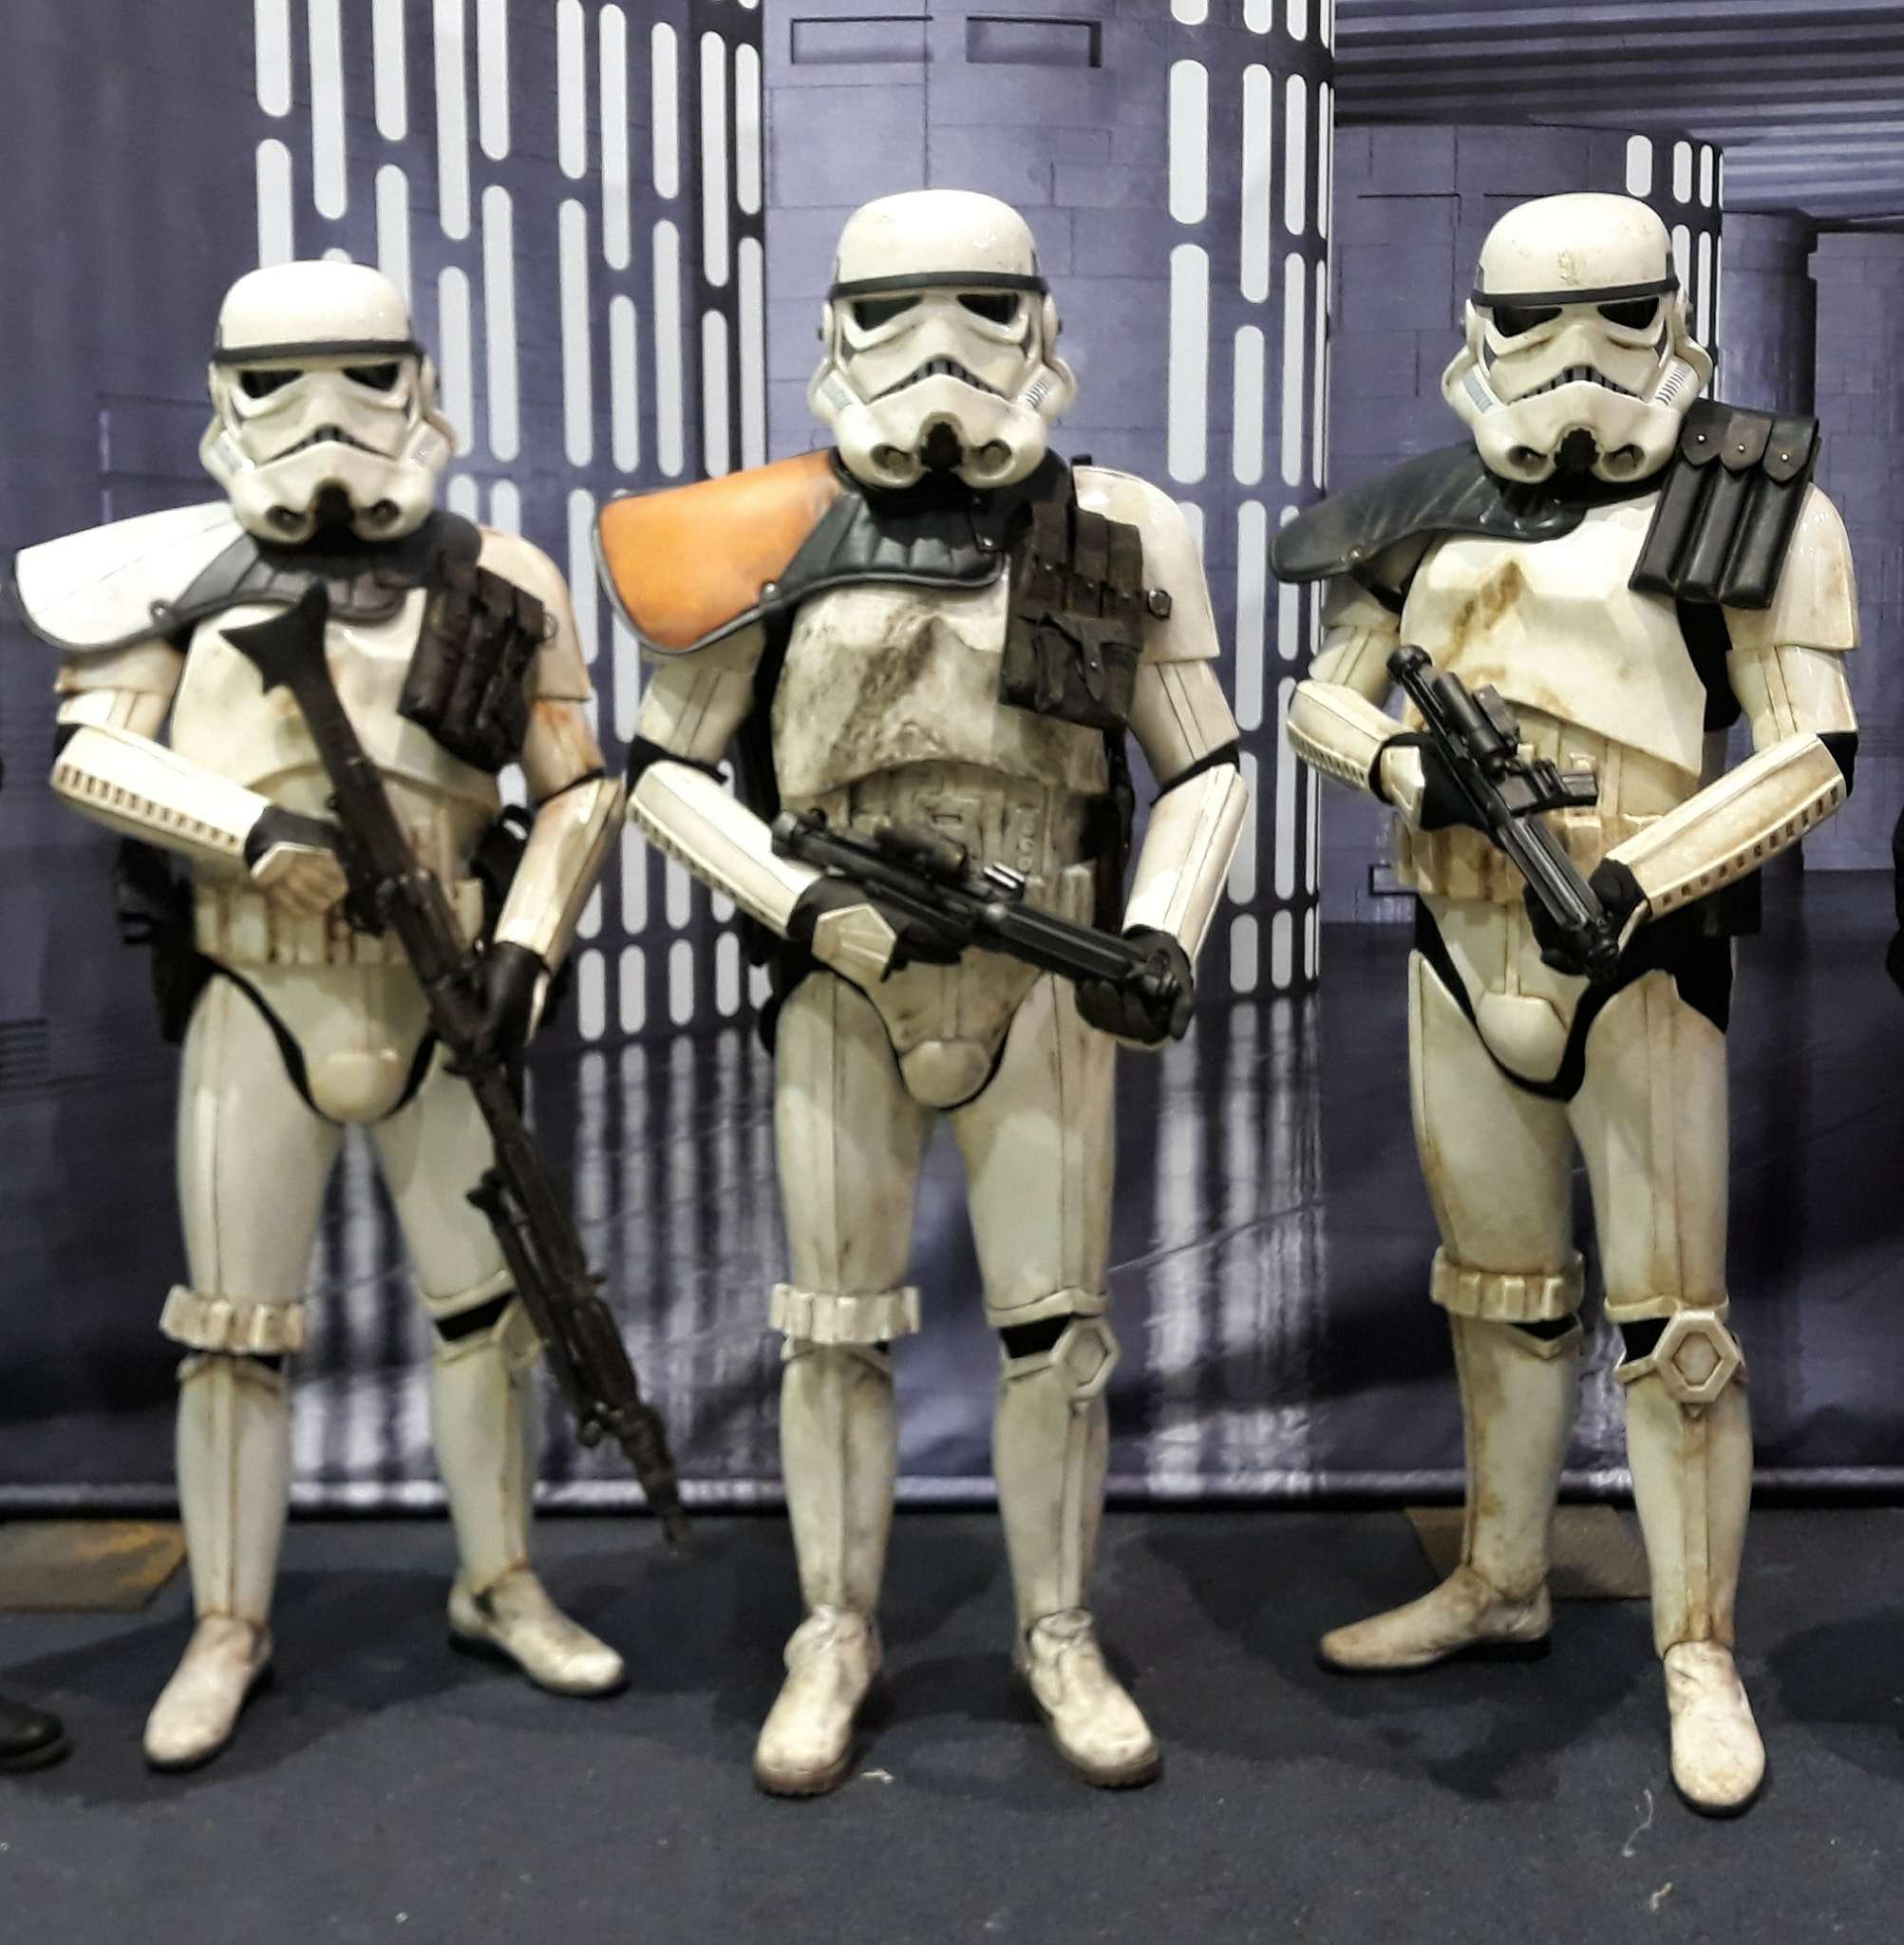
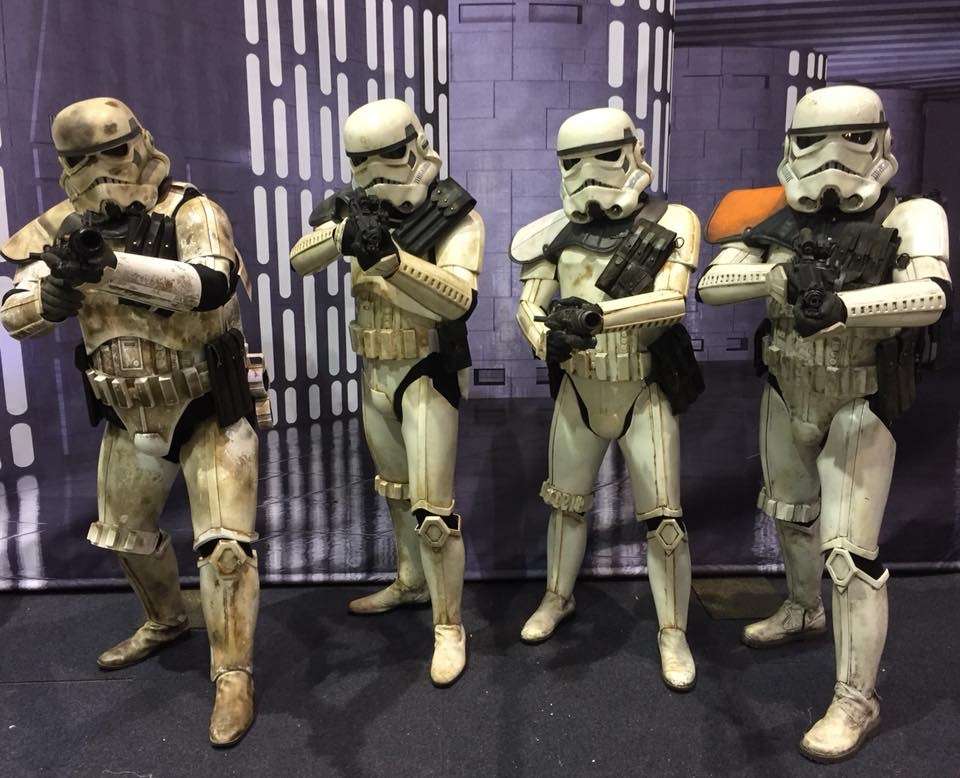
3. Supanova Perth Day 2 - 24/6/18
Annual event where we raise money for Guide Dogs WA. Always a great turnout for this one as well
-
Awesome, thanks guys. There is nothing wrong with the decals at Trooperbay, just wondering if someone here does them. I will contact Woodman to see if he is willing to sell them separately.
-
I recently had one of my garrison member & fellow Sandtrooper 3d print me the Sonix radio faceplate for the pack I am building. I am currently building the enclosure for the Sonix but I am on the hunt for a good quality dial transfer/decal, Sonix label and a source for the lettering on the components. I have searched fleabay and I am aware of trooperbay's option but wondering if anyone else produces them here on MEPD
-
I agree, I would disassemble and insert a wooden dowl for strength, countersink some screws either side to keep it in place, Bondo, paint and rebuild.
I would advise RS but I don’t know what their response would be though.
-
Well done, congrats on the approval
-
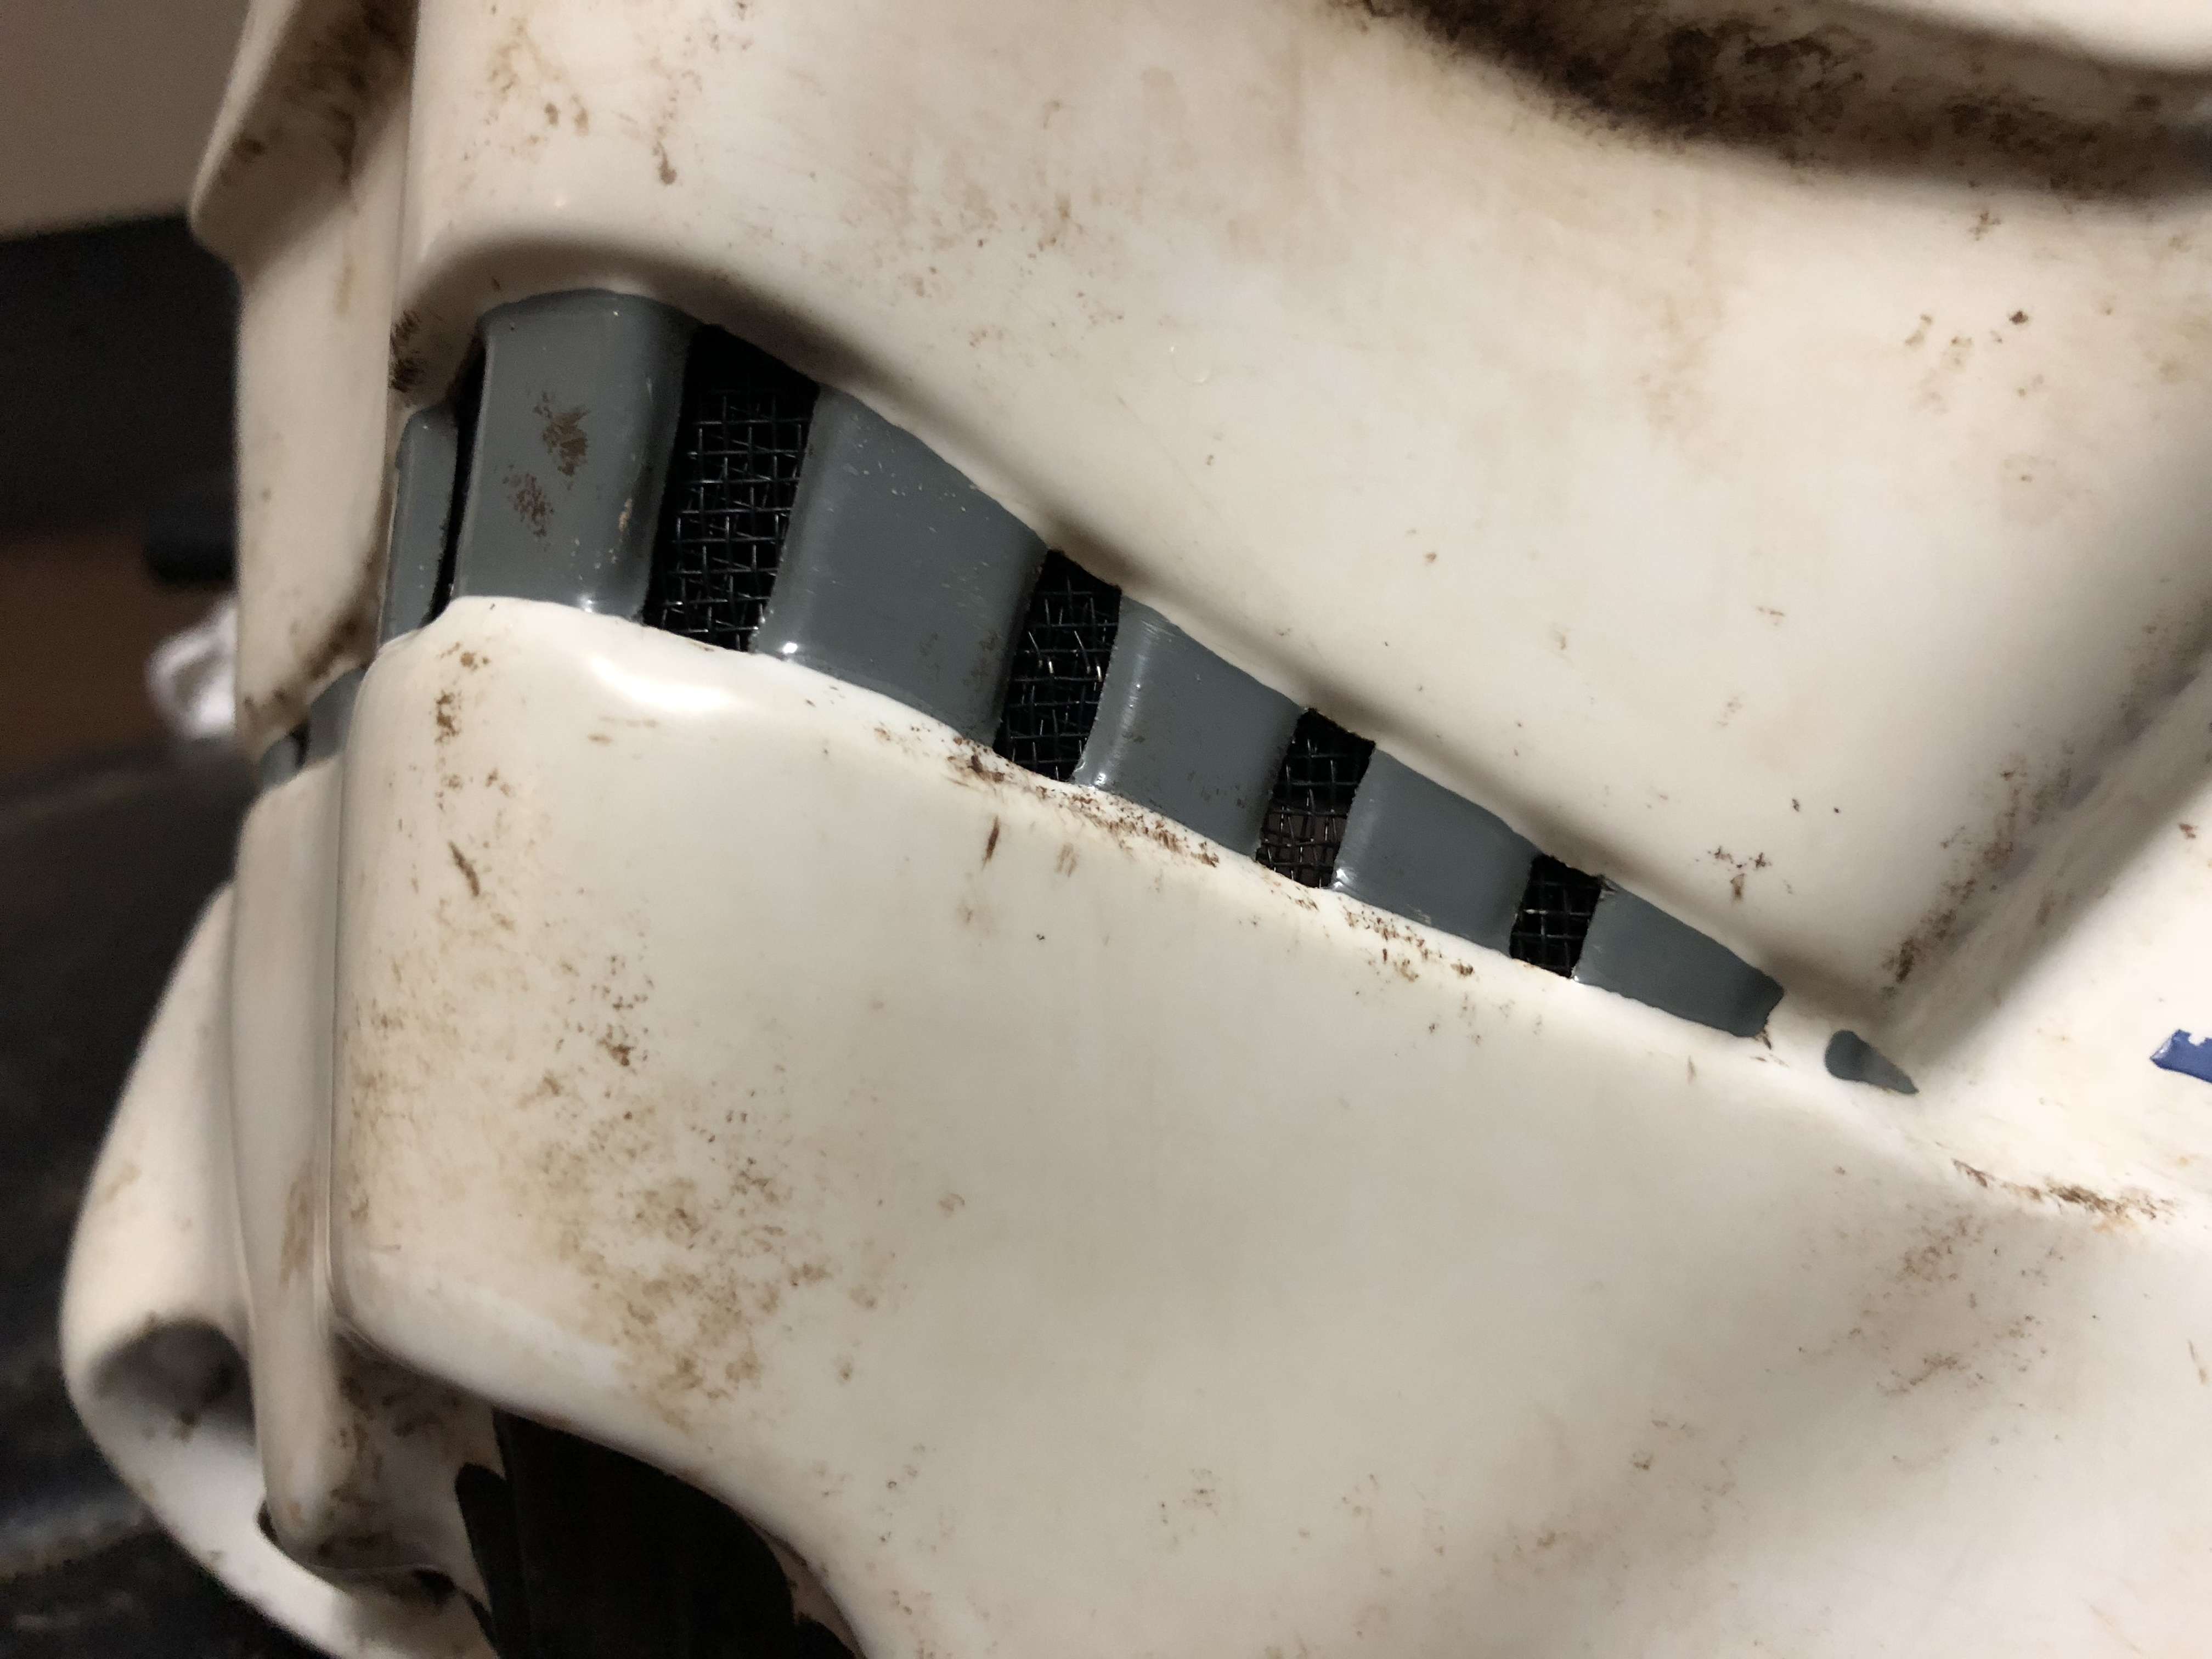
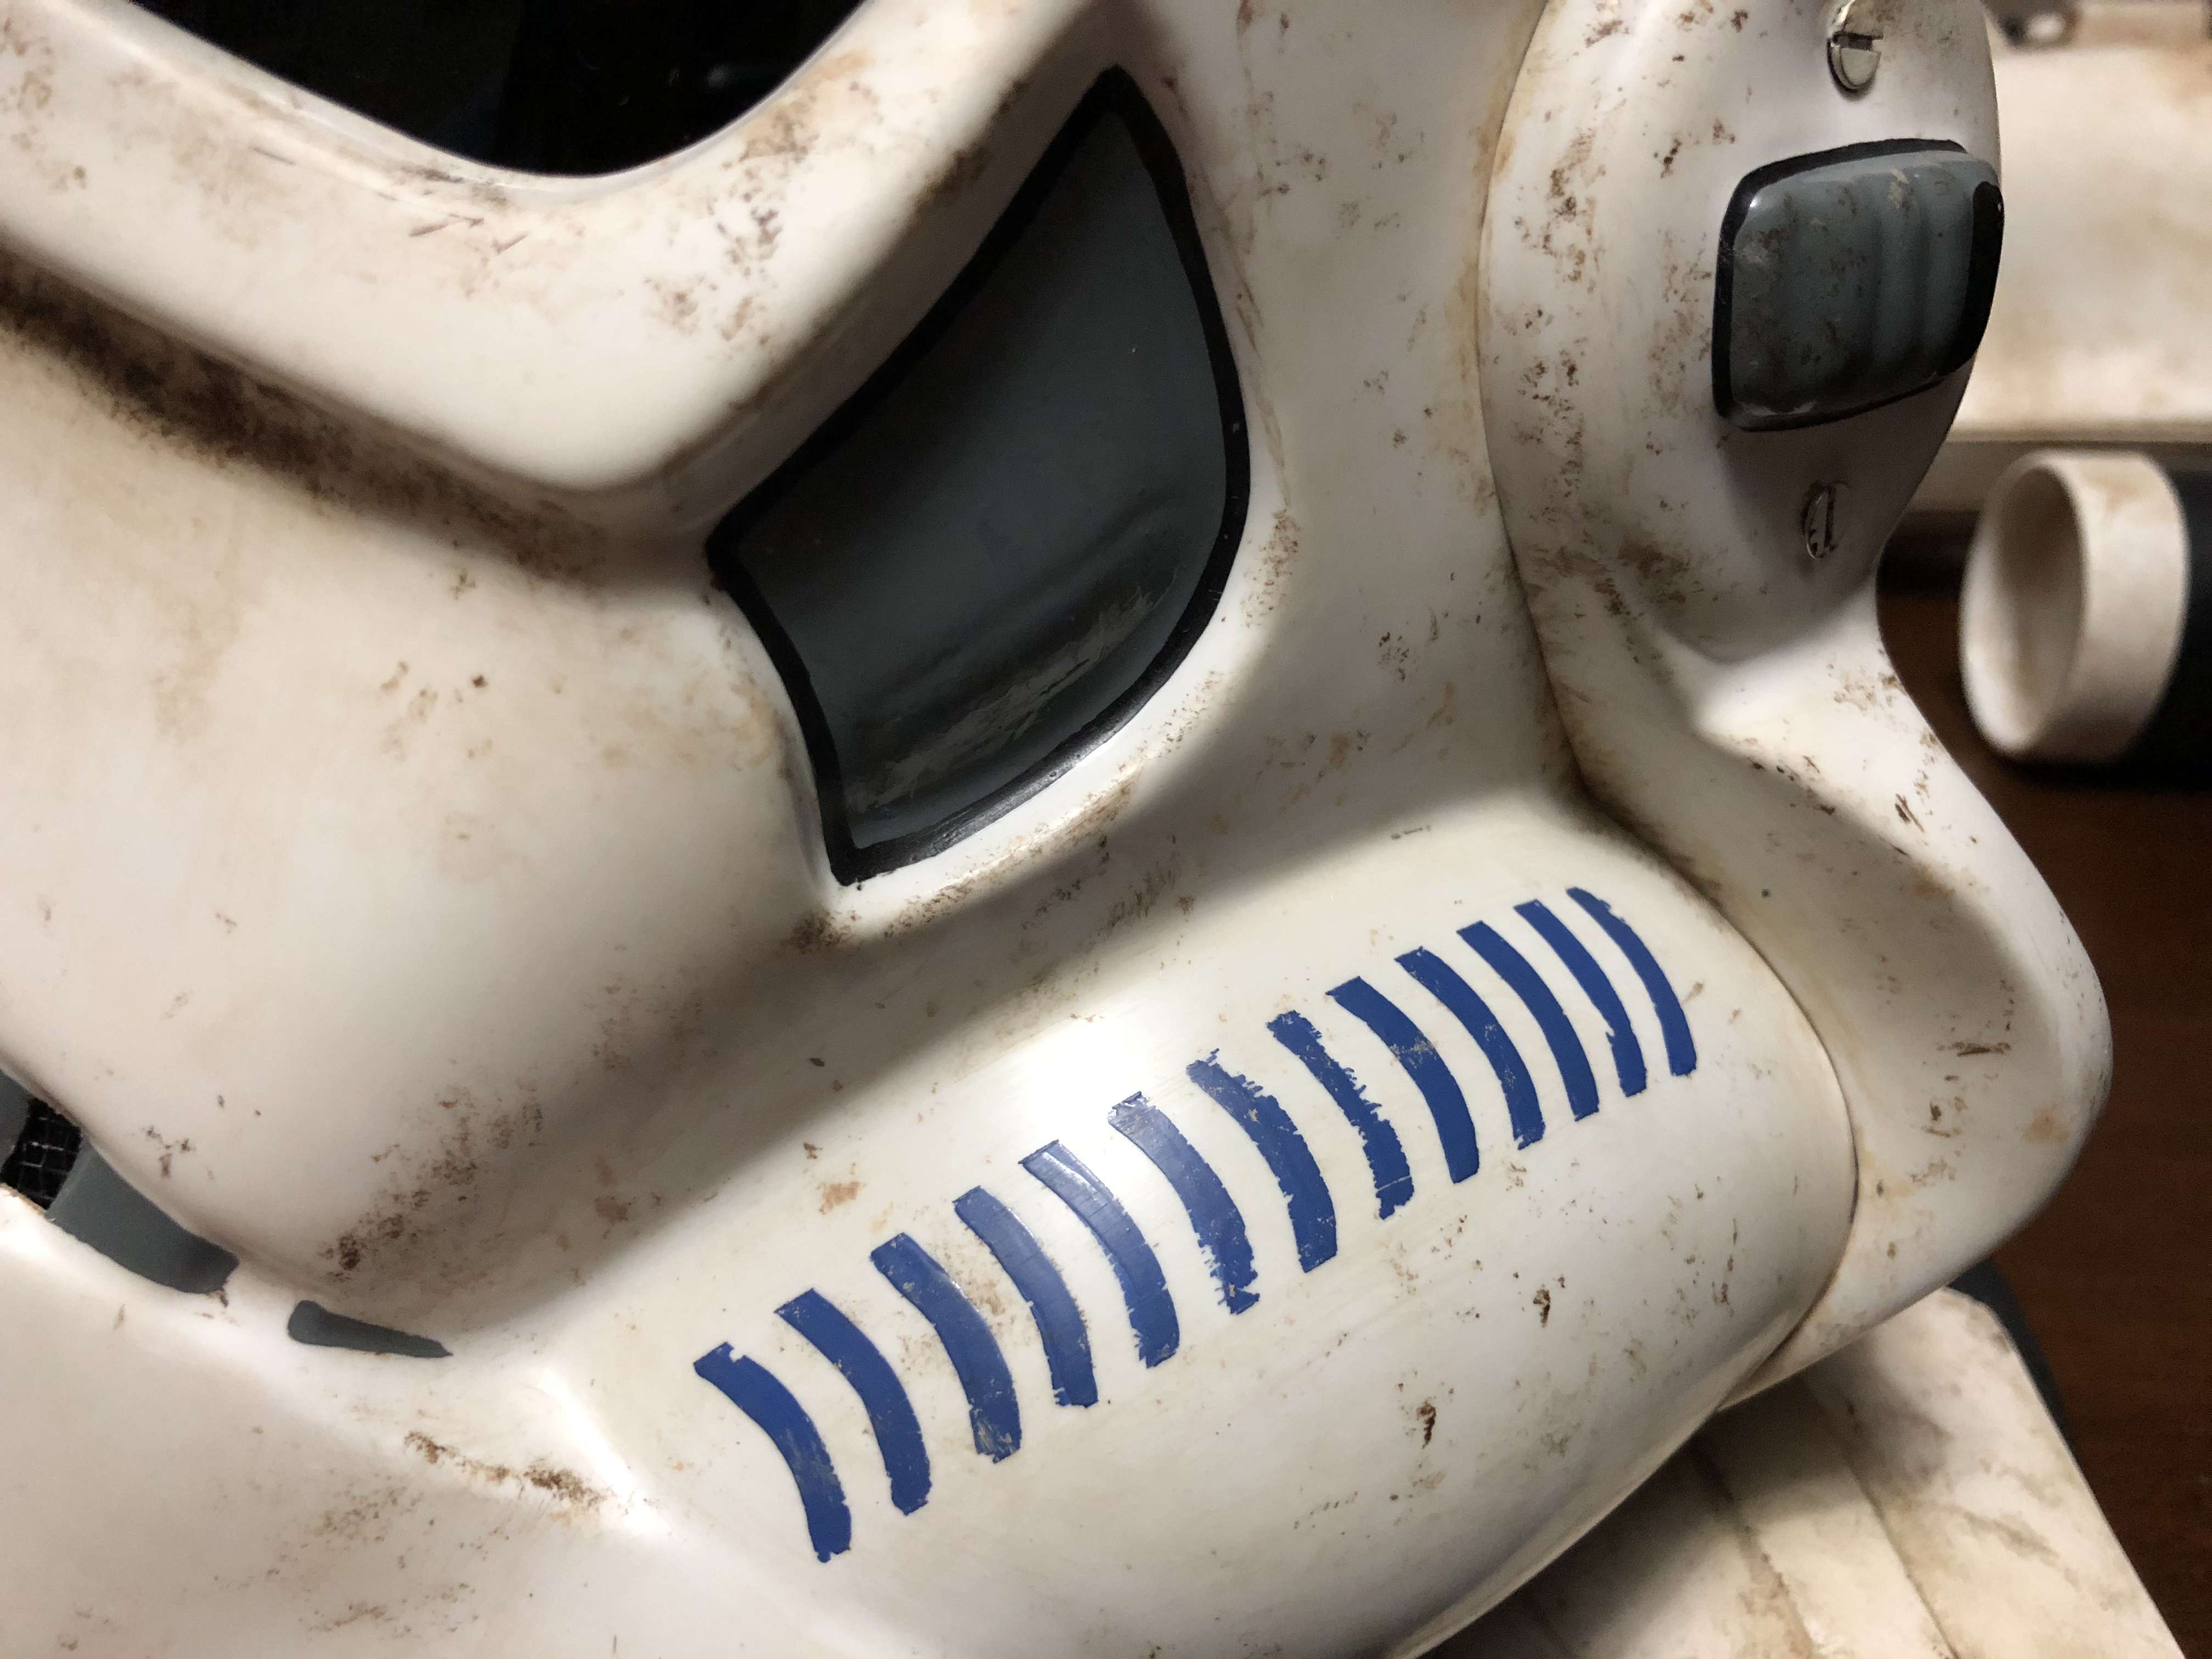
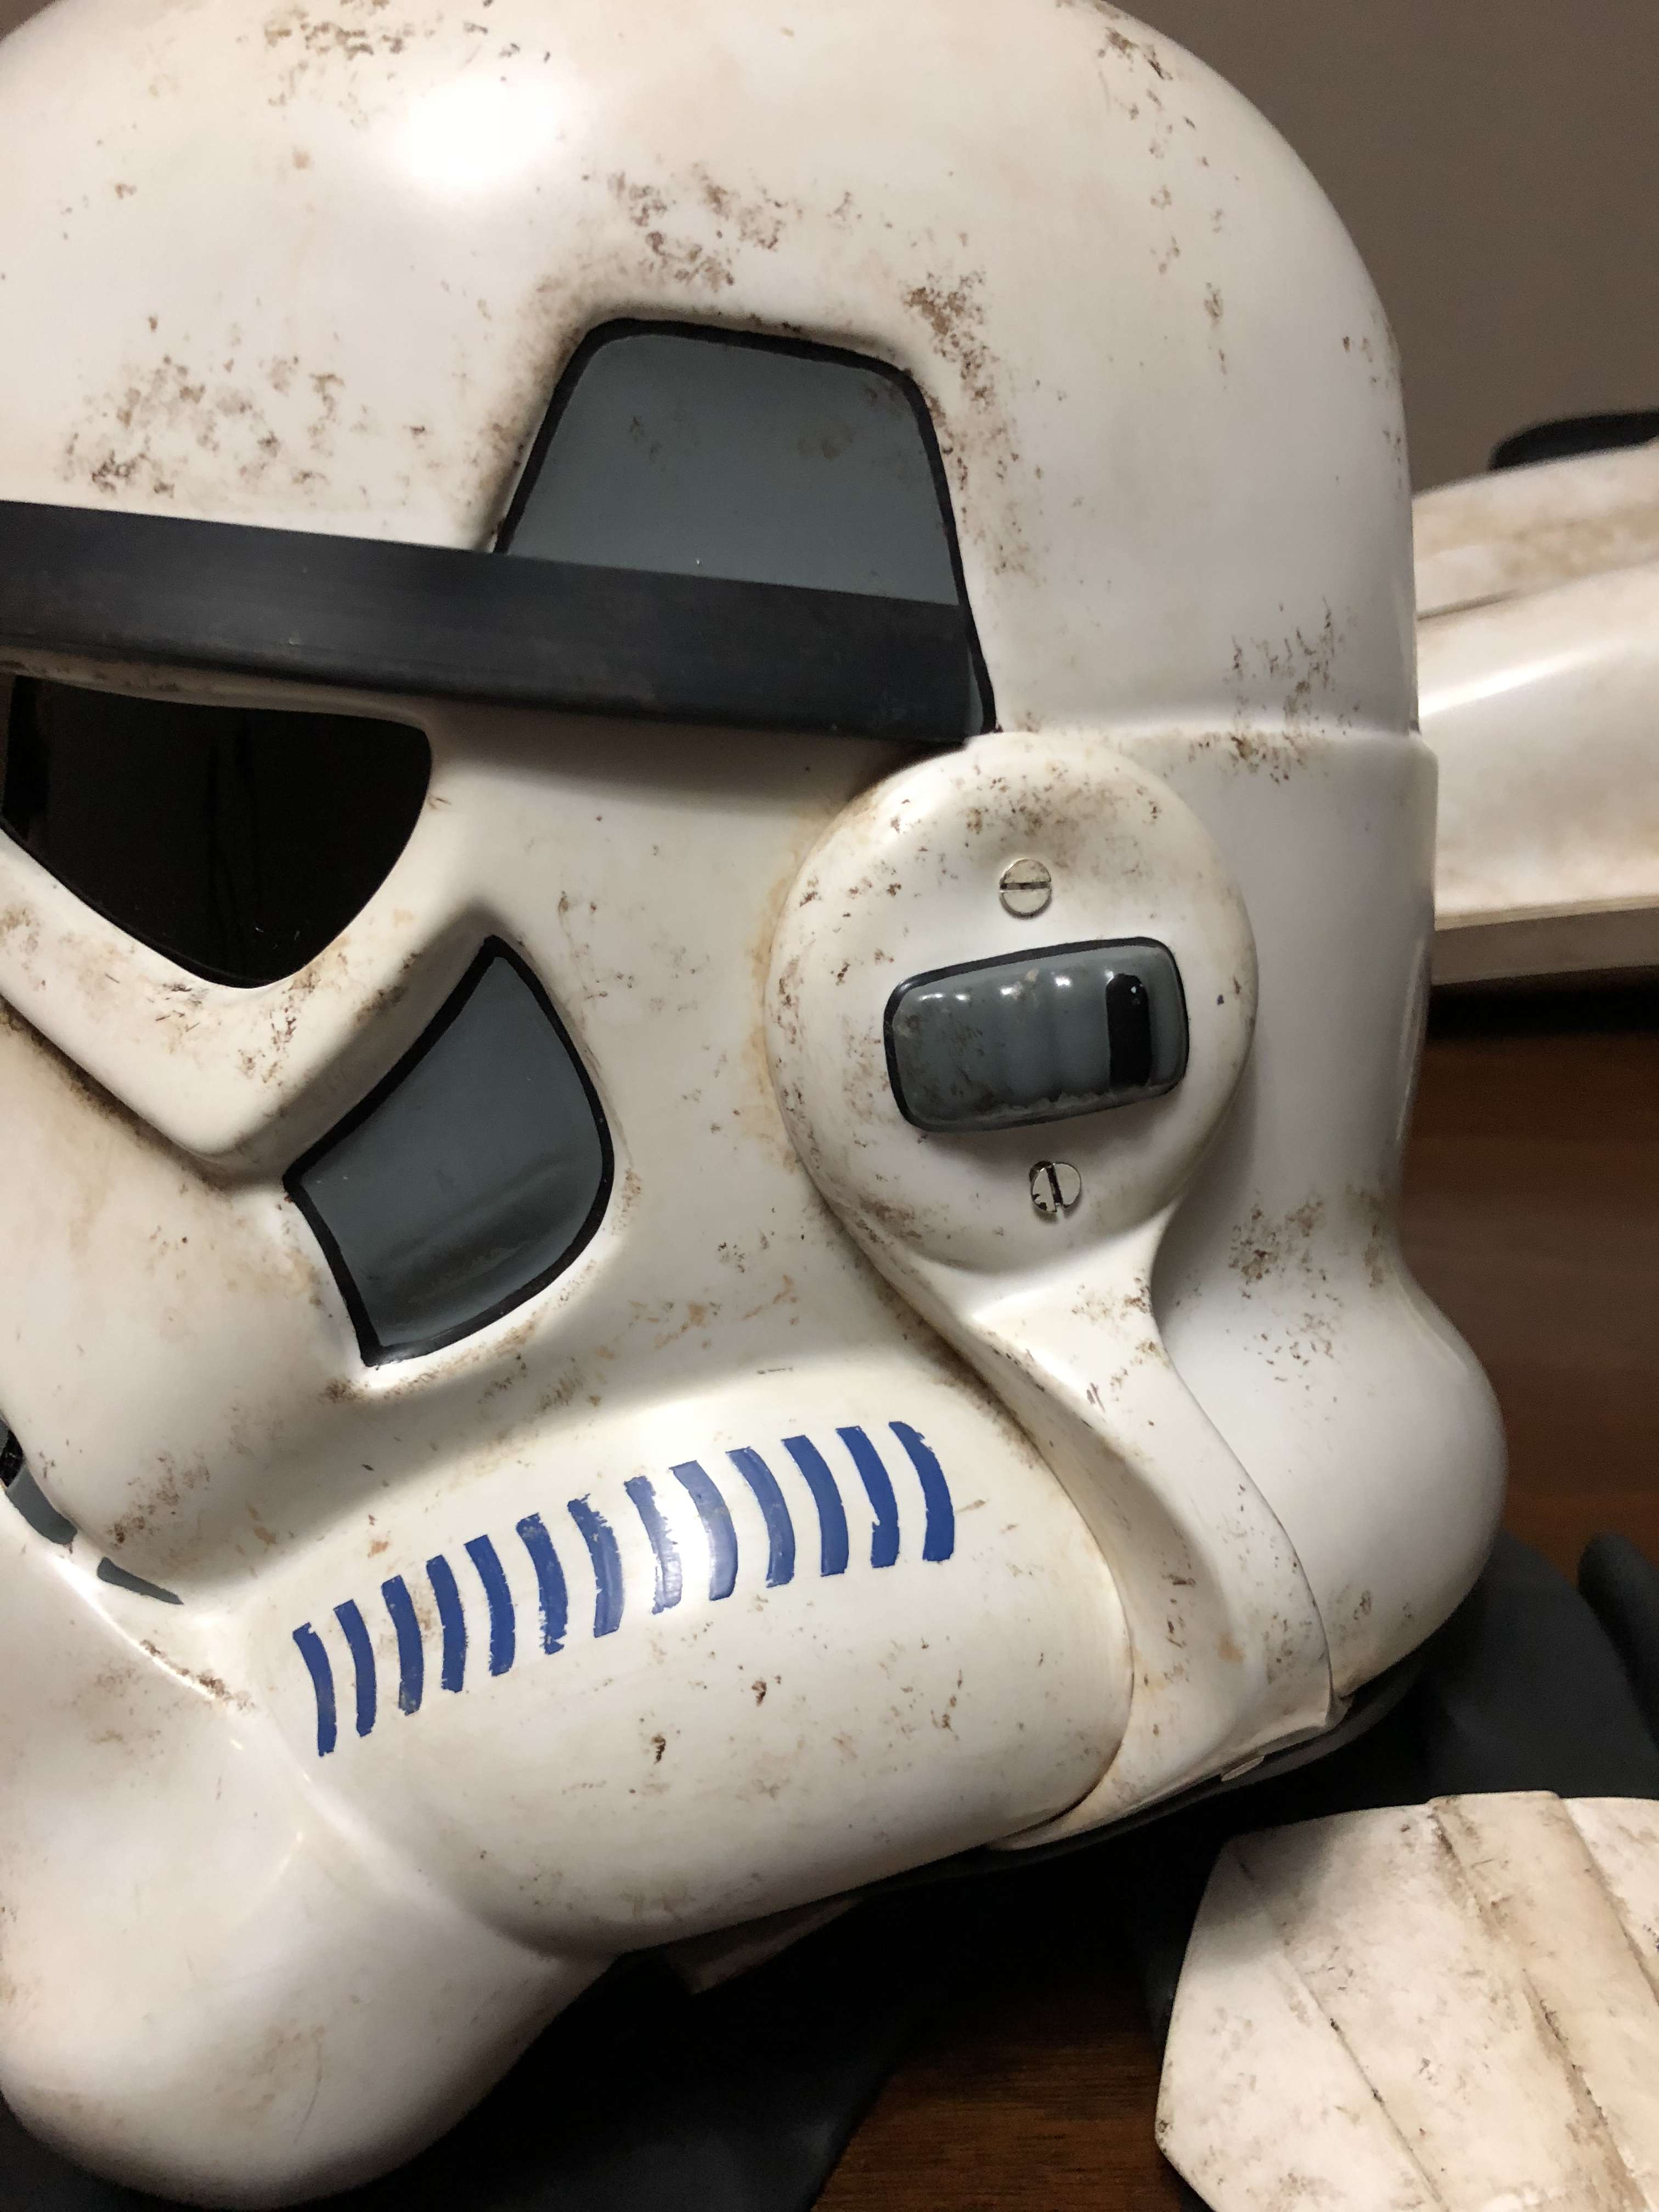
I also used the liquatex acrylics and followed Pandatrooopers technique and was really happy with the result
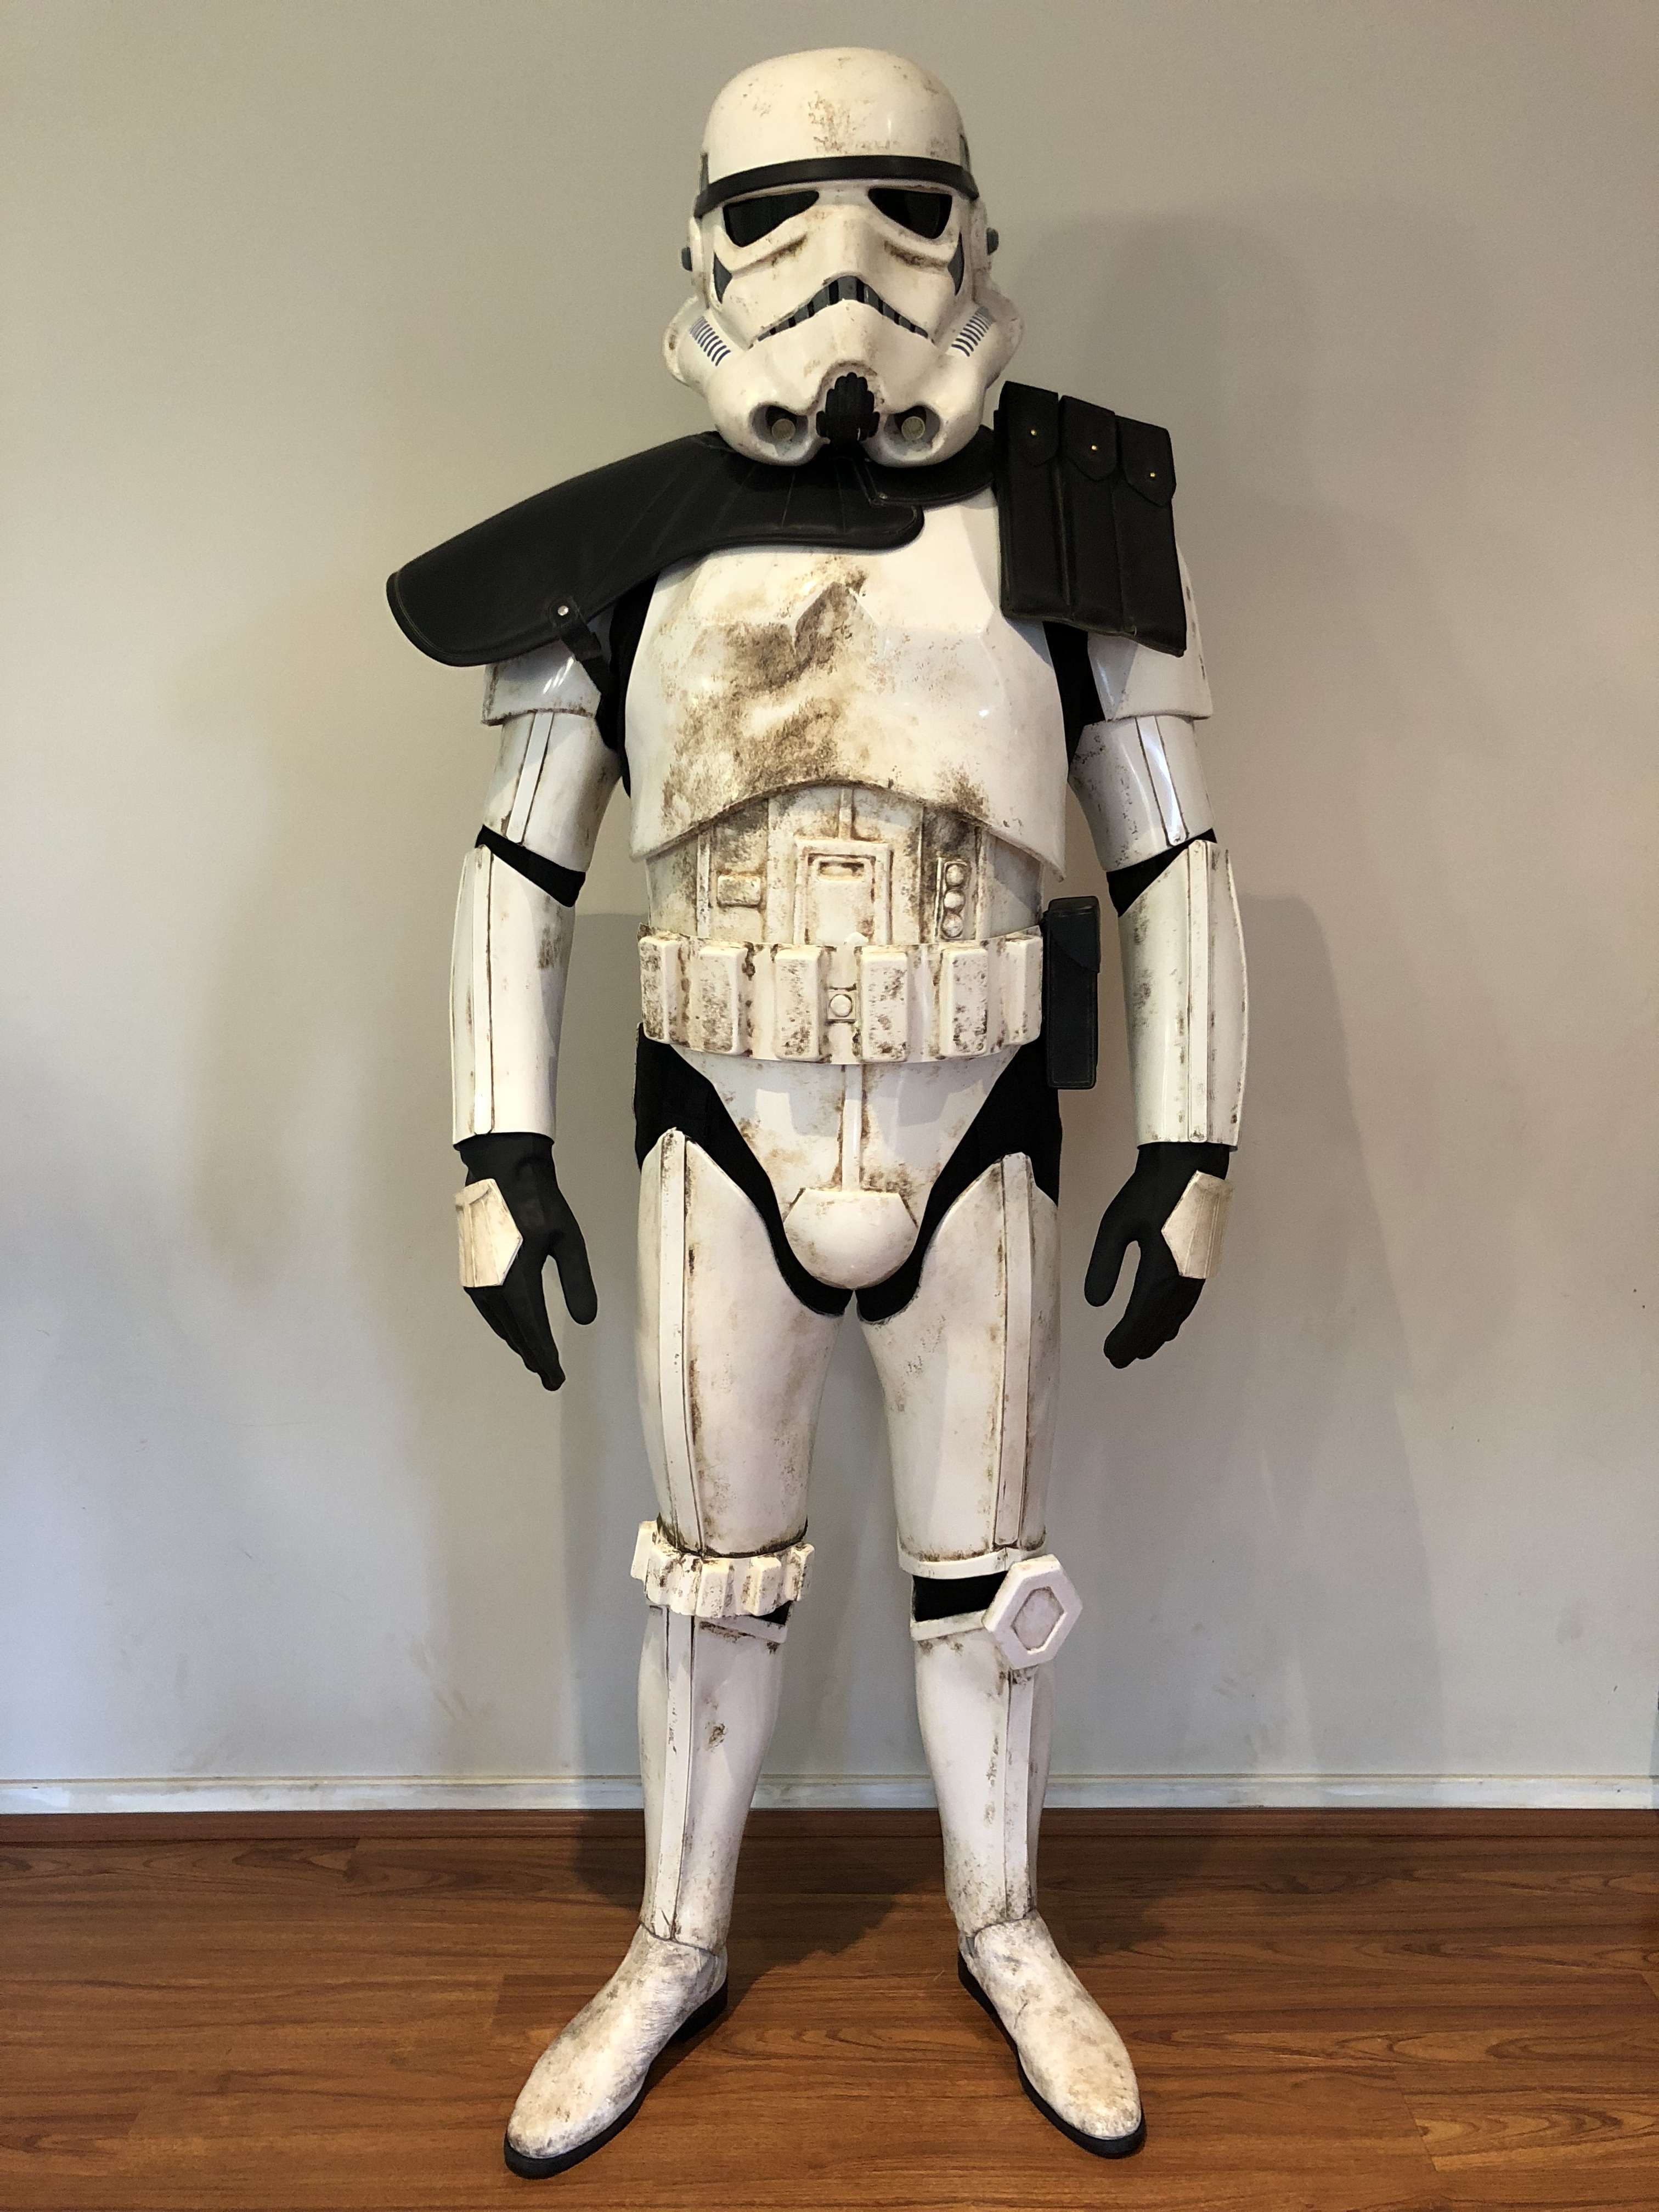
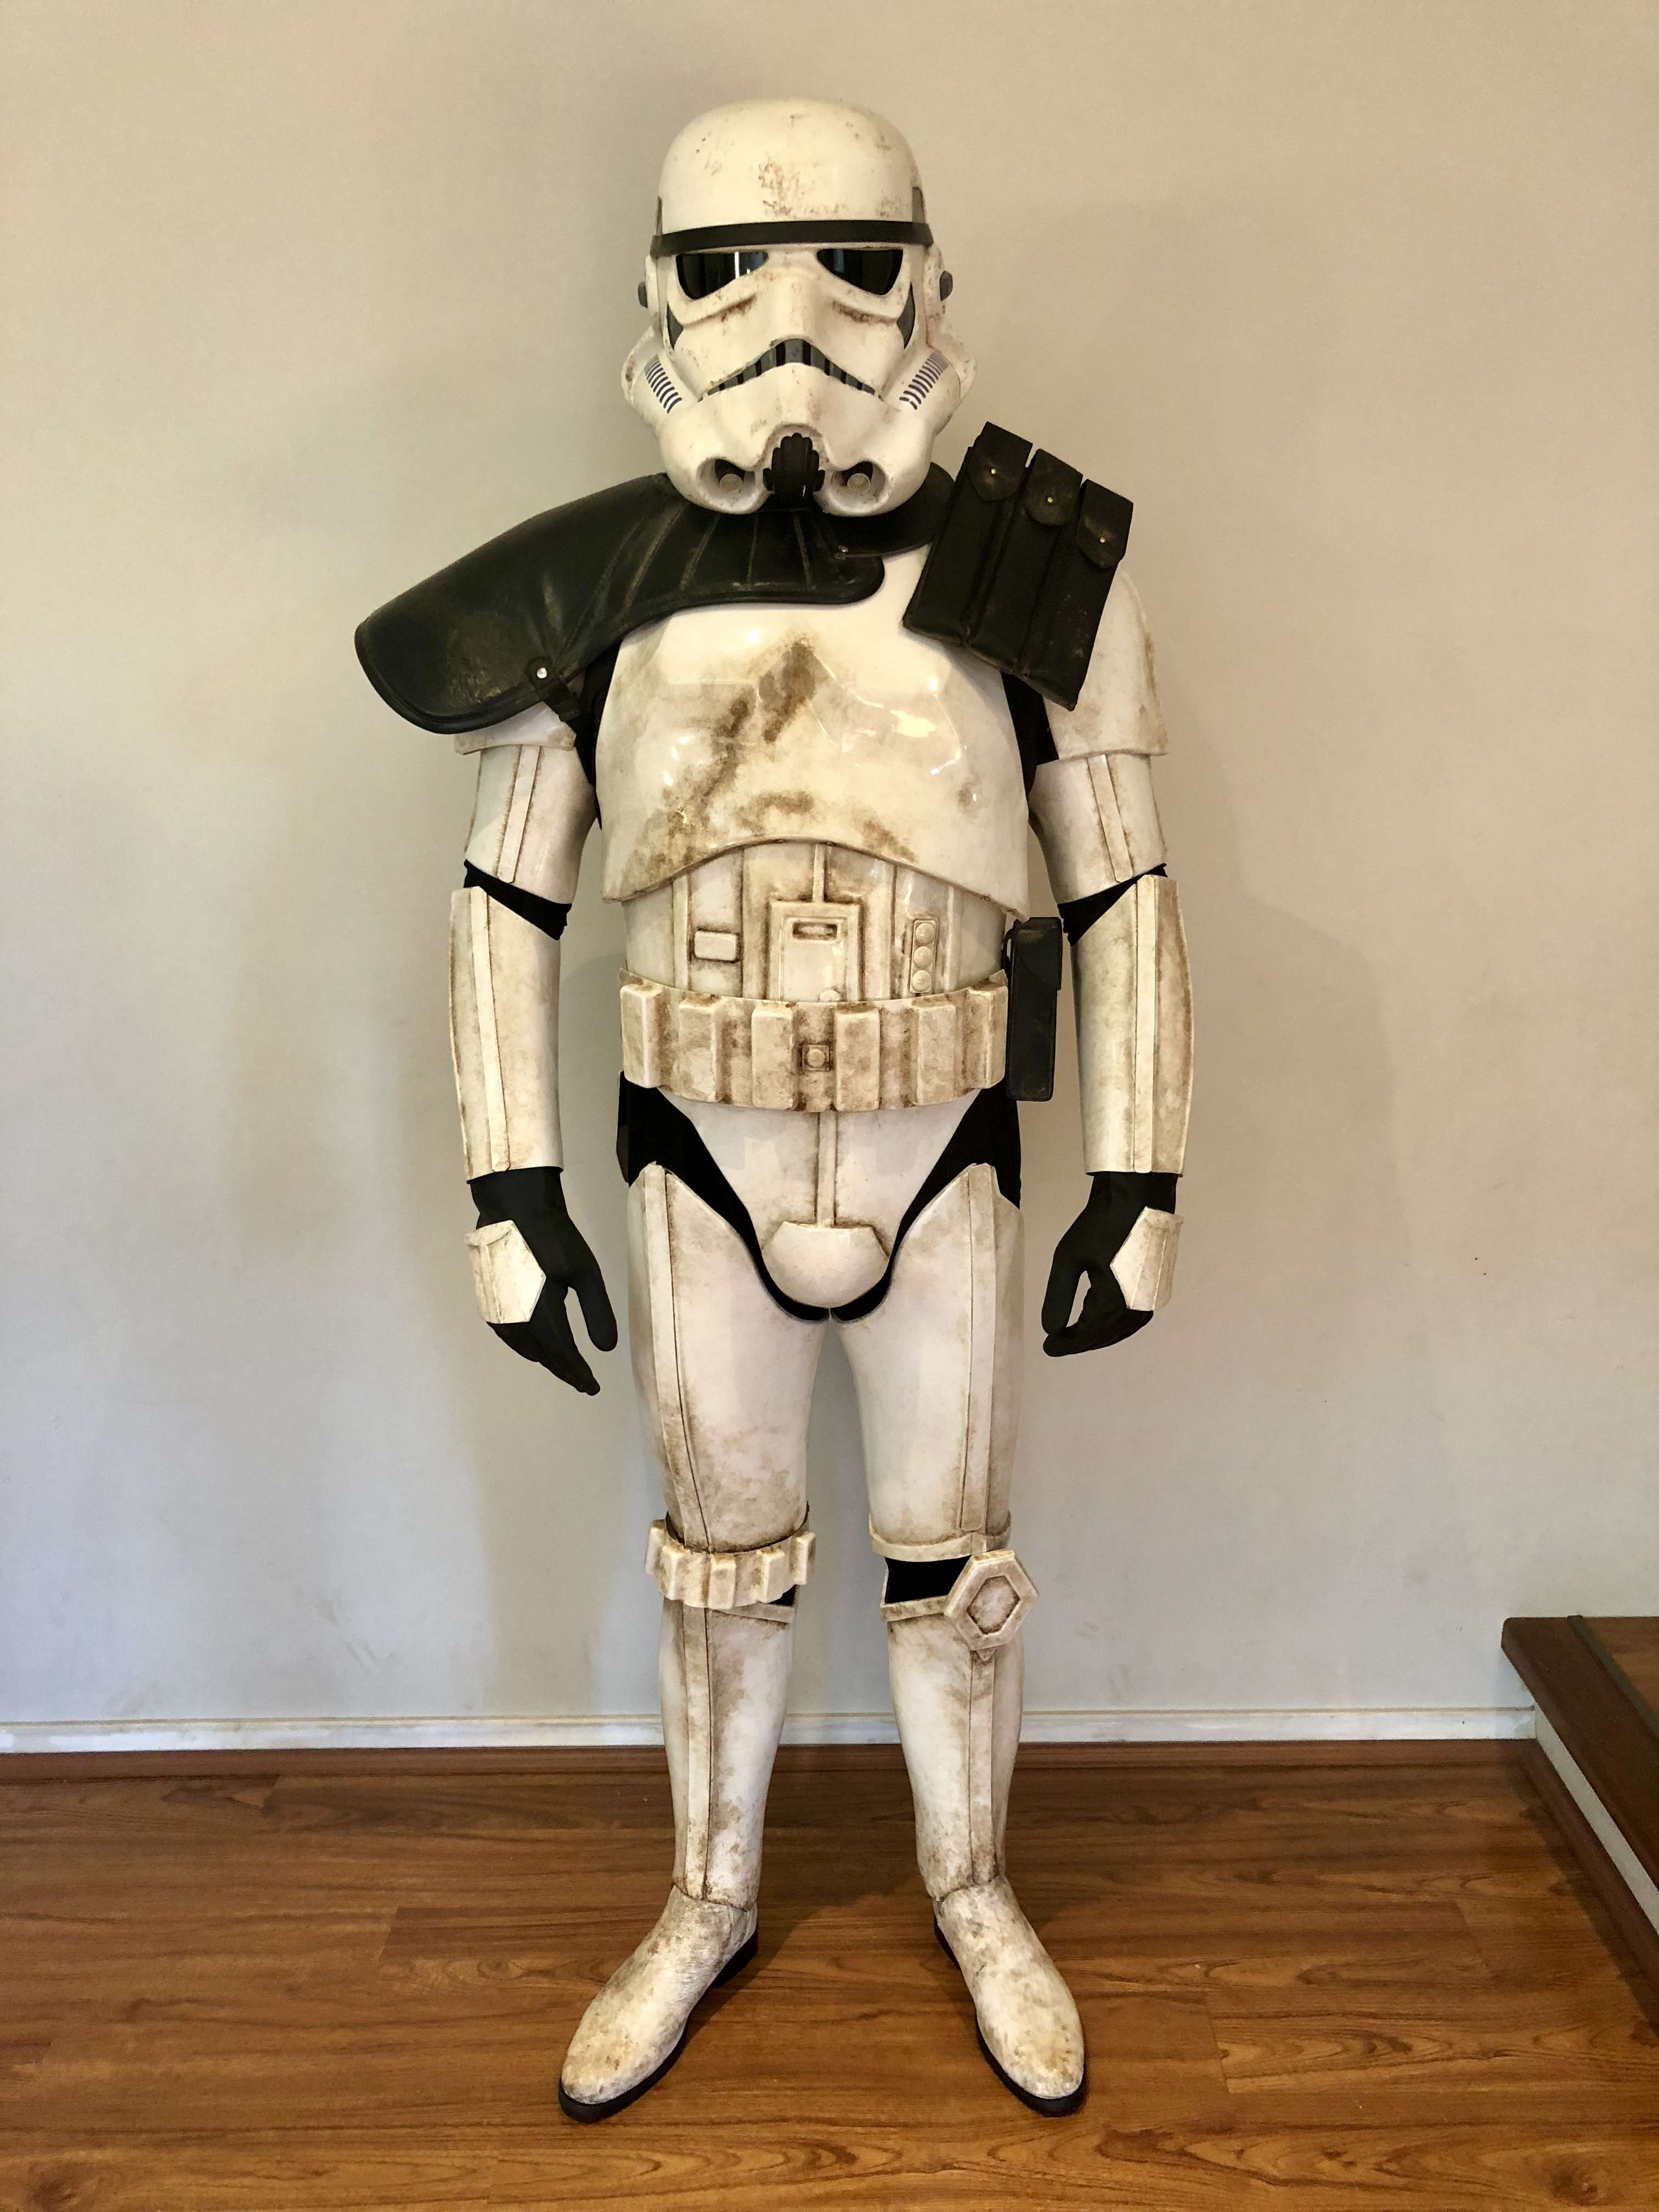
But I ran into trouble when this was knocked back for being to dark and not enough orange tones. So I cleaned it off and tried another technique the second time around. I made 2 washs from the liquatex acrylics, a red brown and a darker black brown. I dabbed the Red Brown on with different size brushes and then dabbed off again with a clean rag, then built this up over a number of passes. Once dry I did the same with the Black Brown and then finally added some pigments on my chest/ab piece
-
 1
1
-
-
I am also in on the next run
-
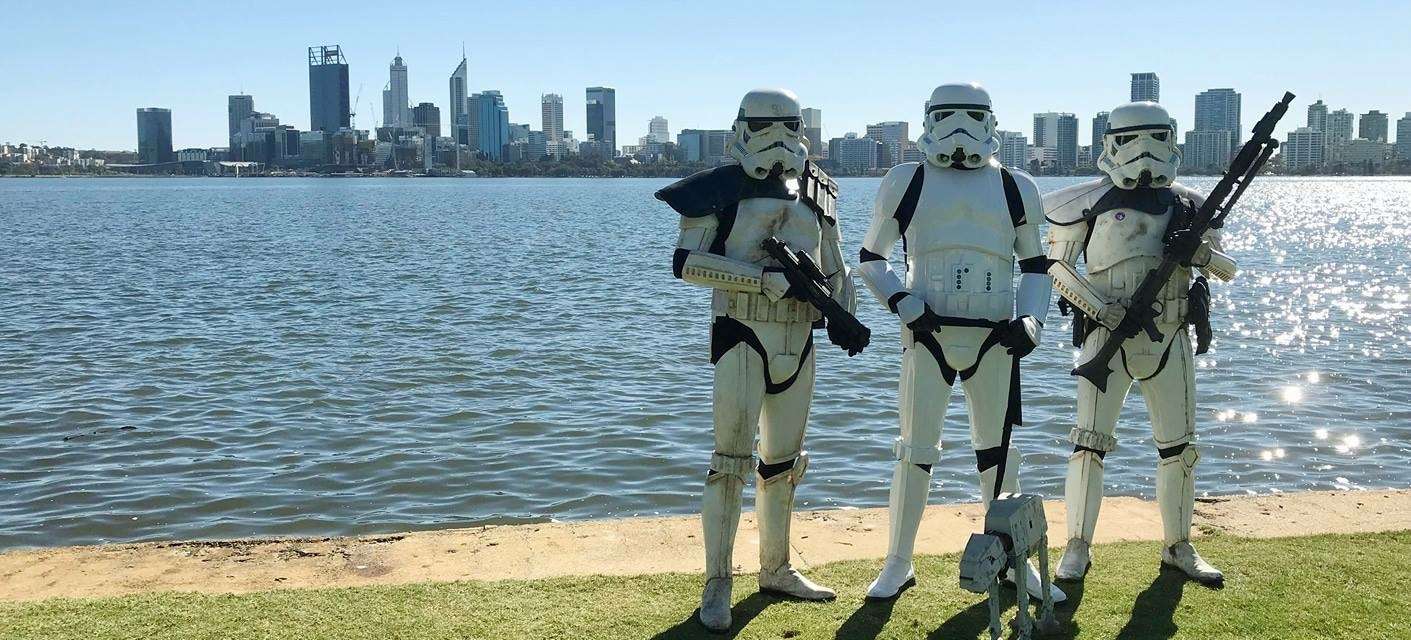
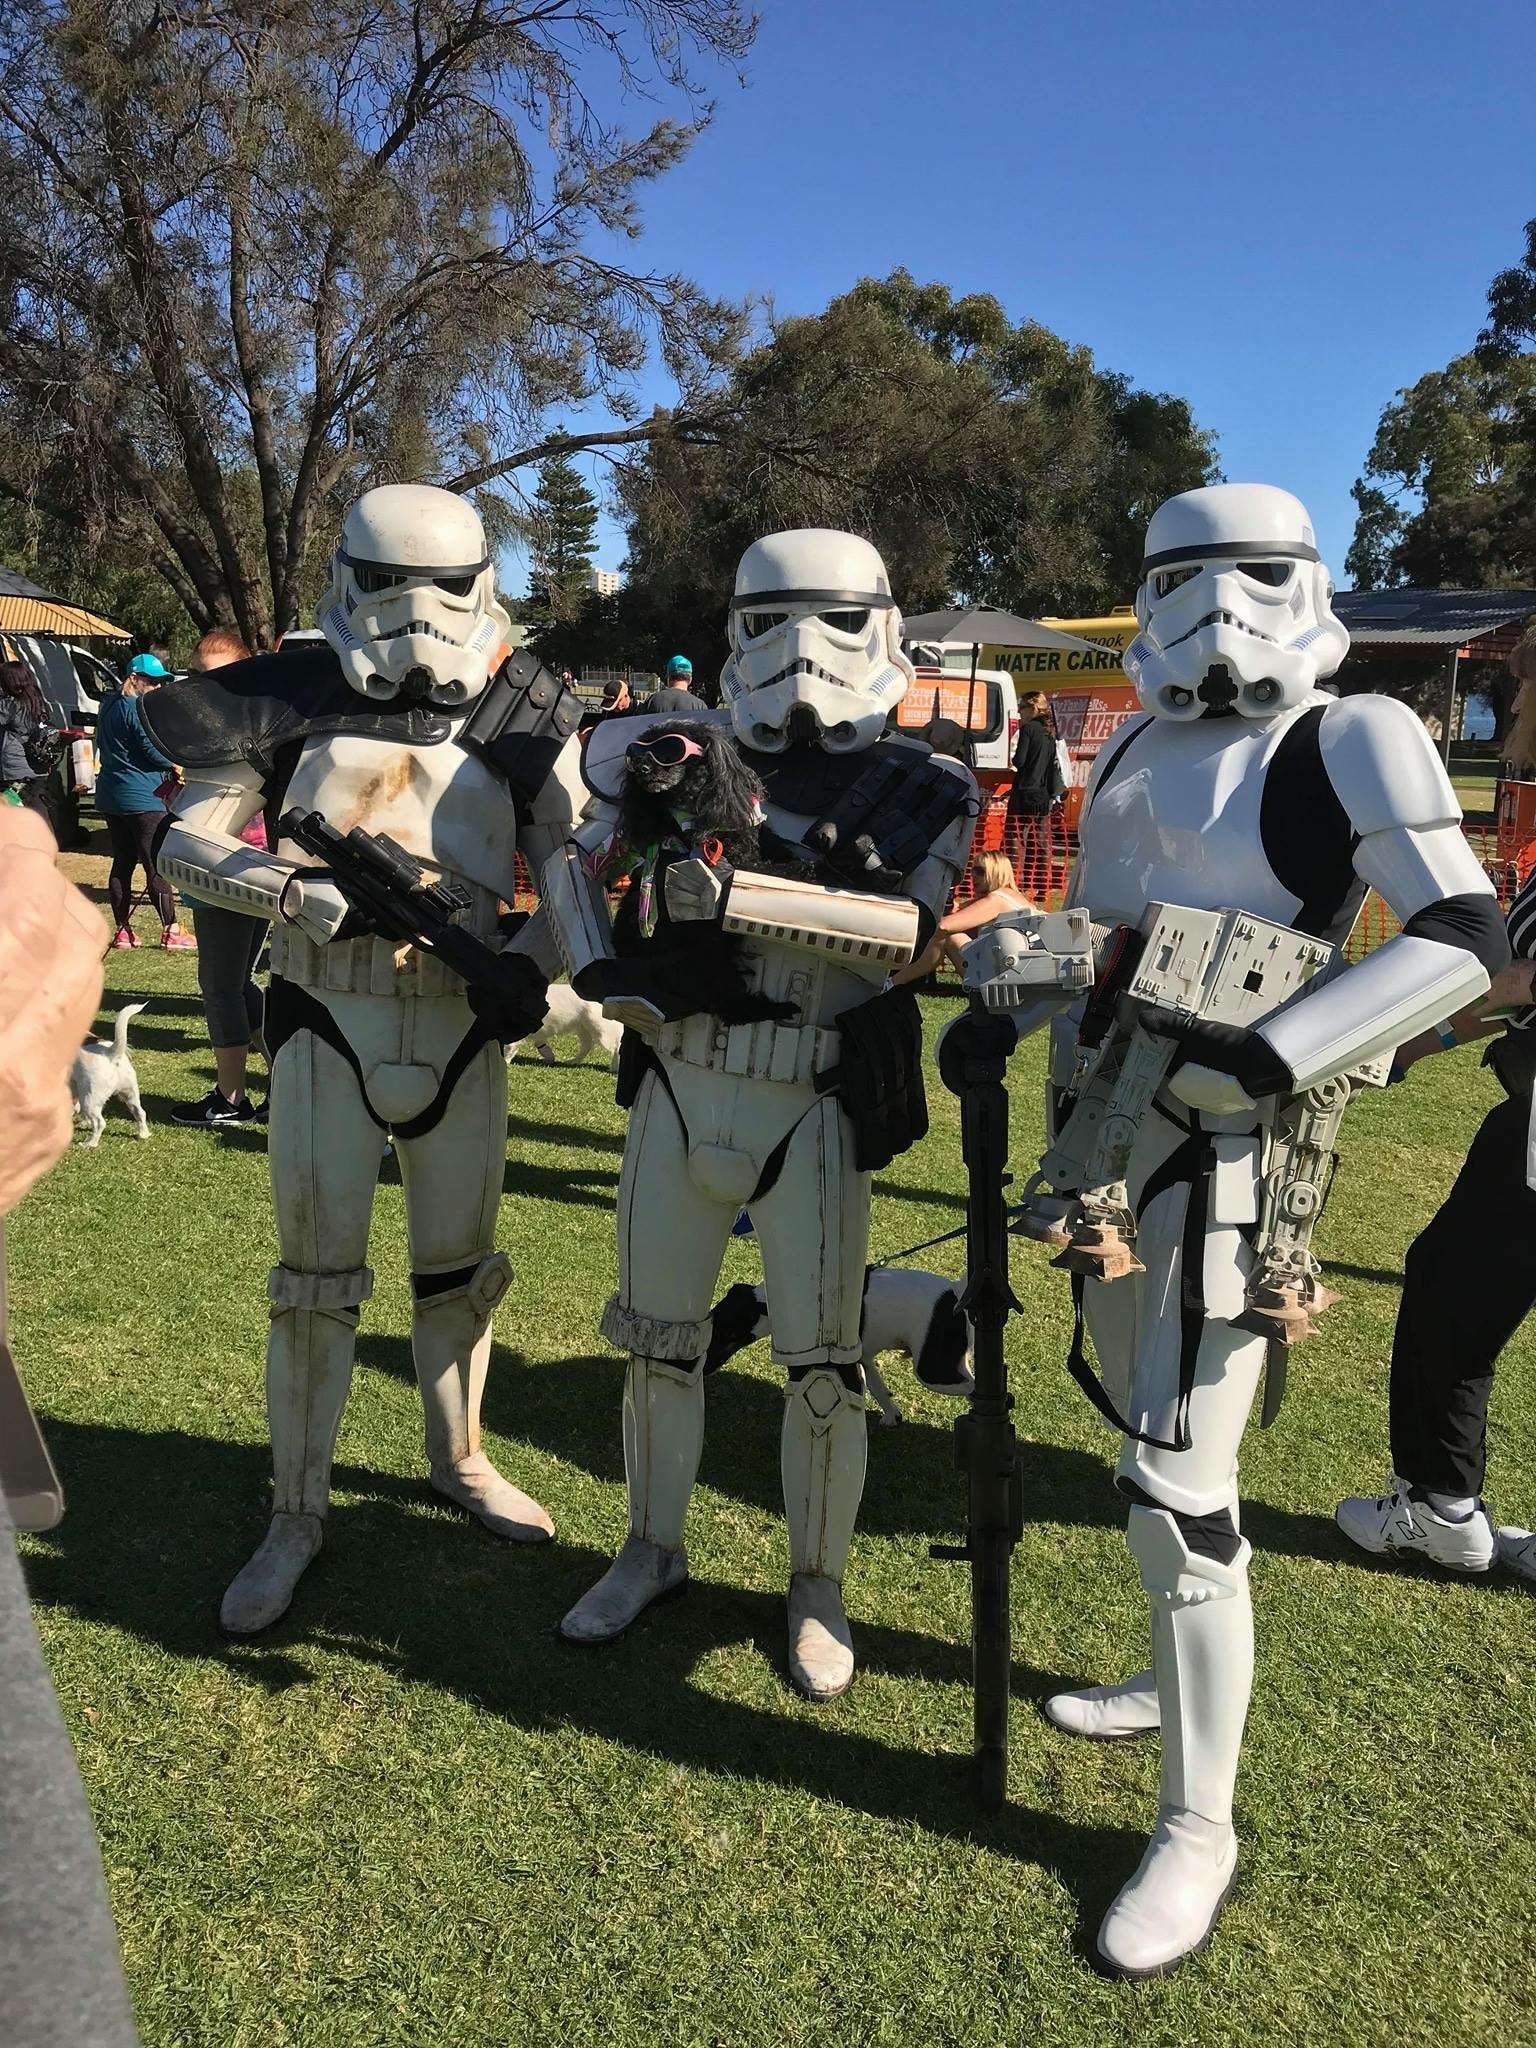
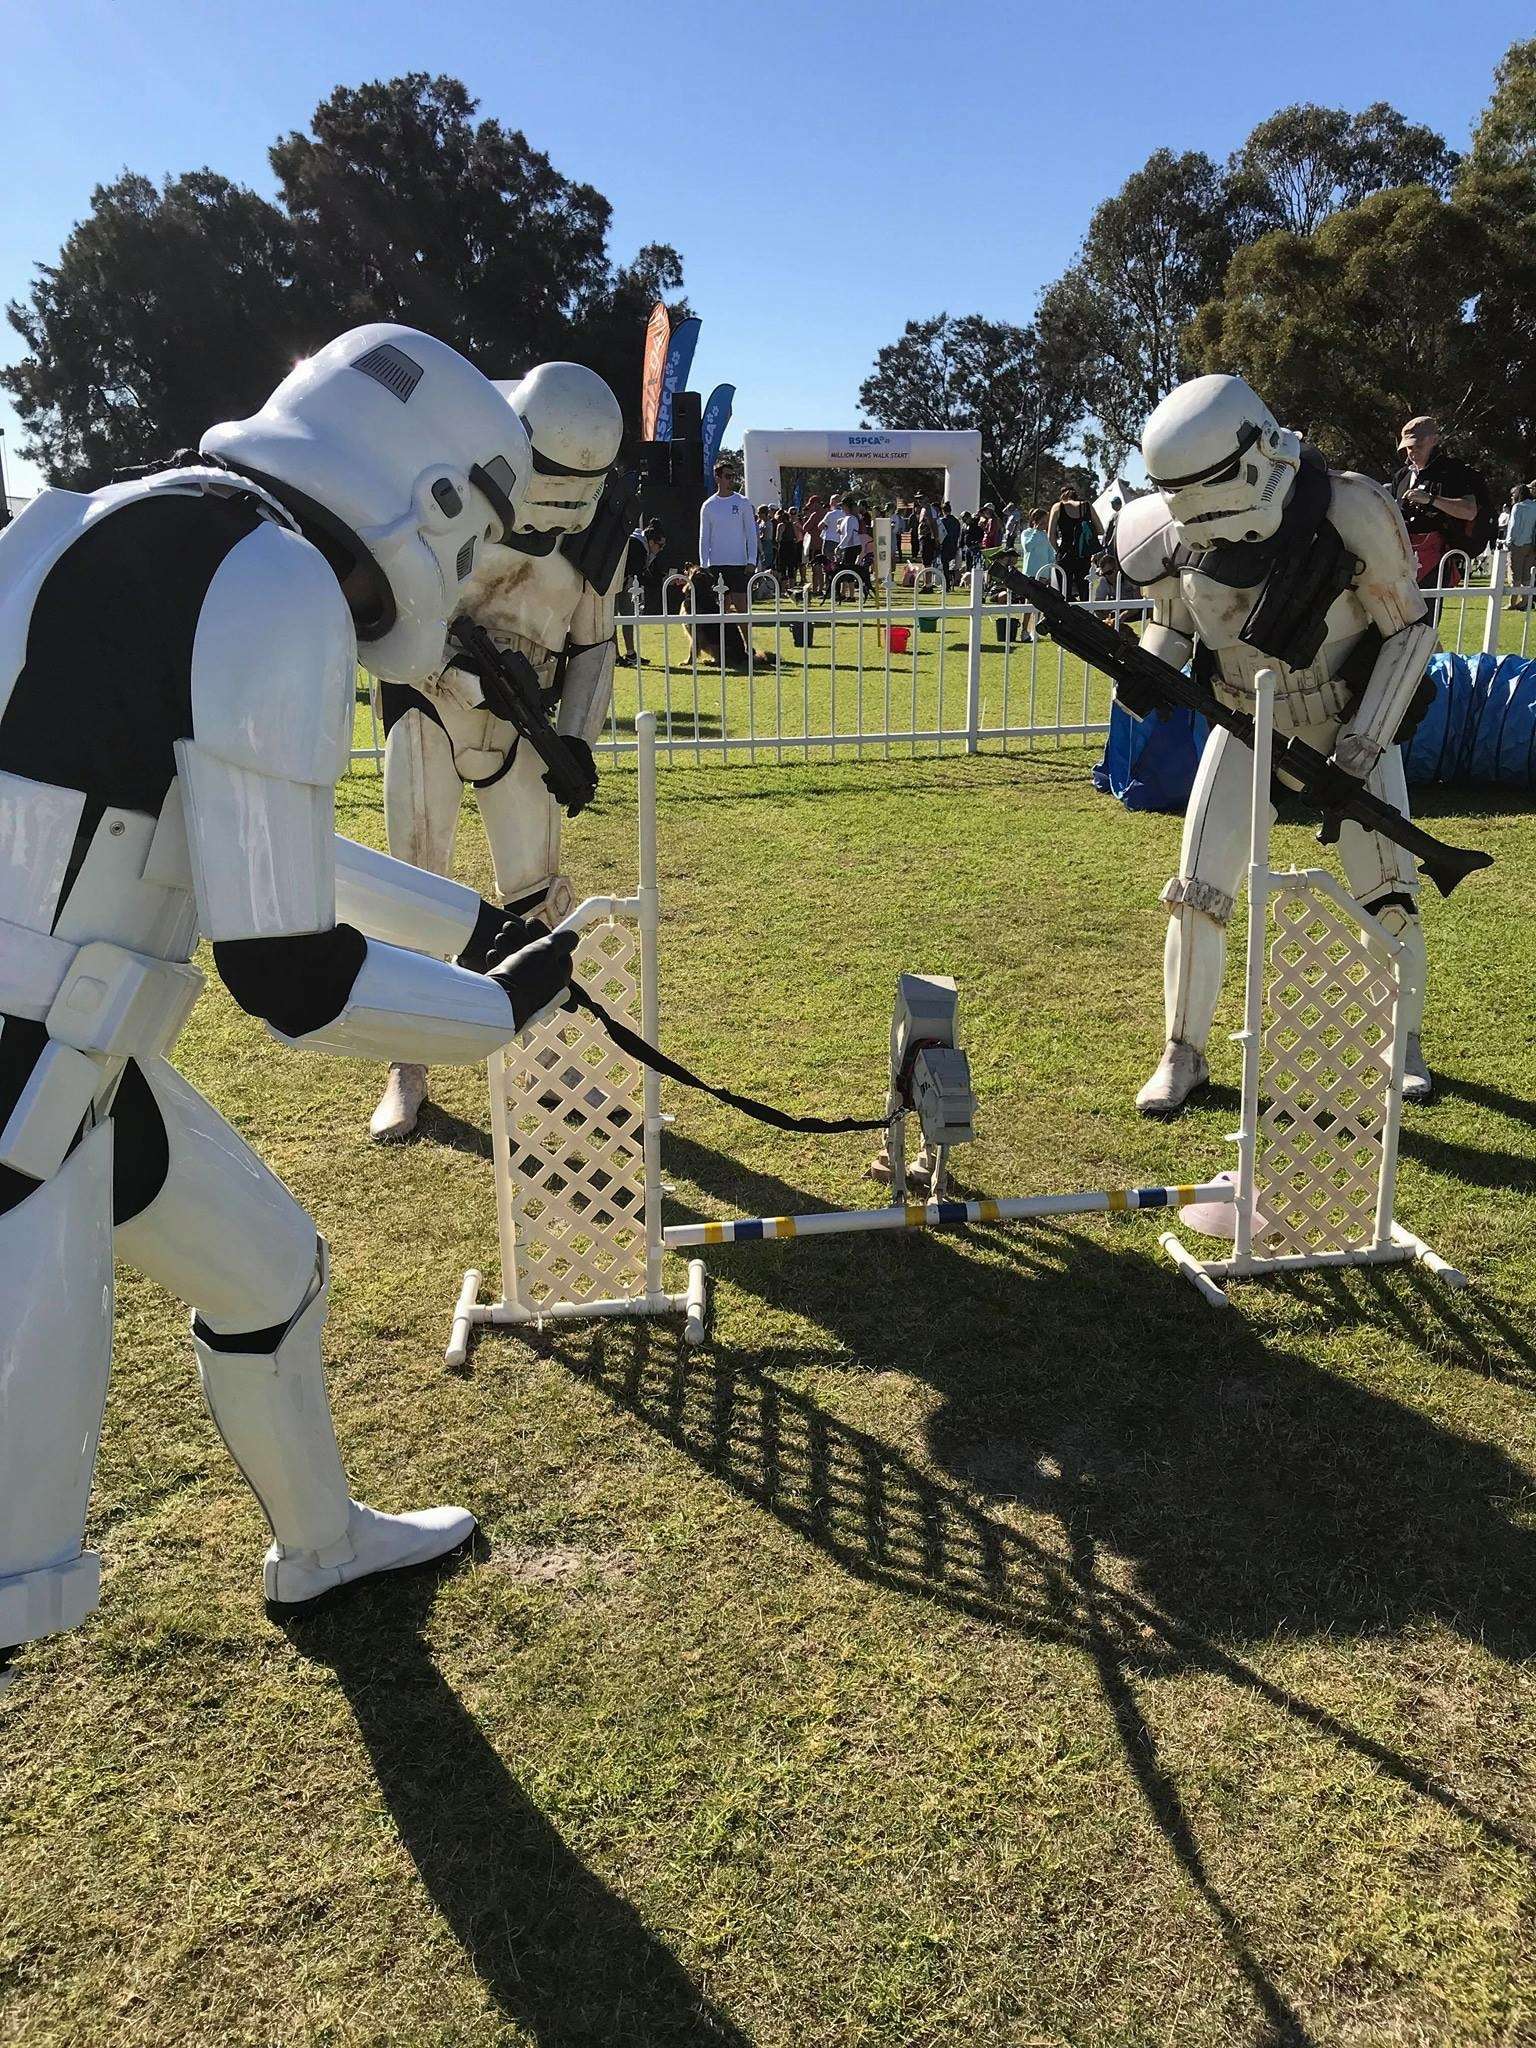
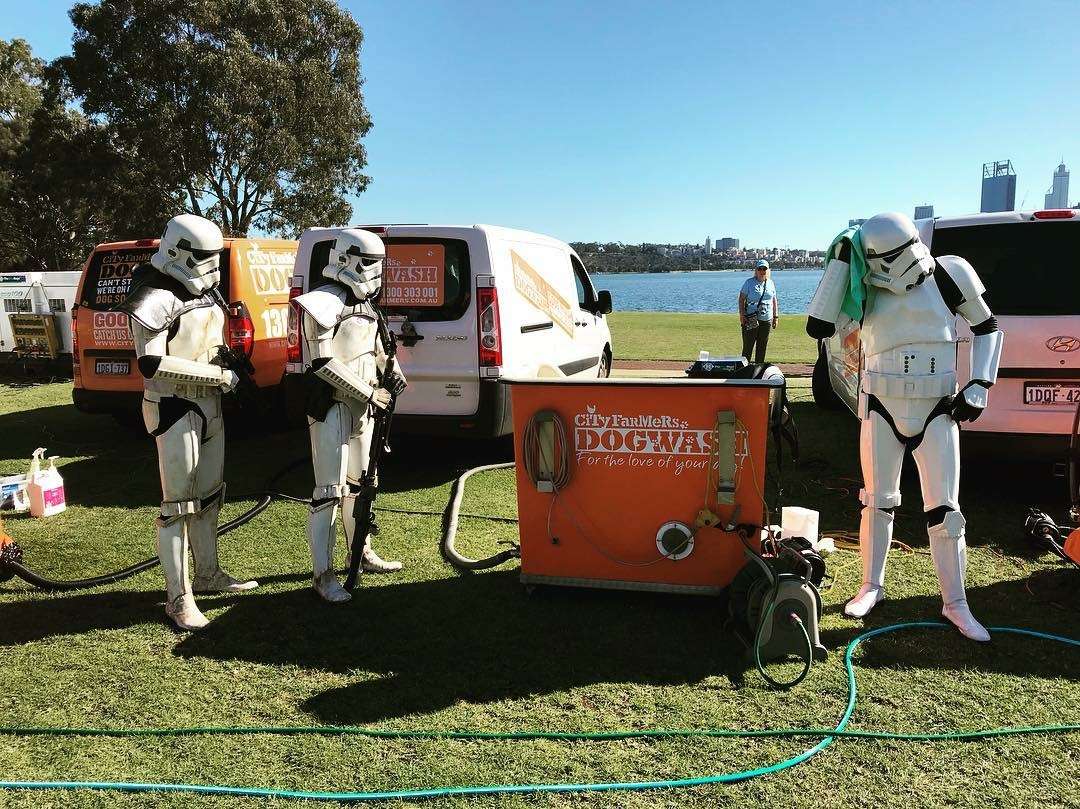
2. RSPCA Million Paws Walk - 20/5/18
This is always a fun event. People can walk a number of set distances with their pets to raise money for the RSPCA.
I love this photo's we got on the day!
-
 1
1
-
-
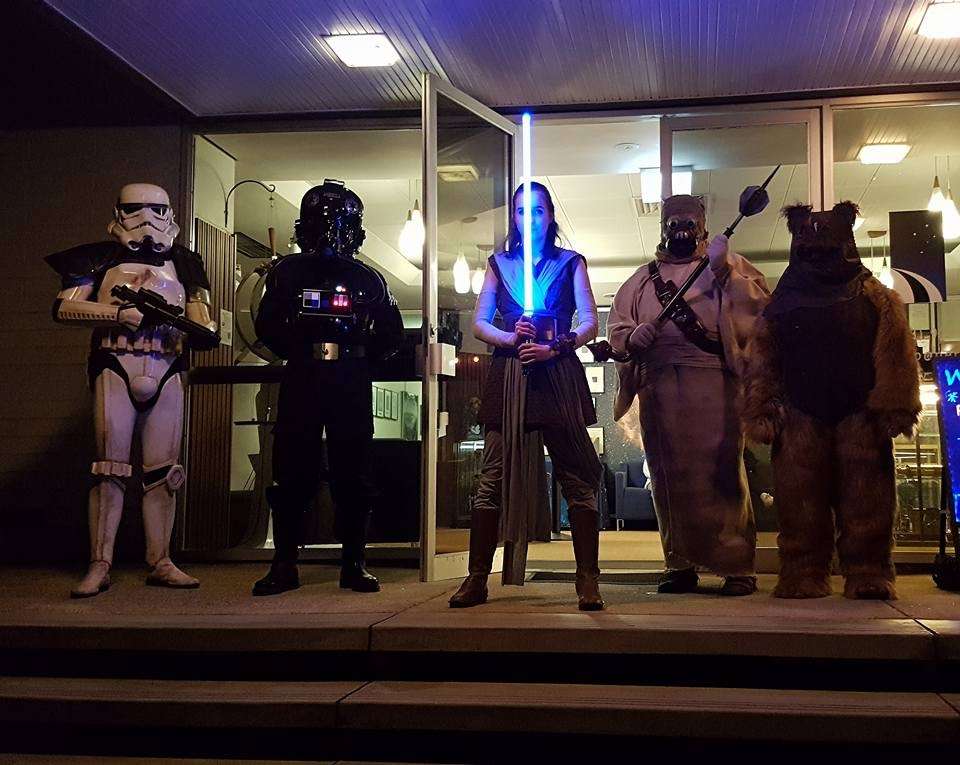
1. May the 4th Stargazing at Perth Observatory - 4/5/18
Annual event held on May the 4th where visitors get dressed up in their best Star wars costumes (and we judge the winner) & get a tour of the observatory.
-
 1
1
-
-
Well done, very nice work
-
Would anyone have the exact measurements for the seed trays? Just trying to source them locally


*done* TD-16317 Requesting Deployment
in MEPD Police Officer Program
Posted
Well done, congrats!