

Volksjager
-
Posts
137 -
Joined
-
Last visited
-
Days Won
11
Content Type
Events
Profiles
Forums
Posts posted by Volksjager
-
-
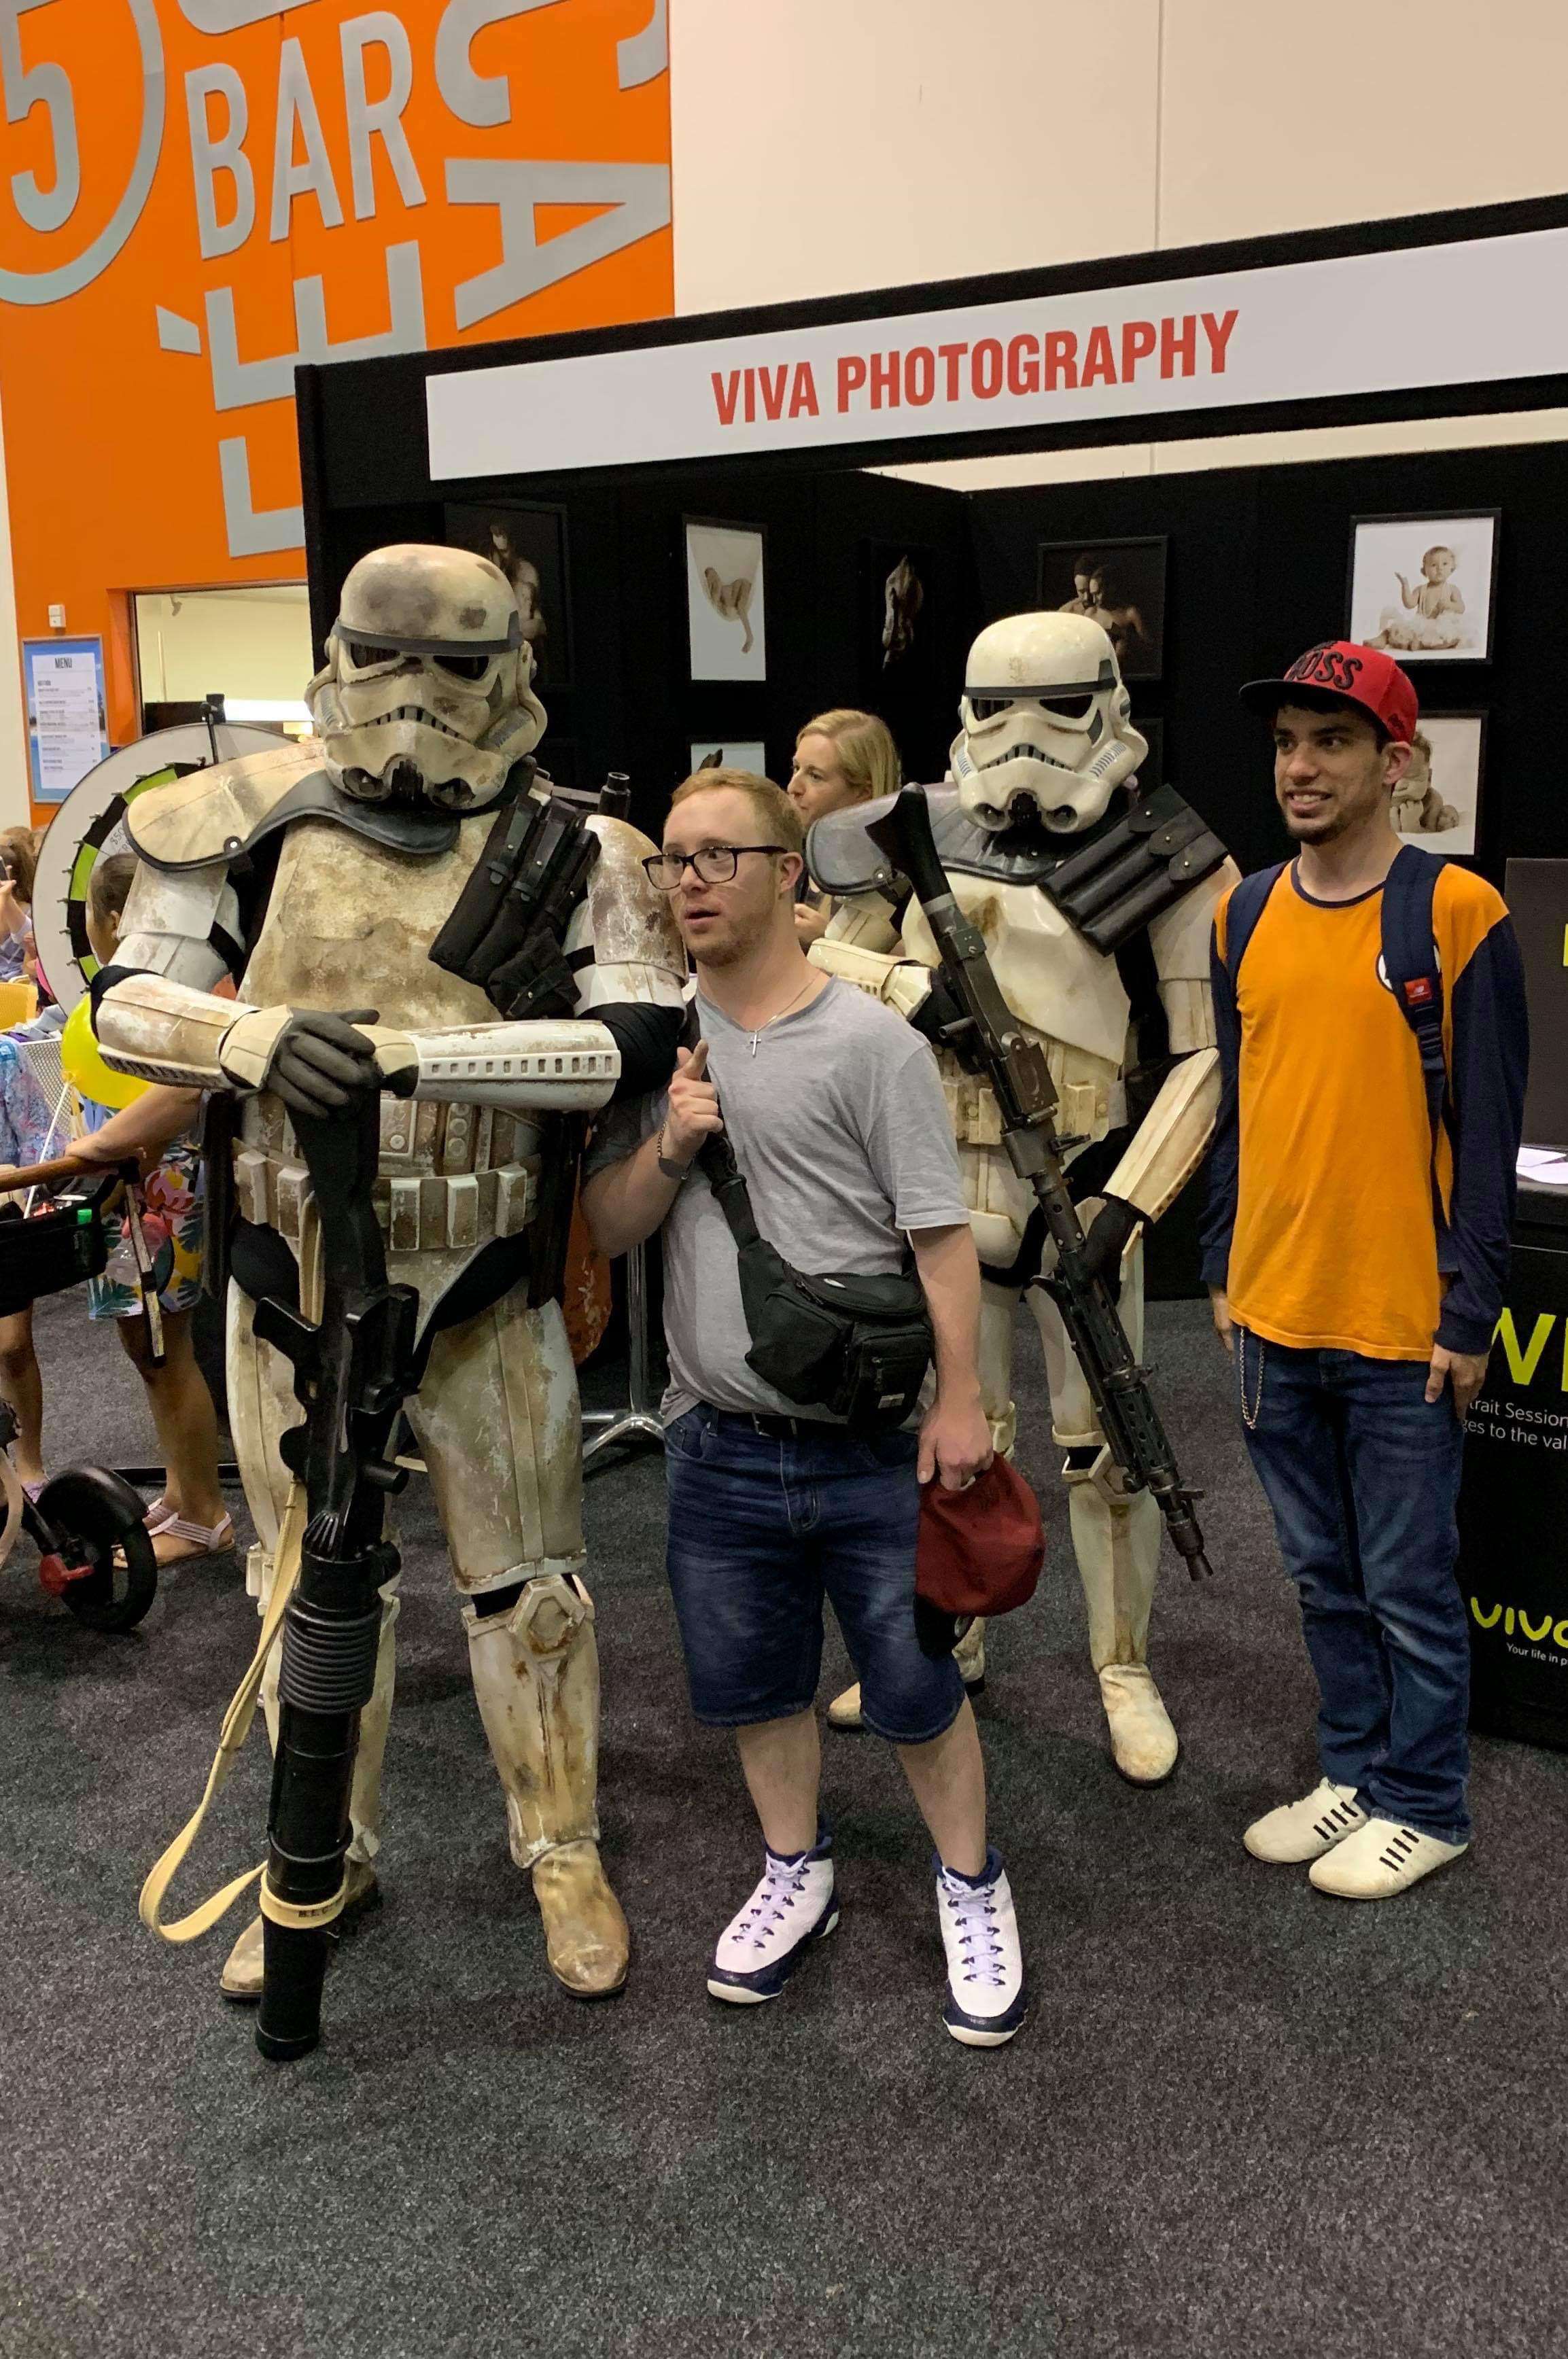
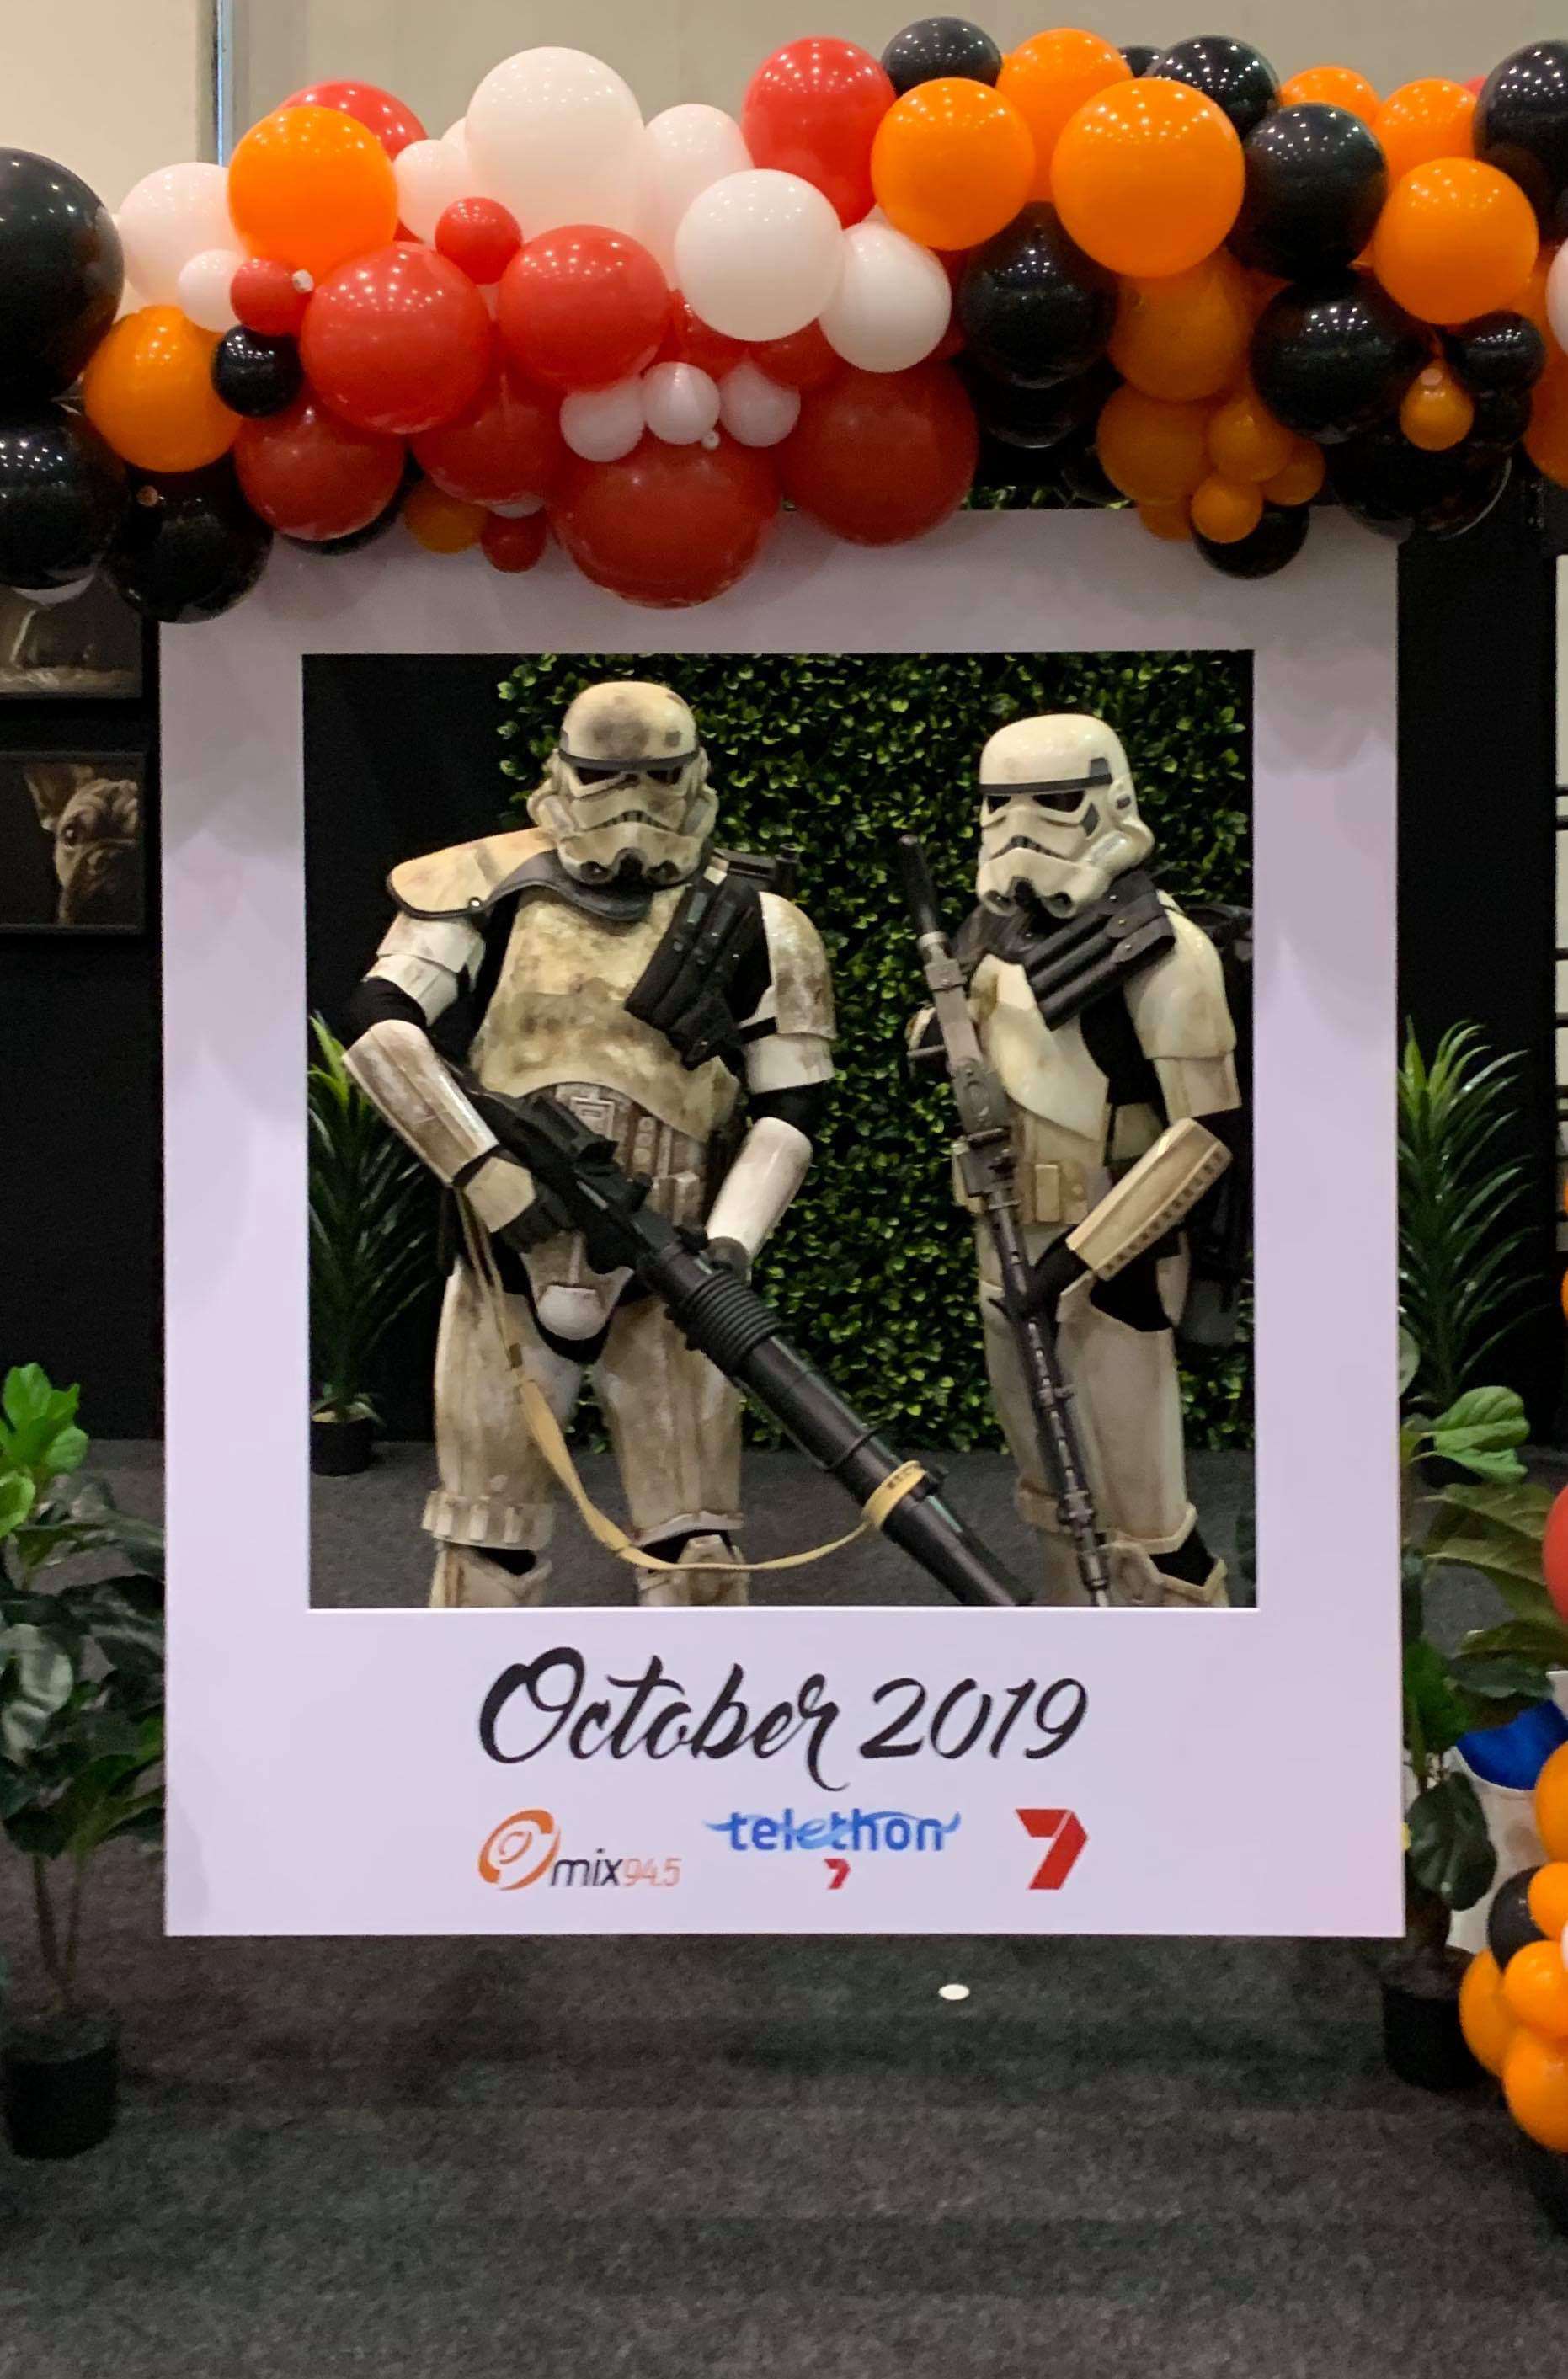
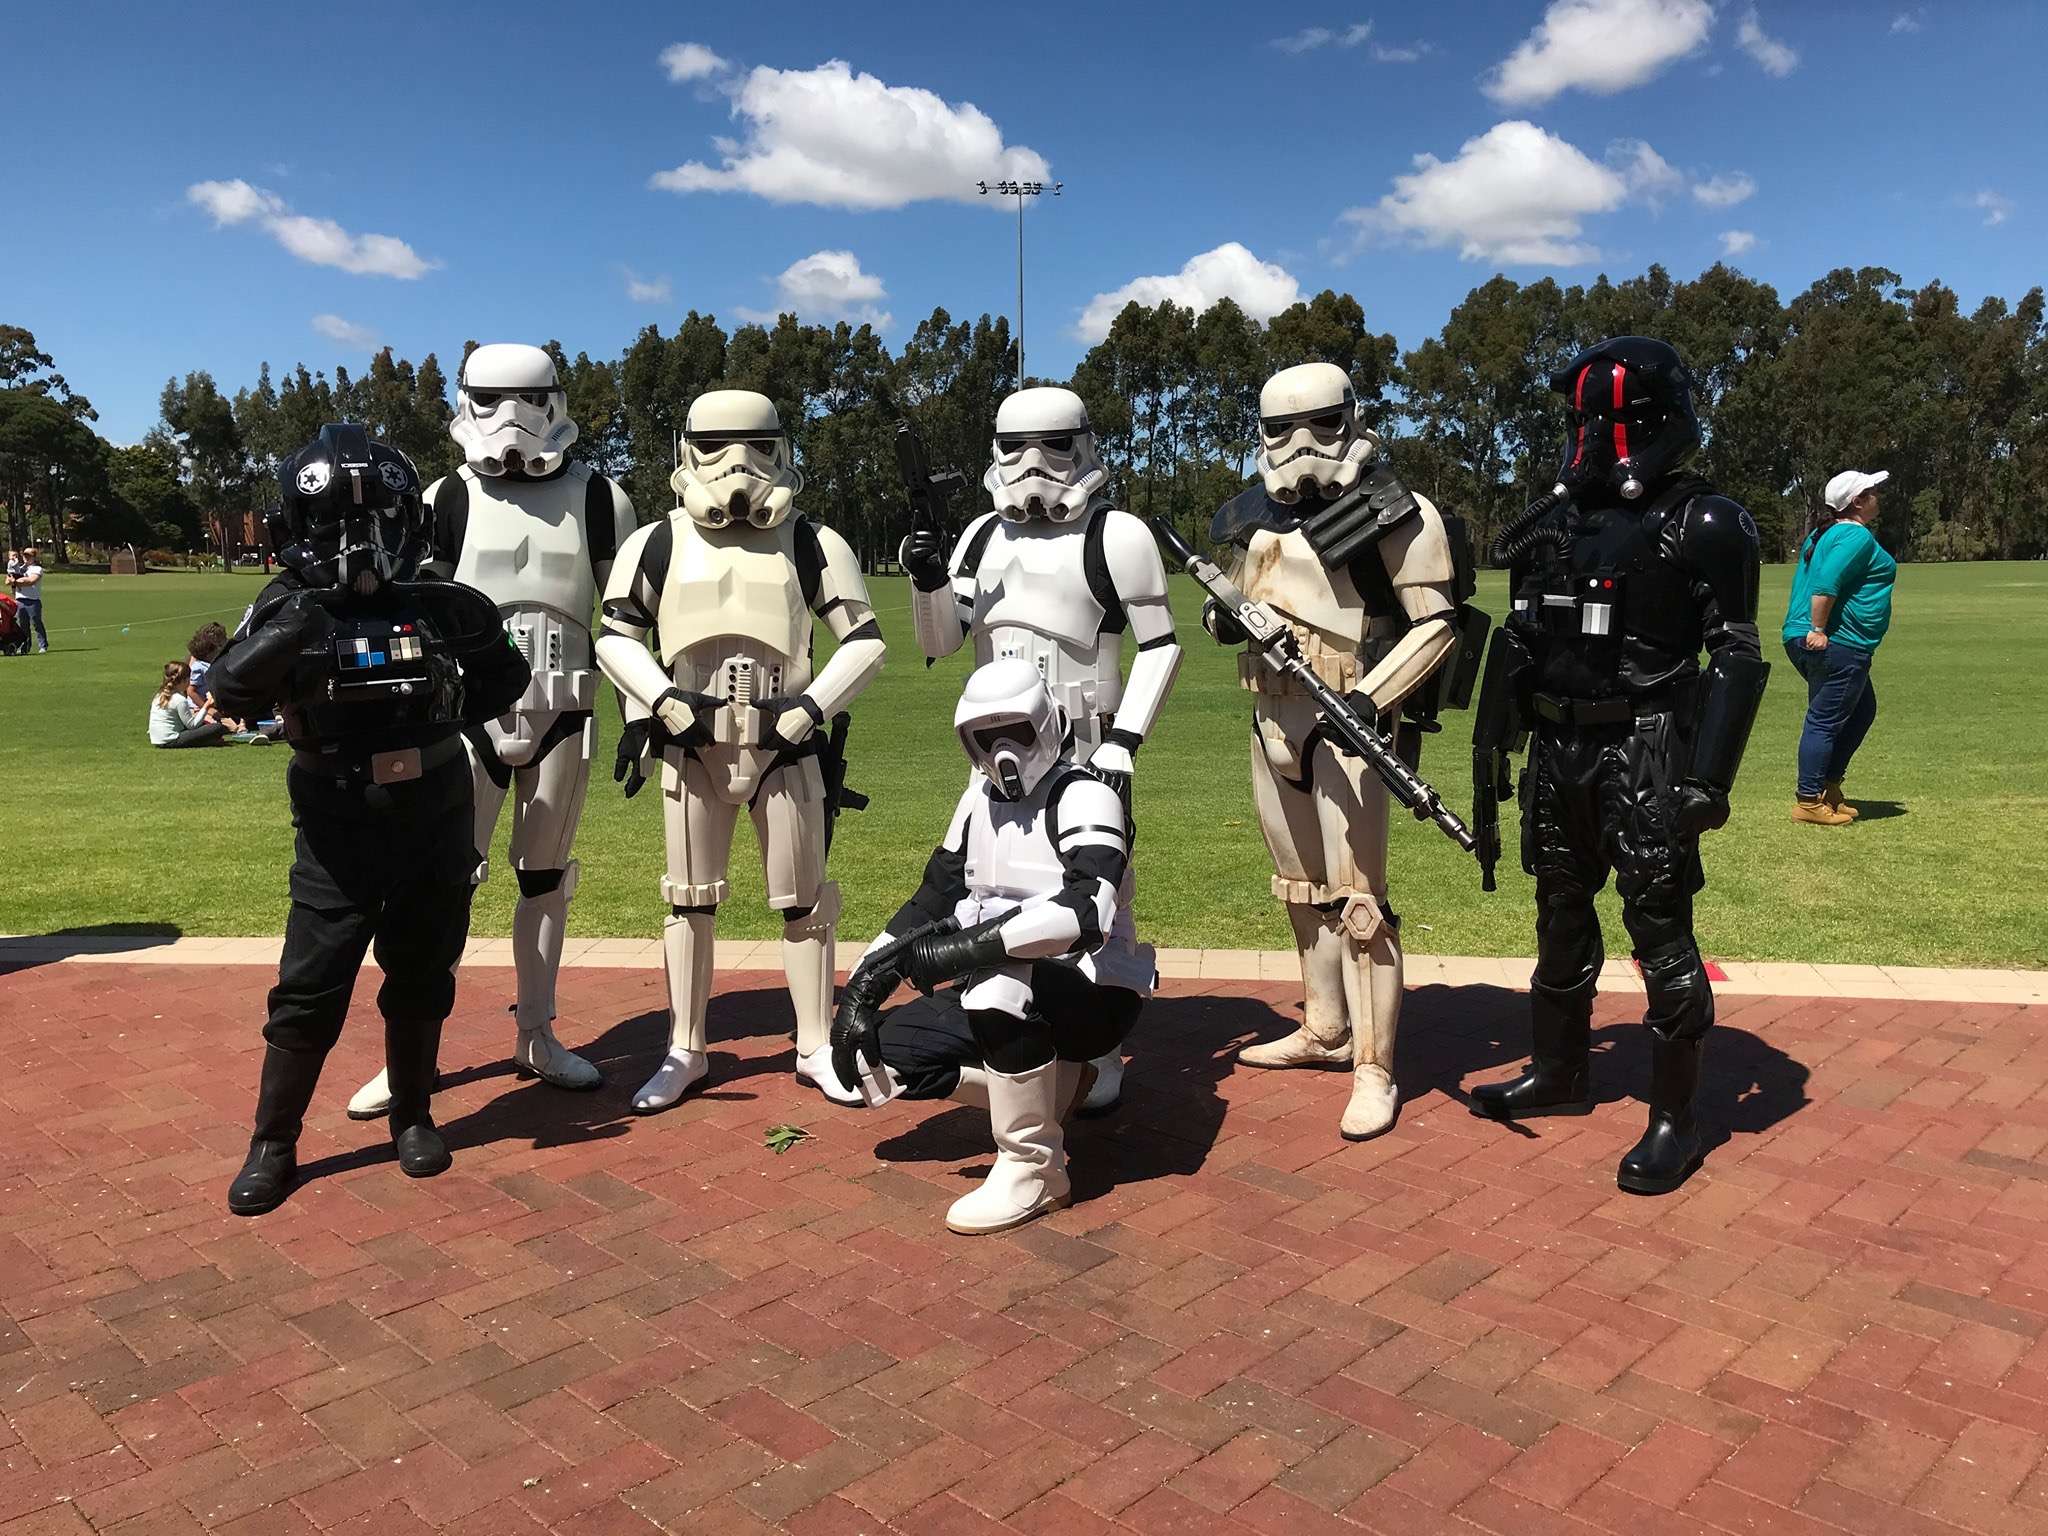
14. Telethon Kids Carnival - Perth Convention centre - 26/10/19
Telethon is a unique event that happens here in Perth where the town stops to raise money for sick kids. For 2 days over the weekend a kids carnival runs where rides and shows up put on for the kids.
-
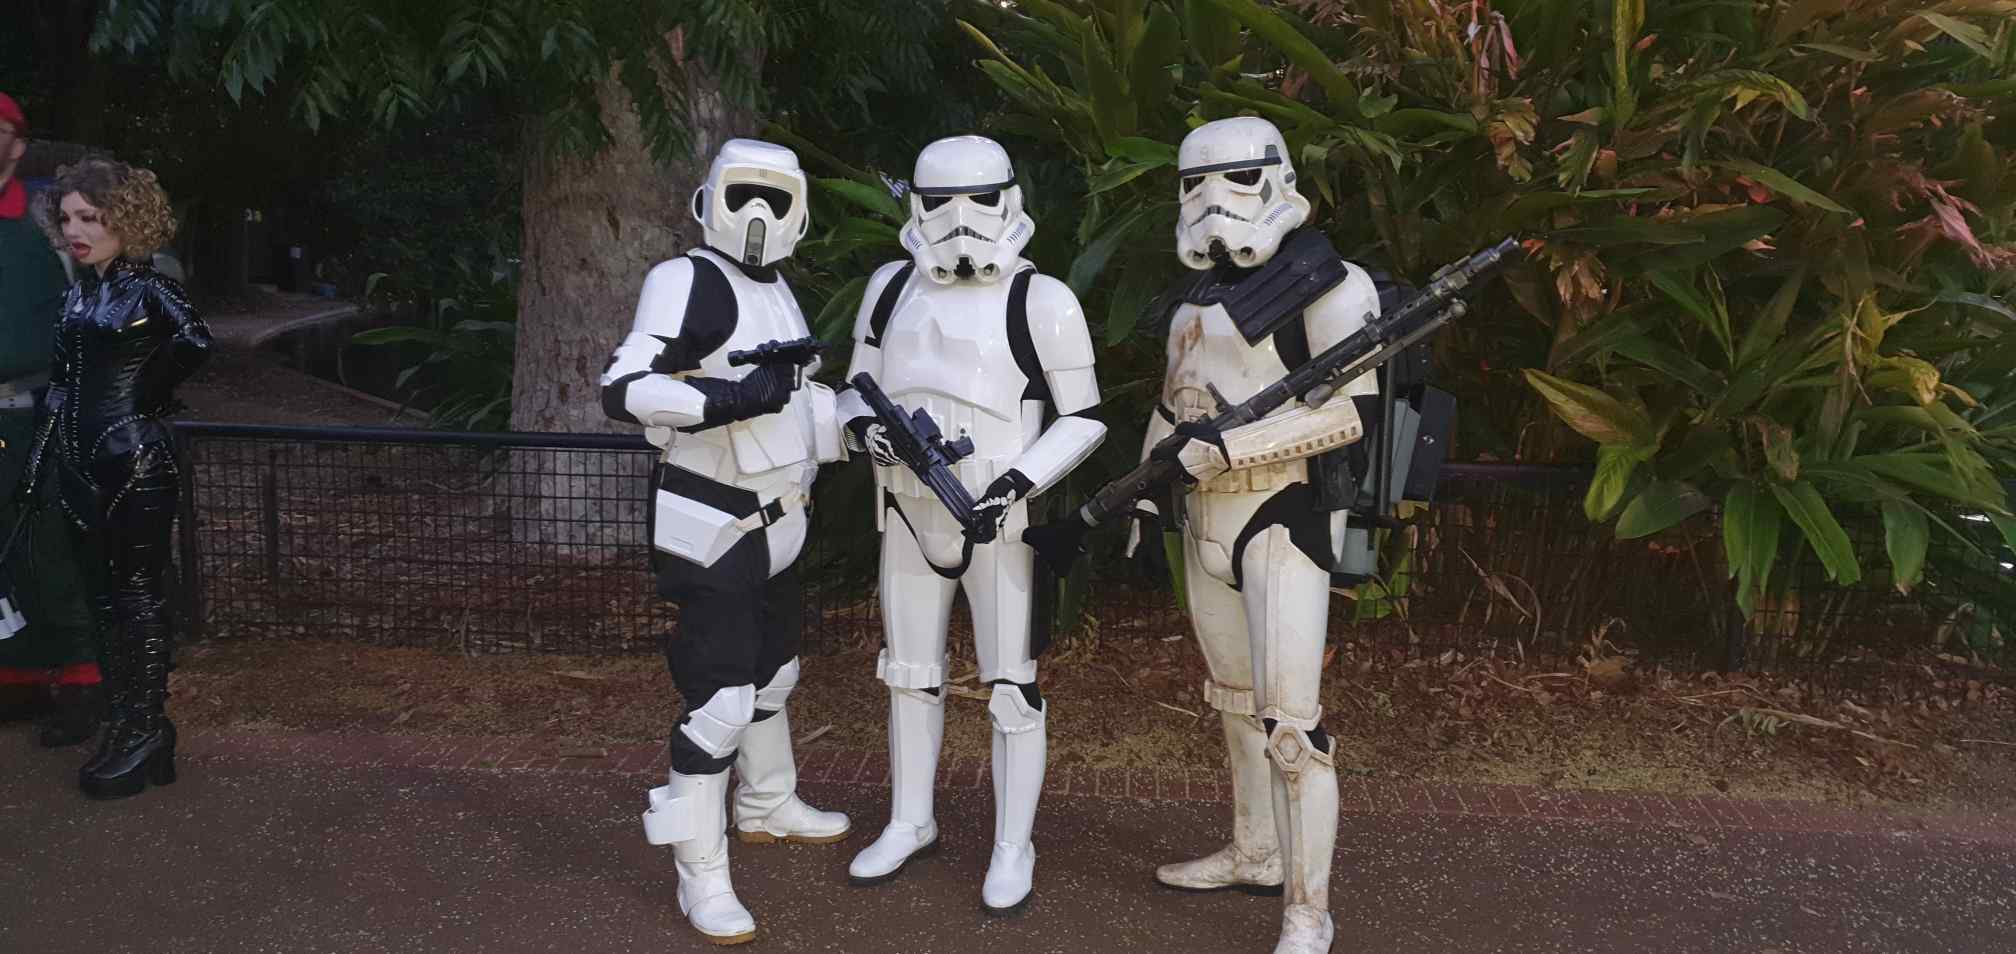
13. Boo at the Zoo - Perth Zoo - 25/10/19
Great Halloween event with lots of dressed up parents and kids hyped up on sugar!
-
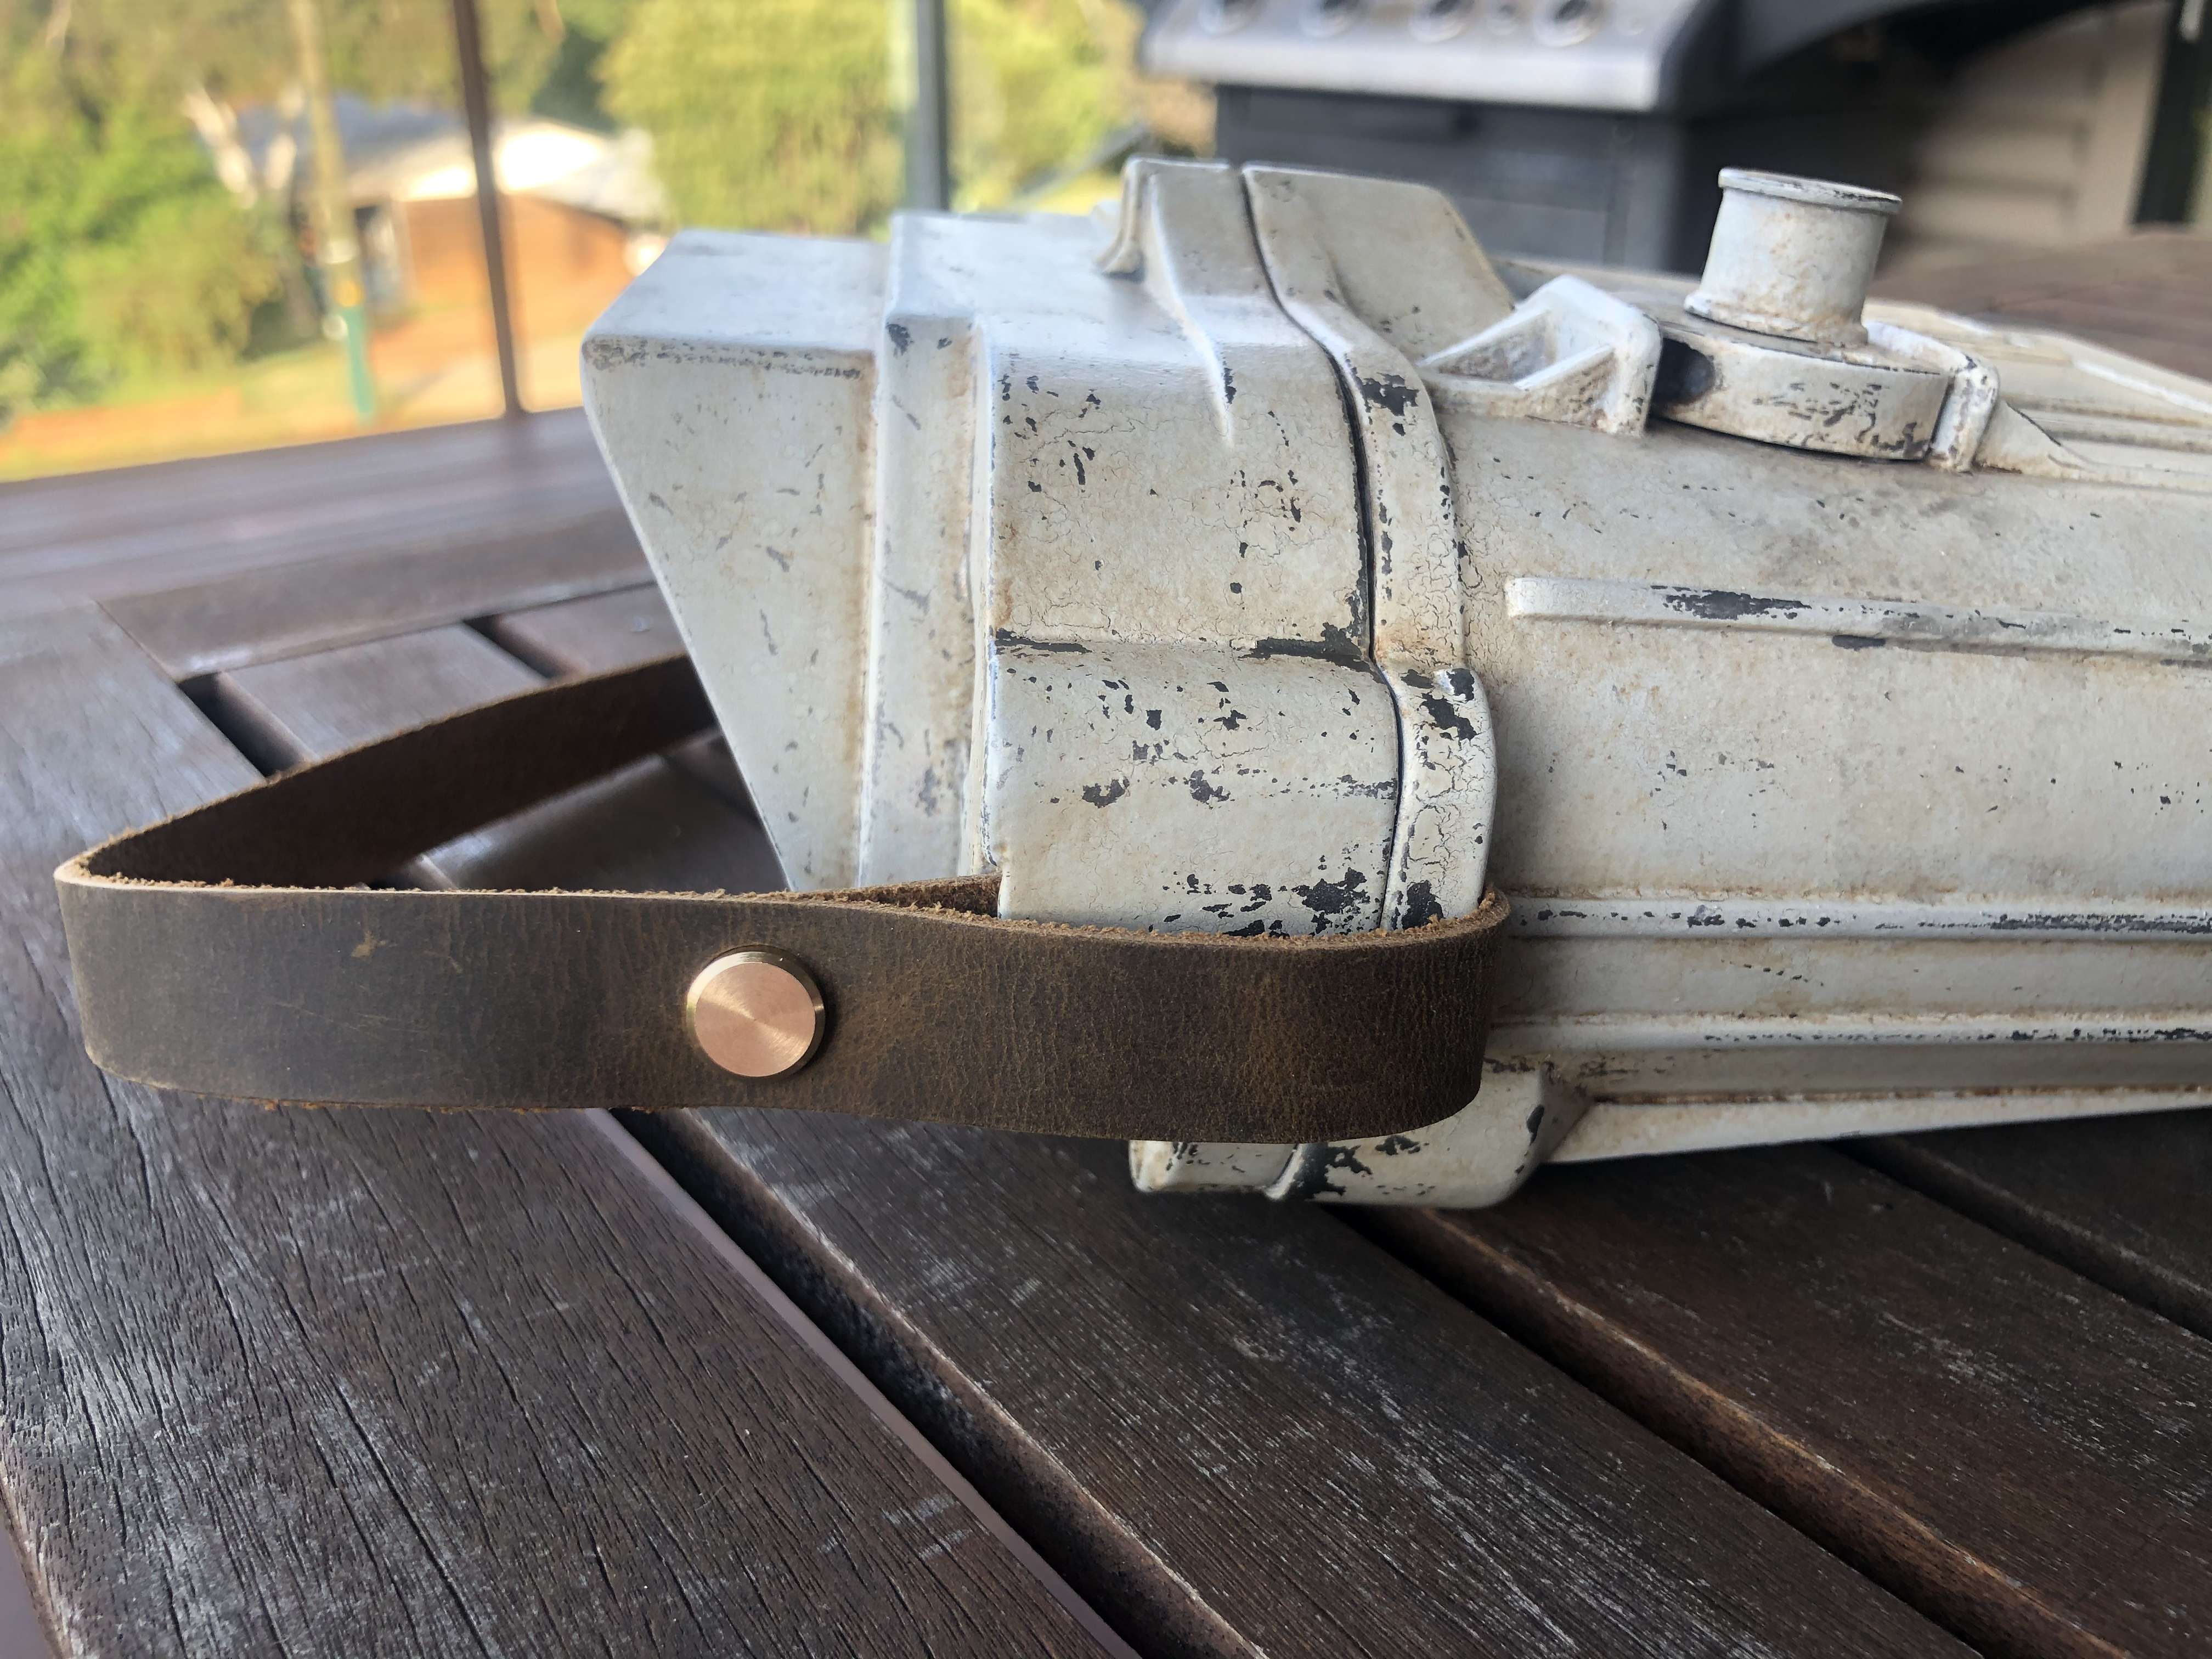
I have a strap that loops around the strap that connects the shoulder bell to the white shoulder webbing. The the pouch is held in place on the front of my chest plate with magnets. Will get a pic when I have a chance
-
My Australian order arrived safe and sound today, many thanks for organizing all of this
-
I just completed this 3D print that I got off a fellow trooper in the garrison. The print was very thin and very rough so a lot of sanding and re enforcing was required before they were sturdy enough to troop in. Might add a little darker wash in a few spots but I am happy with the final product and should look great on the next troop! More stuff to hang off an already weighted down trooper.
Let me know what you think fellow Sandie's
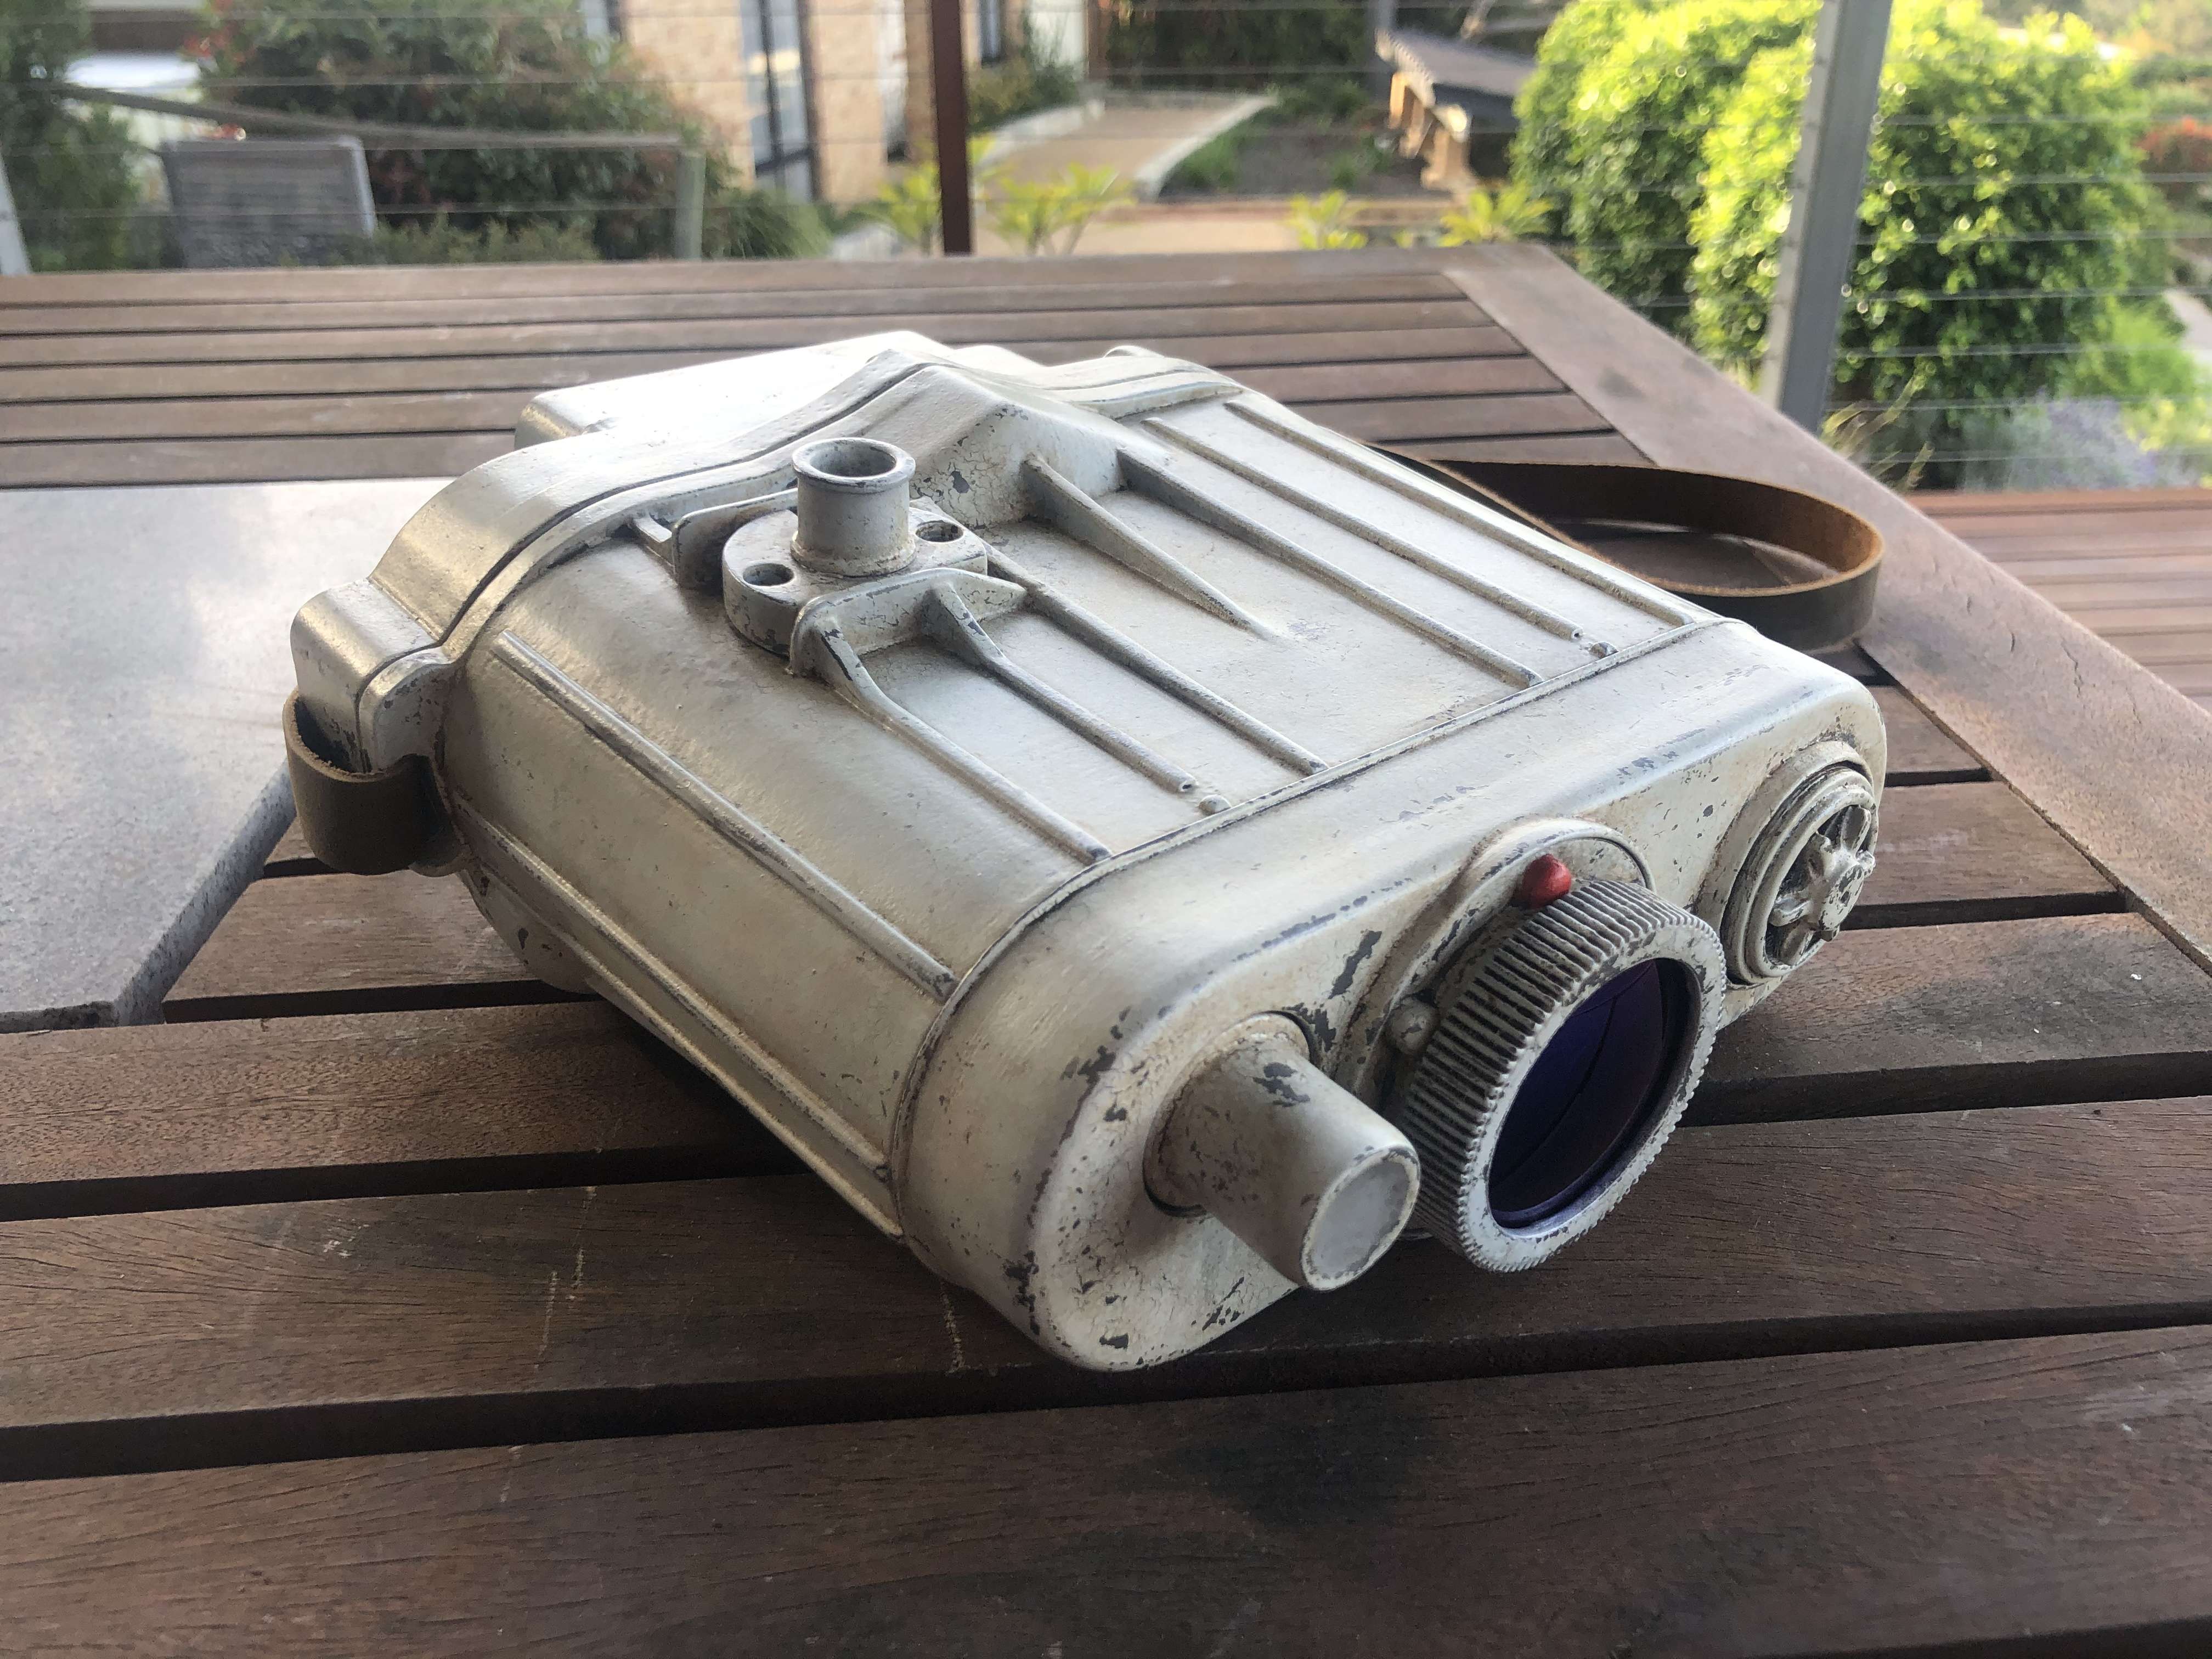
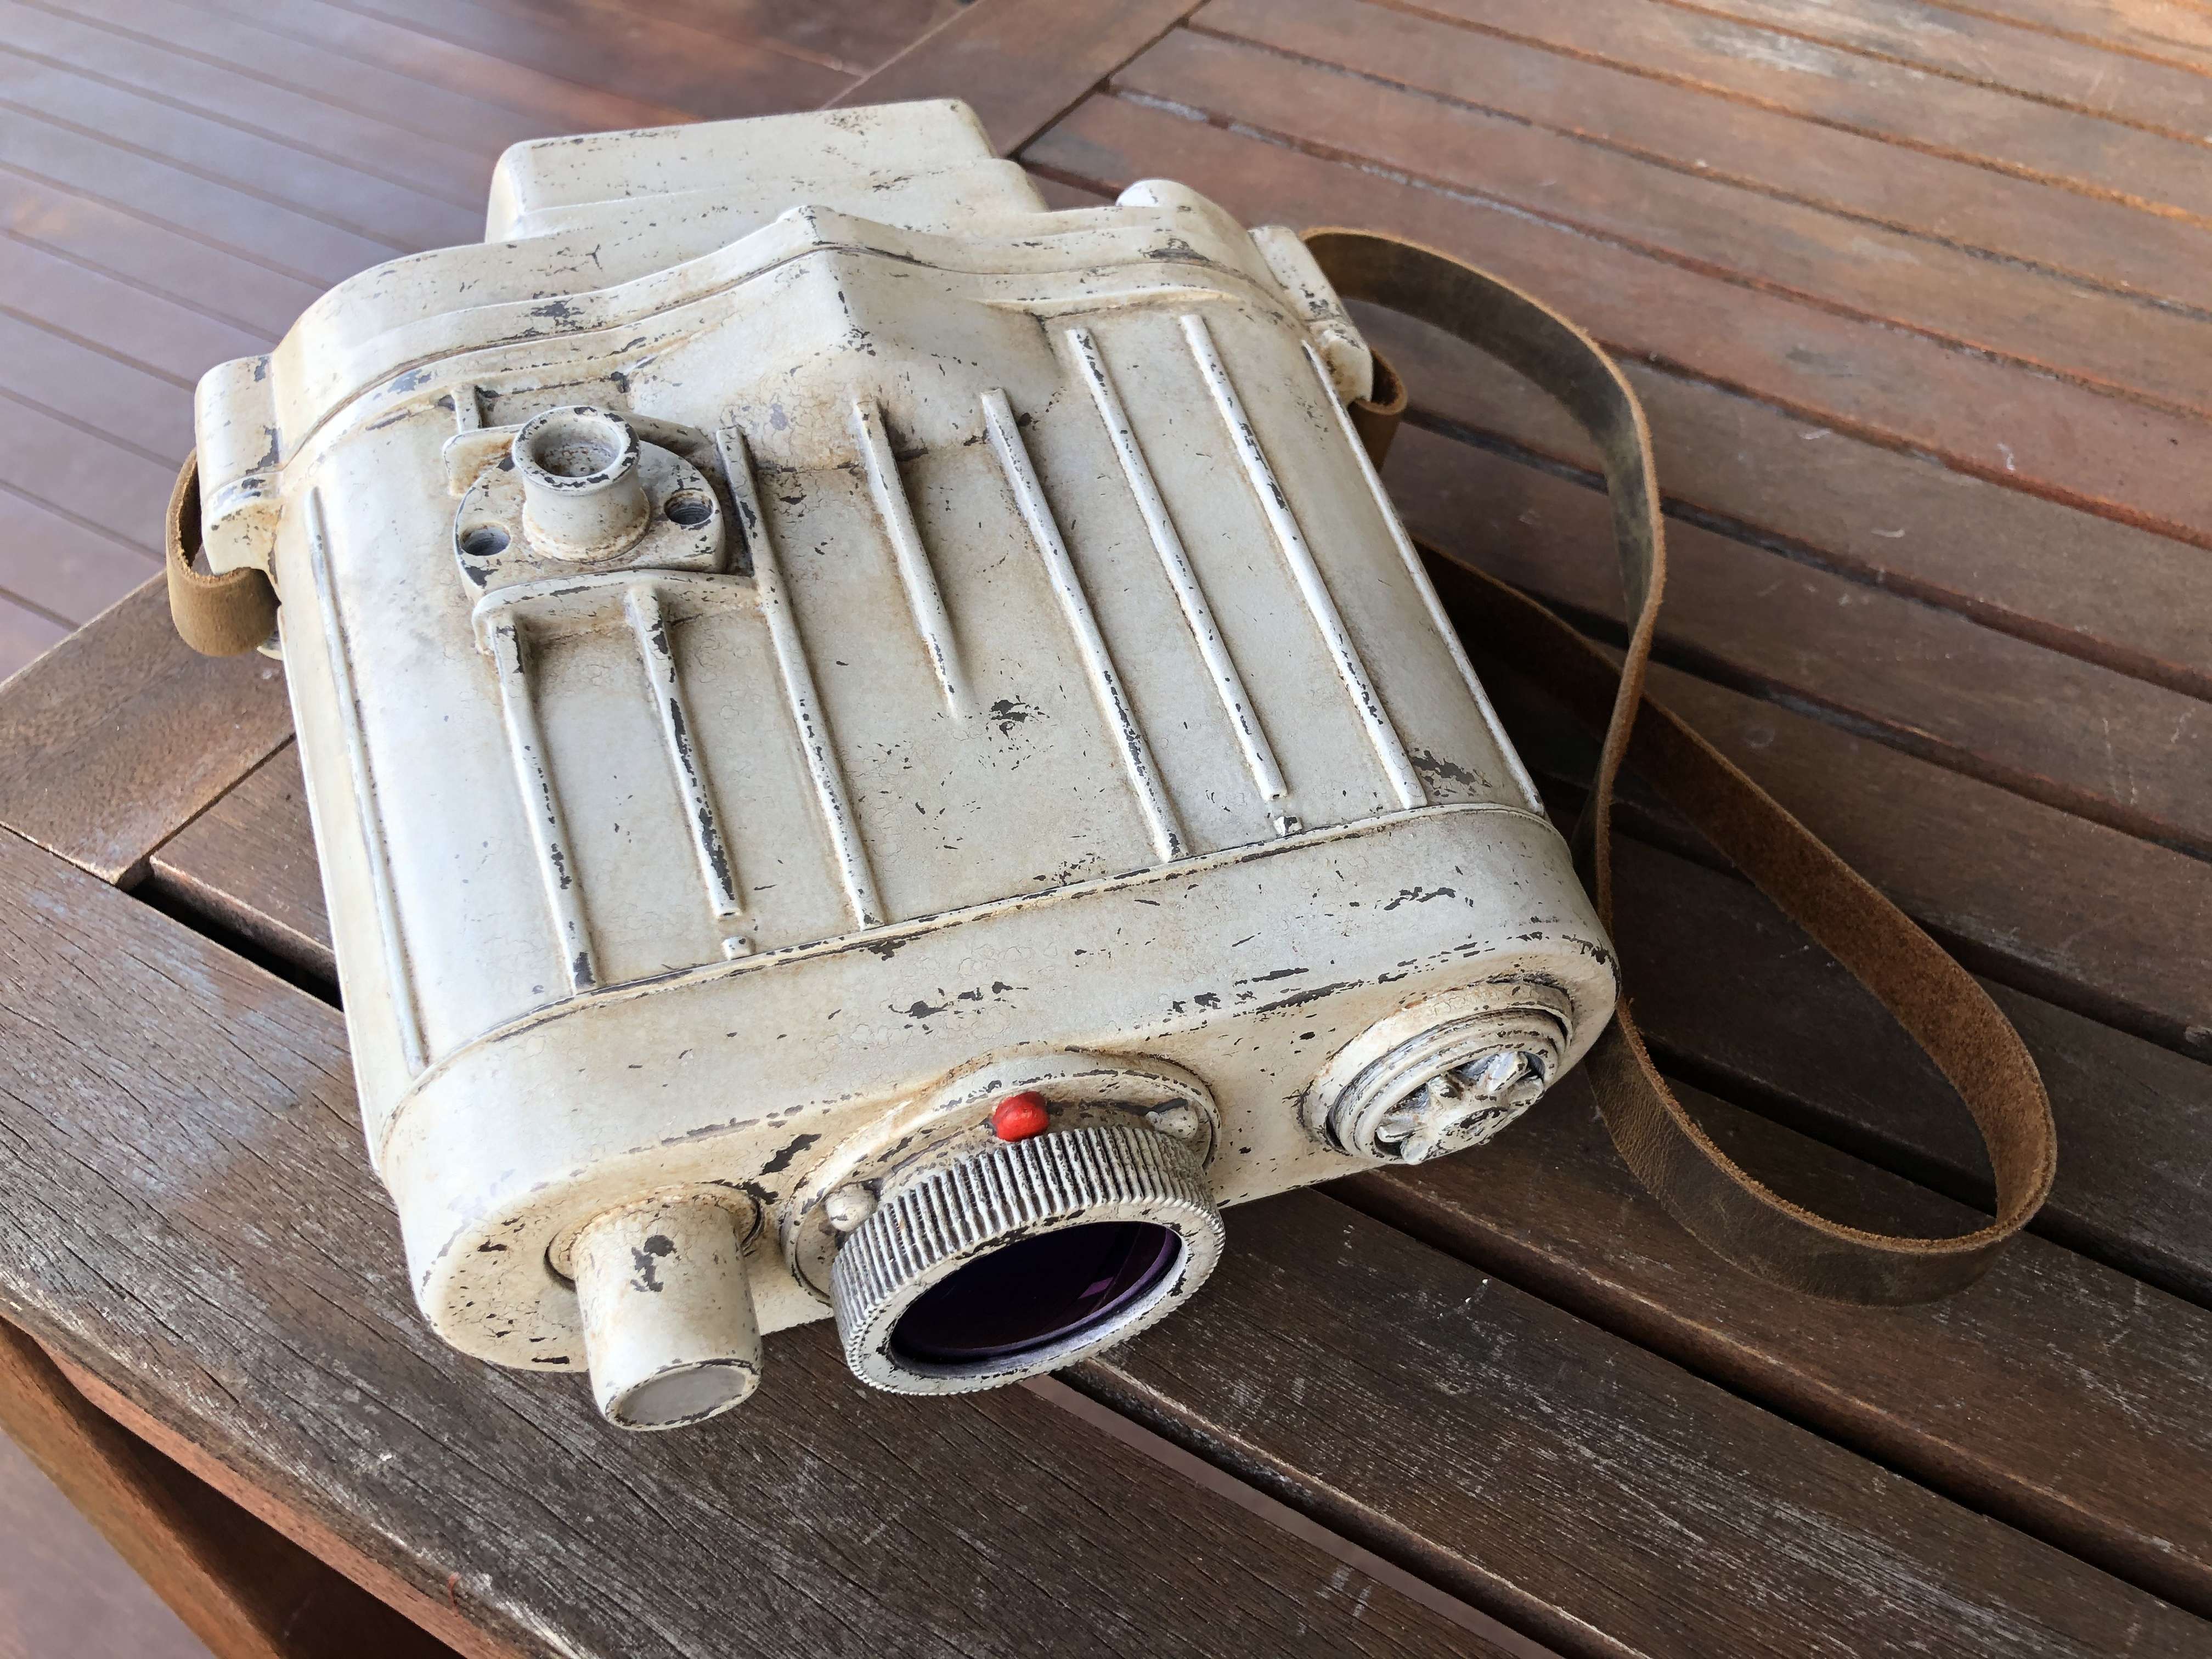
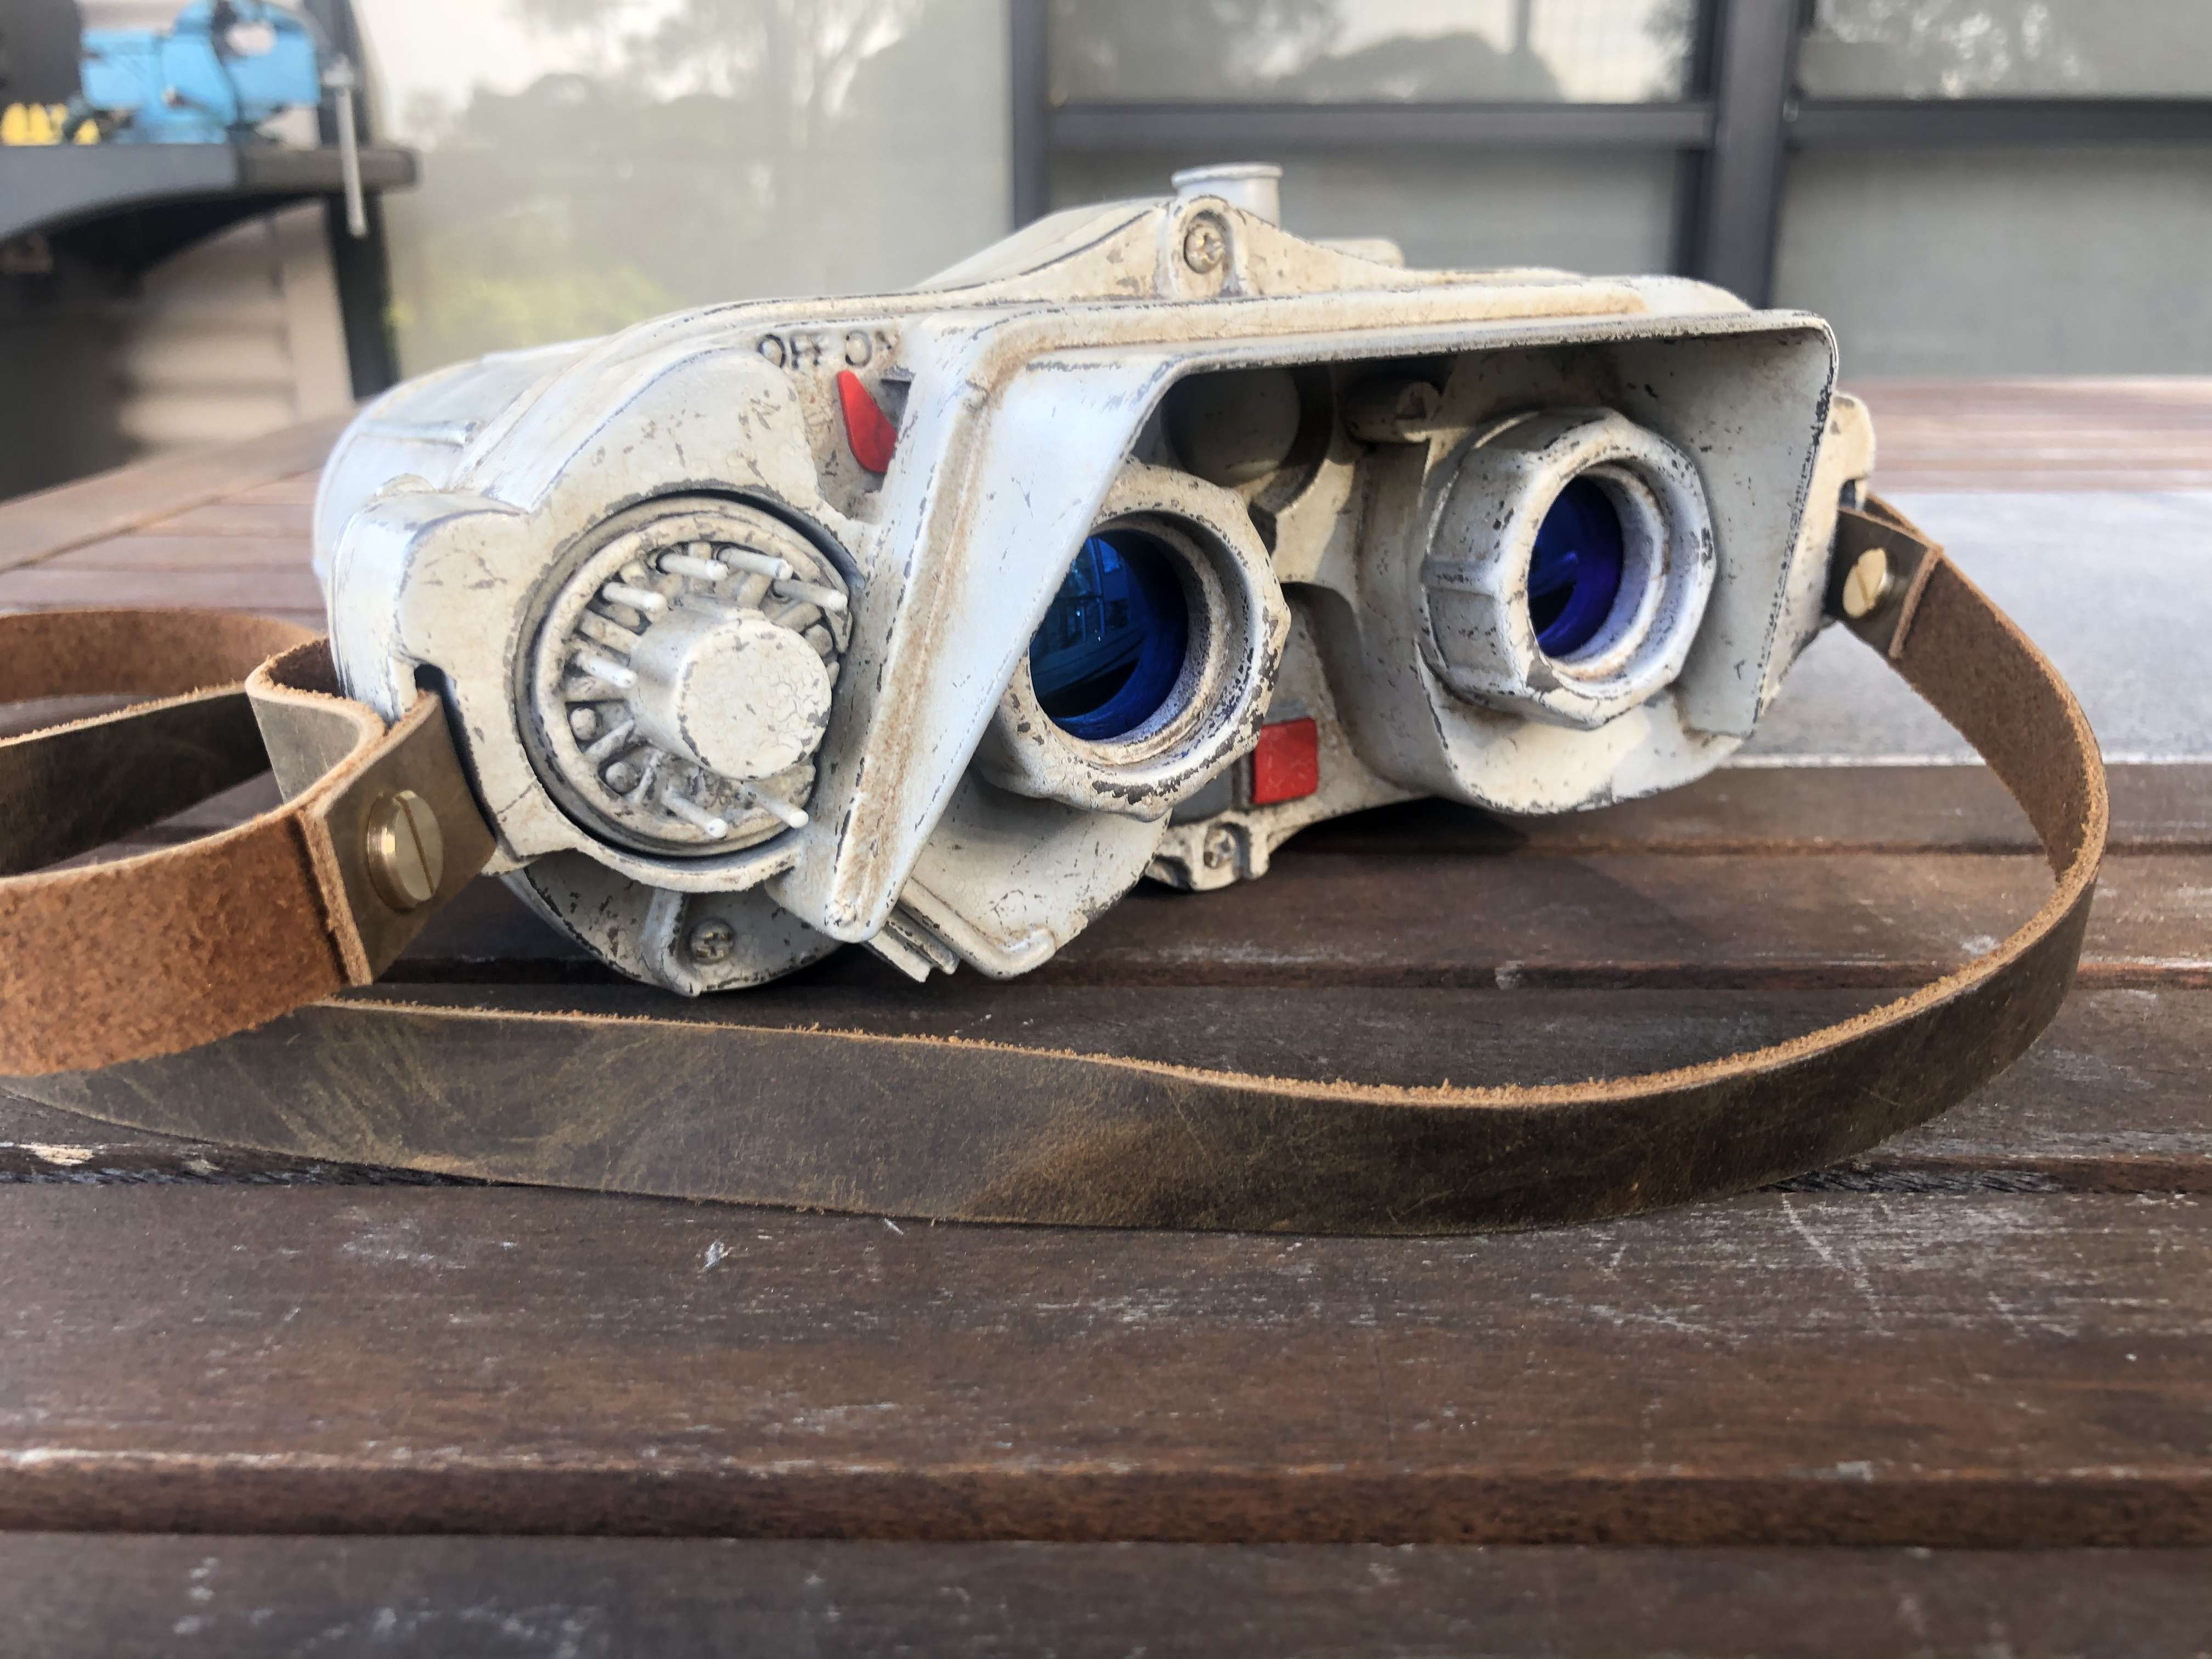
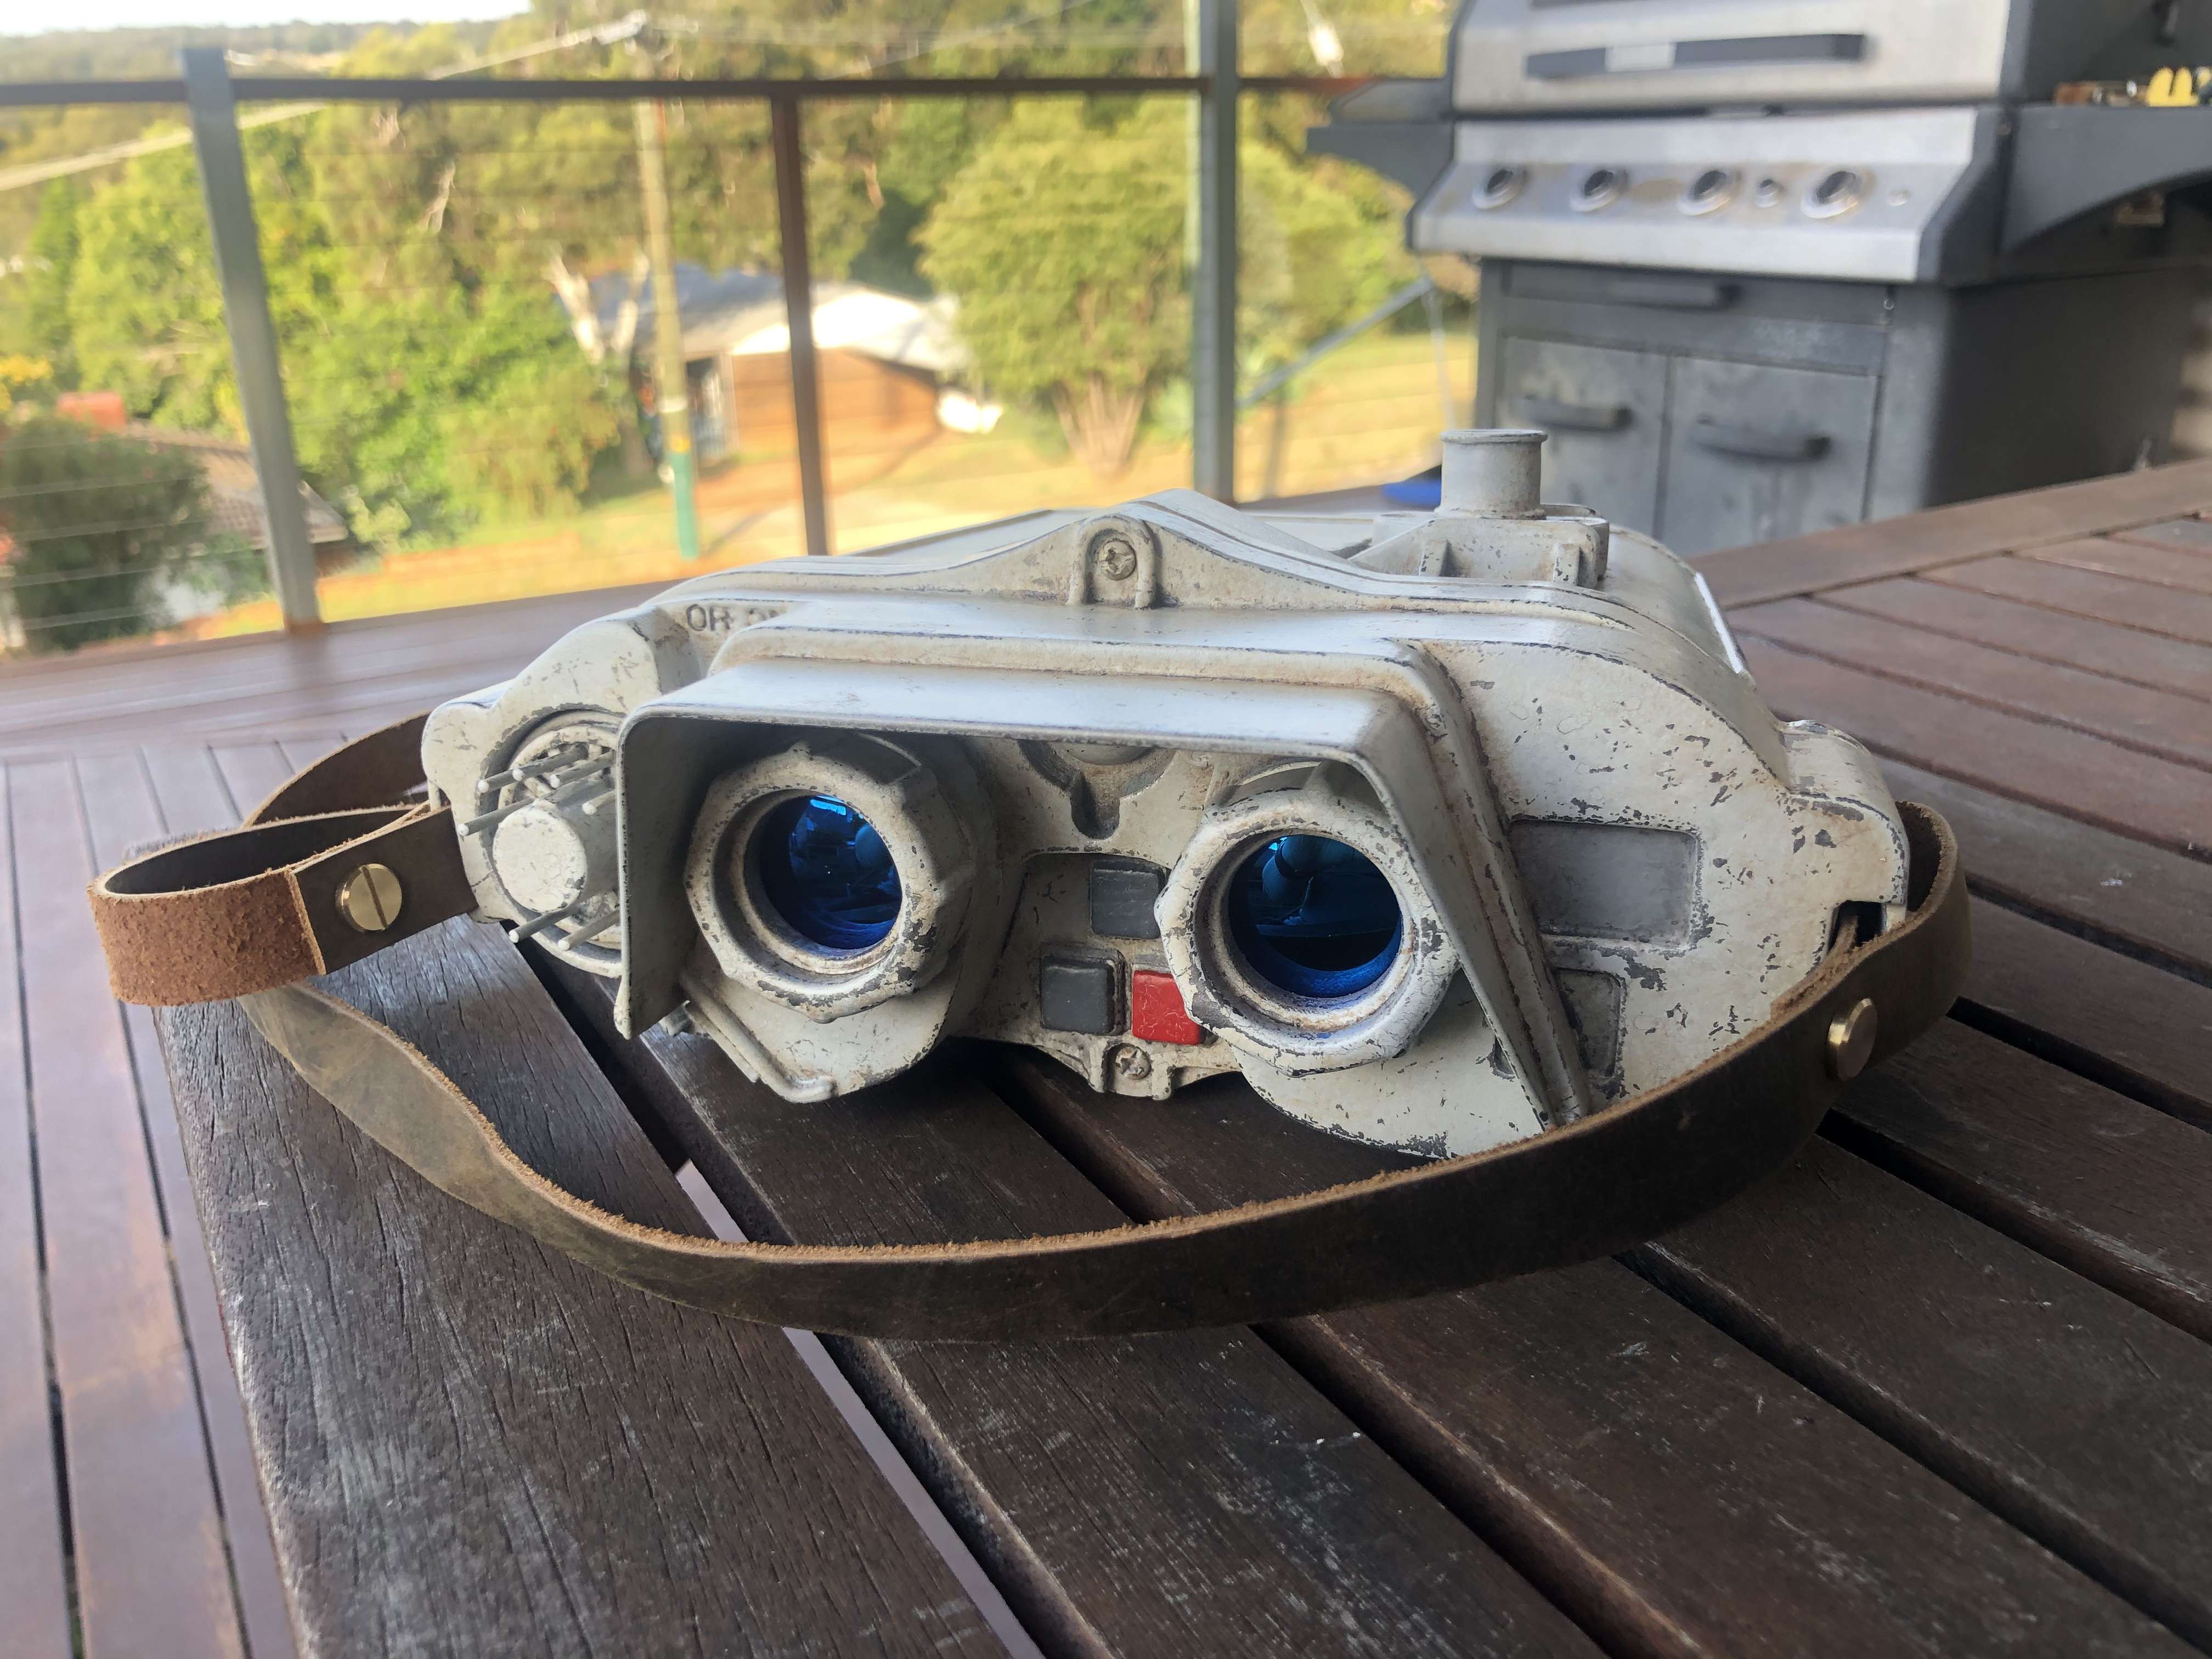
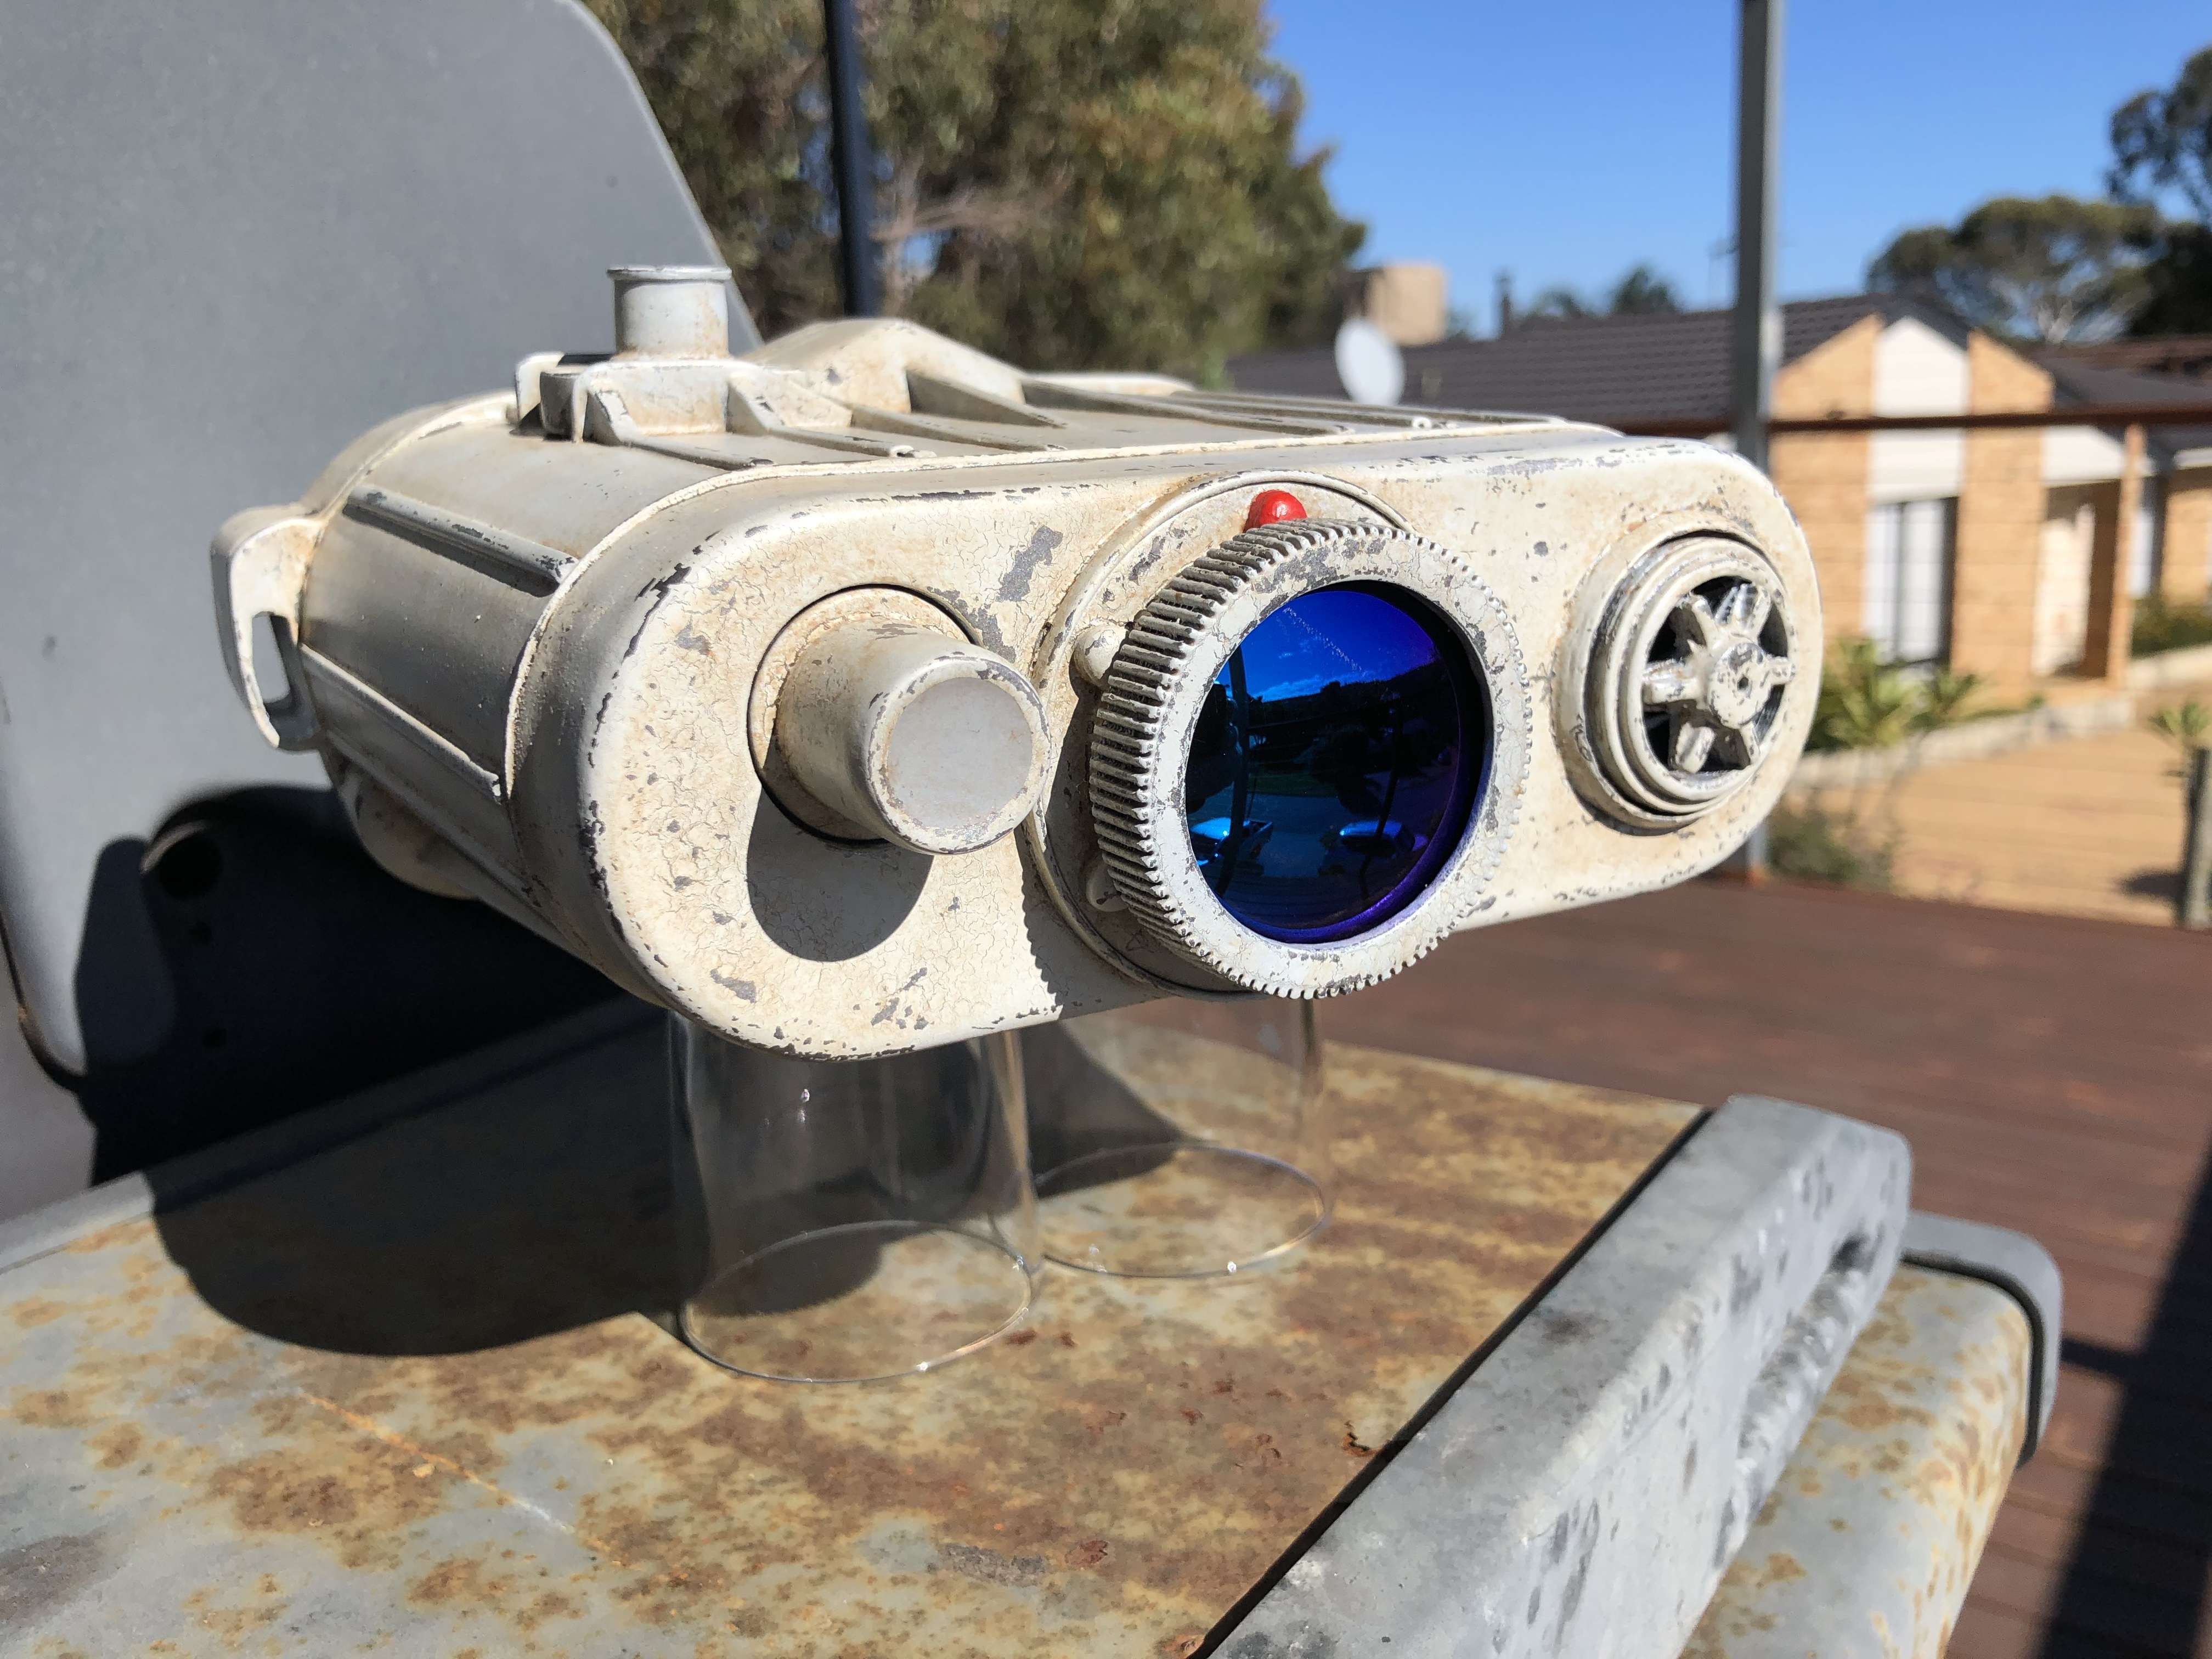
And here is a closeup of the front lens in the sun
-
 4
4
-
-
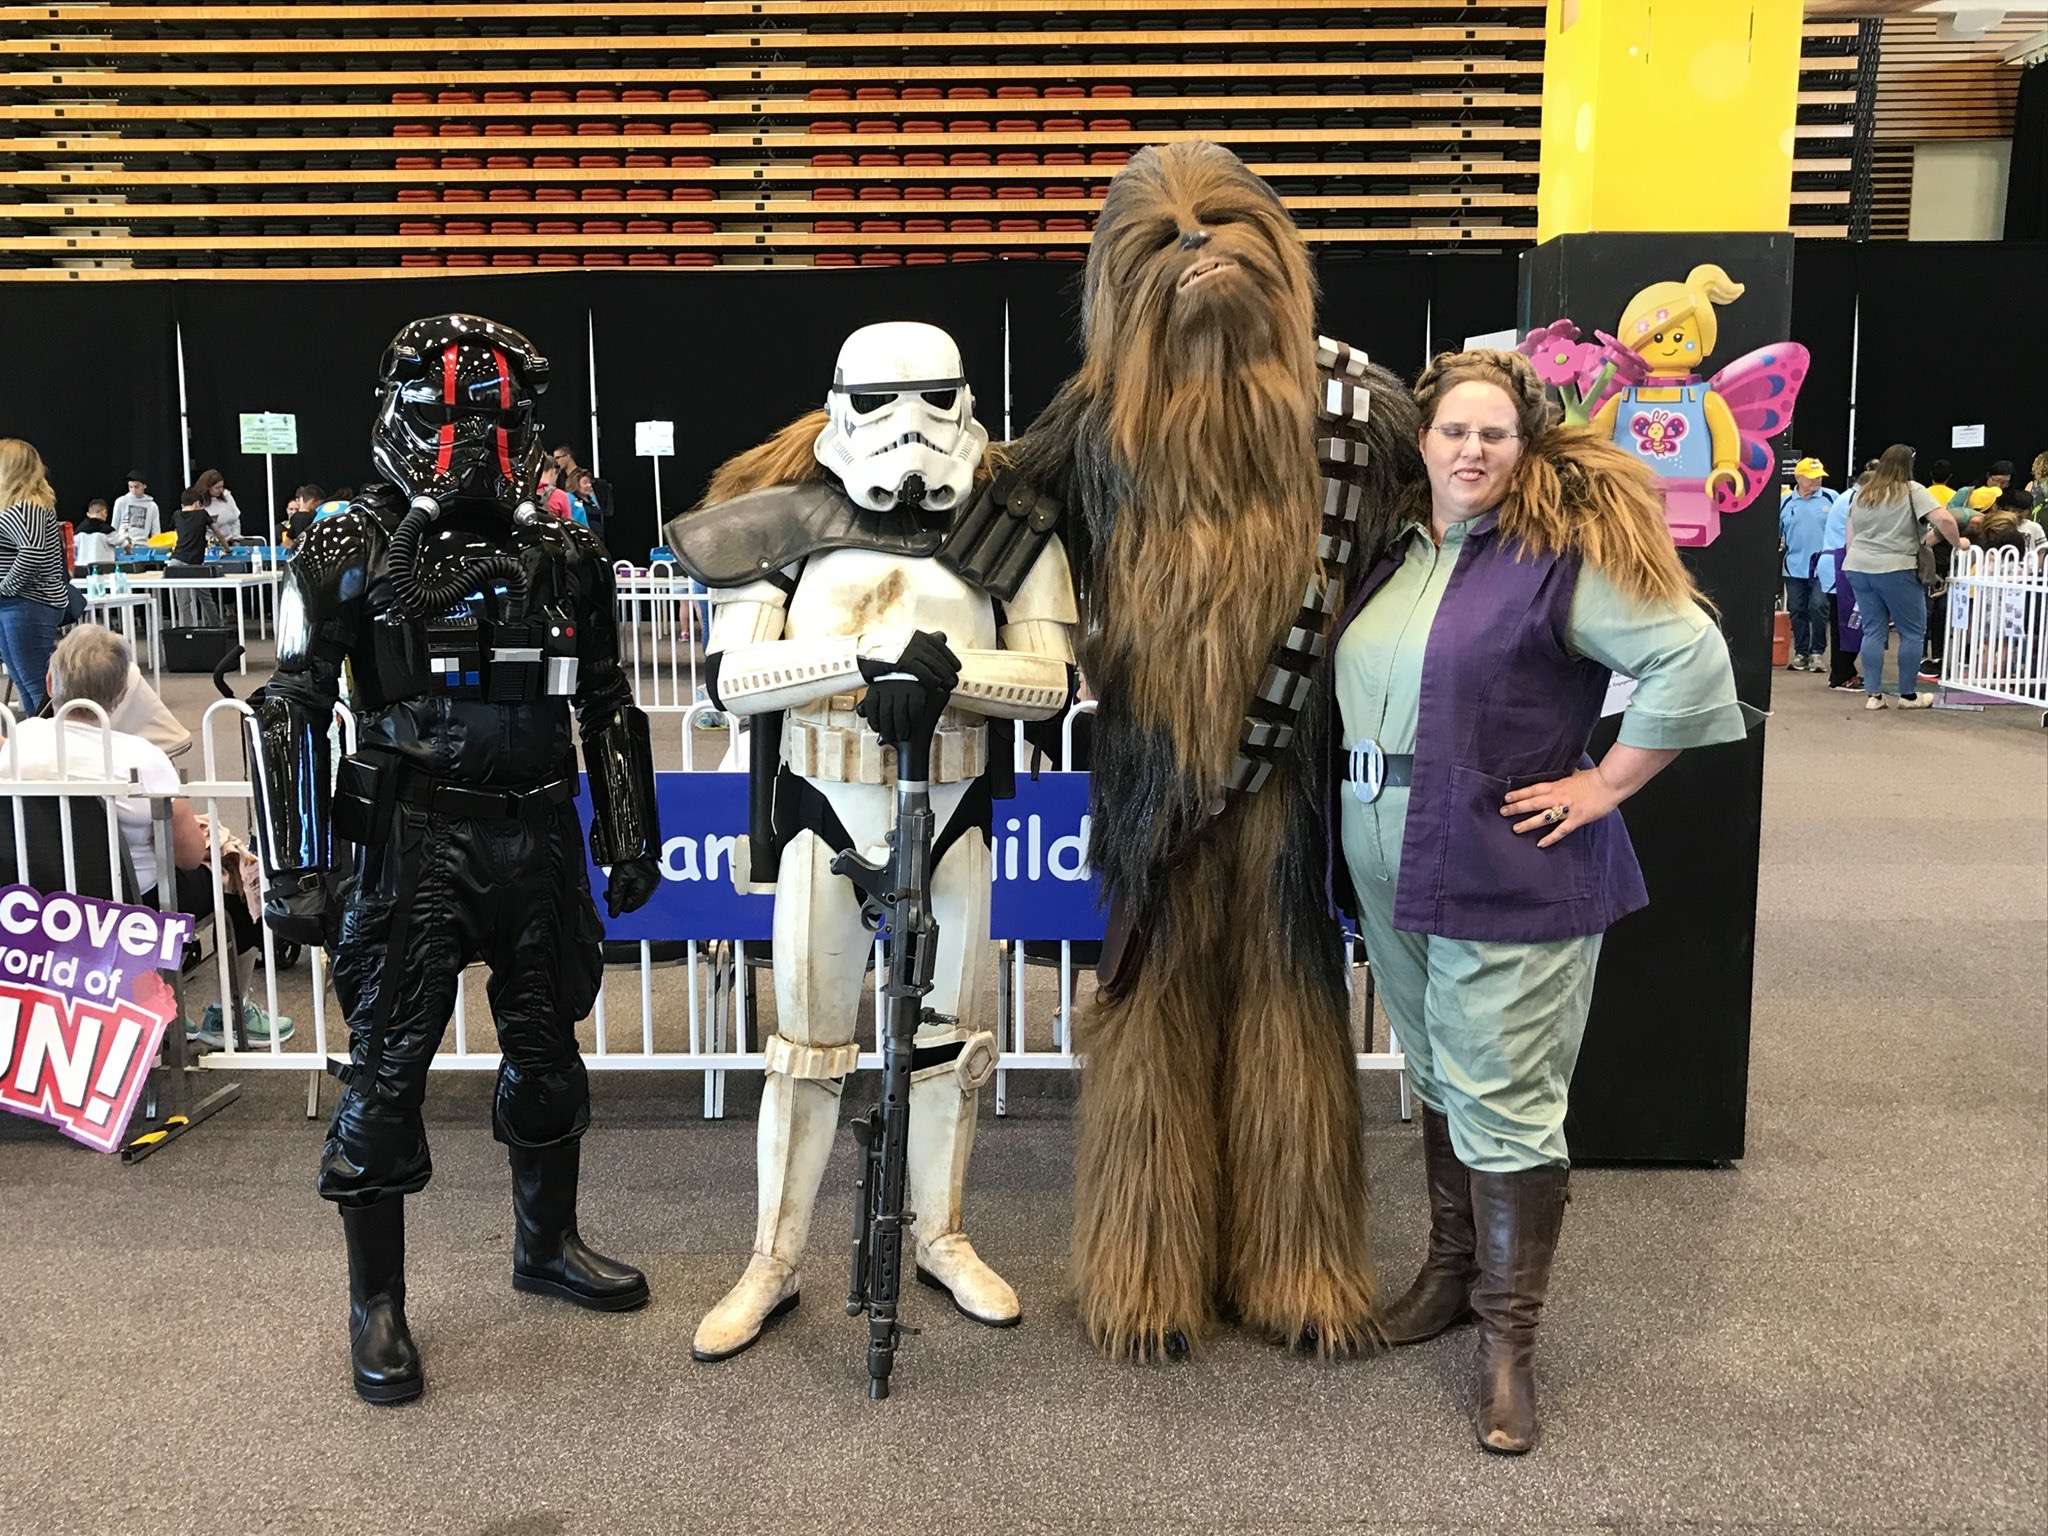
12. Bricktober Day 1 - Curtin Stadium - 12/10/19
Annual Lego event with displays, sellers and lots of kids to entertain

-
2
-
-
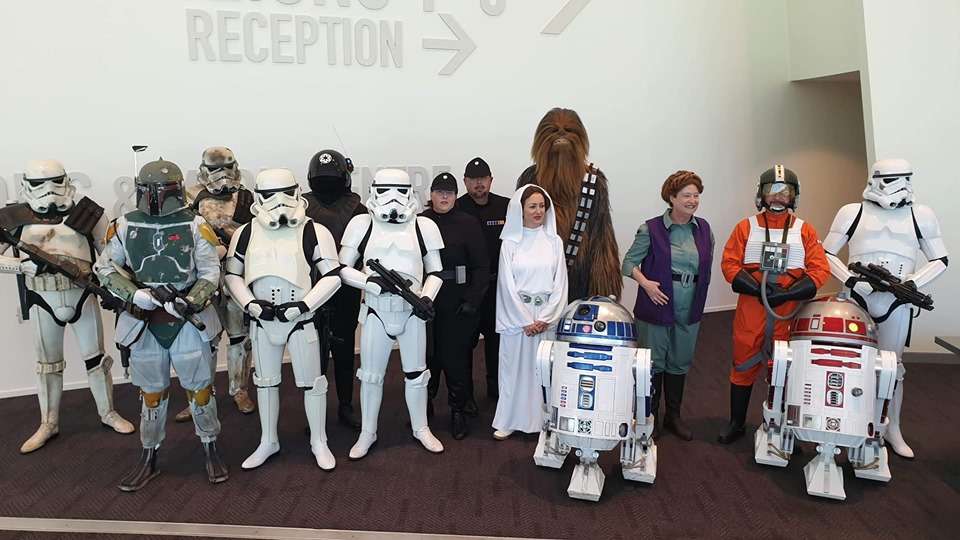
11. University of Western Australia Ecoms Ball - 24/08/19
Annual ball held for the economy & commerce students in WA. Was an interesting troop, with a lot of frisky young ladies. This Sandtrooper got touch in places he didn't think possible during a troop, lol
-
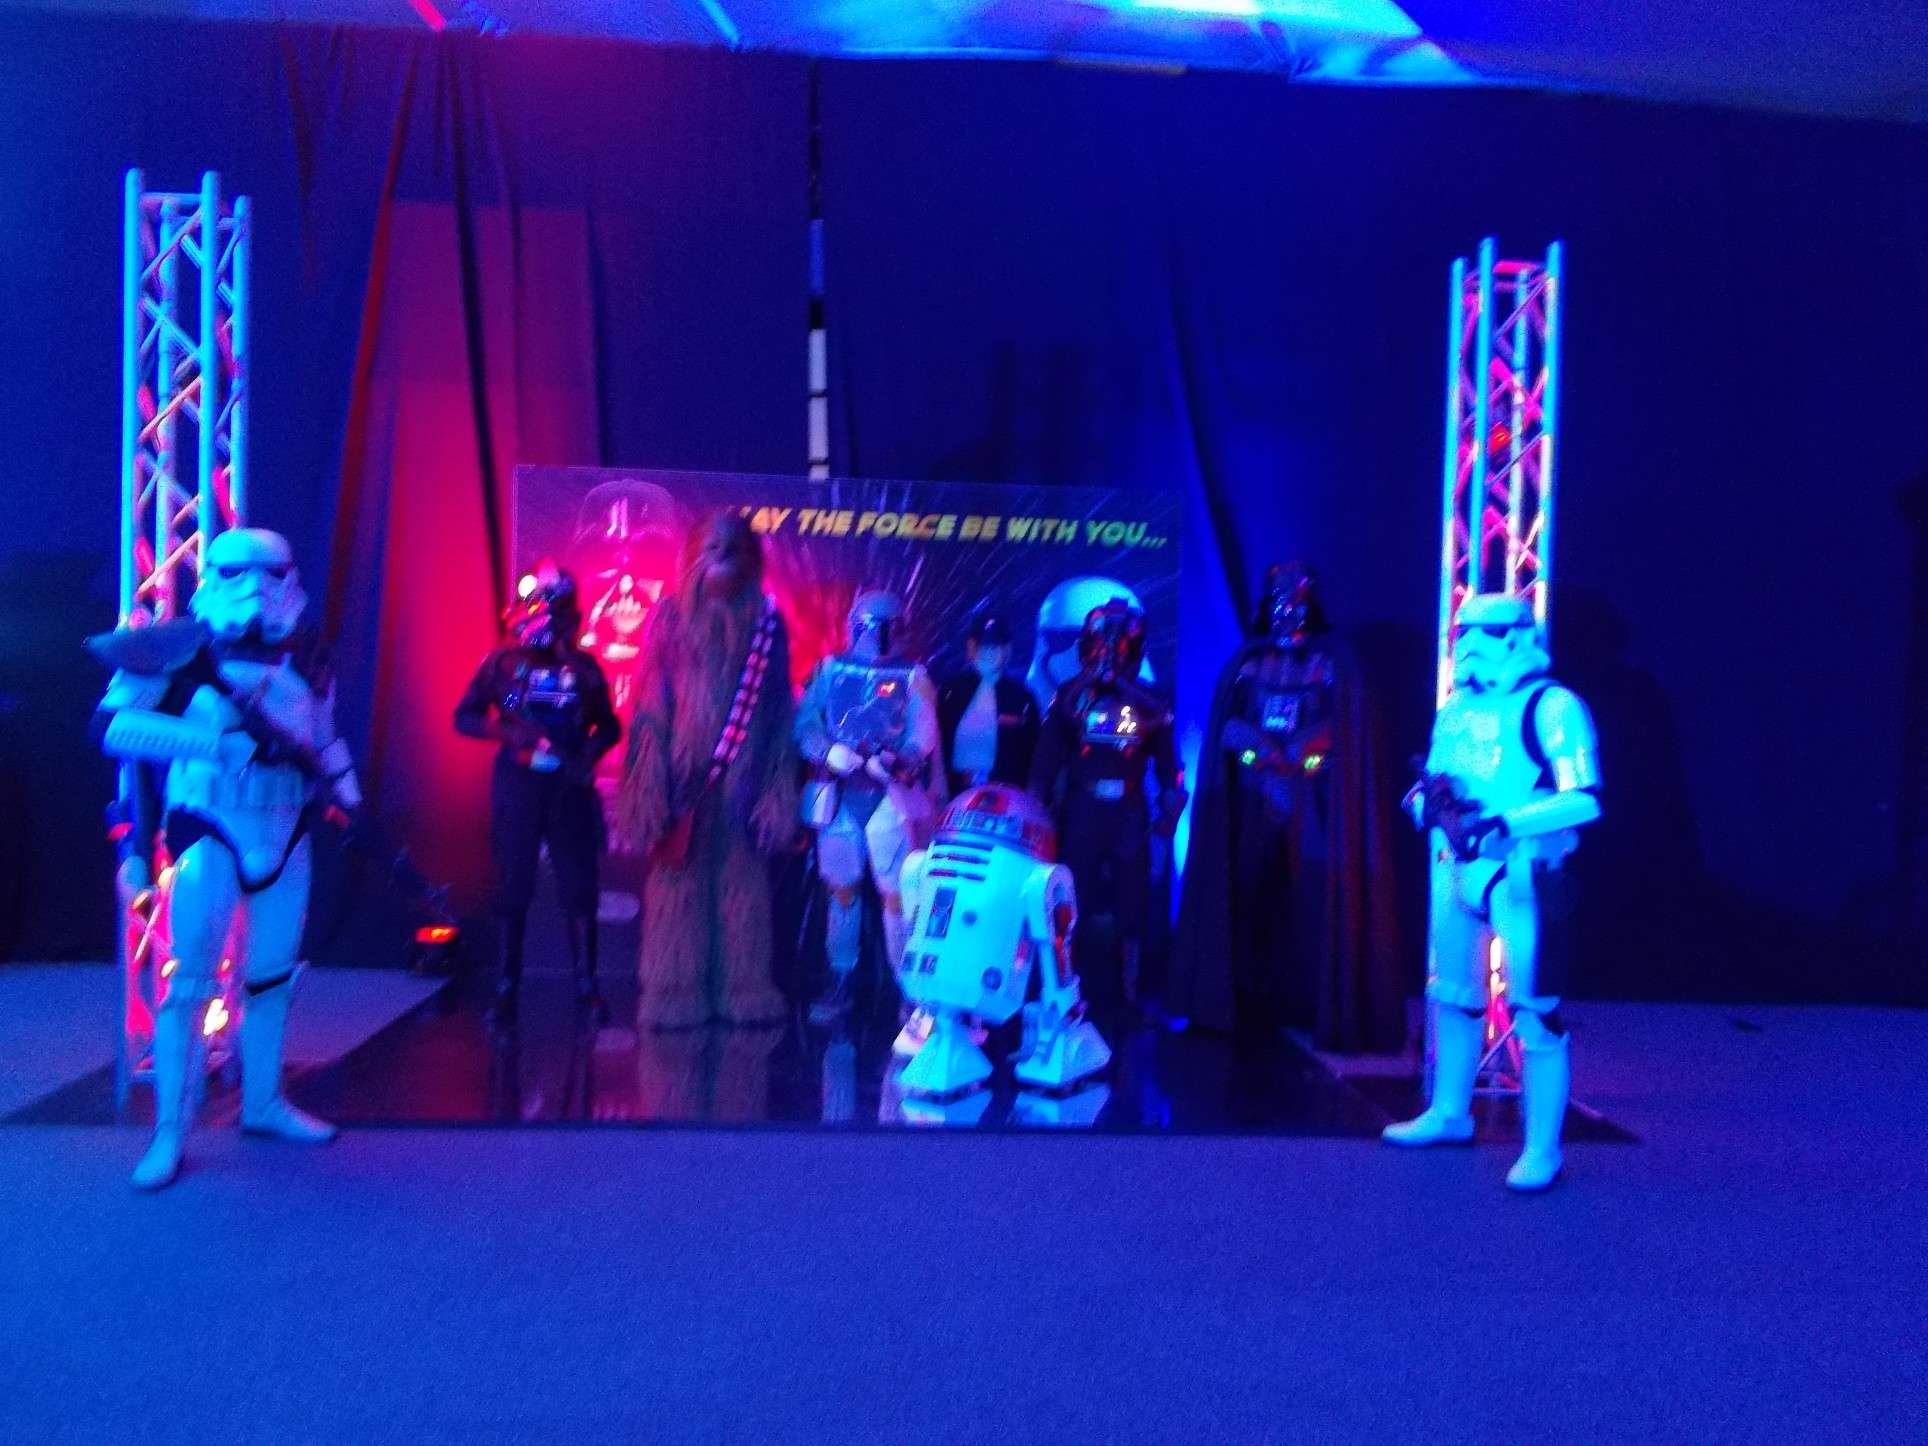
10. Western Australia Symphony Orchestra plays Empire Strikes Back in concert - 07/09/19
The event has 2 sessions that are both held on the same day.
1pm session:
6:30pm session:
-
1
-
-
9. Perth Supanova & Comic convention @ PCEC - Day 2 - 30/06/19

-
8. May 4th Observatory tour @ Perth Observatory - 4/5/19
-
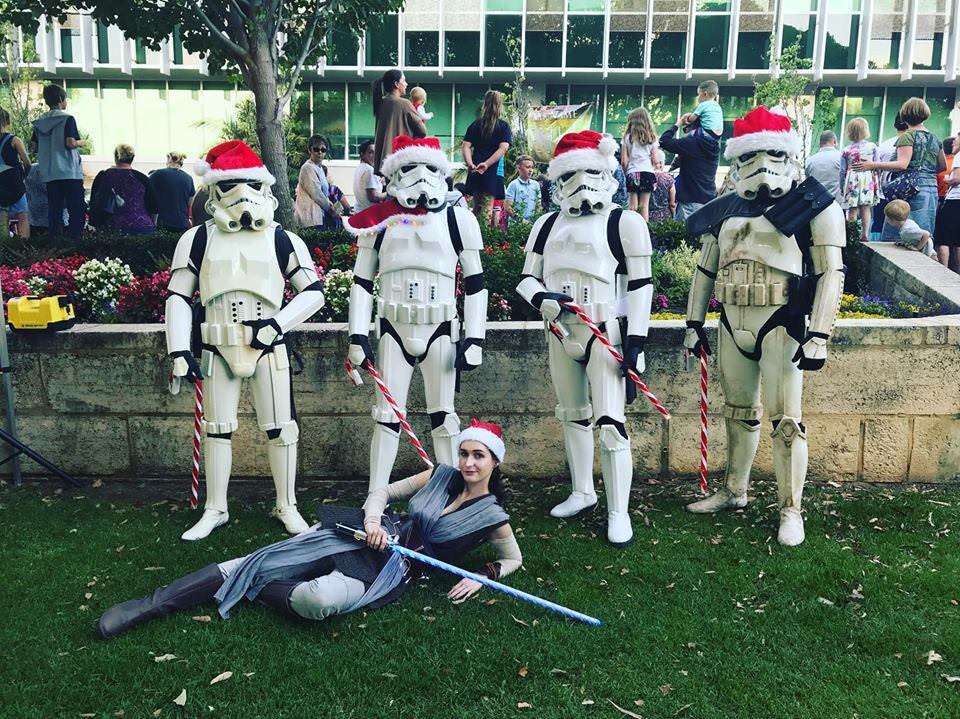
7. 2018 Armadale Christmas Pageant - 7/12/18
-
1
-
-
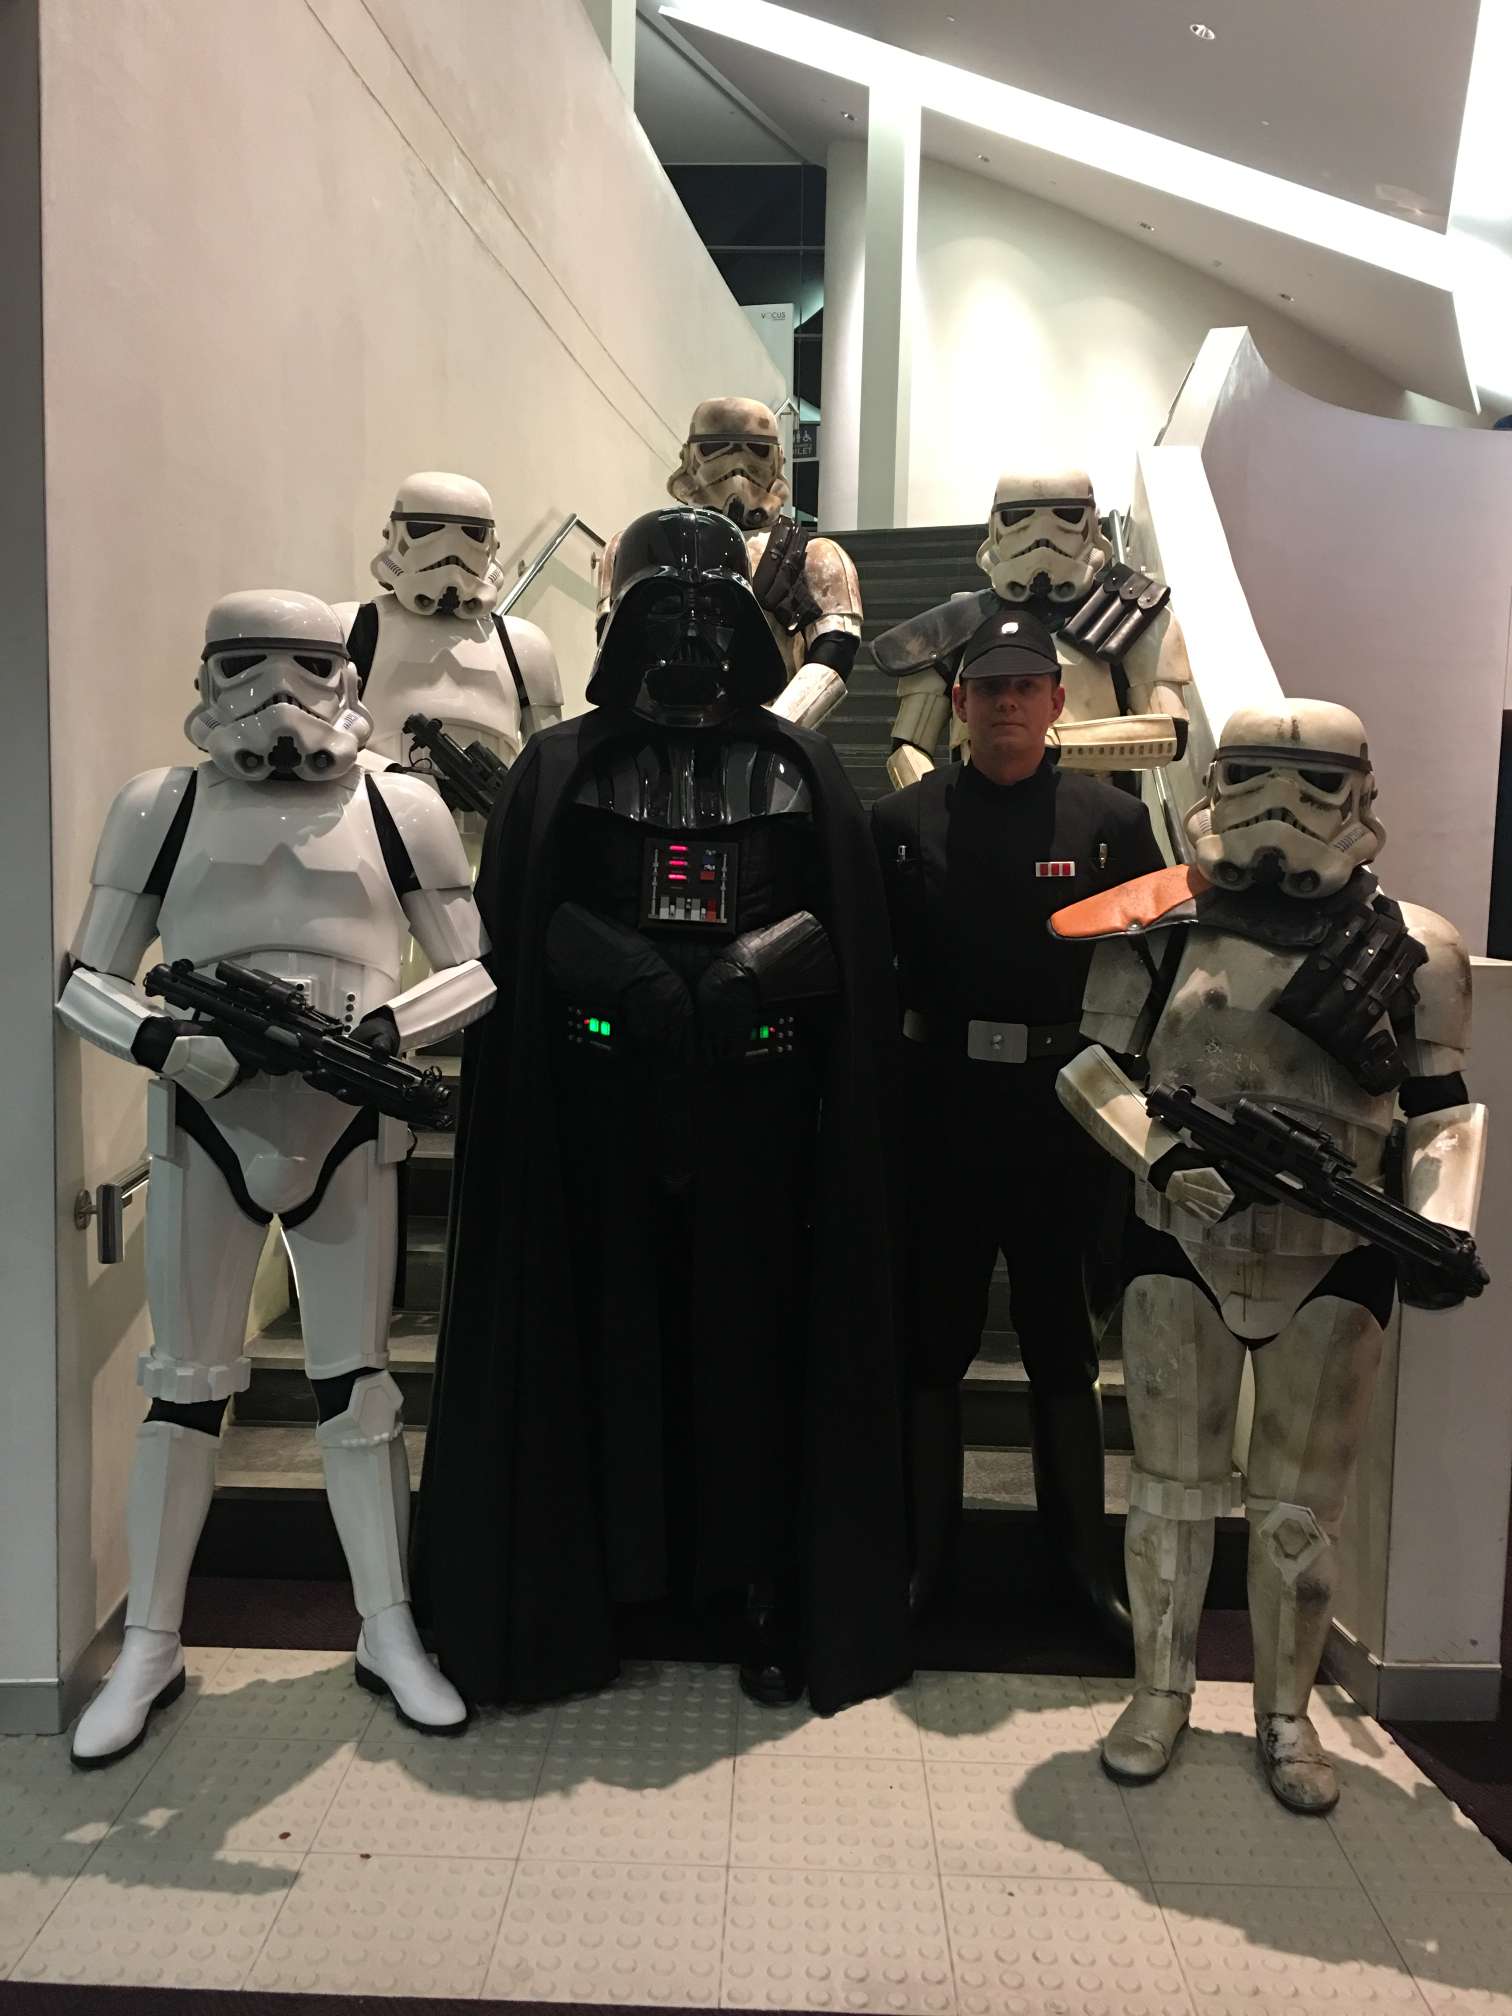
6. 2018 Channel 7 Christmas Pageant - Perth City - 1/12/18
https://www.youtube.com/watch?v=WMM60-VrMuc
https://youtu.be/WMM60-VrMuc-
1
-
-
It’s and absolute beauty Hausi, well done! Love the wear and tear on it and the attention to detail
-
Thanks! There is basically no weight gain from what I used. They are not very heavy to begin with which is great and they hold their shape well being hard plastic
-
 1
1
-
-
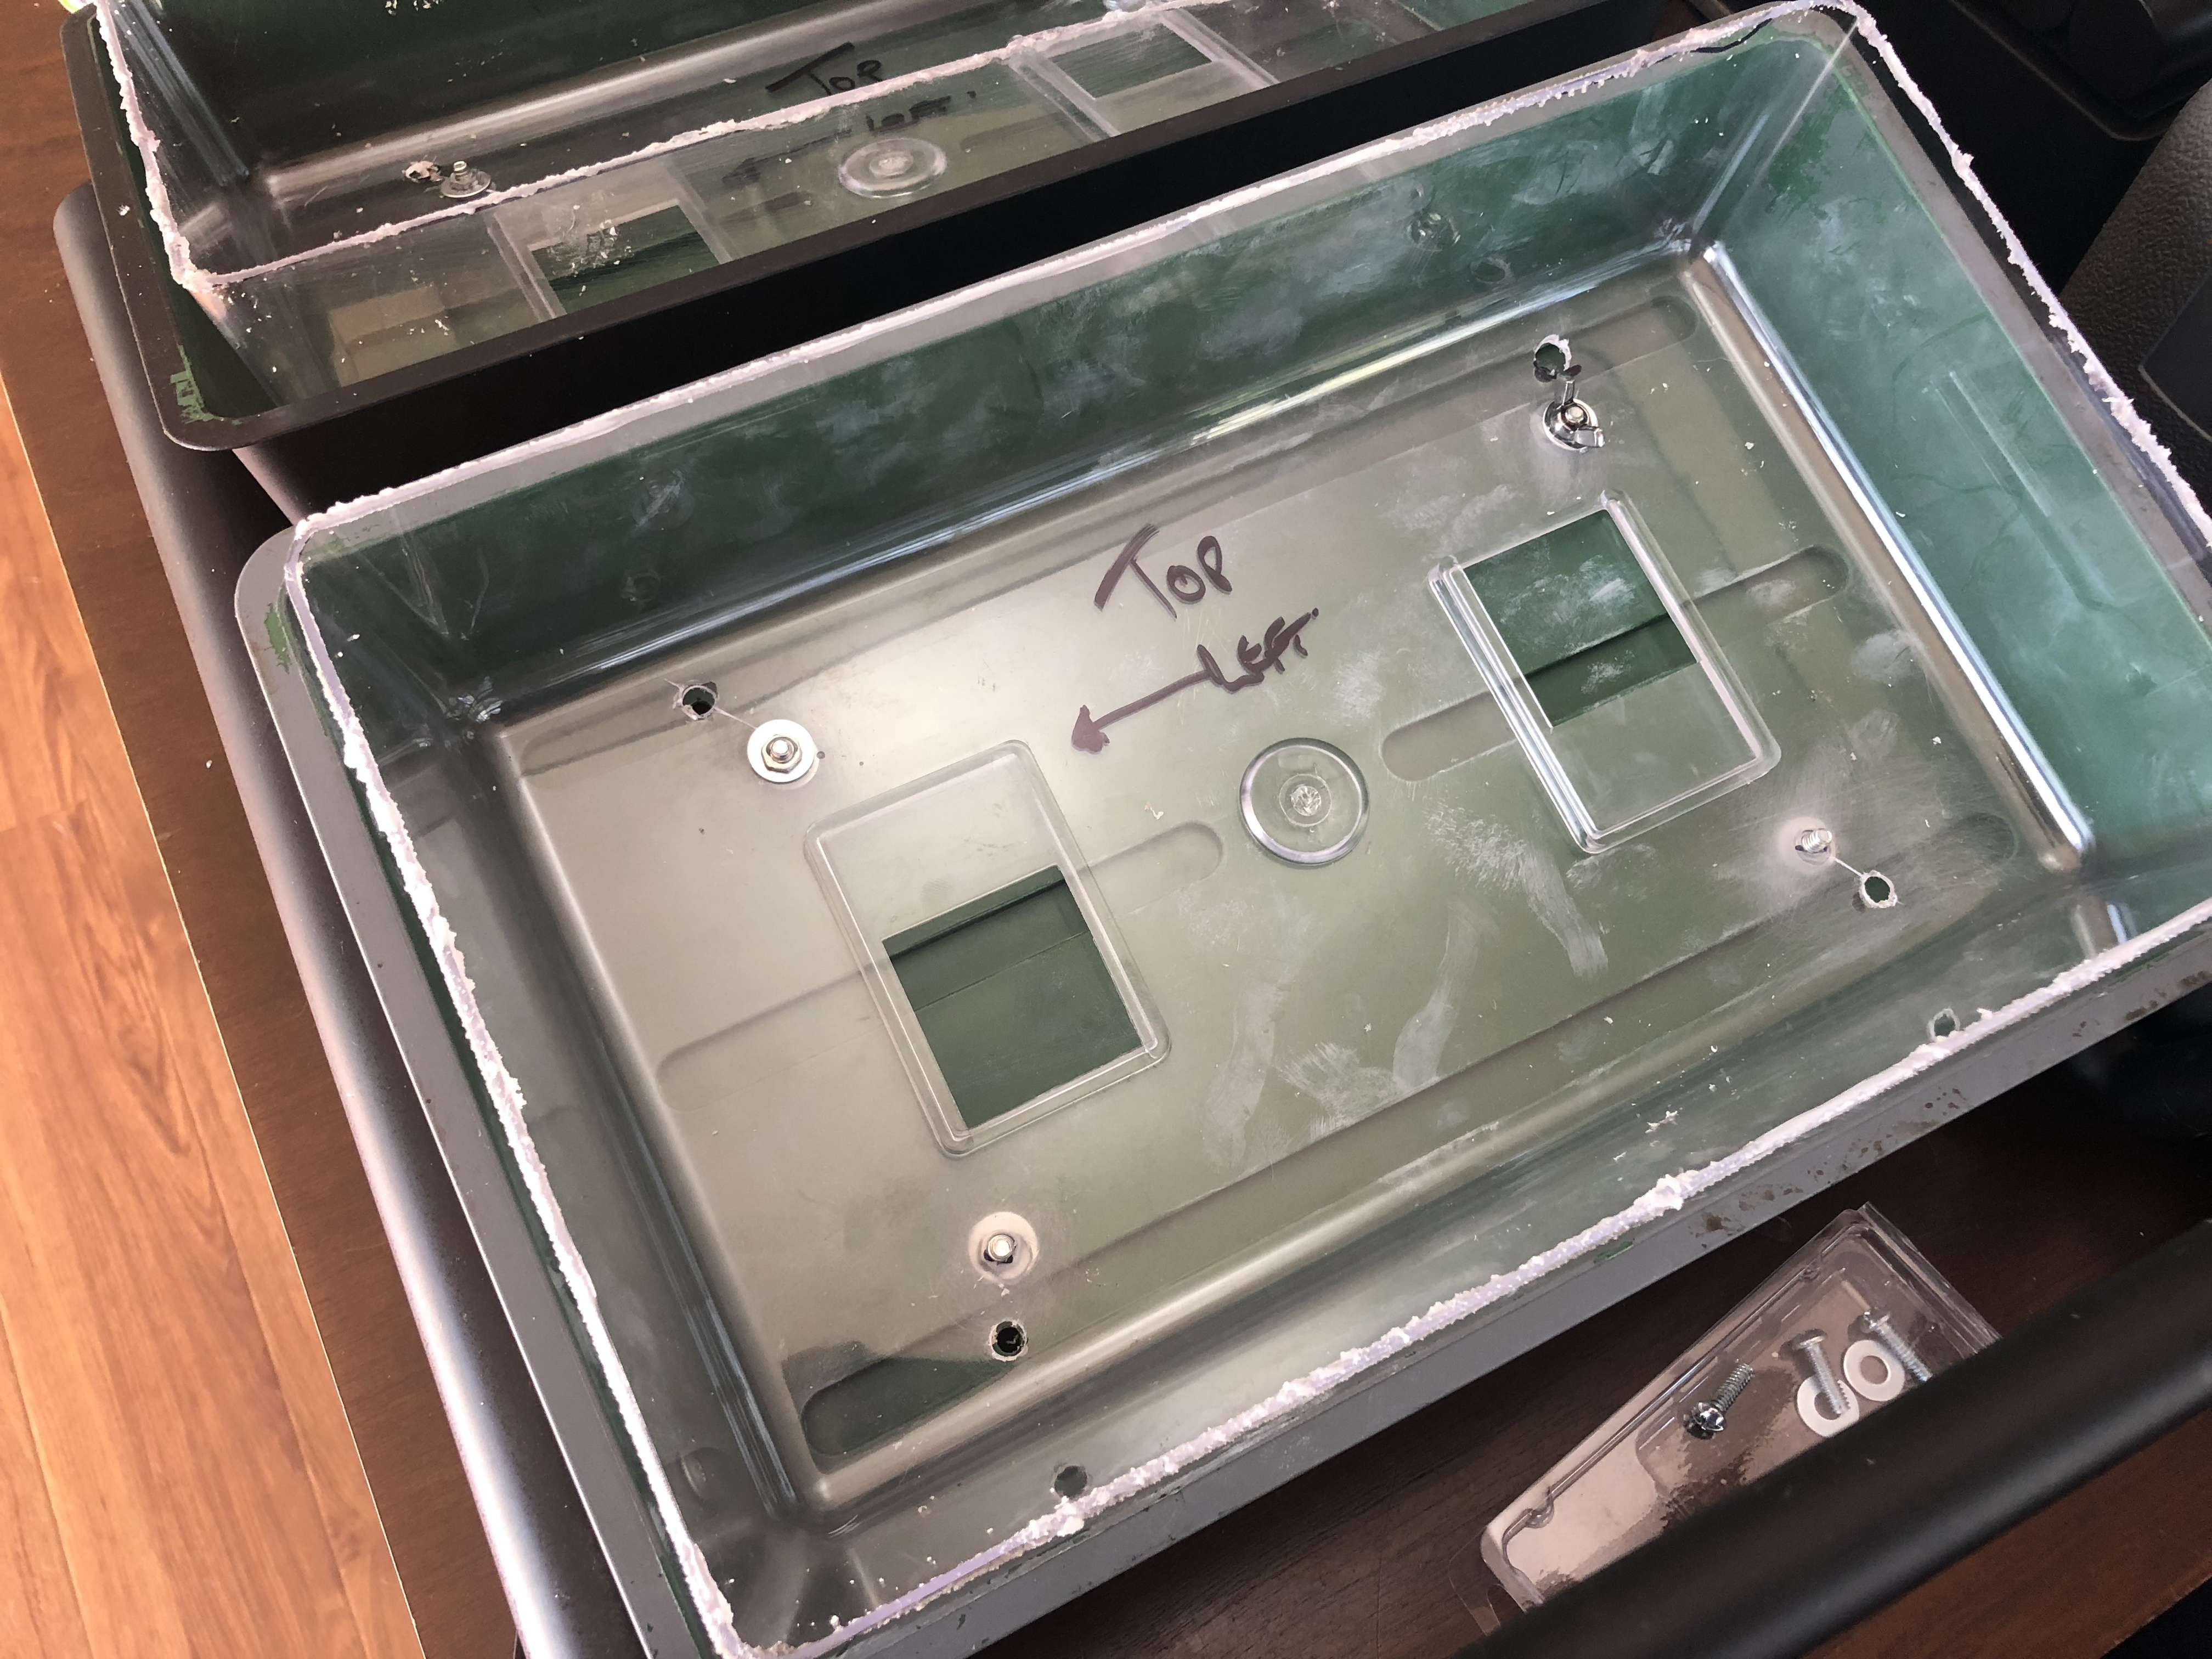
I have attached mine with Zip ties like alot of others have. I found though that while trooping they shifted apart (up & down) so to fix the problem I made an internal frame to support the top tray so I am still able to split them apart should something break and have to be replaced.
Because I built my own pack, I was able to reuse some of the parts left over from the build. My seed trays came as little green houses so the clear tops were left over. I used these to make the internal frame and they work well after a little bit of cutting
-
1
-
1
-
-
5. JDRF walk at Burswood Park - 14/10/18
Annual walk held to support people with diabeties
-
2
-
-
Ordered 15 - #03497
-
Fantastic work, it's really coming along. Keen to see more progress
-
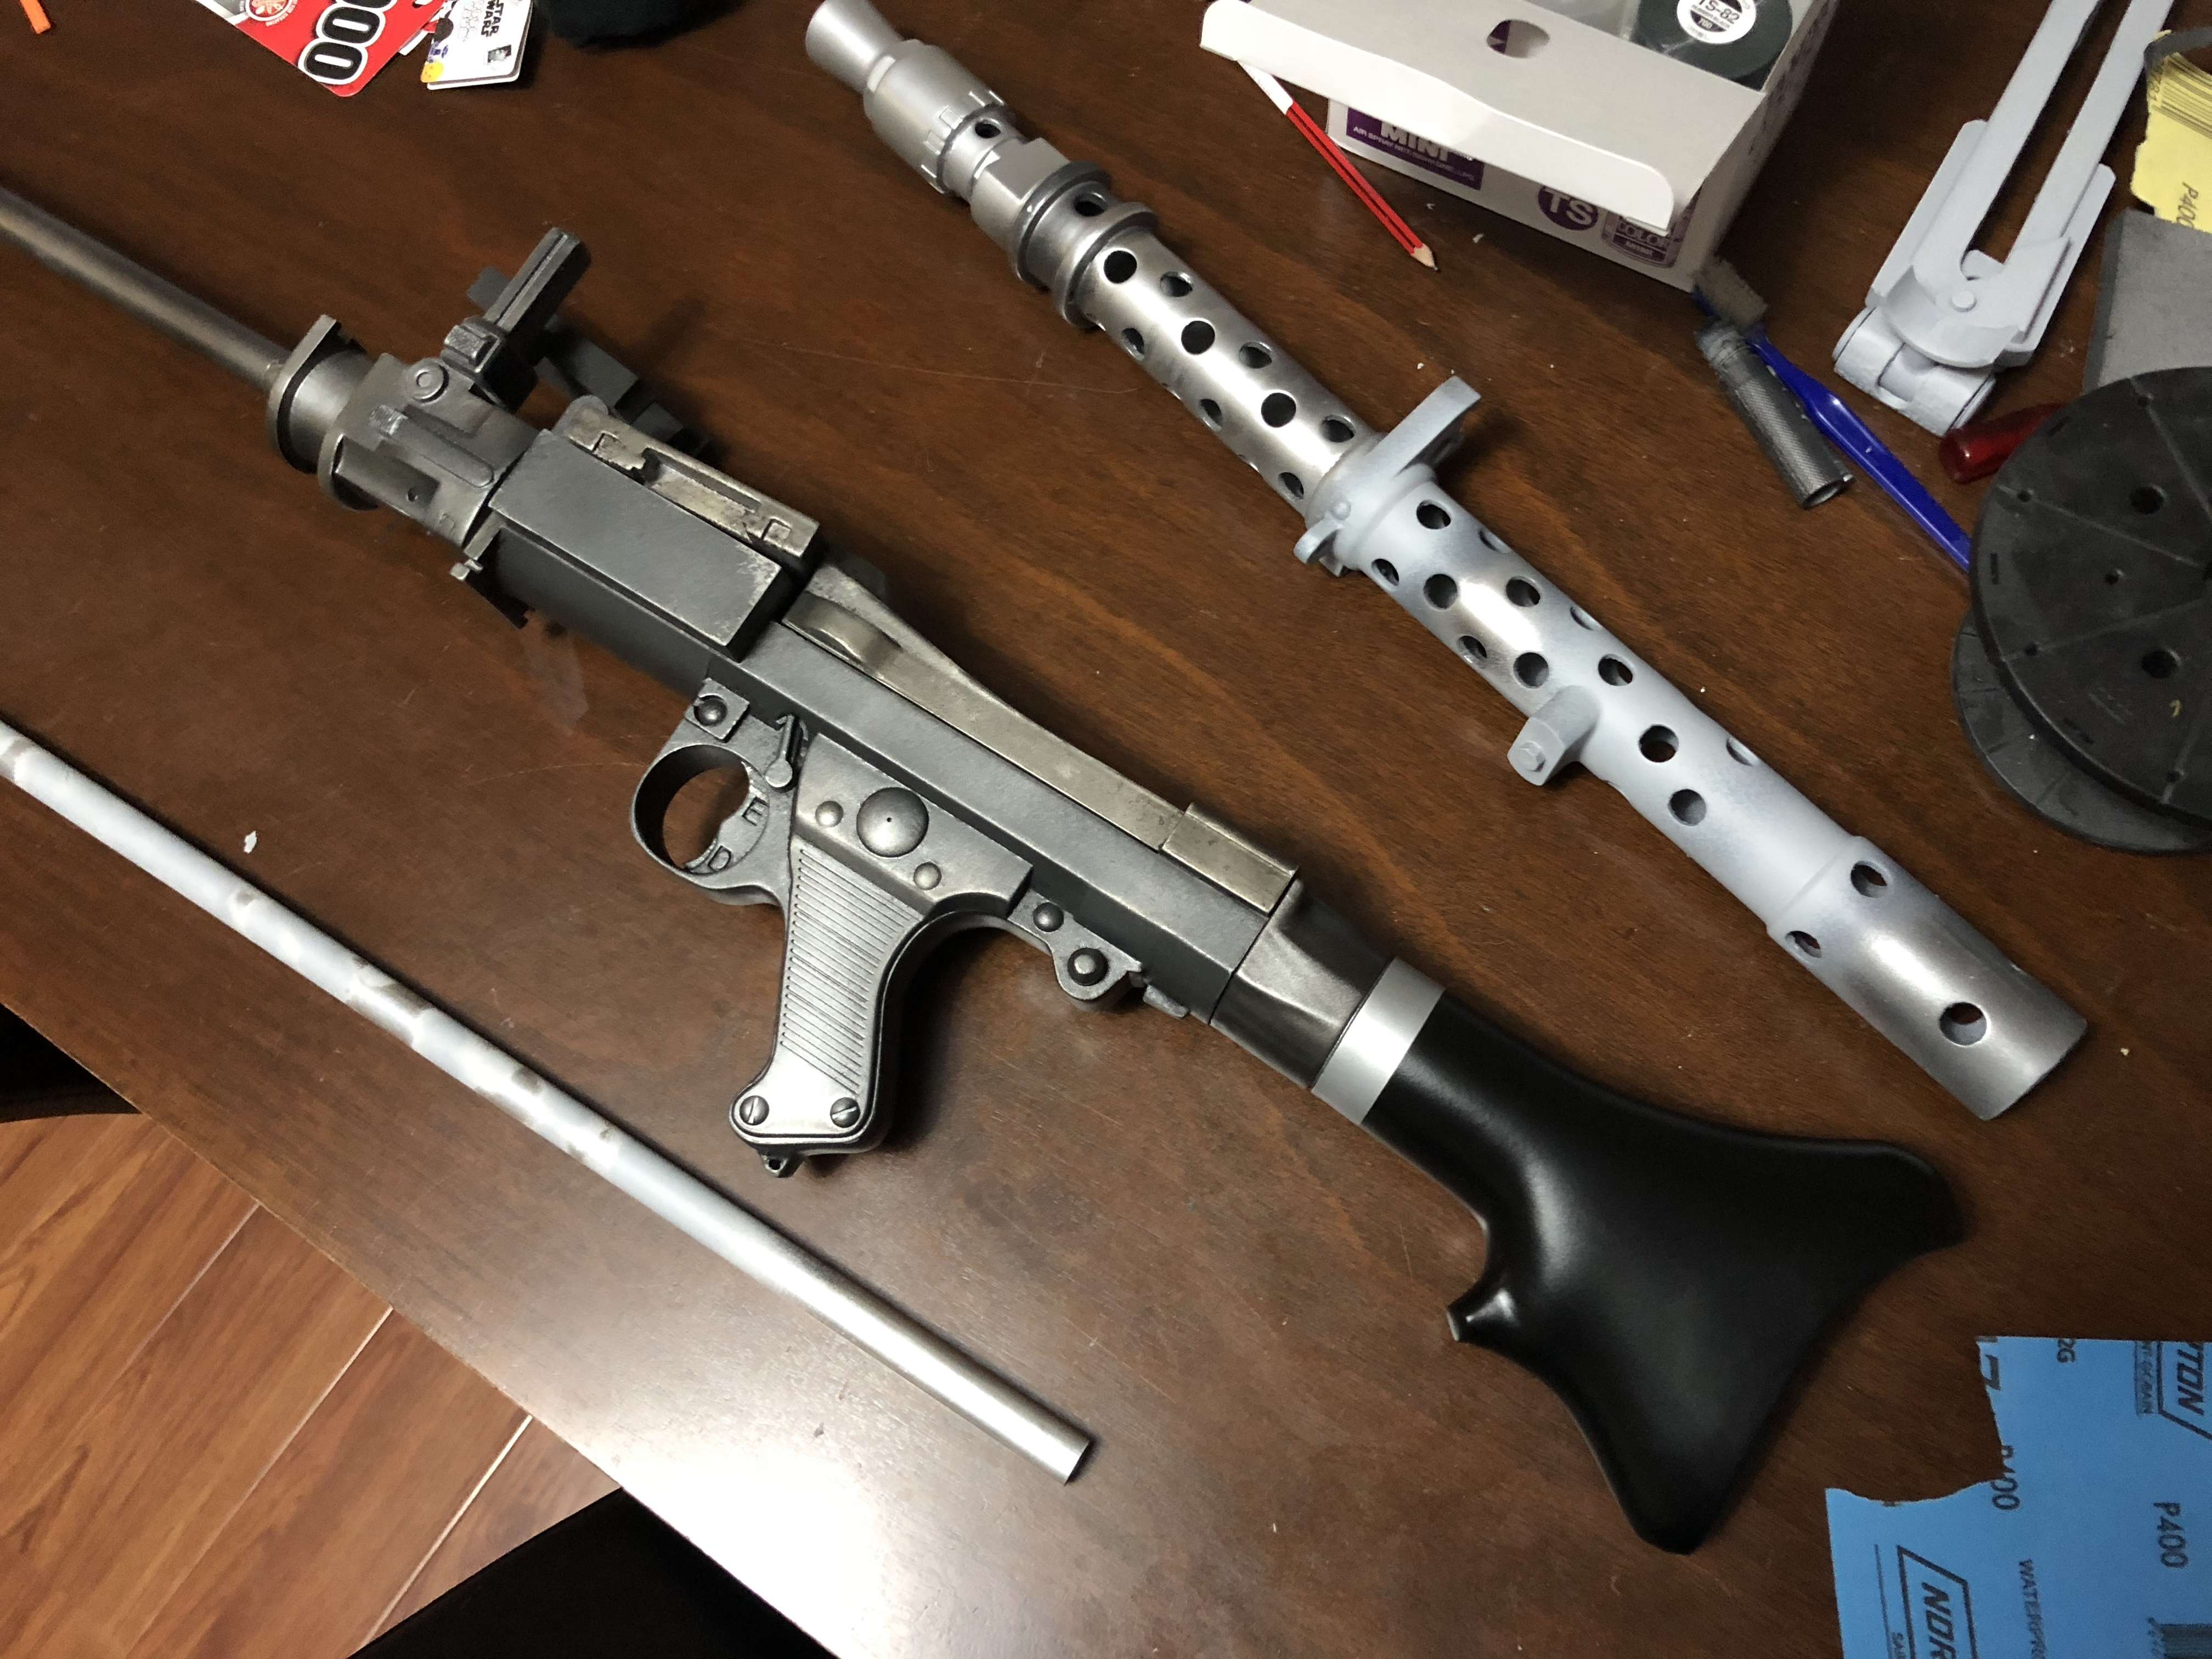
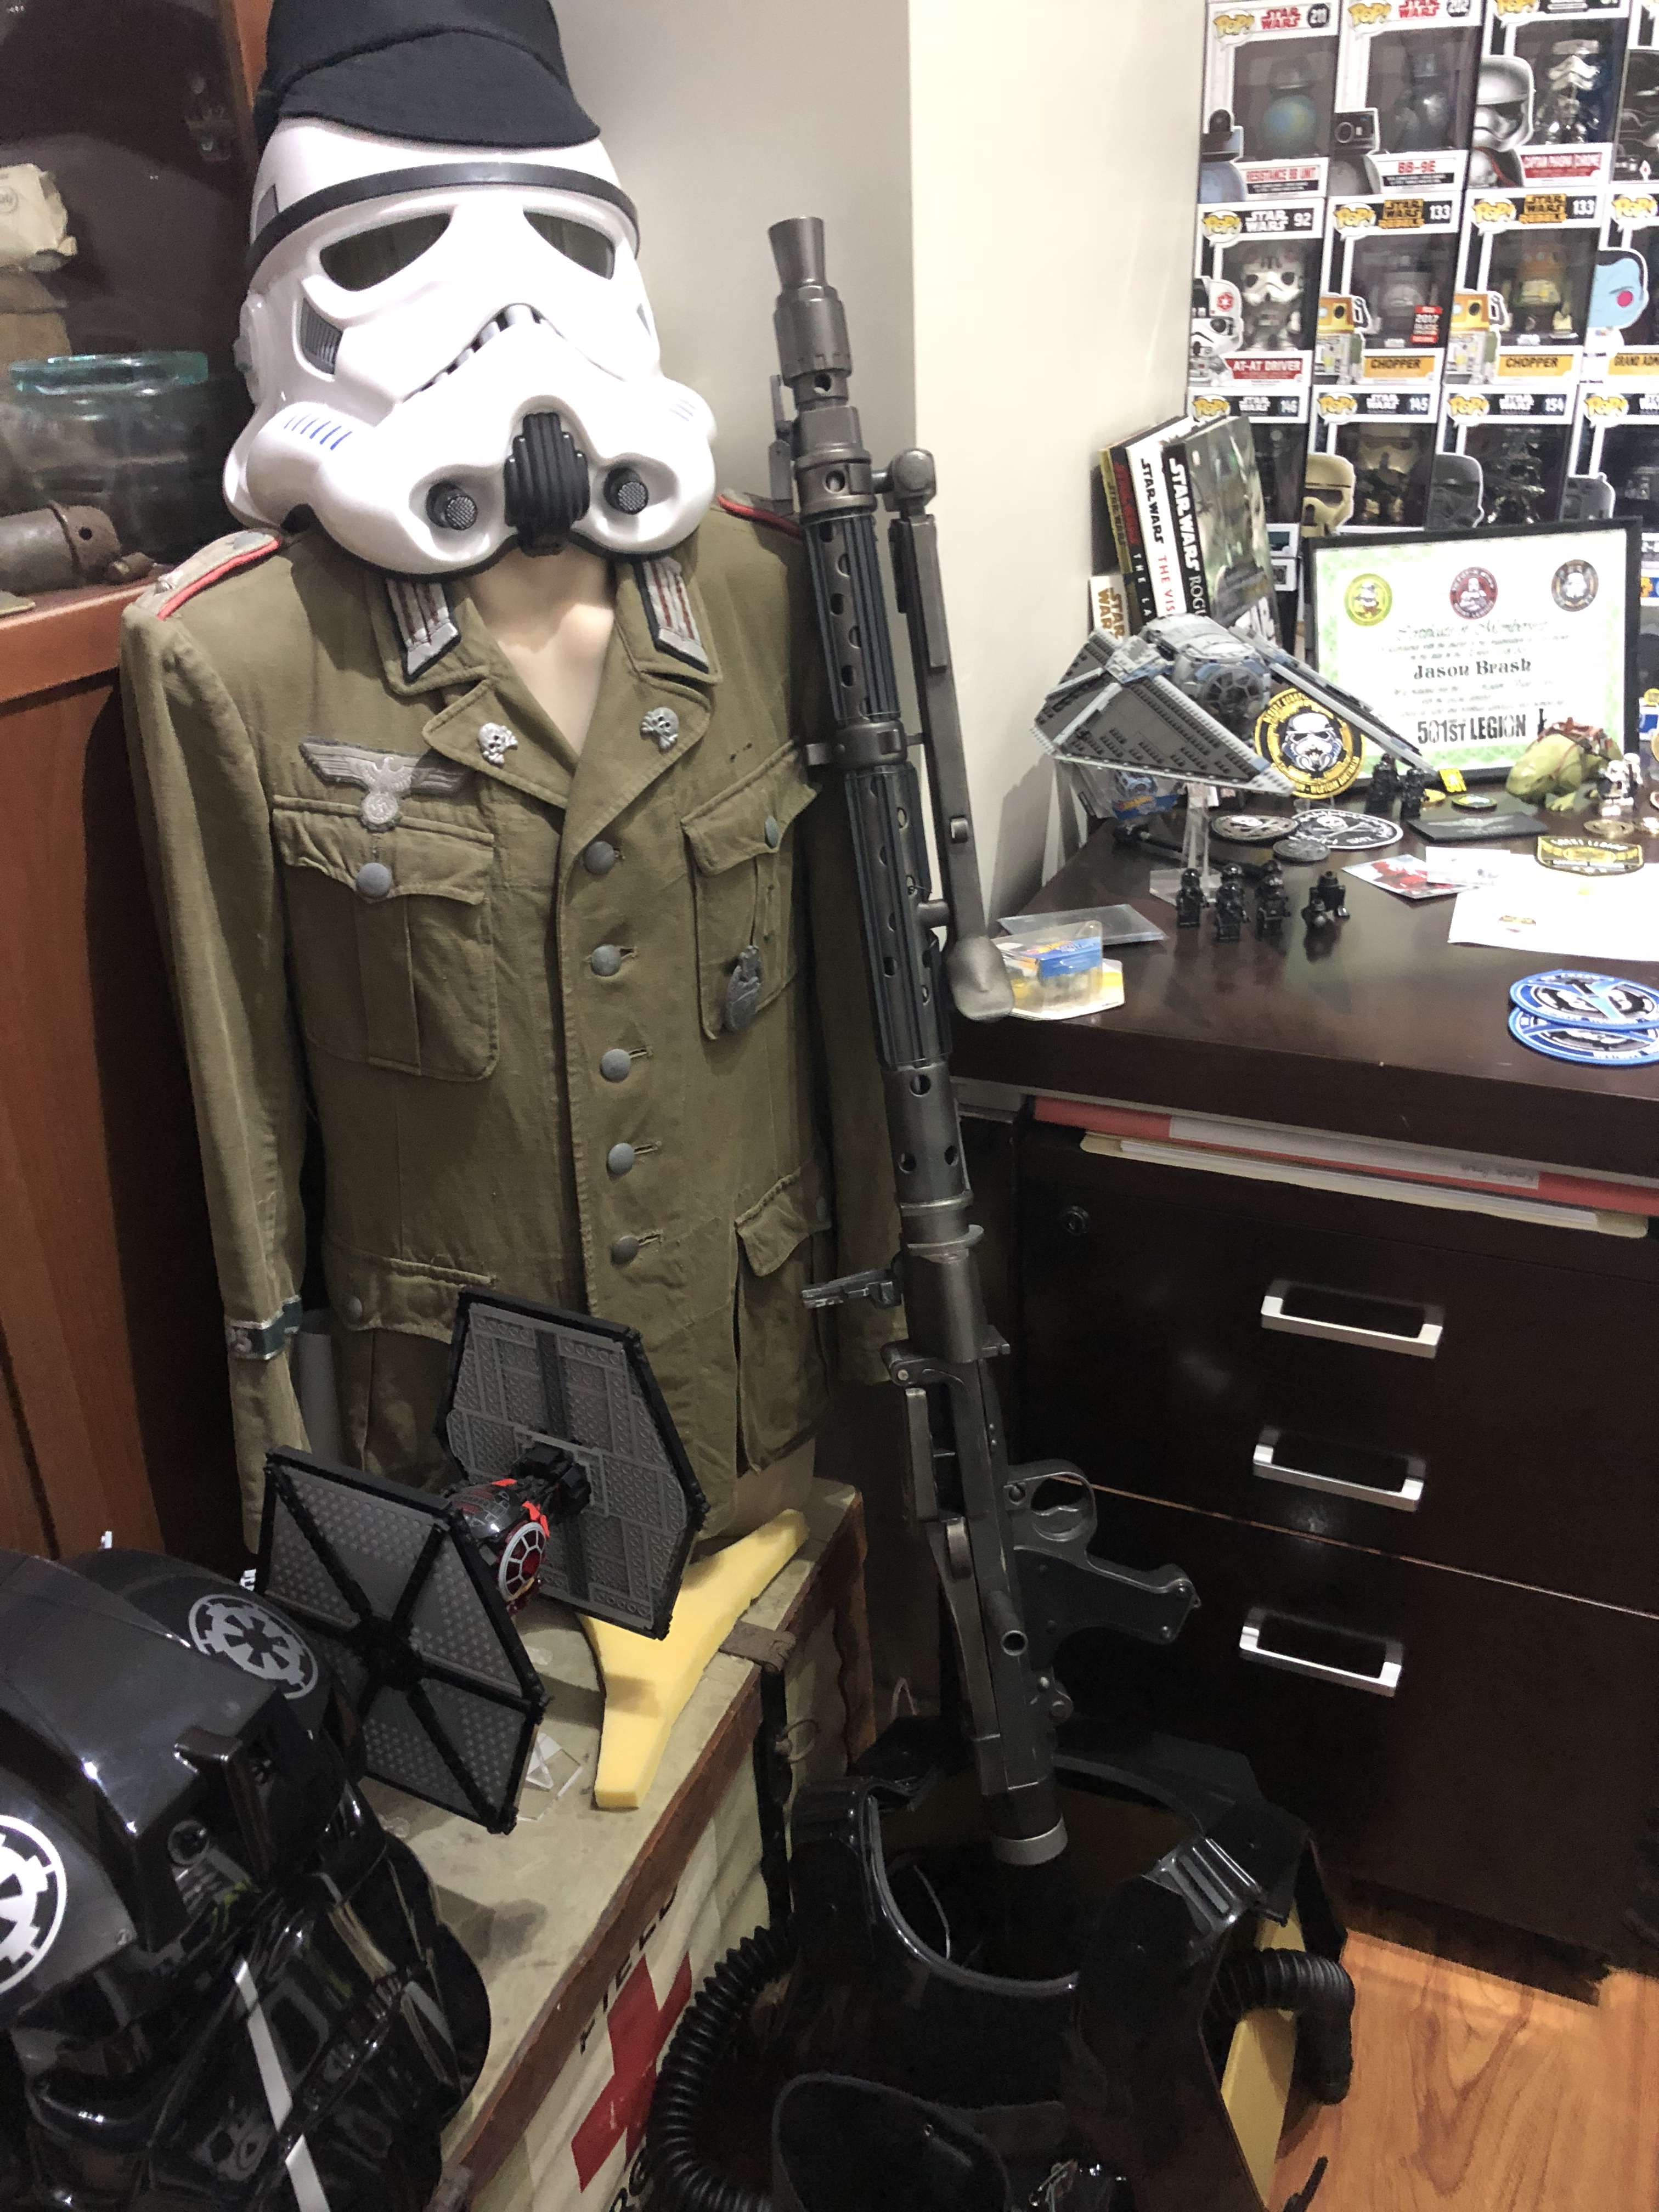
Though I would post the build up of this blaster since this one is now mine to keep and I will be painting another in the future. This is one of the 3D prints Plunk has done and I was given the opportunity to paint.
So to start, as with all 3d prints, time to sand away the print lines as much as possible. Be careful of heat buildup as this type of plastic doesn't like the heat and it will just come away in clumps. Here all the parts are after an initial sand:
Once I am happy with the surface its time to use some spray putty. I went through many layers of this to get the surface smooth with harder areas getting some modeling putty. All sanding was done with Wet/dry sandpaper and all in the sink with water (my wife loved me for that Y&@@& )
Once smooth it's time for primer and then a coat of silver. I like to metalize everything first, I feel it give a better look and colour density. Here are some closeups of the surface once it was silver & shows the texture I got out of the surface.
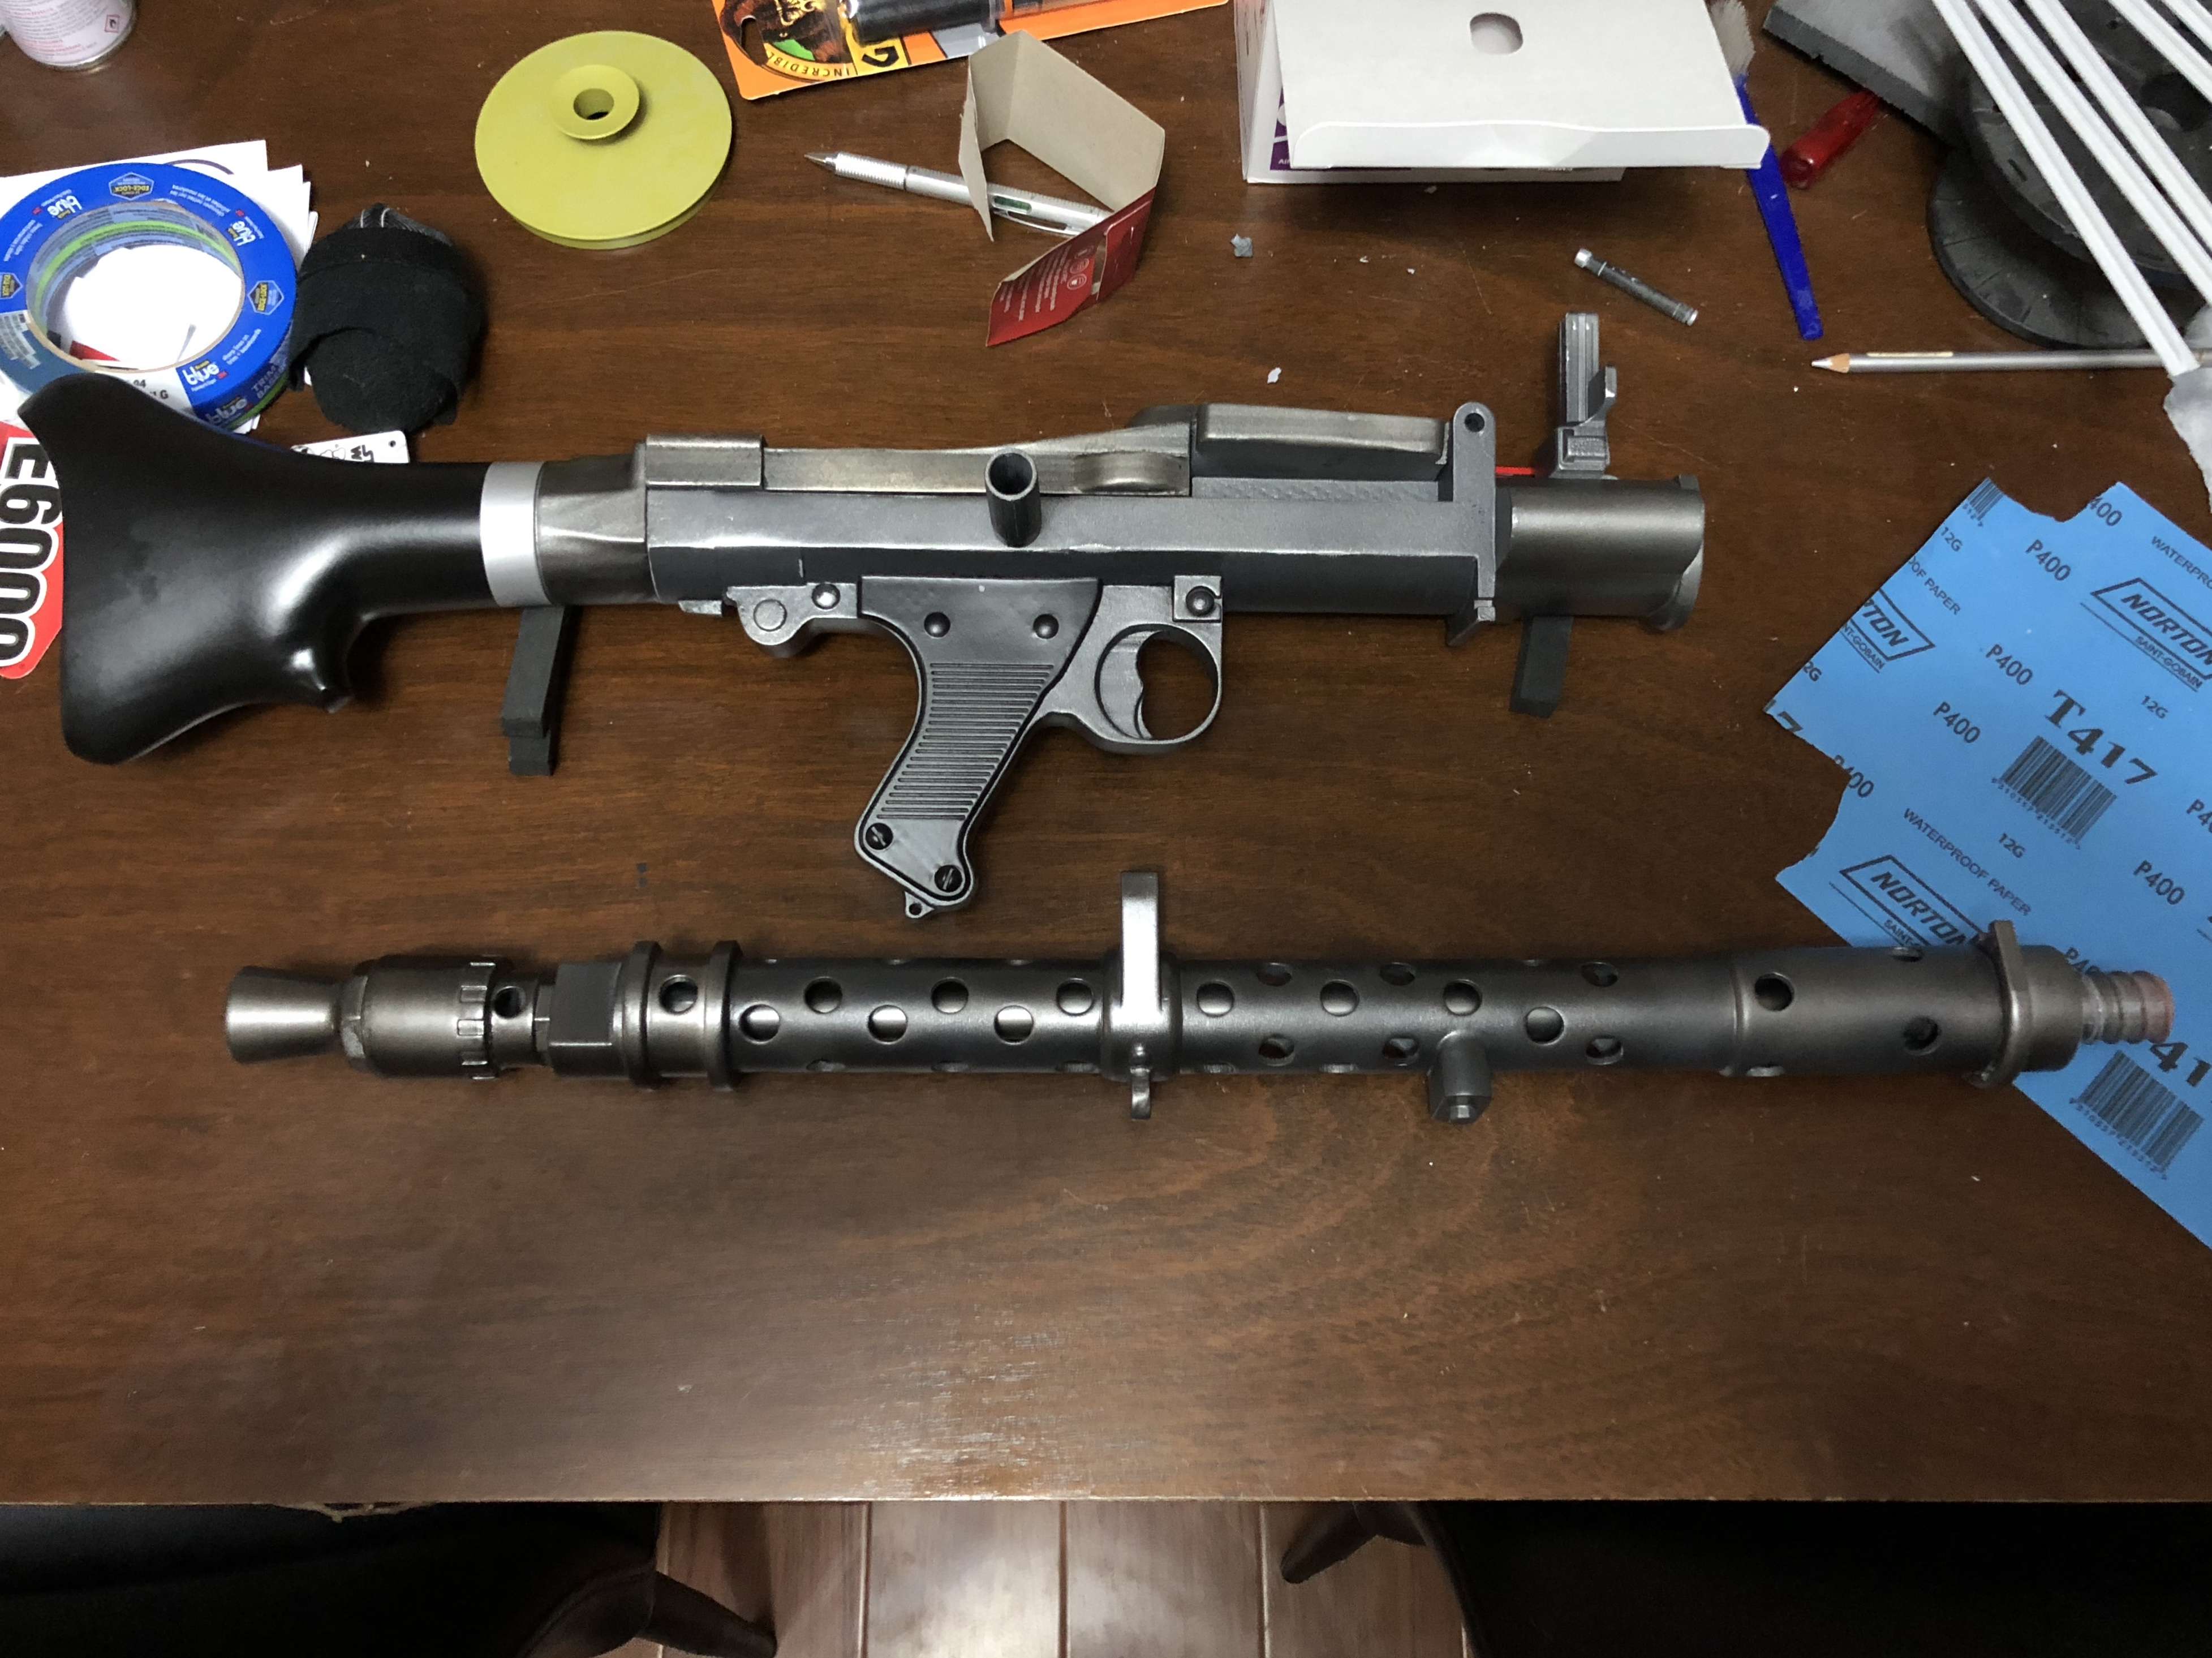
Onto initial painting. I did a lot of research on the MG34 and rather than going with just a black stick, I wanted to replicate the original gunmetal look and show the gun was made up of different parts that could be exchanged with other guns in the field. In most cases the parts have all aged differently and there was quite a lot of tone & colour difference. So here is the first colour being added, it look light but trust me it's going somewhere
Because of the silver layer underneath I can add natural scratches to the surface and it again adds to the realism. Next stage was getting the butt stock finished. I was going to go a chocolate brown but decided on black as it adds more contrast. The stock & grips were made of Bakelite and black was also the most common colour. Here it is after a coat of black, then semi gloss clear.
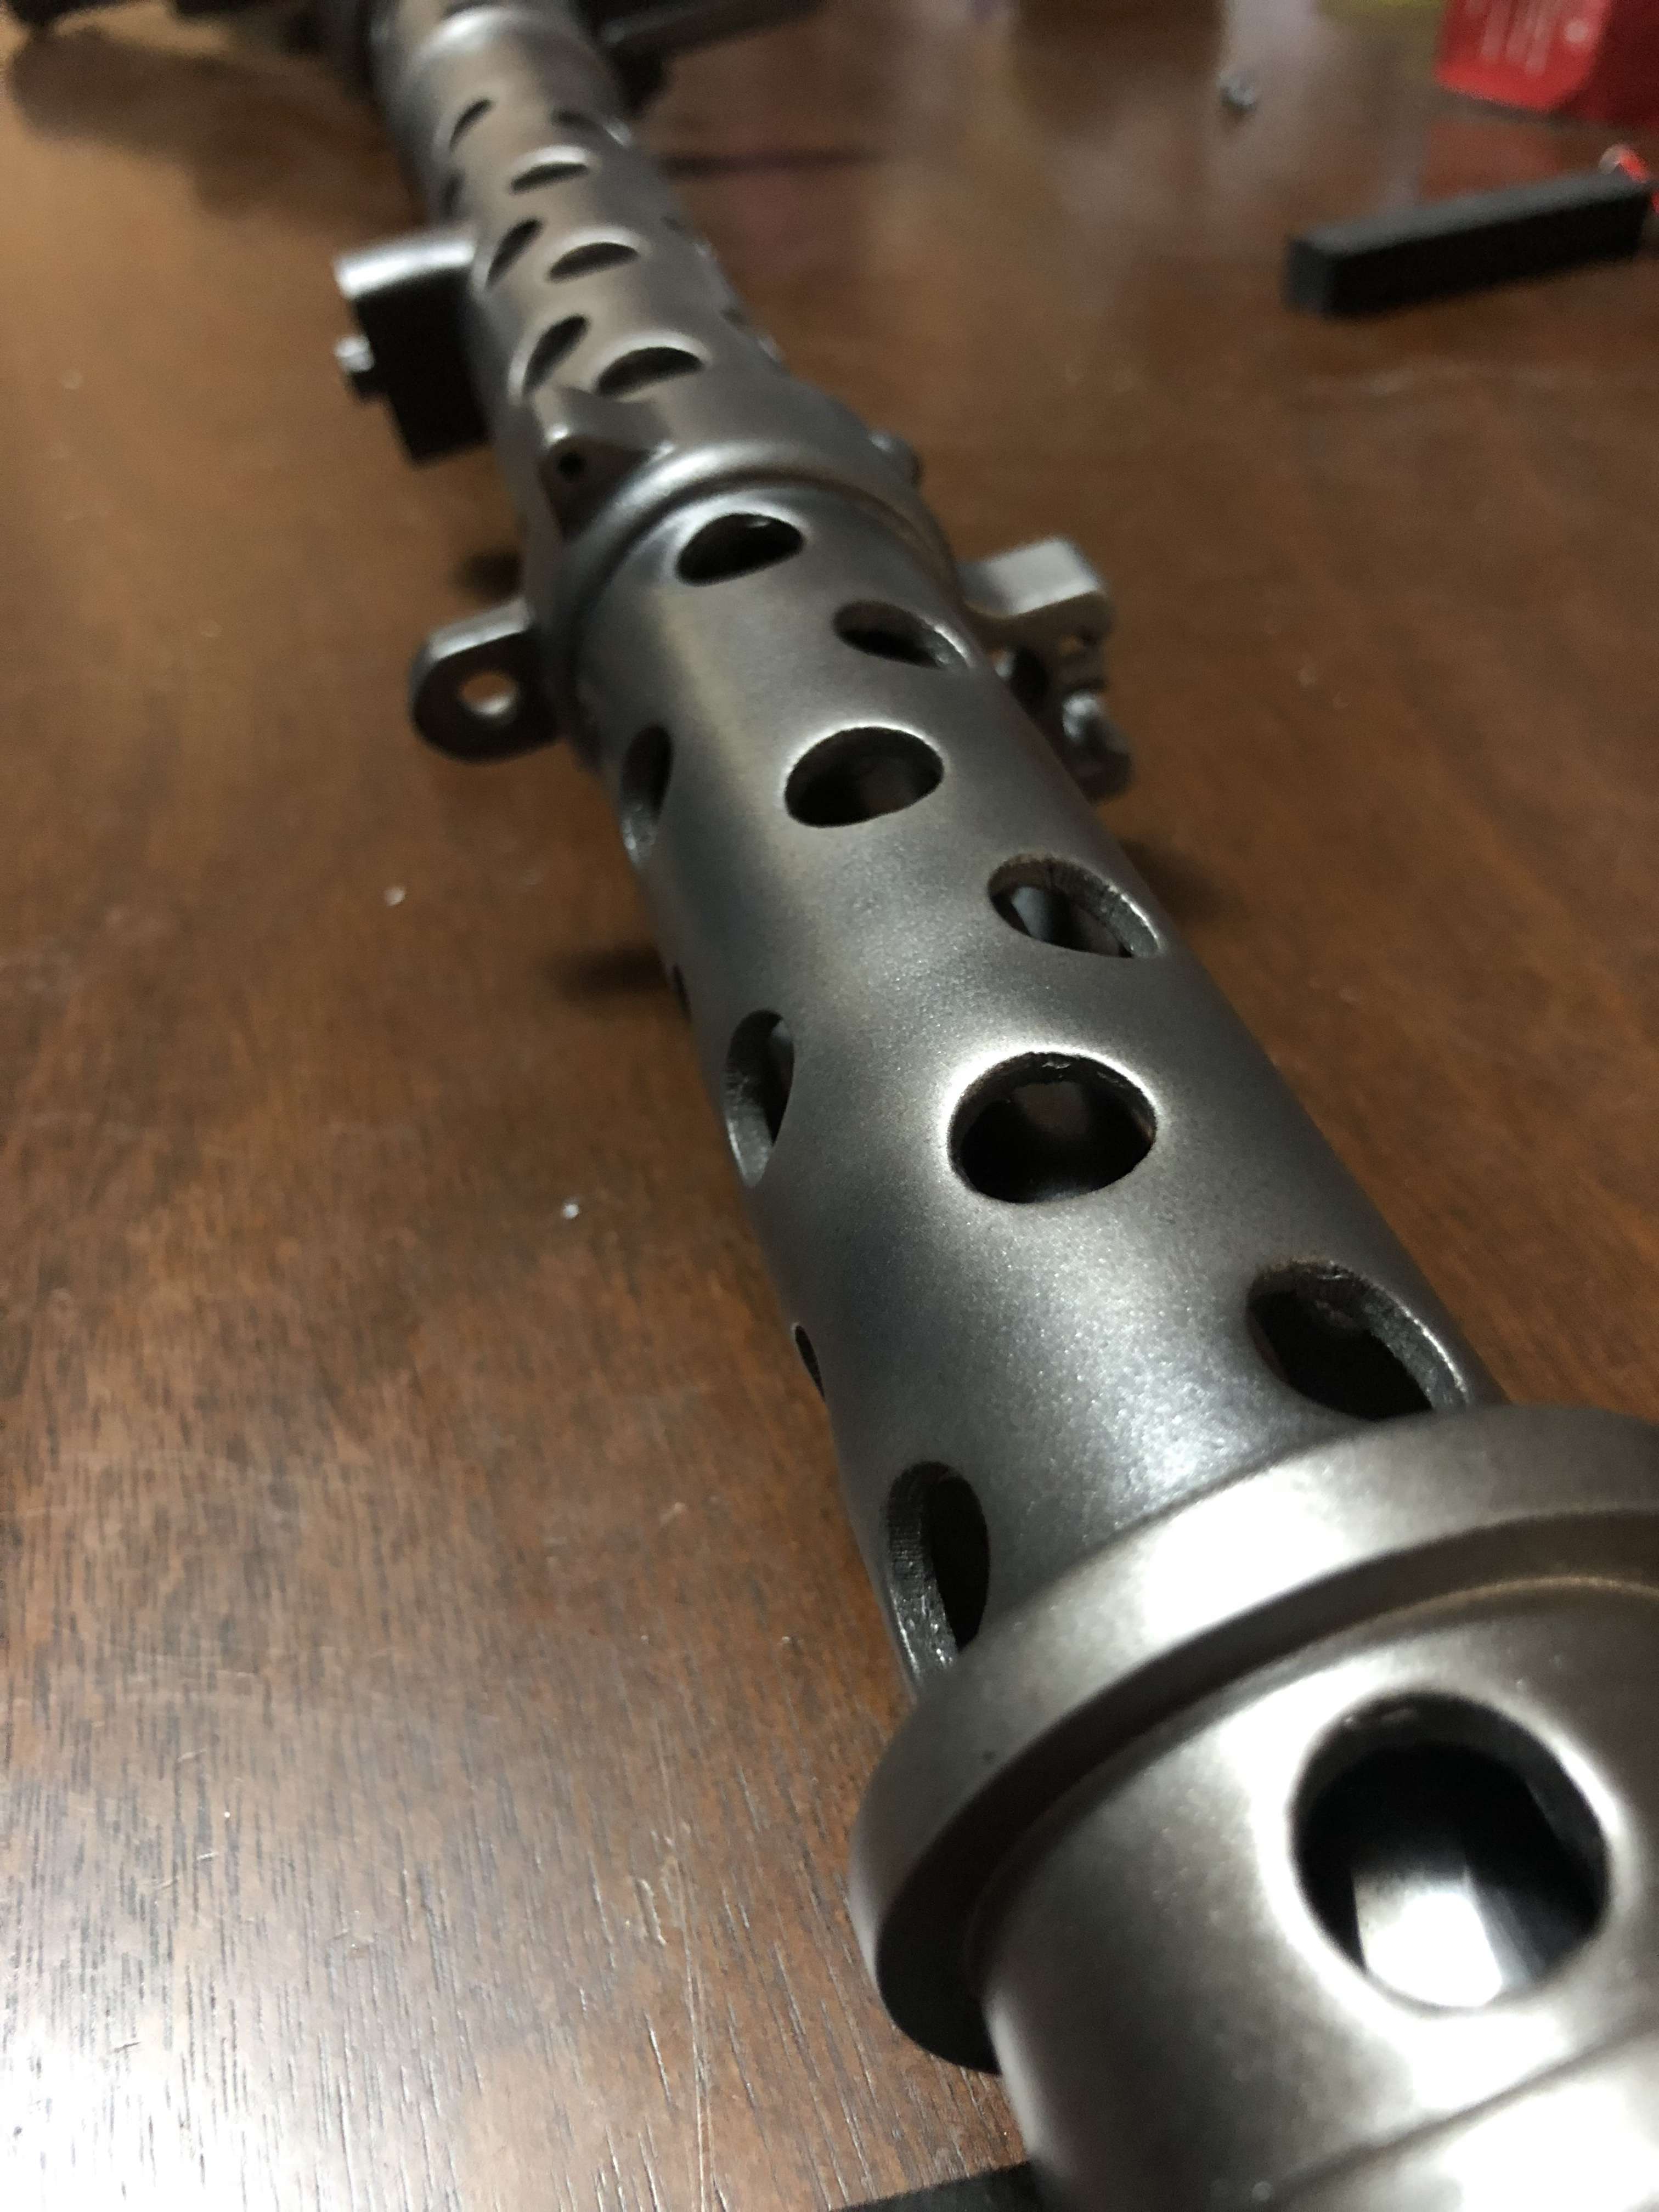
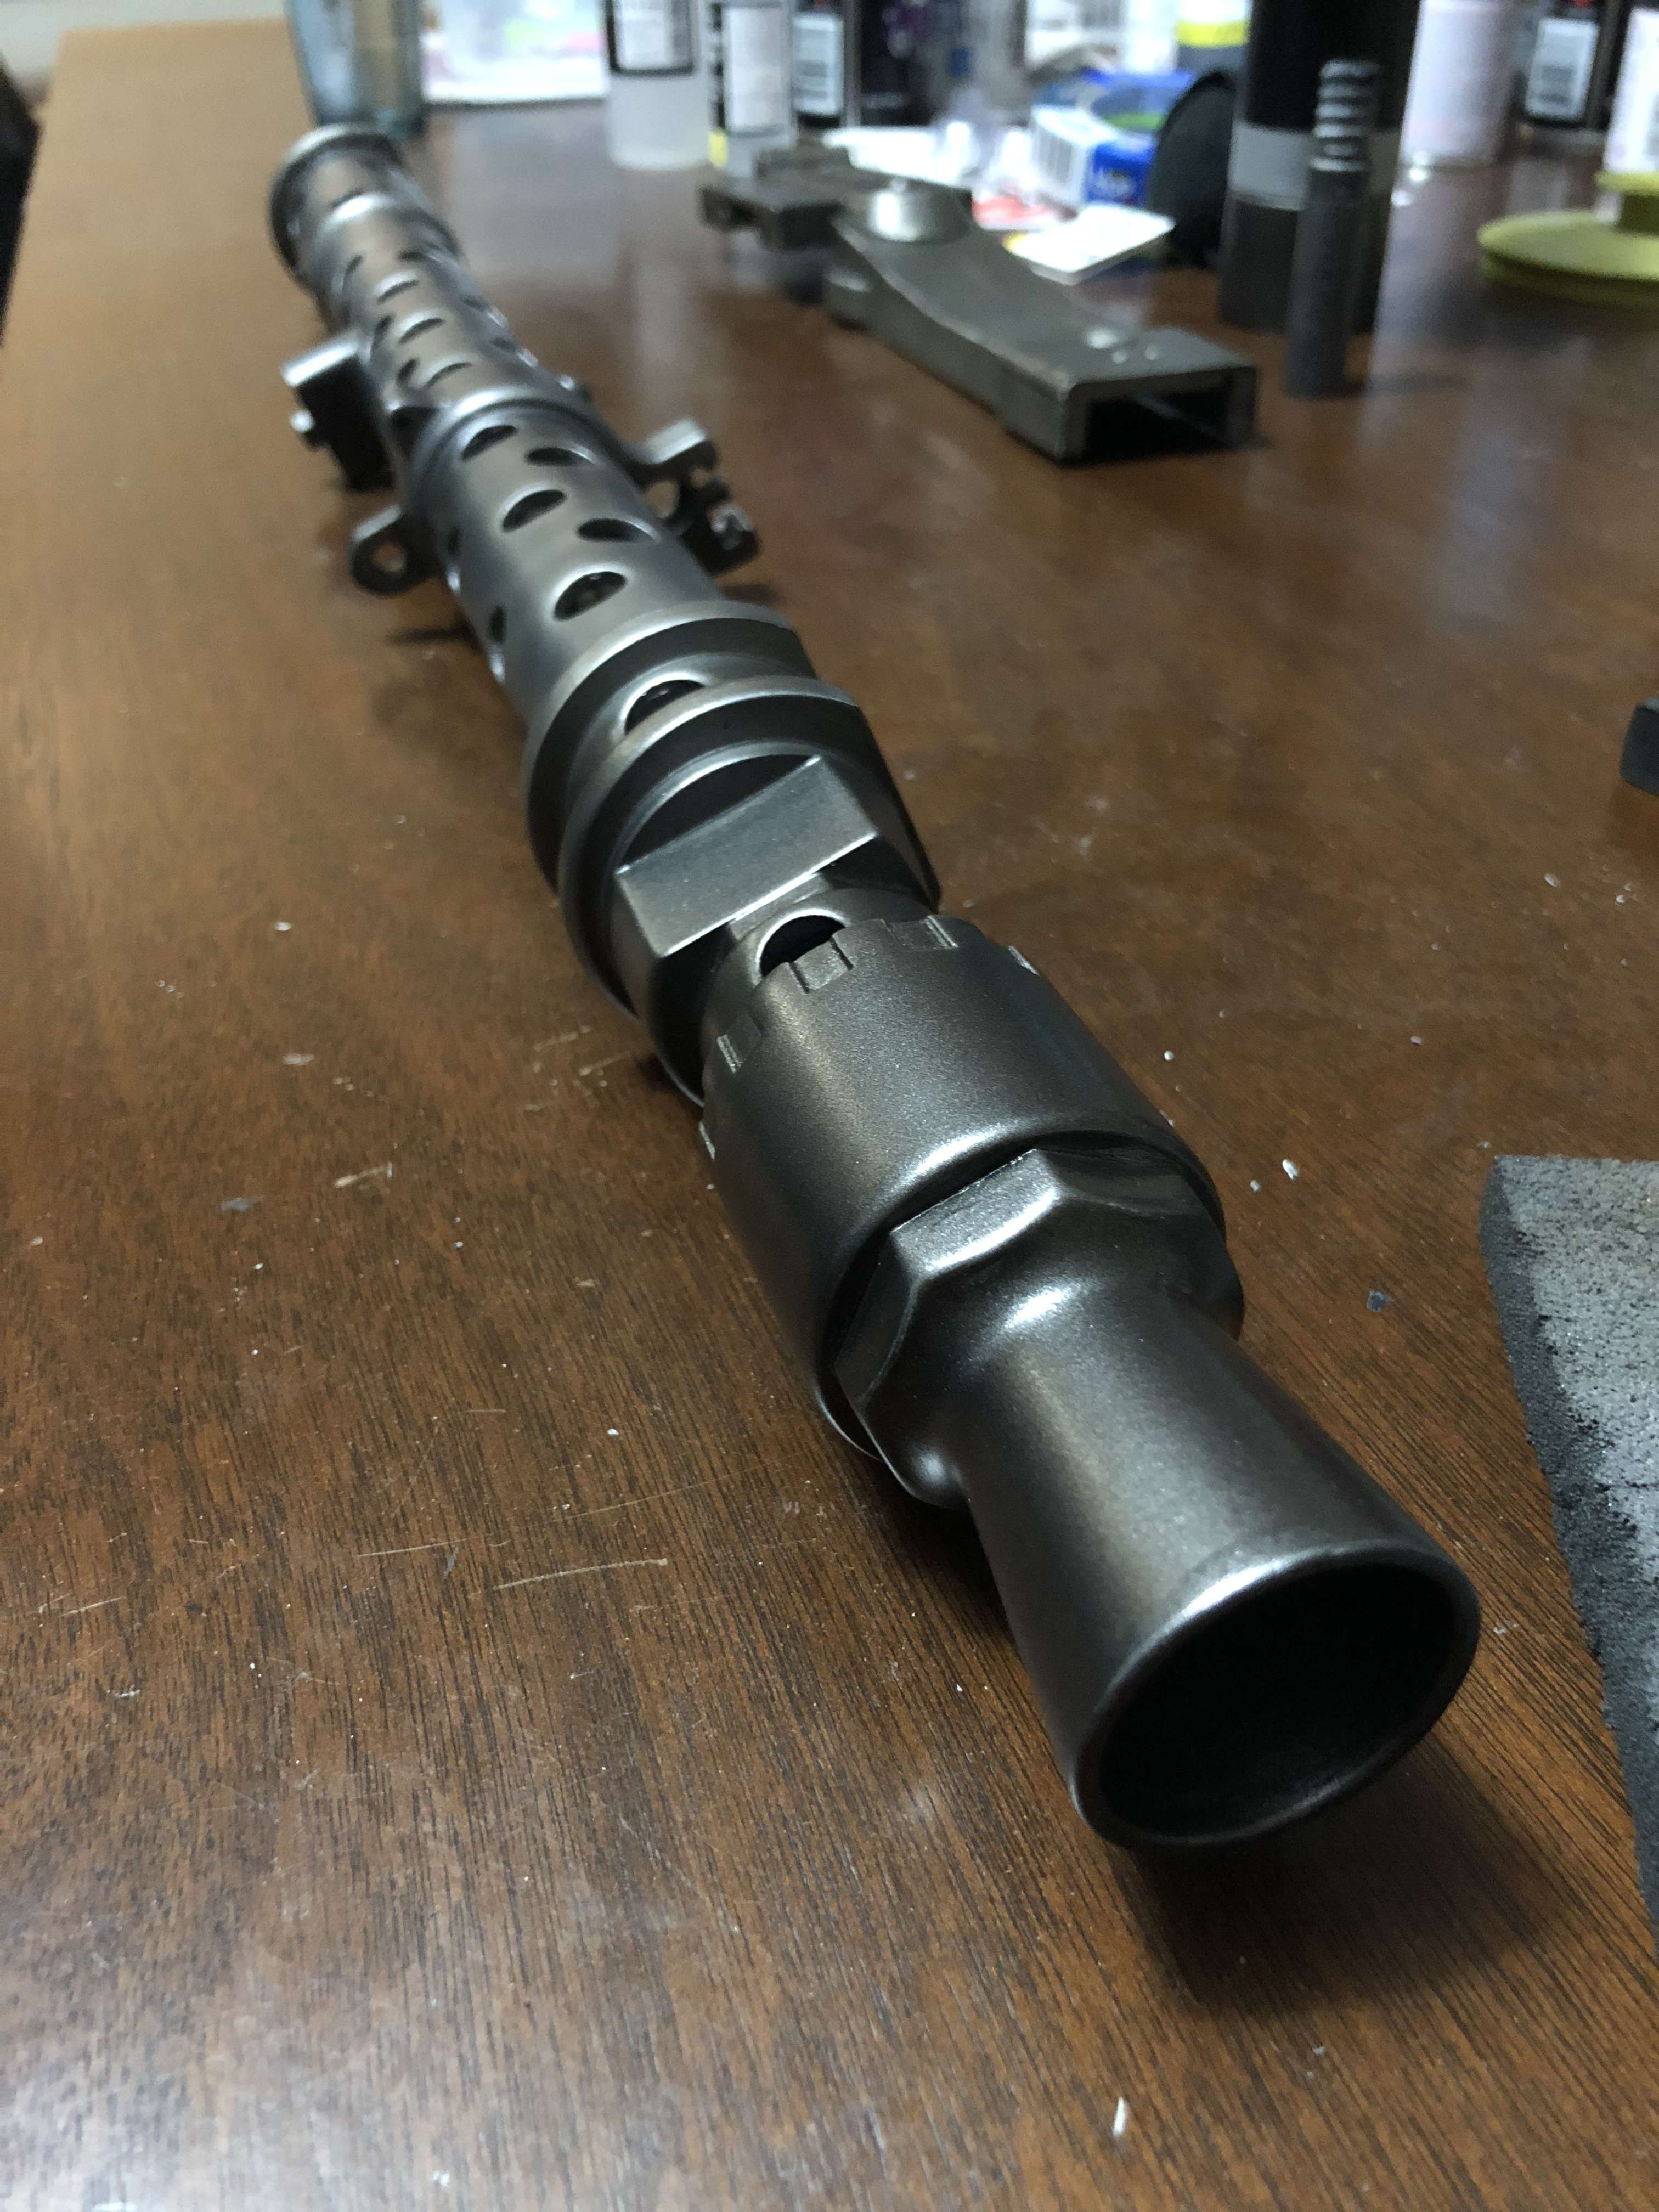
Next was the barrel & cooling jacket. As this part was removed often I wanted the cooling jacket to show very patchy colour due to wear with the barrel to be different again. Was happy with the look of the paint finish once I was finished
Nice worn look
Flash hider is a different colour and more solid in density
And lastly I did the bipod. No pictures of this really as its much the same as everything else. I did re enforce the legs though and add a couple of greeblies that should be there from the real gun.
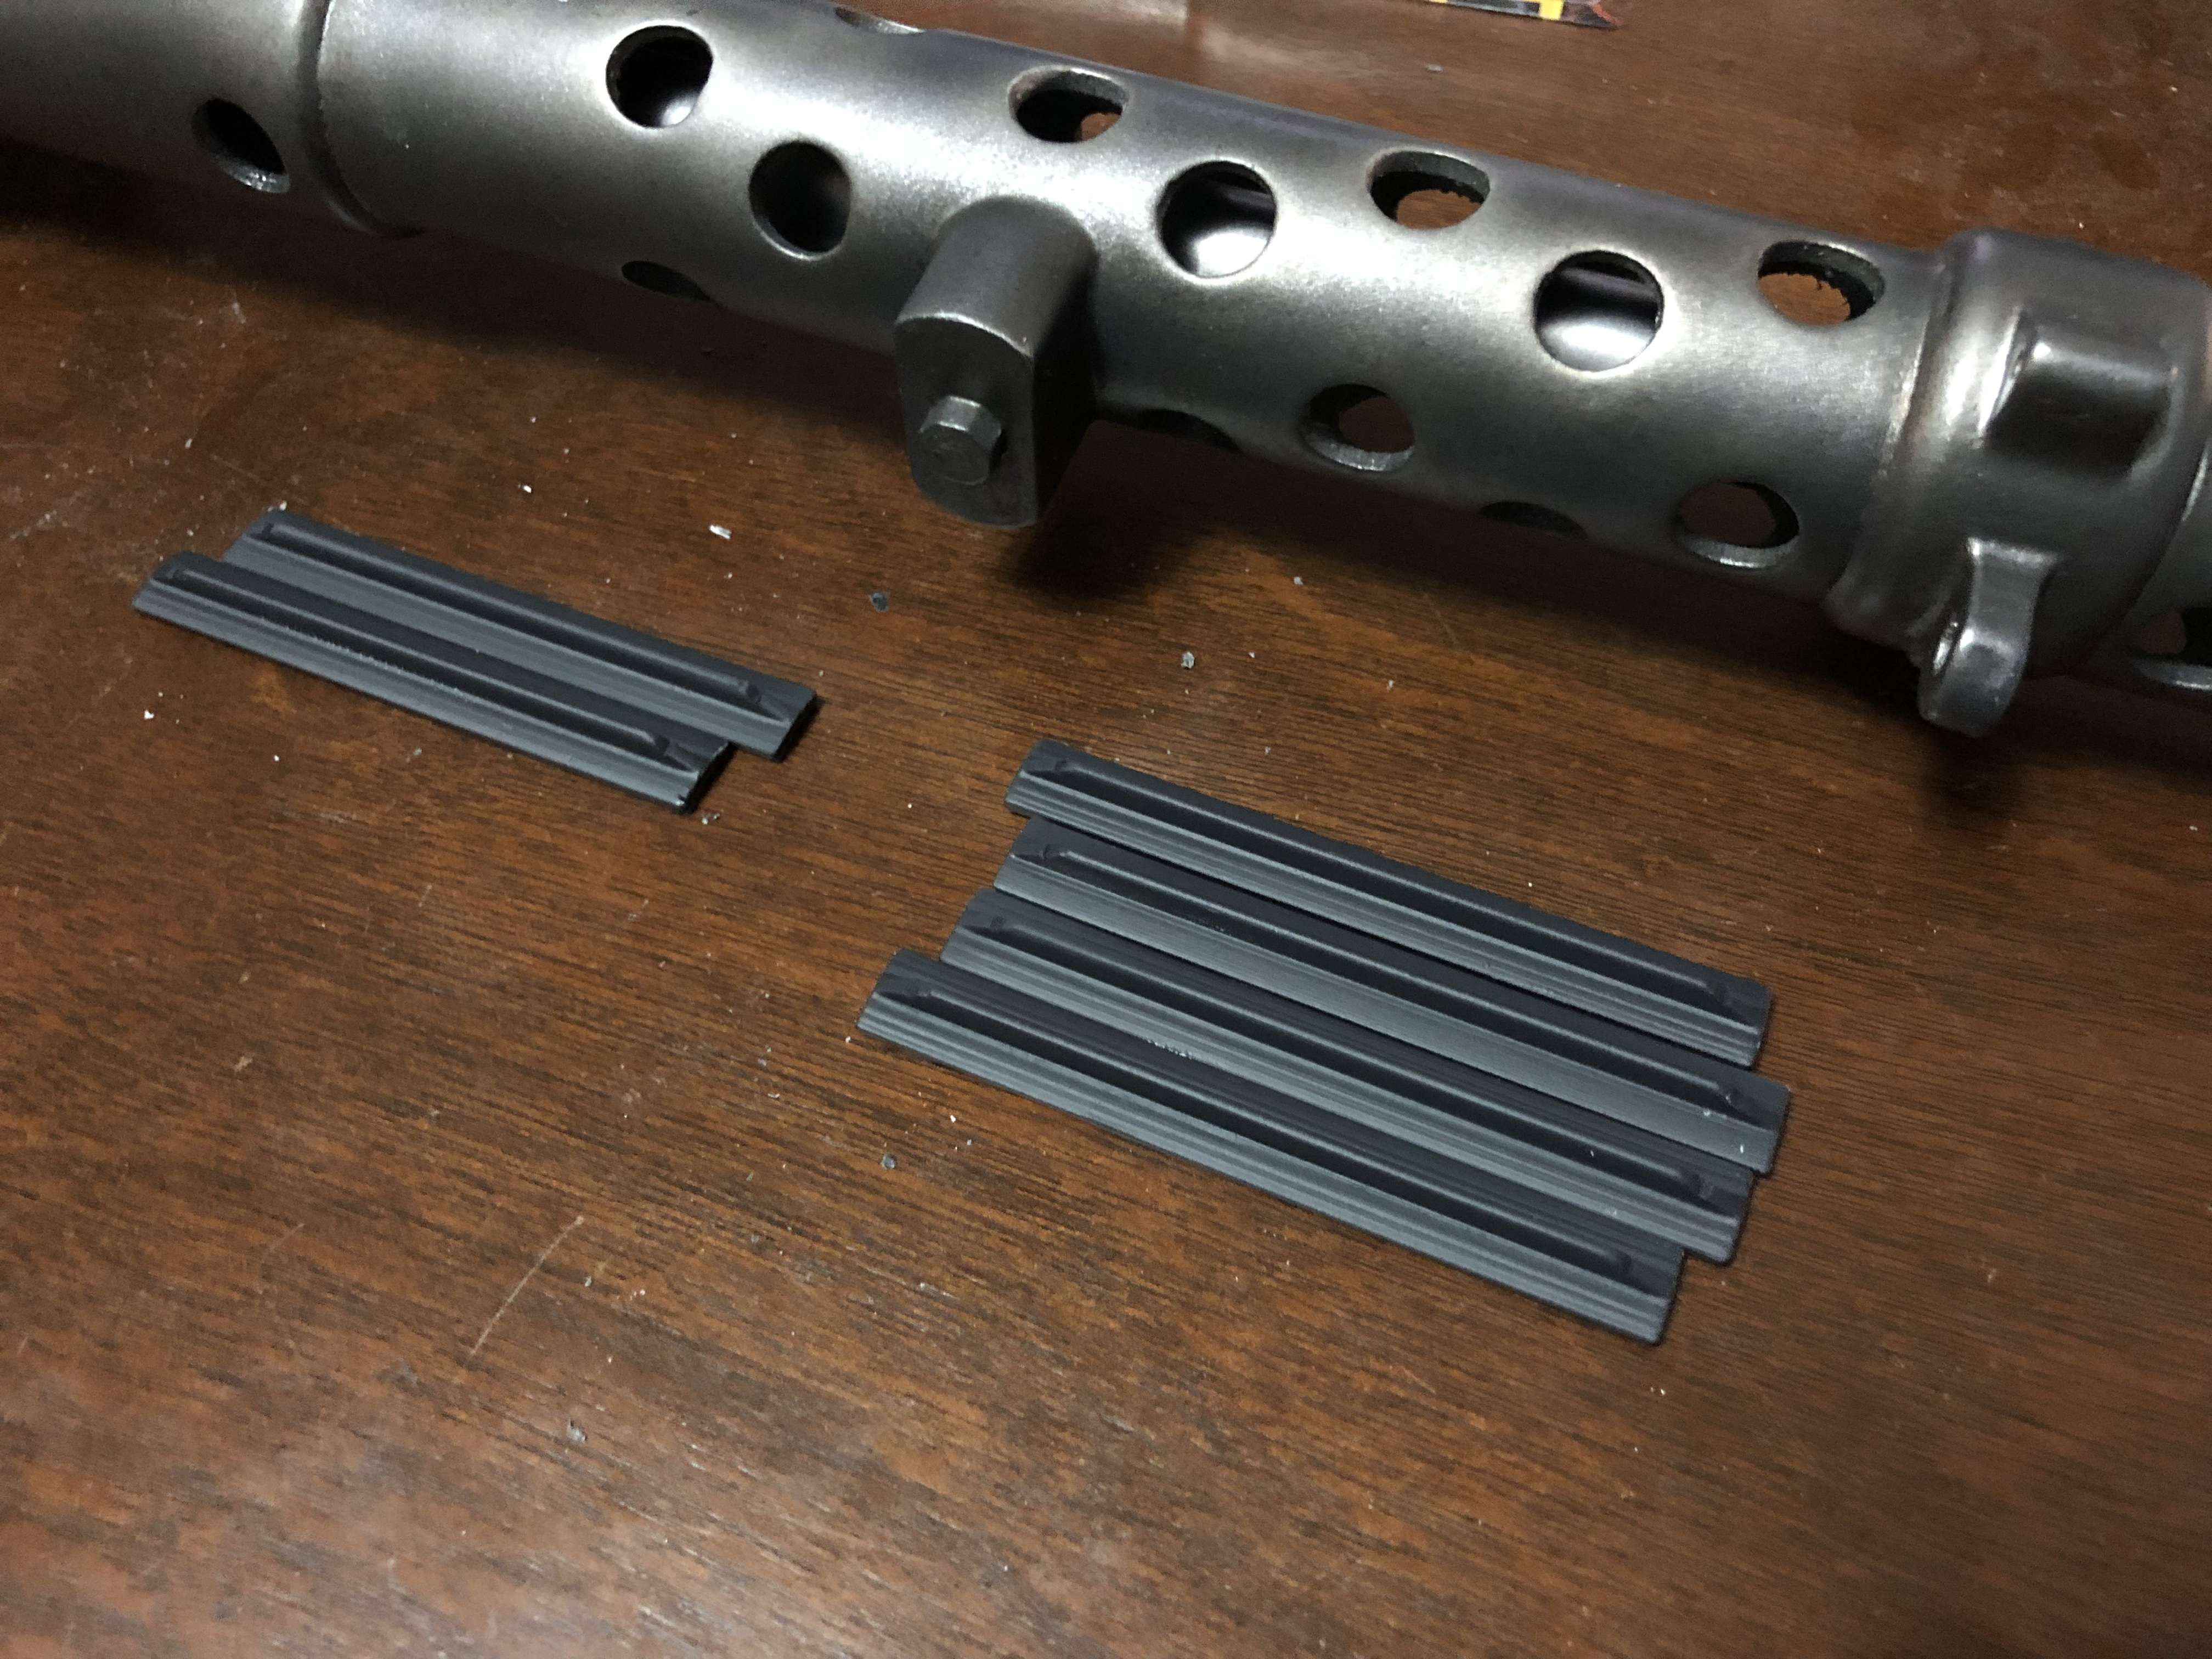
Next was the T-Tracks. These were also 3d printed so after a little work I was able to paint them a rubber black for contrast. This is a more green black colour and really does give a rubber look
Then after final assembly it was ready for handover. Really proud of this one and was sad to hand it back. Still happy to have been part of it.
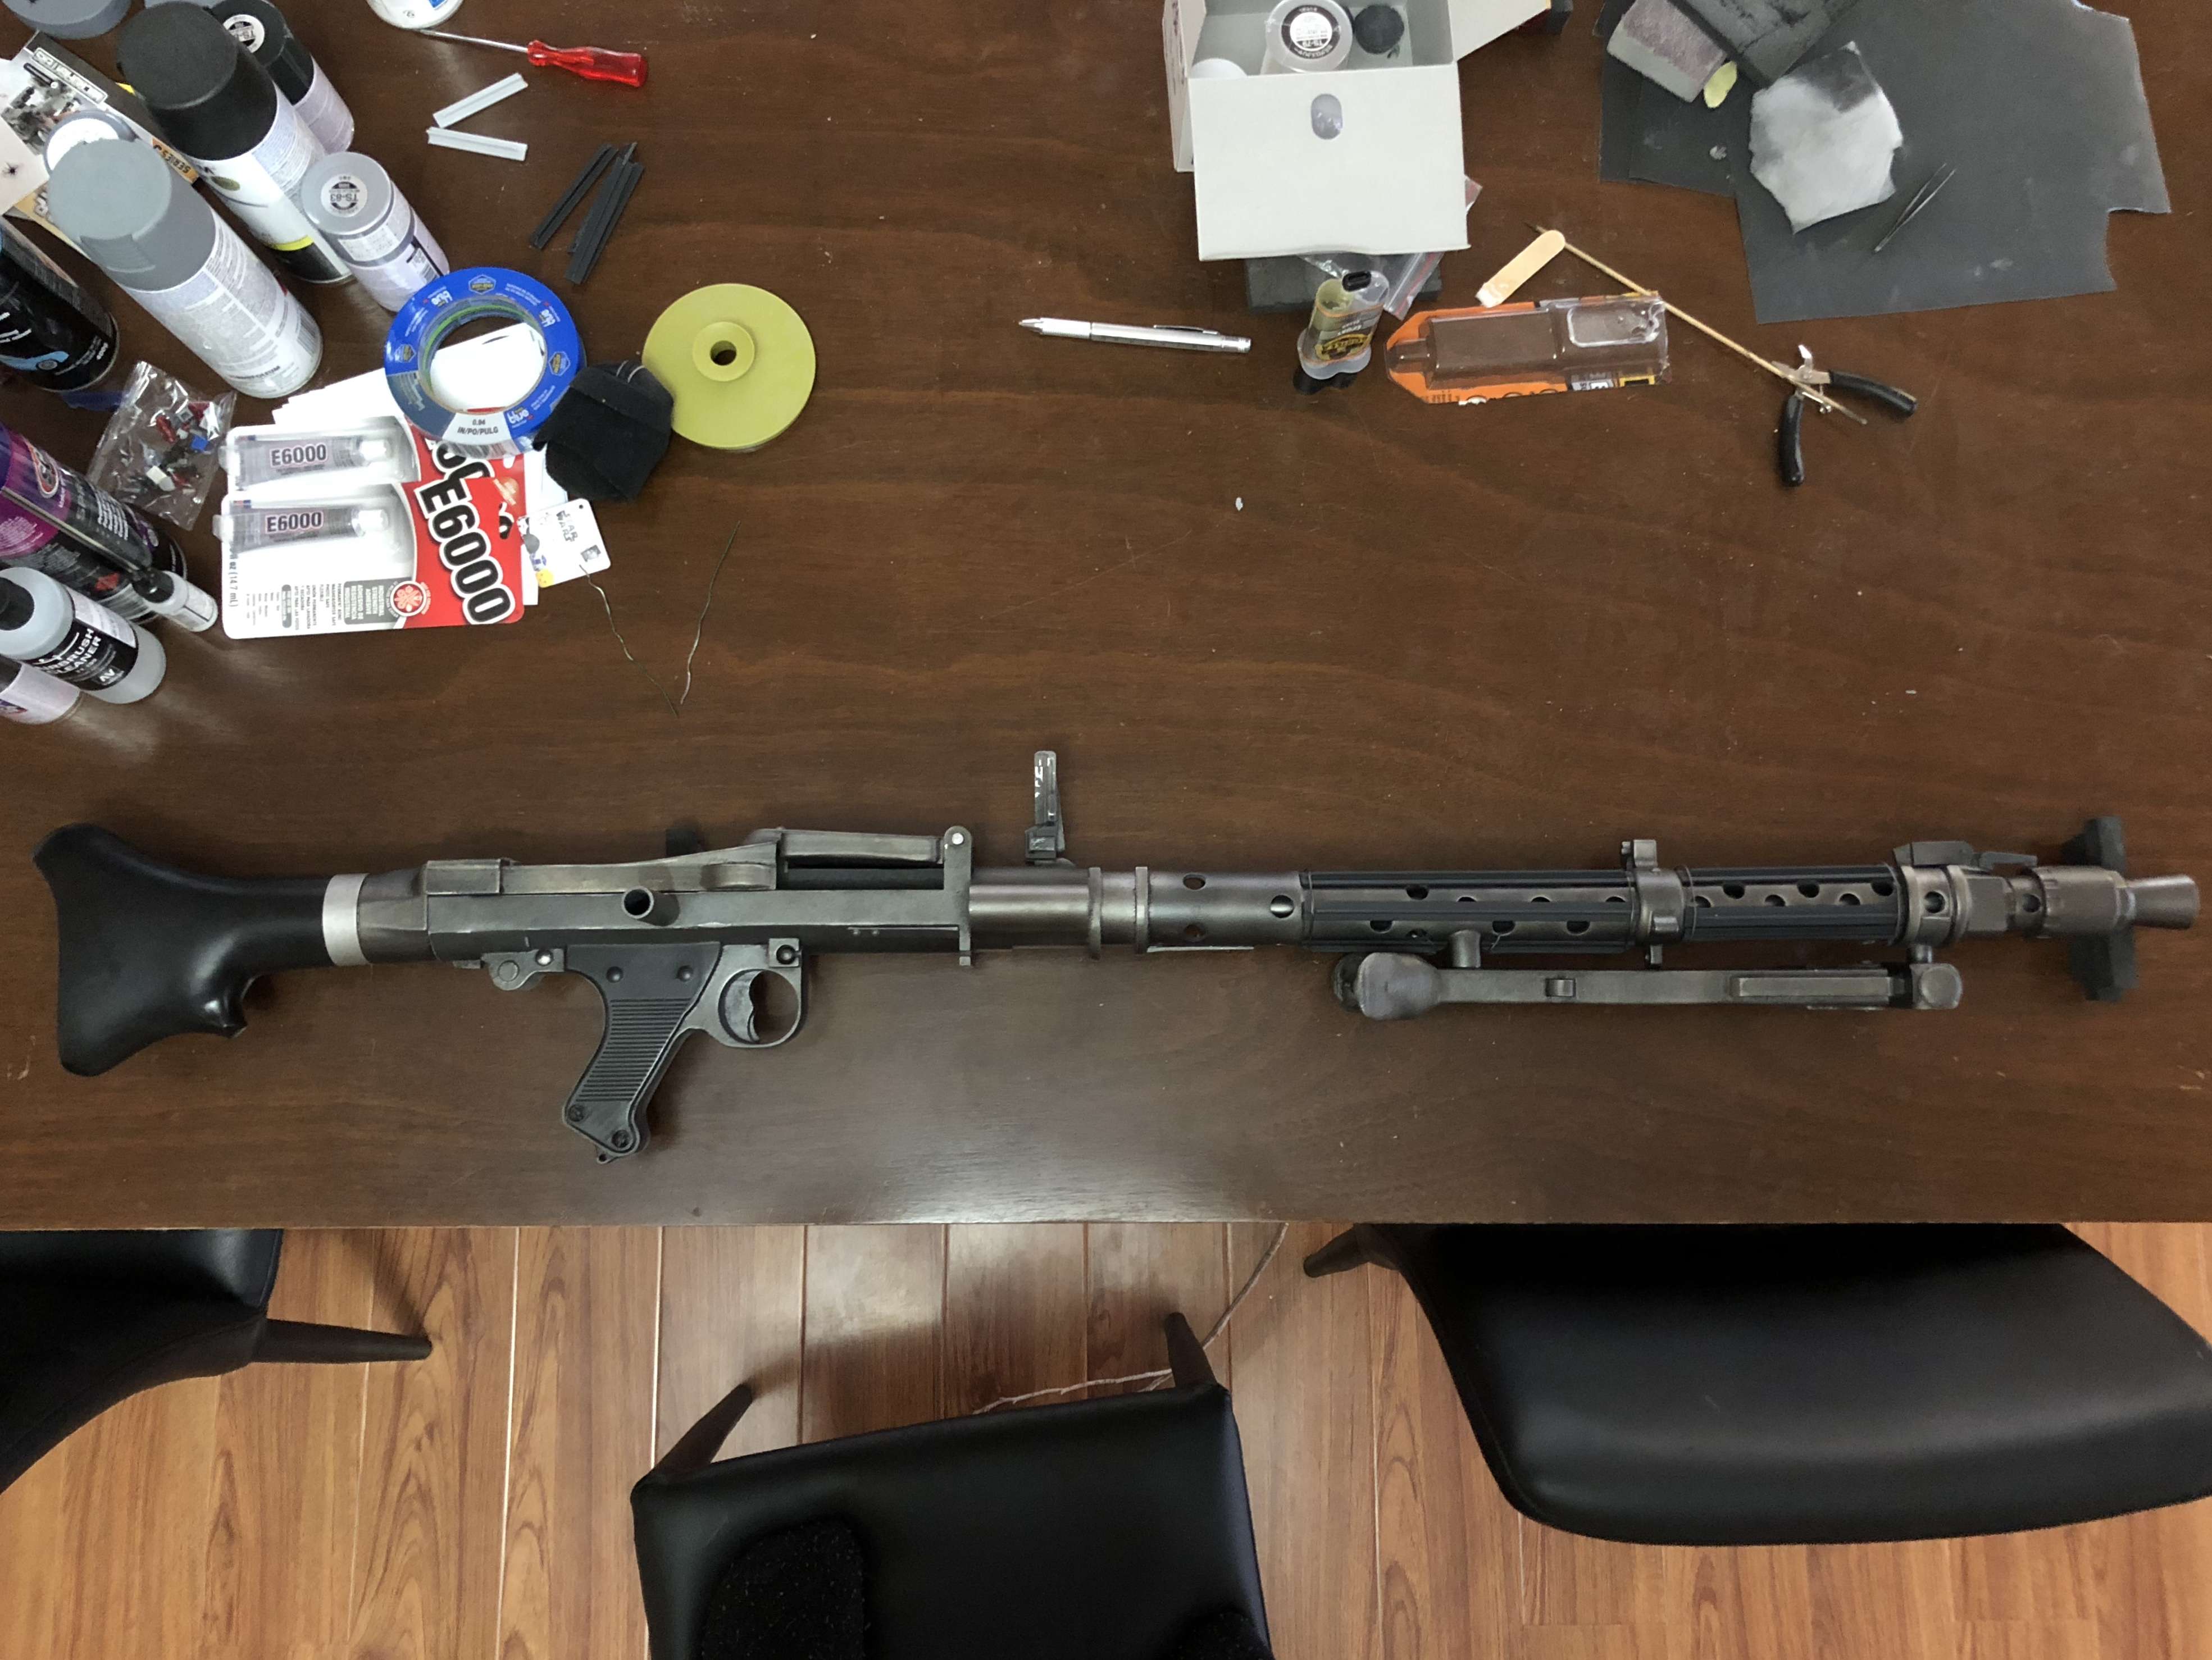

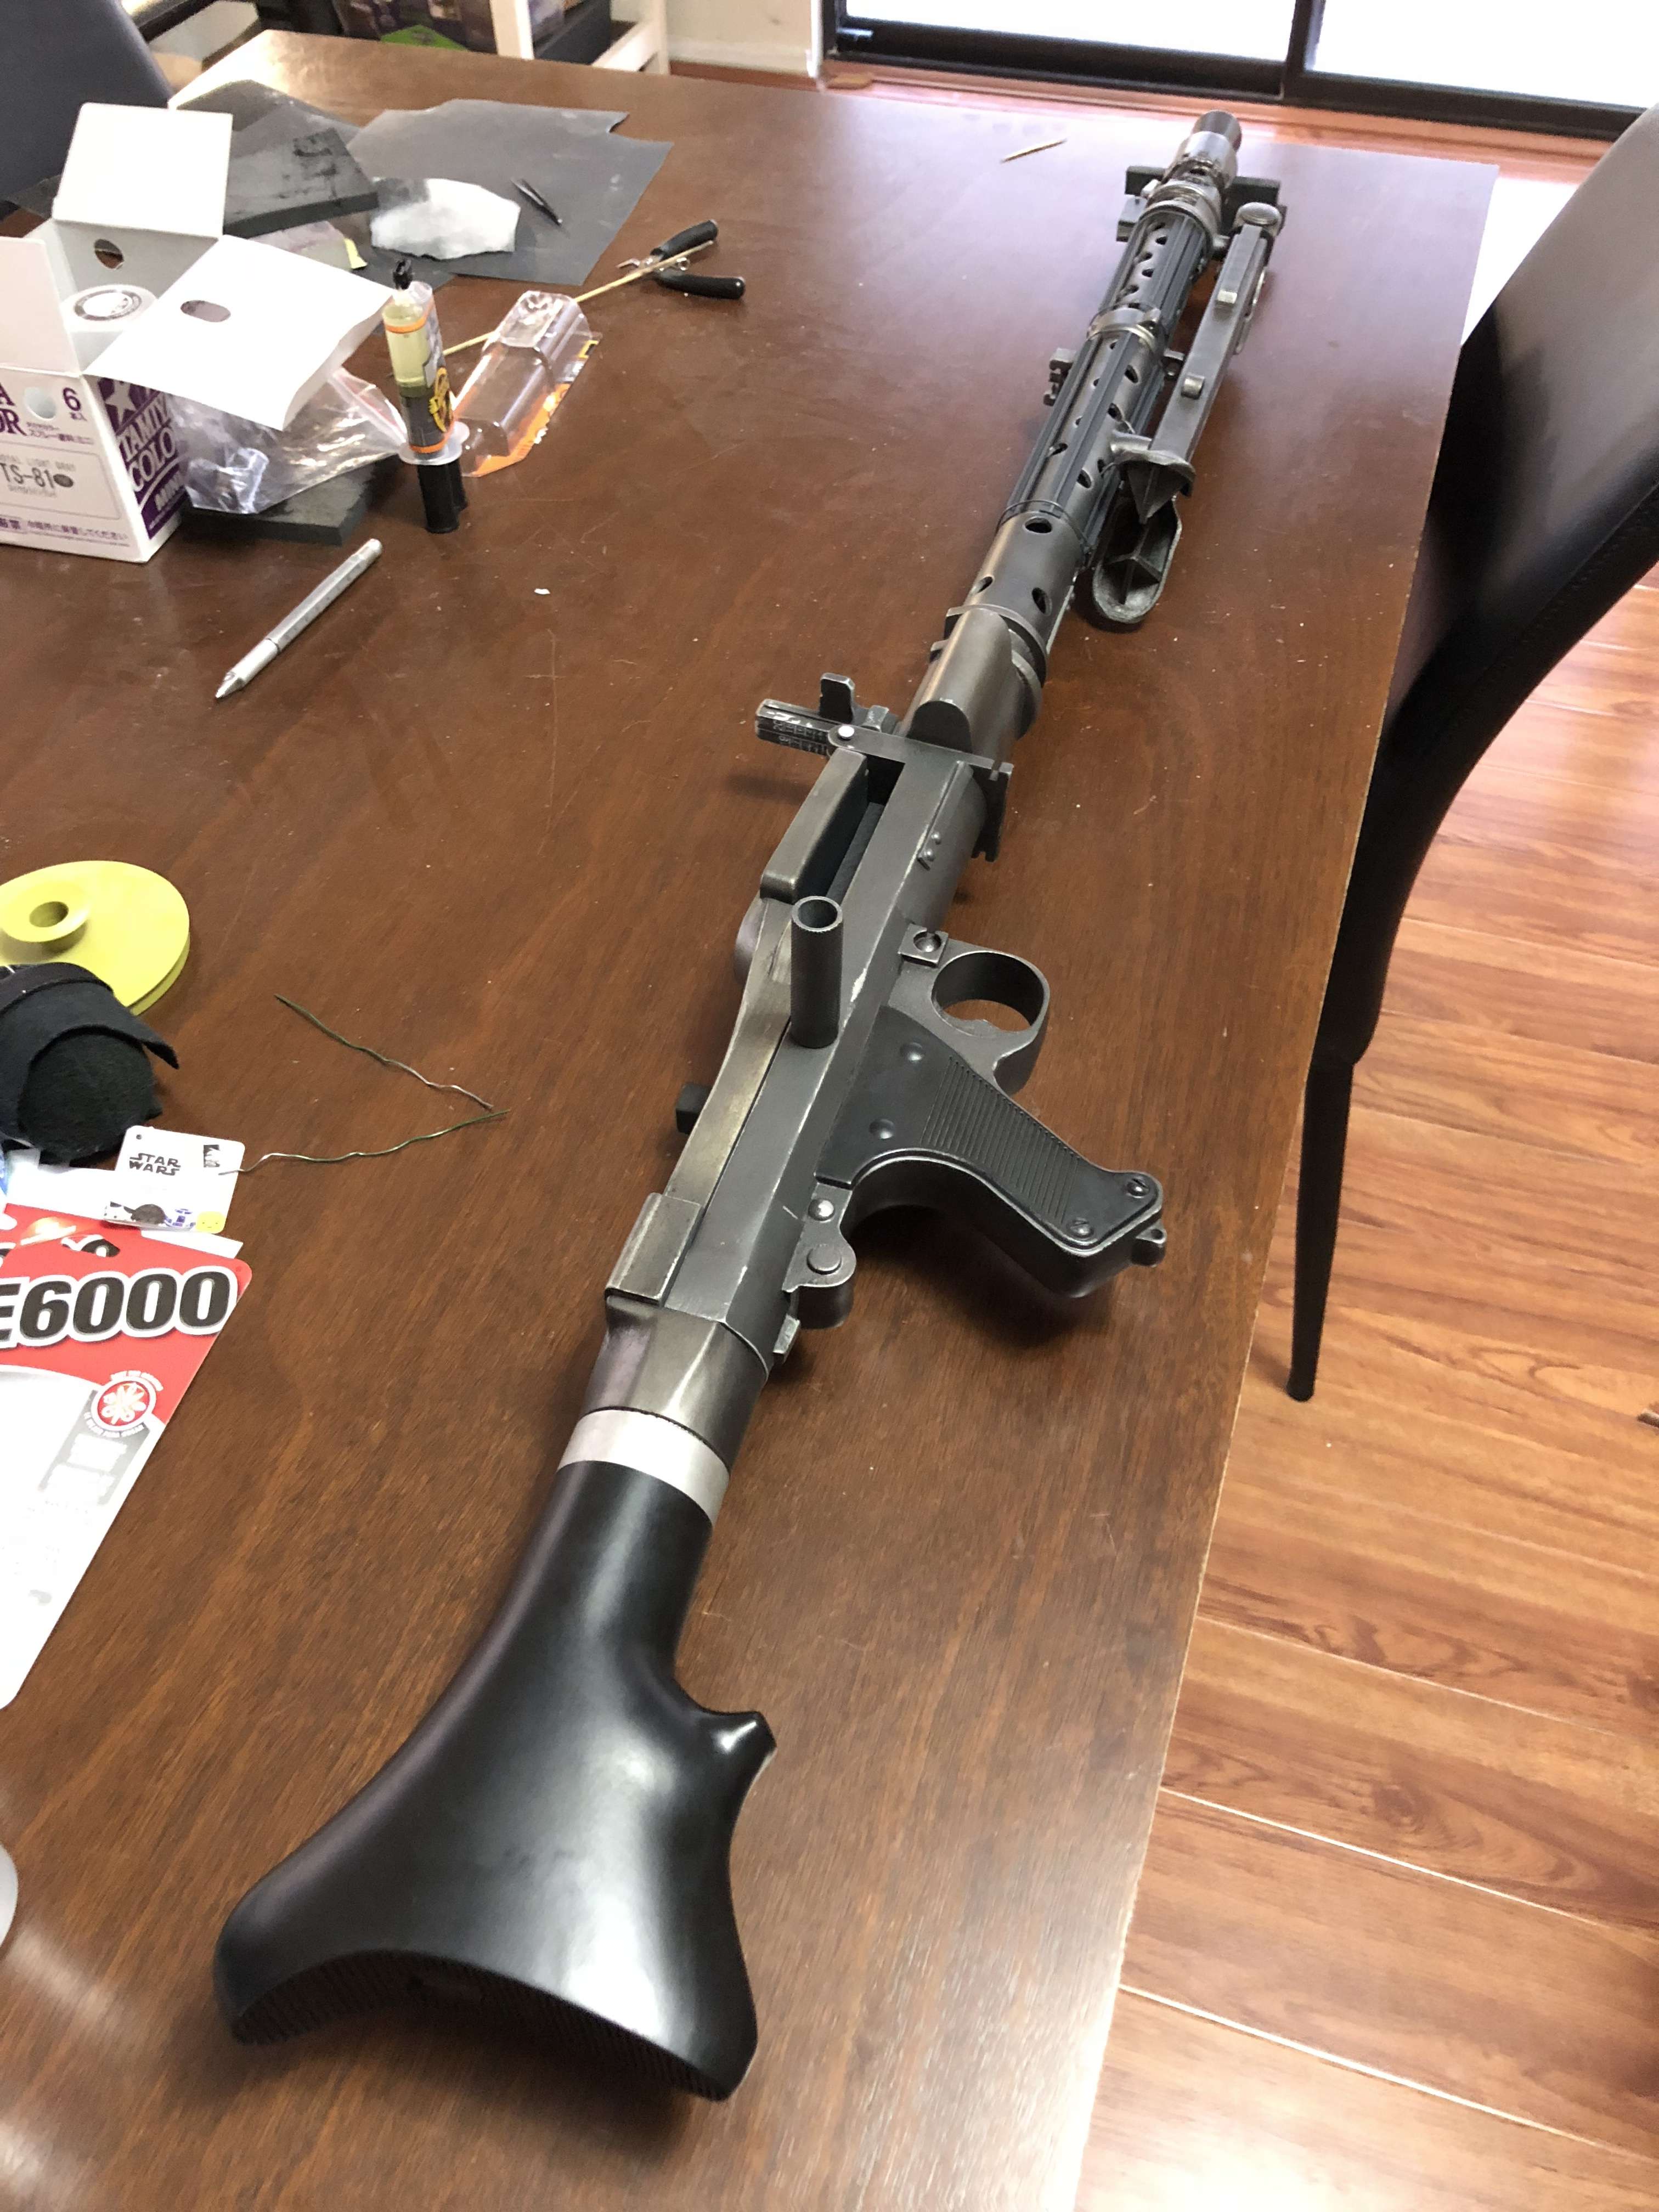
Sooo... I was given the opportunity to keep this blaster the other week and paint a second for the owner. I was more than happy to accept and this lovely girl came back with me from a recent troop. I had a couple of things to repair and while I was there I decided on a small upgrade. While I was researching the MG34, I found some details on the print missing & I was looking to upgrade the belt feed section as it was pretty bland (not that it needed to be anything else, I am just being picky z--3 )
Here is what I started with:
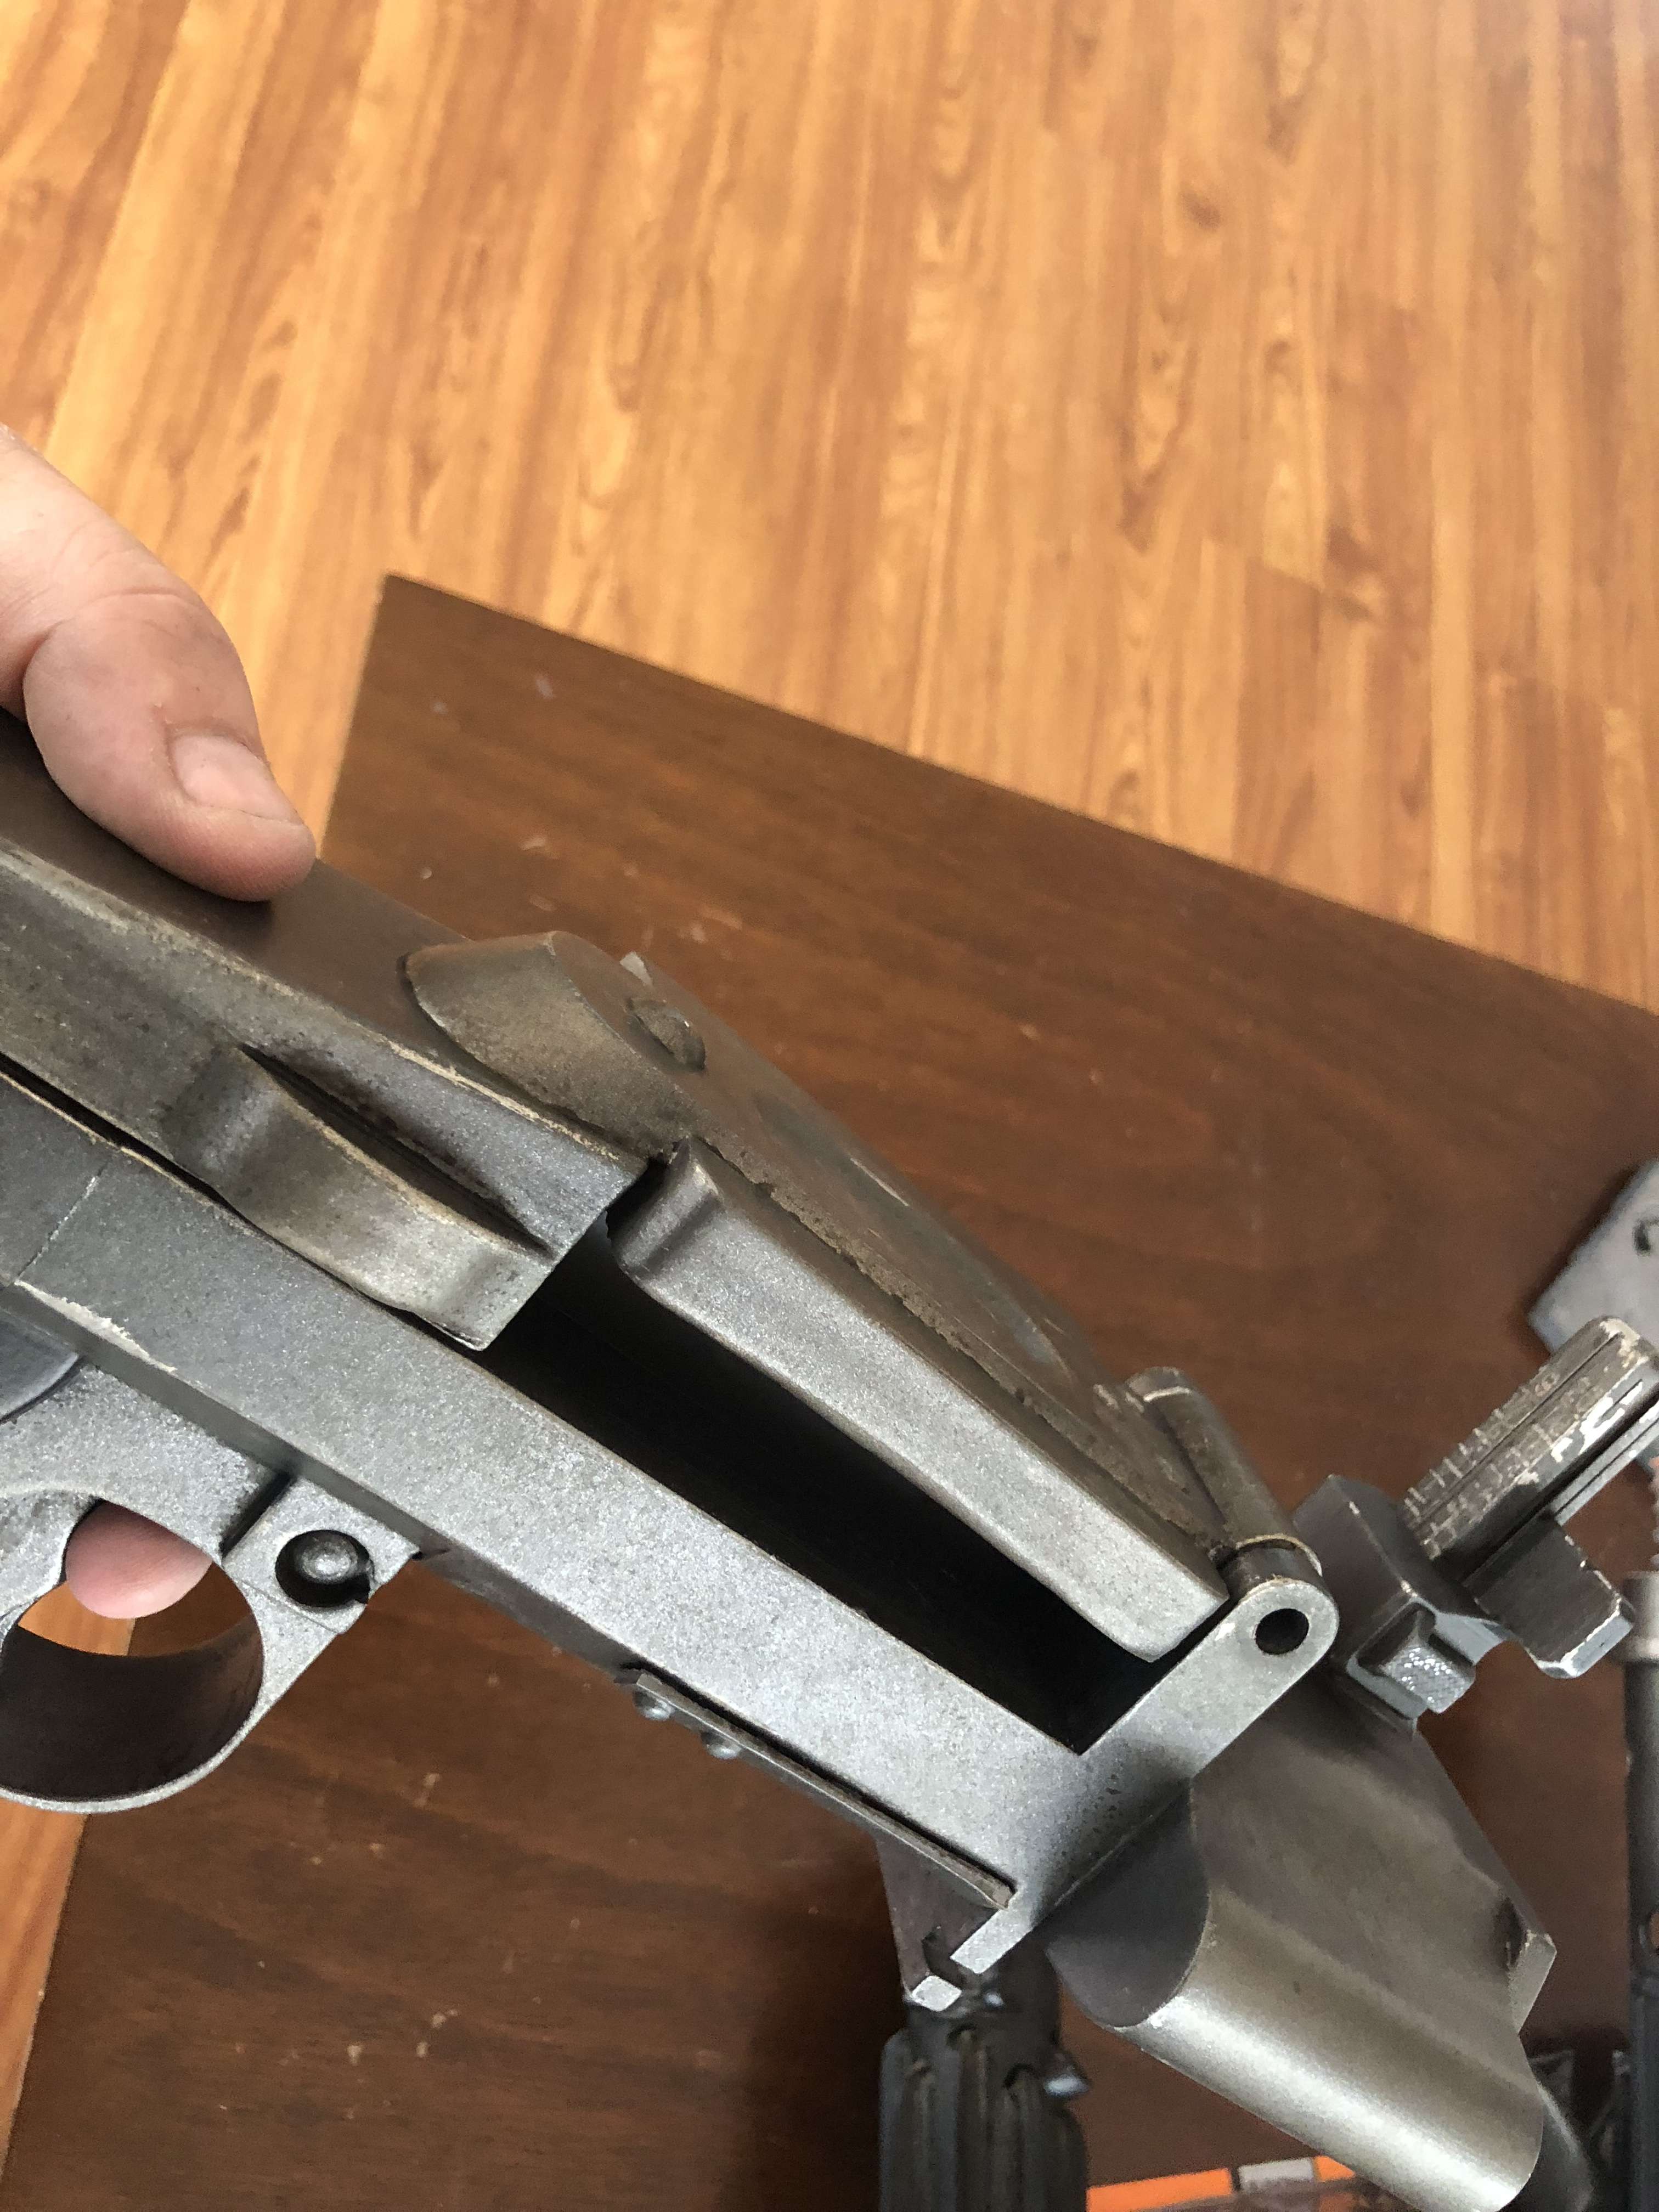
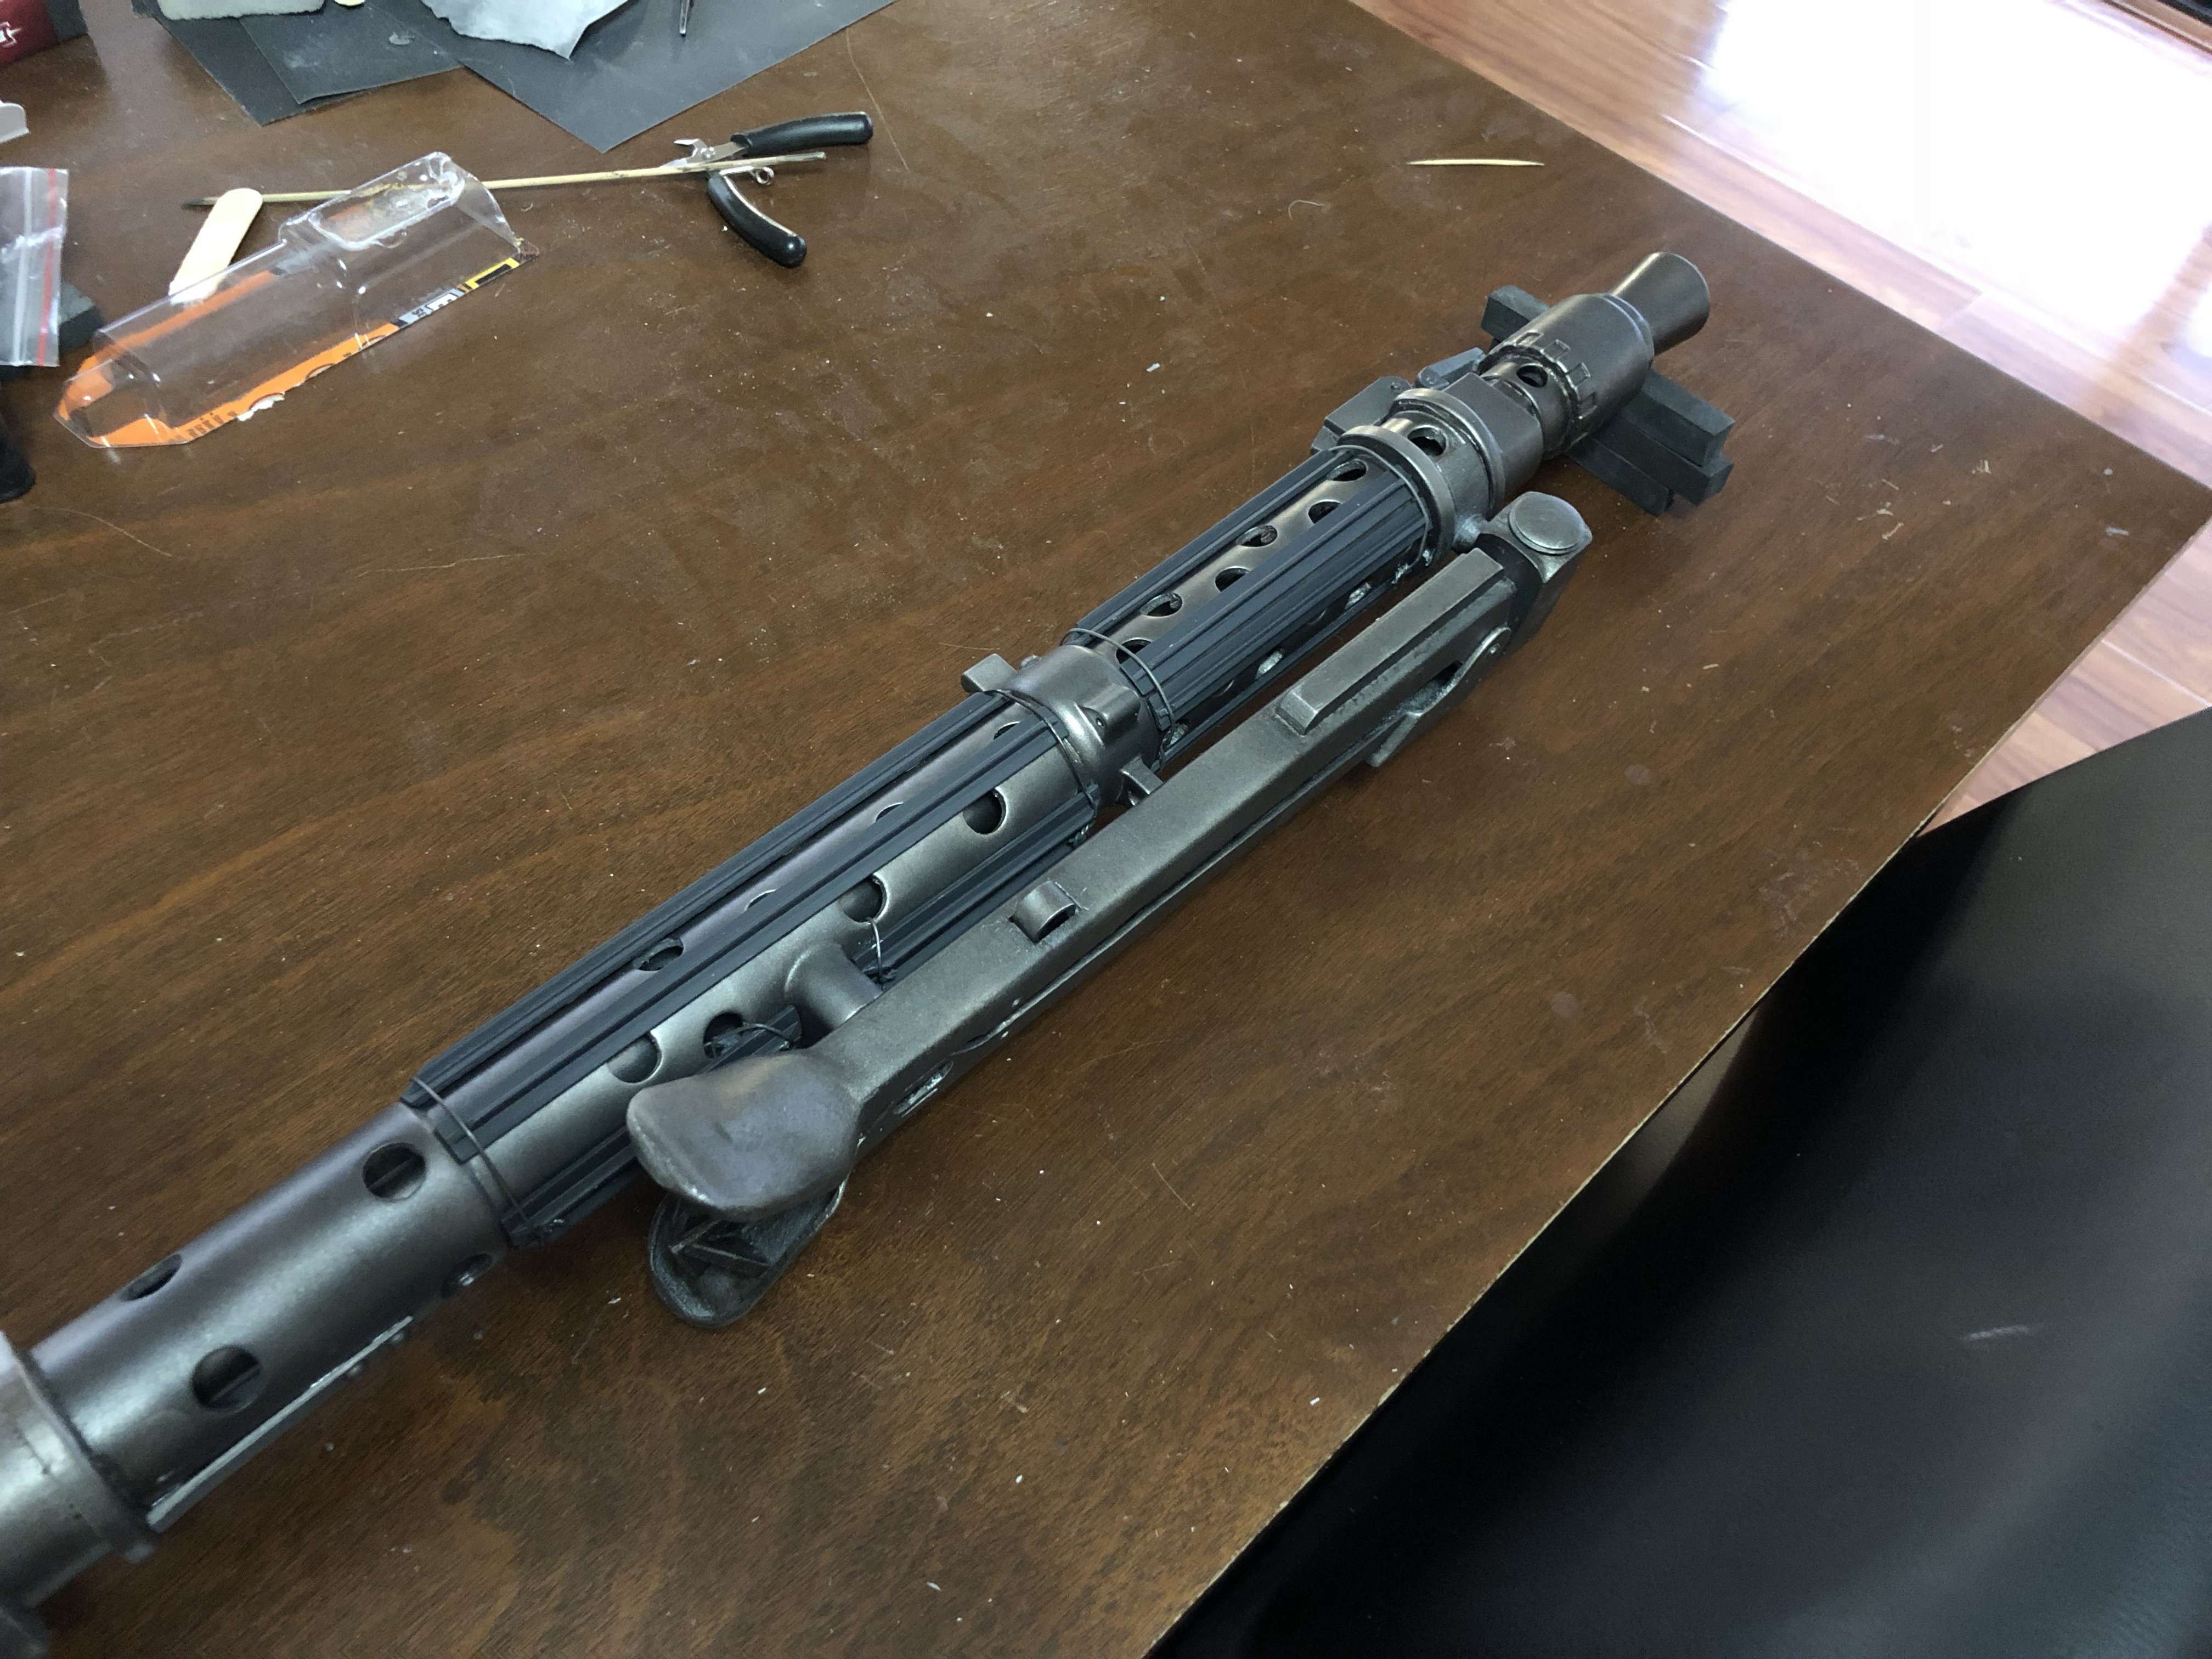
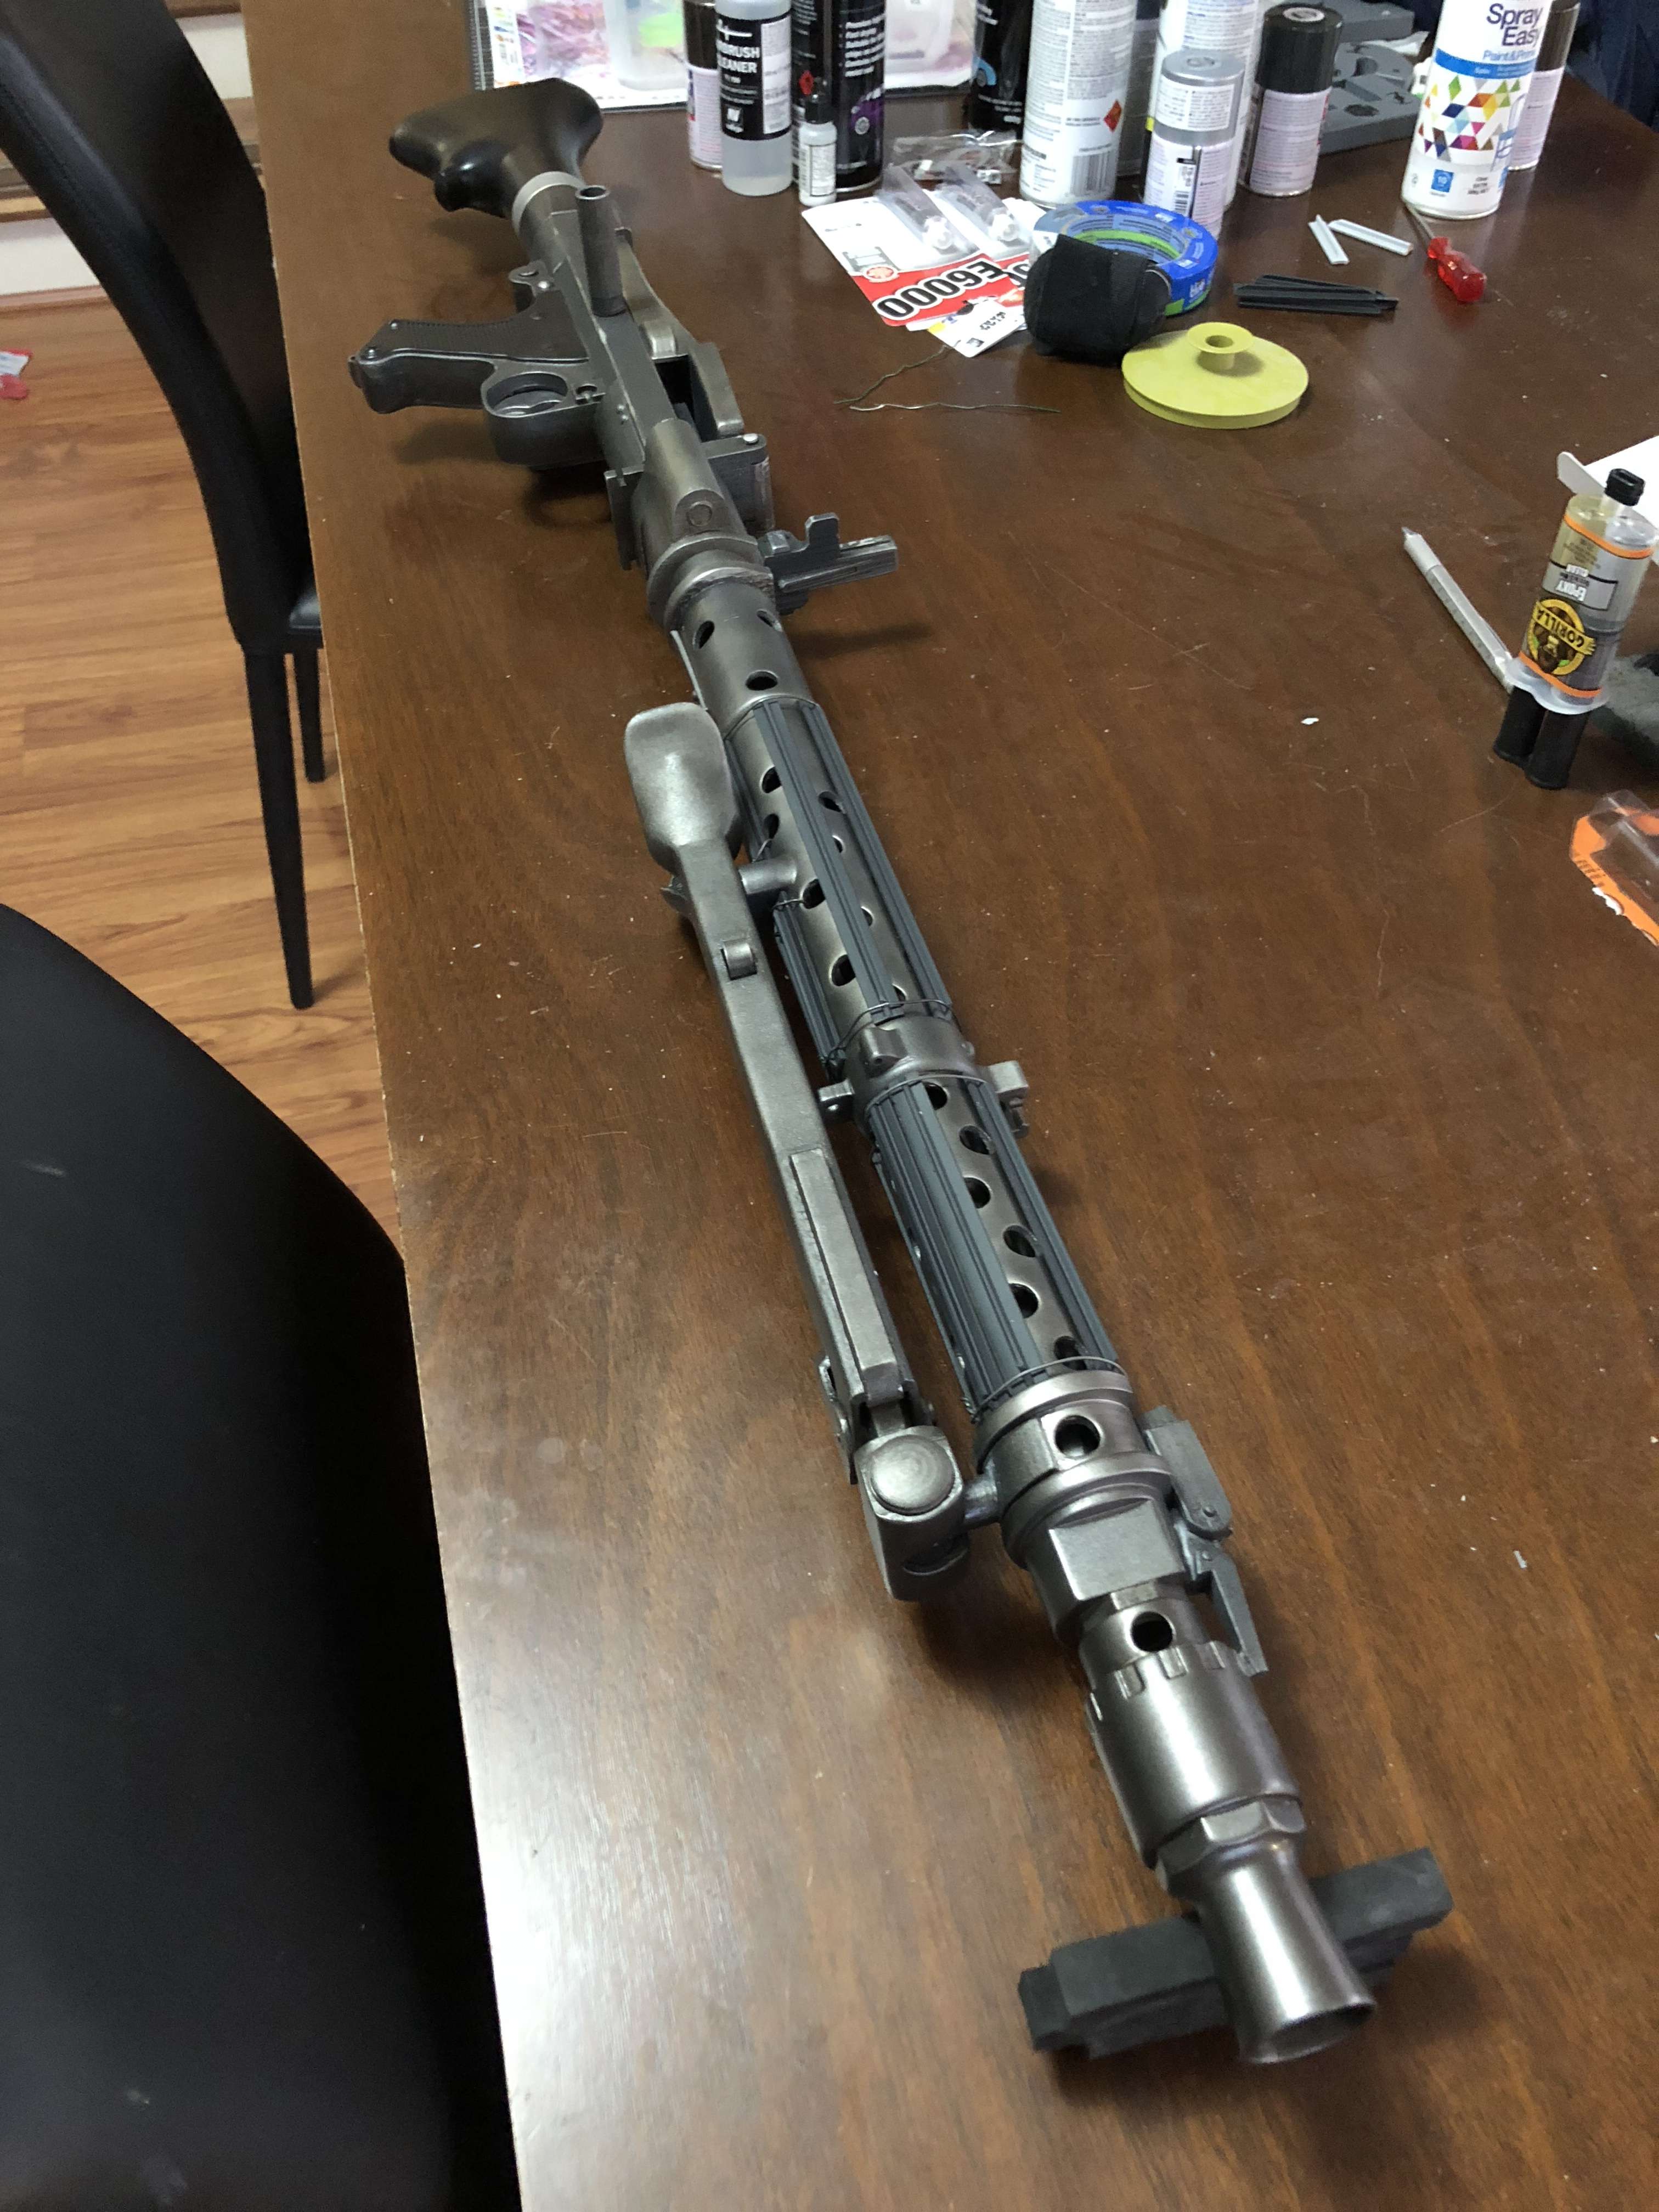
I added a back to the internal section of the port (which I left black) to block out light coming through from the other side. I then made a flange for the feed as per pictures I found online. Heating the plastic to had it bend it in a number of directions which was hard but it came out ok. I also made a T piece that attaches to the top of the cover (again found on pictures of the real MG34 and will probably help explaining its a fake gun & nothing can be put into the chamber) and small piece to the left of the feed. A bit of paint and weathering and I think it came up a treat.
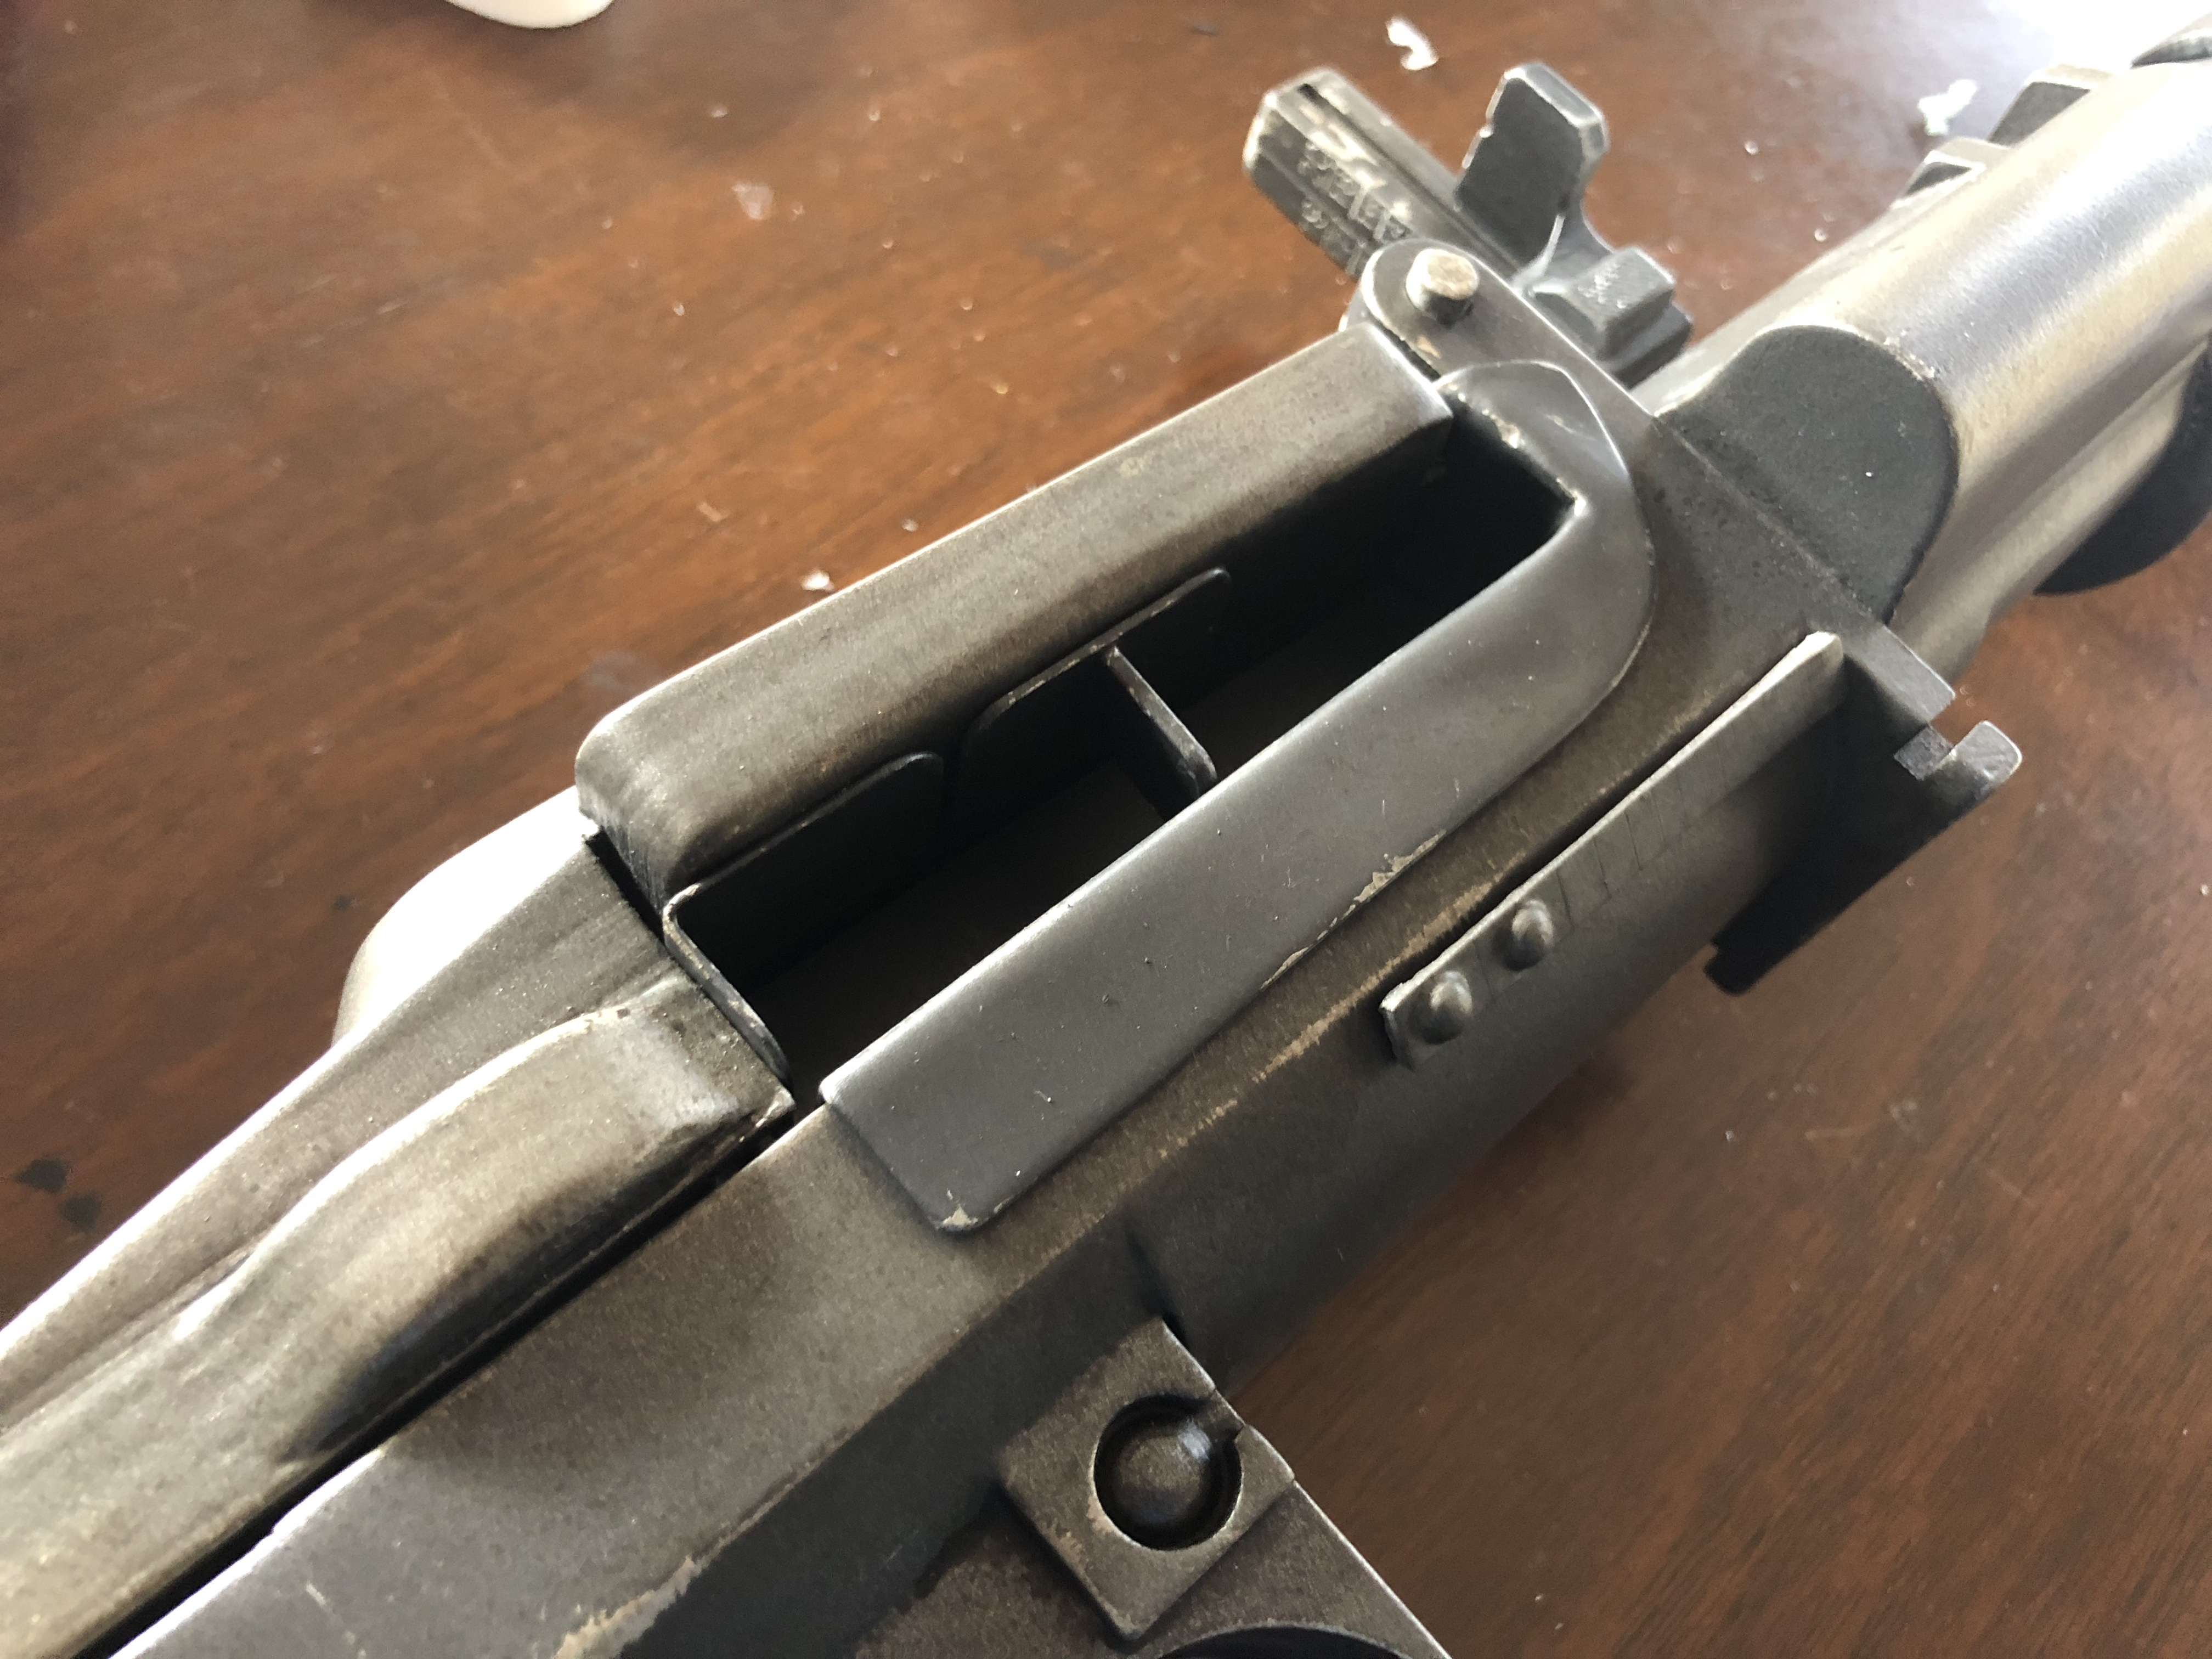
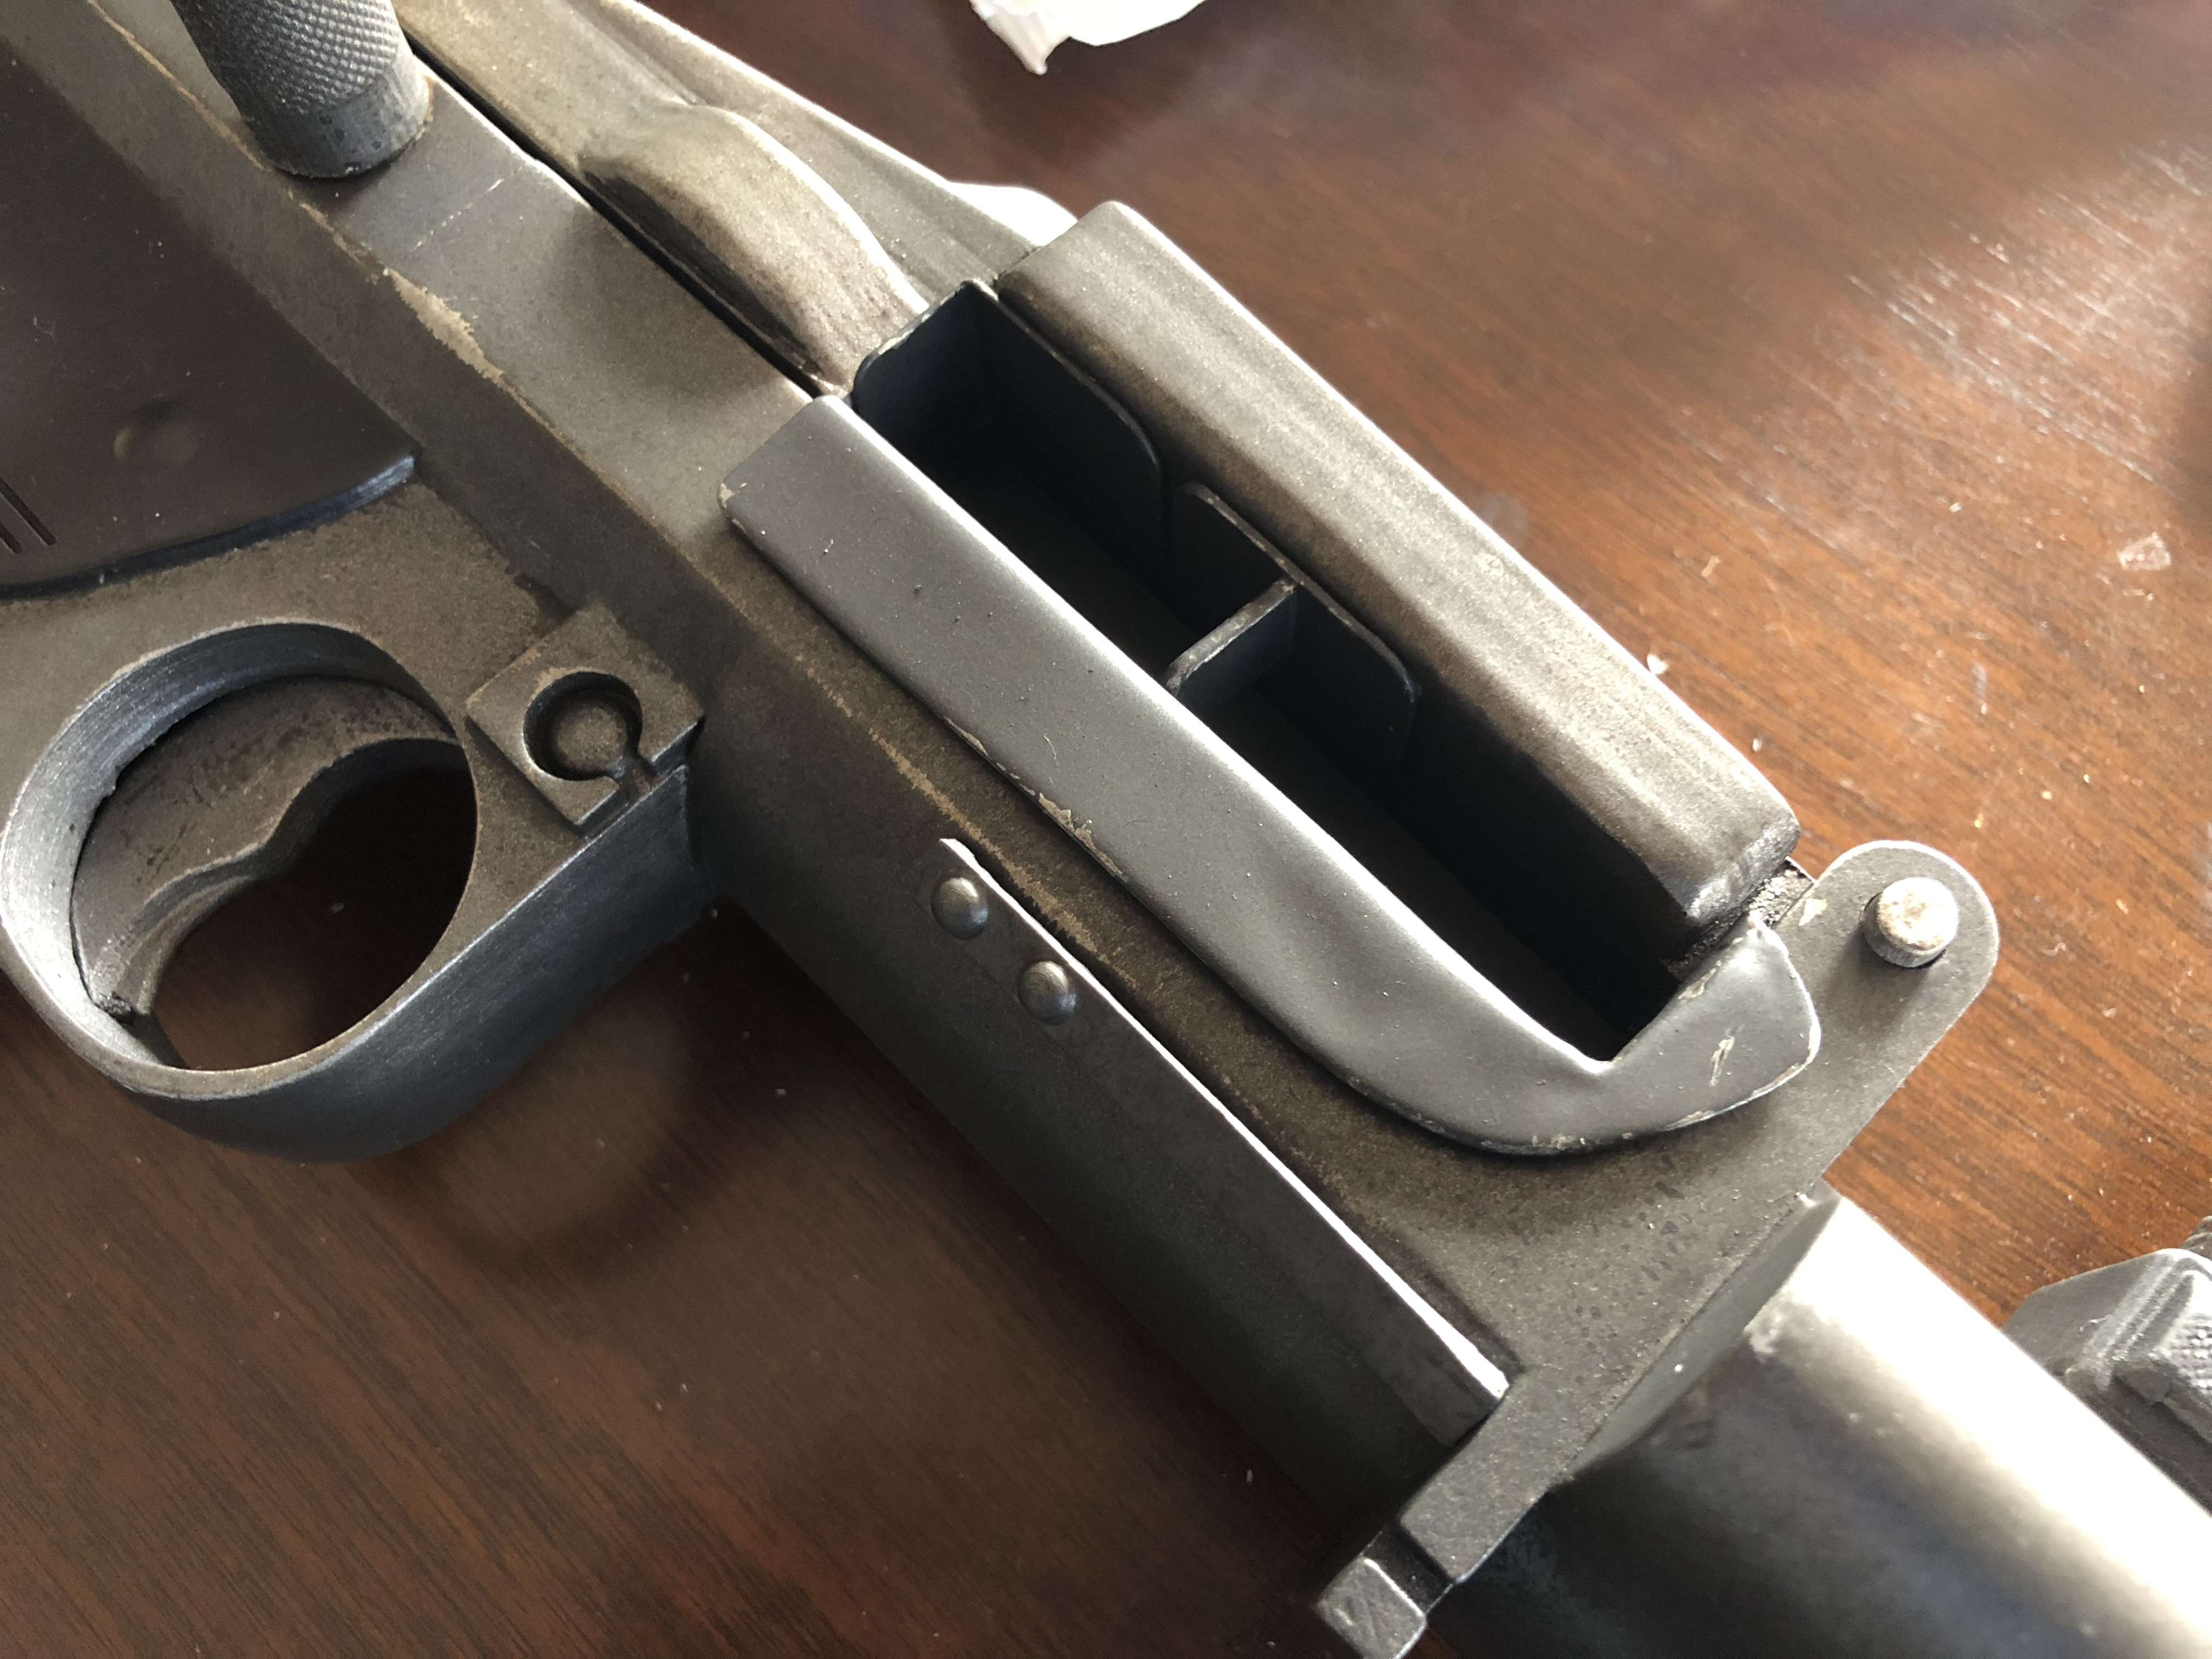
And that's it, all finished and ready to troop next weekend!
-
1
-
-
4. ANH in Concert with the Western Australian Symphony Orchestra - 29/9/18
ANH was shown on the big screen with WASO playing the soundtrack live. We completed 2 shows on the day, one at 1:30pm and again at 7:30pm and both were great.
-
1
-
-
Very nice, the metallic look adds to the weapon. Well done
-
1
-
-
Well done, great Job
-
I just finished my Pack 4 for my PO application. Here are a couple of the completed pack
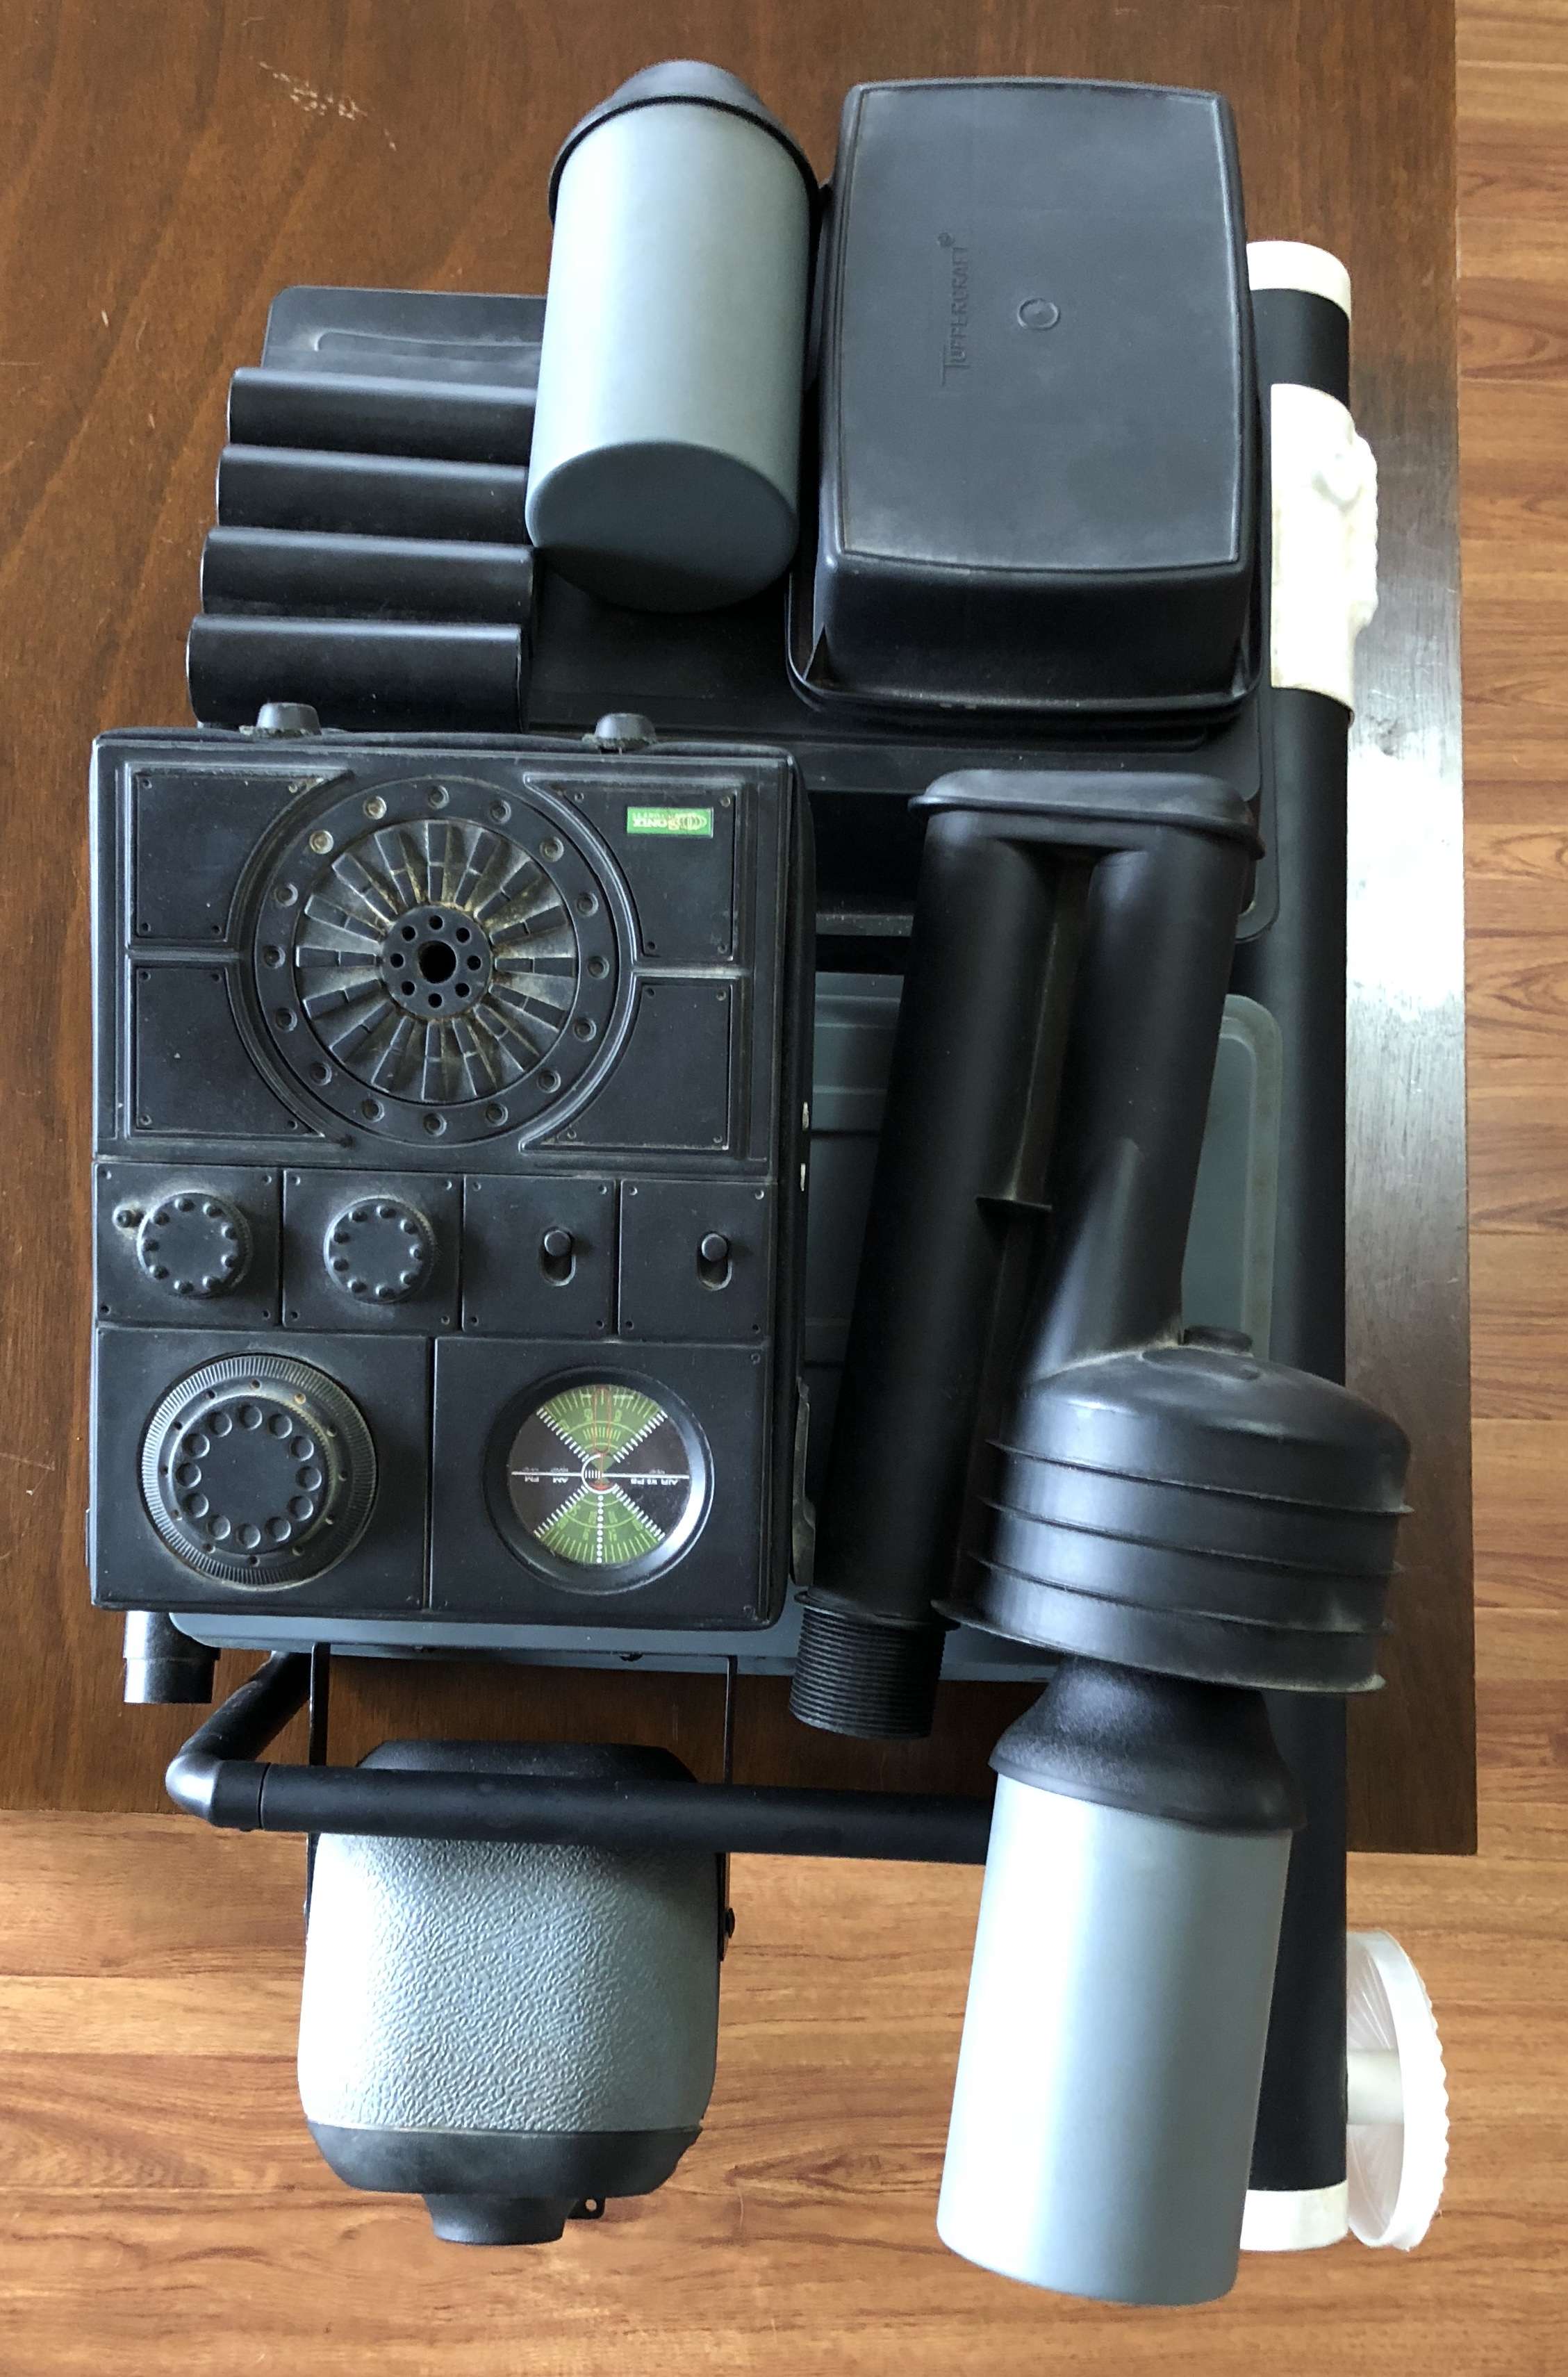
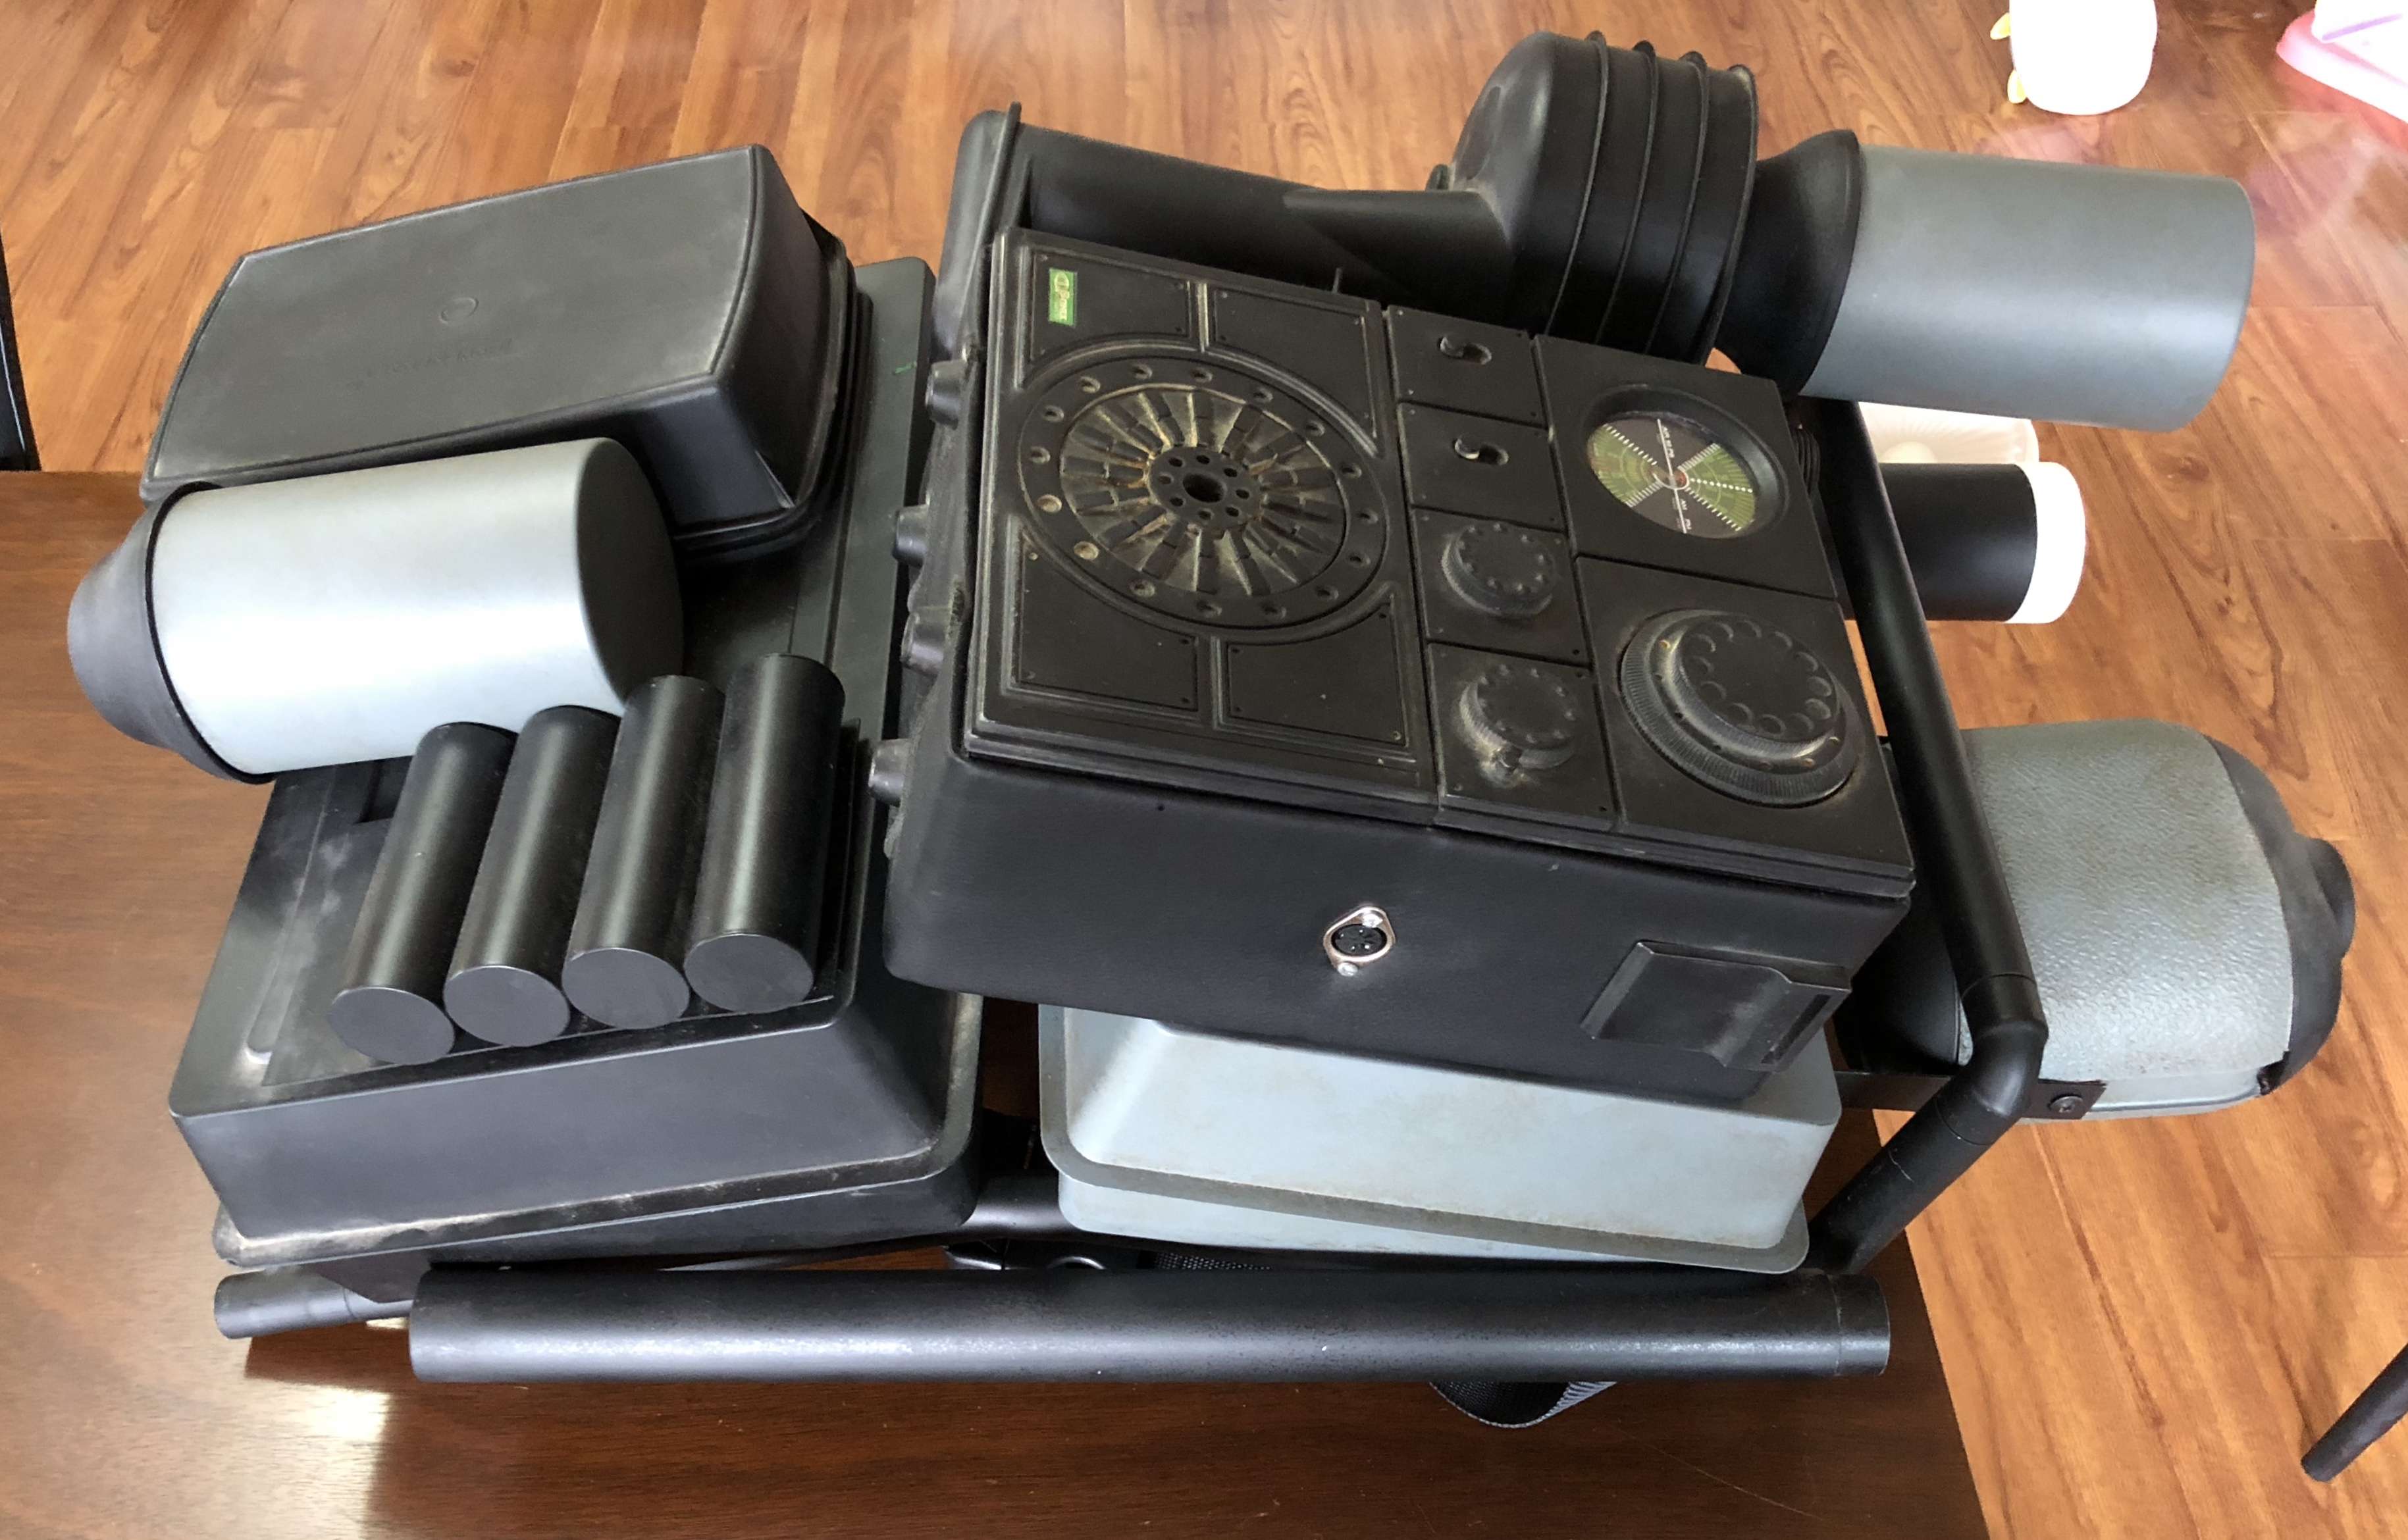
-
Very nice!
Wish we had access to parts like this in Australia but the best we will ever get is resin or 3D print.
Mounting MP40?
in Pouches, Pauldrons, and other Accessories
Posted
So here is what I do. I made up this nifty little strap them holds the angle and the height of the pouch from my shoulder. I have a block of wood in each for shape and the right one has a magnet inset into the wood at the bottom
The loop at the top goes through my shoulder bell strap as it clicks through to the armour.
Then the magnet that is at the bottom of the pouch attaches to the magent on my chest armour
Hope it helps you