


ninjabenben
-
Posts
48 -
Joined
-
Last visited
-
Days Won
1
Content Type
Events
Profiles
Forums
Posts posted by ninjabenben
-
-
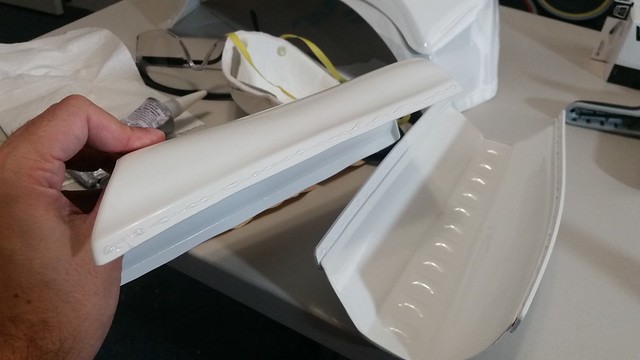
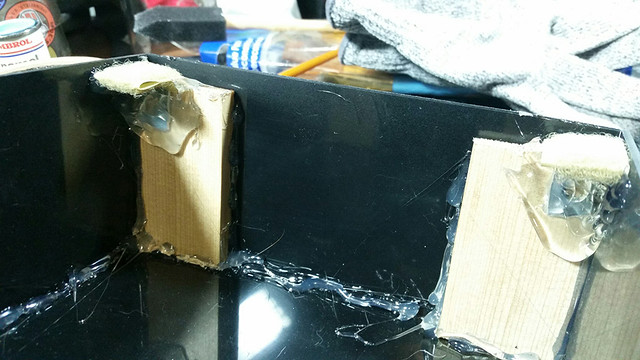
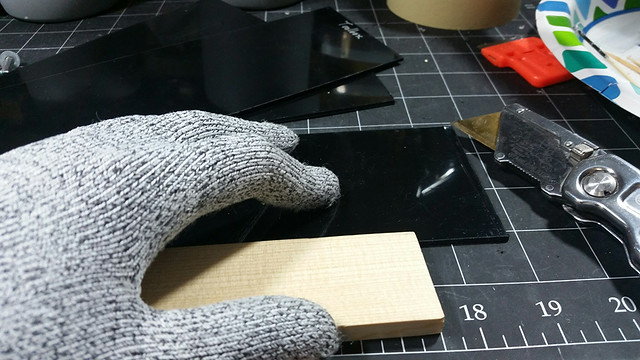
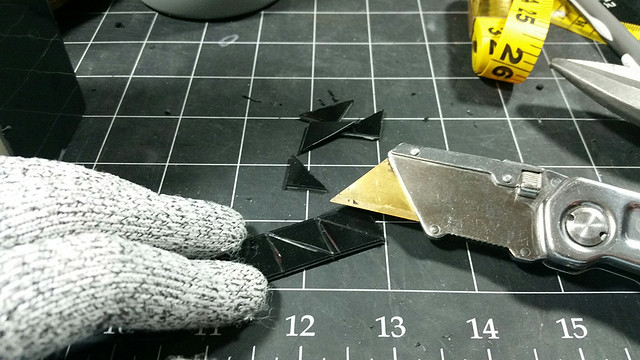
Cutting out the strips to cover the butt joints

Drawing guide lines and cutting off excess flashing
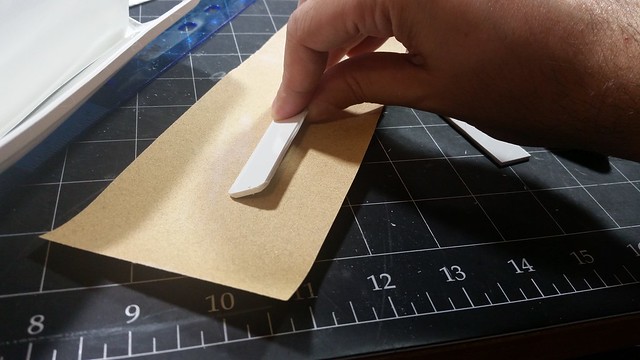
Sanding down all the edges to all the pieces
Initial gluing of strips to the forearms
Prepping the other side of the forearms with E6000 glue
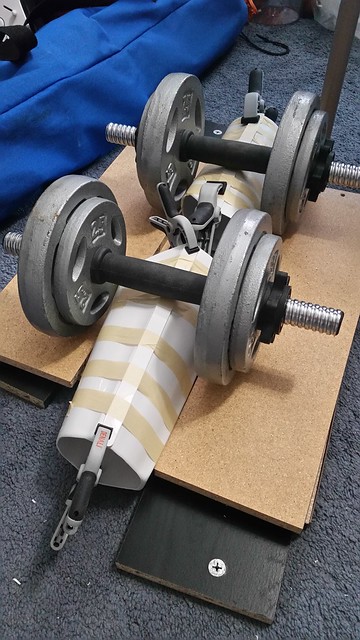
Getting some use out of those weights finally to hold pressure as the glue dries.
-
ALRIGHT! I'm Back!!!! and thanks for all the previous comments everybody

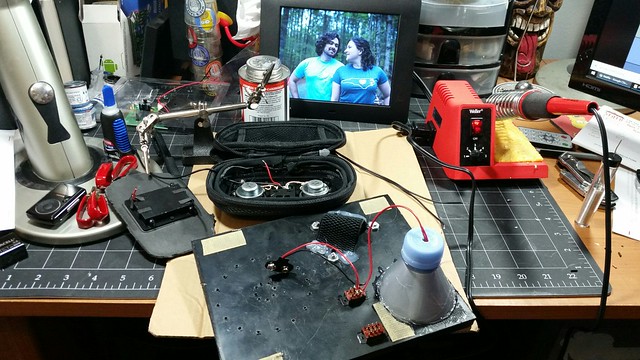
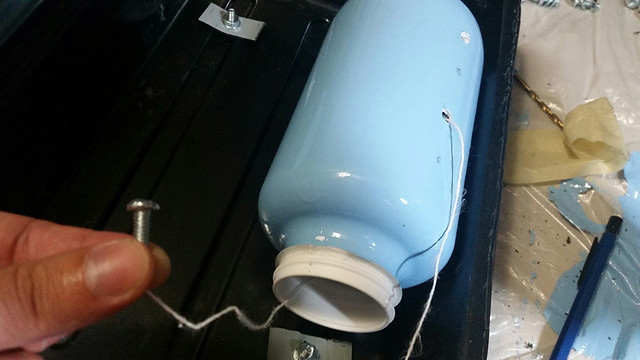
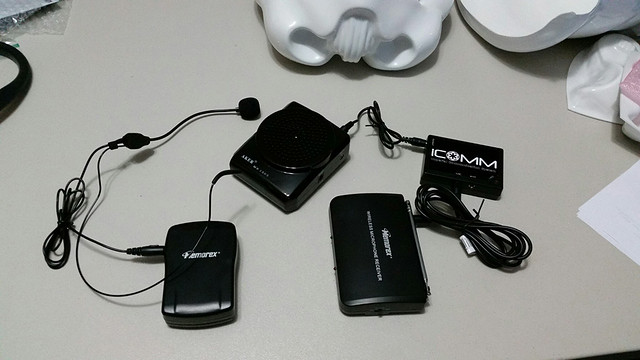
Soldering some wires to a battery pack, one of the toggle switches, and an LED drilled into the water bottle lid. The other switch is soldered to a power switch on a portable speaker that will play a loop of Mos Eisley Police radio chatter.
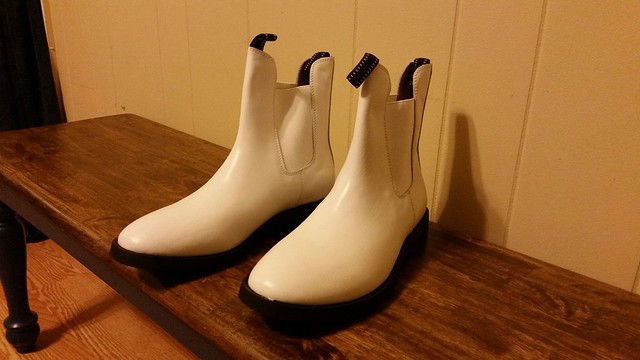
TK Boots!
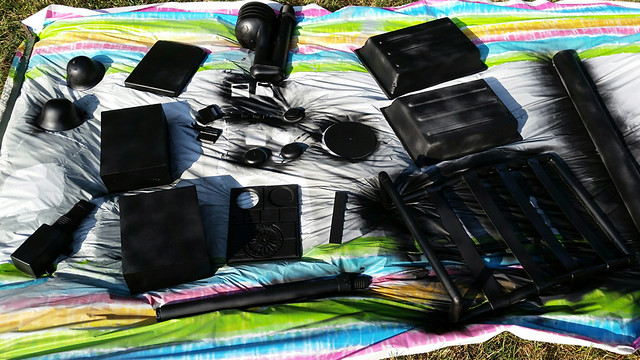
Look what finally arrived!!!!!
Alright, time to get started!
-
Added some Fuller's Earth weathering
Sewed some backpack straps

Attached the straps, I made it adjustable to help reduce any wobble. They also snap on and off easily on the D rings.

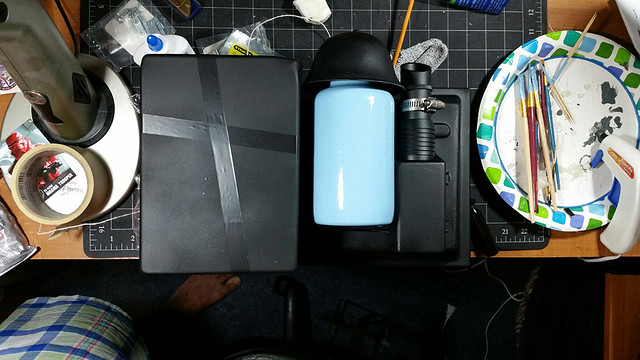
The outside is all done! Plan on adding some internal stuff like making the radio switch turn on a LED behind the radio display and adding an mp3 player and speaker with radio chatter loop.
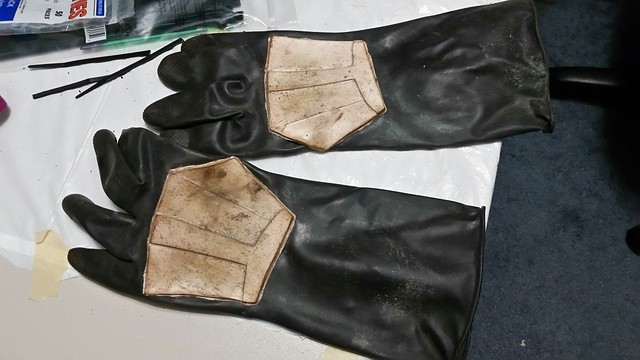
Gloves weathered
So far so good! Pretty much waiting on the rest of the armor and boots at this point!

-
Adding the first layer of weatering (paint)
Rubbed a bunch of the weathering off
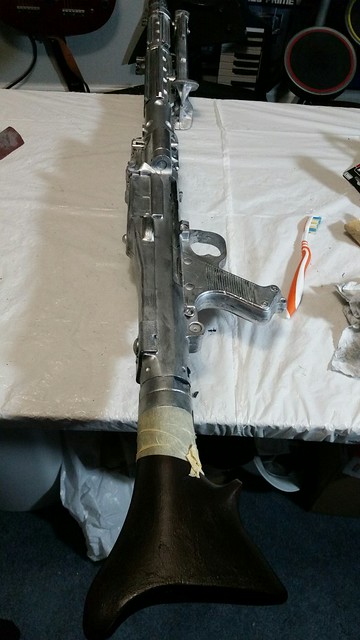
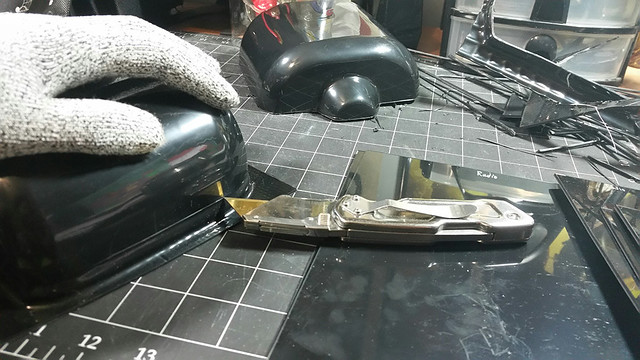
Adding some detail to the rifle stock
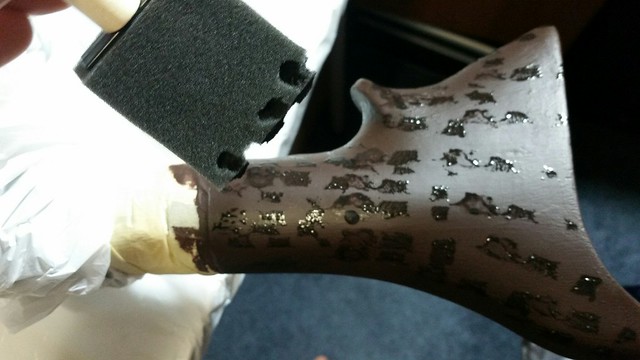
And blotting off most of the watered down black paint
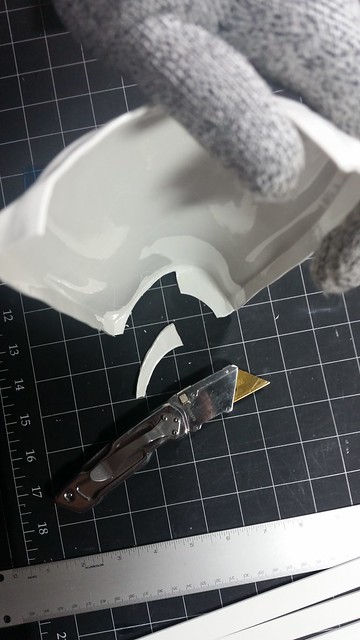
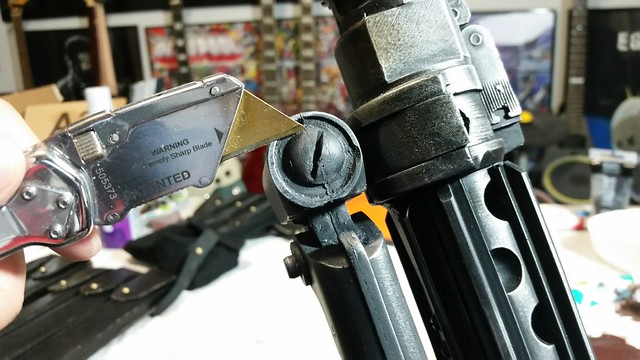
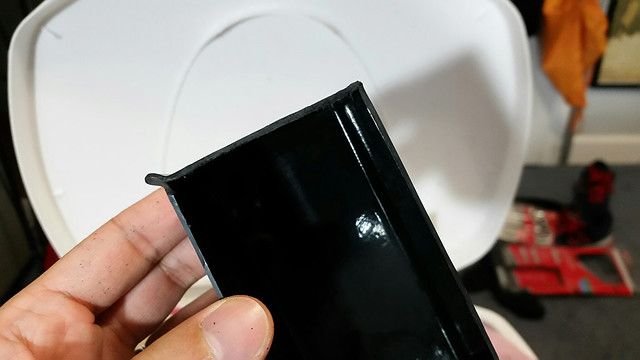
Cleaning up some of the flashing from the mold
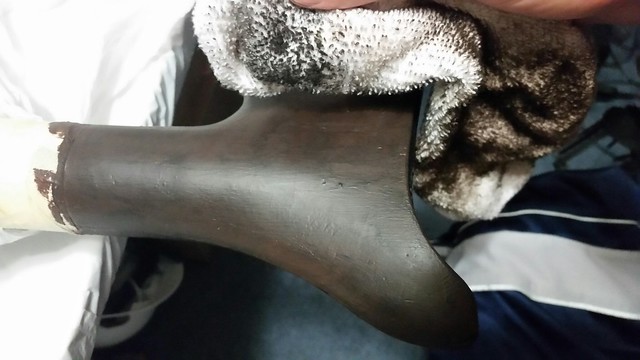
Added silver rub-n-buff. Not sure if I used it right, but in the end it looks nice so that's all that matters
First layer of black and blotted alot of it off.
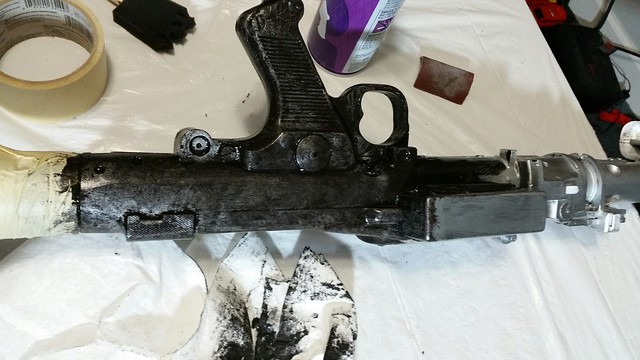
Second layer of black paint and blotting off again
Added some of the wire detail
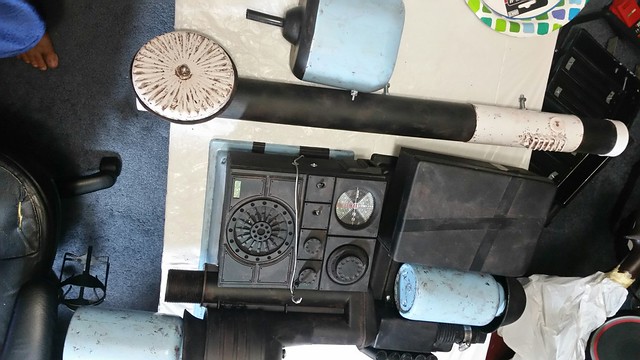
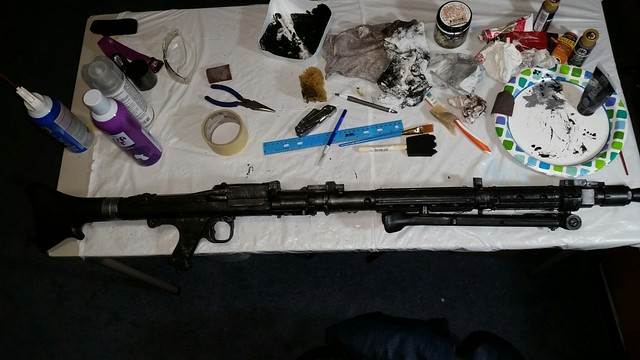
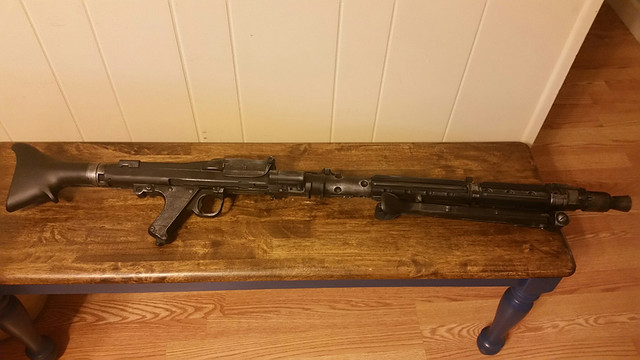
DLT-19 is complete!

-
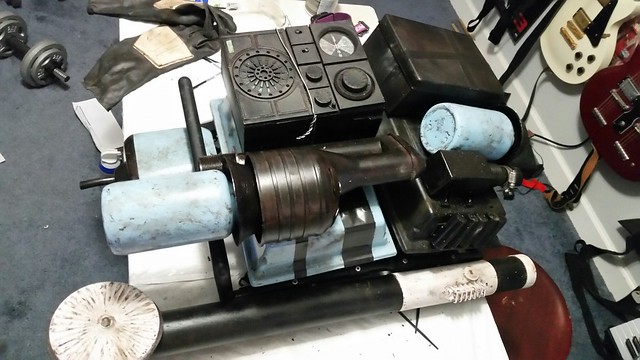
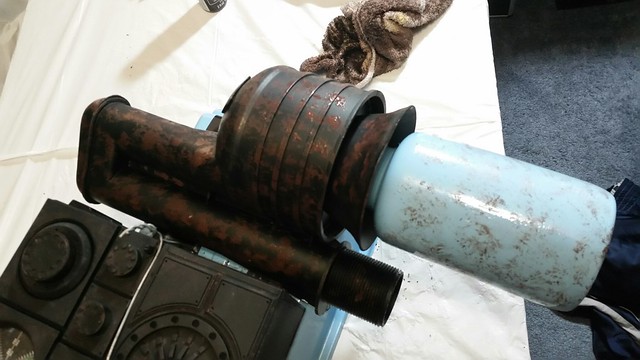
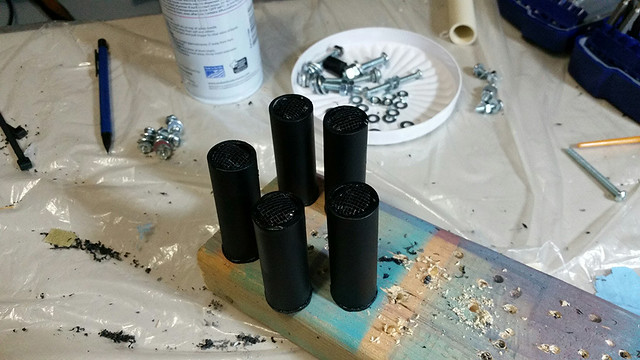
Got the stinger attached.
Mortar tube attached. Pulled in the screws with string taped to a sturdier ziptie lead which I then taped the screw to.
lab pipe zip tied to side
Seedtrays held together with the ziptie method
And pack is all assembled. Going to weather it then add the straps. Overall happy with how it looks! Any and all feedback is welcome!
-
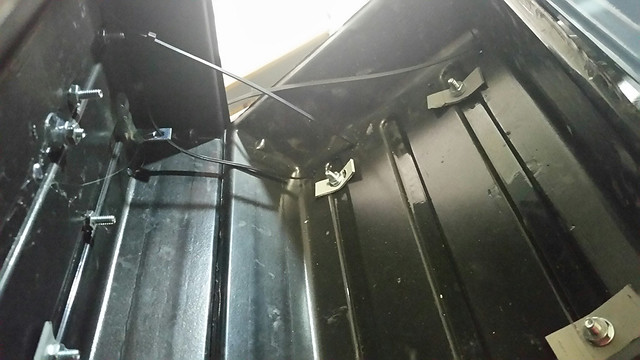
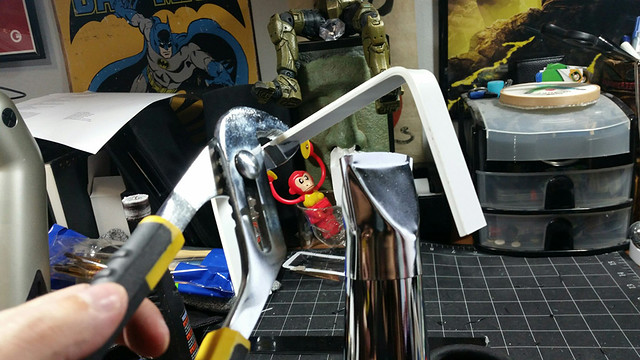
After many test fitting, I riveted the crossbars down
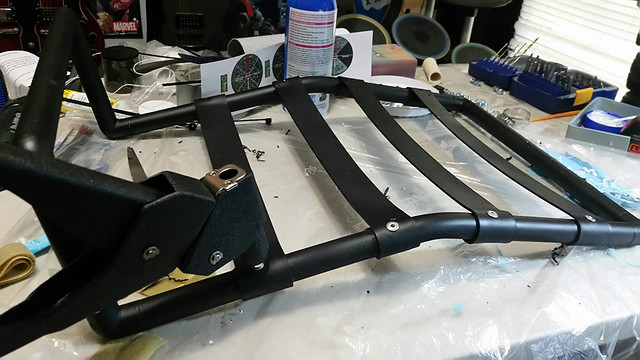
Then I started drilling and screwed in the seed trays
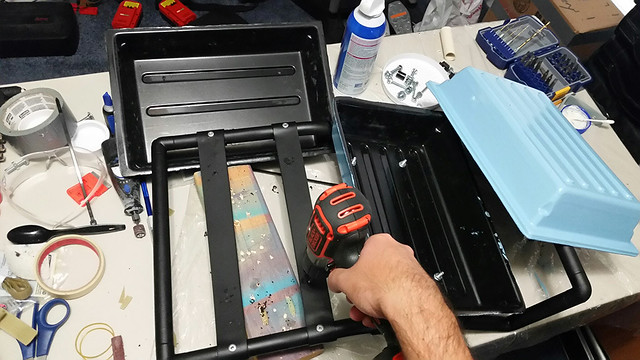
Traced the holes to drill

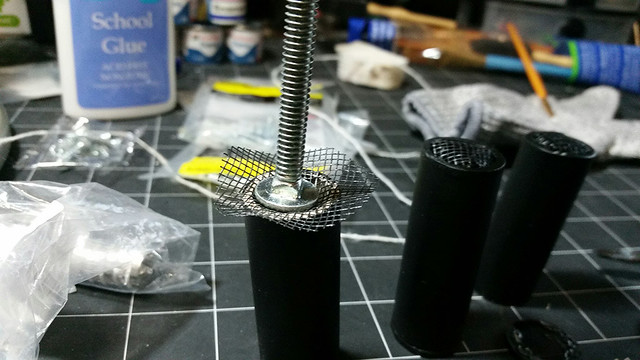
Fed string through to pull in the screws from the inside. Super glue helped hold the screws to get the nuts on.
The big bolt for the cistern helped pushing the mesh down the shotgun shells.
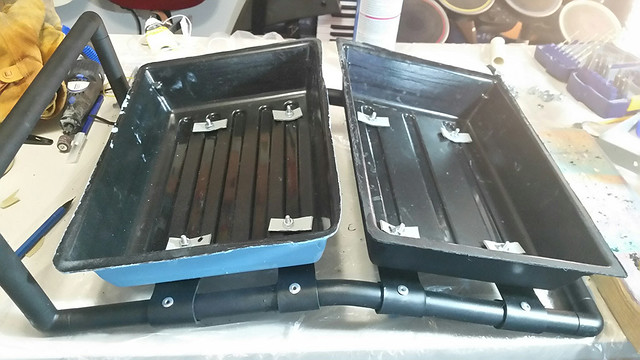
Top tray fairly done (except for weathering)
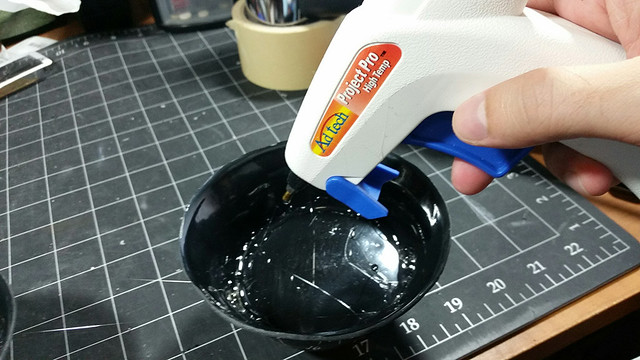
Goopey hot glue helps hold these L brackets with velcro. This will be how I attach the radio faceplate for now at least.
Dremmeled some grooves and glued some bolts to make the knobs turn.
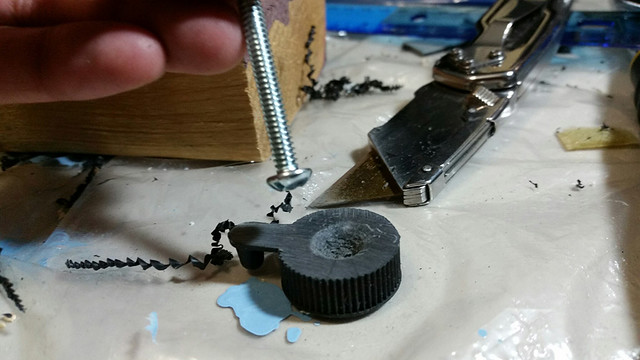

Then I Dremmeled off the extra bolt and threadlocked it snug but loose enough for the knobs to turn.
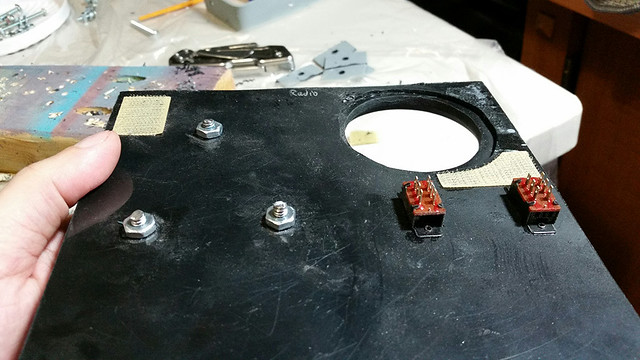
Cut out some plastic covering then laid the display cutout
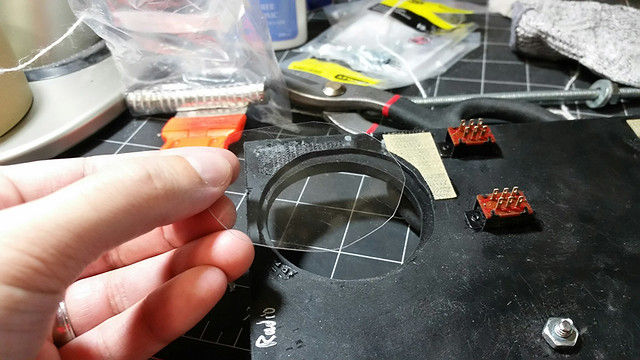
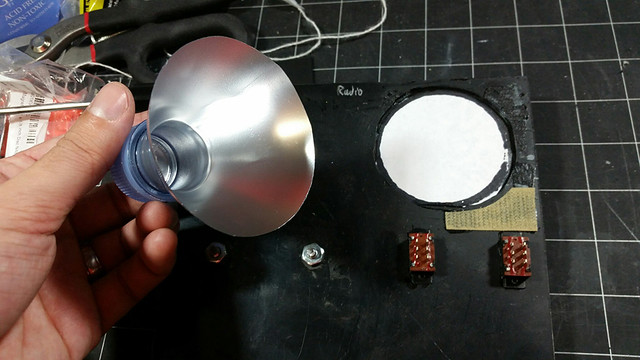
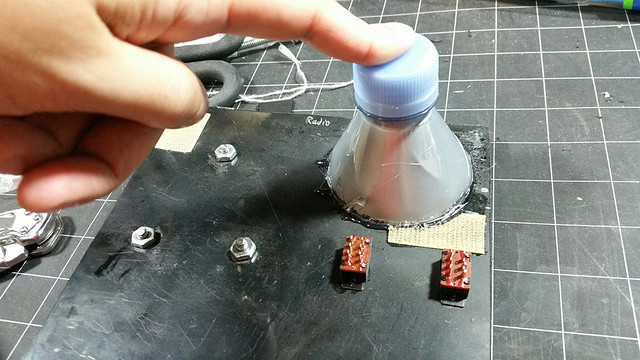
Going to eventually make that display glow so I cut off the top of a bottle, sprayed metallic shiny paint on the inside, and hot glued it down for now.

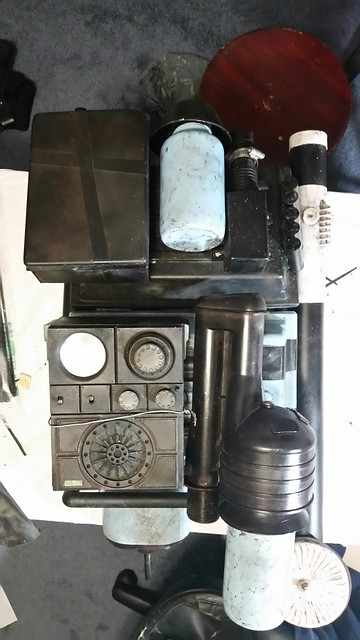
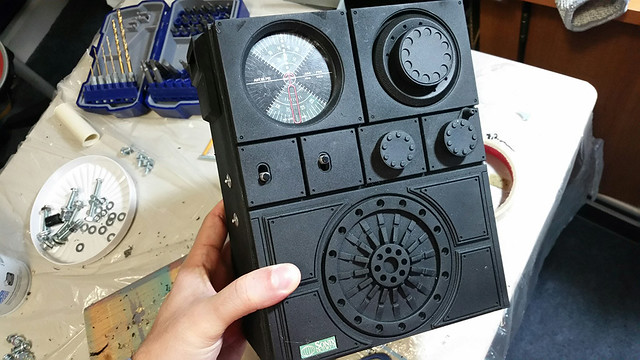
Radio getting there!
Finishing up the cistern
-
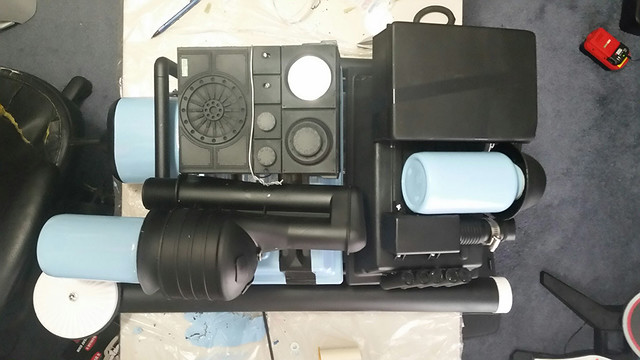
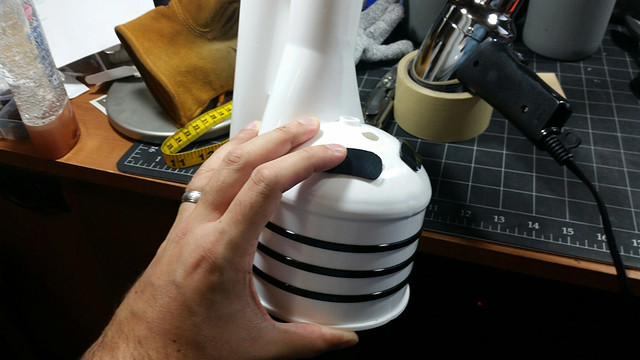
Black parts primed and painted.
Canteen halves glued together, bolts threadlocked, stinger glued into place. Talcum powder and glue mixture to fill in the cracks. Will sand it off.

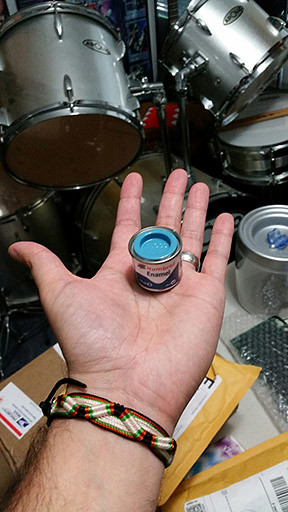
Humbrol #47 for the blue parts
-
Thanks everybody! Finally had a weekend to get more of the pack done:
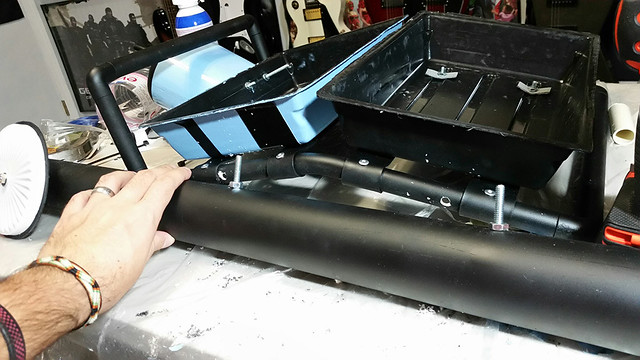
Spacing/measuring the crossbars for the frame.
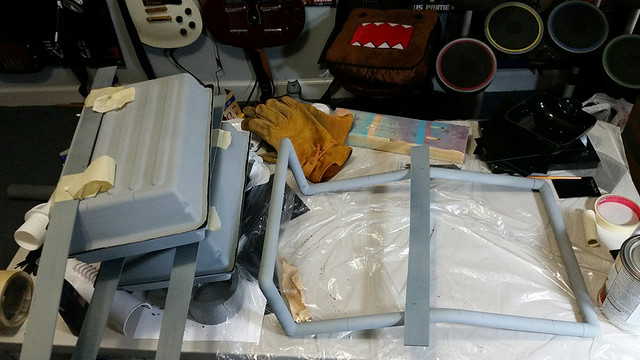
Using a heatgun to bend all the necessary pieces.
Bonding some shivs on a canteen half
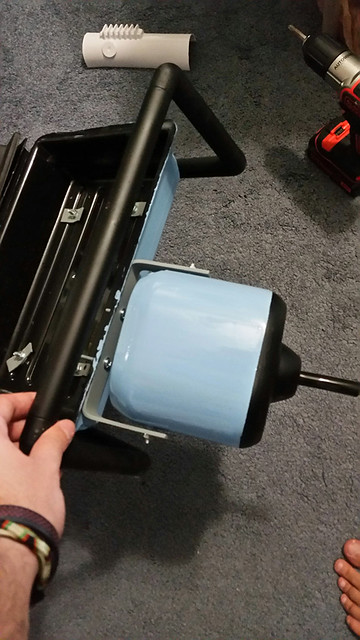
Something as simple as cutting out a circle from a square piece of plastic can be challenging! Here I'm cutting out a doughnut spacer for the cistern.
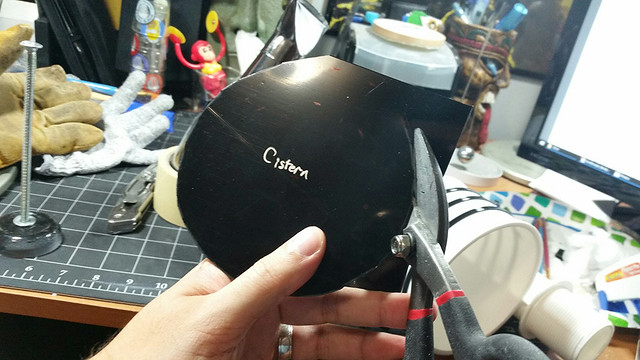
Modifying the cistern
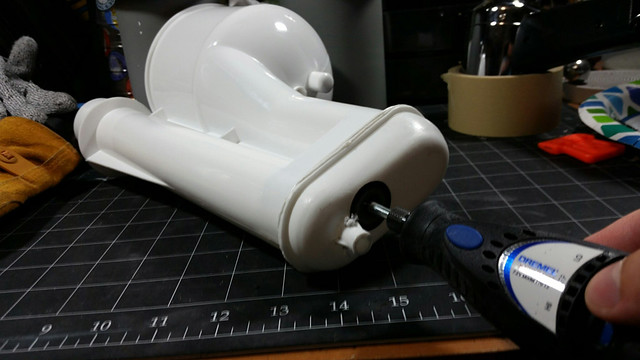
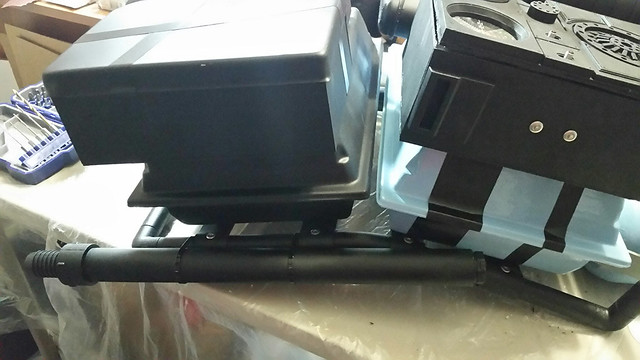
Shaving down sides of the toolbox and radio.

Sanding down melted corner of exhaust box
Cutting out wedges for tabs on exhaust box
Exhaust almost done
Gluing in mushroom cap spacer
-
And I totally did mess up the ears and needed extras!!! haha.
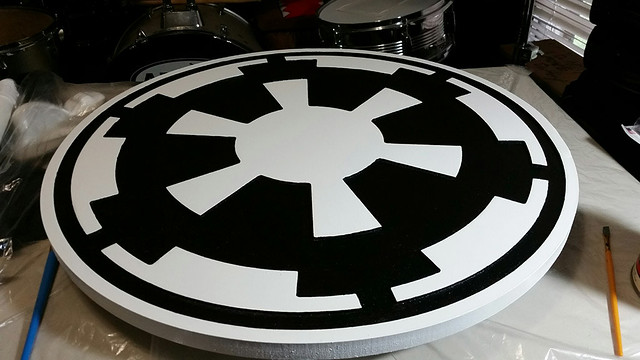
So while working on my backpack, I added layers of paint to this awesome board made by Eric Beeks. My mannequin is now standing all badass-like on it.
-
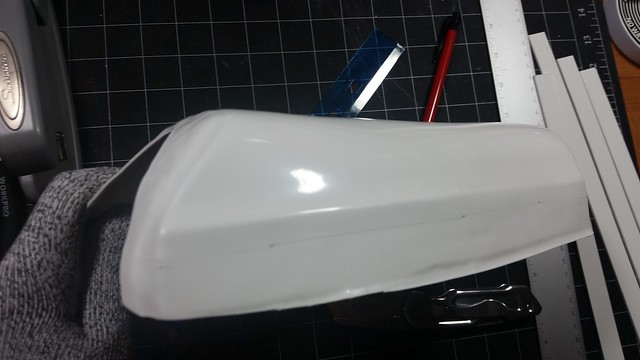
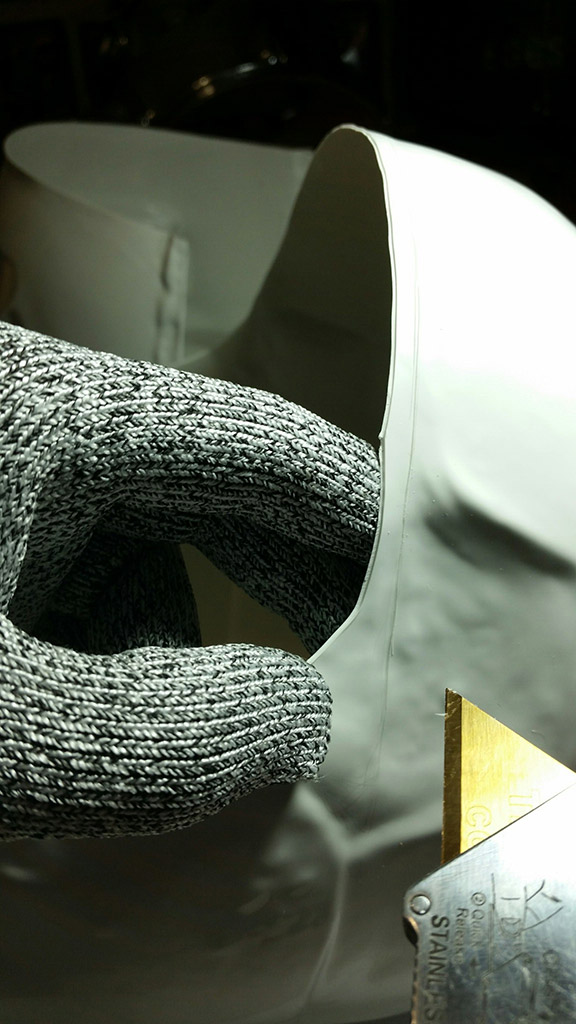
Cutting out the hardhat liner
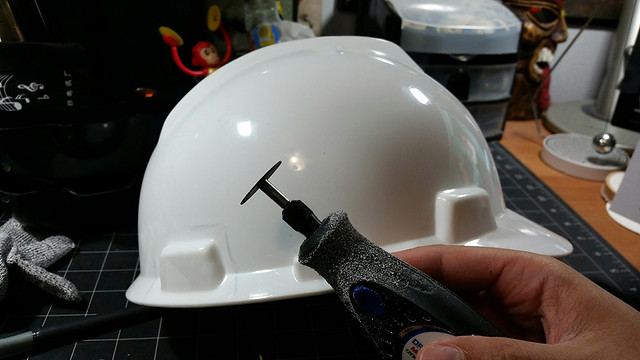
Cut out the visor
Installed hardhat liner and visor and then dremeled down all the screws so as not to impale my face on them.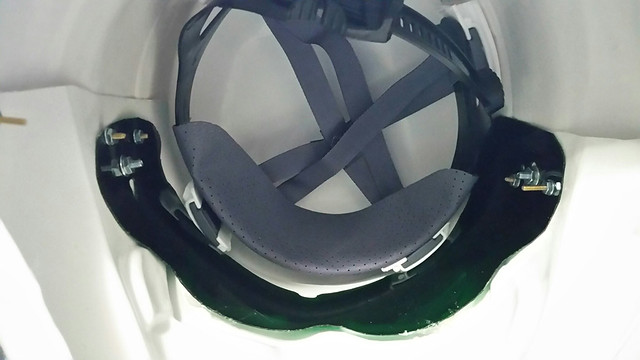
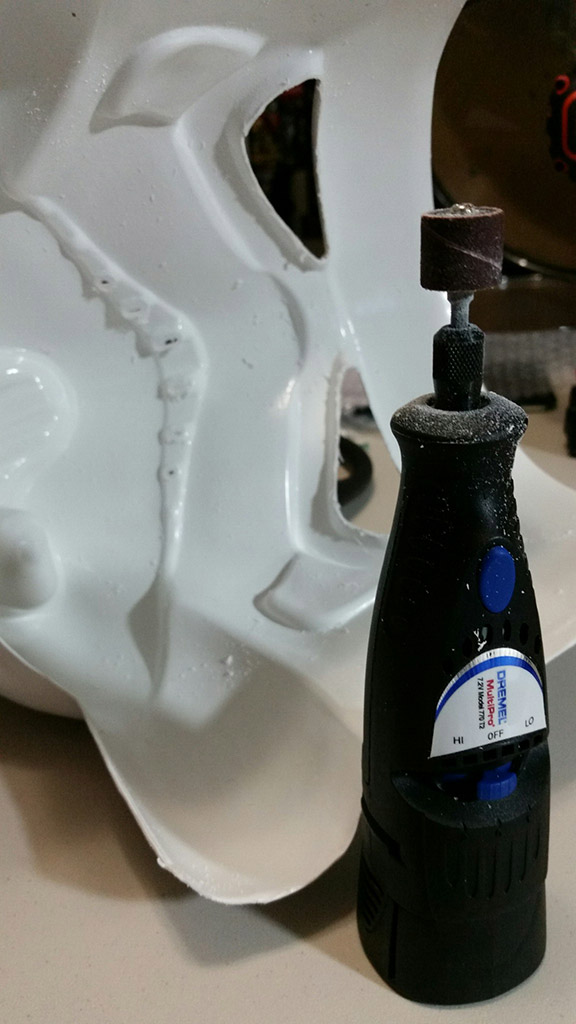
Painting everything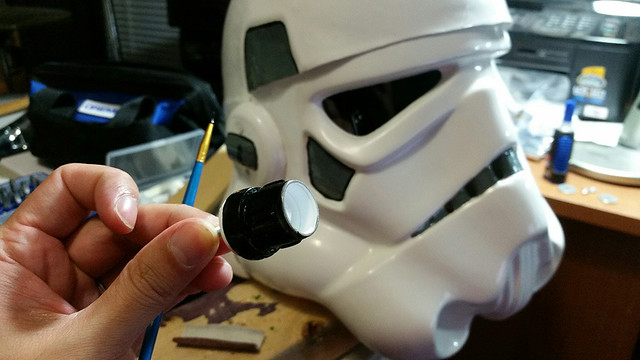
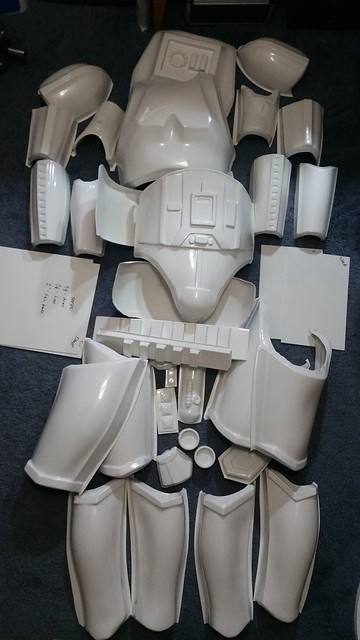
Helmet done! (will probably wait for rest of the armor and weather it all at once) Pauldron from trooper1!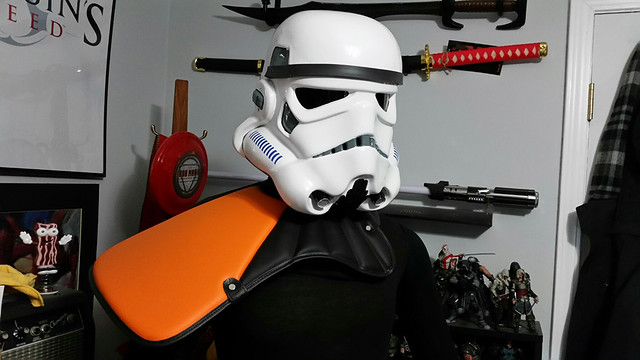
Pouches by Blaster 8266 came in!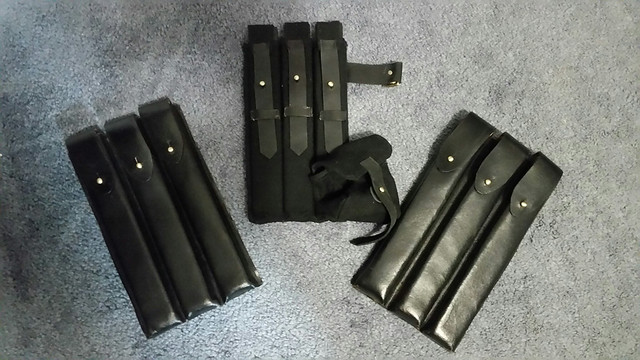
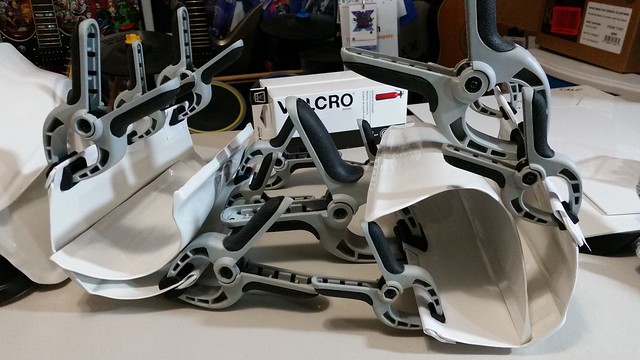
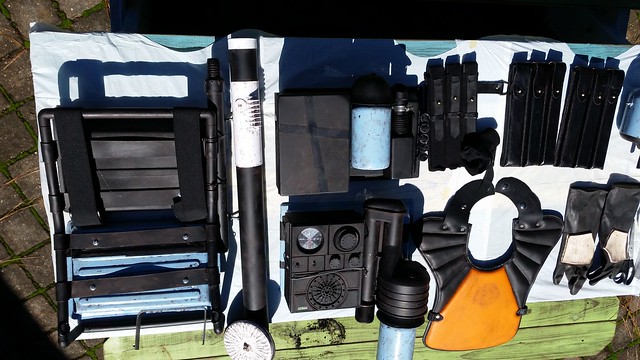
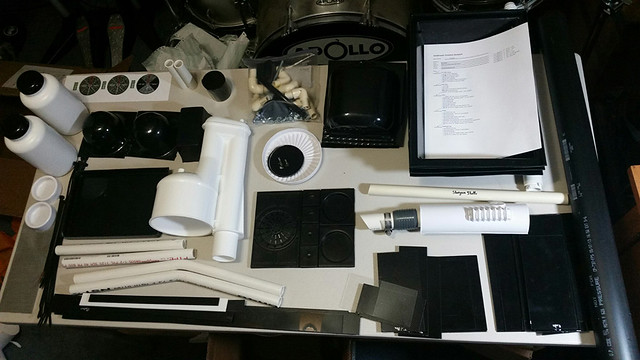
Starting to cut out backpack pieces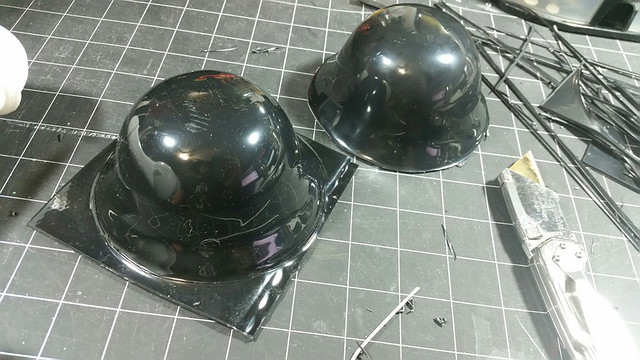
-
Ready to start on the backpack by Crashmann
Felix, the pictures aren't loading for you? Which ones do you see? Try doing a hard refresh on your browser? (Ctrl+F5) -
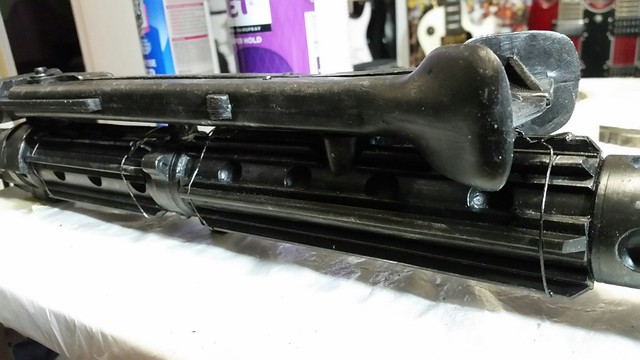
The awesome DLT-19 by slavefive
-
Good idea thanks Strider! And hiking for a week is probably my tops. At that point I would probably think "OK I get it, now I want my Xbox", and head home. But it's her thing so I'll encourage it!
-
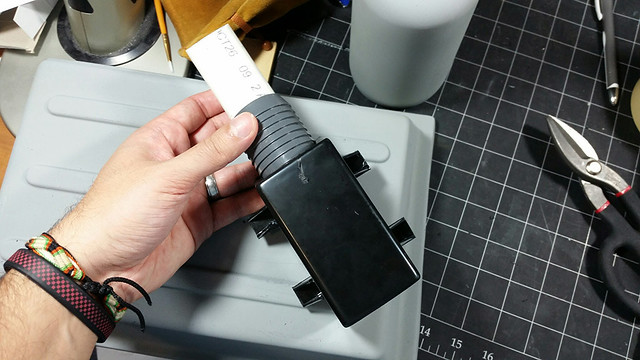
Got the voice equipment working and ready!
Getting the cap in position to the face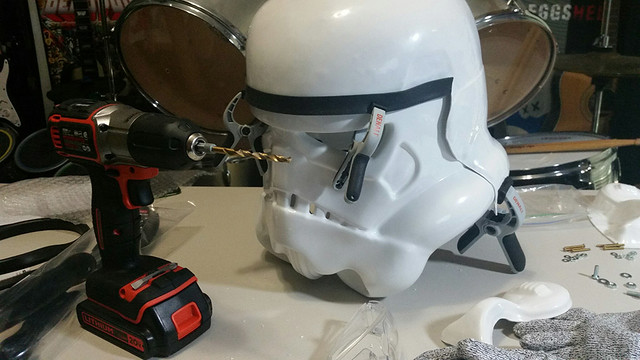
Drilled and screwed together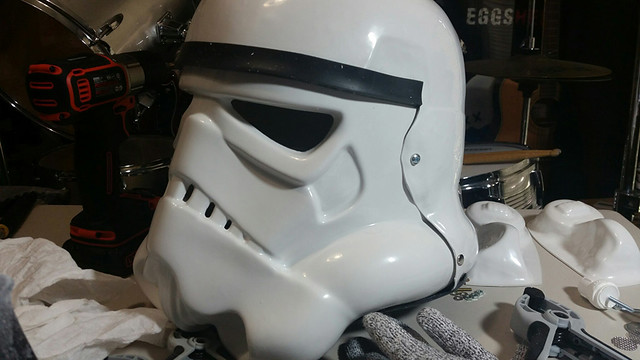
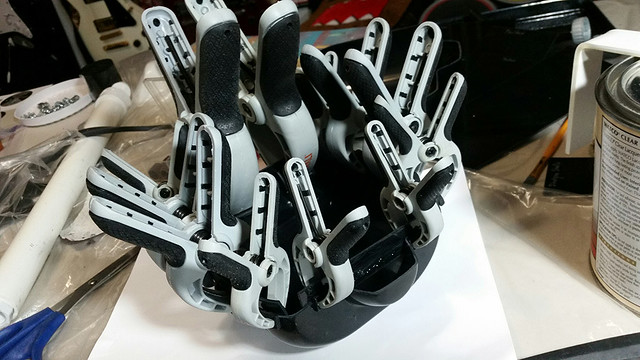
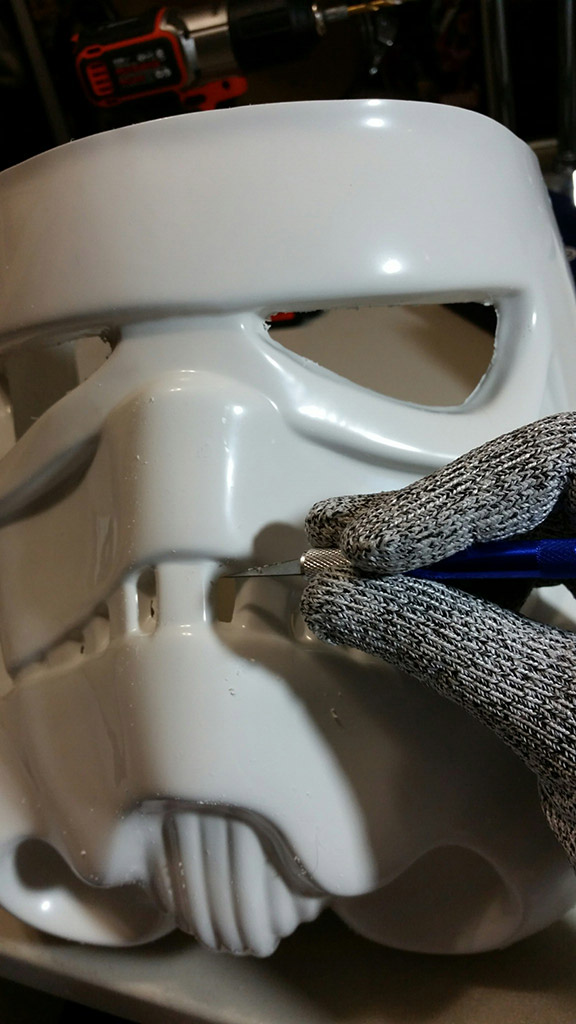
By far the hardest part yet....the ears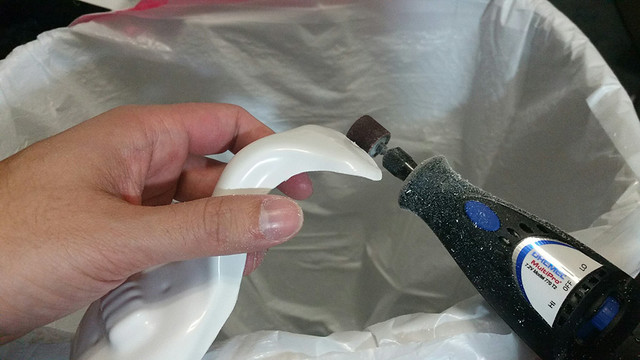
Ears attached!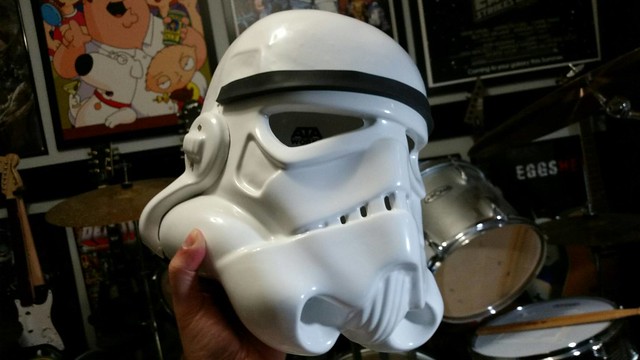
And this is why you wear special gloves that prevents cuts kids! Bit slipped and accidentally drilled into my hand. Luckily the glove did its job and hand is perfectly fine.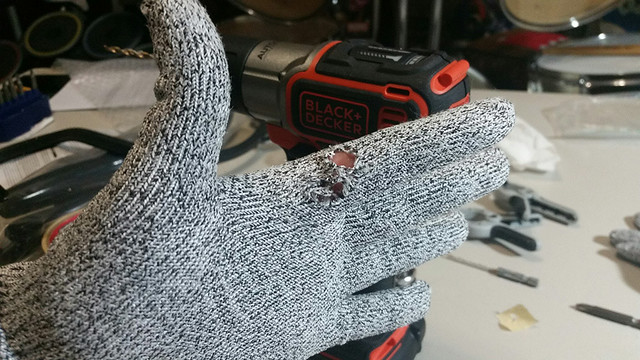
Speaking of gloves....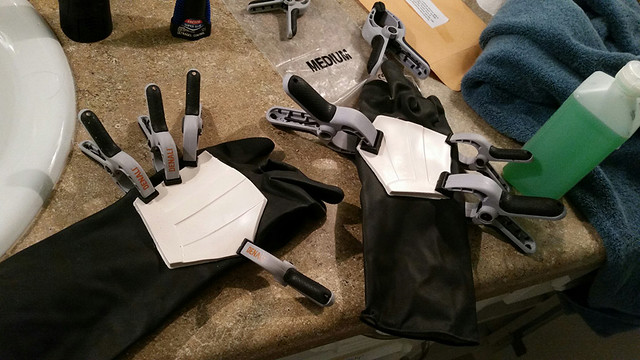
-
Looking good! I'm currently working on my first ATA armor as well and understand your anticipation!
-
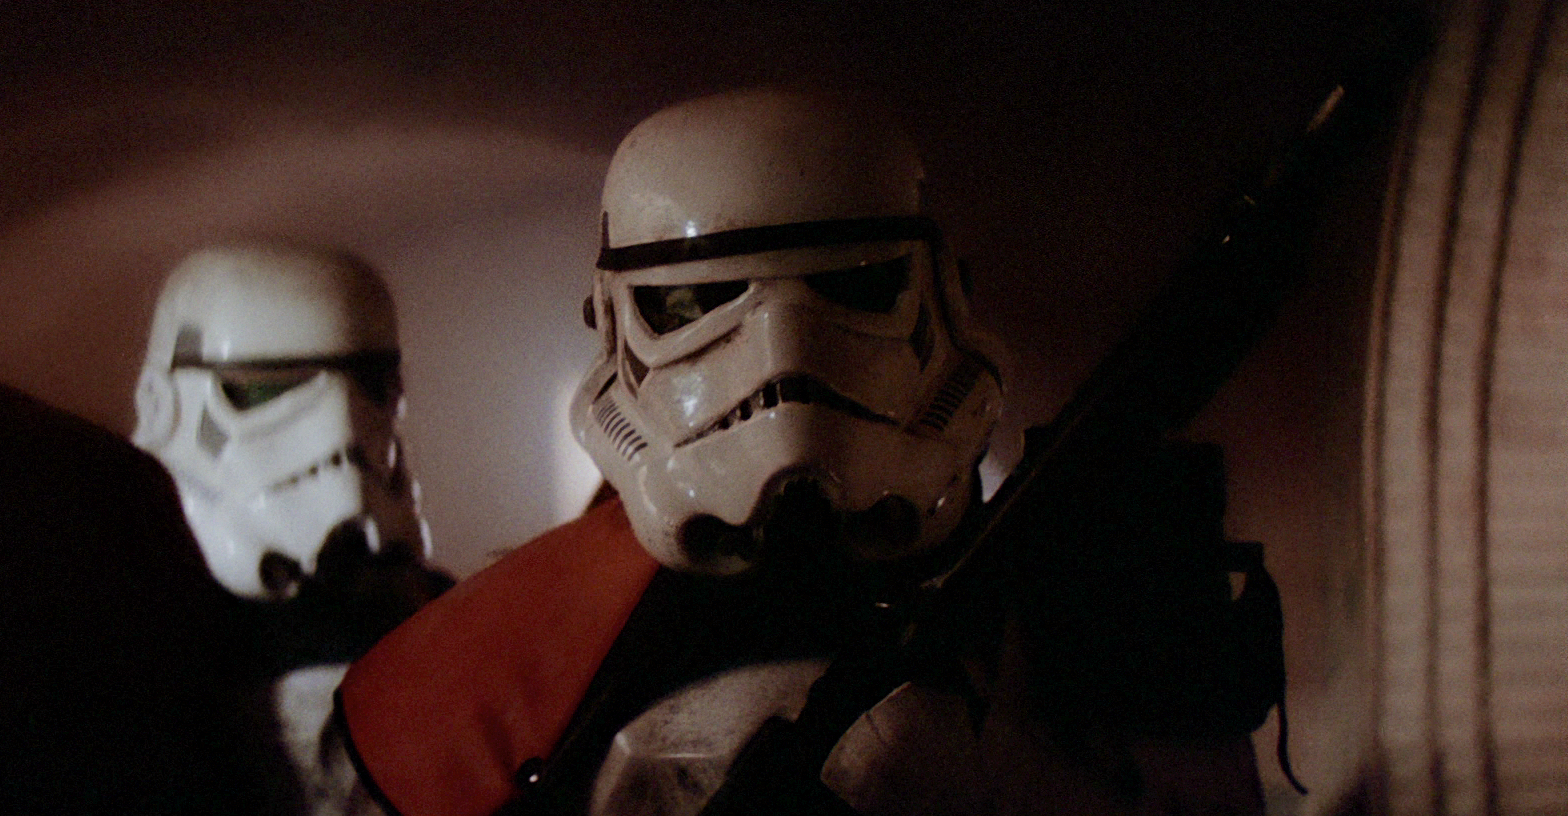
Question for anybody: I read somewhere that the Cantina Captain only has 3 teeth on both sides? And that I would have to have 4 for deployment and then fill it in after I get deployed to match the Cantina Captain? I'm looking at this picture and it looks like he has 4 teeth on either side or am I mistaken? http://img3.wikia.nocookie.net/__cb20111029223511/starwars/images/a/a6/DavinFelth-Cantina-ANHHD.jpg
-
Alot of this will be a repeat of what Pandatrooper did since I'm using his fantastic How-To as a guide, so thank you for that Pandatrooper!
Trimming off the excess:
Dremeling out the teeth and sanding off the rough spots:
Shaving out the teeth details with an x-acto blade:
-
Hahaha no, that's quite a bit more walking than I ever want to do
 Plus she has already done most of it and just finishing it up before we get too busy. So this is the perfect time for me to work on this!
-
Newbie here about to get started on my first build. My wife will be gone for the next two months to finish hiking the Appalachian Trail, so I figure this would be a great time to get started on something I've always wanted to do. I'm very new to this but super excited to get started. Any and all feedback is very welcomed! Alright let's kick this pig!
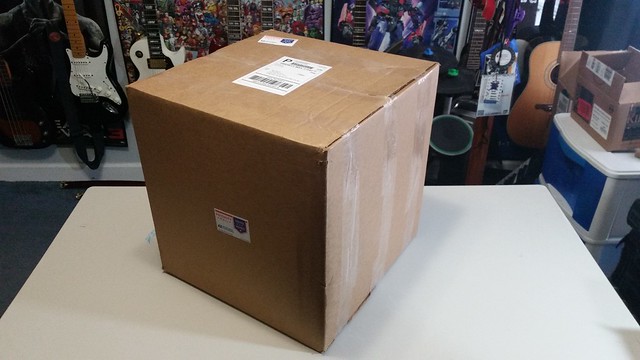
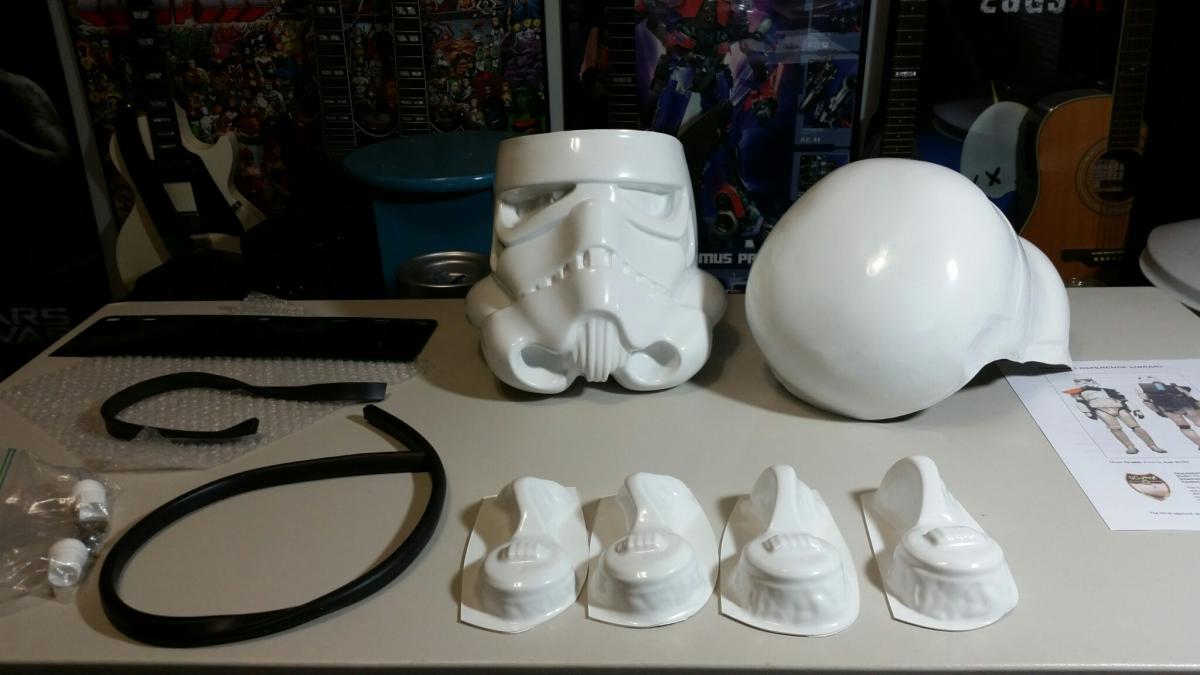
Obligatory brown box for the ATA helmet: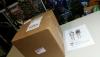
and unpackaged: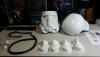
-
Hi my name is Ben Smith from Cary, NC. I'm very new to this but have been doing my research and about to get started on my TD bucket
Can't wait!

My first build, a ninjabenben story.
in Sandtrooper Armor
Posted
Question for anyone who reads this. I know alot of people have the hook at the top inside of the bicep to hook onto the shoulder bell, but it looks like the Cantina Captain does not have that. Or am I missing something?