-
Posts
49 -
Joined
-
Last visited
-
Days Won
1
Content Type
Events
Profiles
Forums
Posts posted by ninjabenben
-
-
Thanks! This is going to take a bit longer than I expected. Wife is having some medical issues and the contractors that were remodeling some rooms in our house took the money and then went out of business. But hopefully eventually I'll get to work on this some more!
-
Alright it's been a while (doing a bunch of house renovations) but I think I may be able to slowly get back into tweaking this thing. One question off the top of my head is for " the syphon is a Little bit more incline " ...could you elaborate more as to what that means? Thanks!
-
Thanks for the feedback Felice! I'll get on it!
-
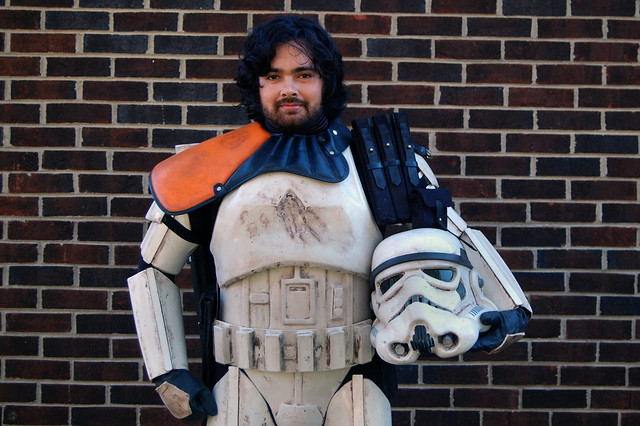
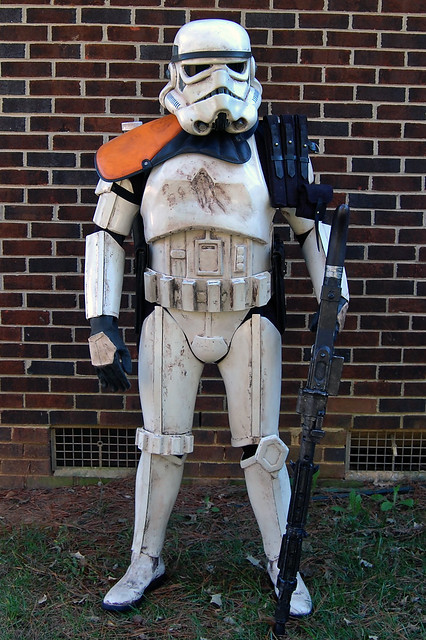
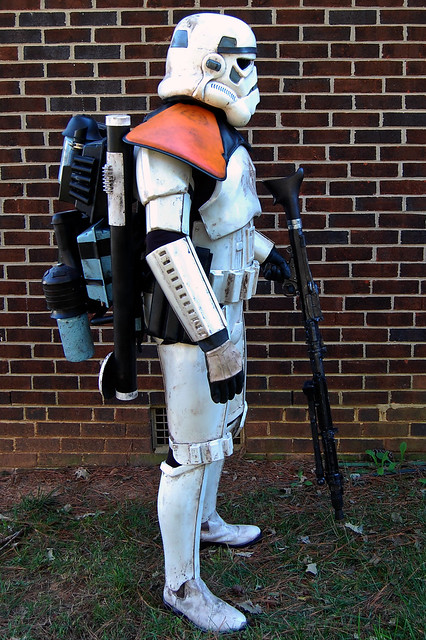
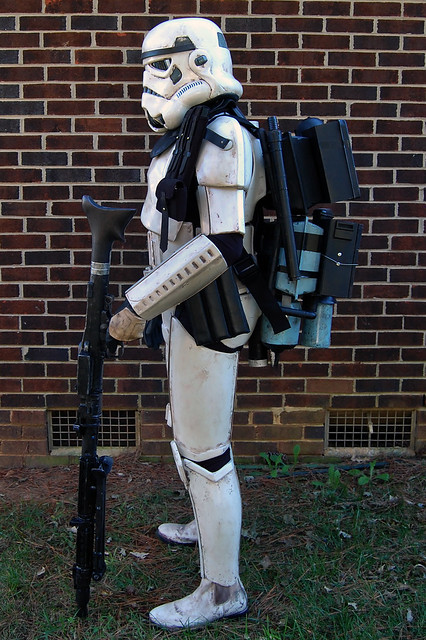
TD-14614 Requesting SWAT Deployment
Name: Ben Smith
501st TD: TD-14614 http://www.501st.com/members/displaymemberdetails.php?userID=22527
Forum name: ninjabenben
Garrison: Carolina Garrison
MEPD PO: deployed
Trooper emulated: Cantina Captain
Alright...here goes!
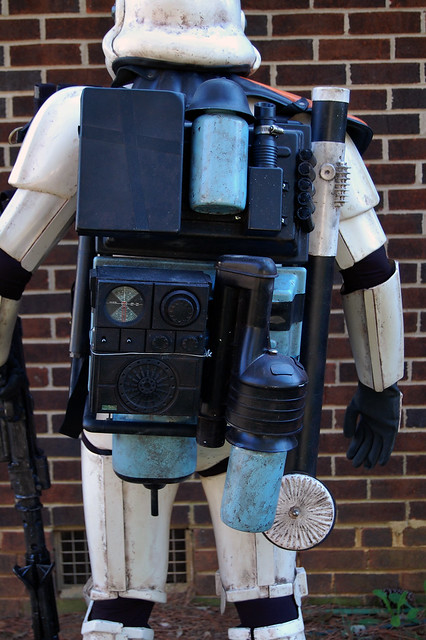
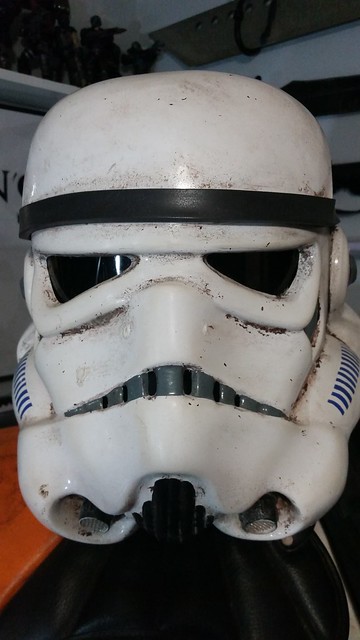
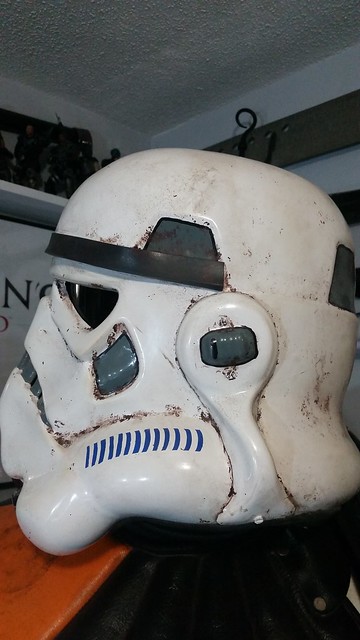
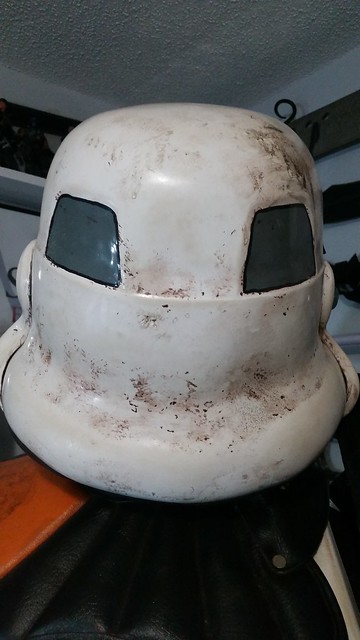
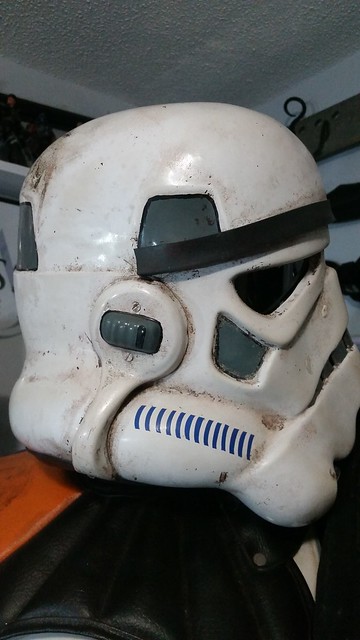
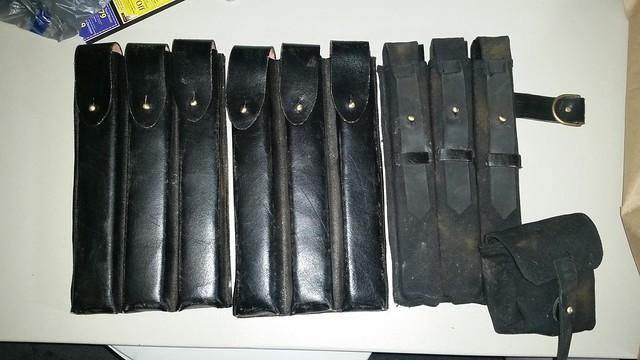
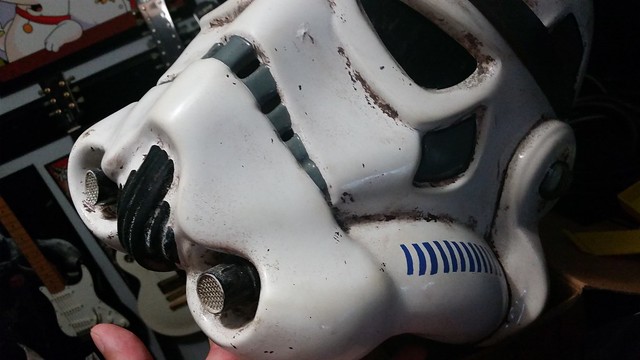
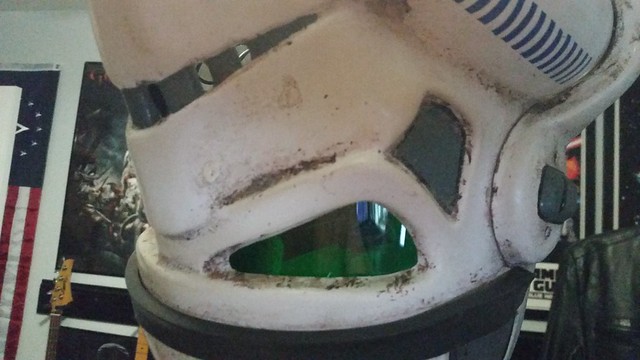
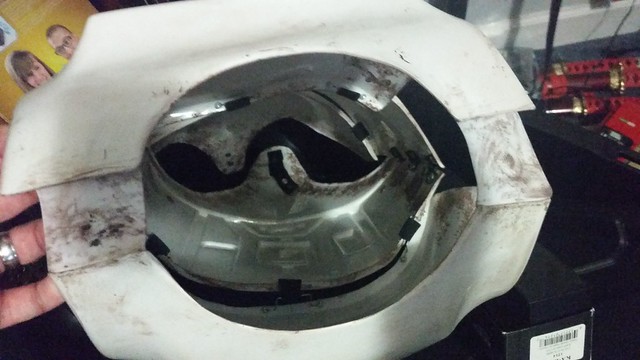
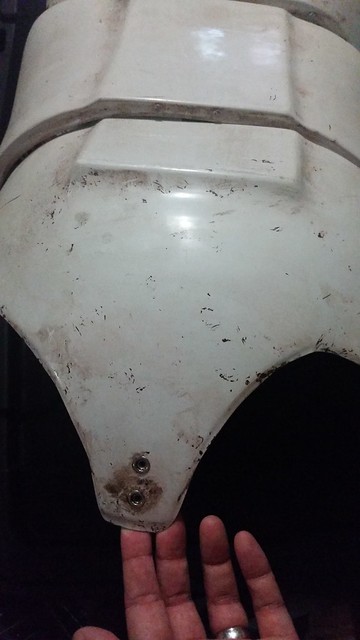
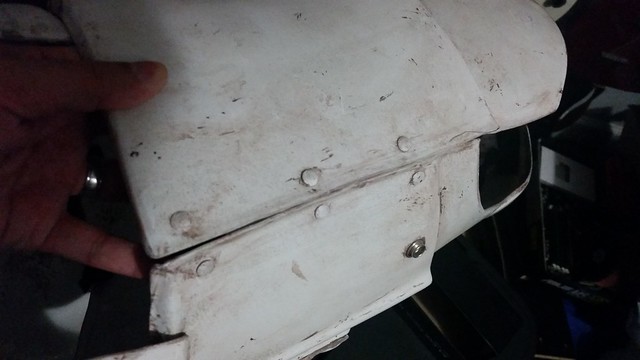
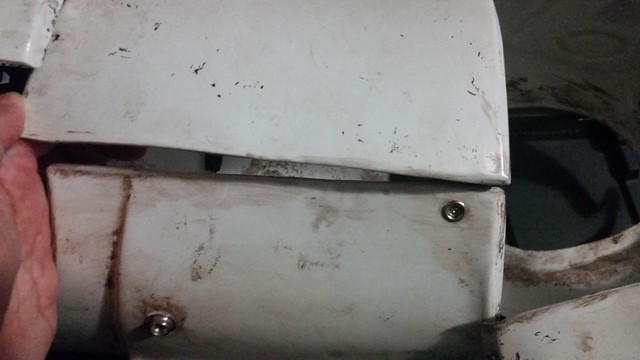
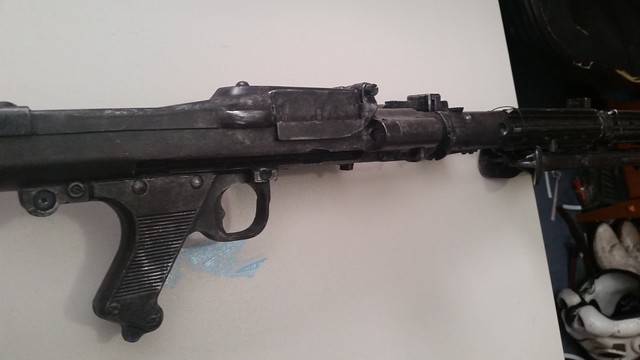
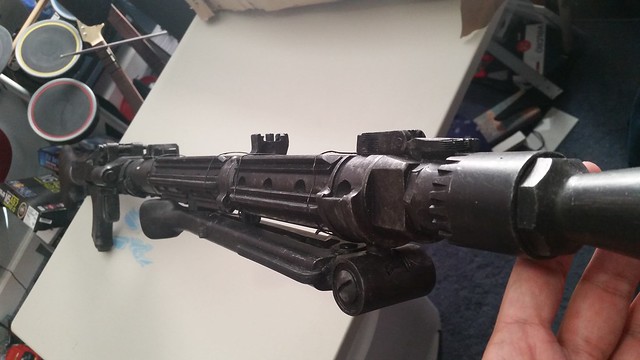
-
Woohoo thanks everybody! And thanks for all the feedback Felice!
-
Will these pics of the stripes do?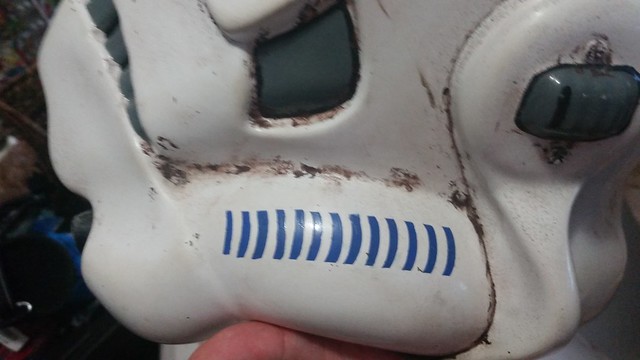
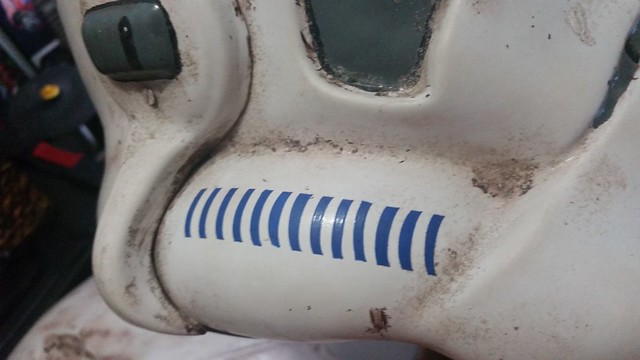
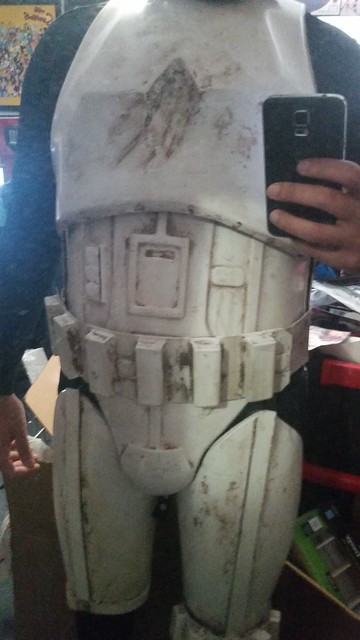
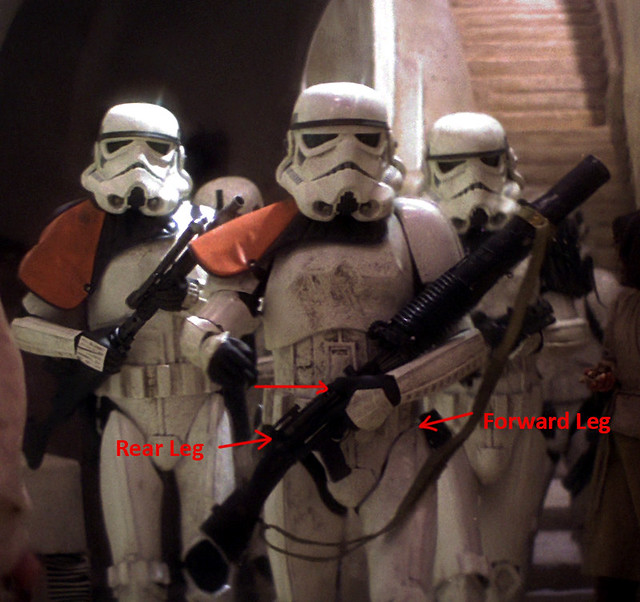
I redid the straps behind the chest piece to allow the abdomen to be pulled up (which it definitely needed, thanks) I think this shows enough of the thighs without me trimming because I know the Cantina Captain's thigh come up pretty close to the cod piece. Hard to tell with his legs moving so I split the difference between his forward and rear leg. Also I can raise the belt up, but as I'm aiming for the Cantina Captain, he wears his belt a little lower I believe. Thoughts?
-
-
Thank you for the feedback! And oops yeah I posted a picture of the pouches pre-weathering, I'll get you the additional pics.
One question on the thighs, I'm... *shudders* a "little short to be a storm trooper", at 5'6" so I can't really lower them without them getting in the way of my knees, so I'm assuming the best thing to do would be trim off the top?
-
-
Done and Done!
-
TD-14614 Requesting Deployment
Name: Ben Smith
501st TD: TD-14614 http://www.501st.com/members/displaymemberdetails.php?userID=22527
Forum name: ninjabenben
Garrison: Carolina Garrison
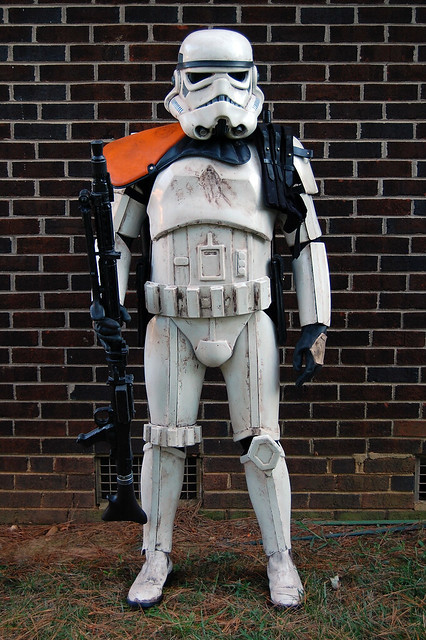
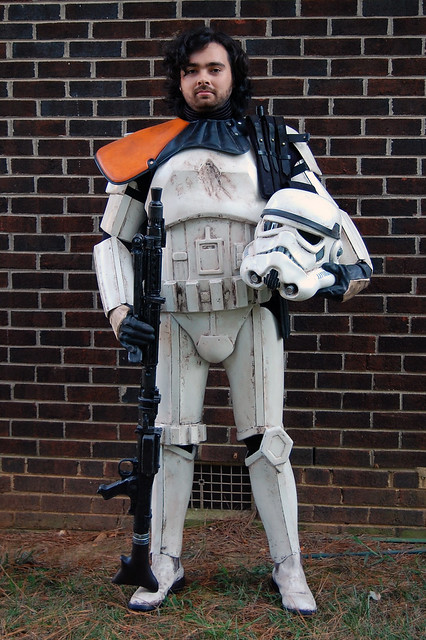
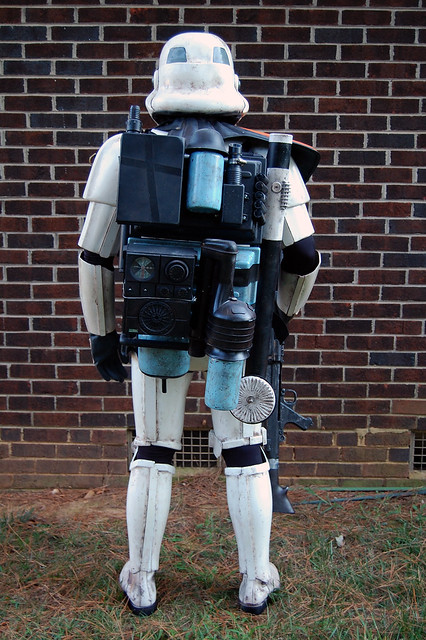
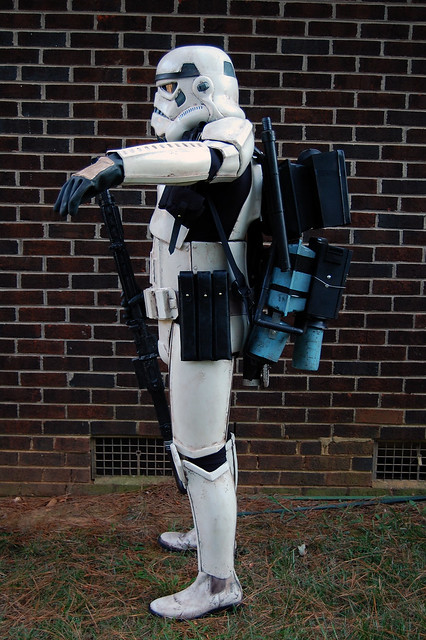
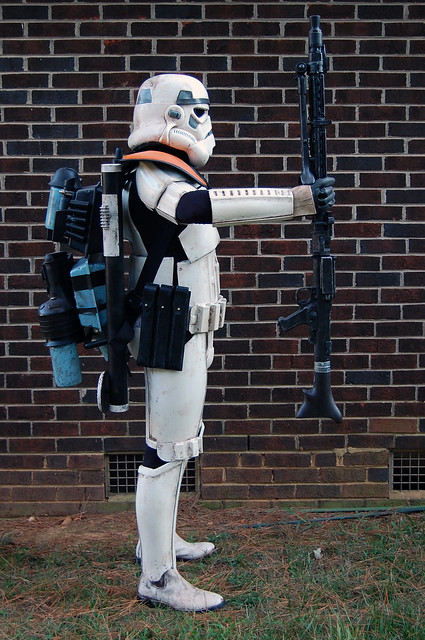
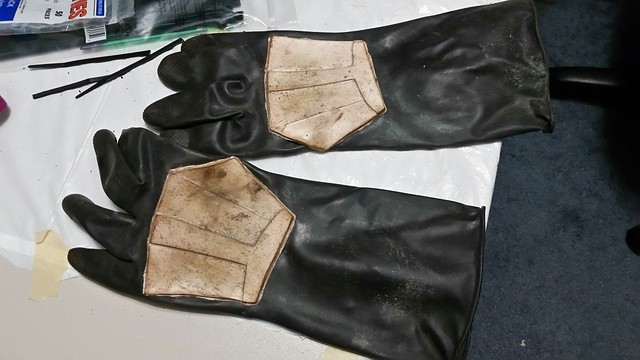
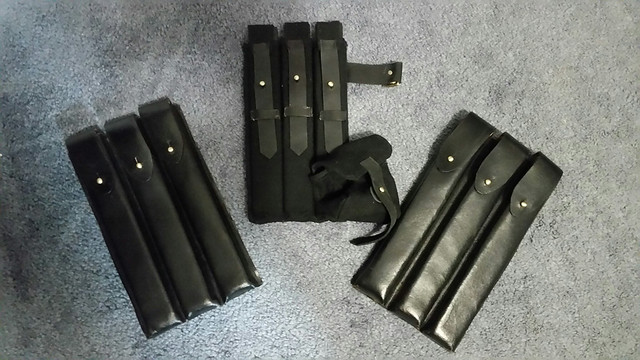


-
Woohoo!!! 501st approved! I am now TD-14614

-
Several of the photos are on the previous page, here are a couple of the other angles.


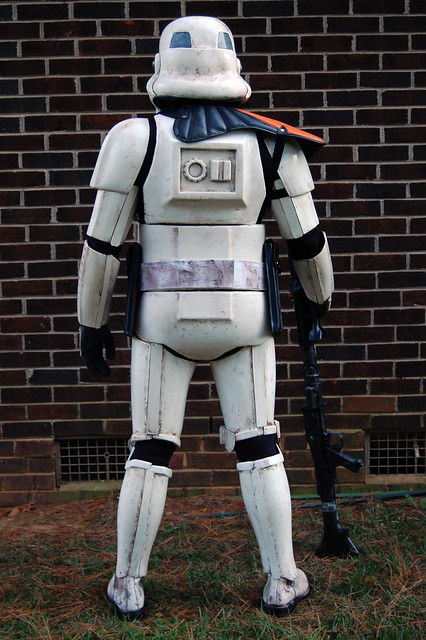
-
Thanks everyone! It's been fun building all this! I submitted my photos so just waiting for approval!
-
ok phew. haha. That's what I was thinking but just wanted to make sure I wasn't the only one!
-
Also, just curious if this is a common problem. There is no way to look down in the helmet without leaning my whole body forward. The shape of the helmet and the neck piece and pauldron just stuffs too much to tilt my head down, does that sound about right? Also there's no way I can come close to bending over enough to touch my toes, the thigh pieces dig into my waist too much for that.
-
Just to make sure I'm doing this right, I'm in North Carolina so I just need to send the pictures to the Carolina Garrison's GML for him to look it over right?
-
Thanks! I think it turned out alright
 And the sooner you start the sooner you finish!
-
Hey Merak don't be overwhelmed man! This is the first time I've done anything like this! The most important thing you'll need is patience. It's taken me over a year to do all this, but just one step at a time and here I am!
But alright, final pics for now! Starting to do initial paint layer
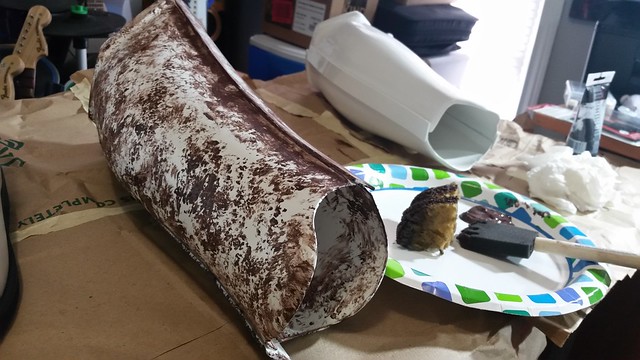
After letting it dry for a minute or so, I rubbed most of it off
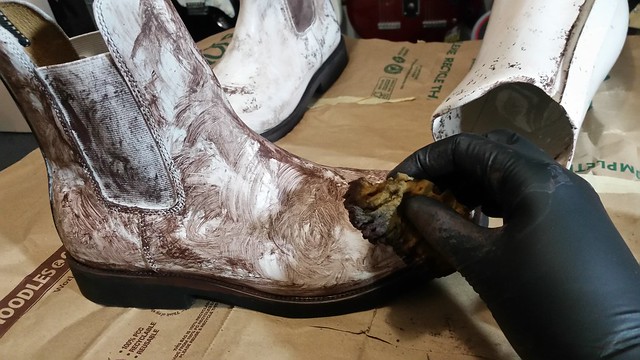
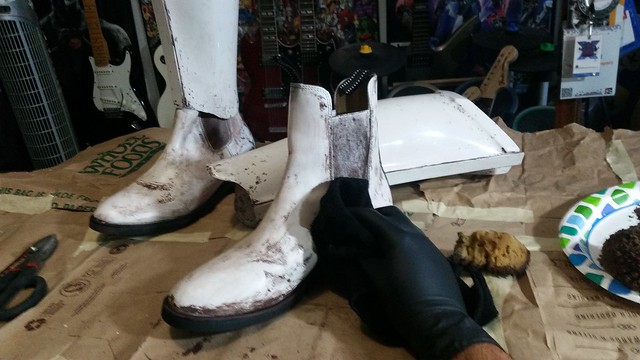
A before and after side by side of when I rub off the excess. Making sure that I concentrate on keeping dirt where it would get stuck in the nooks and crannies in real life.
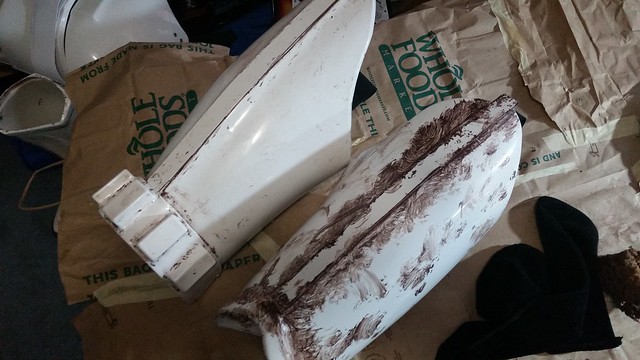
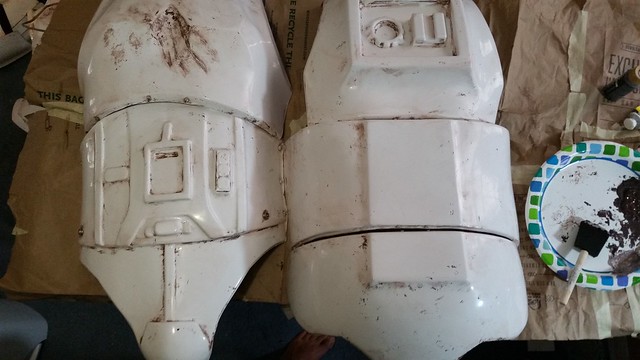
Placed some paper inside the helmet in front of the lens to protect it from weathering. I left some cracks around the eyes to hopefully help with ventilation, so that's how I got the paper in front of the eye pieces.
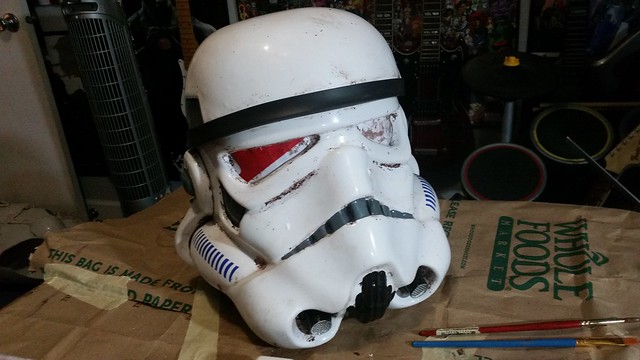
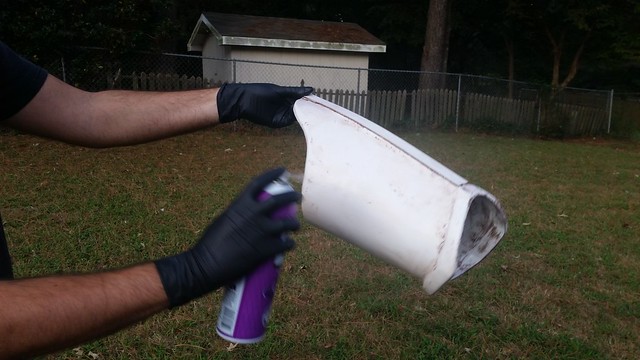
Onto the fuller's earth layer of weathering. I used three different shades (tan, gray, and brown). First I spray some hairspray (aqua net).
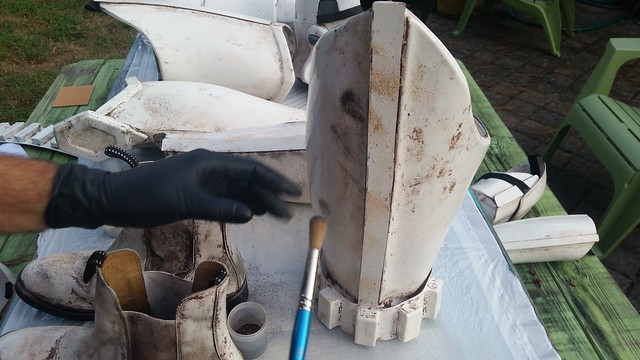
Then I use a brush, rub it in the fuller's earth and then flick, fling, pinch, glob, whatever randomly all over the pieces. Don't forget to concentrate in those nooks that dirt would naturally collect into.
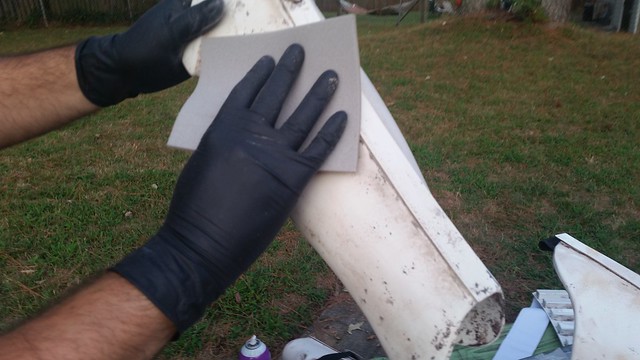
Then after waiting several minutes to let it dry alittle, I use a very fine sanding pad or green scrub sponge to rub off excess, but again be sure to leave some especially in those hard to get areas.
I then did a final layer of aqua net to help hold everything in place and let it dry.
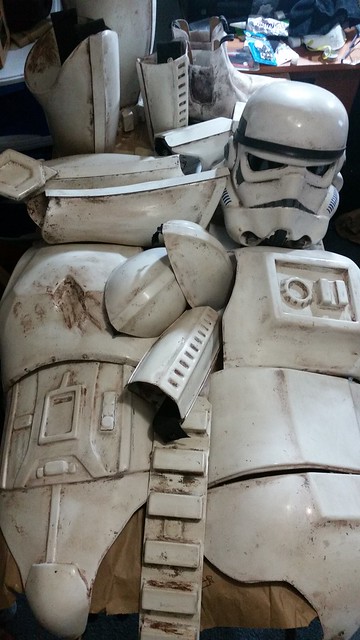
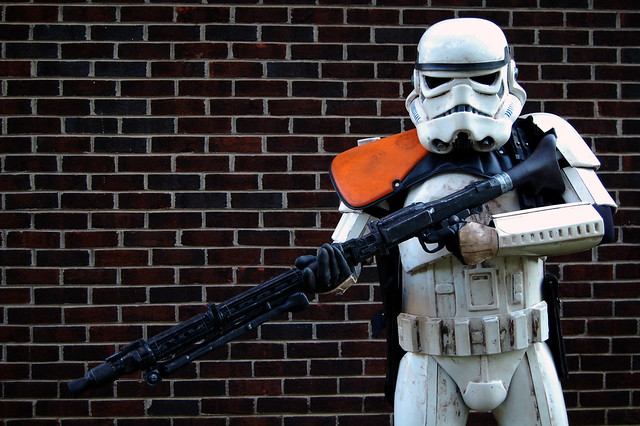
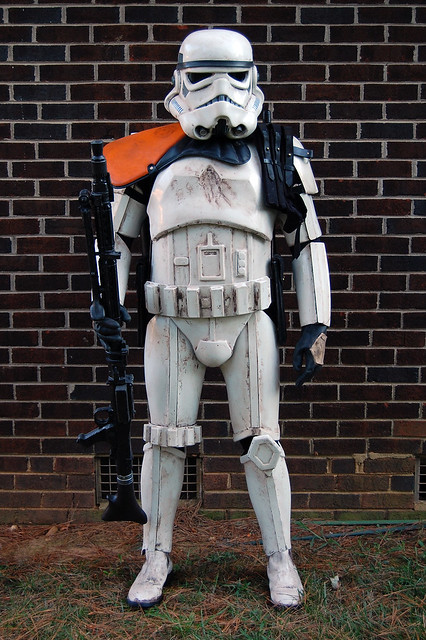
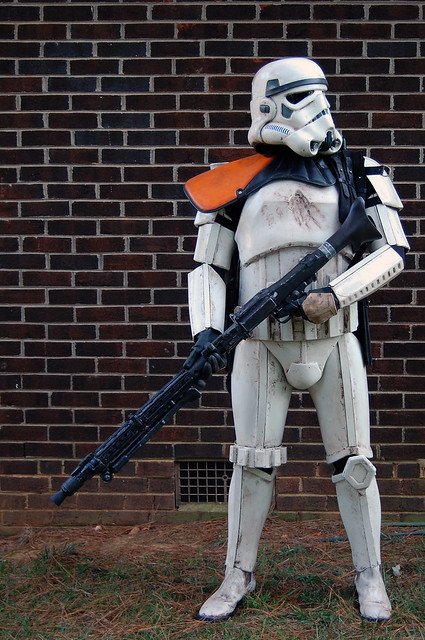
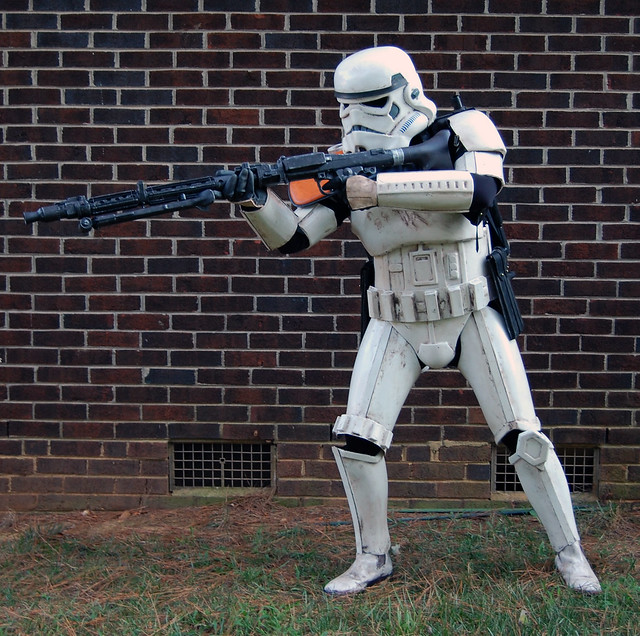
And then FINALLY.... ta daaaaaa!

-
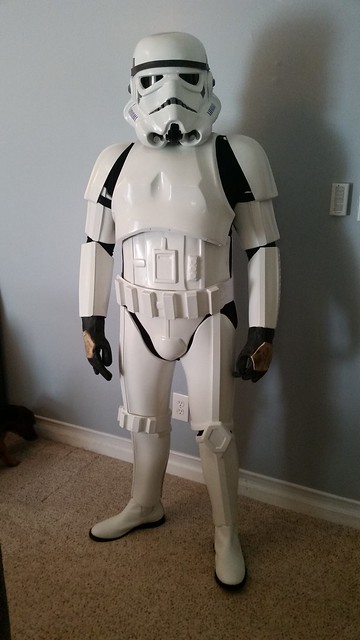
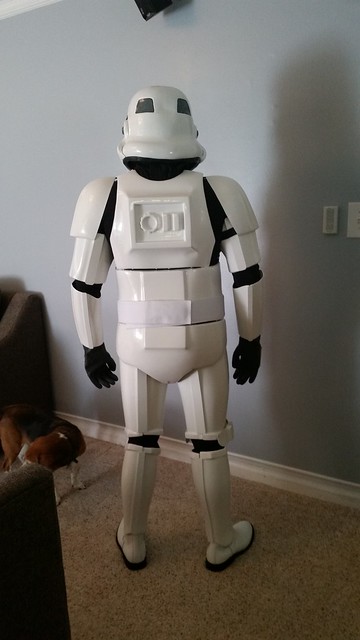
Test fit front and back (pre-weathering except for gloves)
Feedback welcomed!
-
Got the cod strap riveted and snaps installed
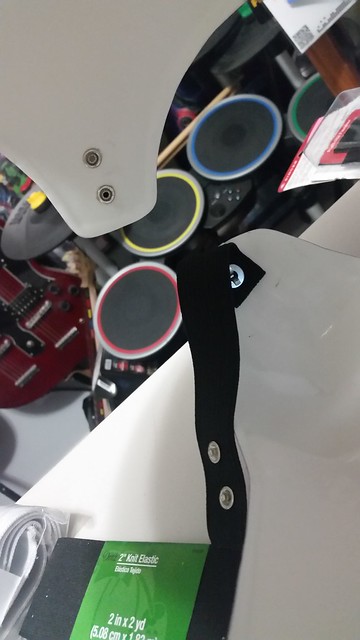
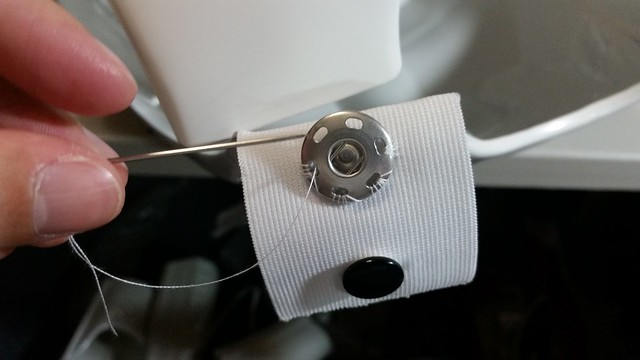
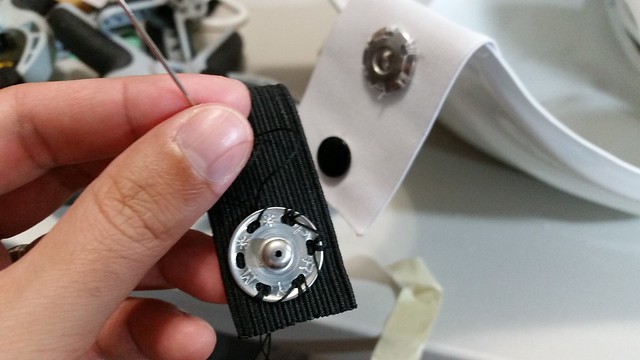
Sewing the 2 sides of the shoulder strap snaps
Taping the shoulder bells for test fits and then gluing everything into place.
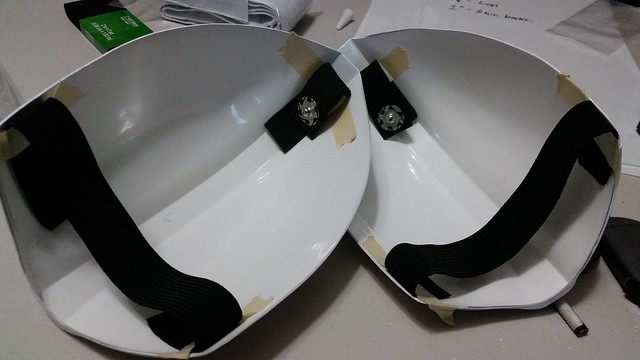
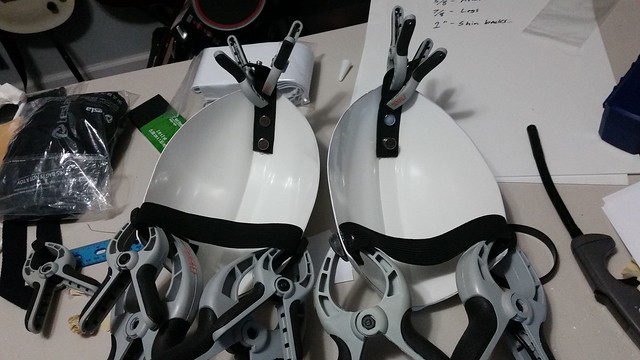
I'm adding snaps to connect the pieces together so I can break down easier to transport
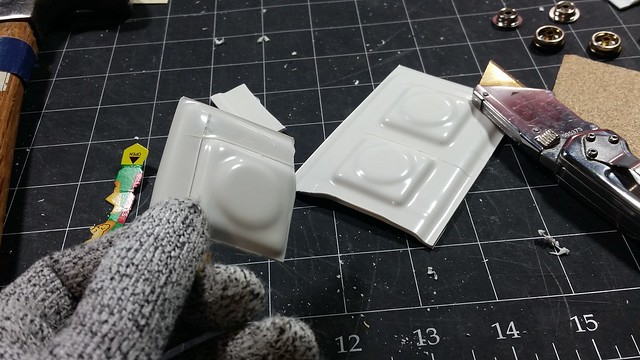
Cutting out all the little detail pieces, then will sand them and glue them onto the torso
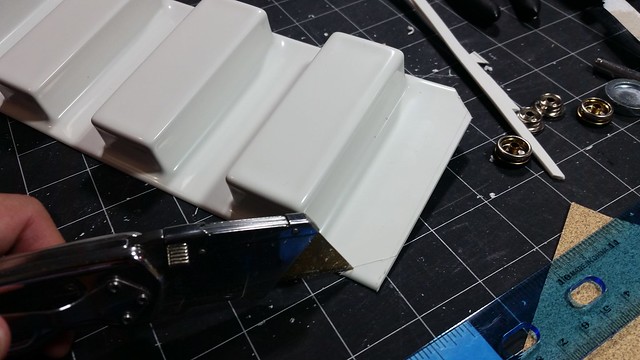
Cutting corners on the belt piece
Drilling holes to rivet the belt plate to the belt.
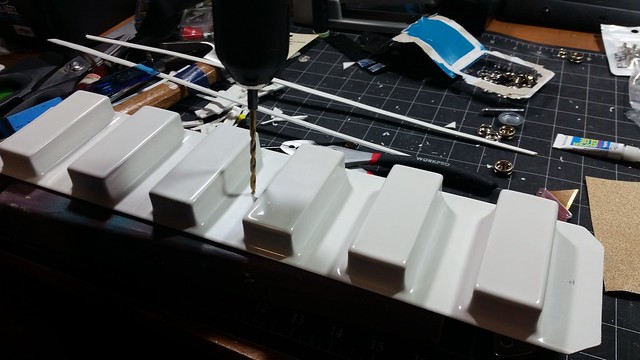
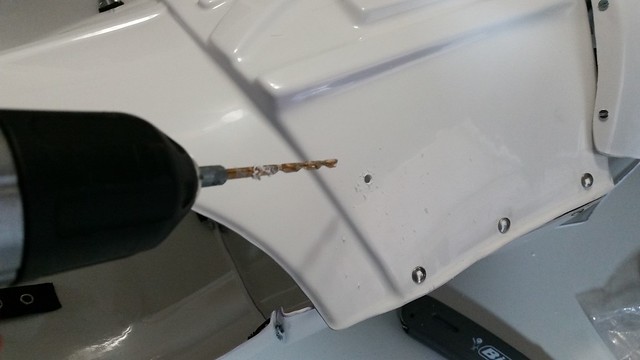
Drilling holes in the torso to insert the snaps
Very carefully/awkwardly hammering the heavy duty snaps into place.
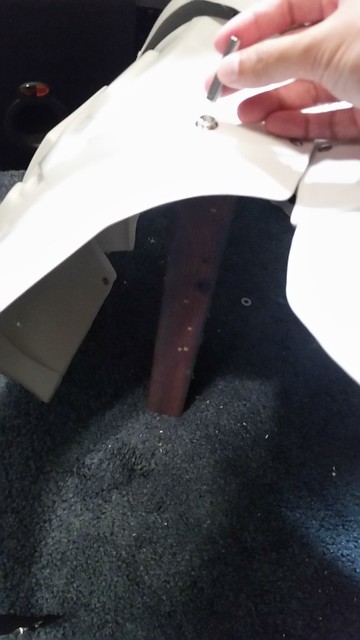
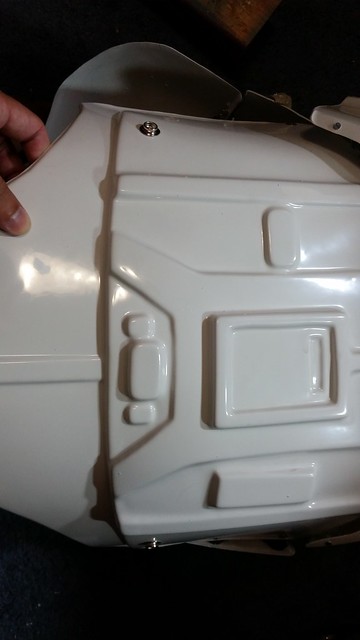
Measuring where the snaps will be compared to the rivets
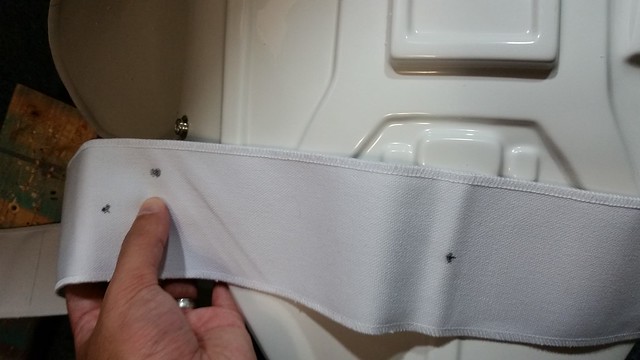
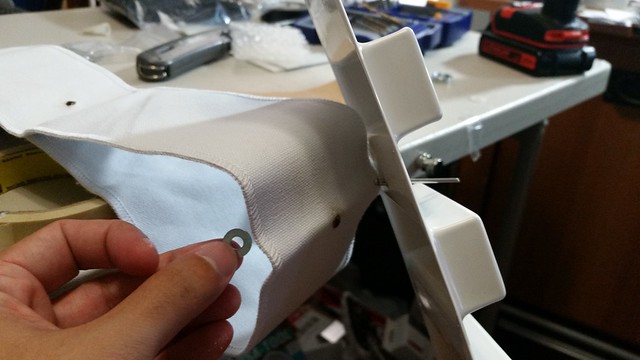
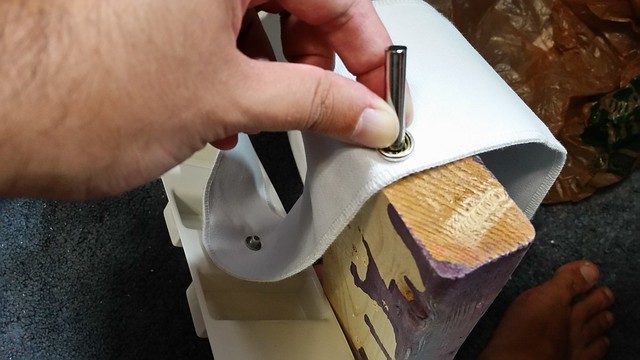
Majority of torso done.
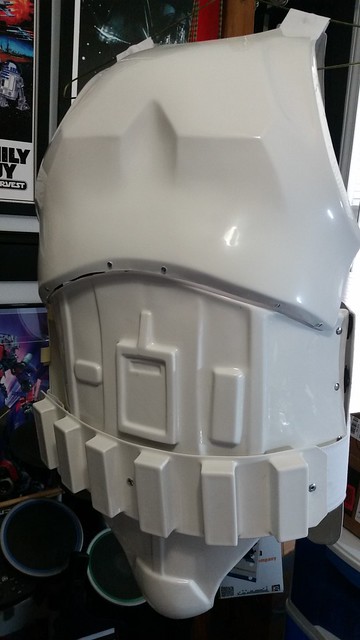
Adding the rivet covers and detail pieces

Measured, test fit, and gluing in the straps
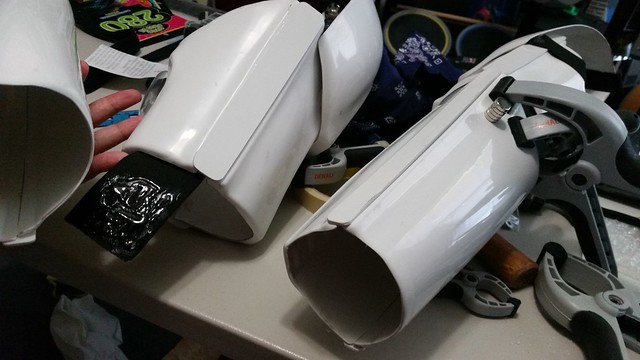
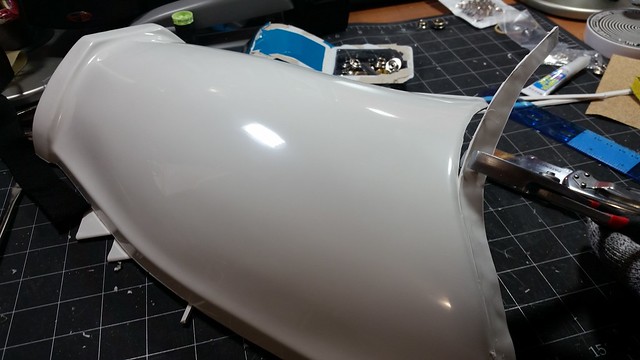
Cutting off excess flashing of the leg pieces
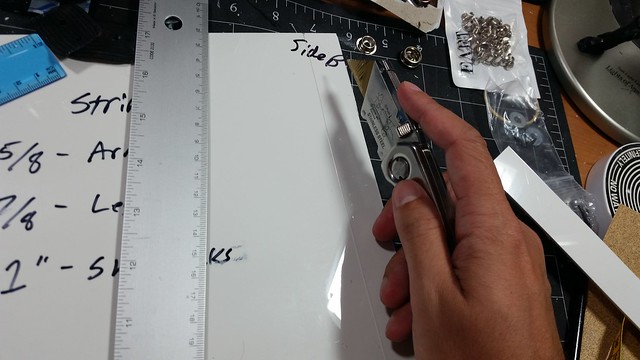
Cutting out the joining strips for the legs
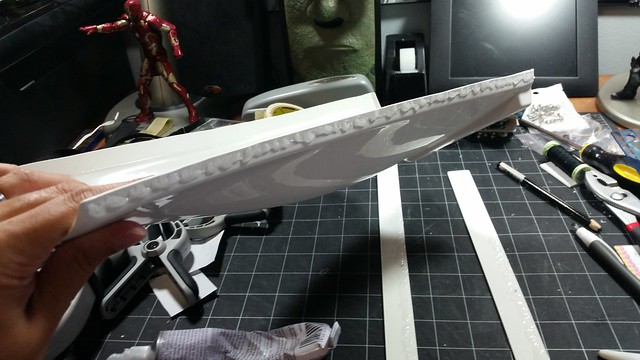
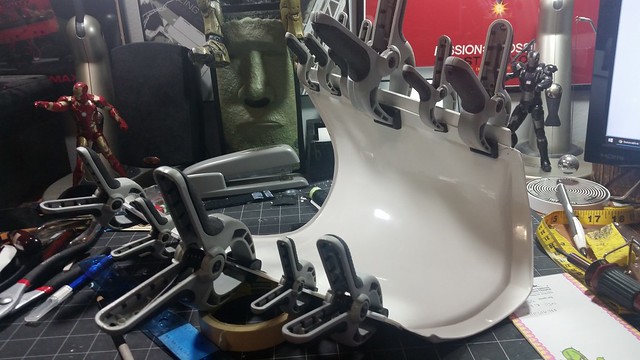
Gluing all the leg pieces together
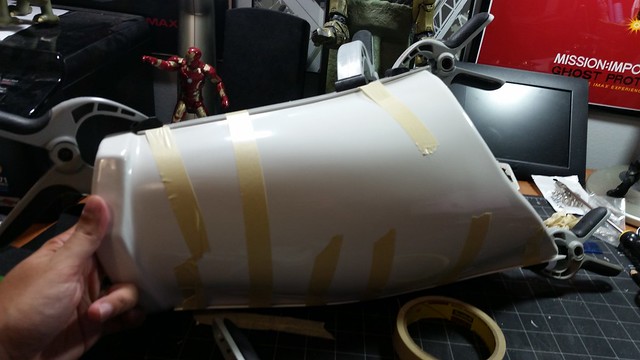
Rounding off corner of knee ammo belt thingy and riveting to thigh piece
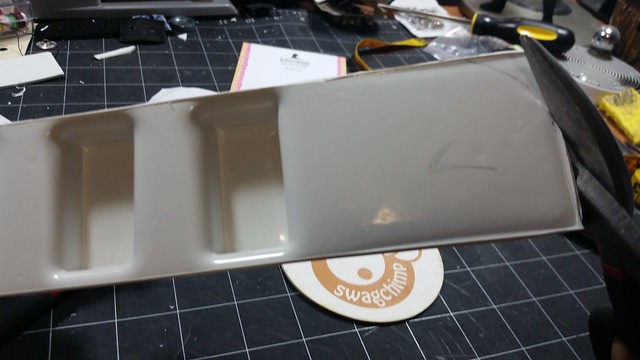
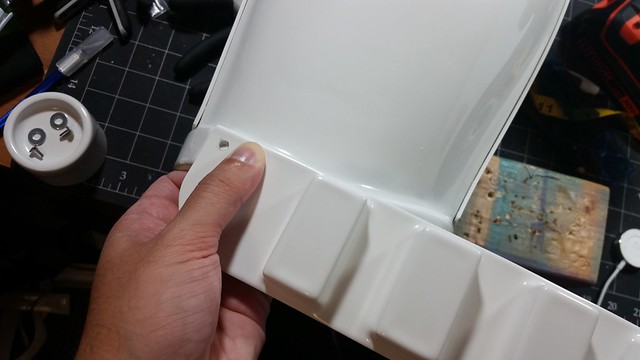
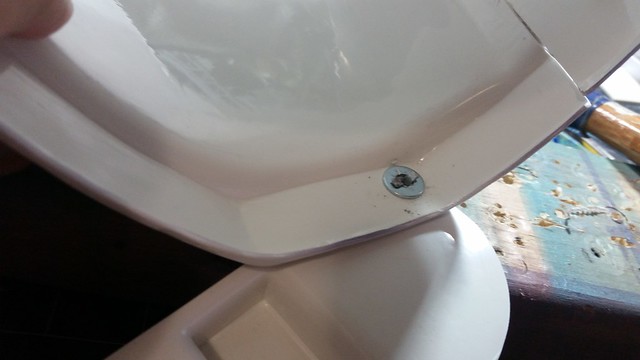
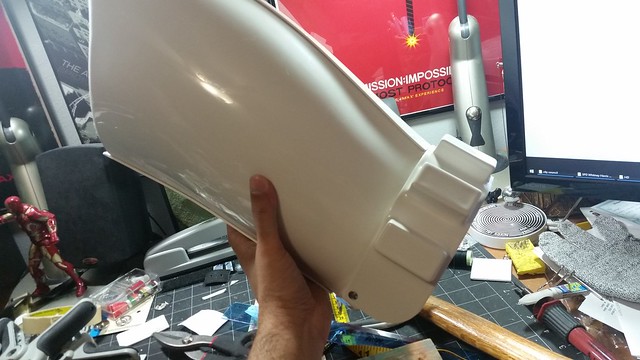
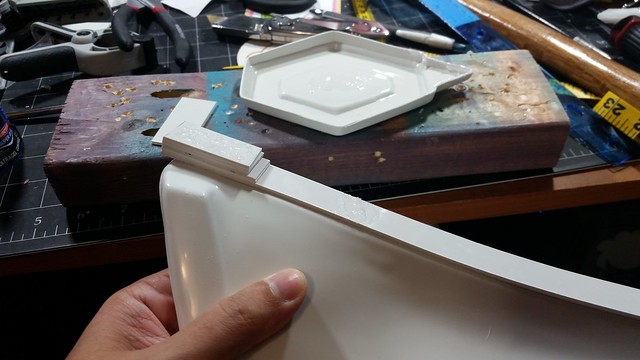
Adding spacers to the sniper knee plate
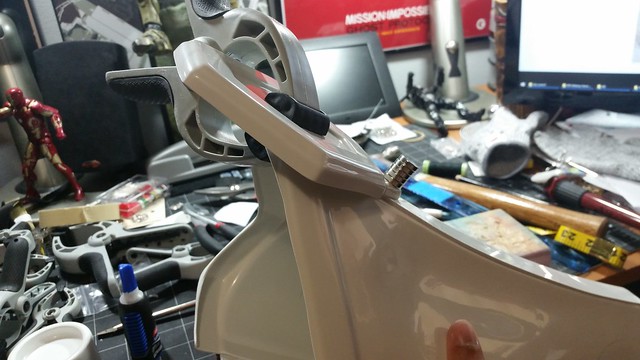
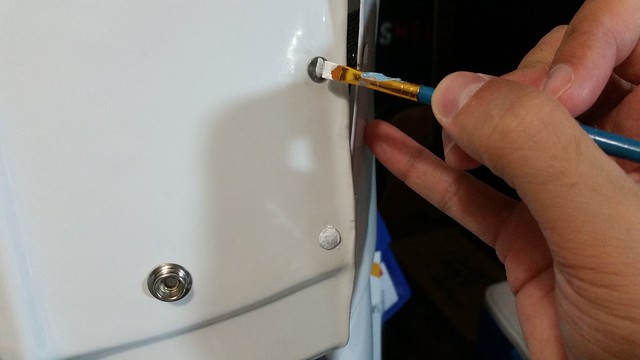
Painting rivets and other hardware white.
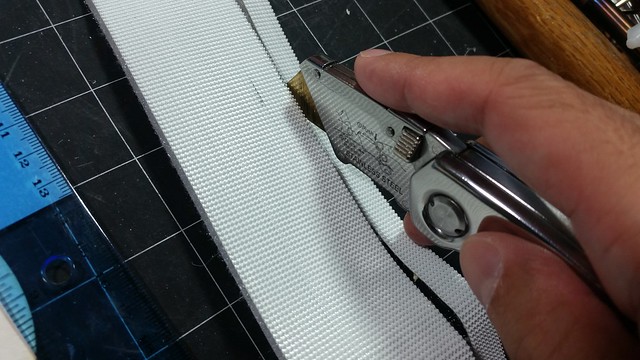
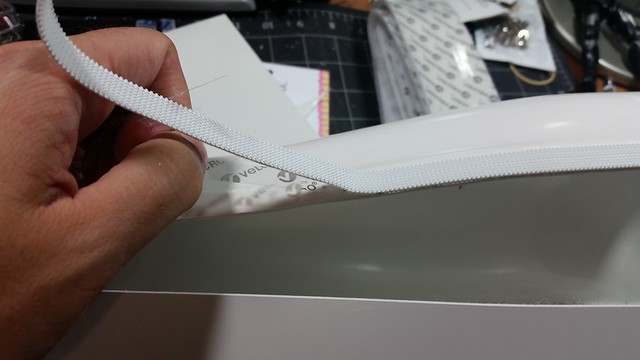
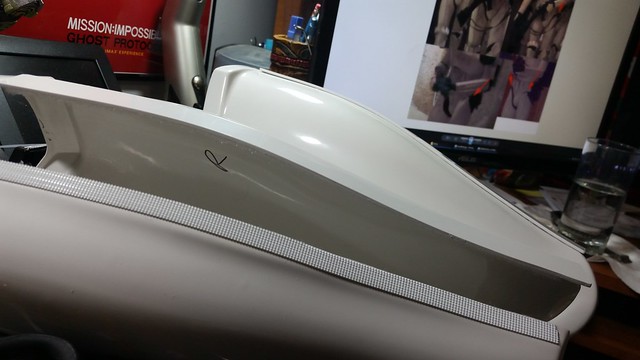
Cutting out strips of heavy duty velcro and attaching it to the back of the shins
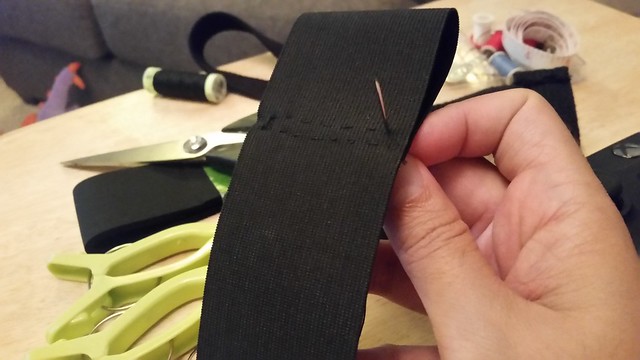
Sewed some thigh straps to loop around the belt and glued to the thighs
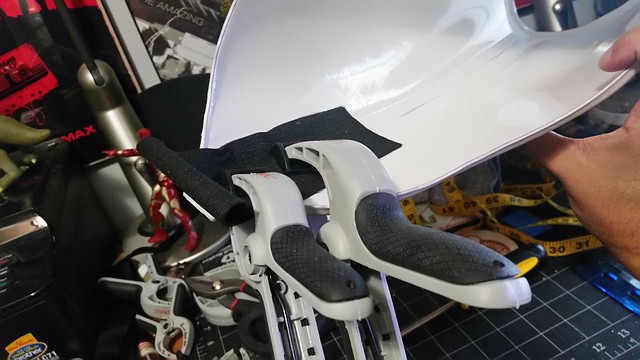
-
I know! I almost want to burn some days off of work so I can just sit down and plow through more of it. At this point I just need to:
1. glue in straps to connect the arm pieces together with the shoulder.
2. assemble the legs and strap them together
3. assemble the belt and minor detail stuff
4. weathering
-
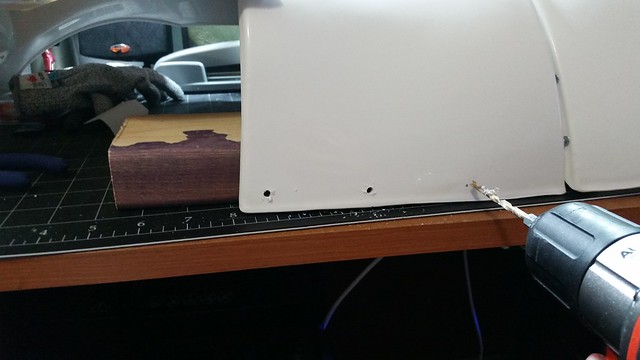
Drilled out the holes in the abdomen and then kidney plate. Abdomen first to make sure the holes don't go too low into the crotch. Then held the pieces together to mark where the holes go on the kidney plate
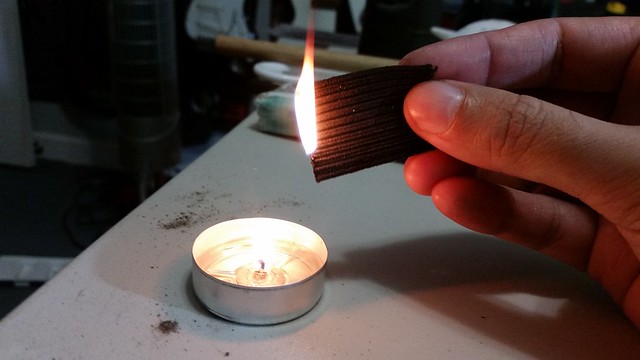
Cutting strips of black stretchy fabric, then burned the tips to keep the fabric from unraveling.
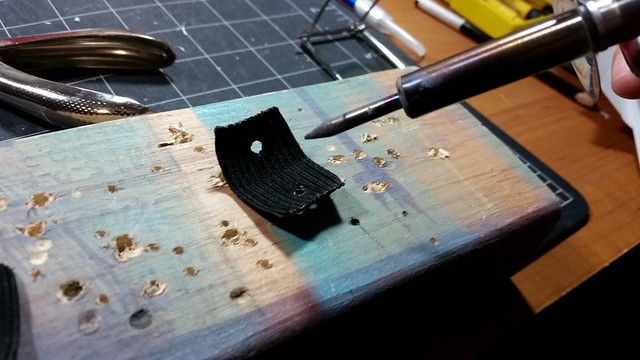
I don't have a fabric hole punch, but the soldering iron works better i think because it then melted the edges to keep it from fraying.
Carefully used a screwdriver and hammer to knock down the split rivets to the ab plate then the other side.
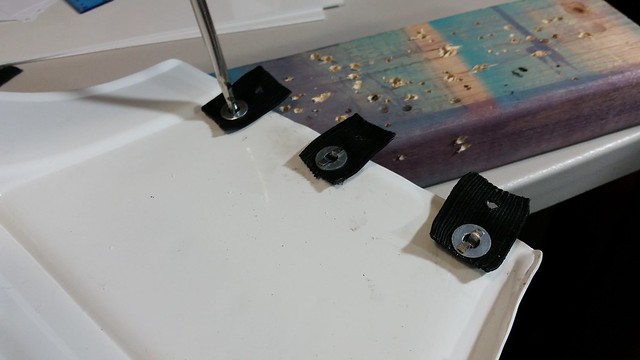
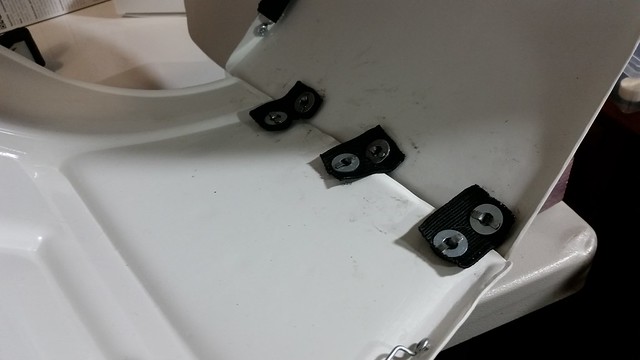
For the other side, I have the one strap with a snap attached and then glued to the kidney plate
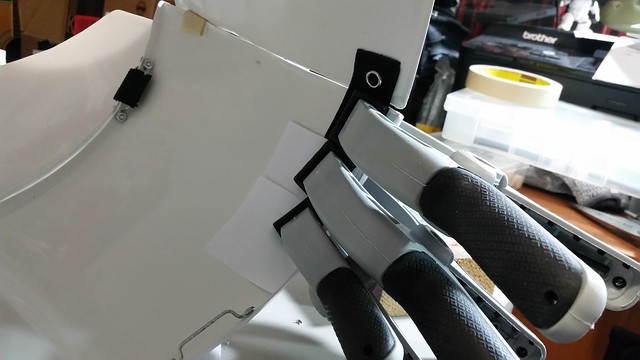
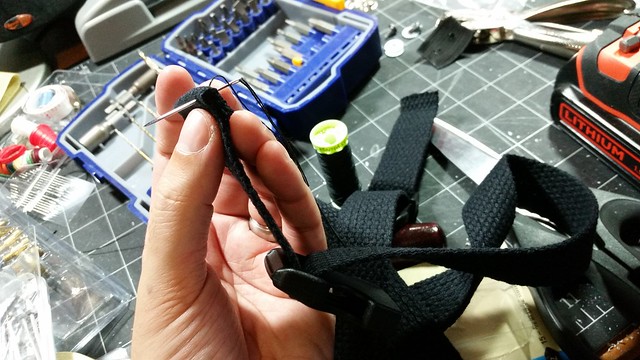
Sewed a simple under belt with snap buckle that will be used to hold the legs up
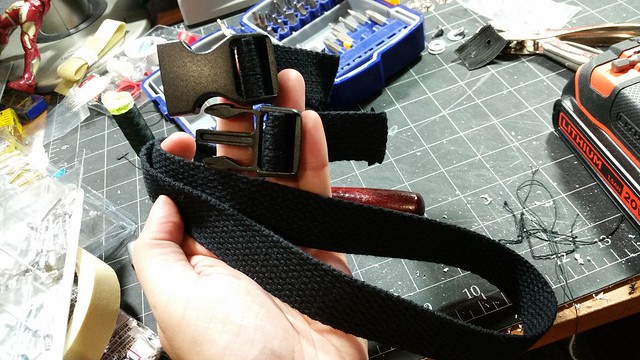
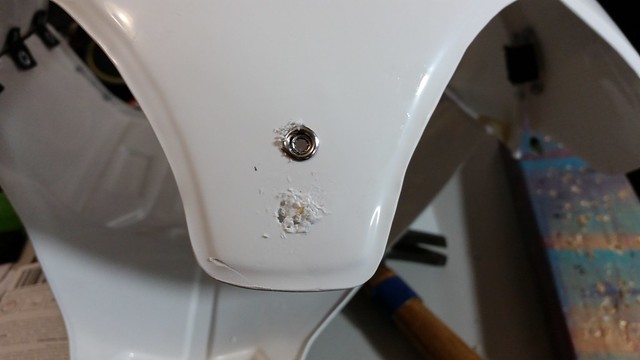
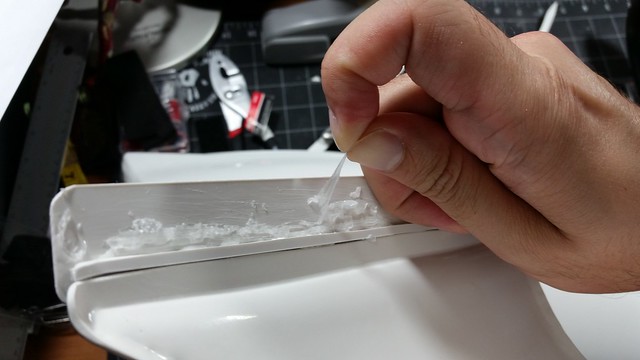
Wanted to show my mistakes too, because I'm sure someone could run into the same problem. I drilled a hole slightly too big to fit the snap in, so i put scotch tape on the back of the hole, then packed in some plastic shavings and poured super glue to help melt it all into place, then I can sand it smooth, redrill the hole, and can paint it later if needed.
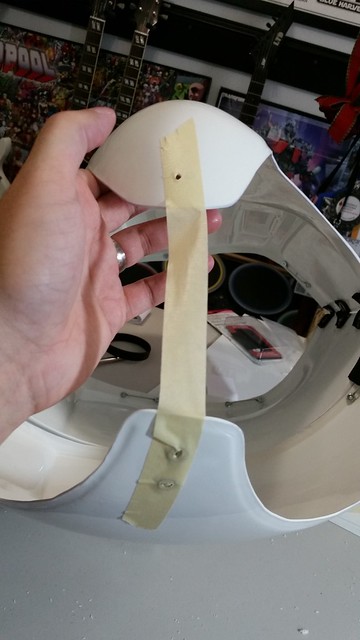
I then had my wife help use a piece of tape to measure out how long the bottom strap needs to be. I poked holes in the tape where the drill holes were to measure where snaps will be.
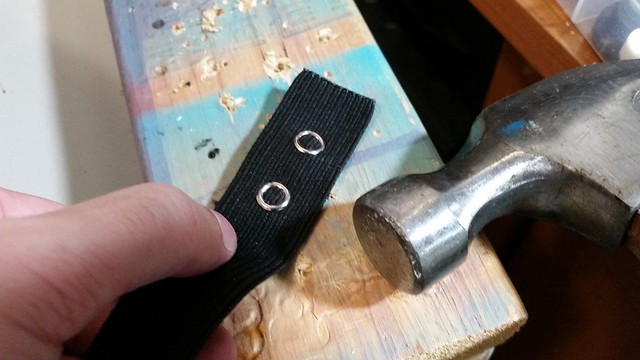
Layed the tape over the stretch fabric, pulled it a little taught, and then used a soldering iron to burn a hole where the rivet from the cod piece will go. I then placed the male snaps where the other two holes are.
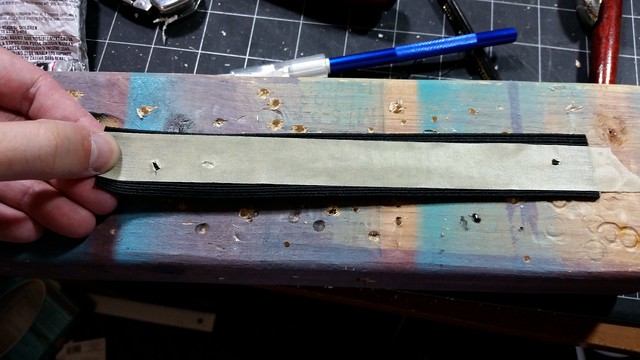
Hammered in the male snaps. Used drill holes in the wood to help with the male sticky outtie parts as I hammered.
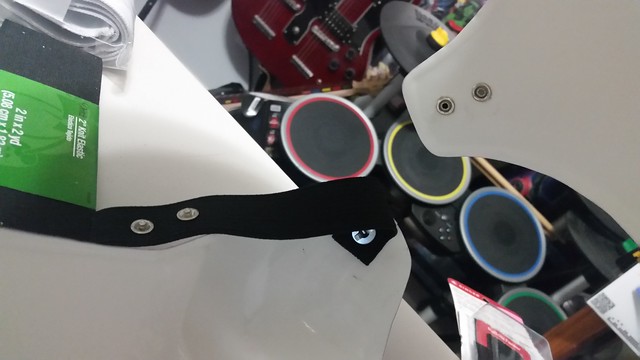
Strap riveted in.
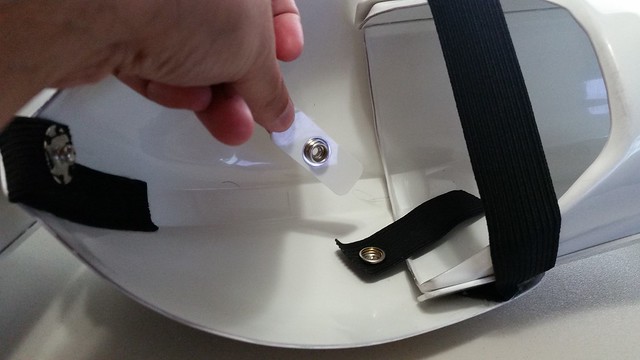
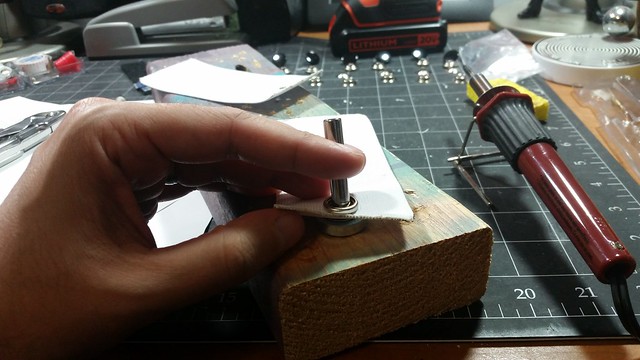
Used a punch to attach heavy duty snaps to shoulder straps.
Cut up some pieces to attach the female ends of the heavy duty snaps. Used a dremmel to help cut grooves to counter sink the snap.
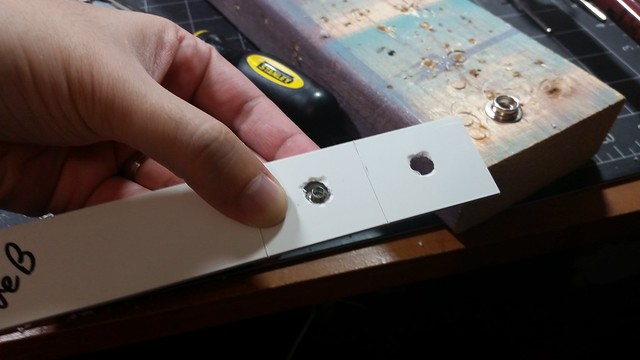
Glued the female ends to the back plate. I went ahead and did both straps so I could completely open up the body if I need to get in there in the future.
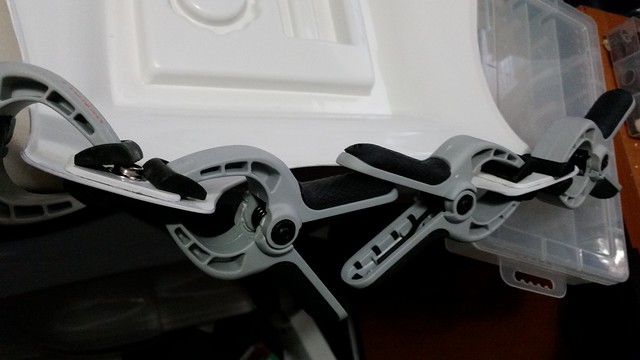
Put everything on and then had my wife pull the shoulder straps down and place tape where it meets the chest piece so I know where to put e6000 glue on the straps. I have wonky shoulders so they were slightly uneven.
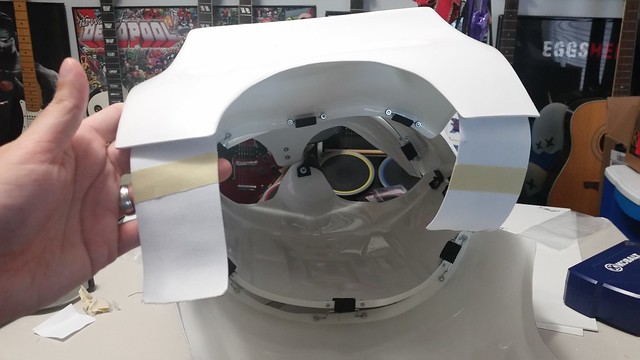
And now glued the straps to the chest plate.
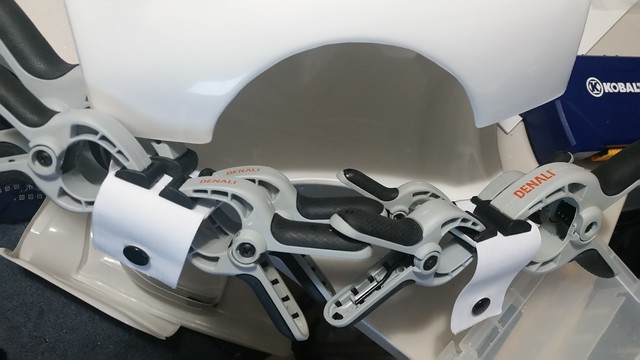
-
Thanks everyone! and that's awesome Charlie! I've read a lot of helpful tips in different forums for my research so hopefully it can help some others!
Alright, so the left bicep is shaped a tad differently than the right, so I had to adjust the width of the strips to accommodate for the smaller inner area to fit my bicep.
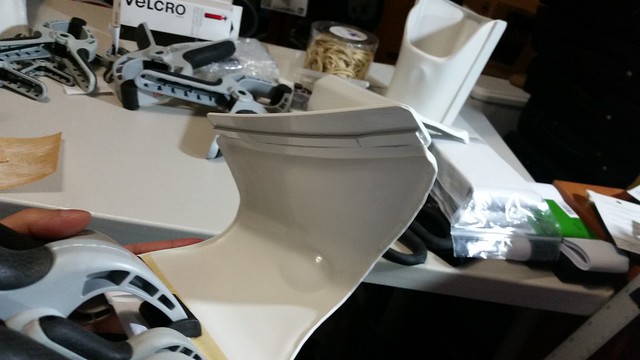
This is why I went with E6000. So I can fix screwups. This one happened to be the clamps slowly slid overnight so the strips were off center. (but I'm not ruling out I'll make a mistake later) But I was able to peel it off, peel the glue off, and try again.
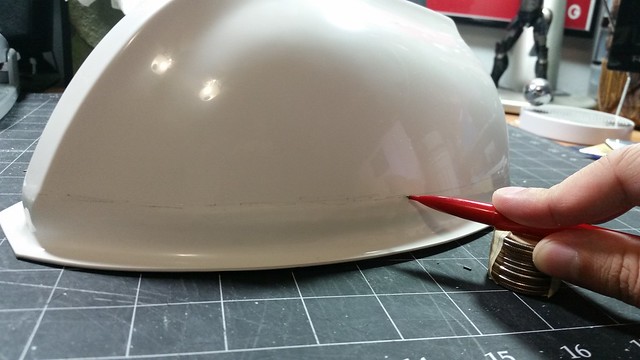
Stacked some quarters to cut off the excess on the shoulder bell. With a pencil on top I just held it in place and spun the shoulder bell around on the pencil to trace a line.
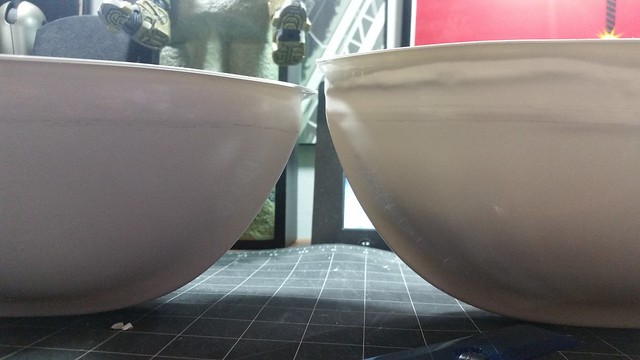
Flip the shoulder bell upside down and make sure the height is the same from the outter edge of the bell to the inner. Flashing will be different lengths so you can't measure in from the parts you'll cut off.
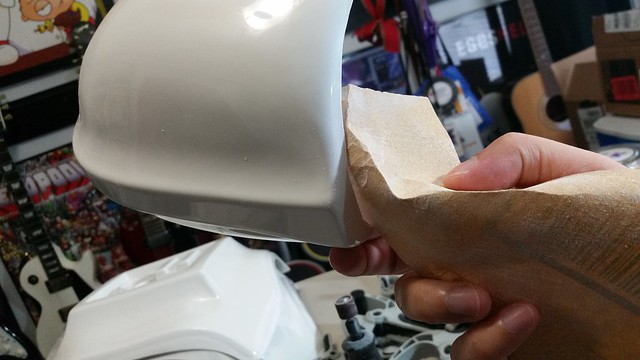
Sanding the shoulder bells
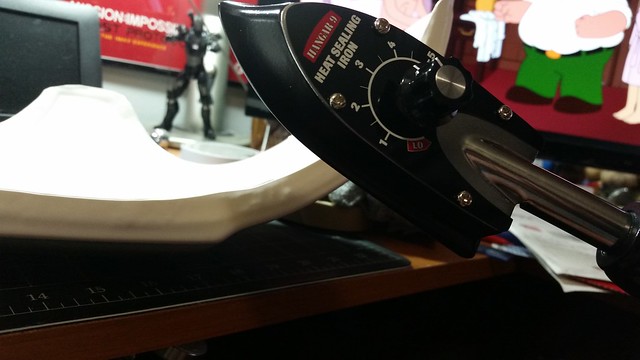
Using a heat iron to flatten out a couple spots I think will help the pieces fit better.
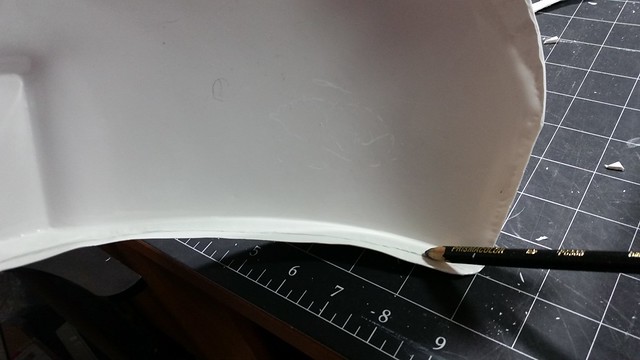
Tracing out to cut off excess flashing on the back and chest.
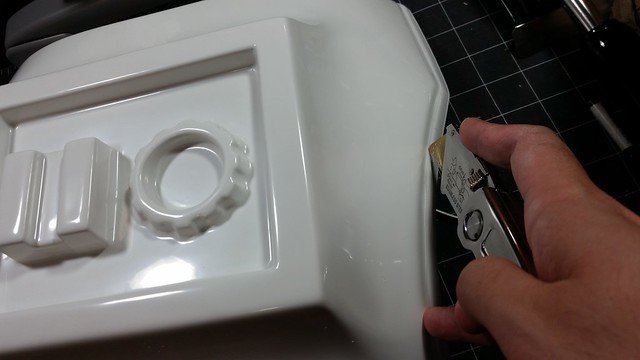
Cutting off the excess
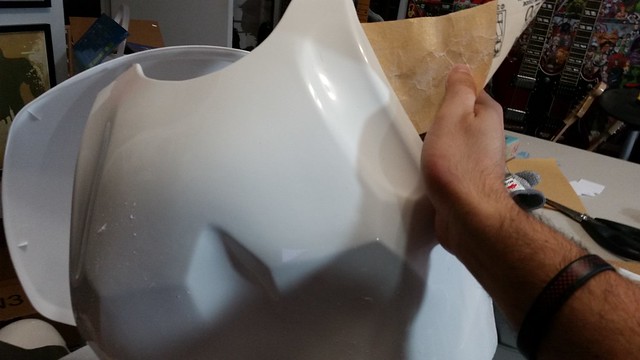
Sanding down the edges. I used a dremmel for the rougher stuff and then went over with a fine sandpaper to smooth out all the edges.
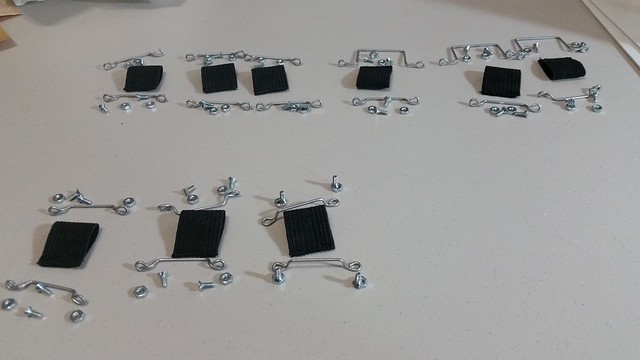
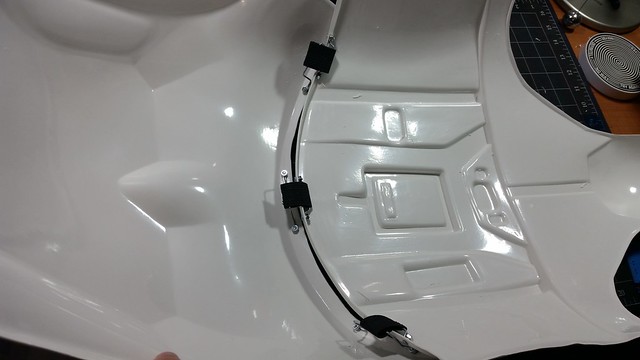
Got my assembly brackets all ready
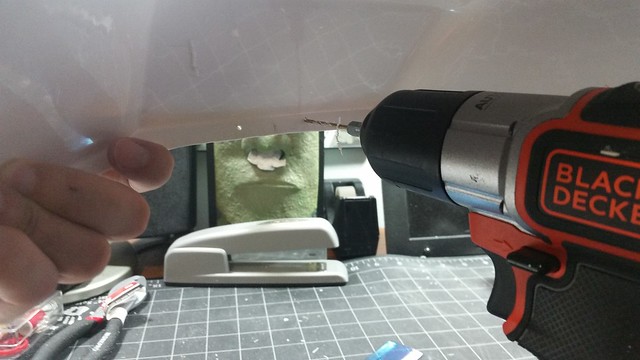
One by one, I set the brackets up to the return edge of the pieces, traced dots and drilled holes. I placed the center one in the center, and the center of the other two pieces 2 inches in from the sides.
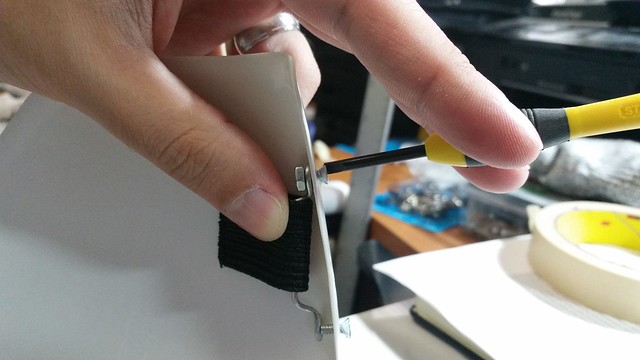
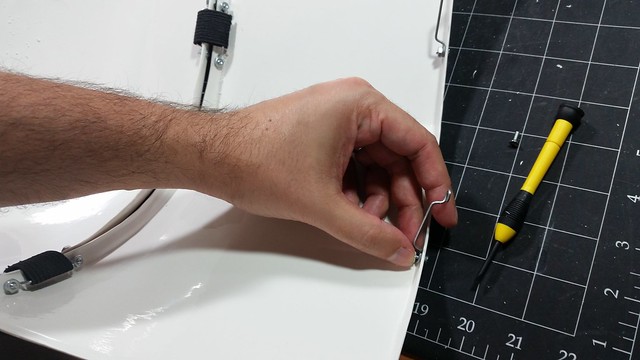
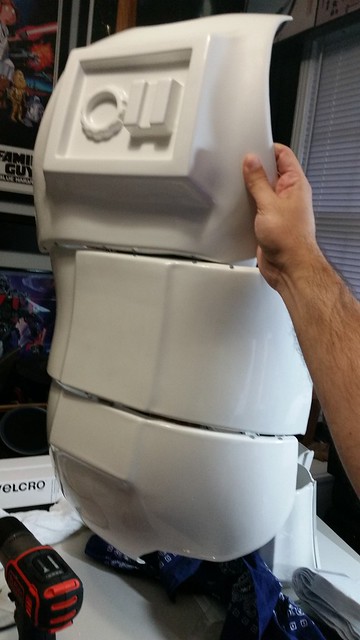
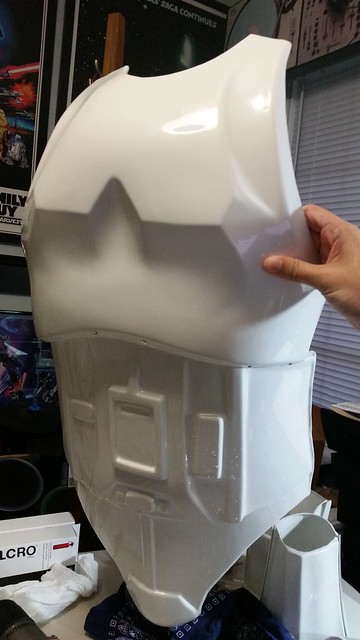
Back and front pieces assembled


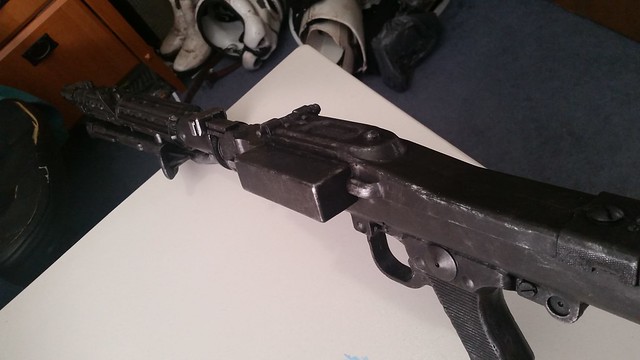
MEPD trading cards are now available. On going run.
in The Barracks
Posted
Awesome, I've been meaning to get my first set of cards made so now's the time