

TD-Sharp
-
Posts
46 -
Joined
-
Last visited
Content Type
Events
Profiles
Forums
Posts posted by TD-Sharp
-
-
Congrats, Chris !!! You deserved it !!!
-
Best of luck, Chris !!!
-
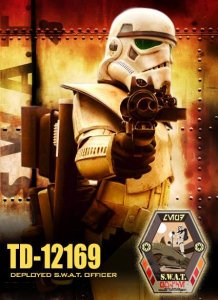
Thank you very much for the activation - S.W.A.T. Officer TD-12169 is reporting in at Docking Bay 94!
-
As easy as 1-2-3, Felix ... it's gonna be done, asap!
... and here we go ...
... should have done all the shots with my mobile
-
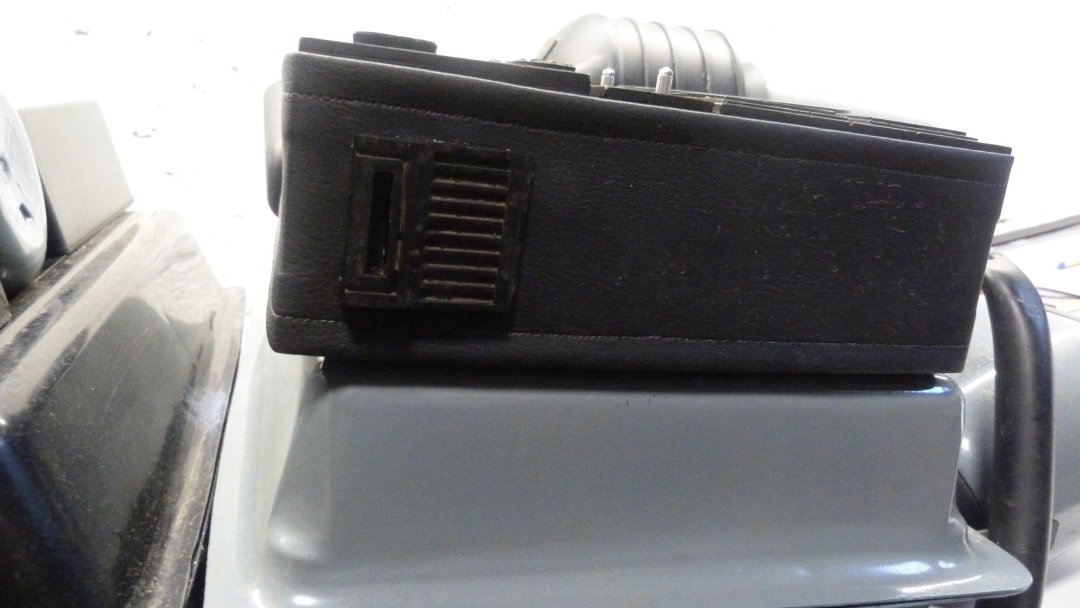
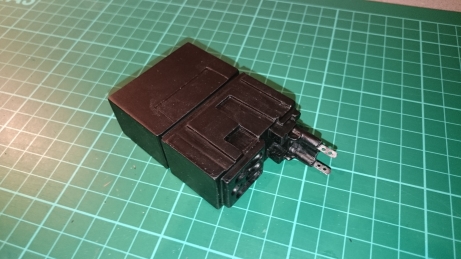
Fixing and upgrade on radio done ...

-
Pretty happy that this is not a requirement at the moment
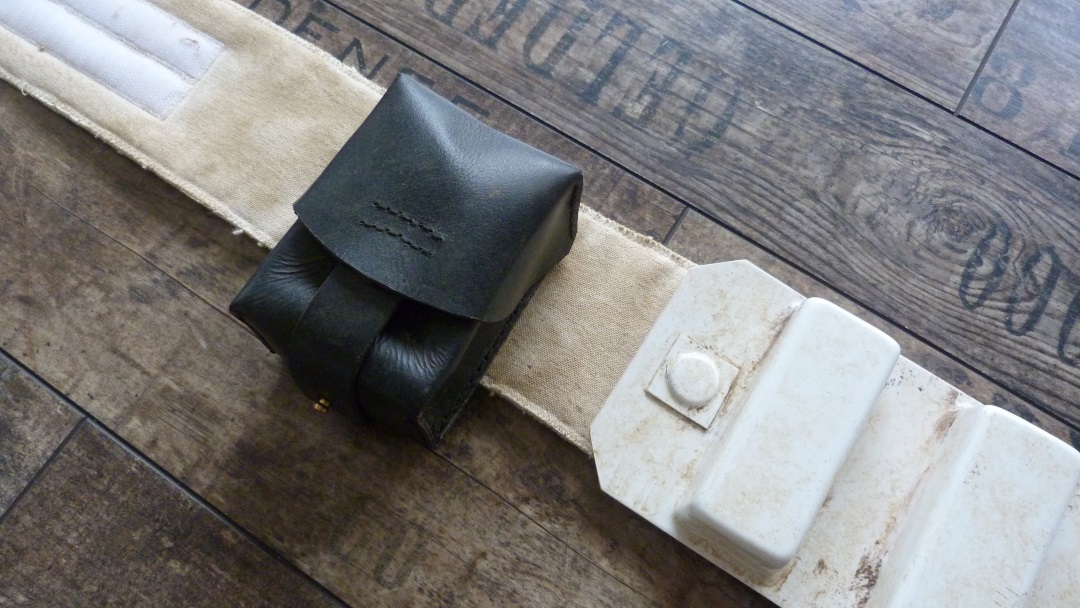
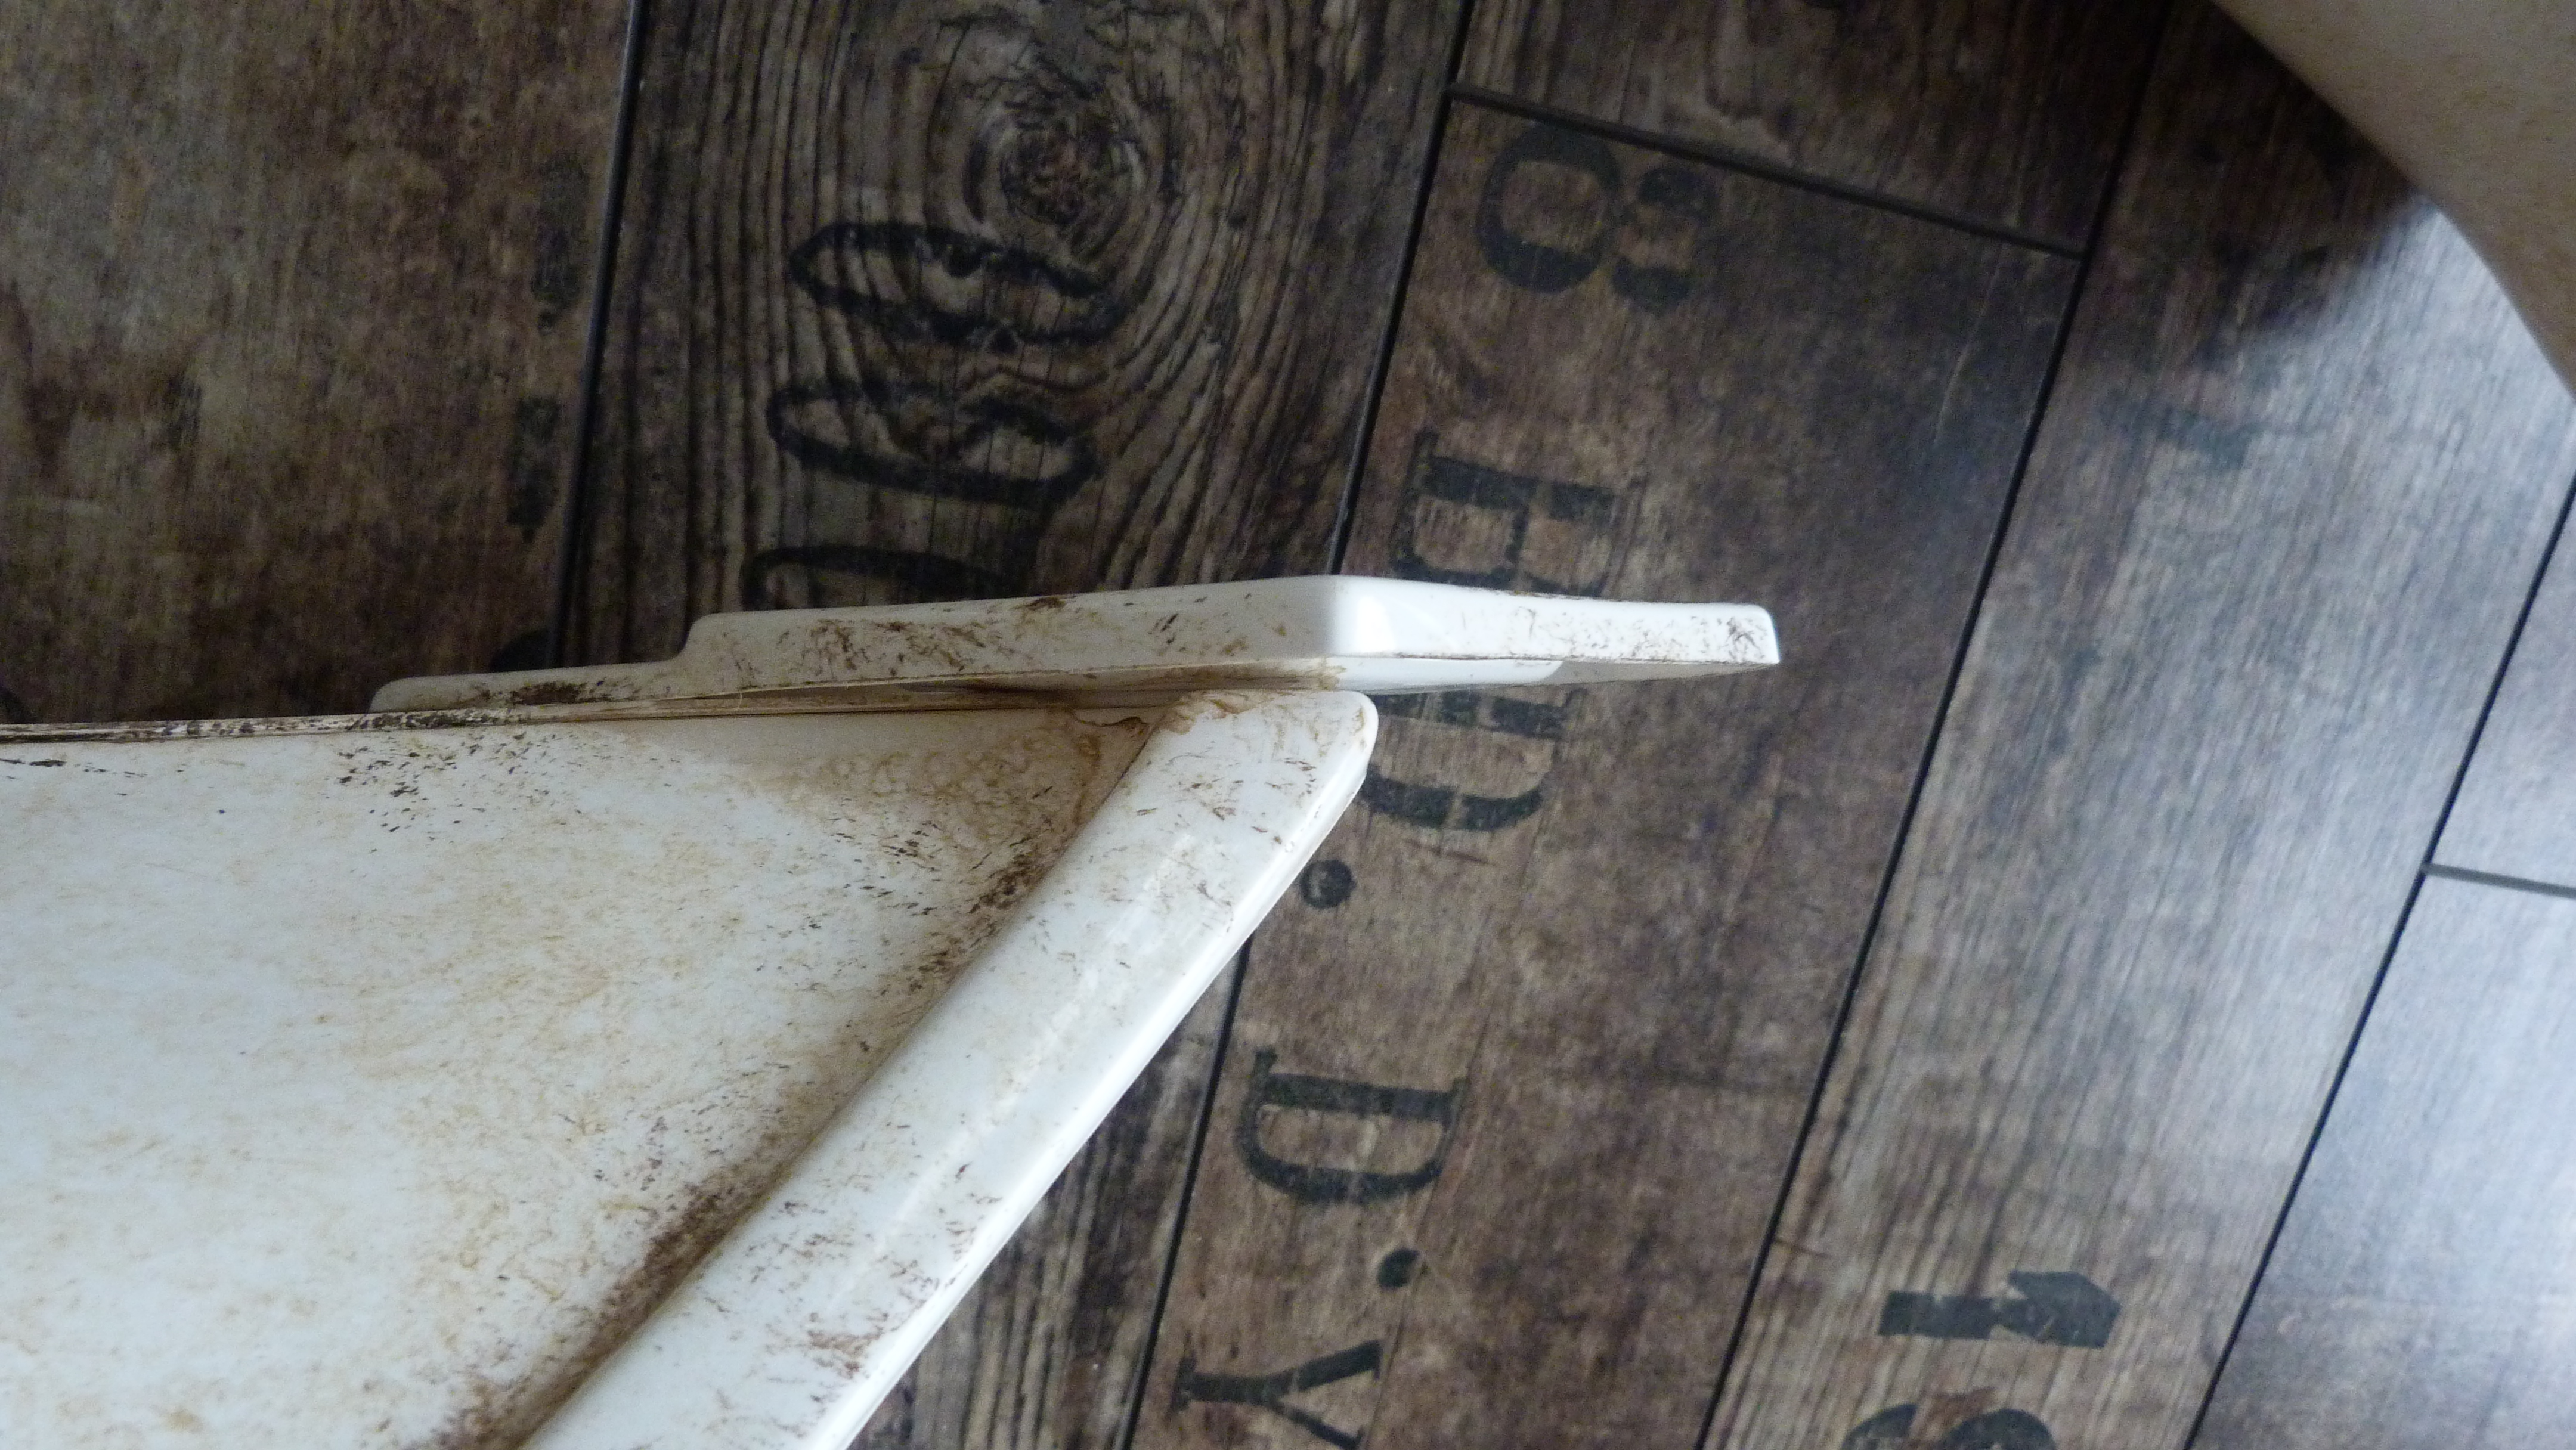
 but I'll take this into consideration and do a rework of the sewing, using a black thread. Thanks for the information. Do you know the approximate length of the stitches?
 -
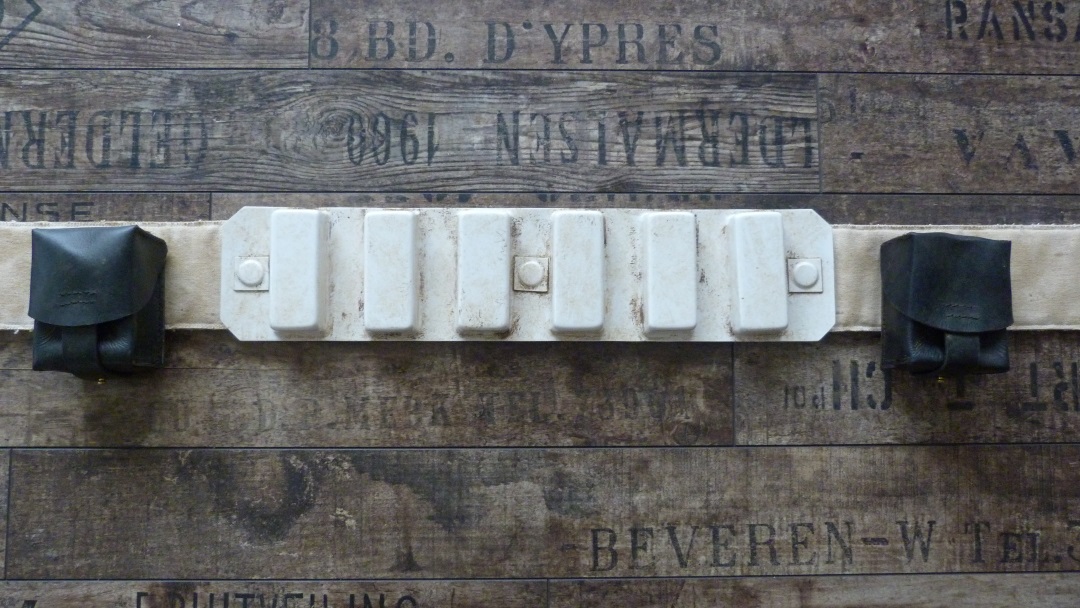
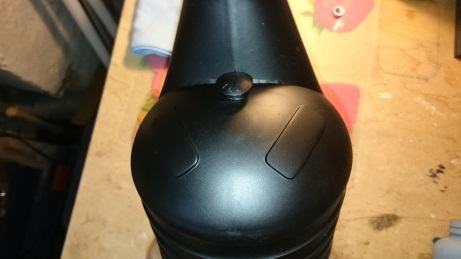
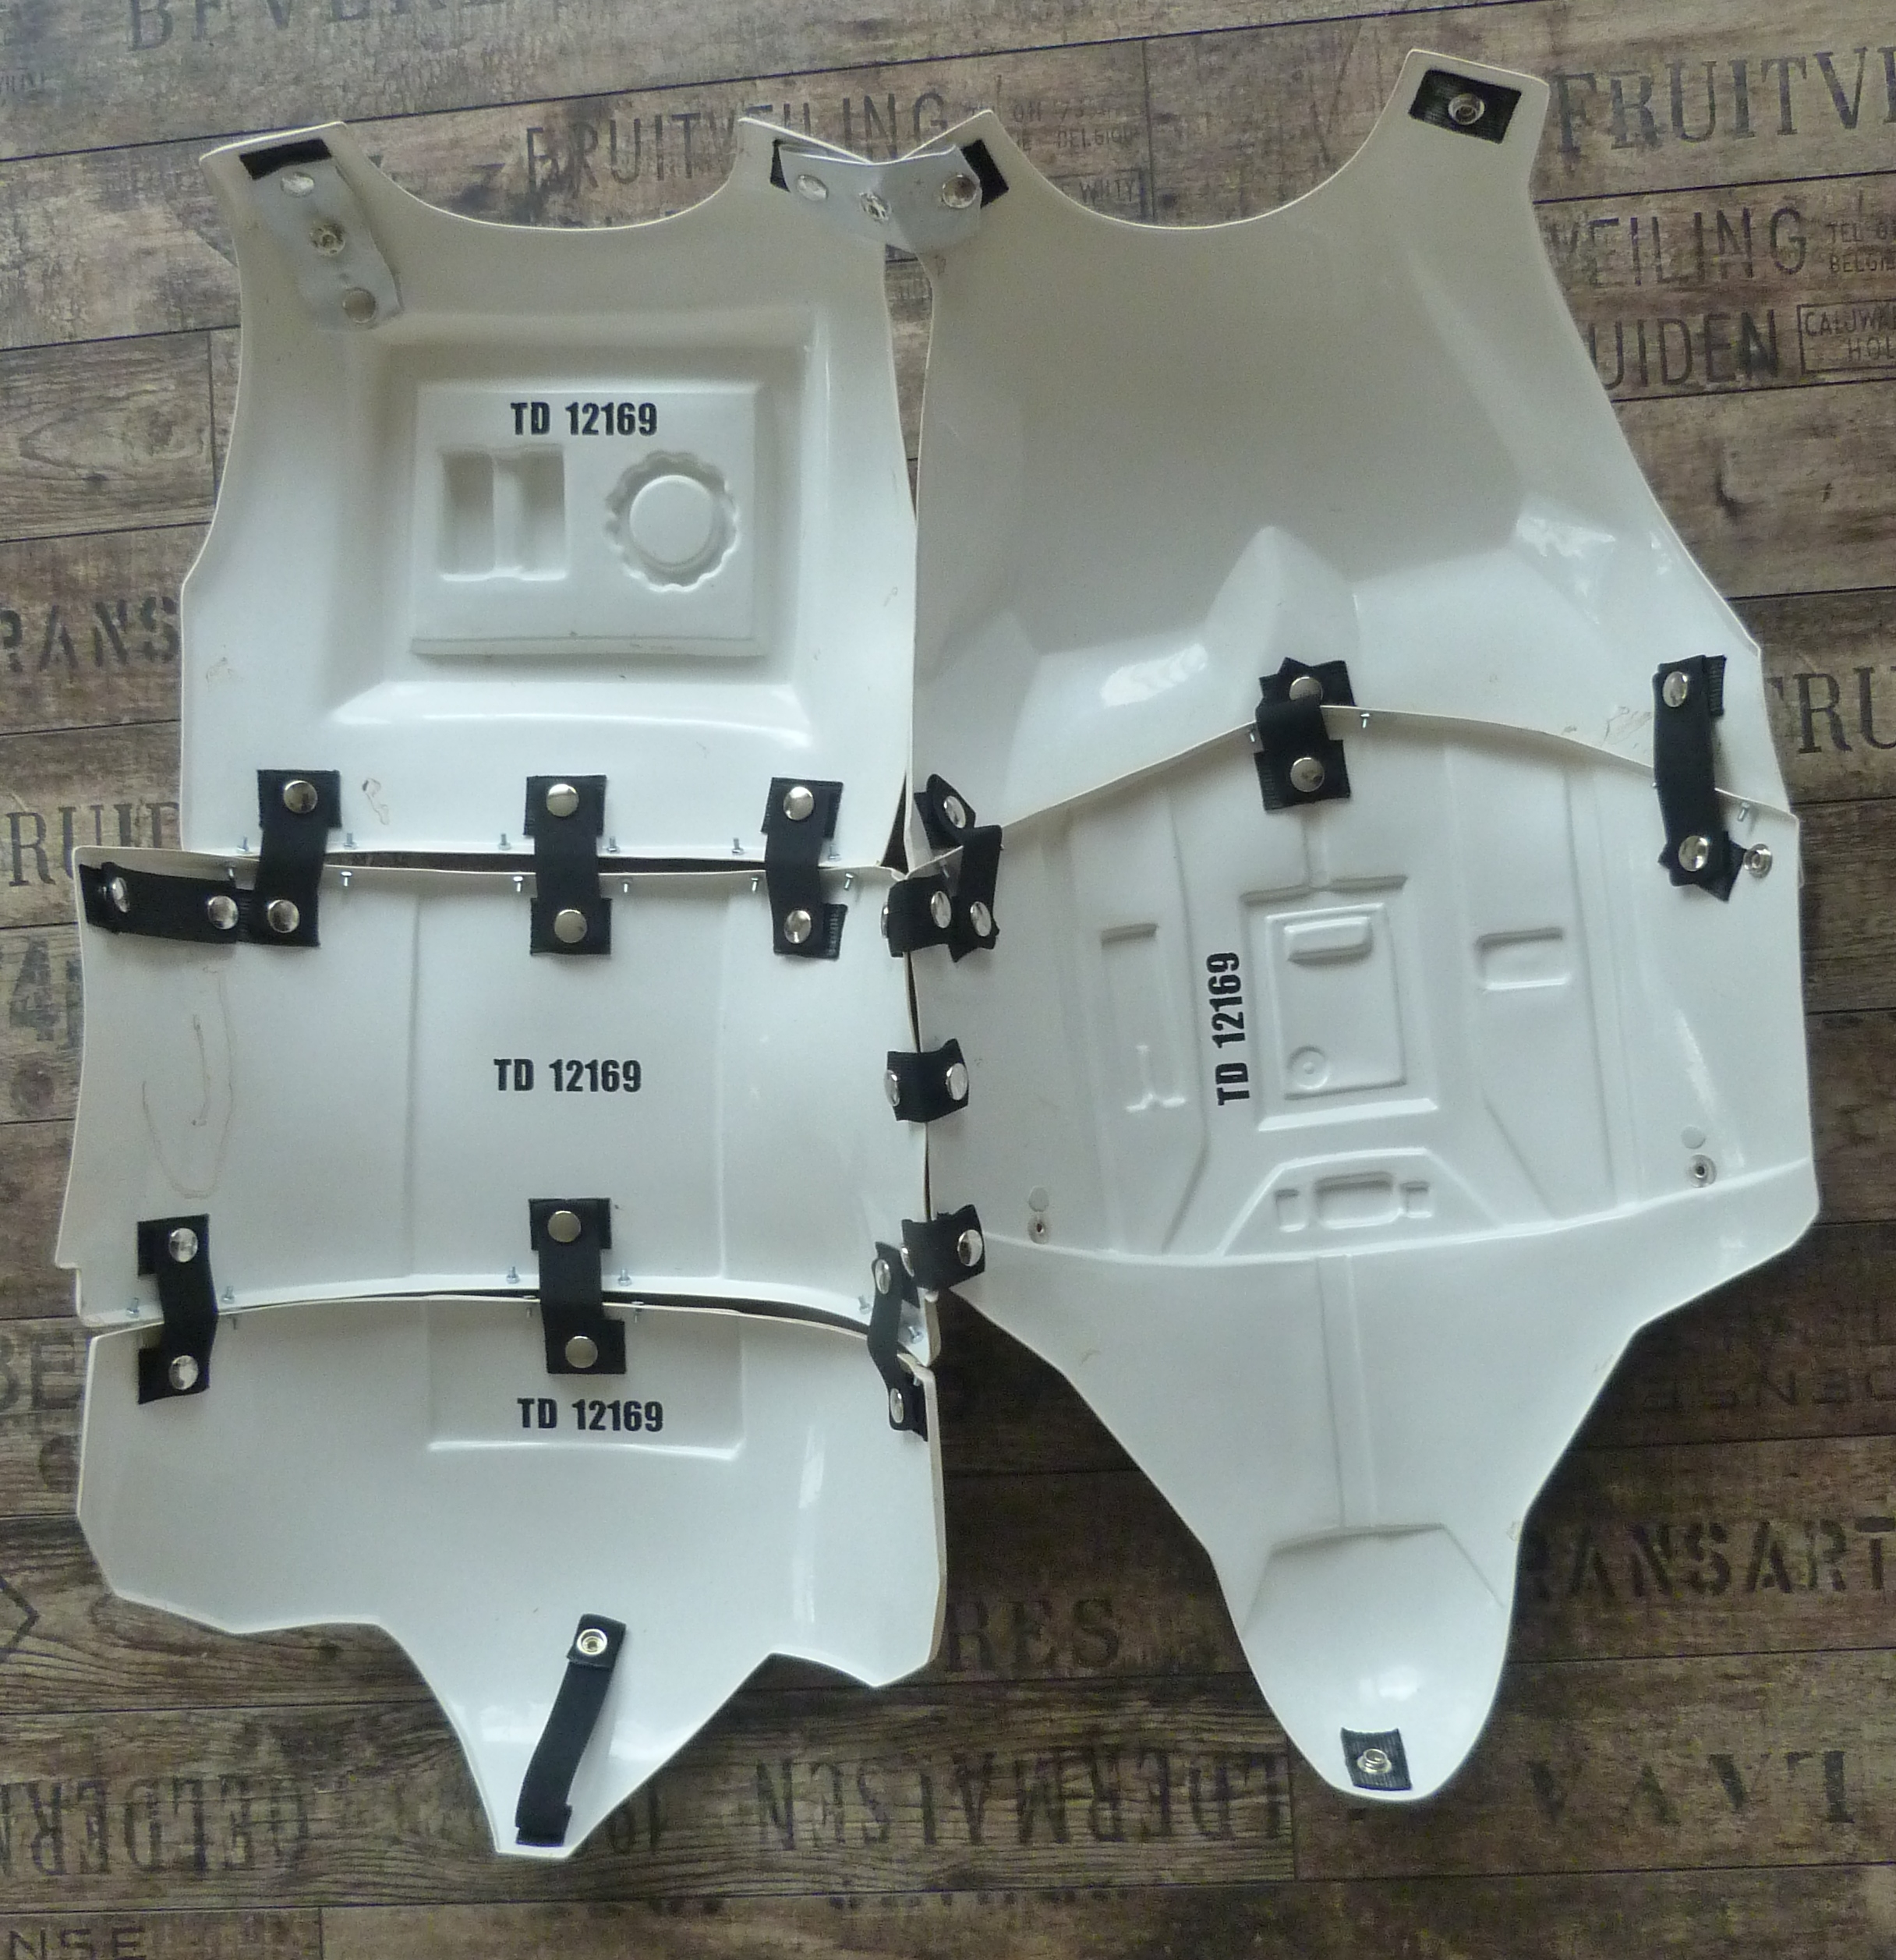
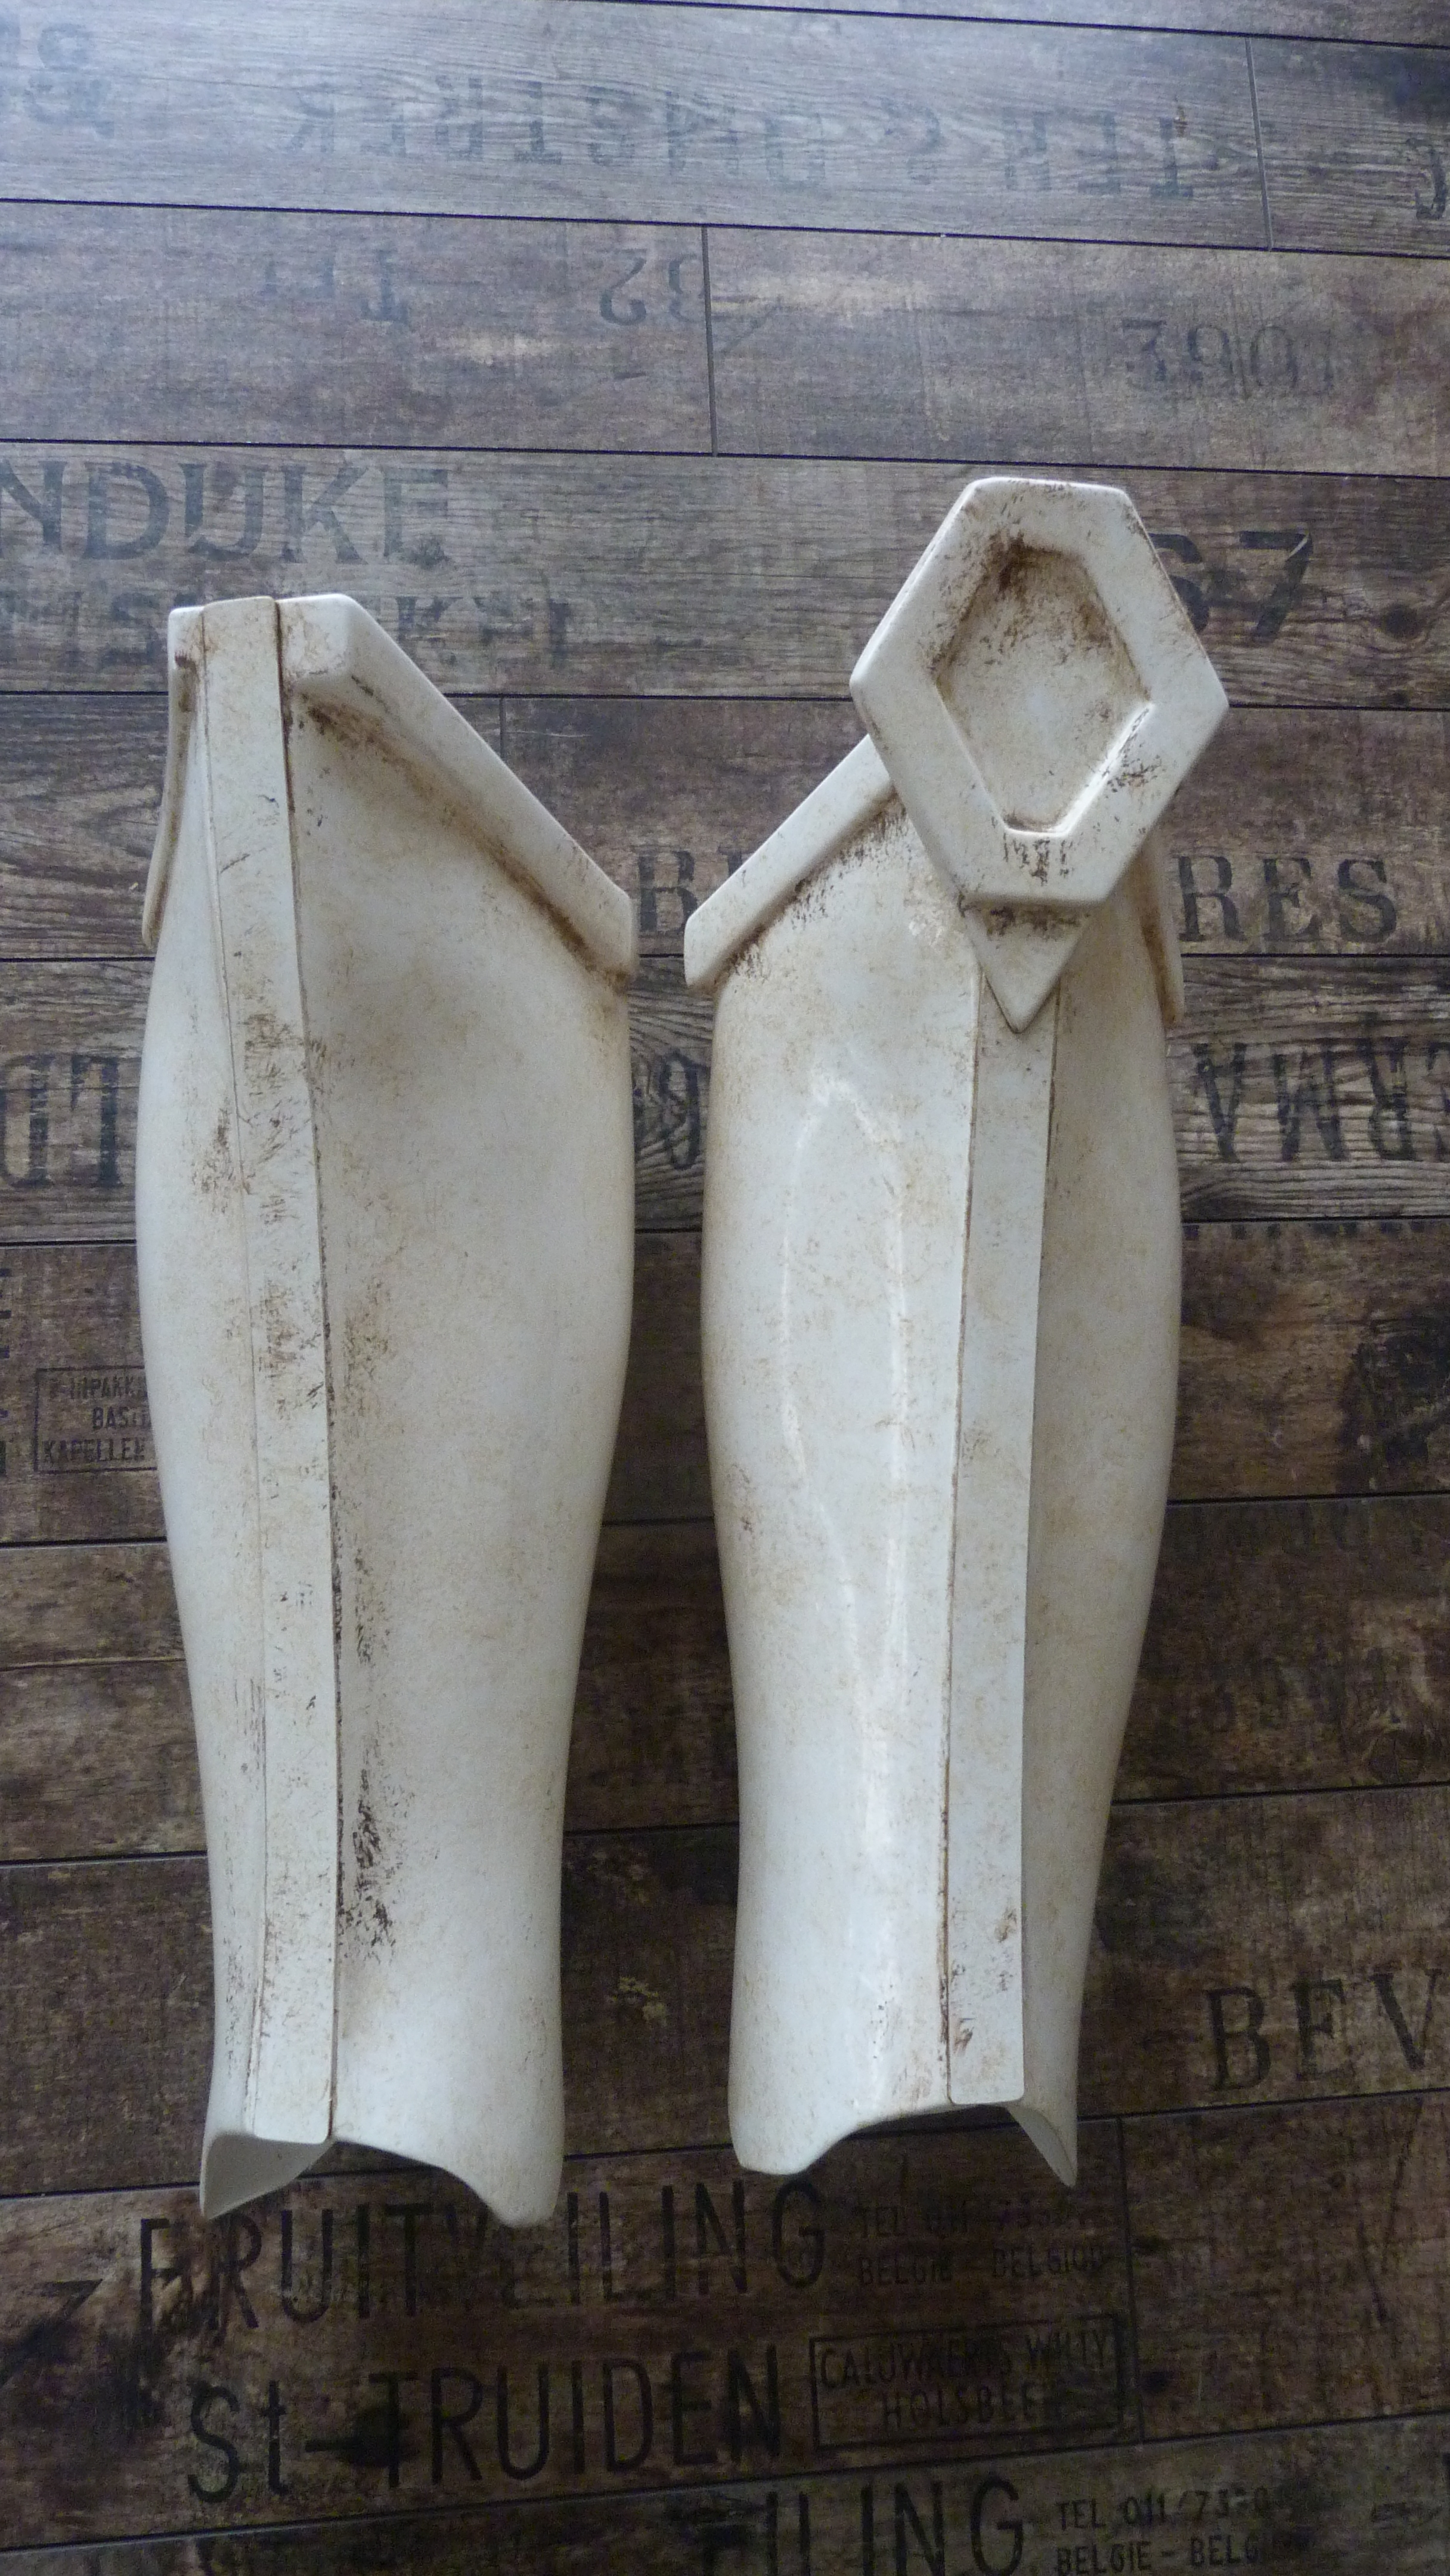
Hi Felix,
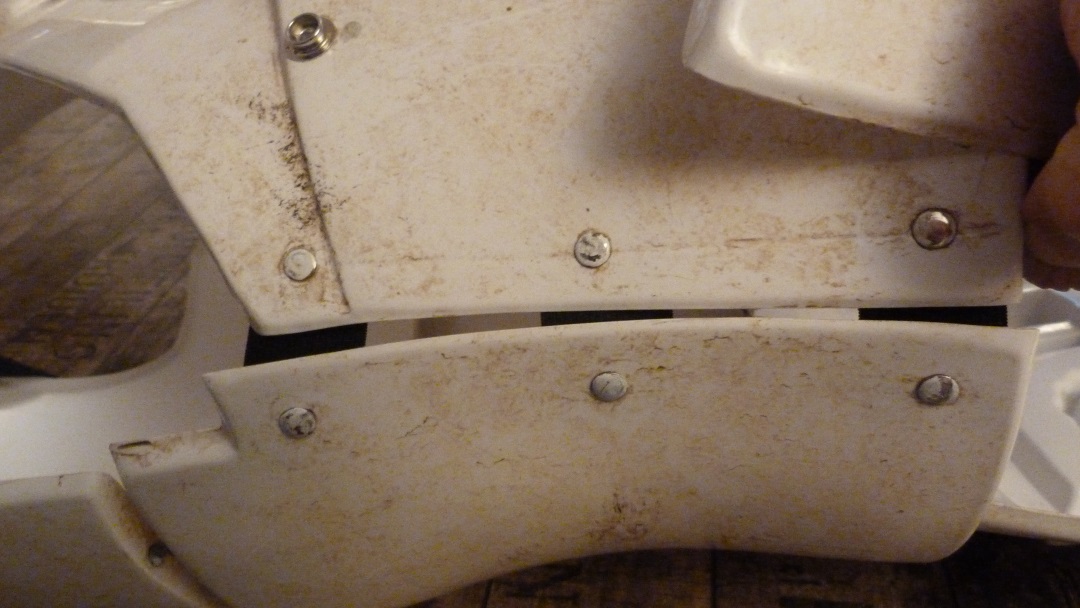
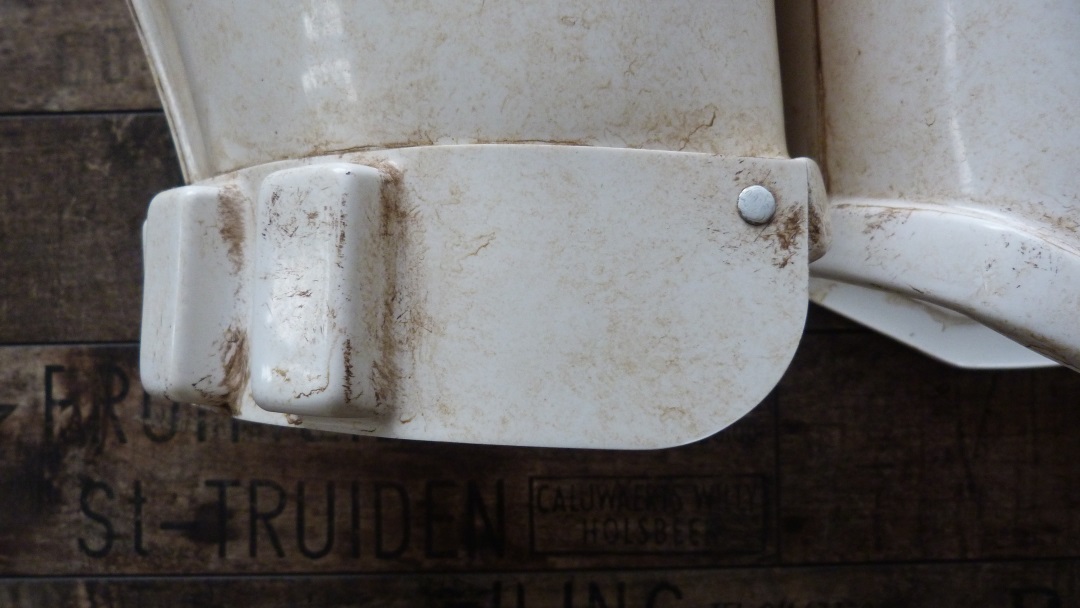
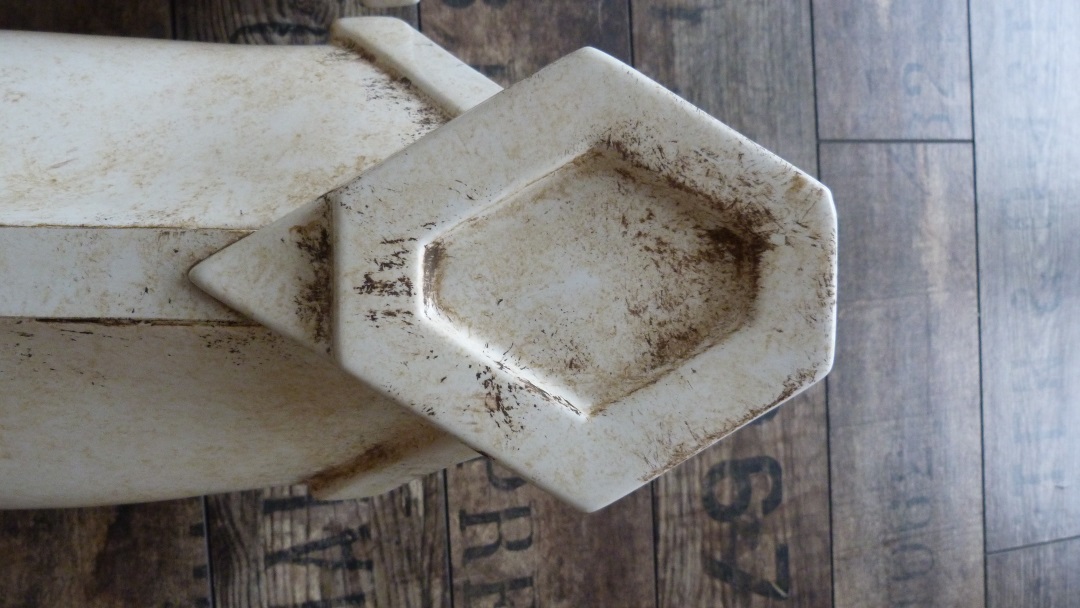
time to show the fixes:
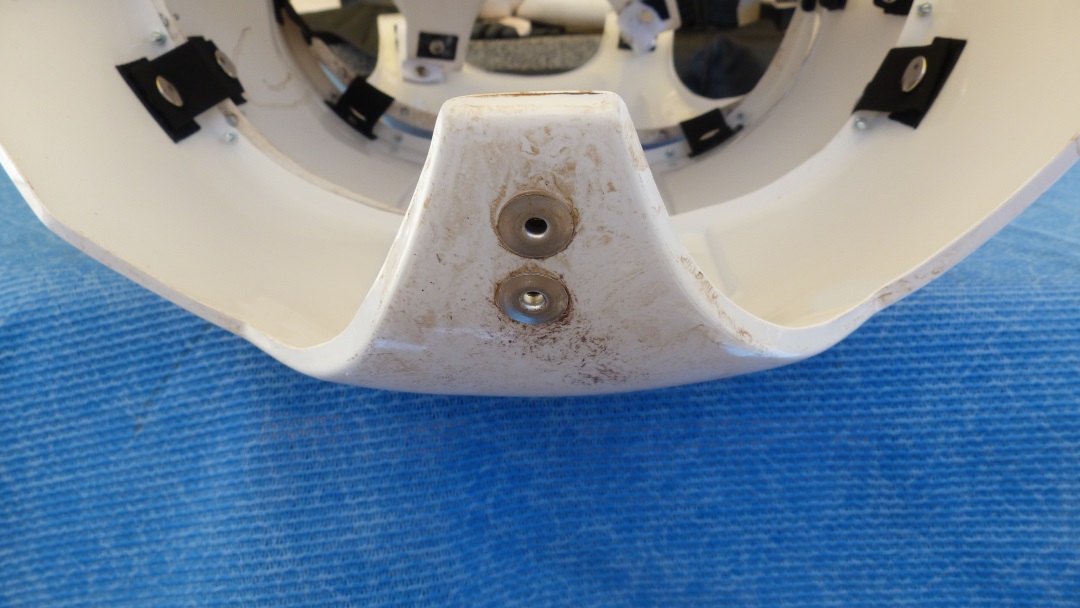
Thigh
Backpack (here: canteen flask)
Cheers,
Michael. -
Congrats, Sarah !!!

-
Thank you very much for the results of the first review, Felix.
This all sounds just great to me! I'm very happy that there is nothing major to be fixed. As I pointed out in my build-thread, I was going to build this Sandtrooper regarding the guidelines for SWAT from the first. The research I did, took quite long and I was not in a hurry
And before all: During my research and building I talked to and learnt from the best: My brothers from the MEPD 
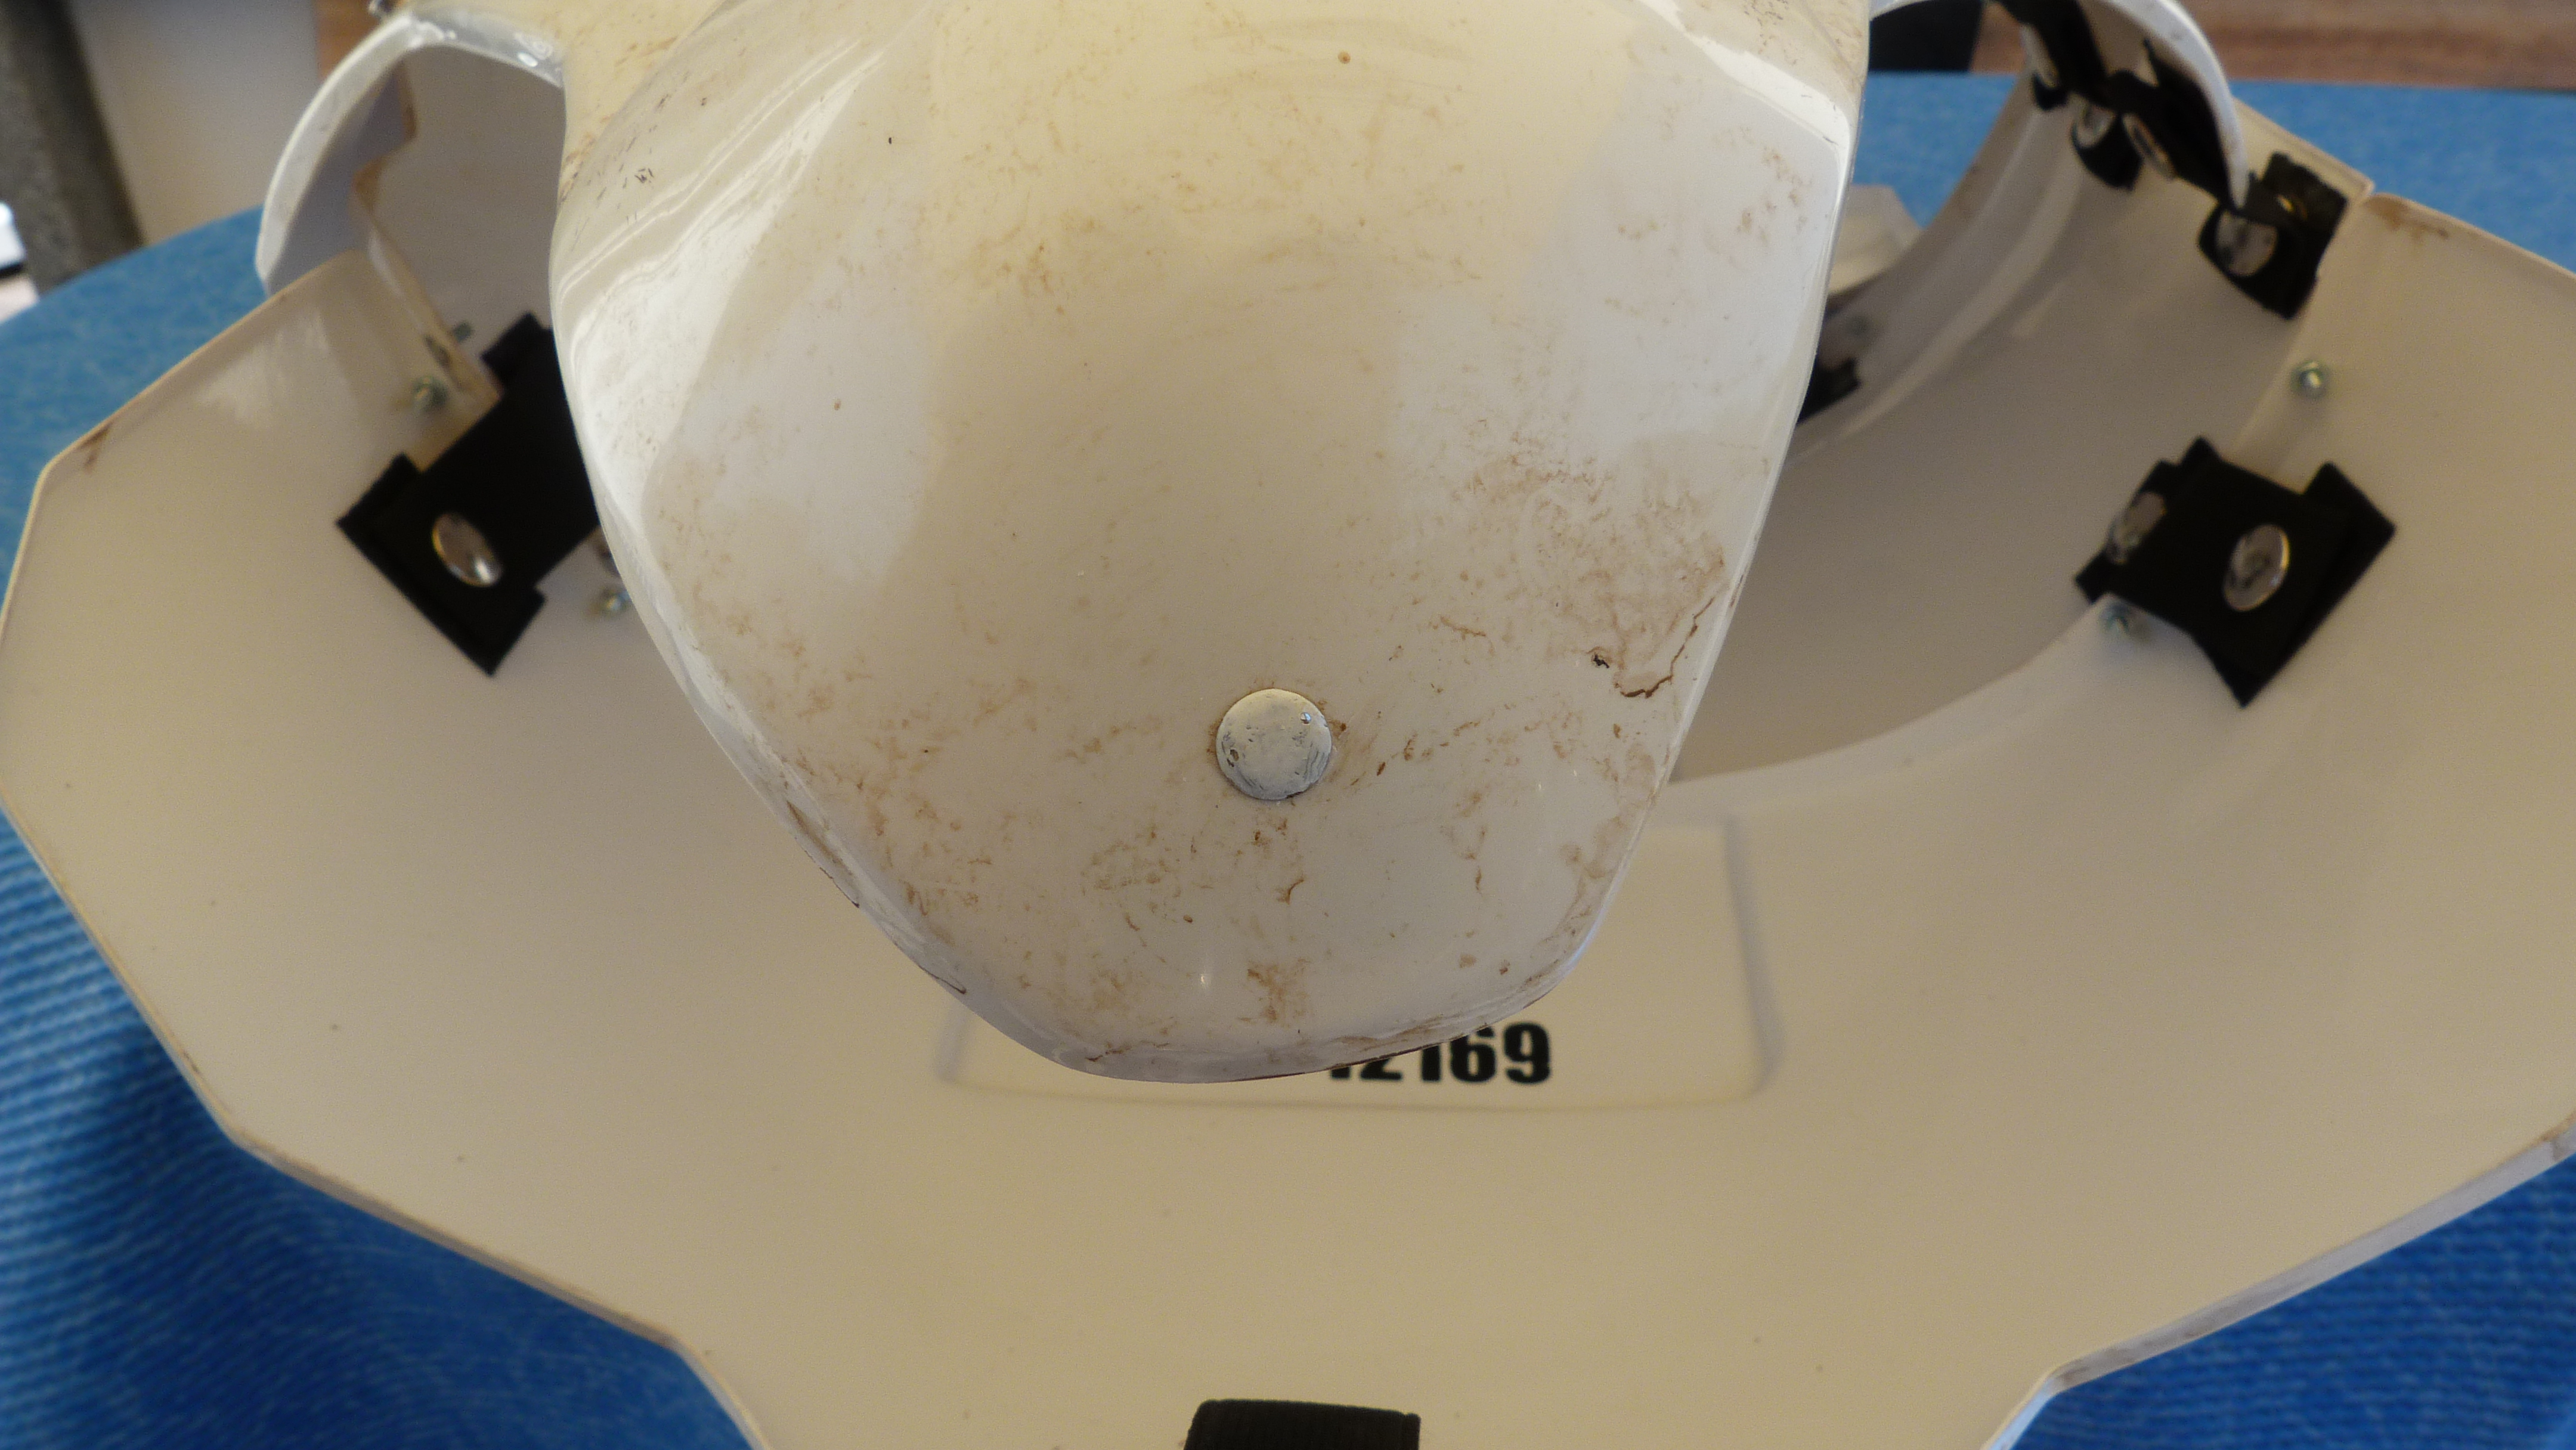
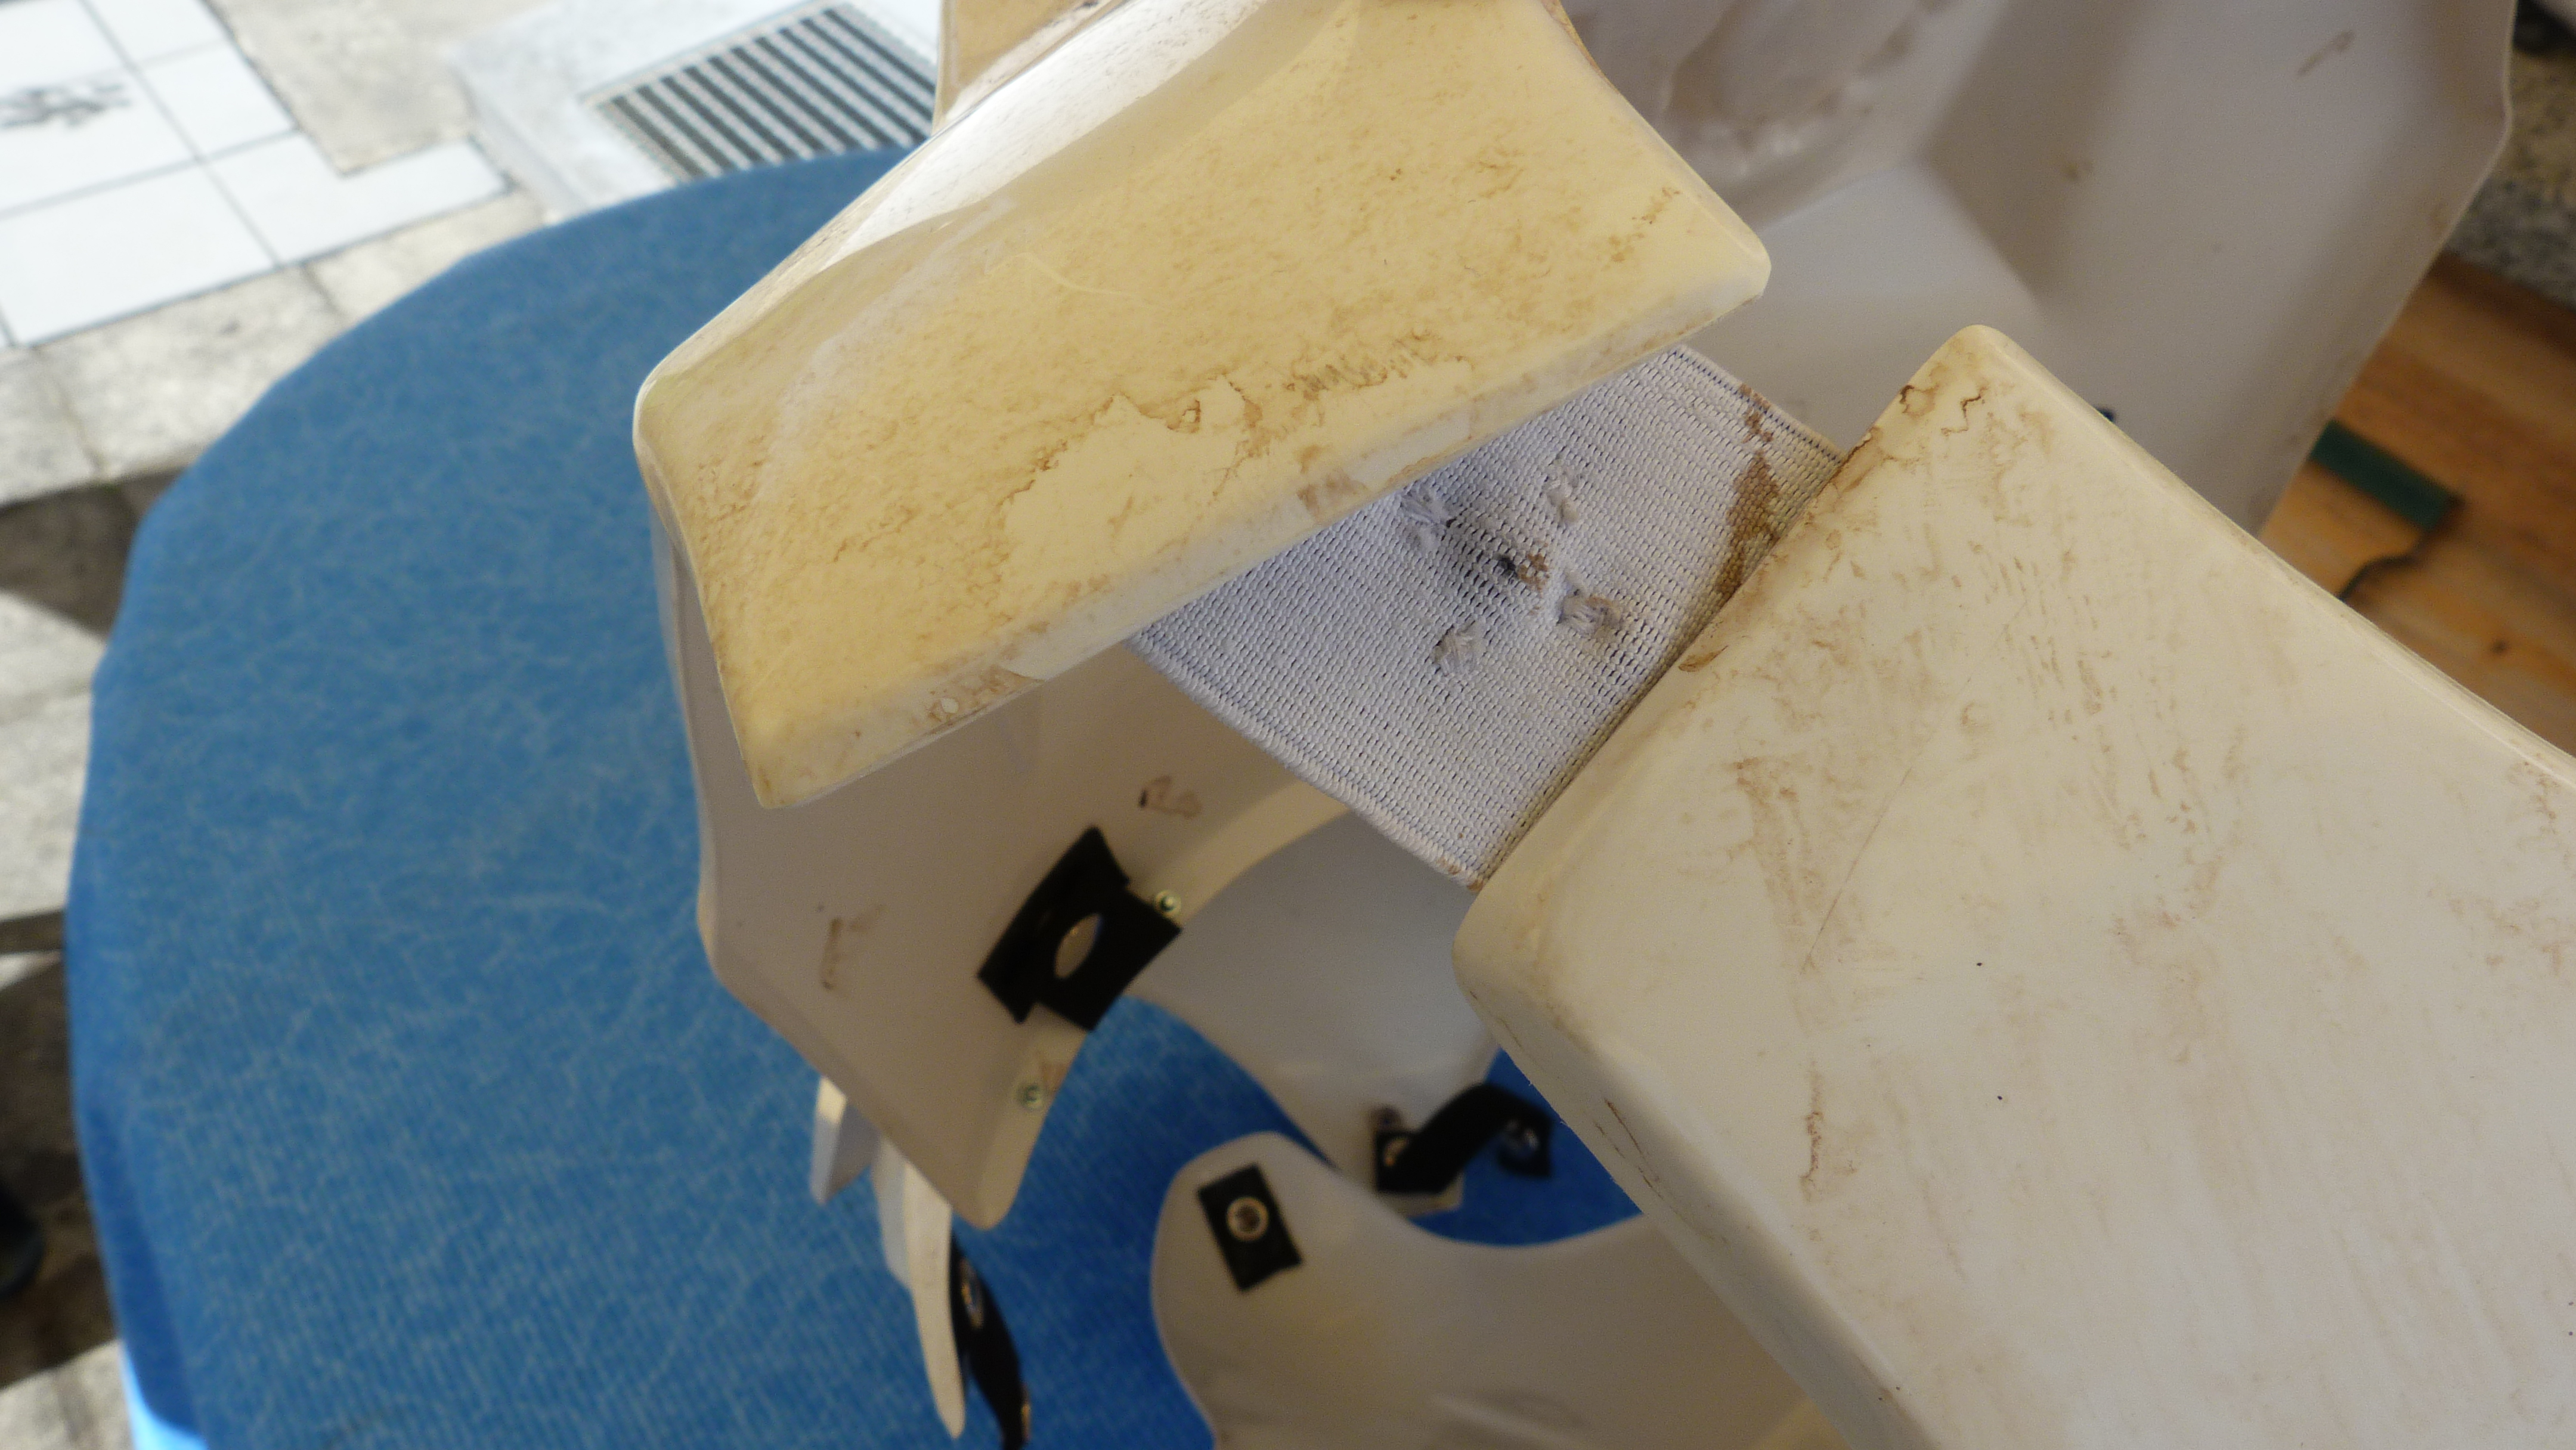
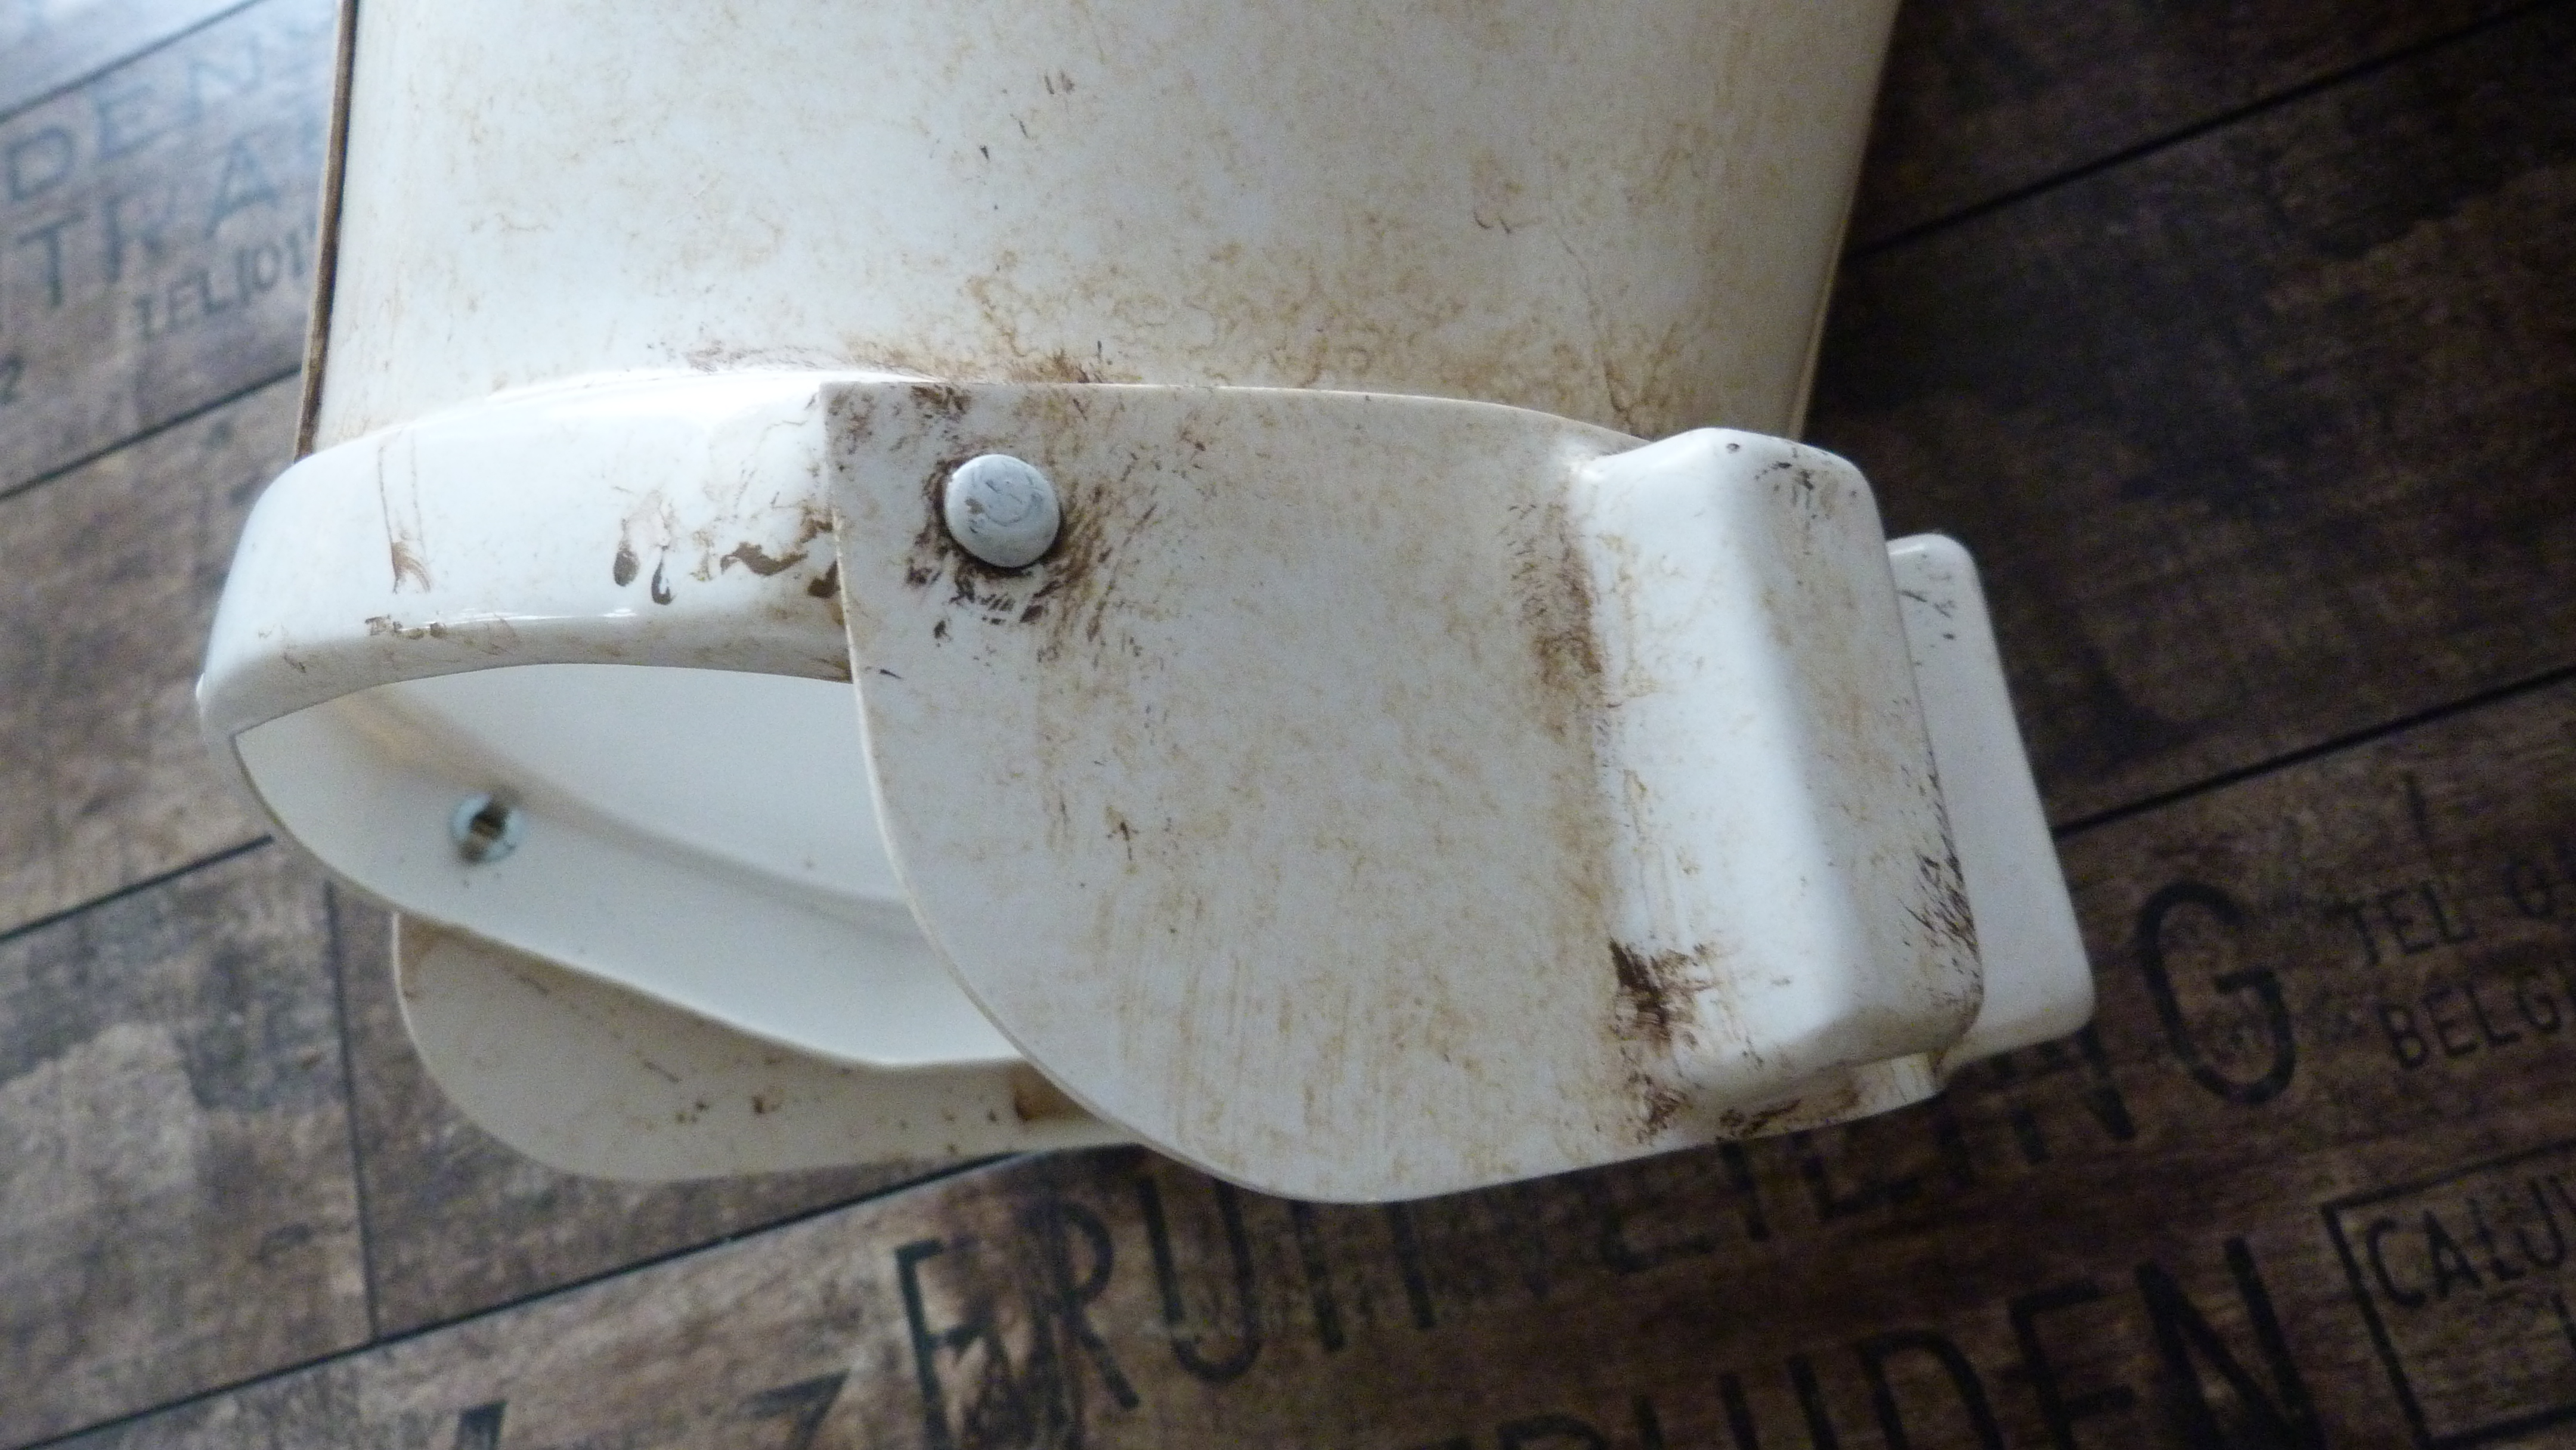
As for the fixes: They'll be done asap! Will it be sufficient to only take a pic of the "not-worn" right thigh?
-
Thanks for this build thread! My canteen arrived yesterday. I'll start working on it, next week :-)
-
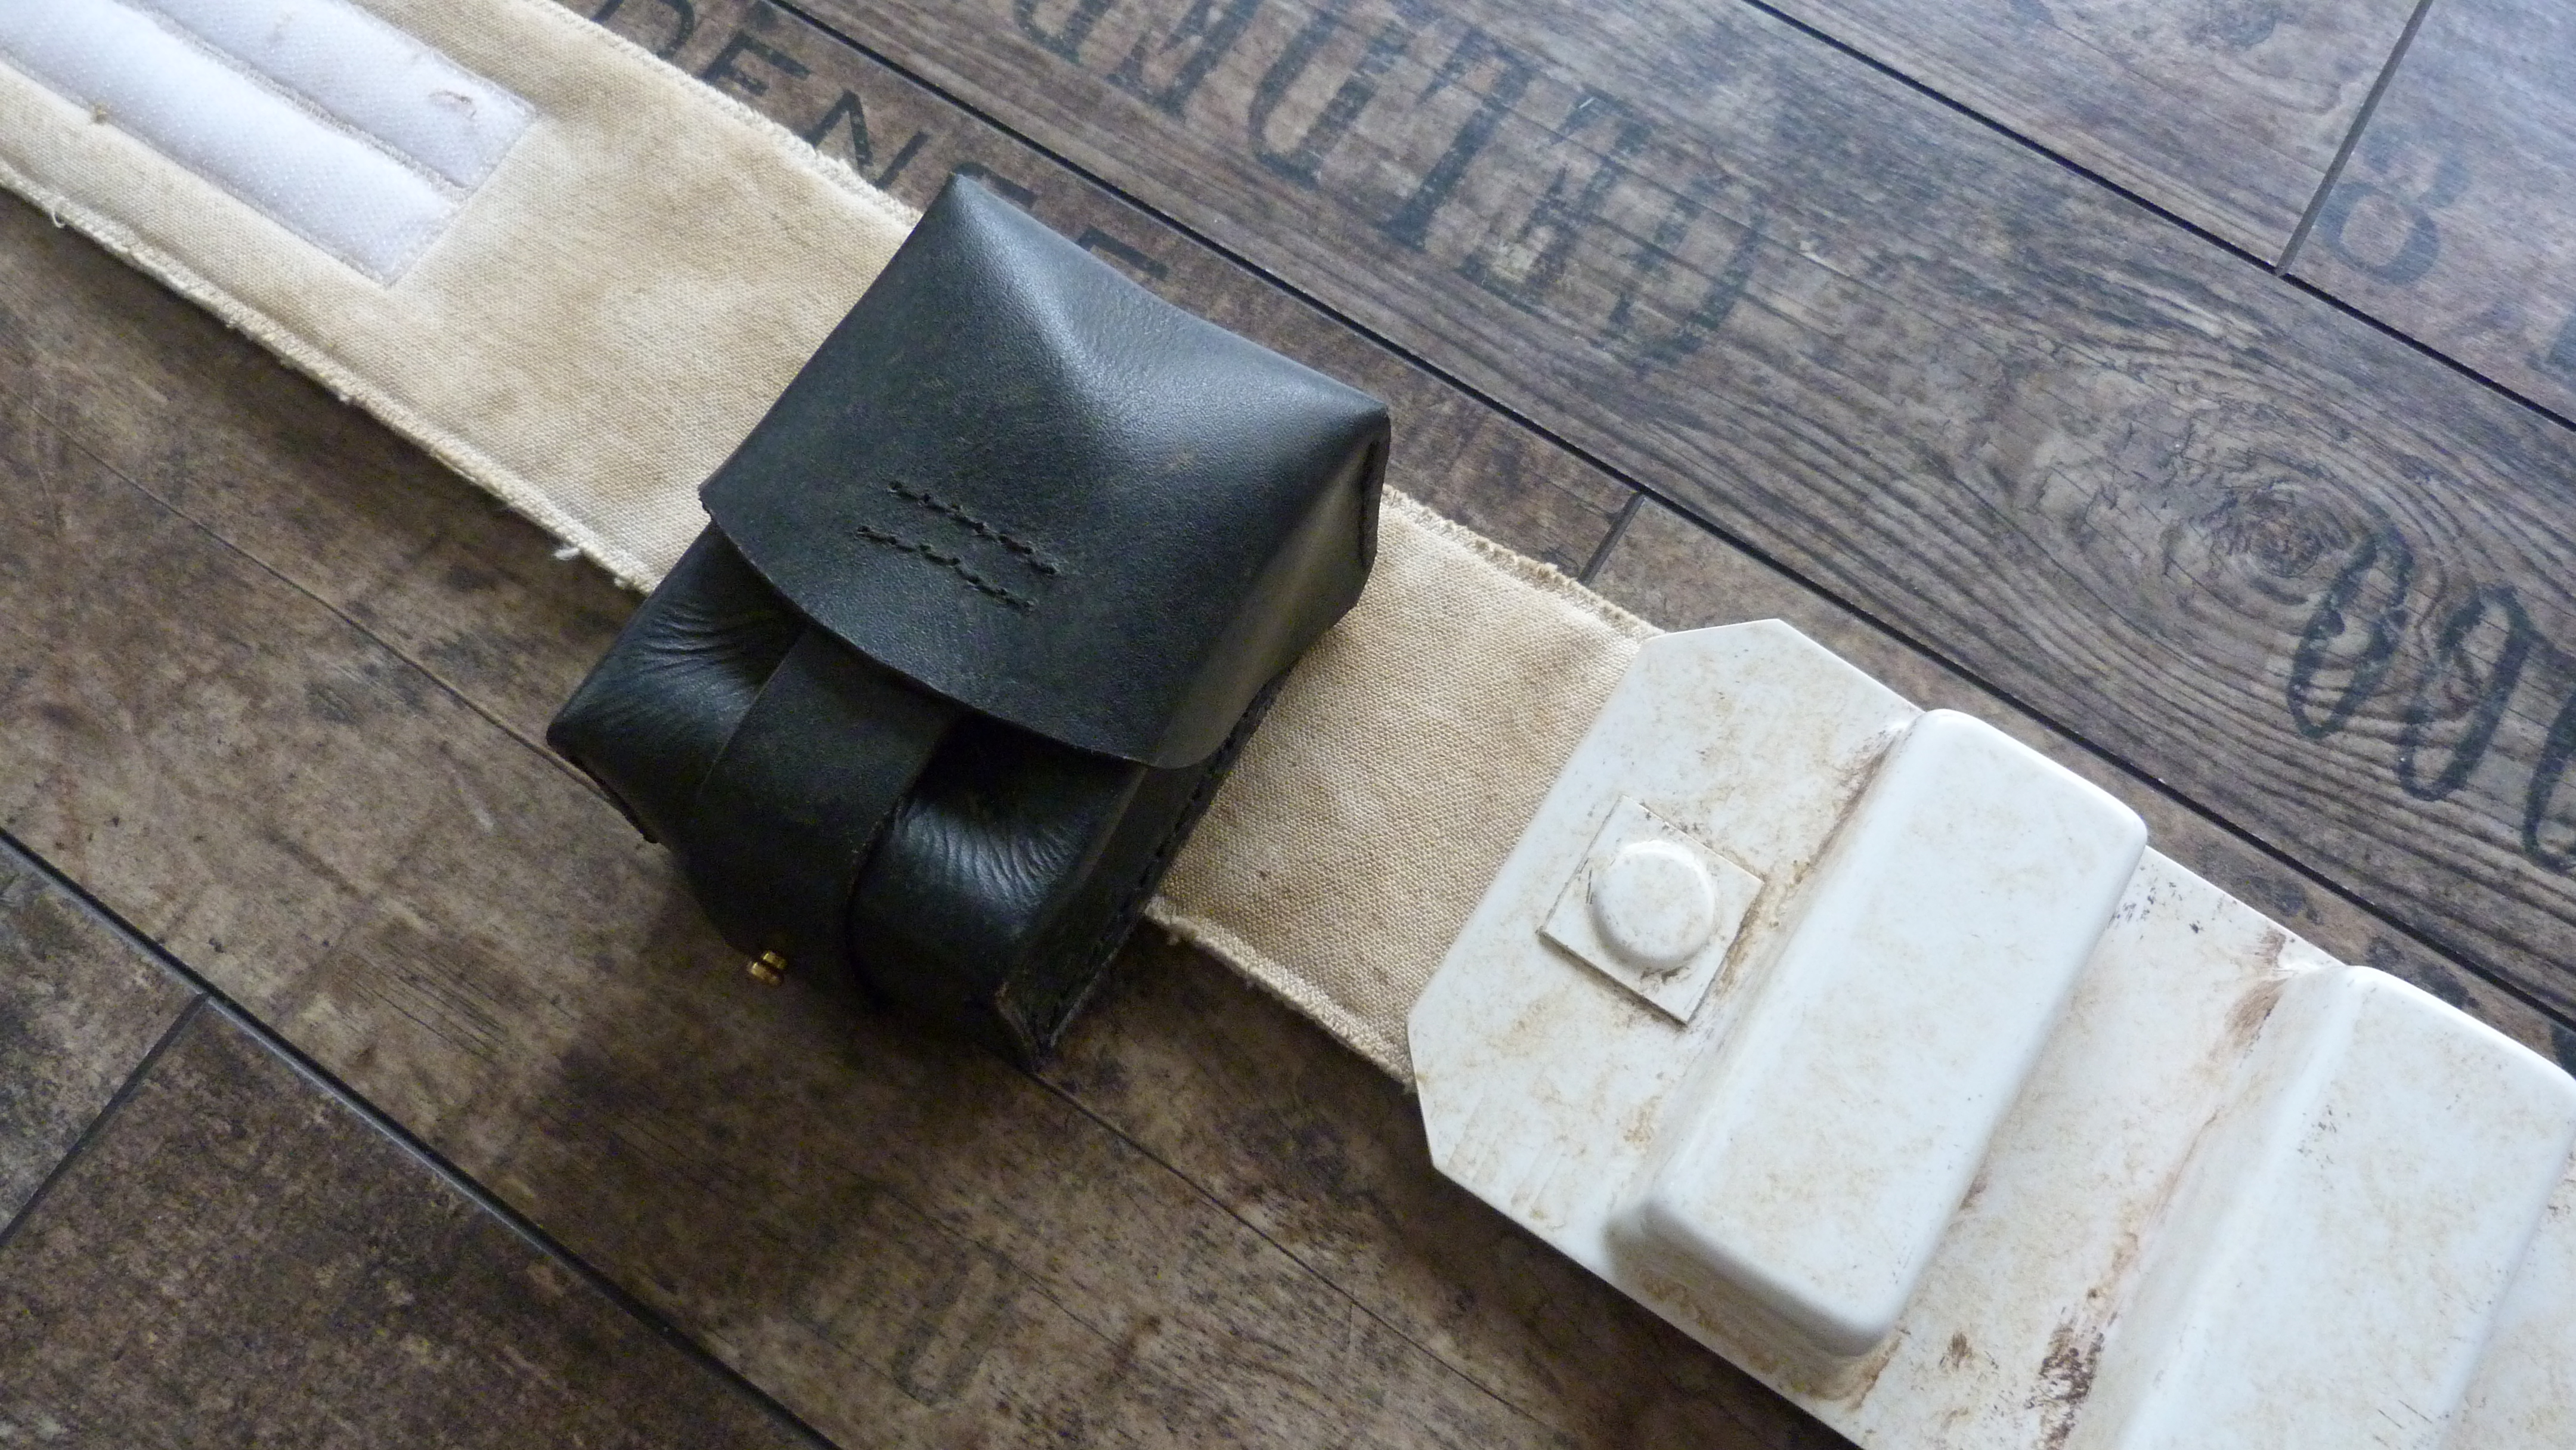
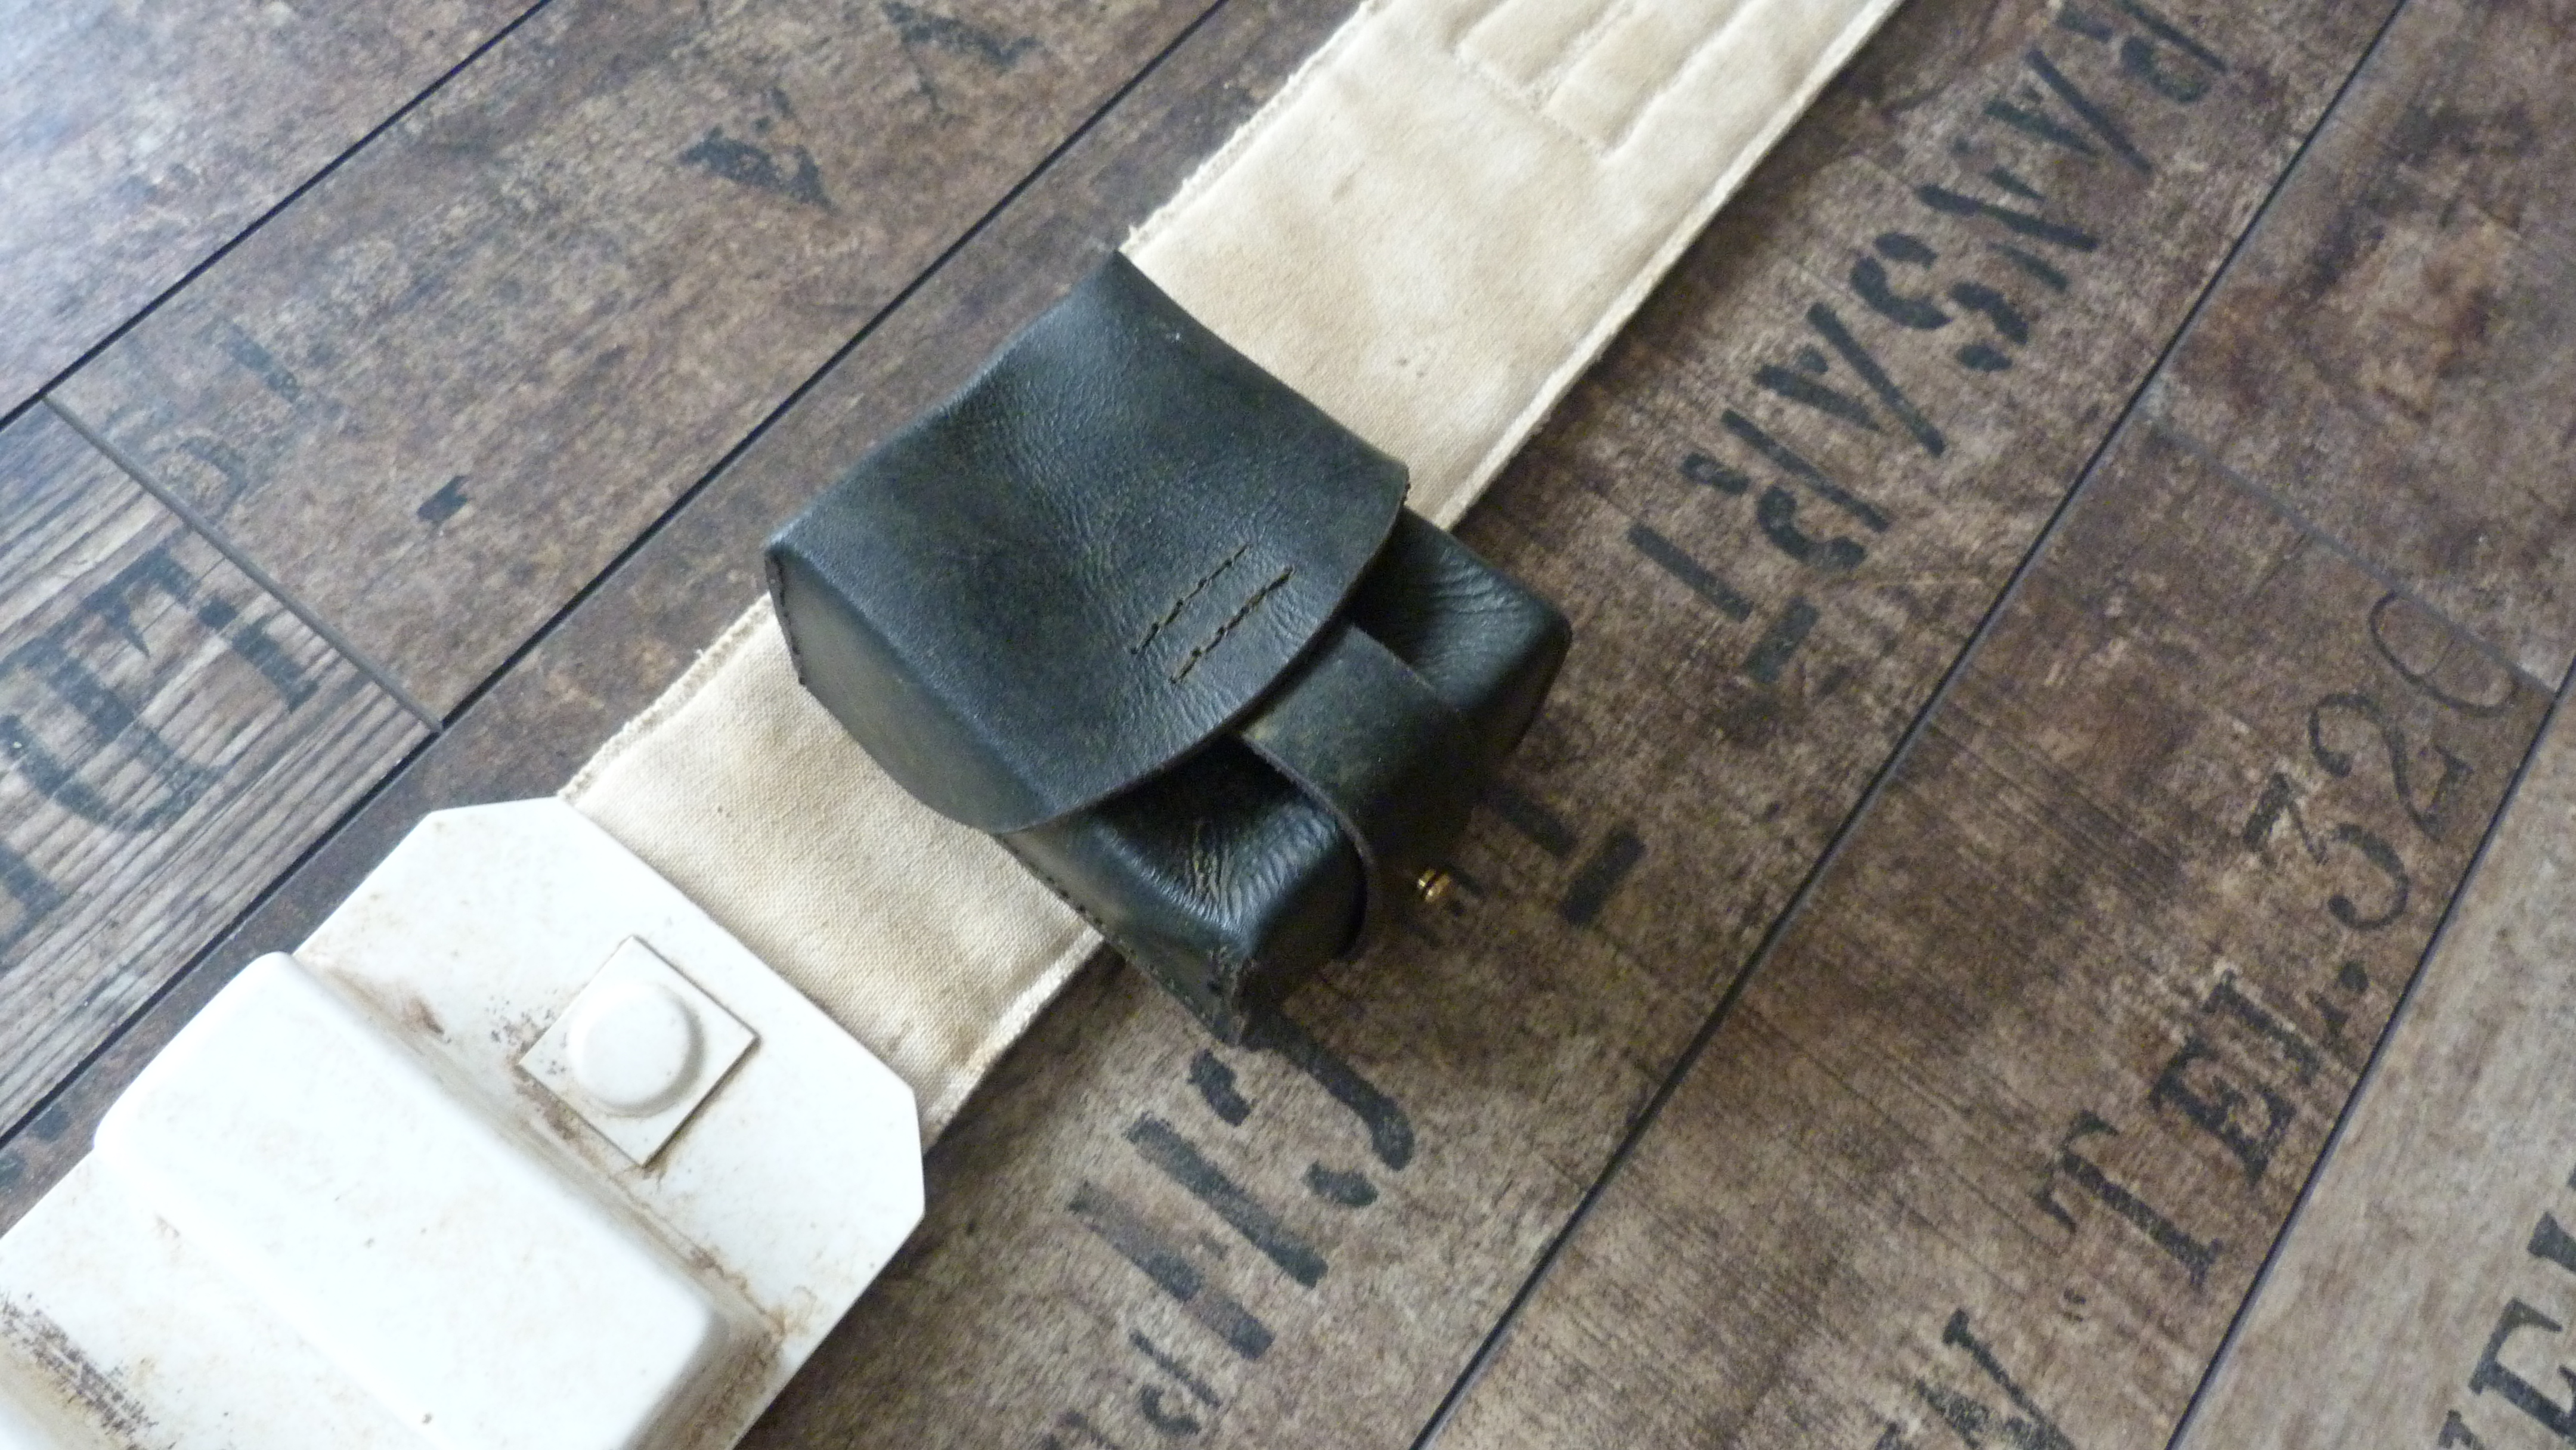
Doh! You're right! MP 40 ammo pouch added ... you may proceed ...
-
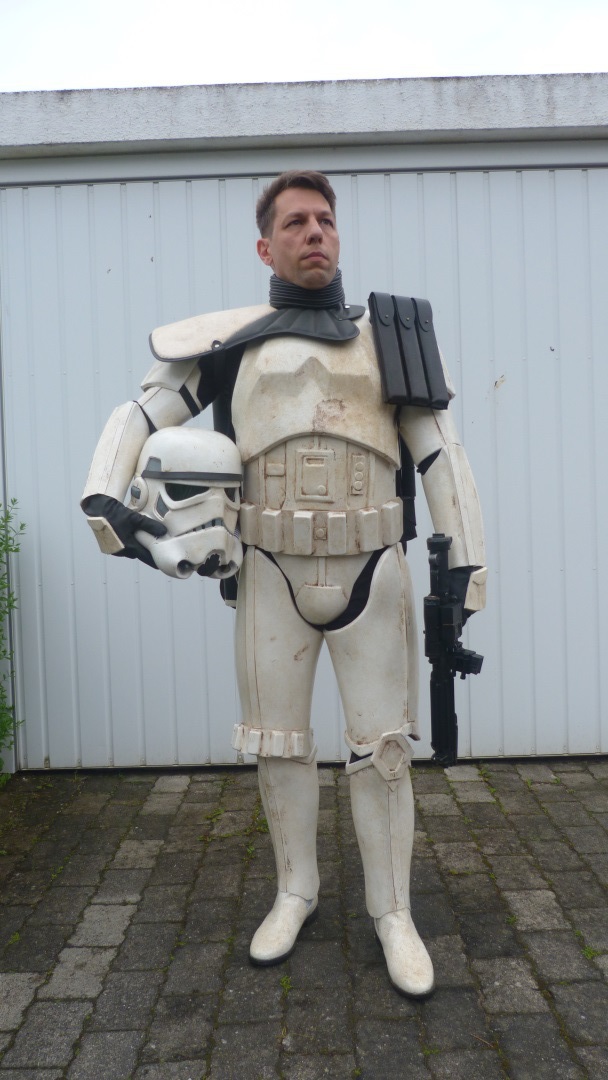
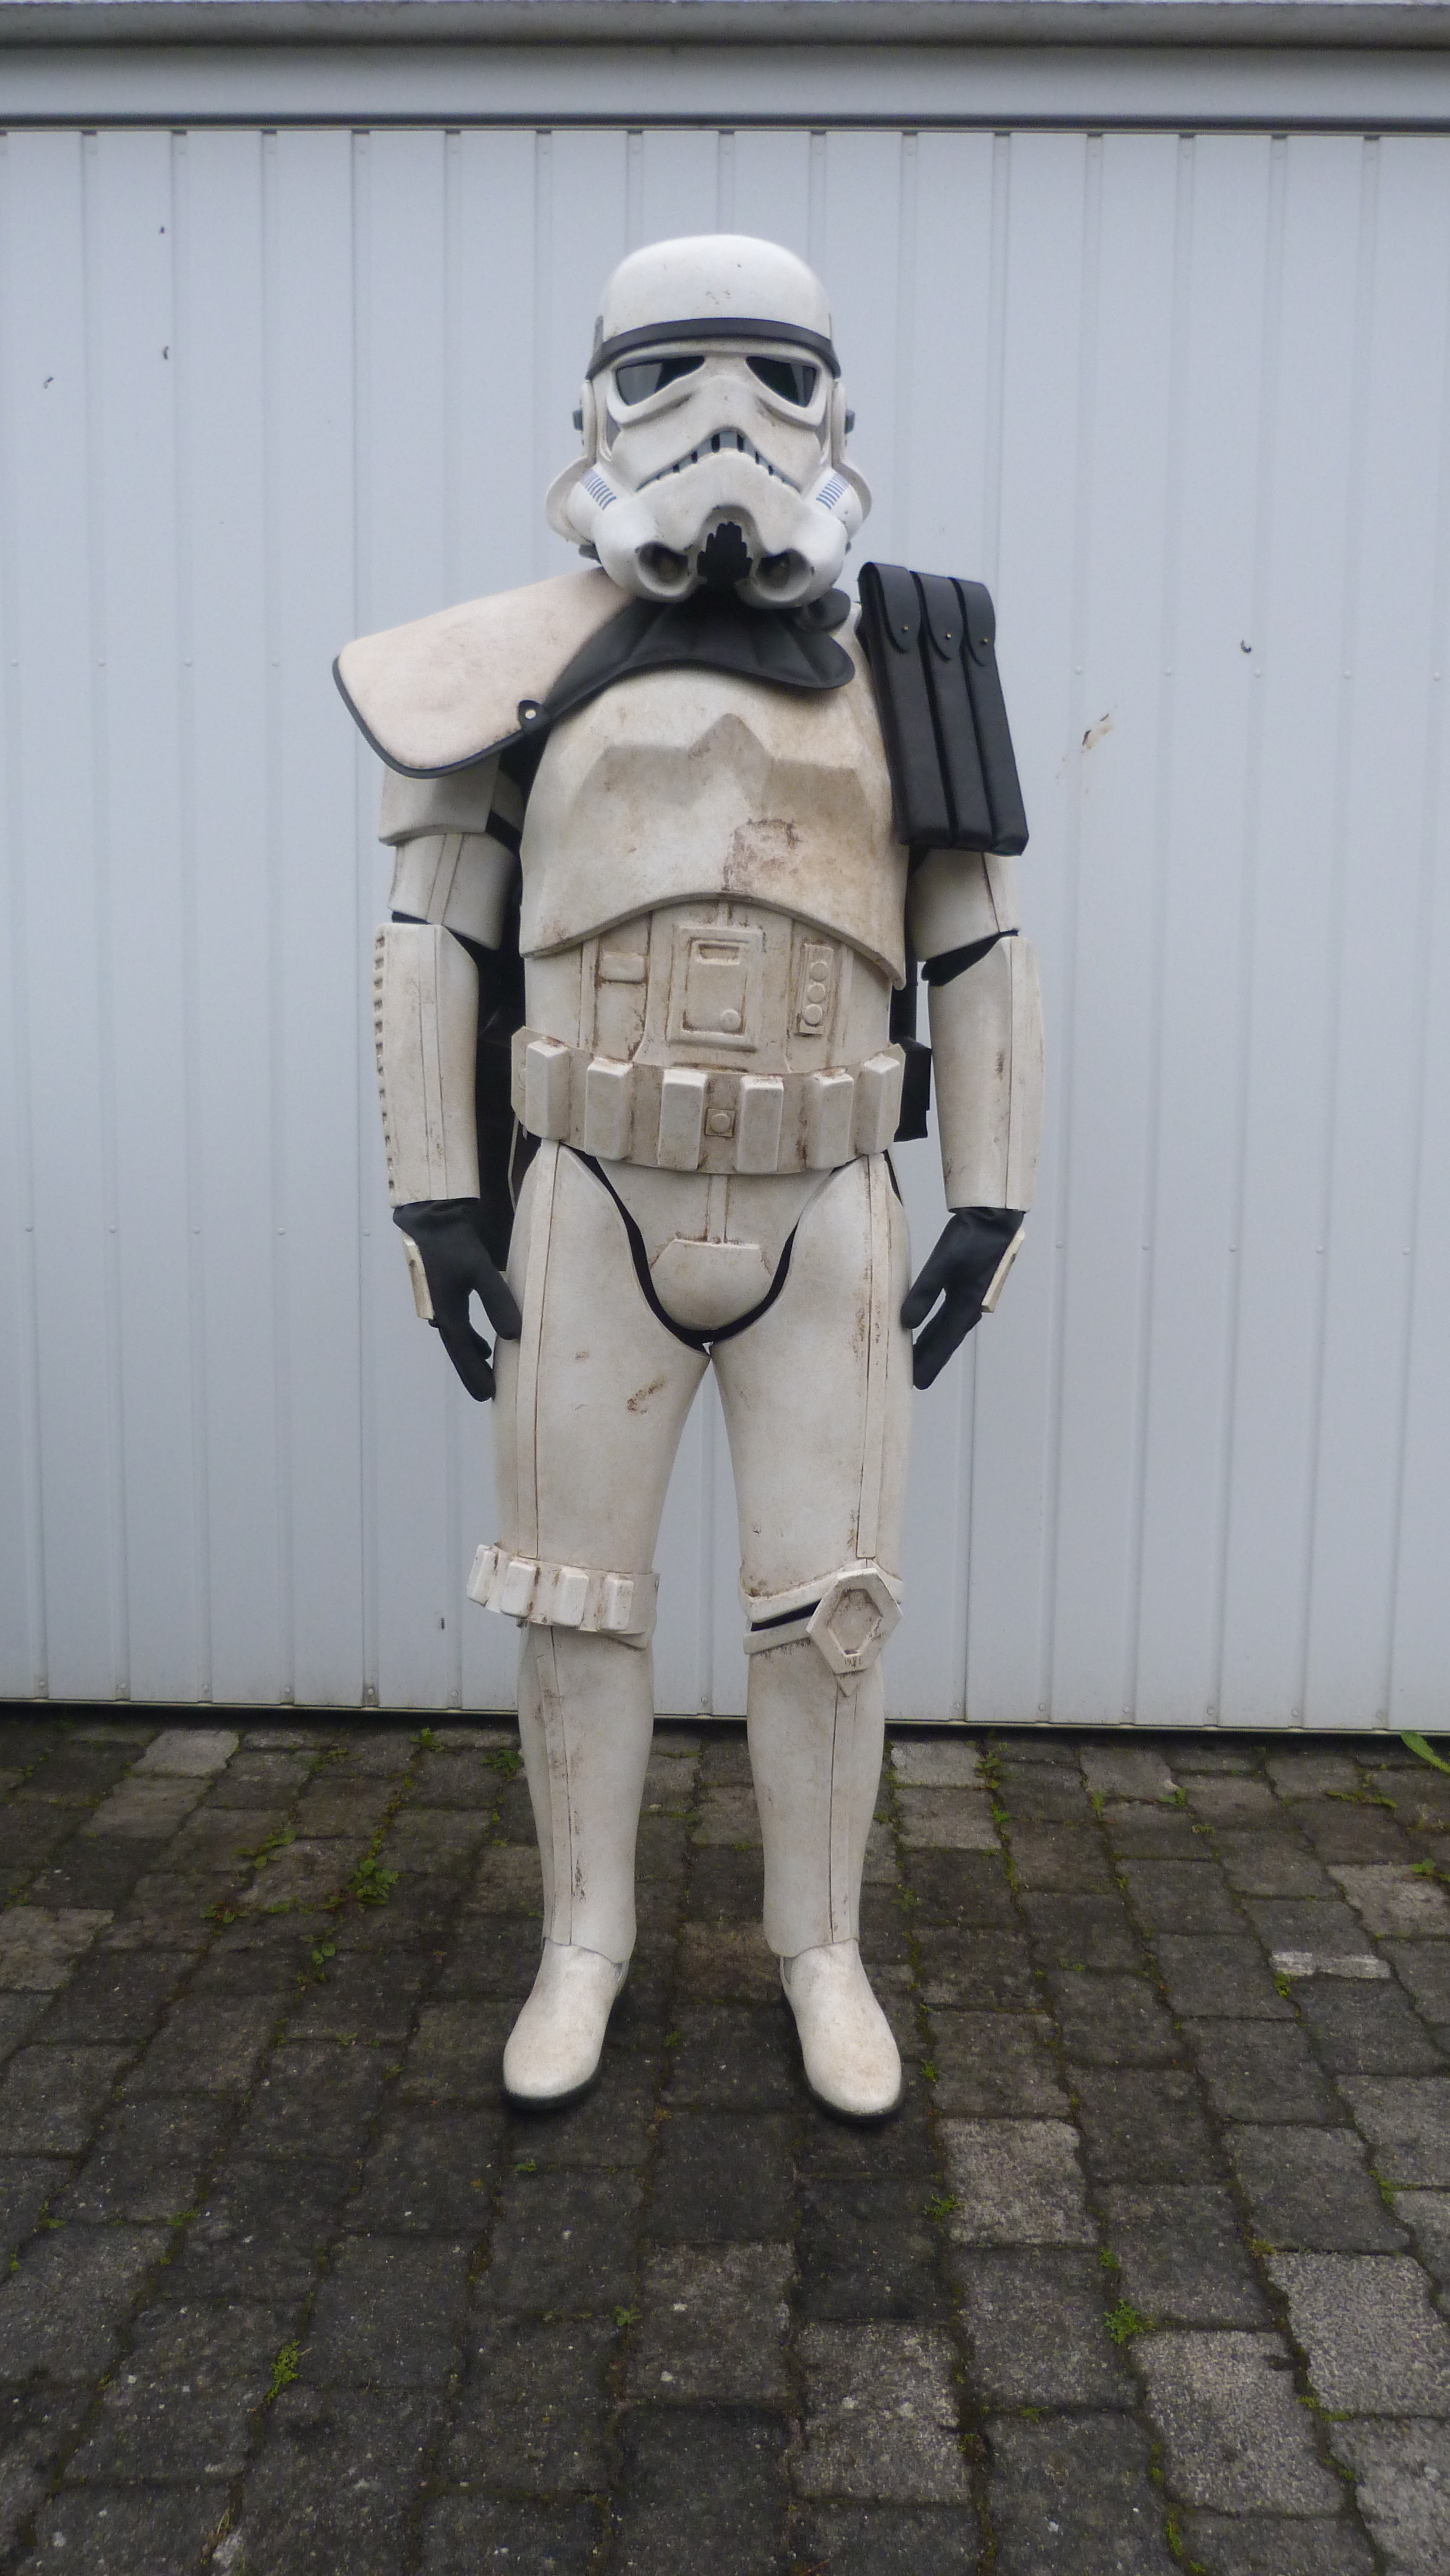
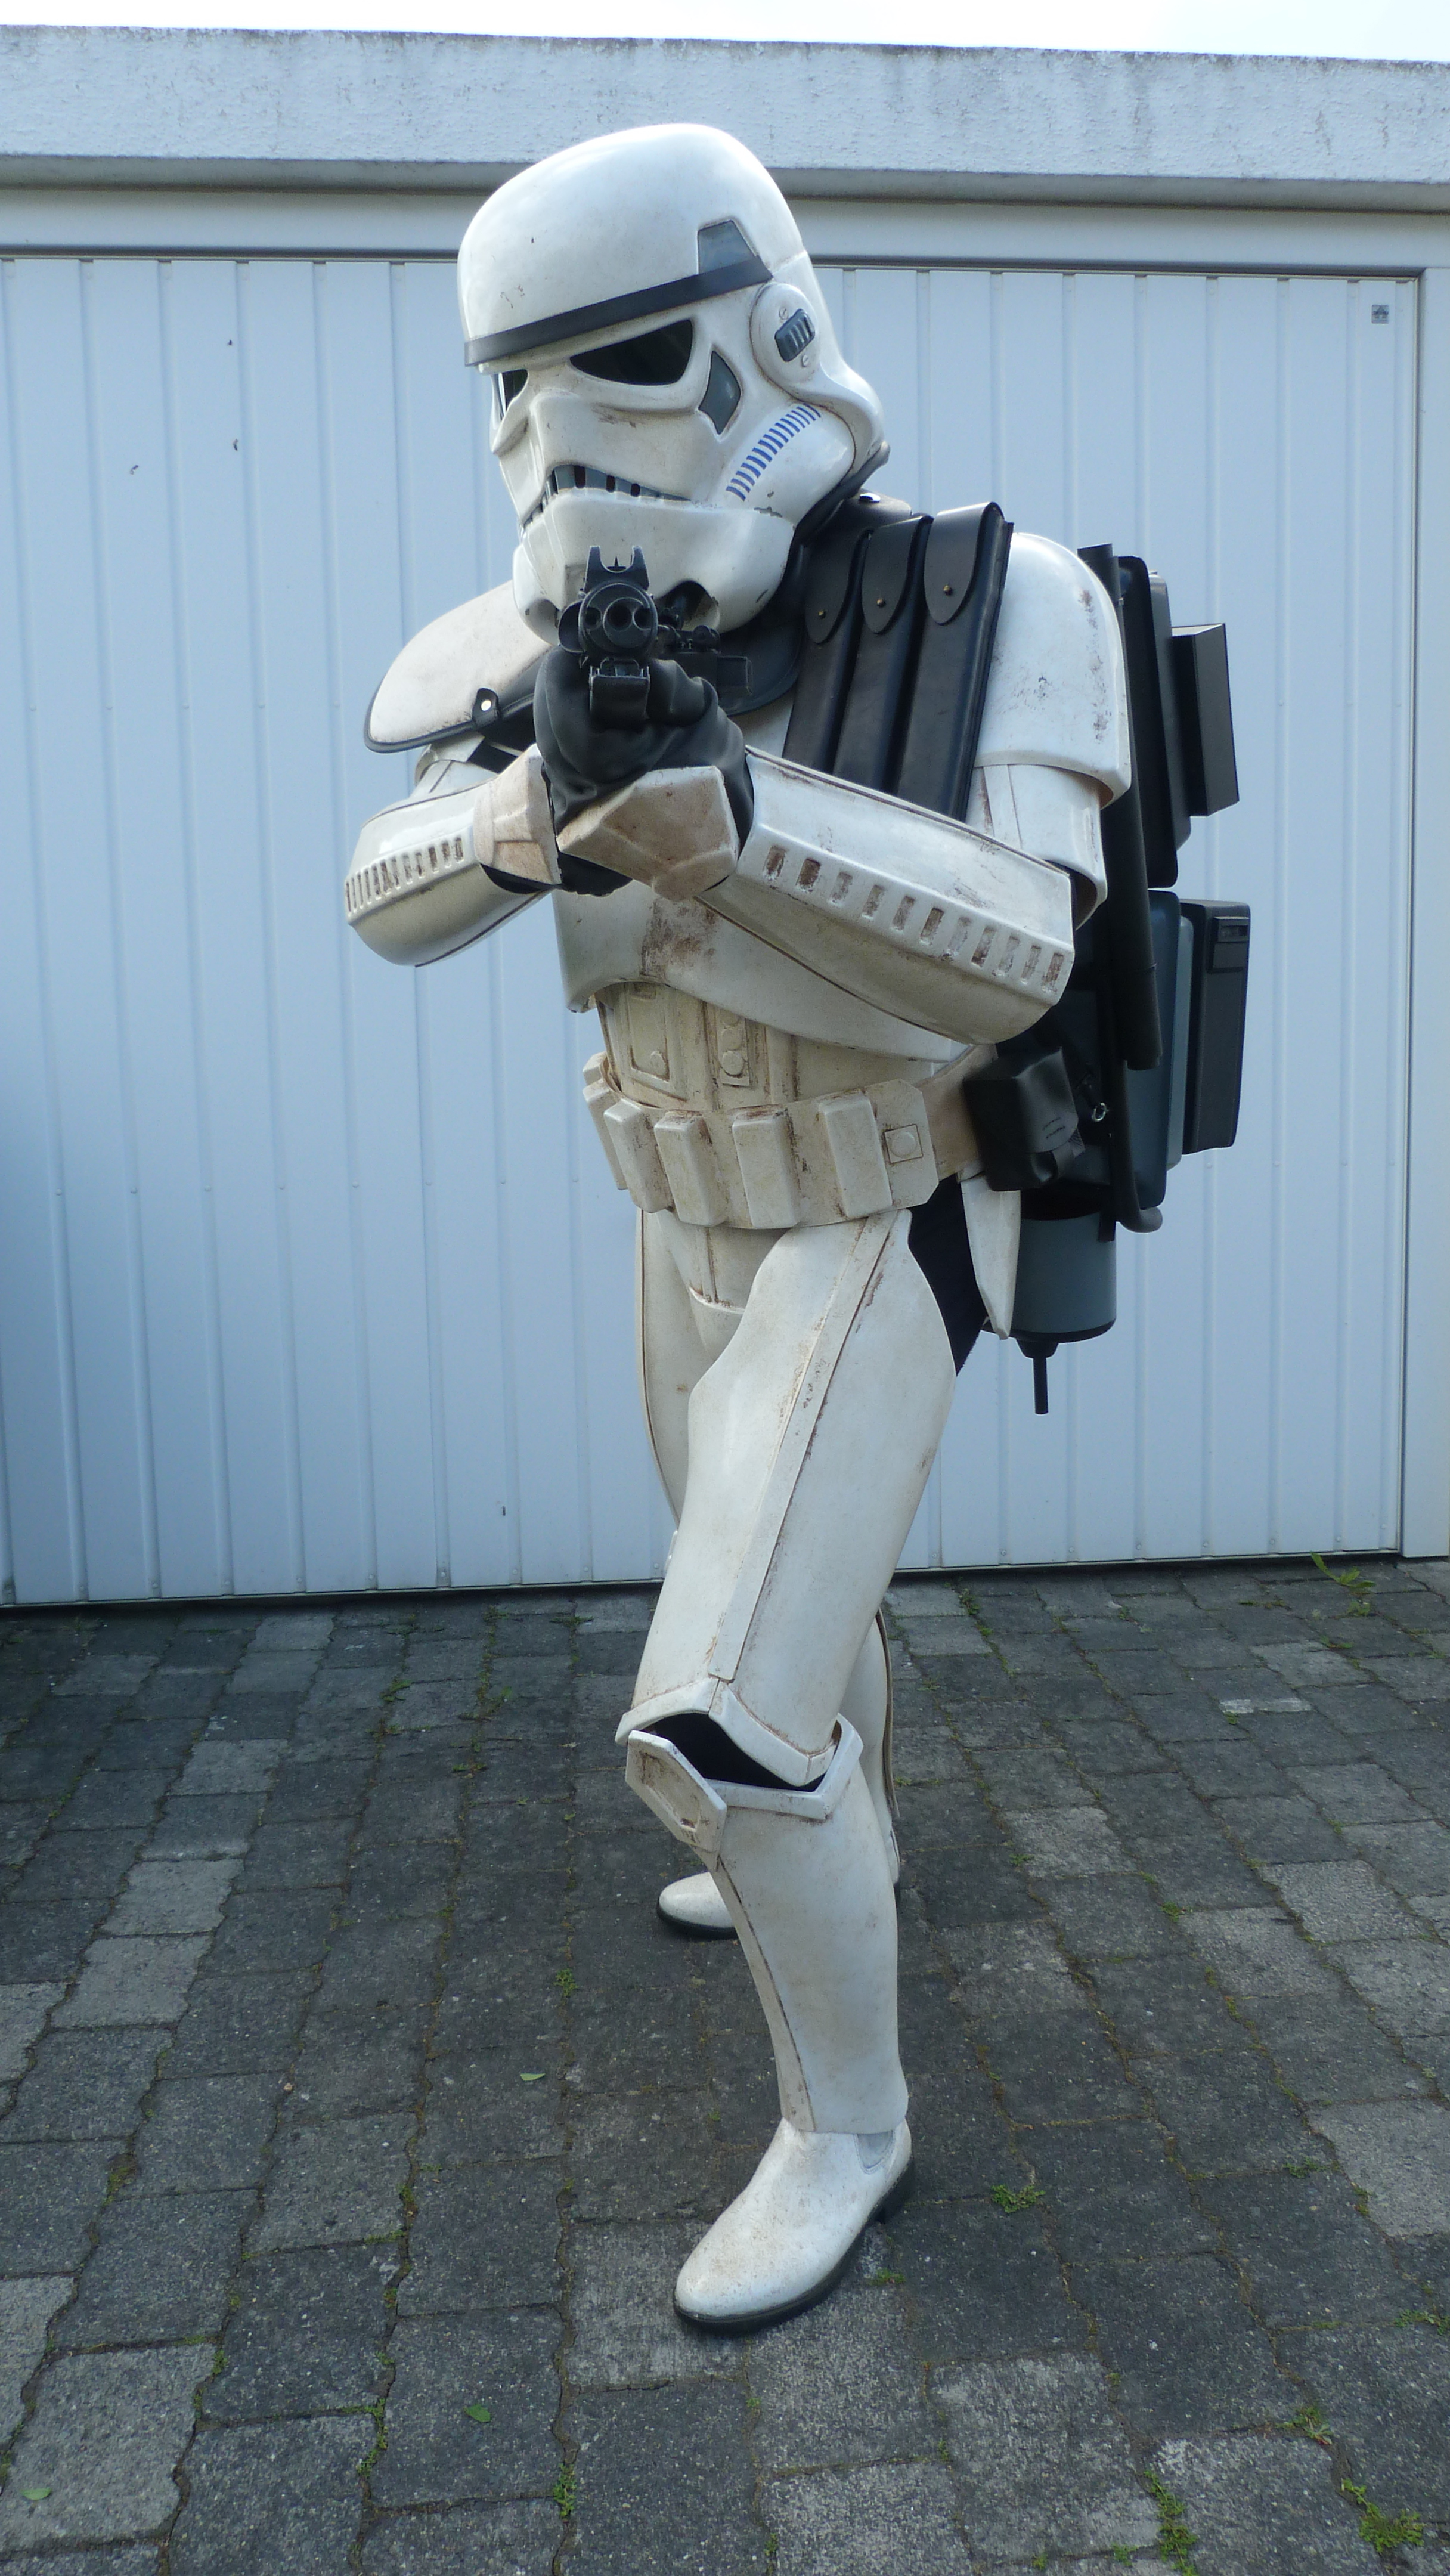
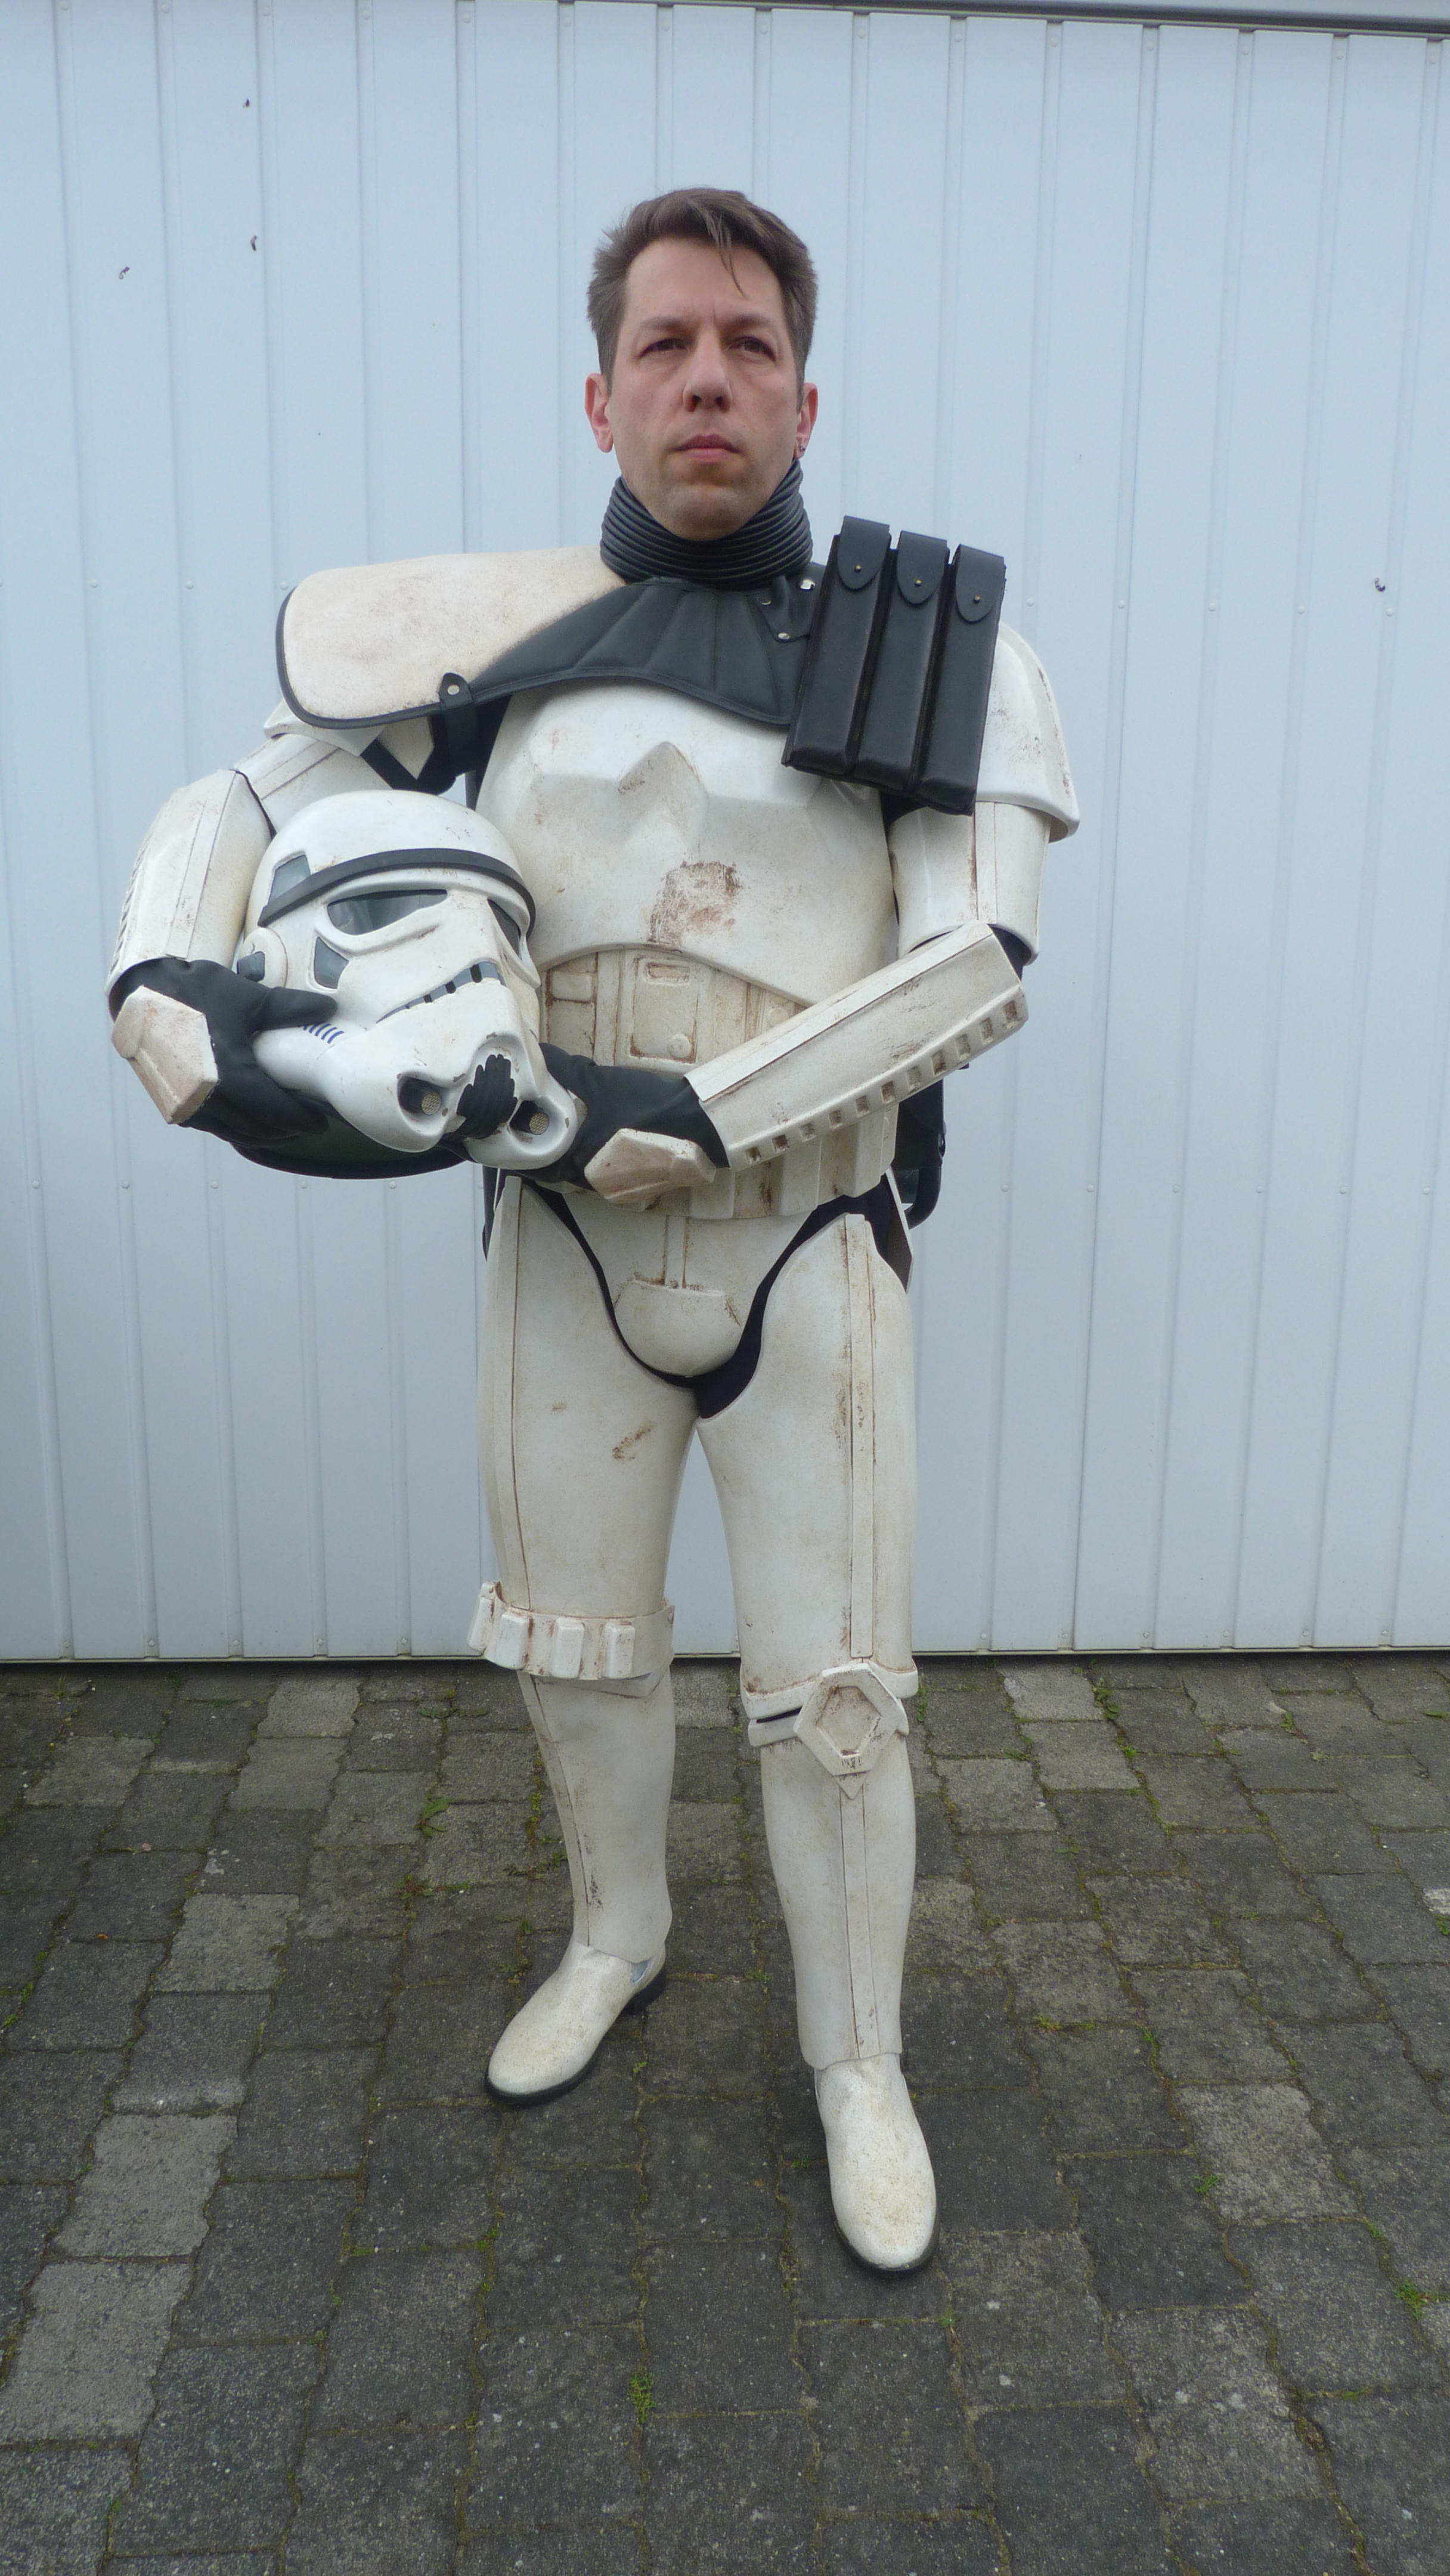
TD-12169 requesting S.W.A.T. deployment
Name: Michael Seeger
Legion ID: 12169
Forum Name: Trooper Mitch
Garrison: German Garrison
Applying for Docking Bay 94 Sergeant V1
Armor: TM
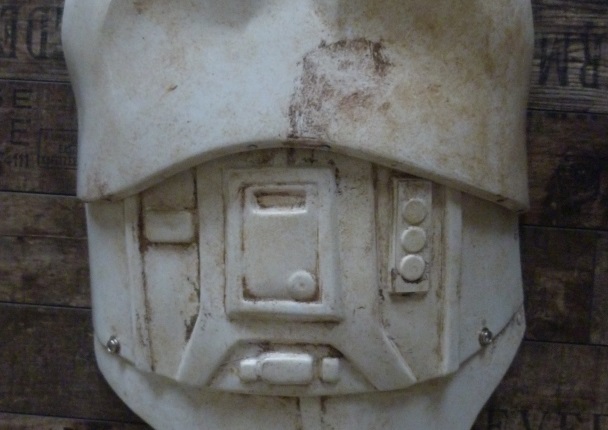
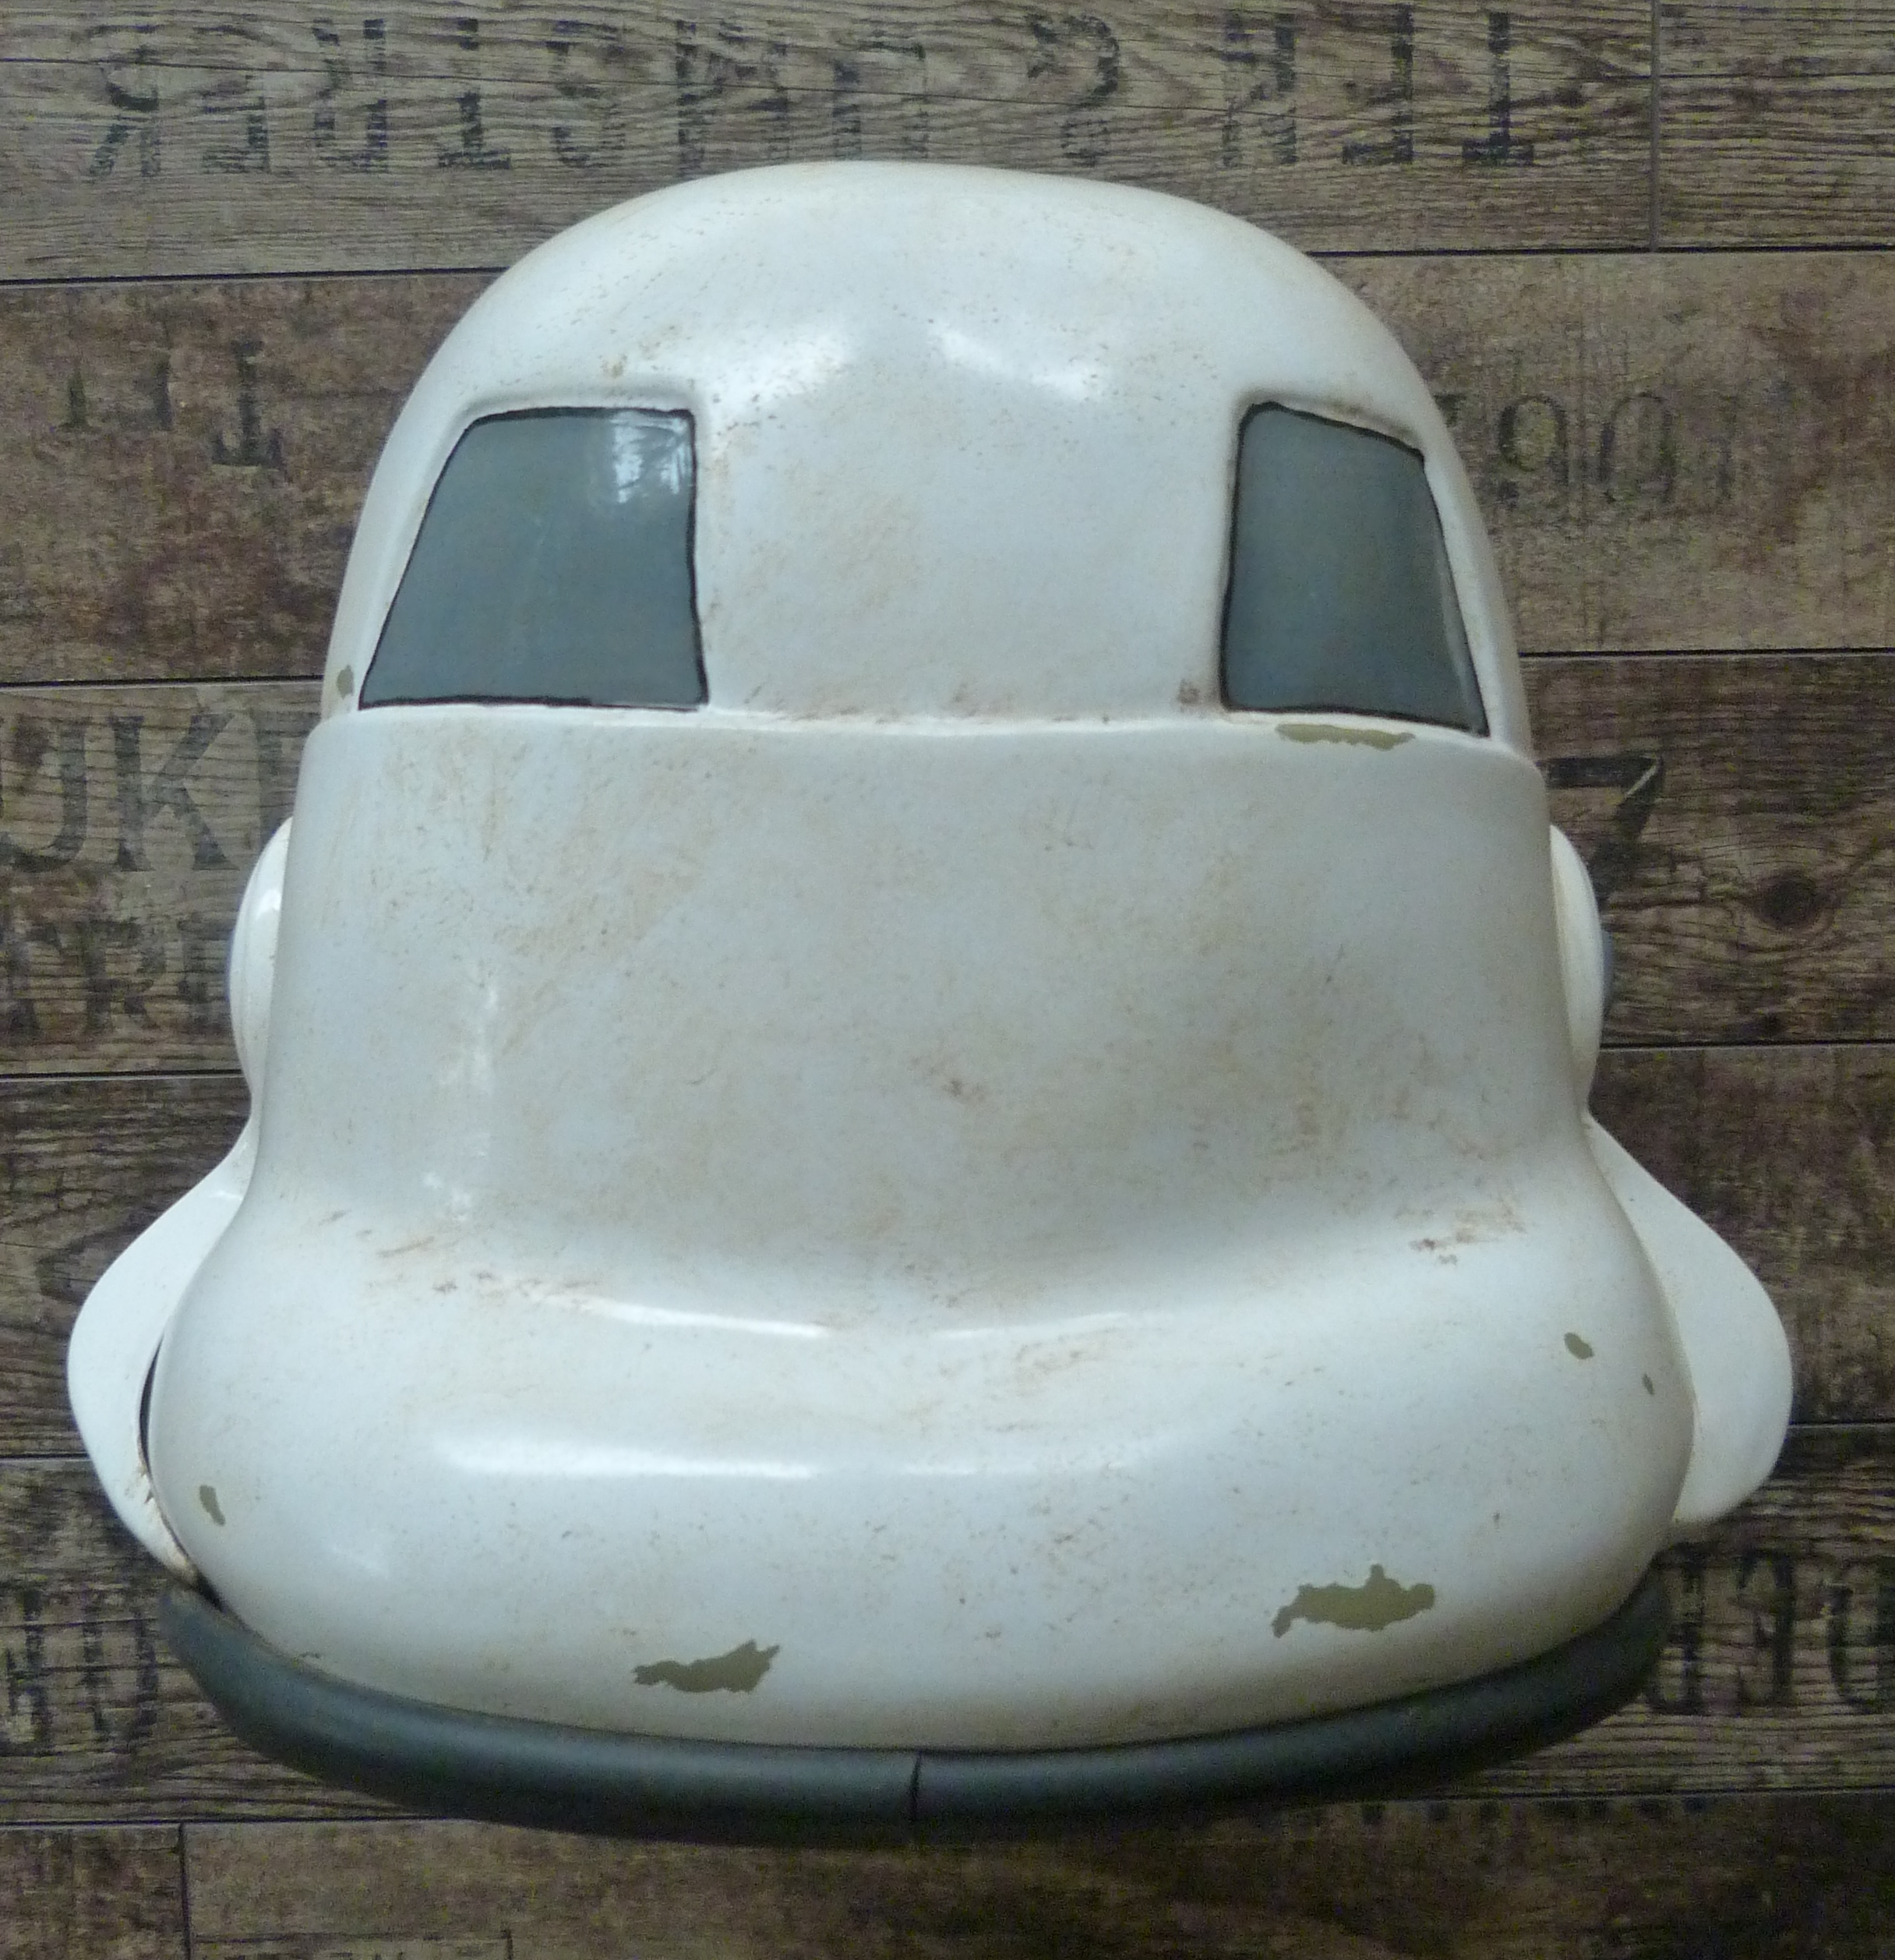
Helmet: TM
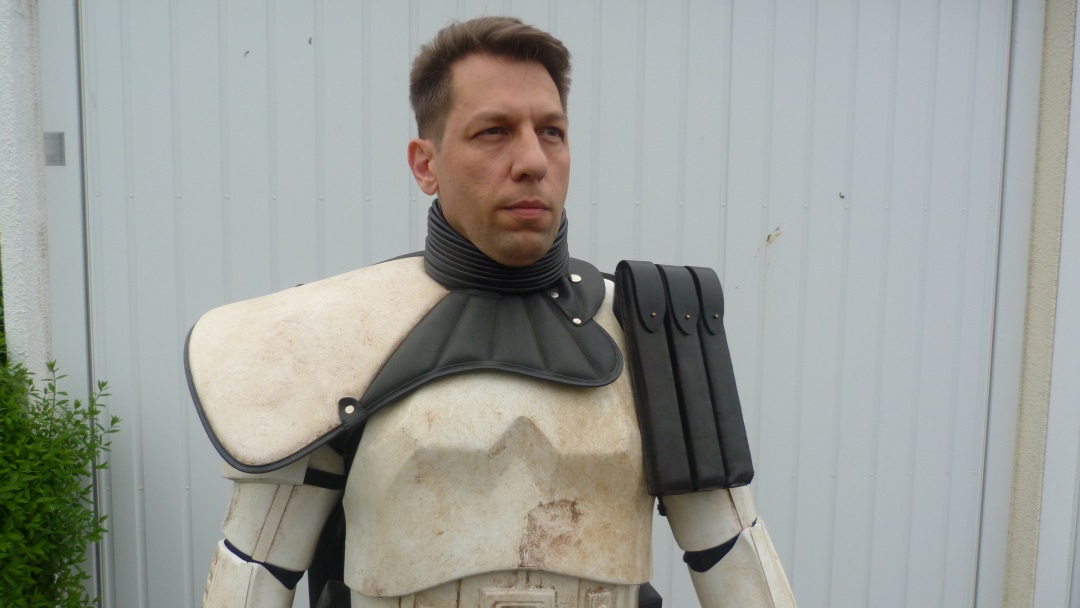
Pauldron: Trooper1
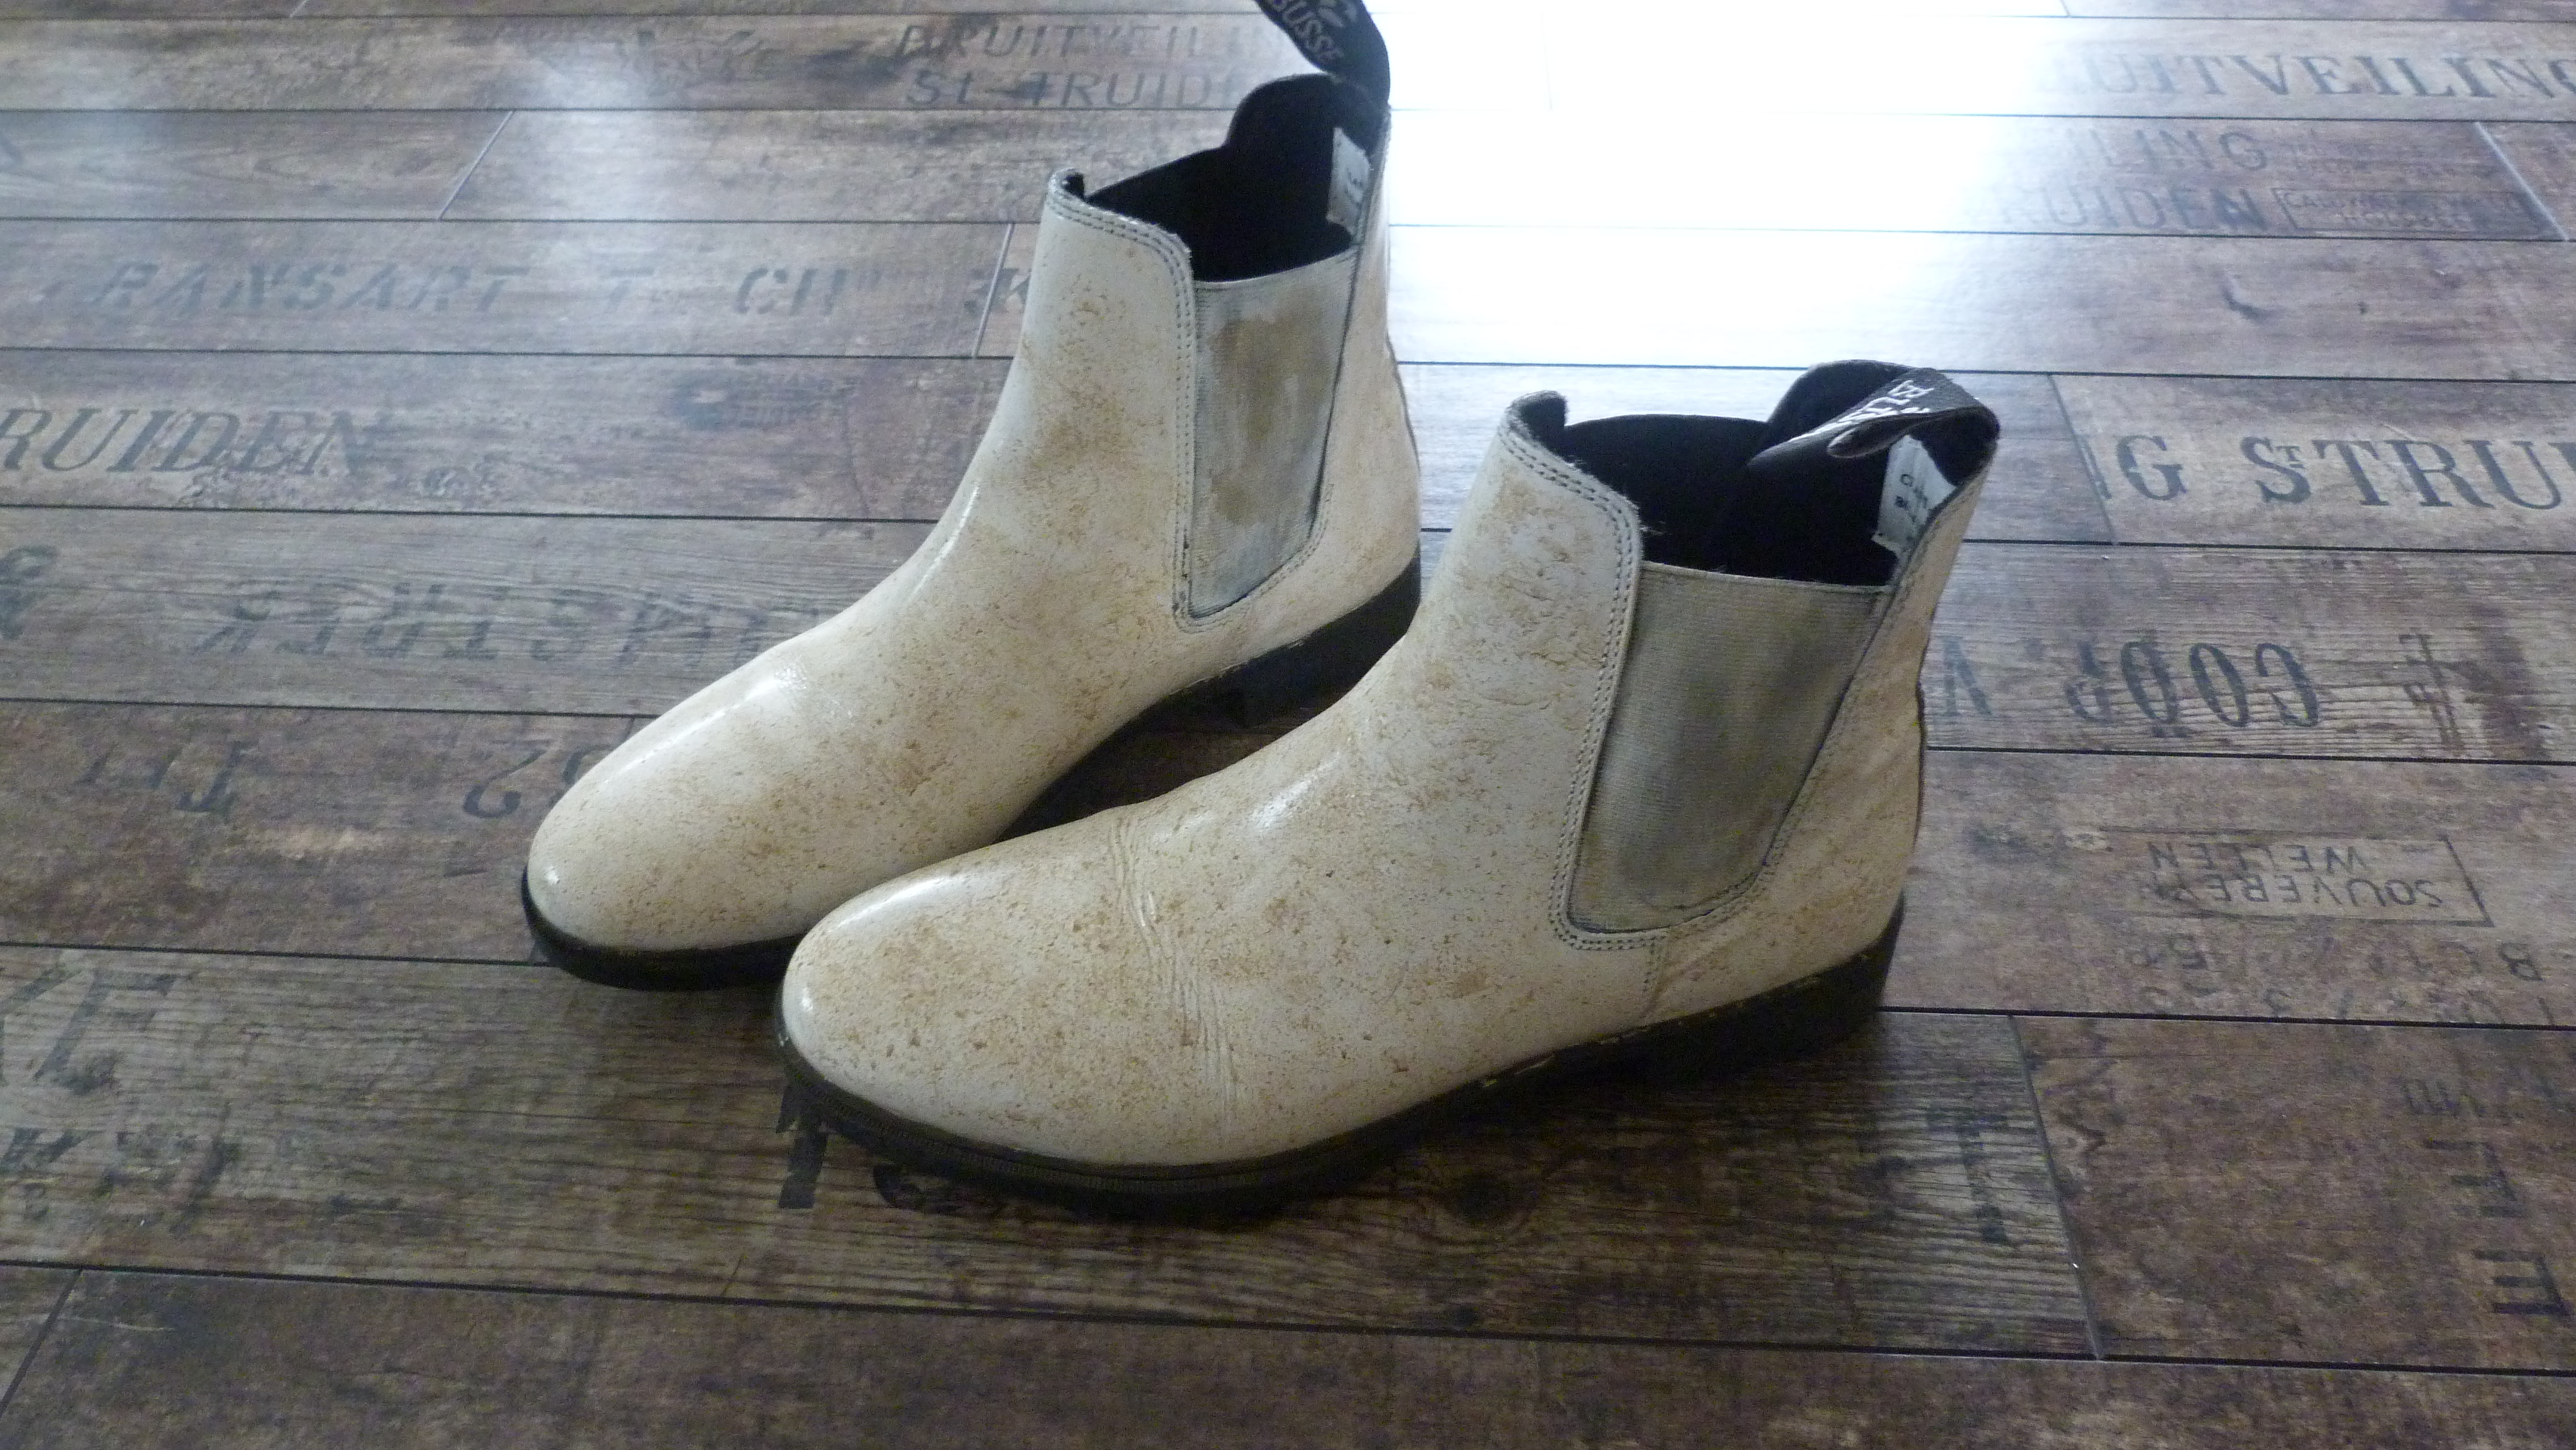
Boots: dyed white Jodhpur (Busse)
Gloves: DIY
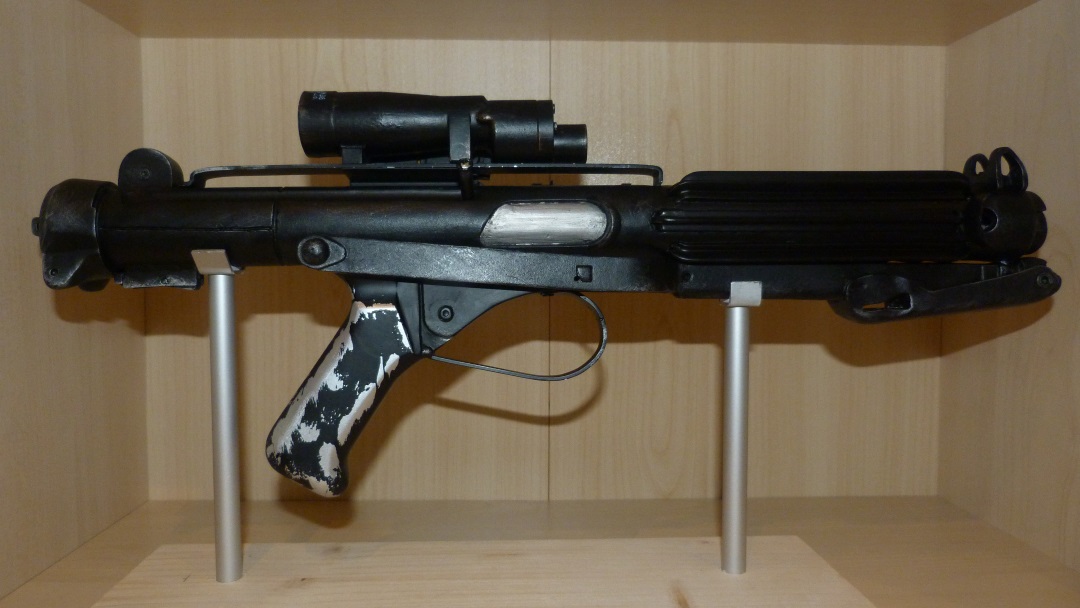
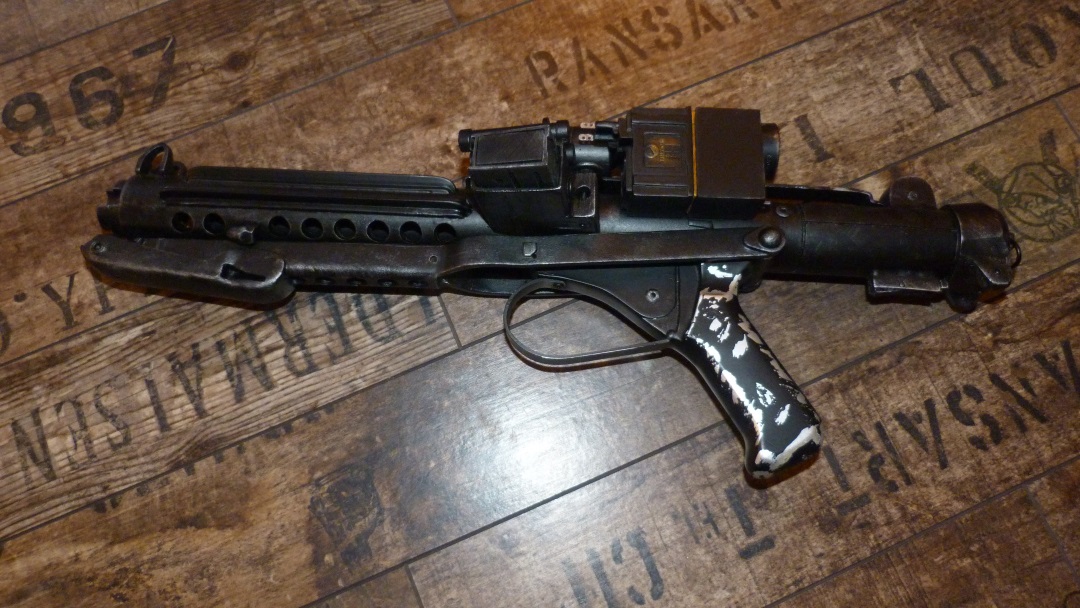
Blaster: Bapty (modified Doopydoos)
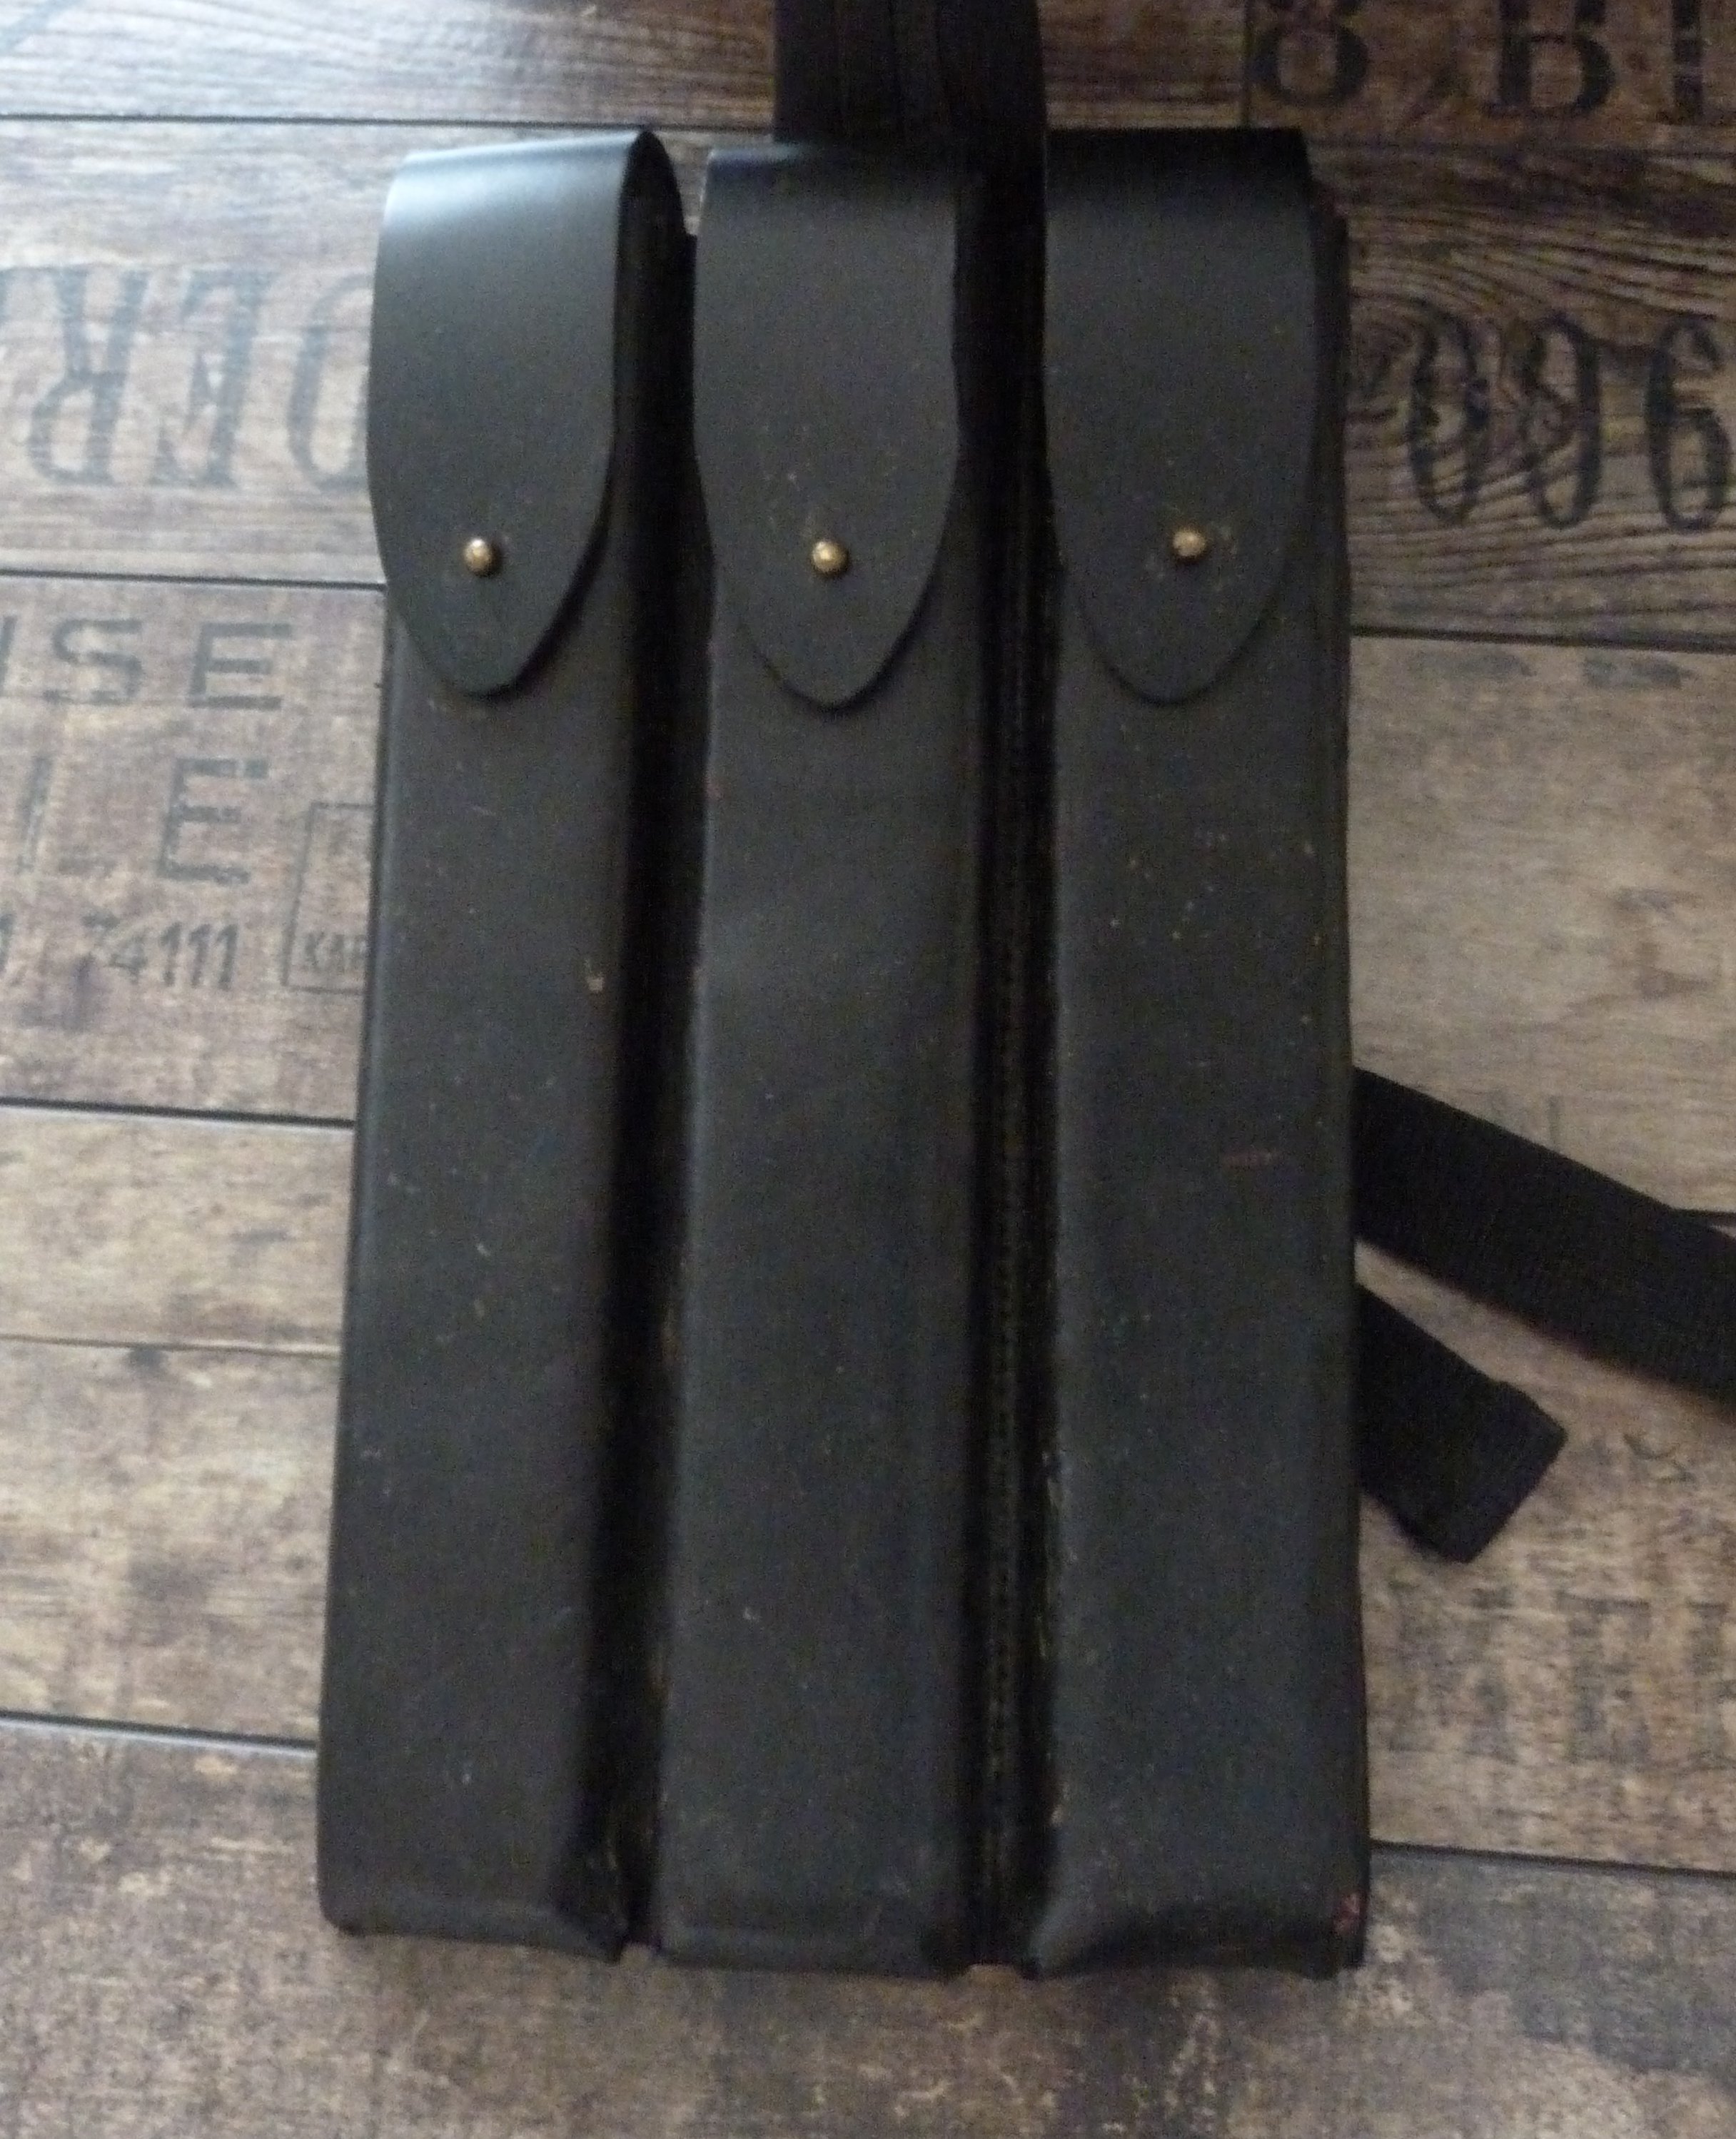
Pouches: Self-Made (Small spanish pouches), Blaster 8266 (MP 40 pouch)
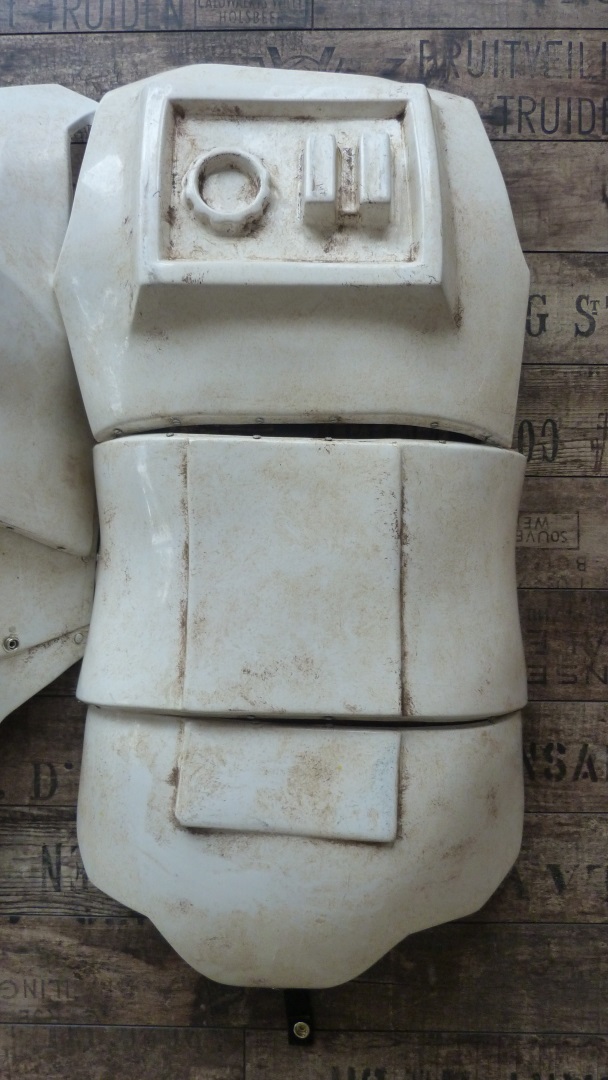
Backpack: Self-Assembled (Mix of DirtyBoy, own stuff and Seedtrays from Bodey) see build thread.
The following pics are "small" versions. A click on a pic will lead you to the original one with a higher resolution.
Here you'll find the build thread of this Docking Bay Sergeant V1
Here's the link to my Police Officer application
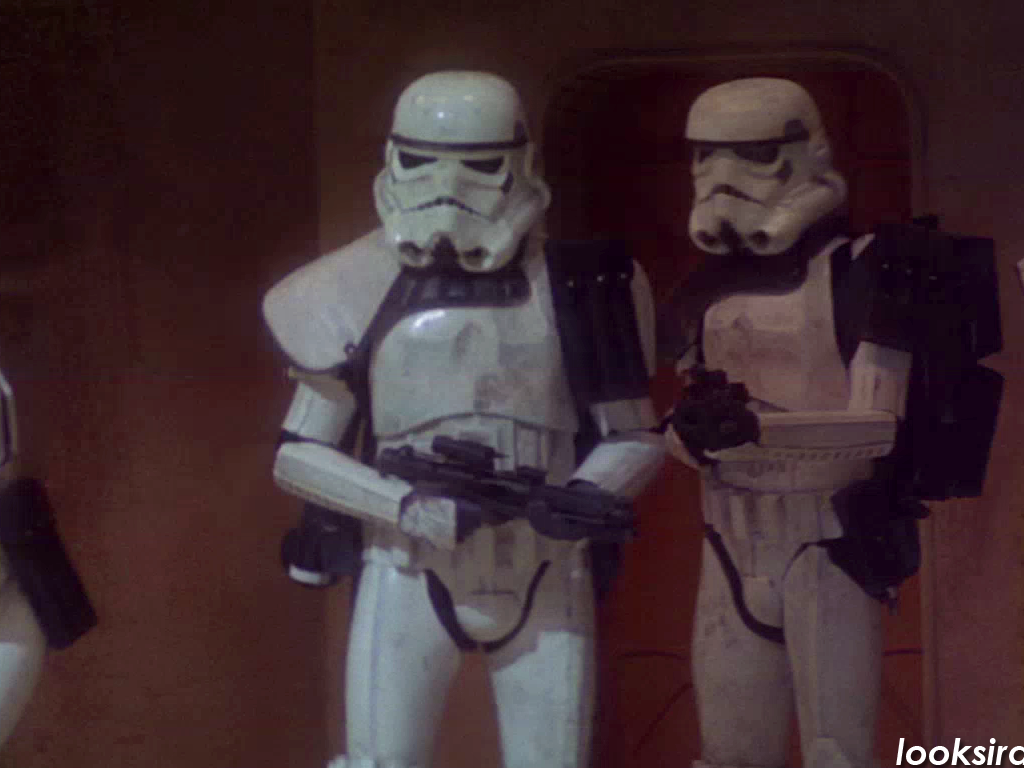
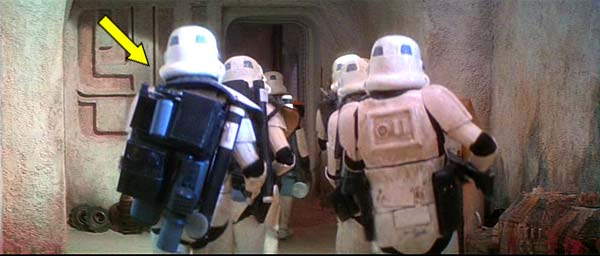
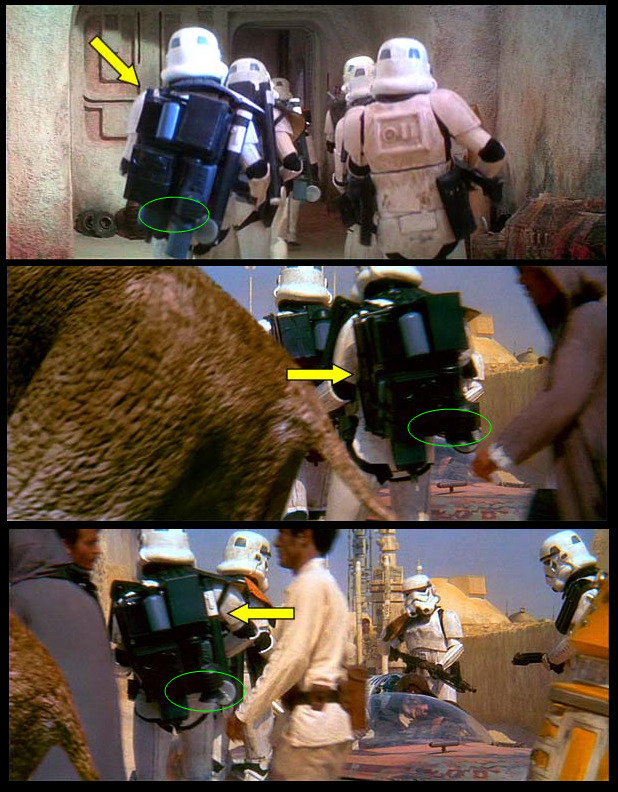
Here are the reference pics I was emulating this Sandtrooper from. If in doubt, please refer to my build thread, mentioned above. There you can read about all the confirmed findings on this TD.
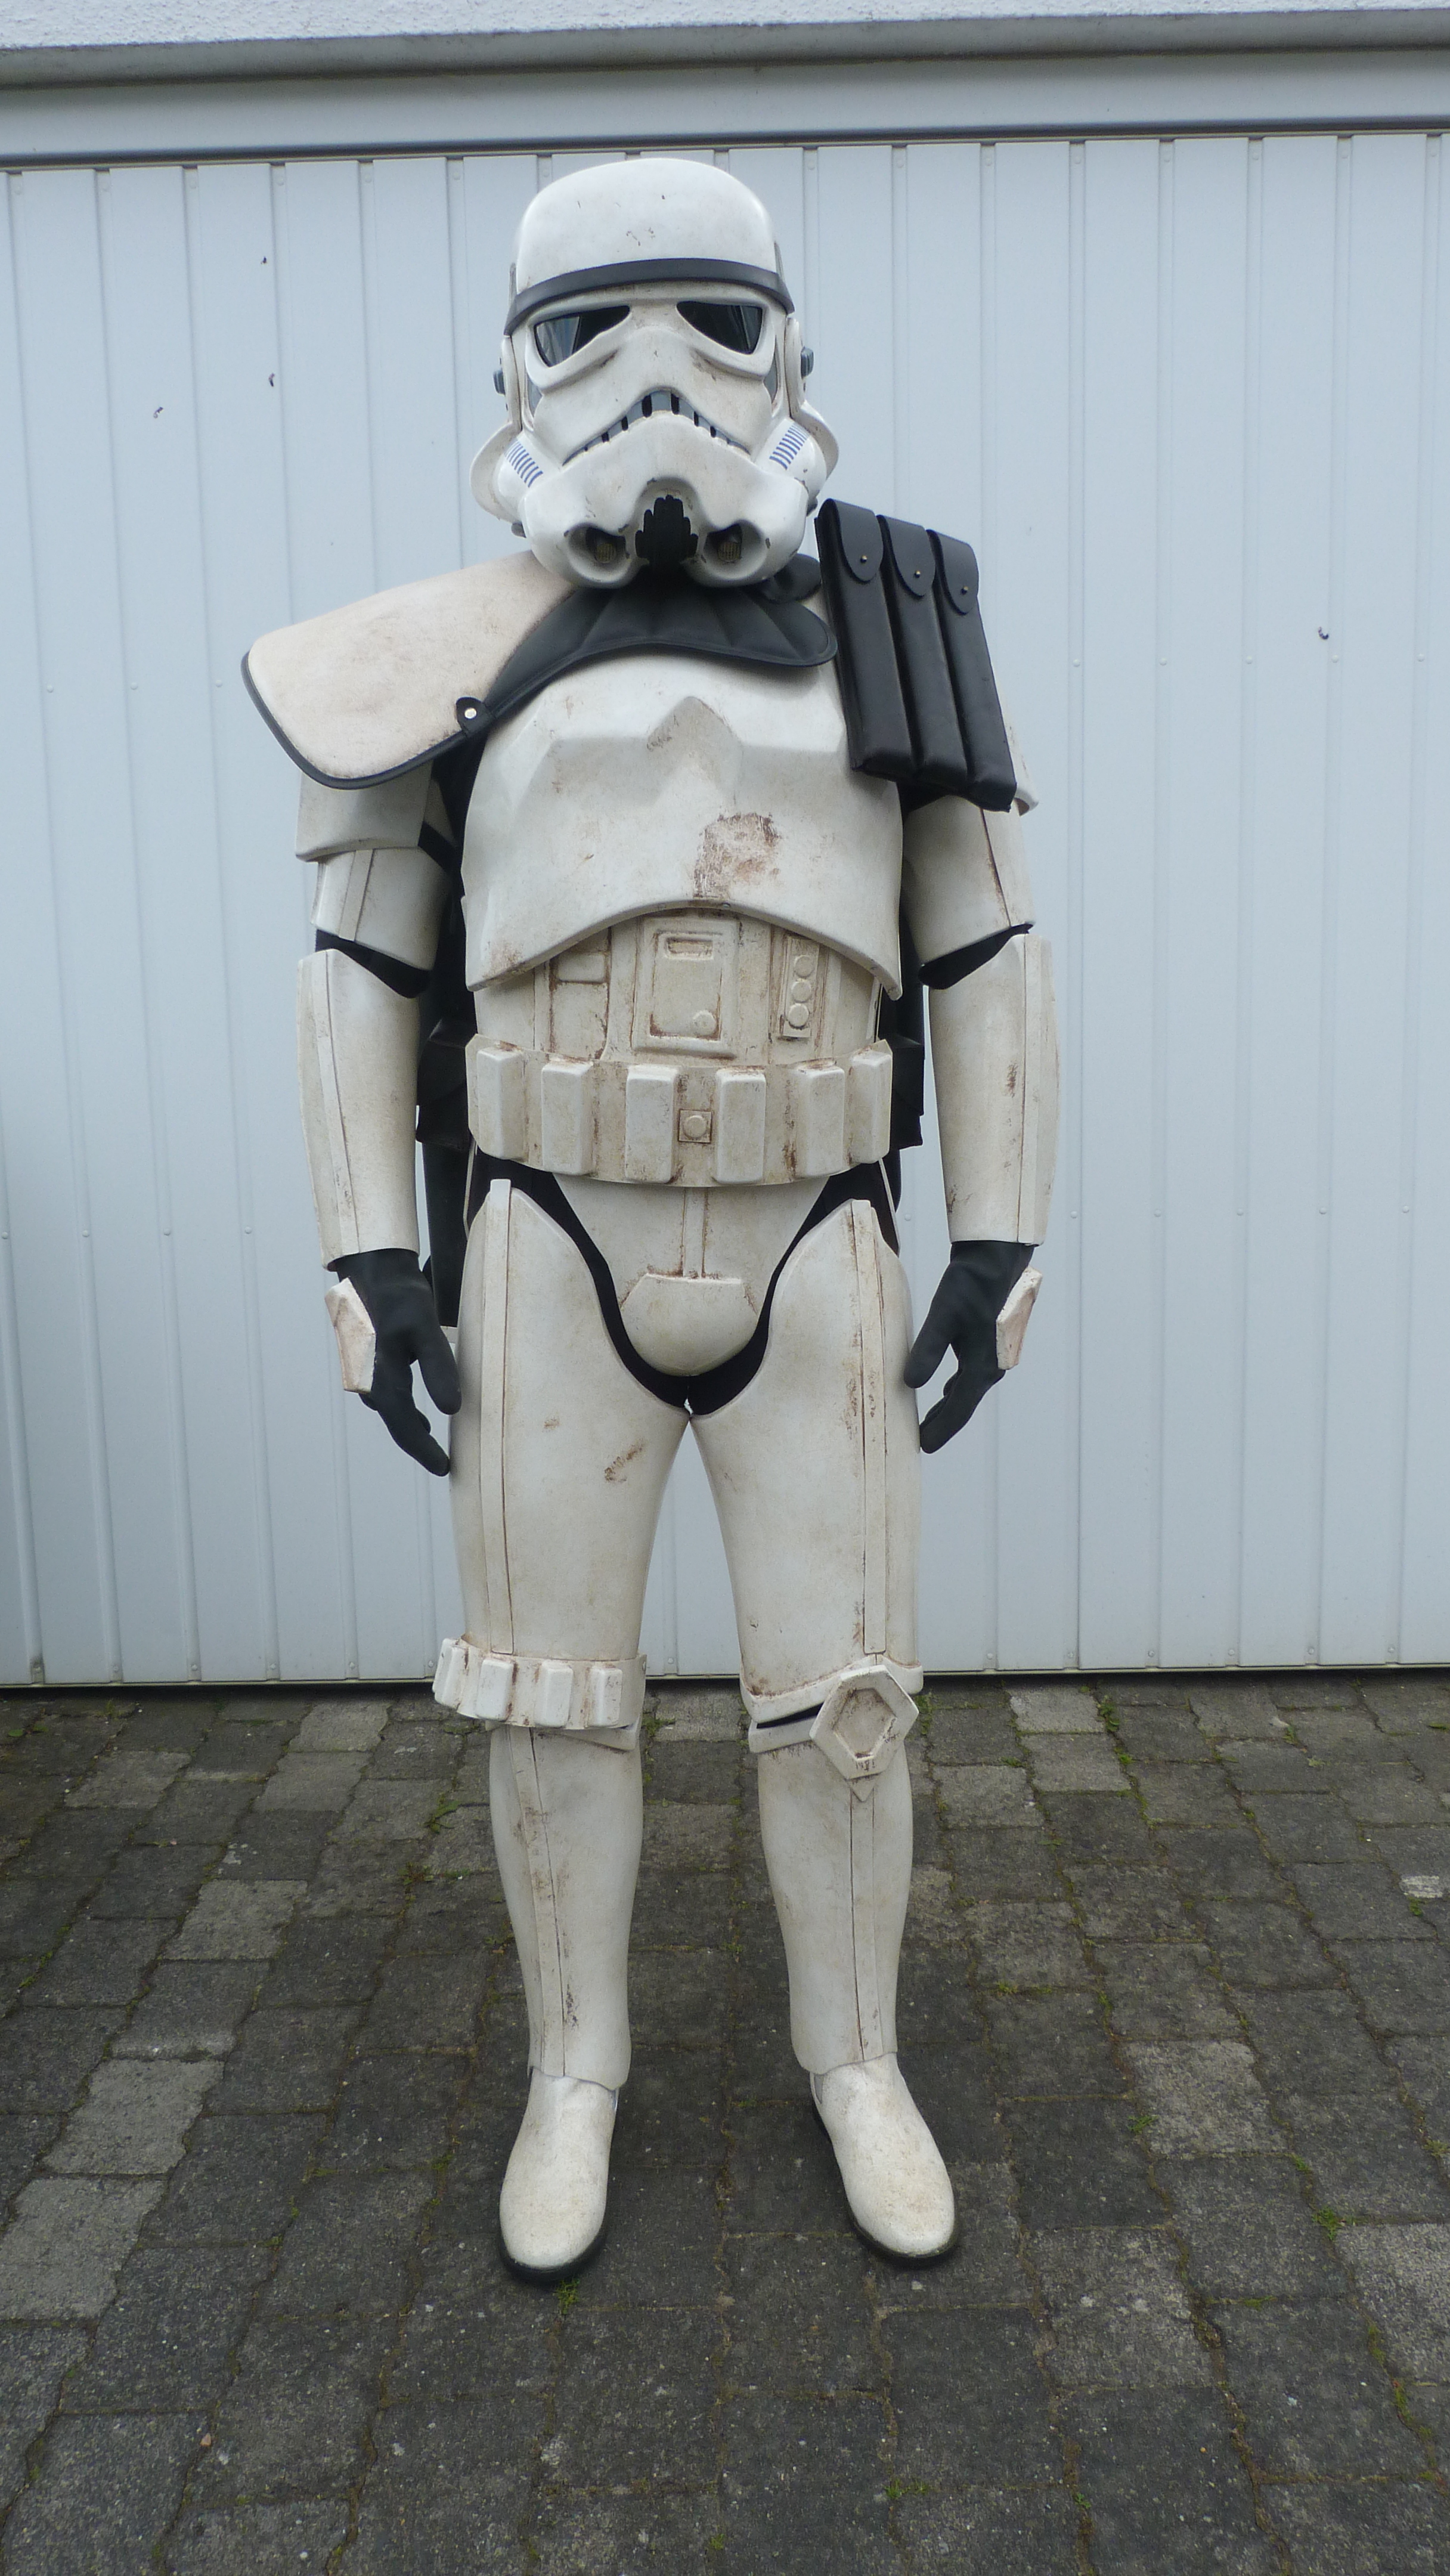
Armor from front:
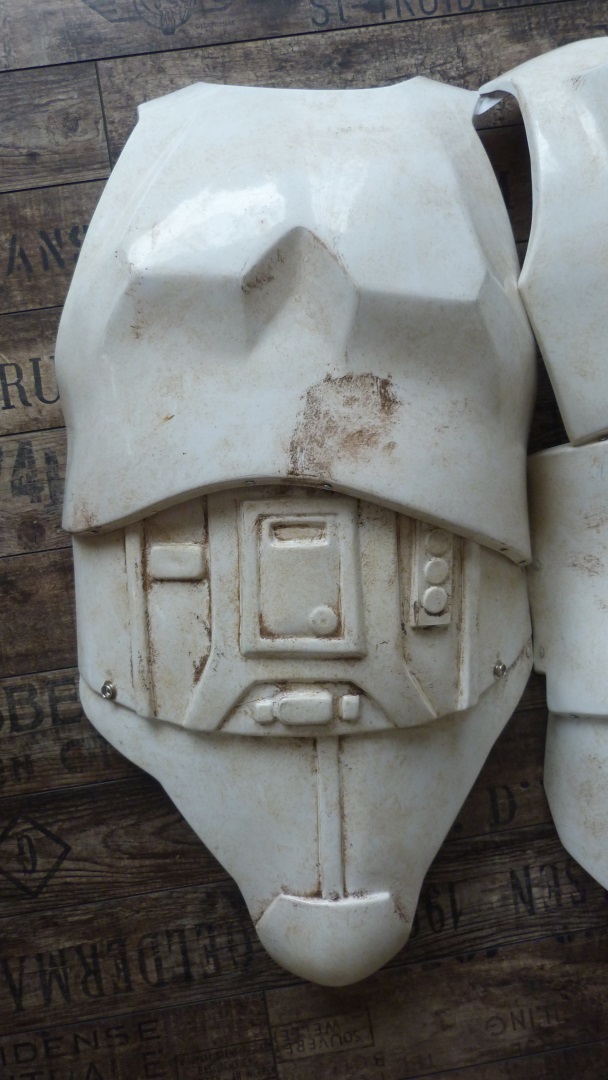
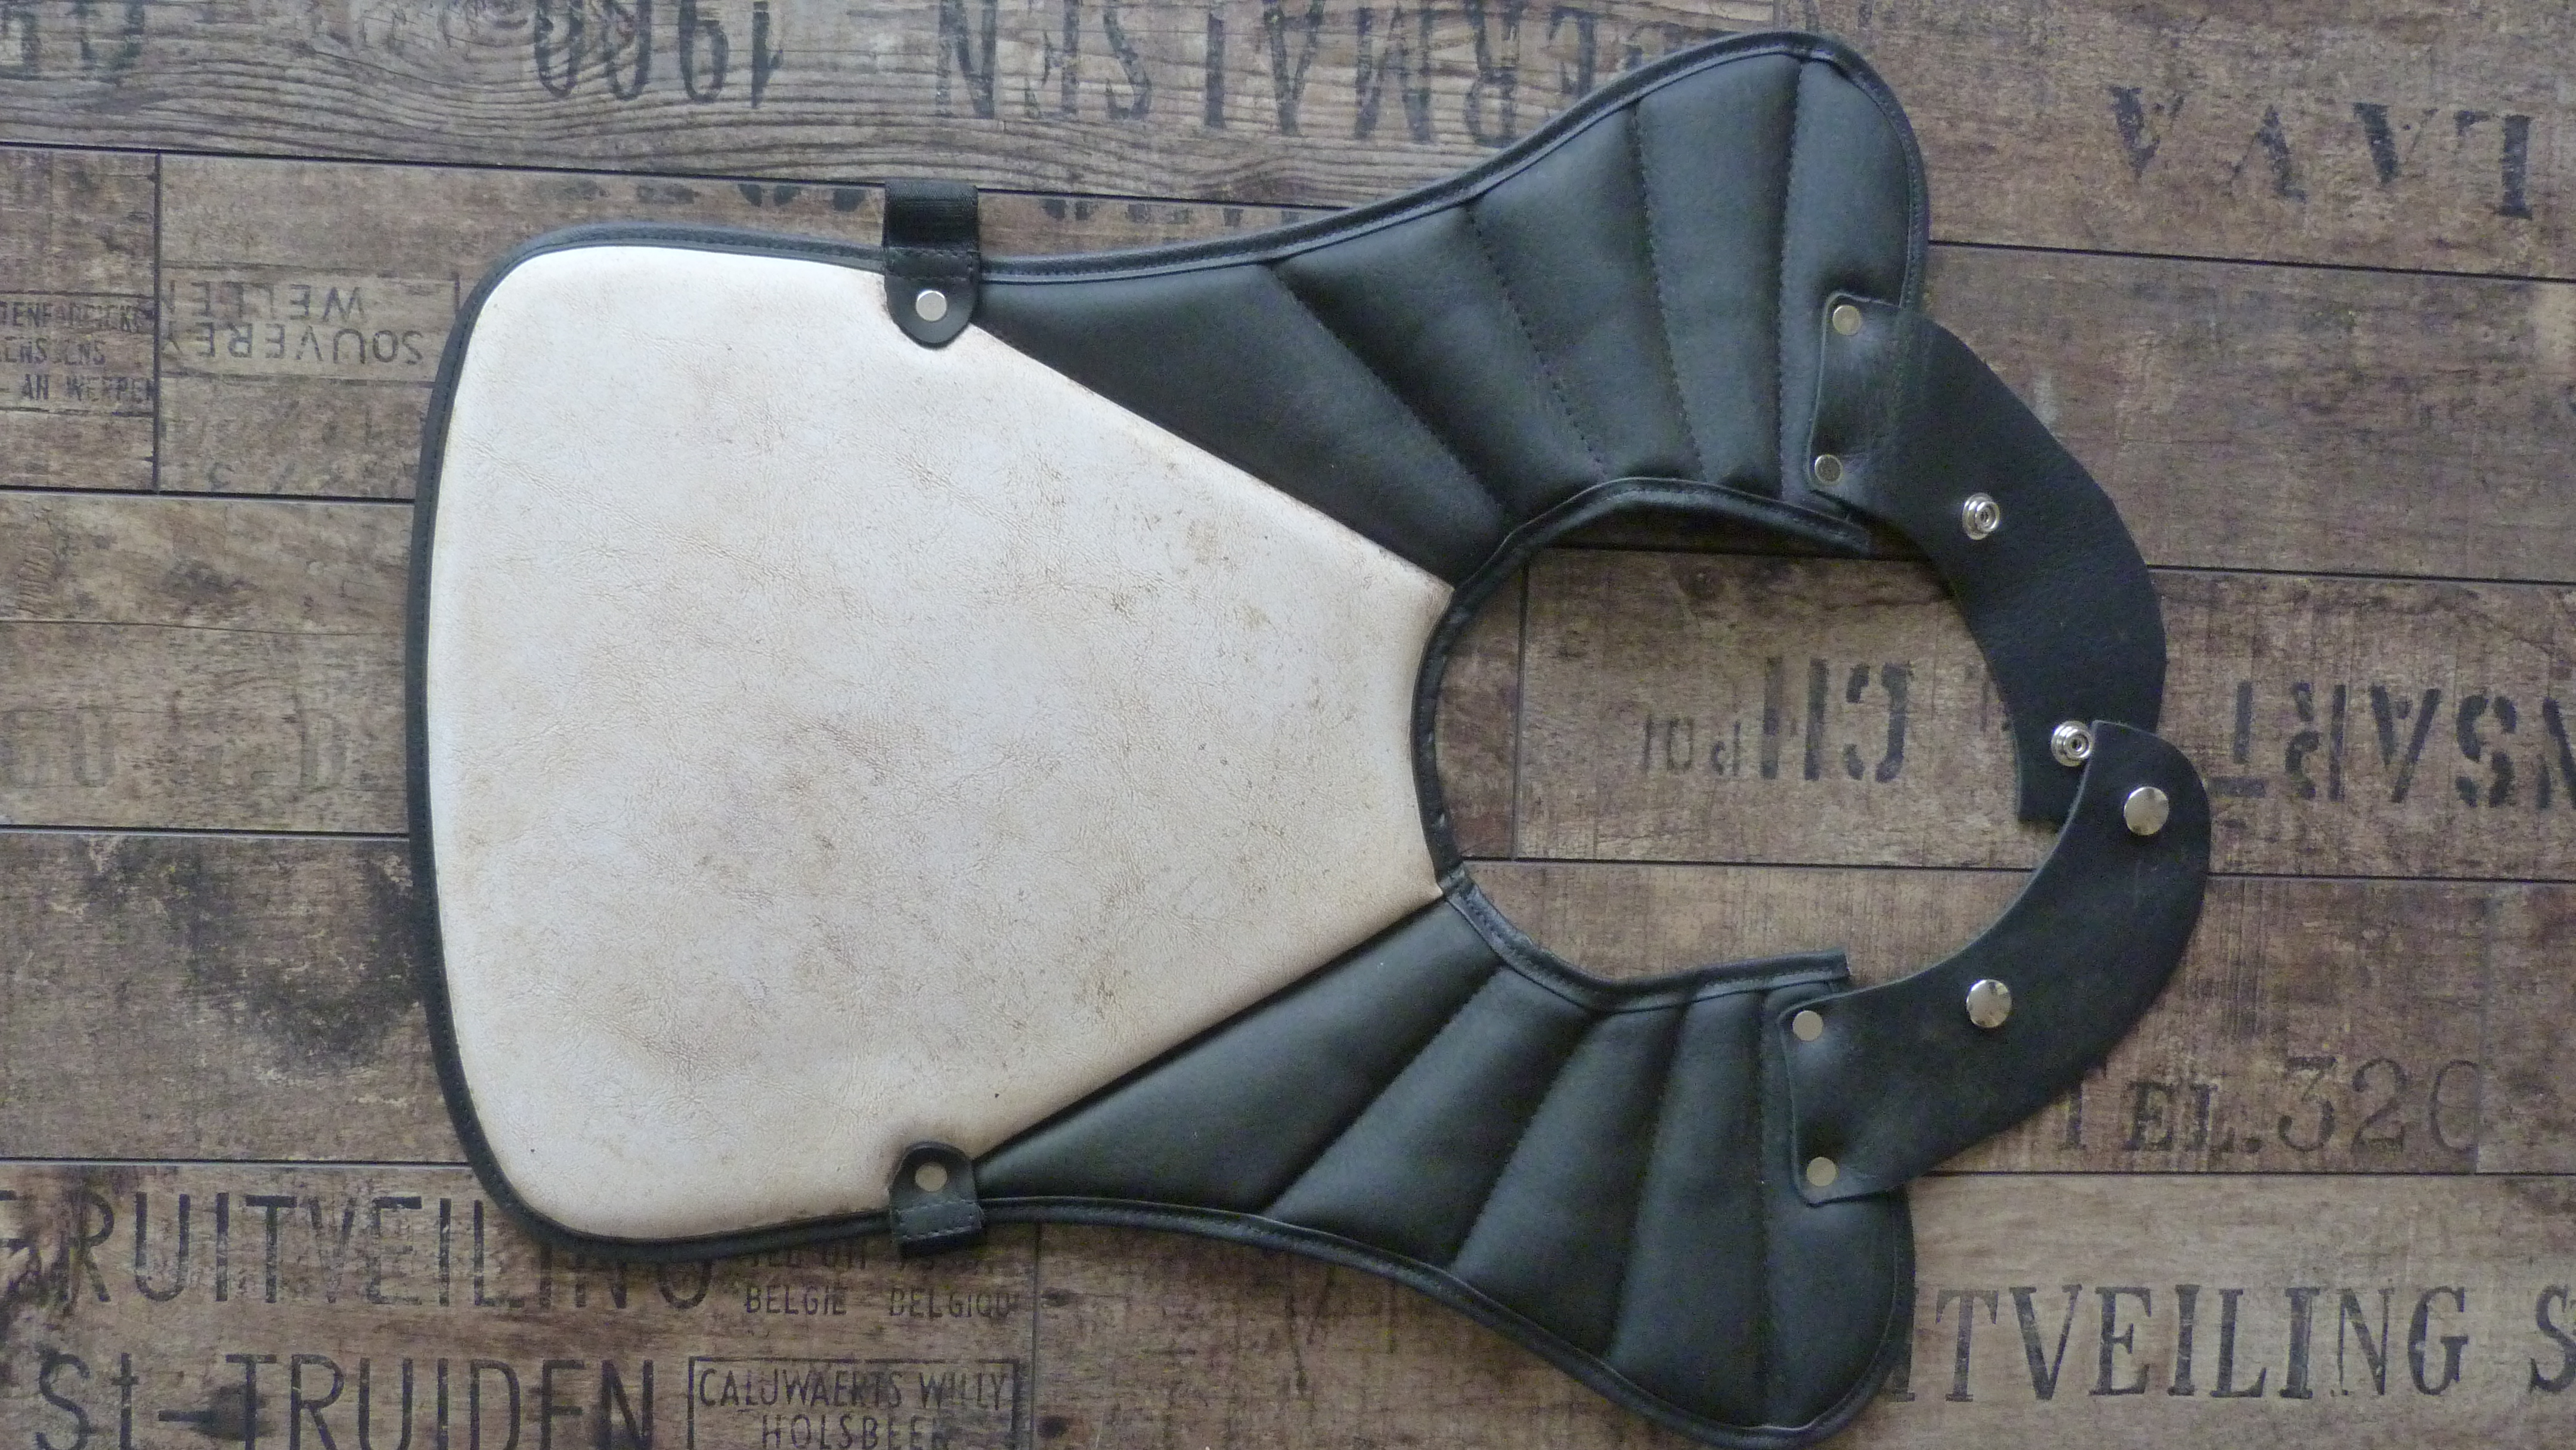
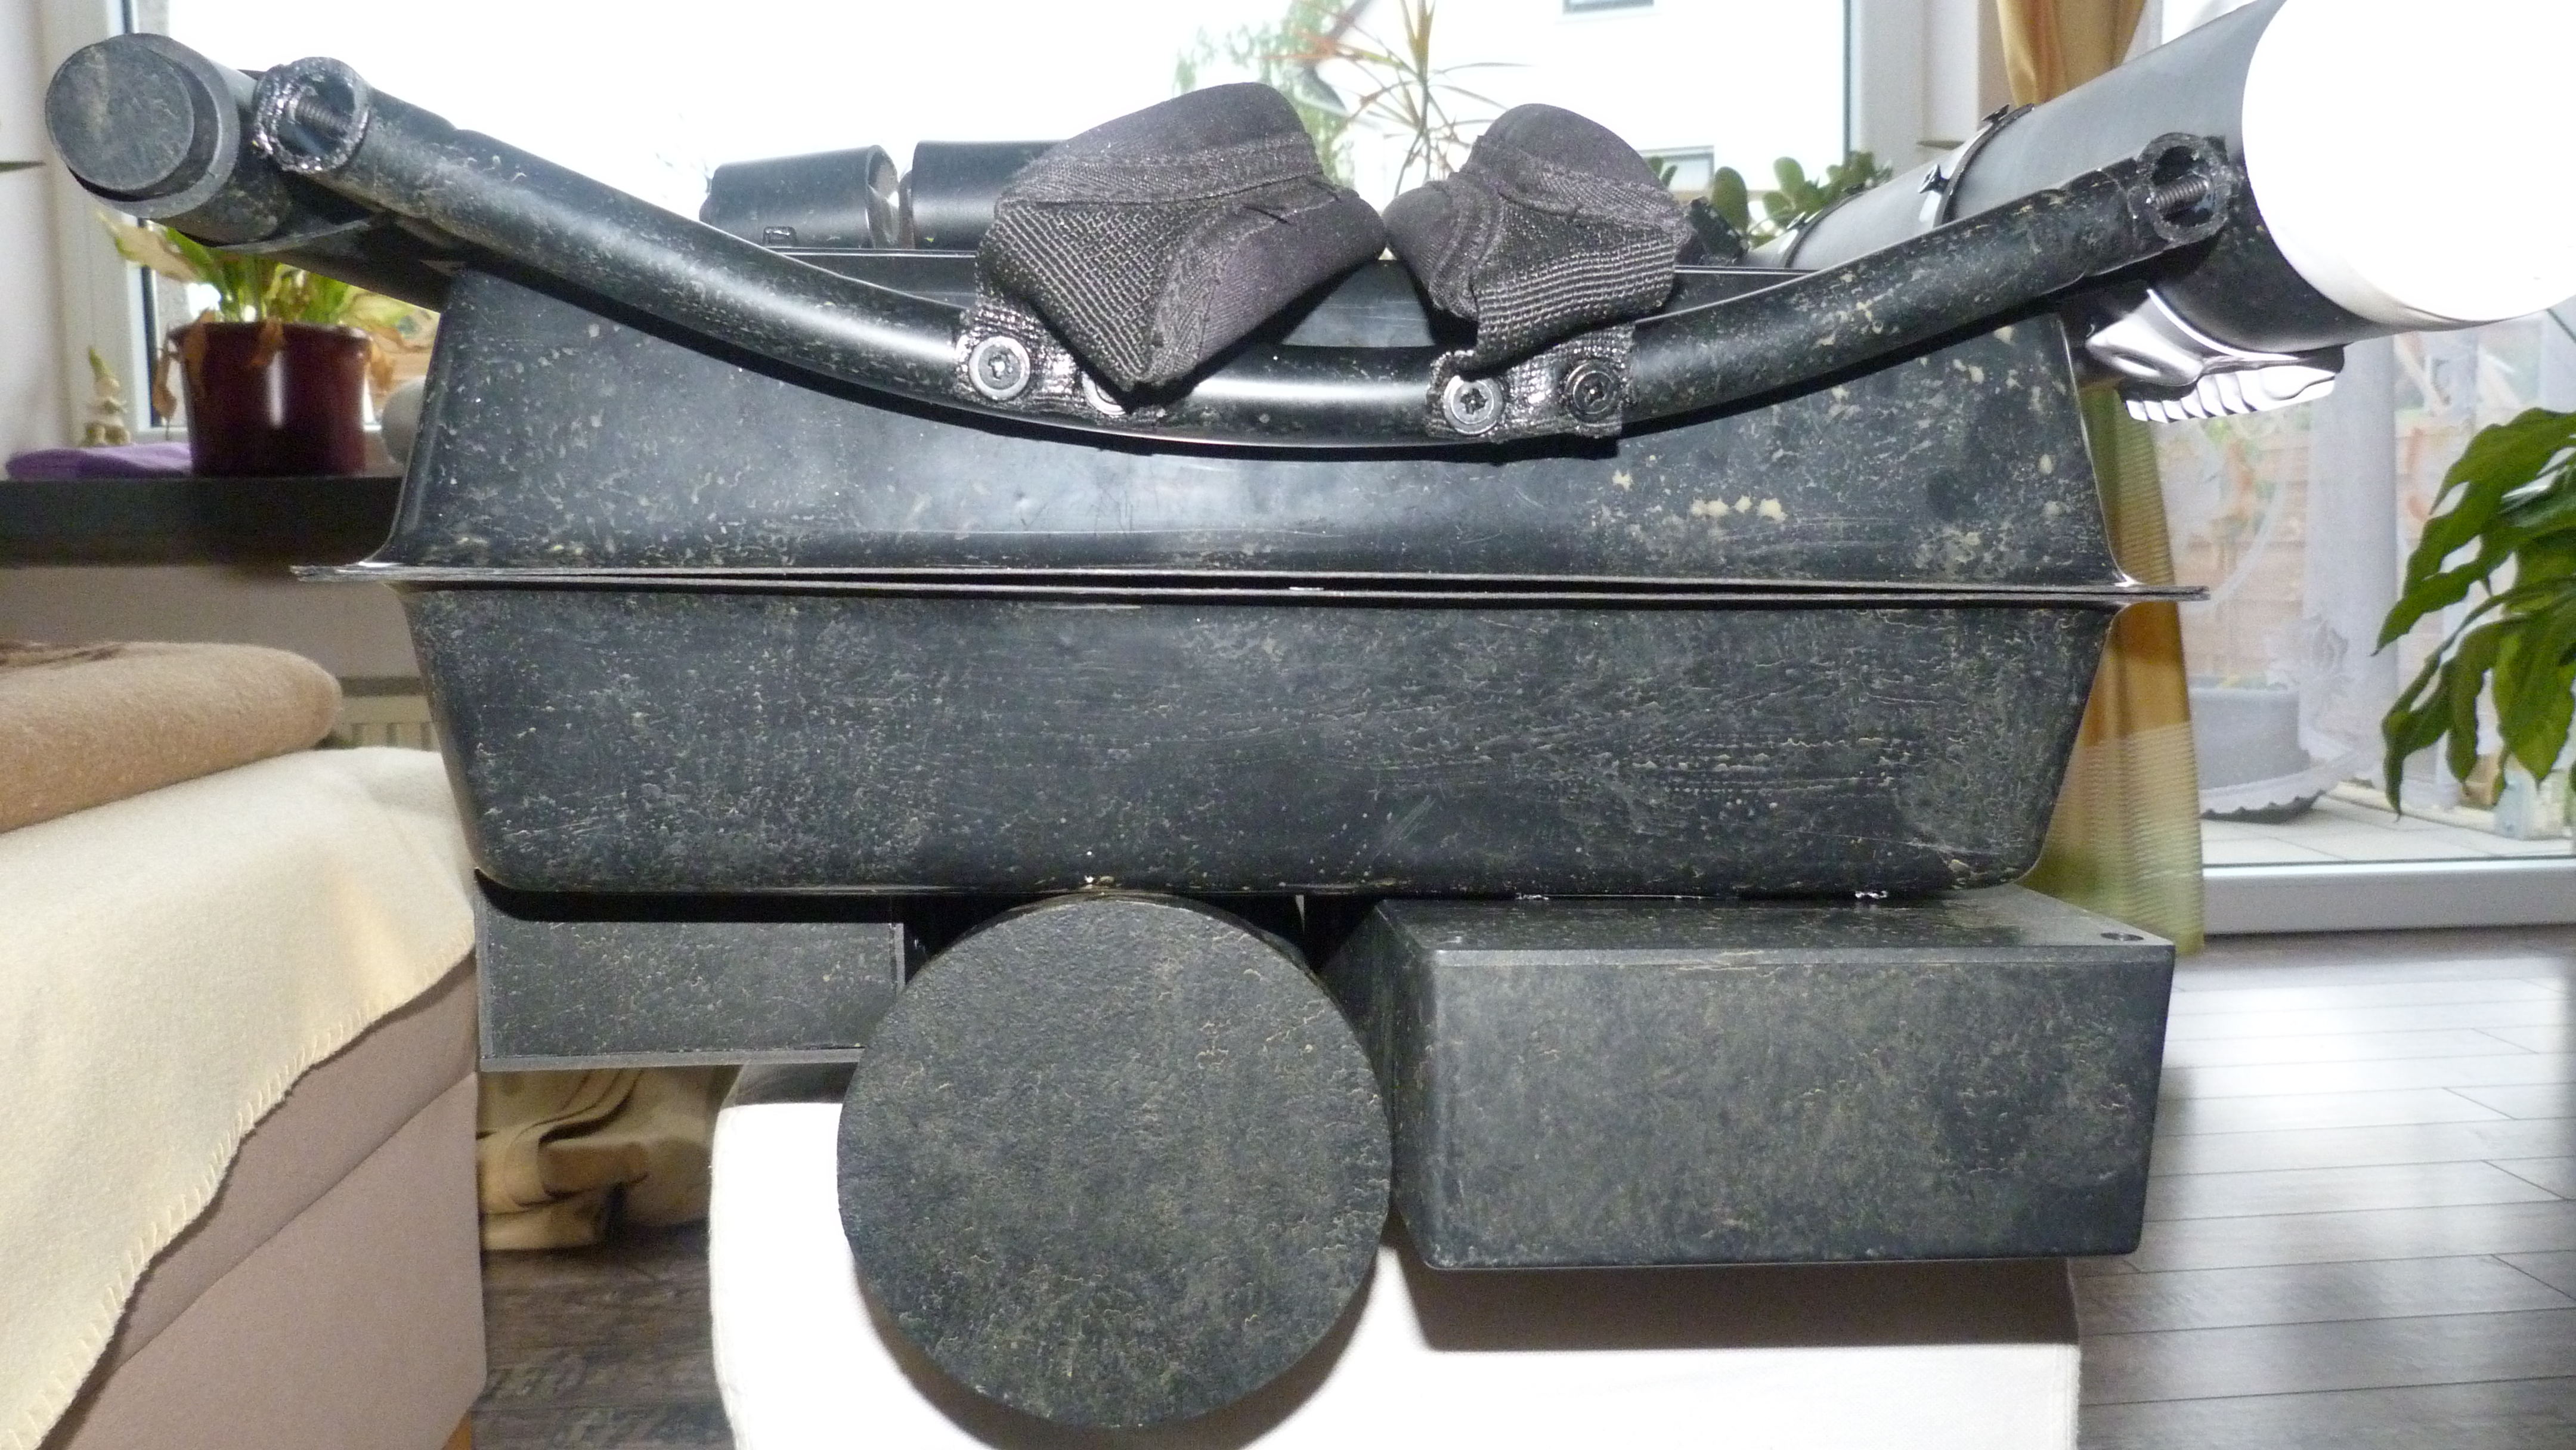
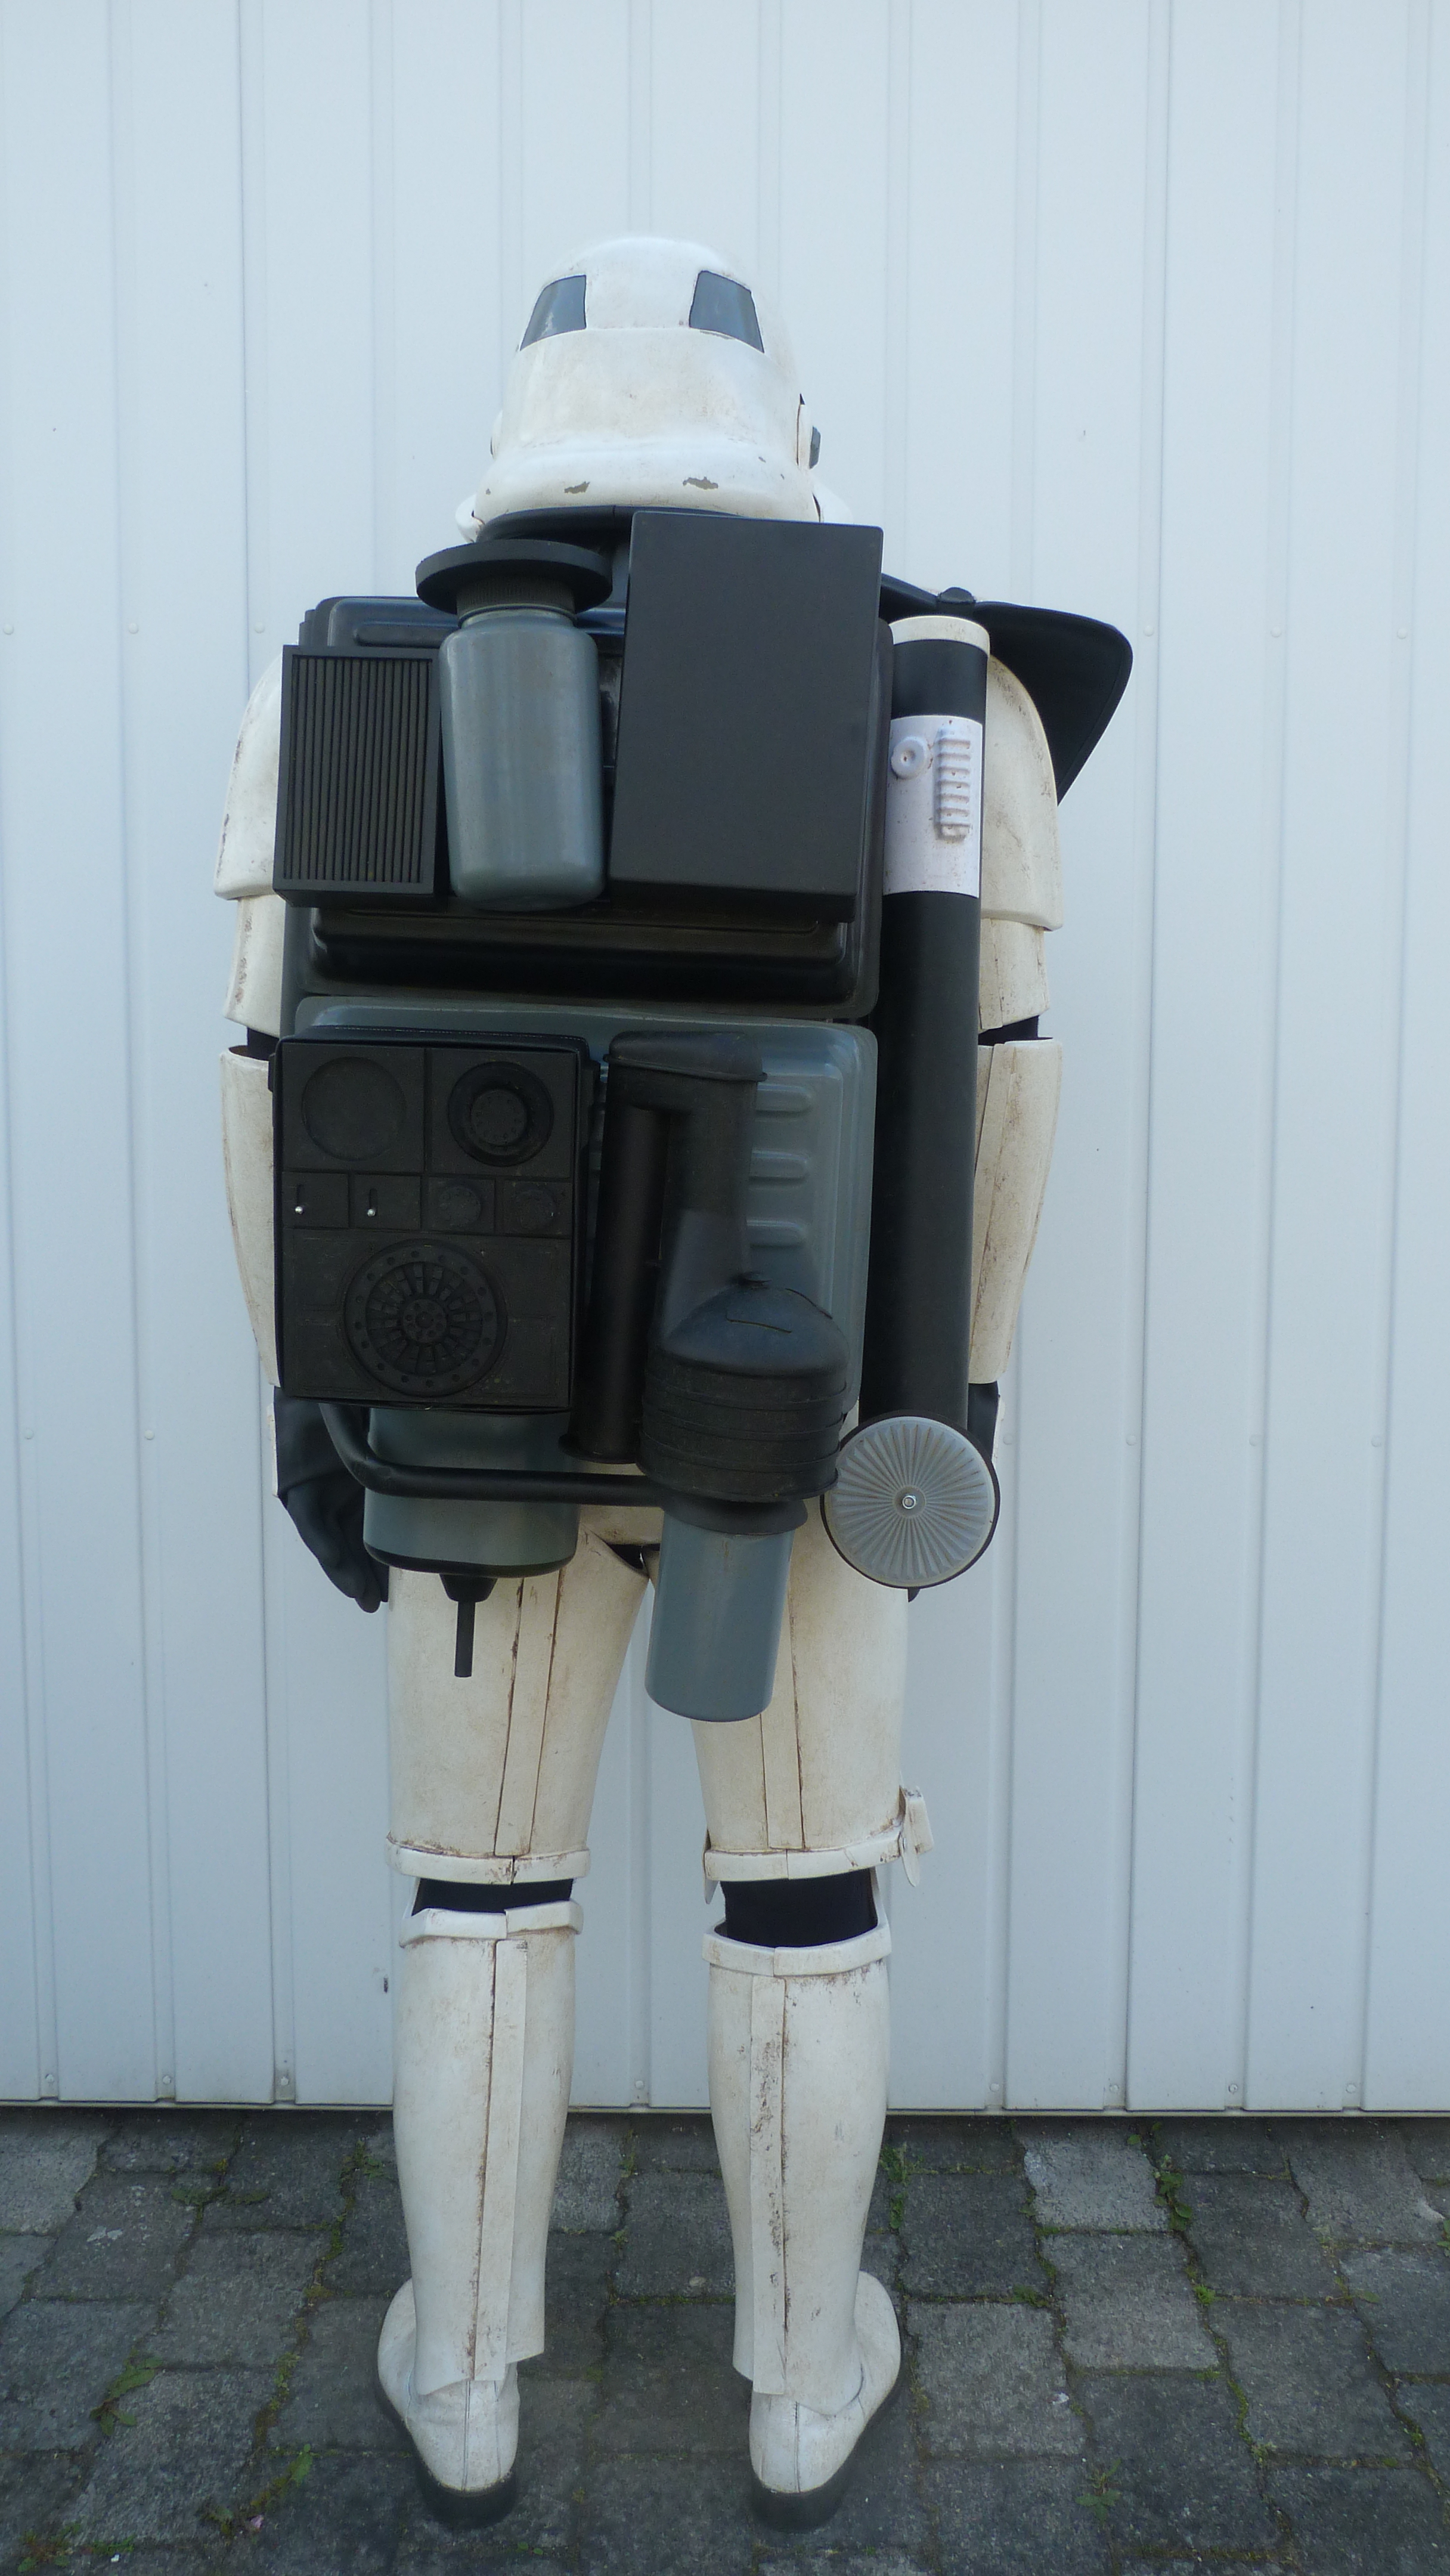
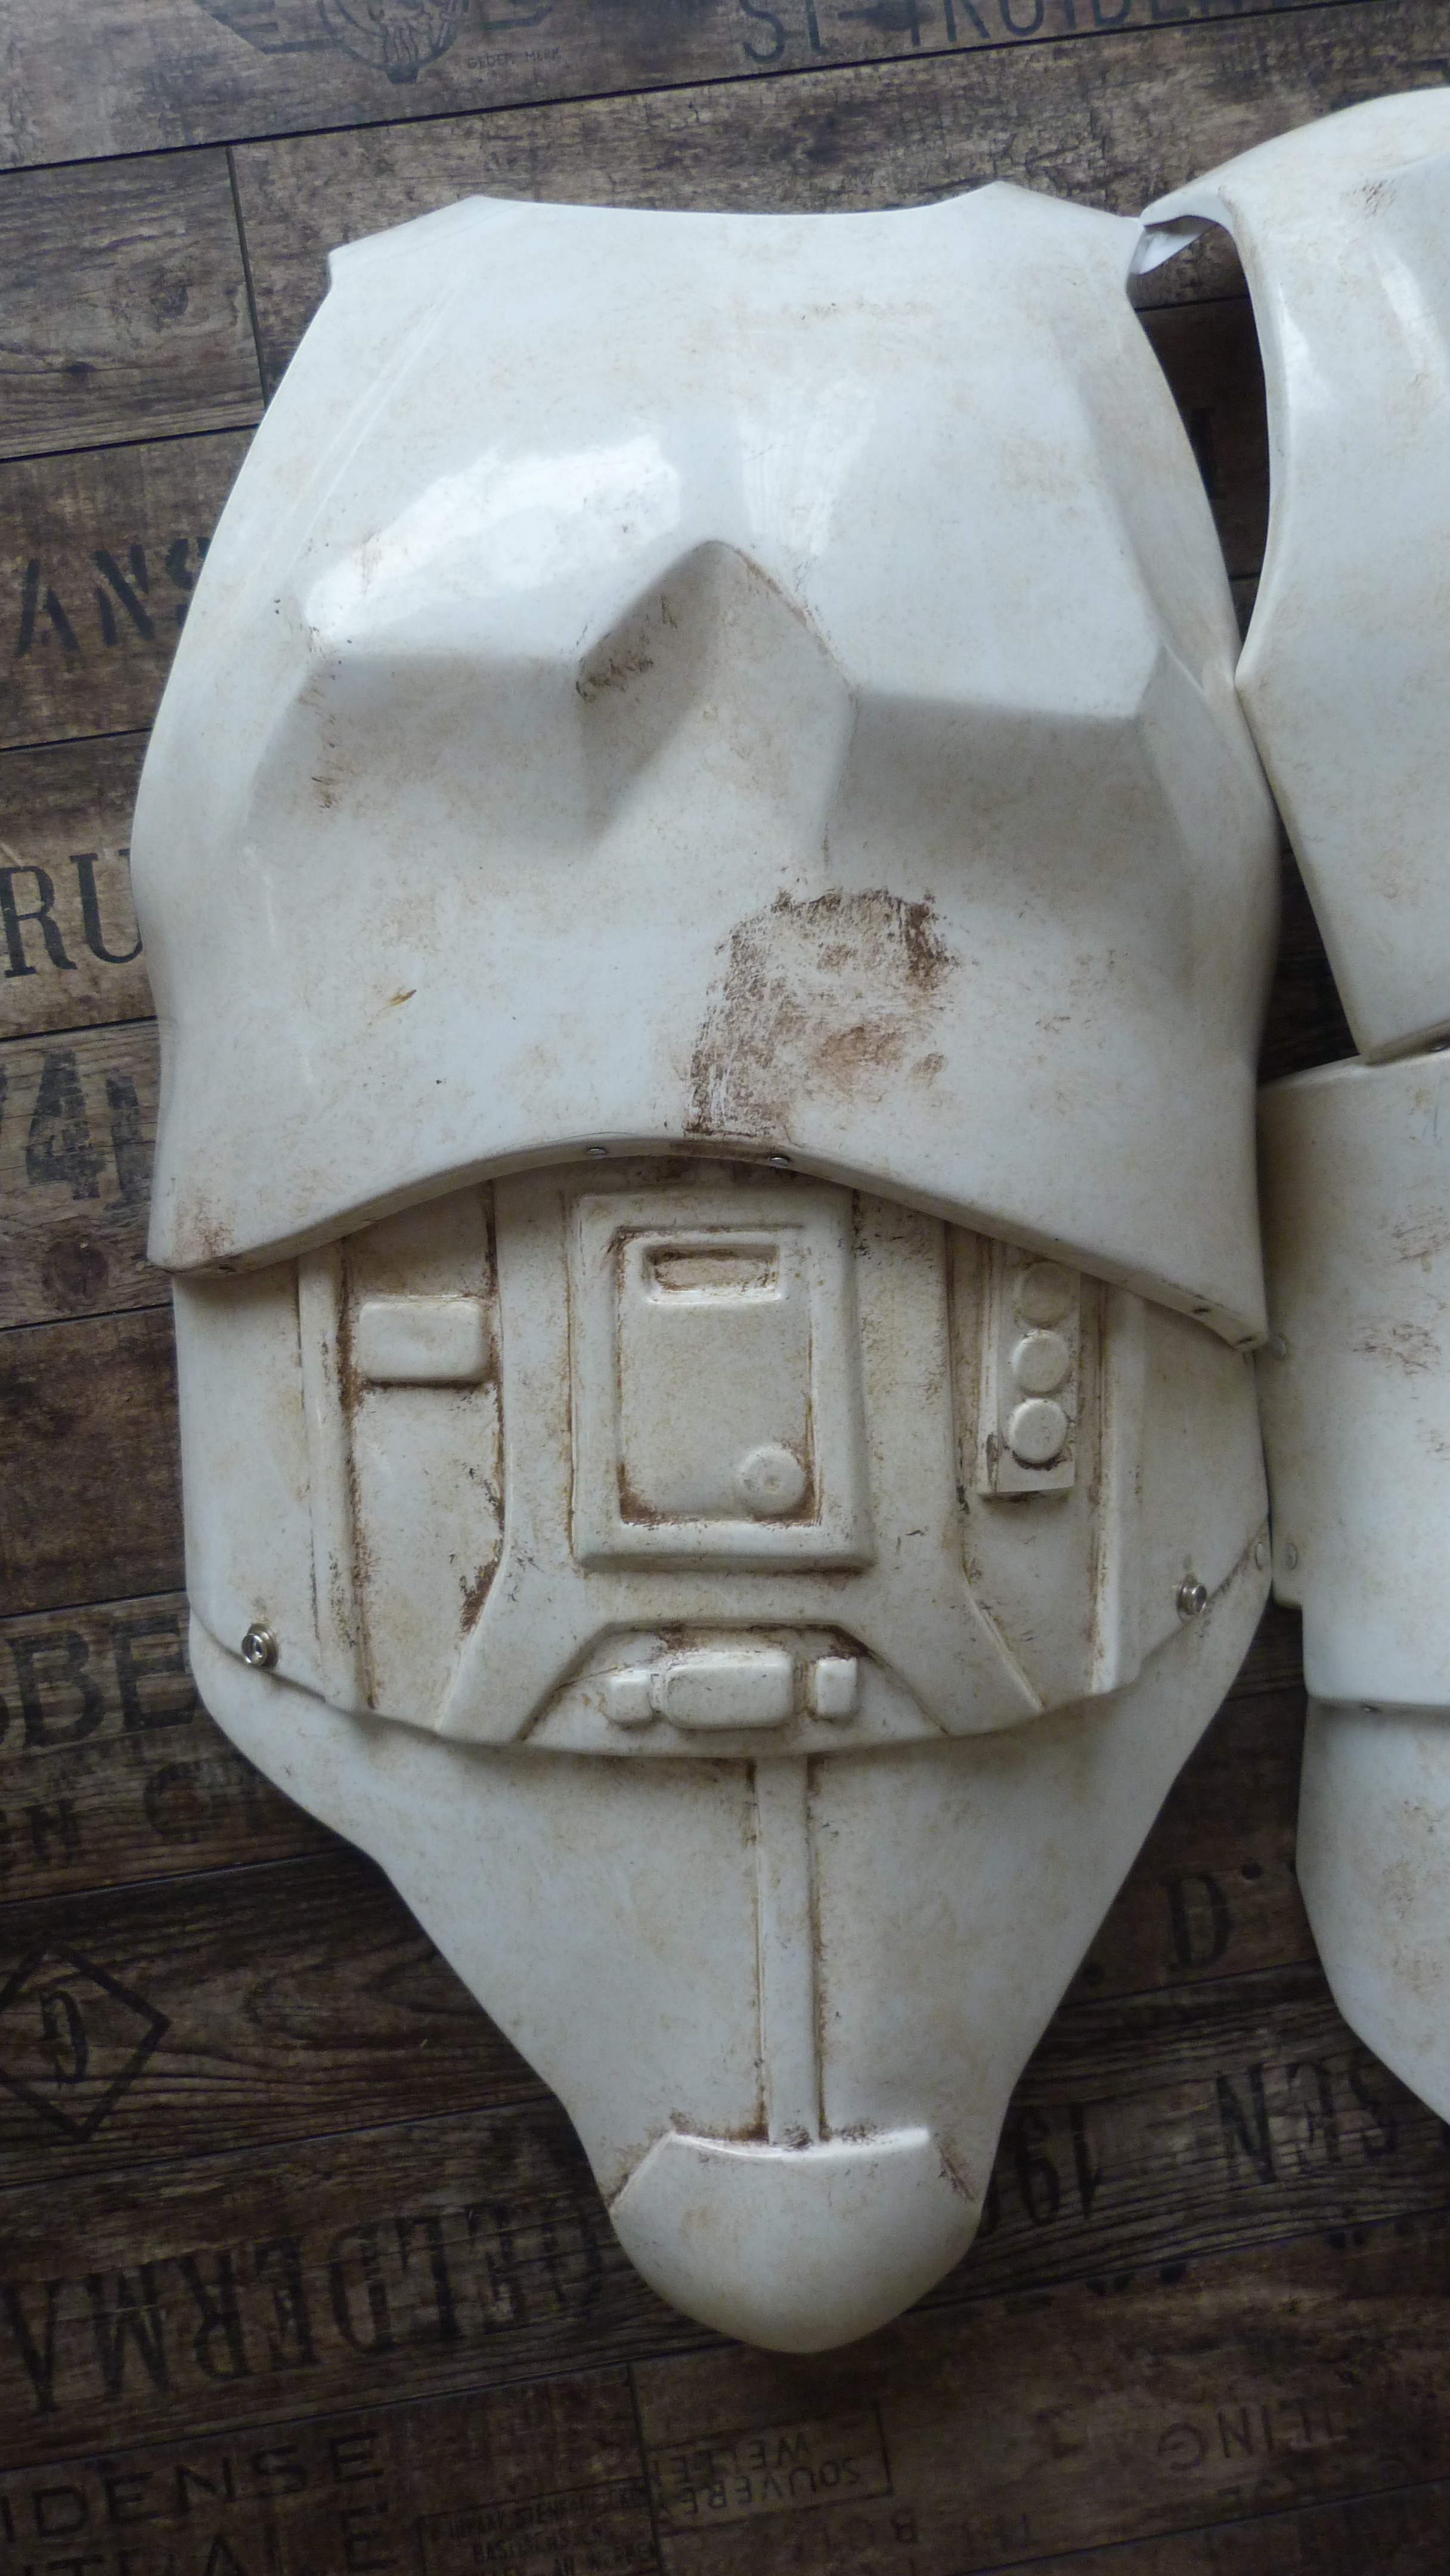
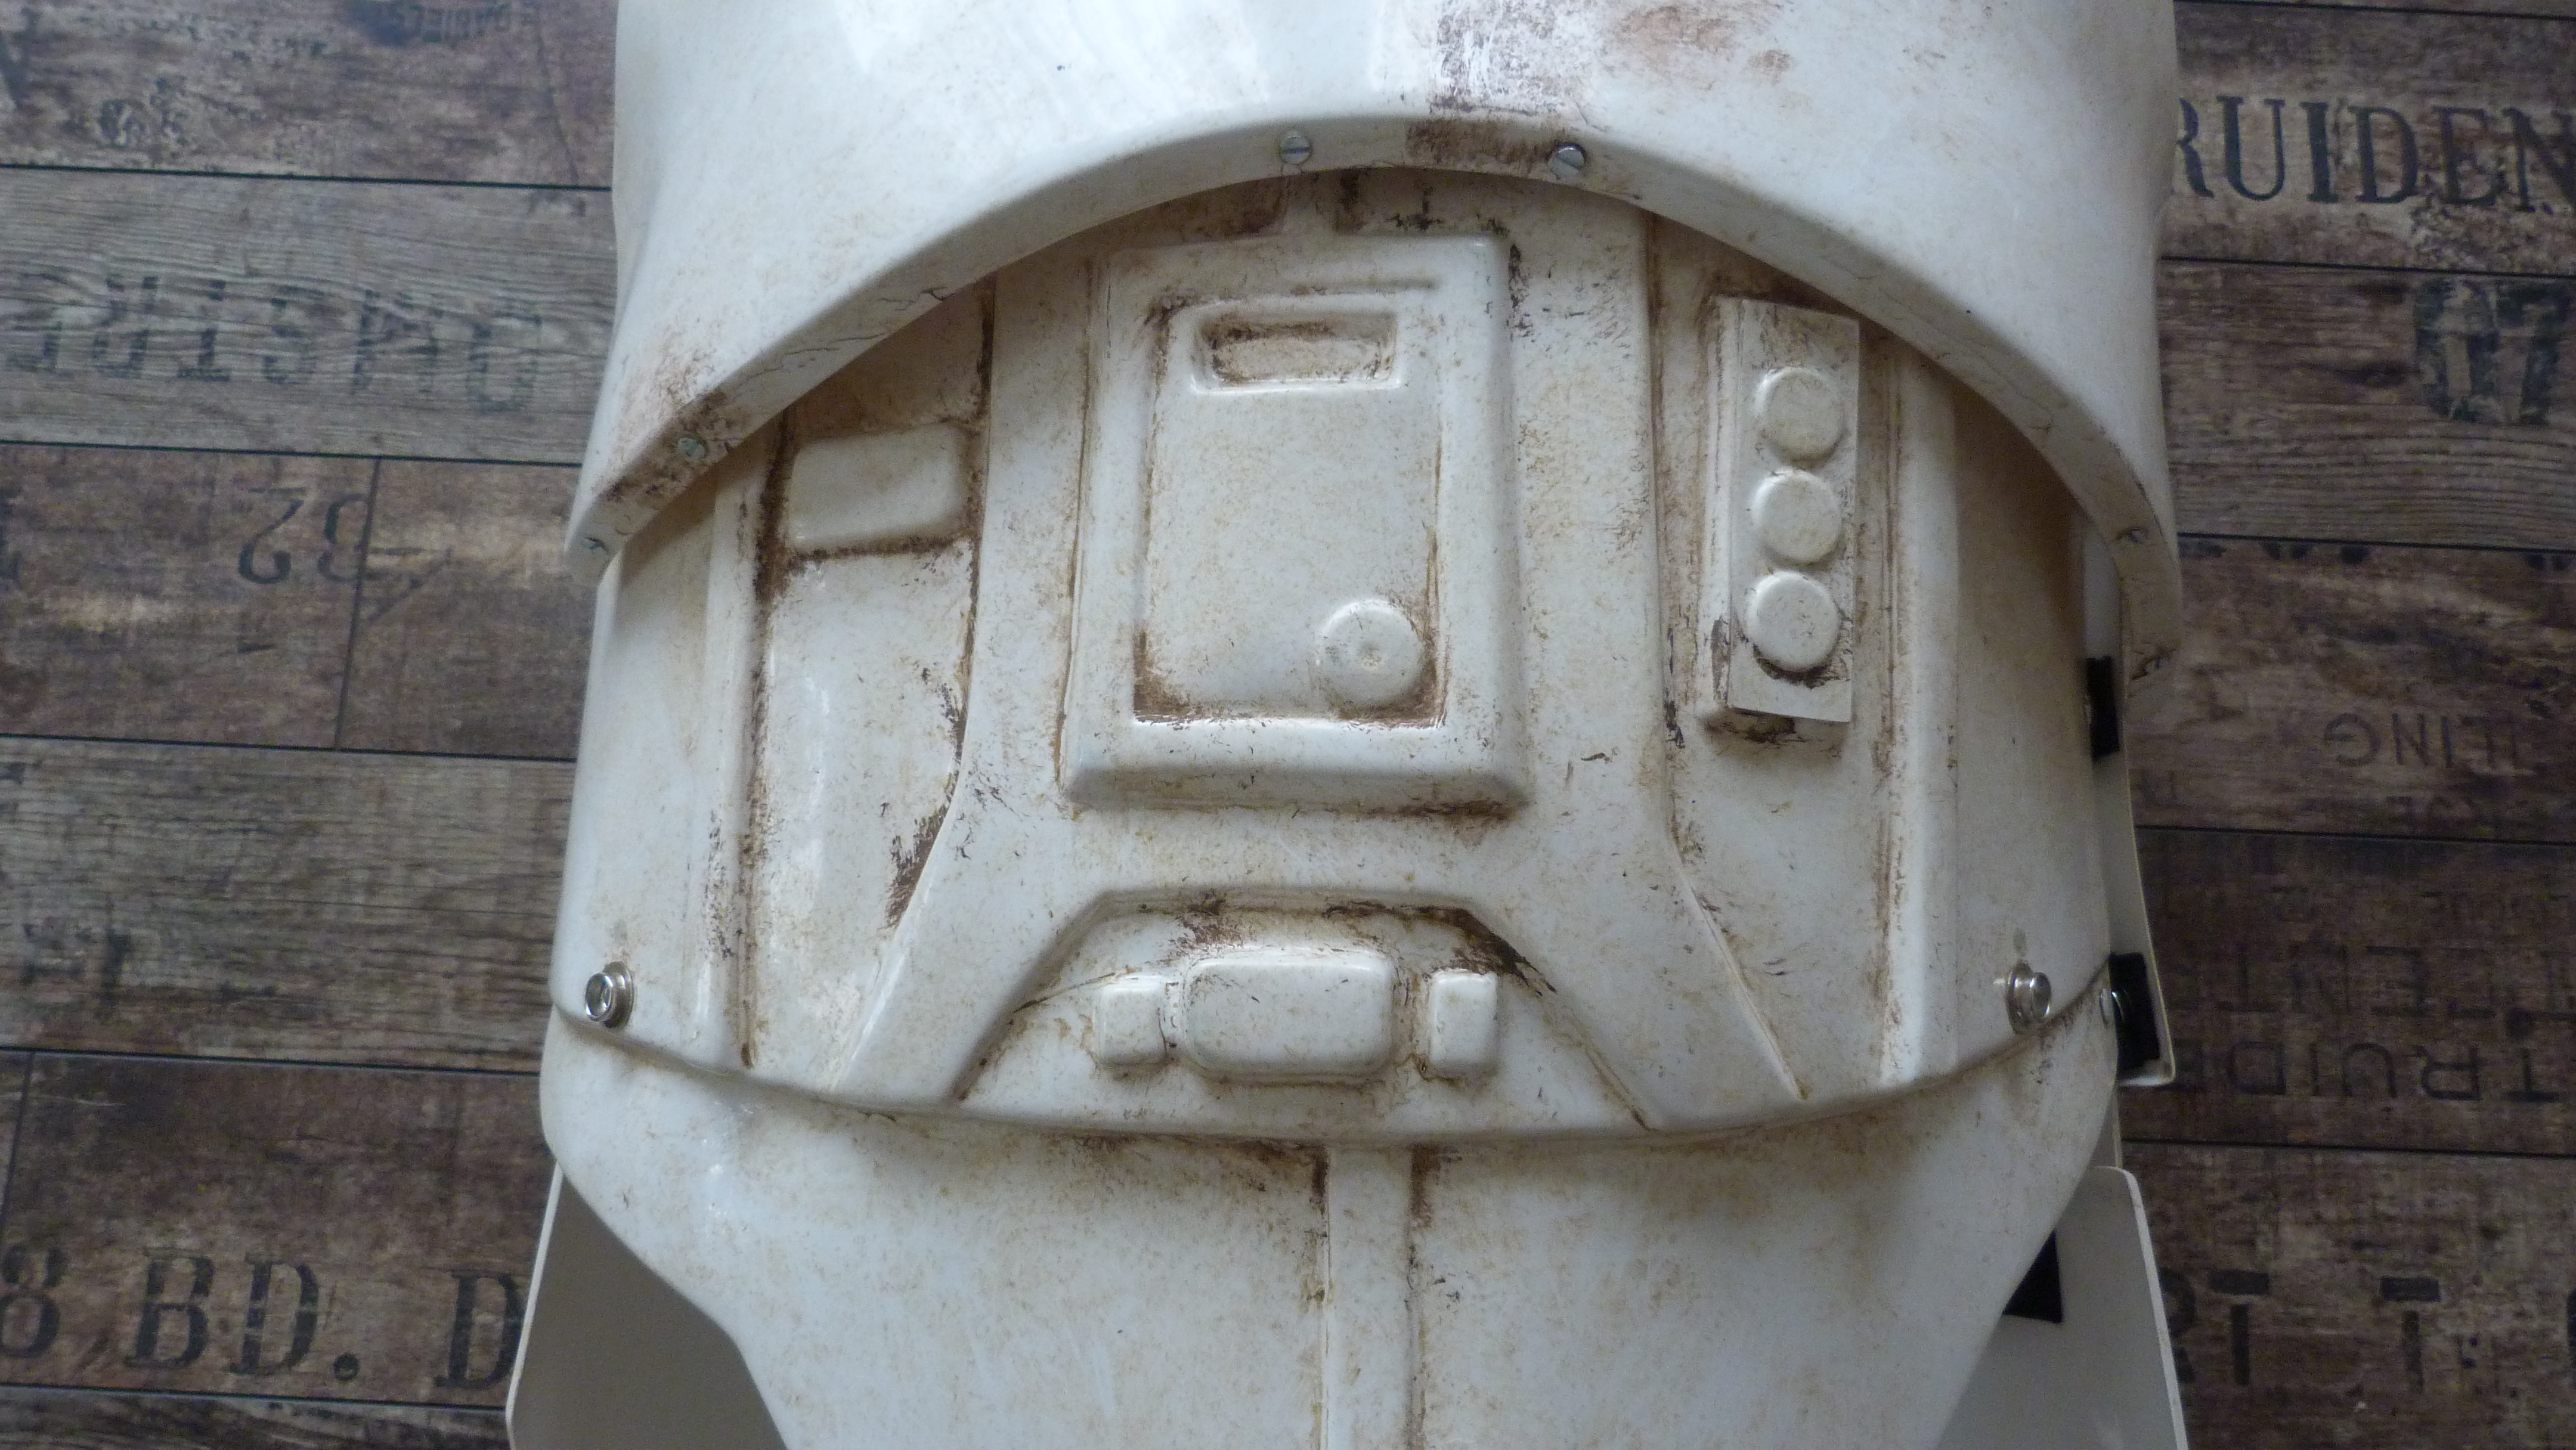
Backpack:
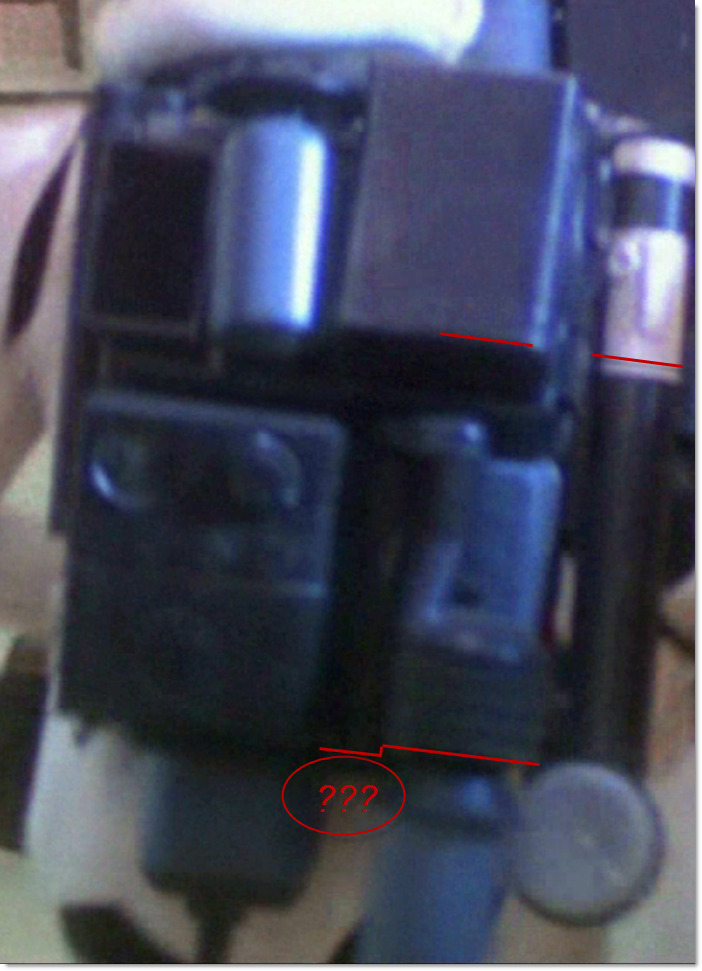
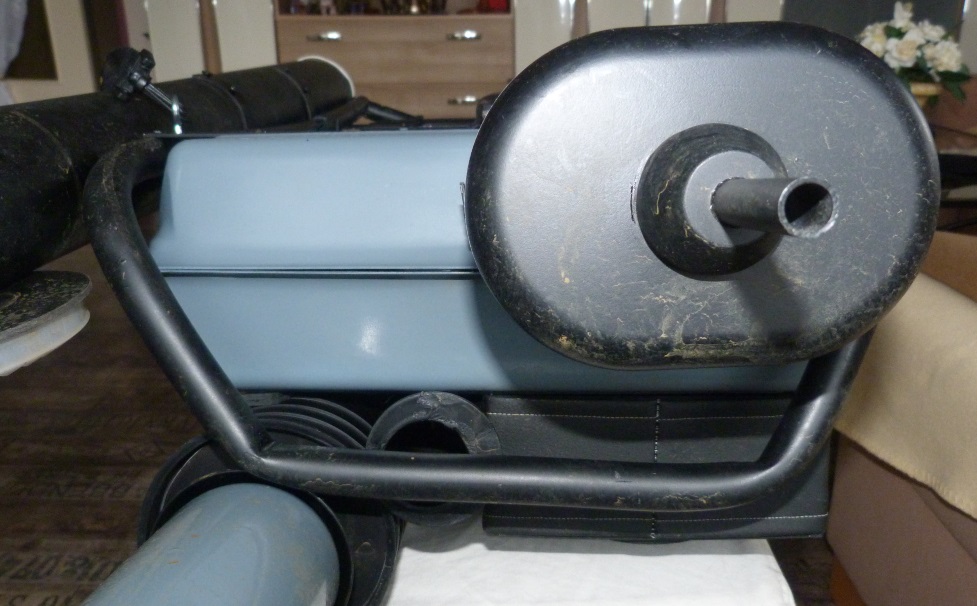
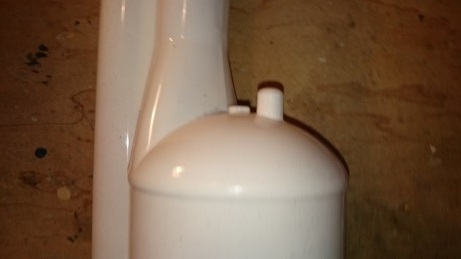
The lines show that the syphon's thread is probably cut off and the diameter of the mortar tube is
about half the width of the right upper box of the backpack
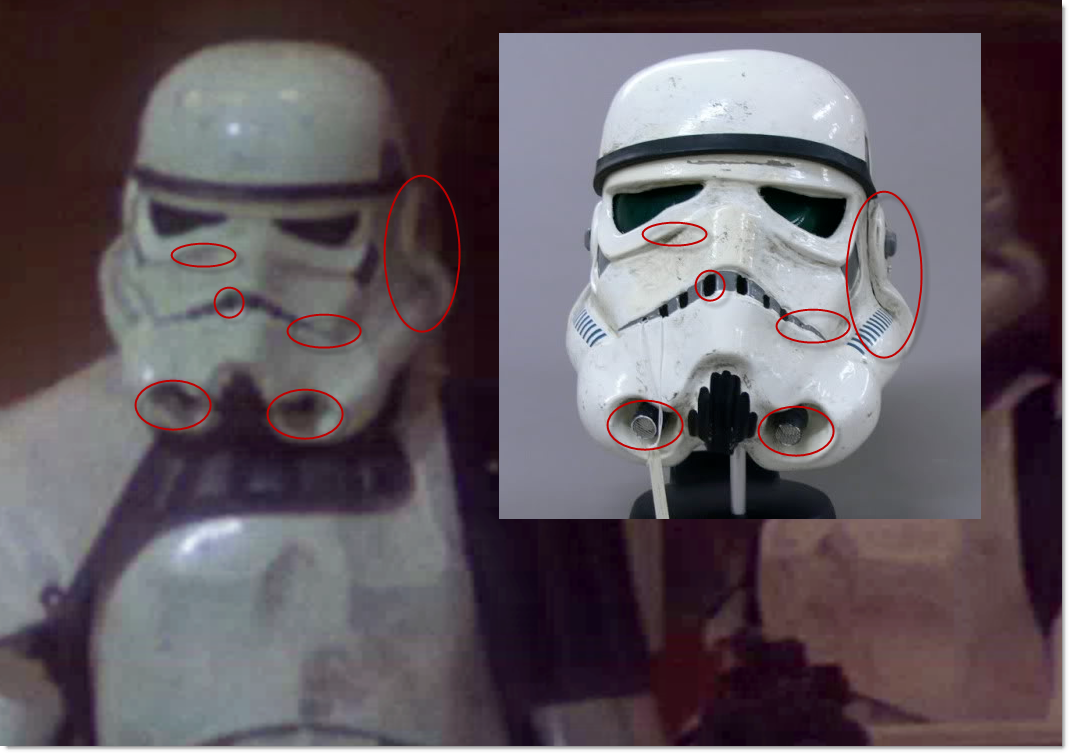
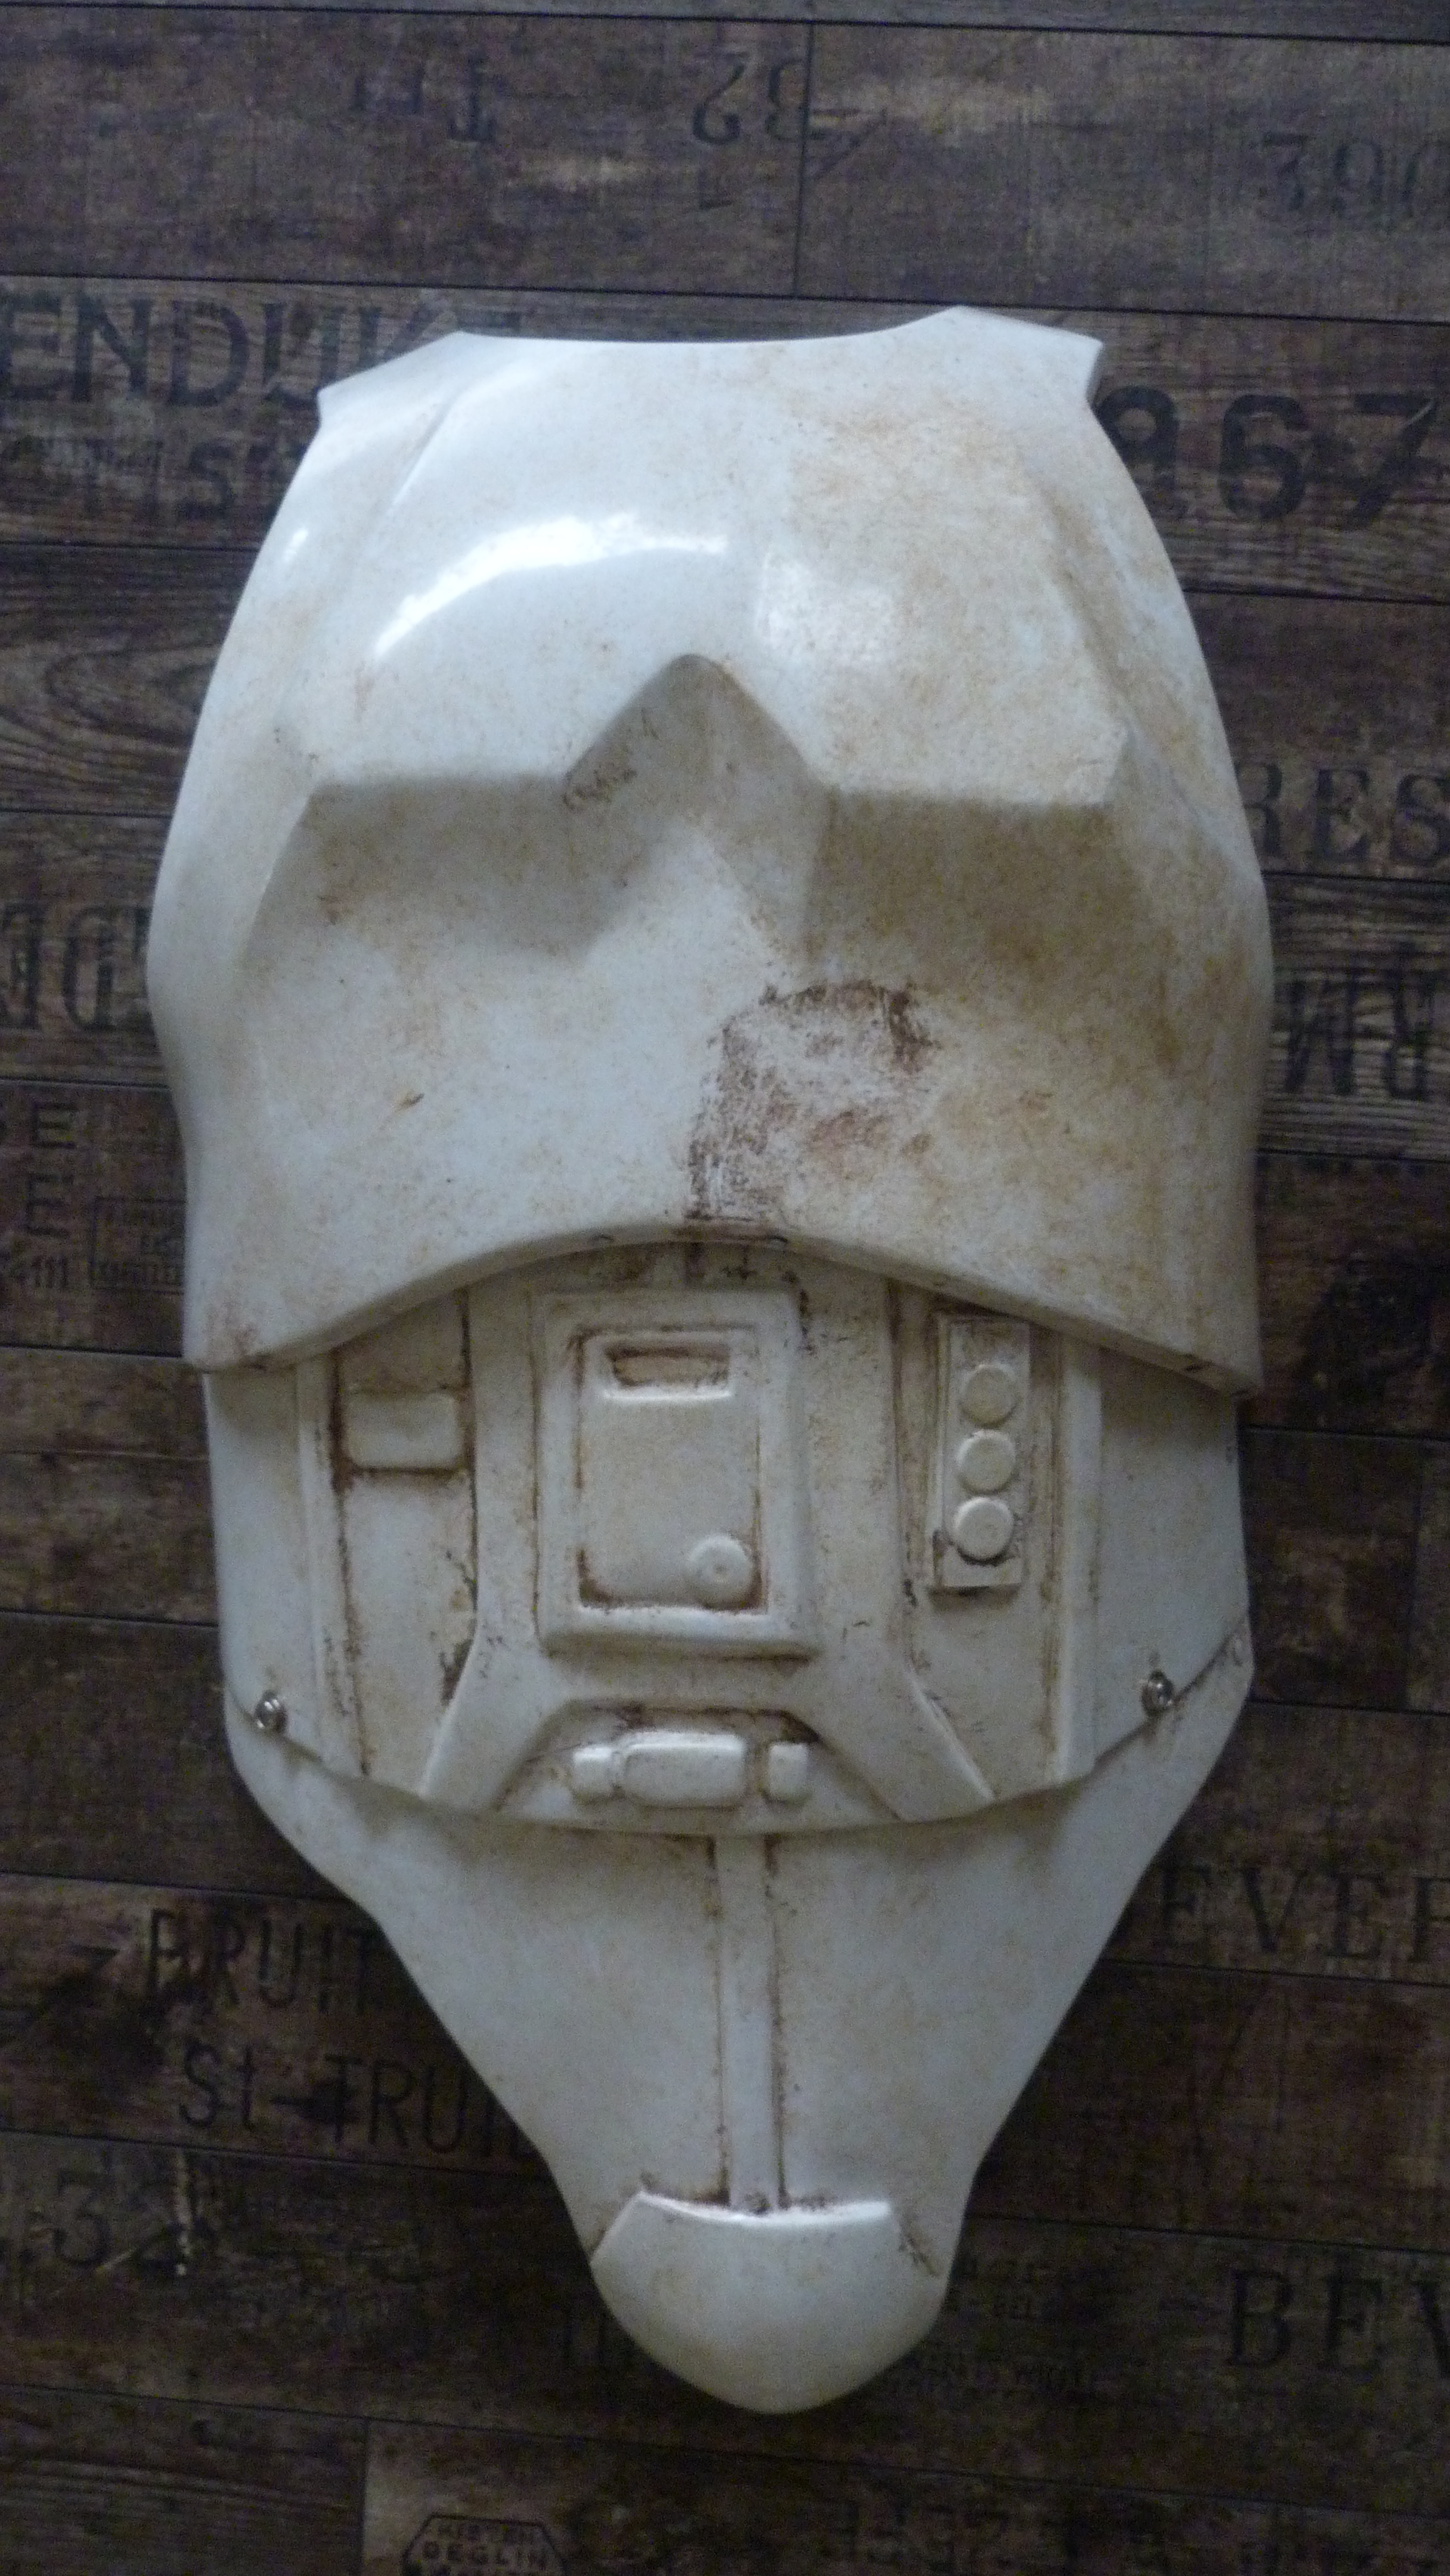
Helmet:
And now let me show you my armor and its details ...
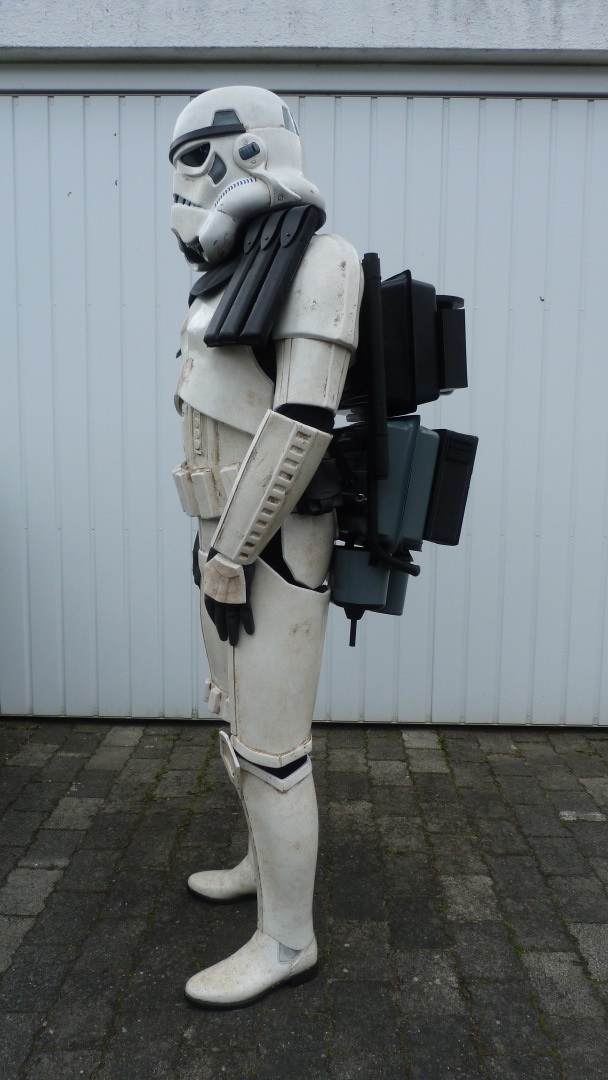
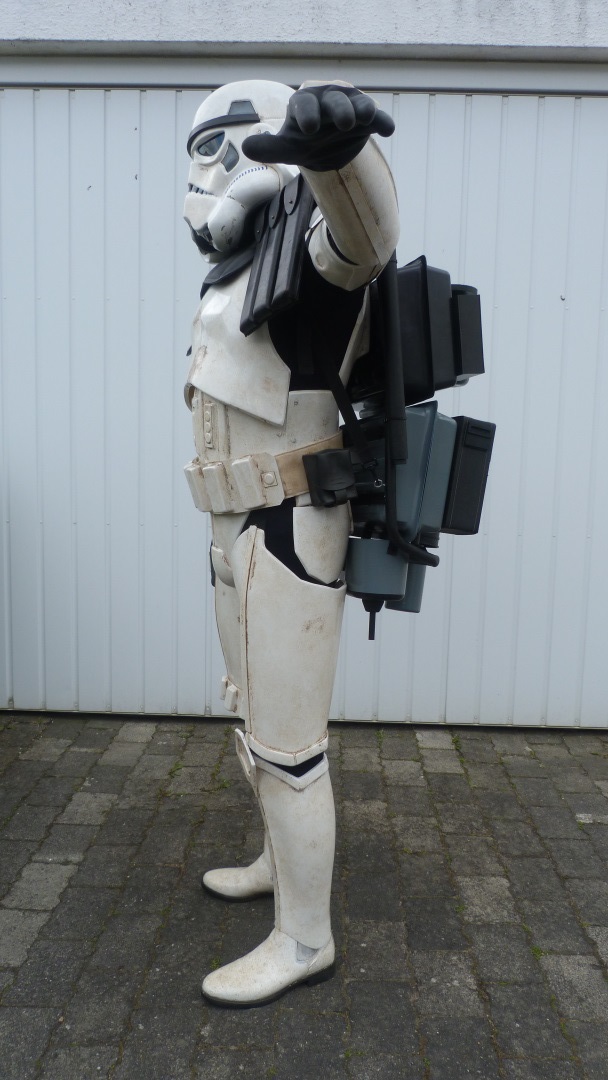
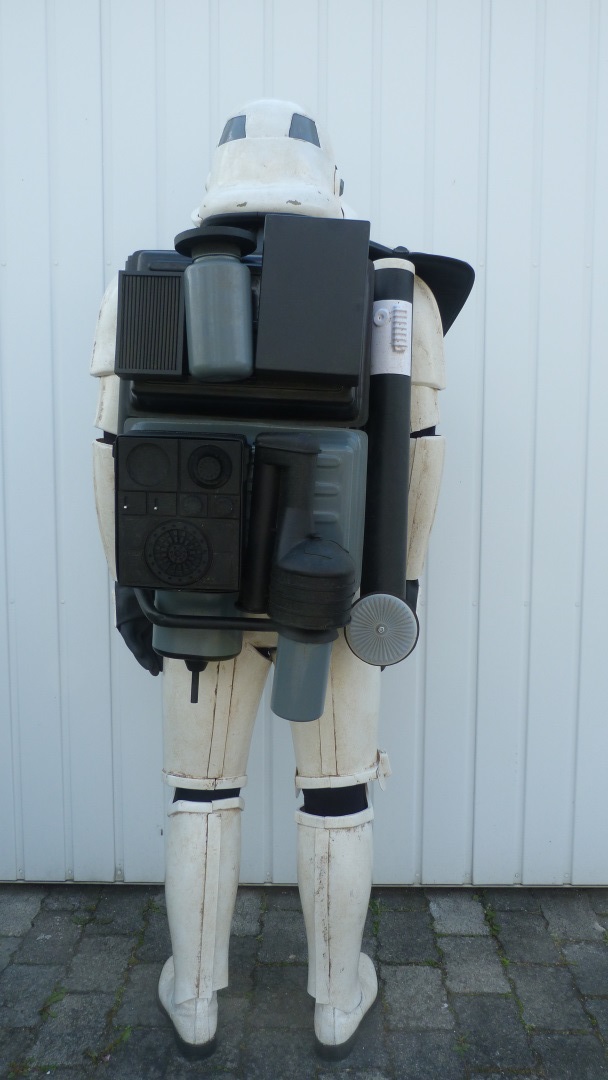
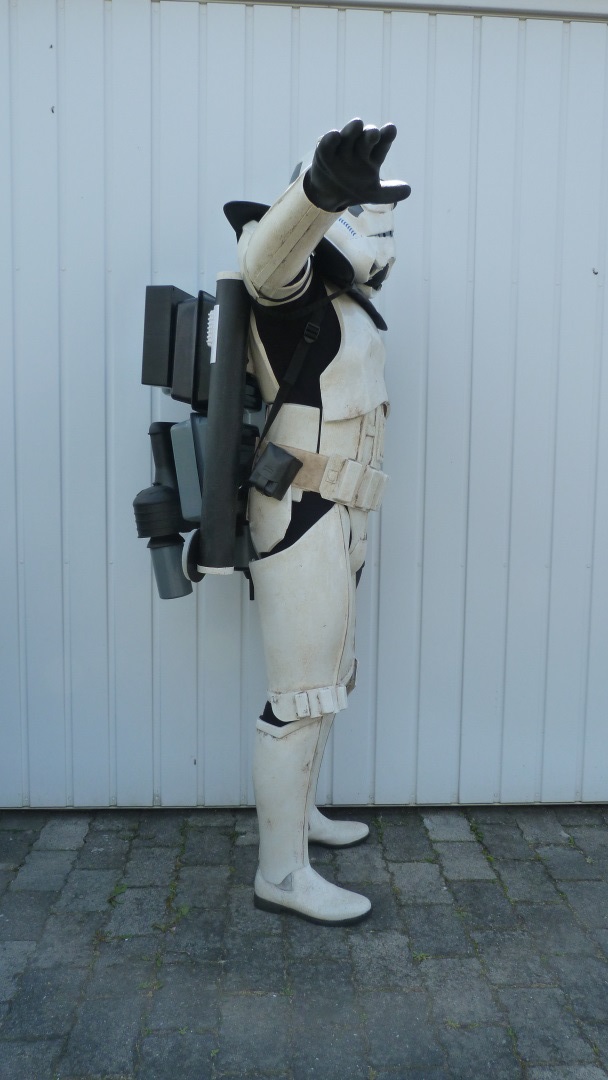
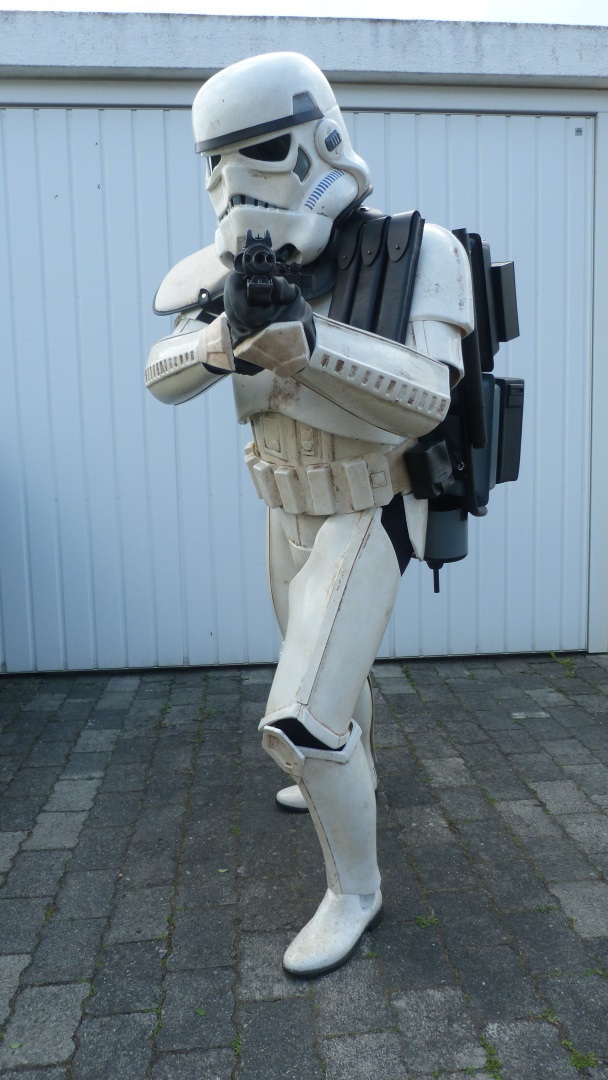
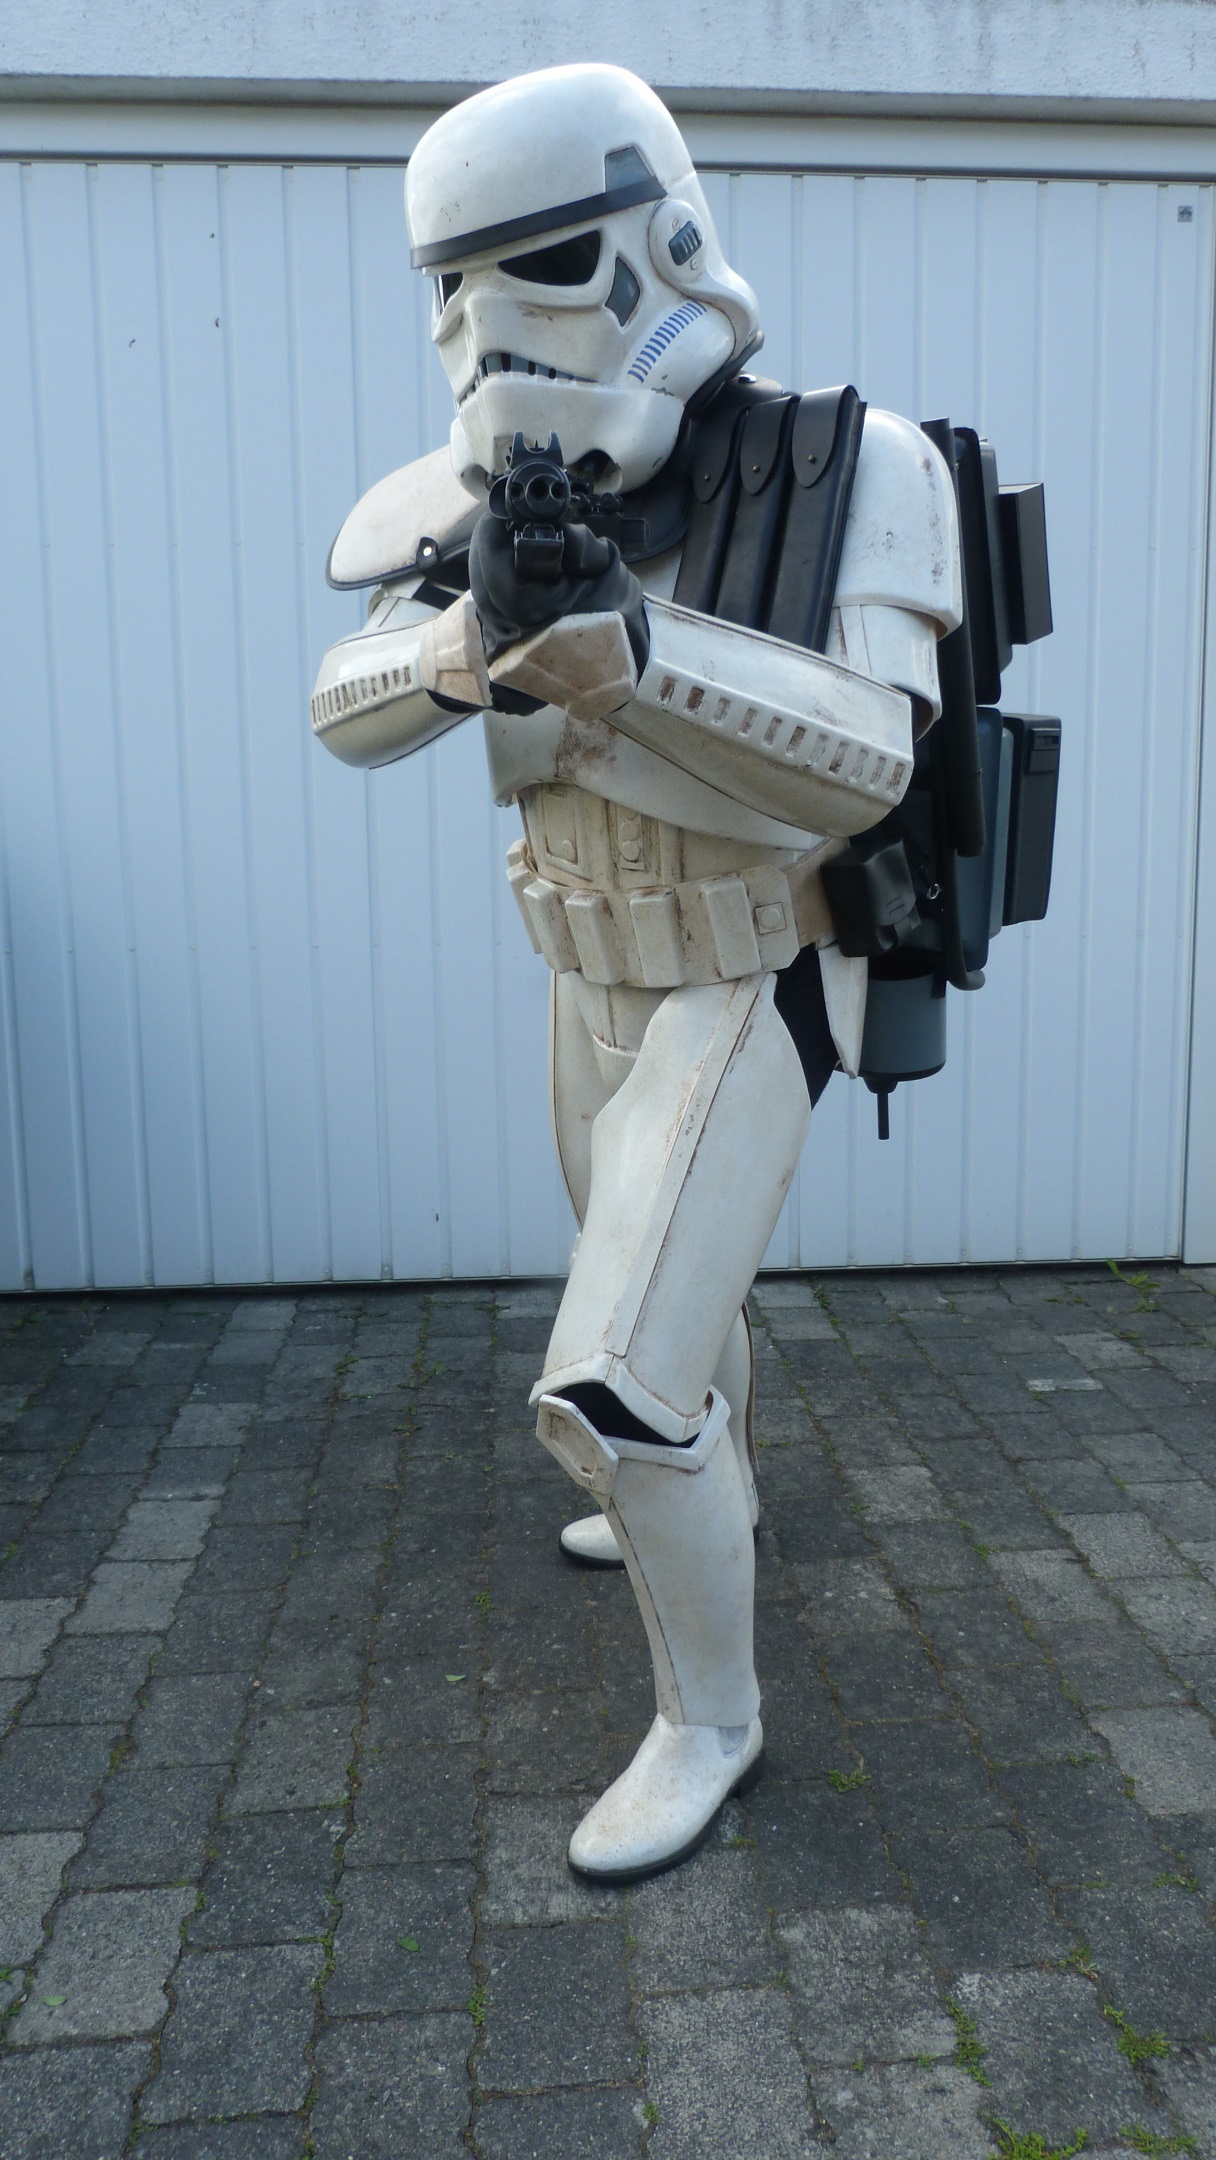
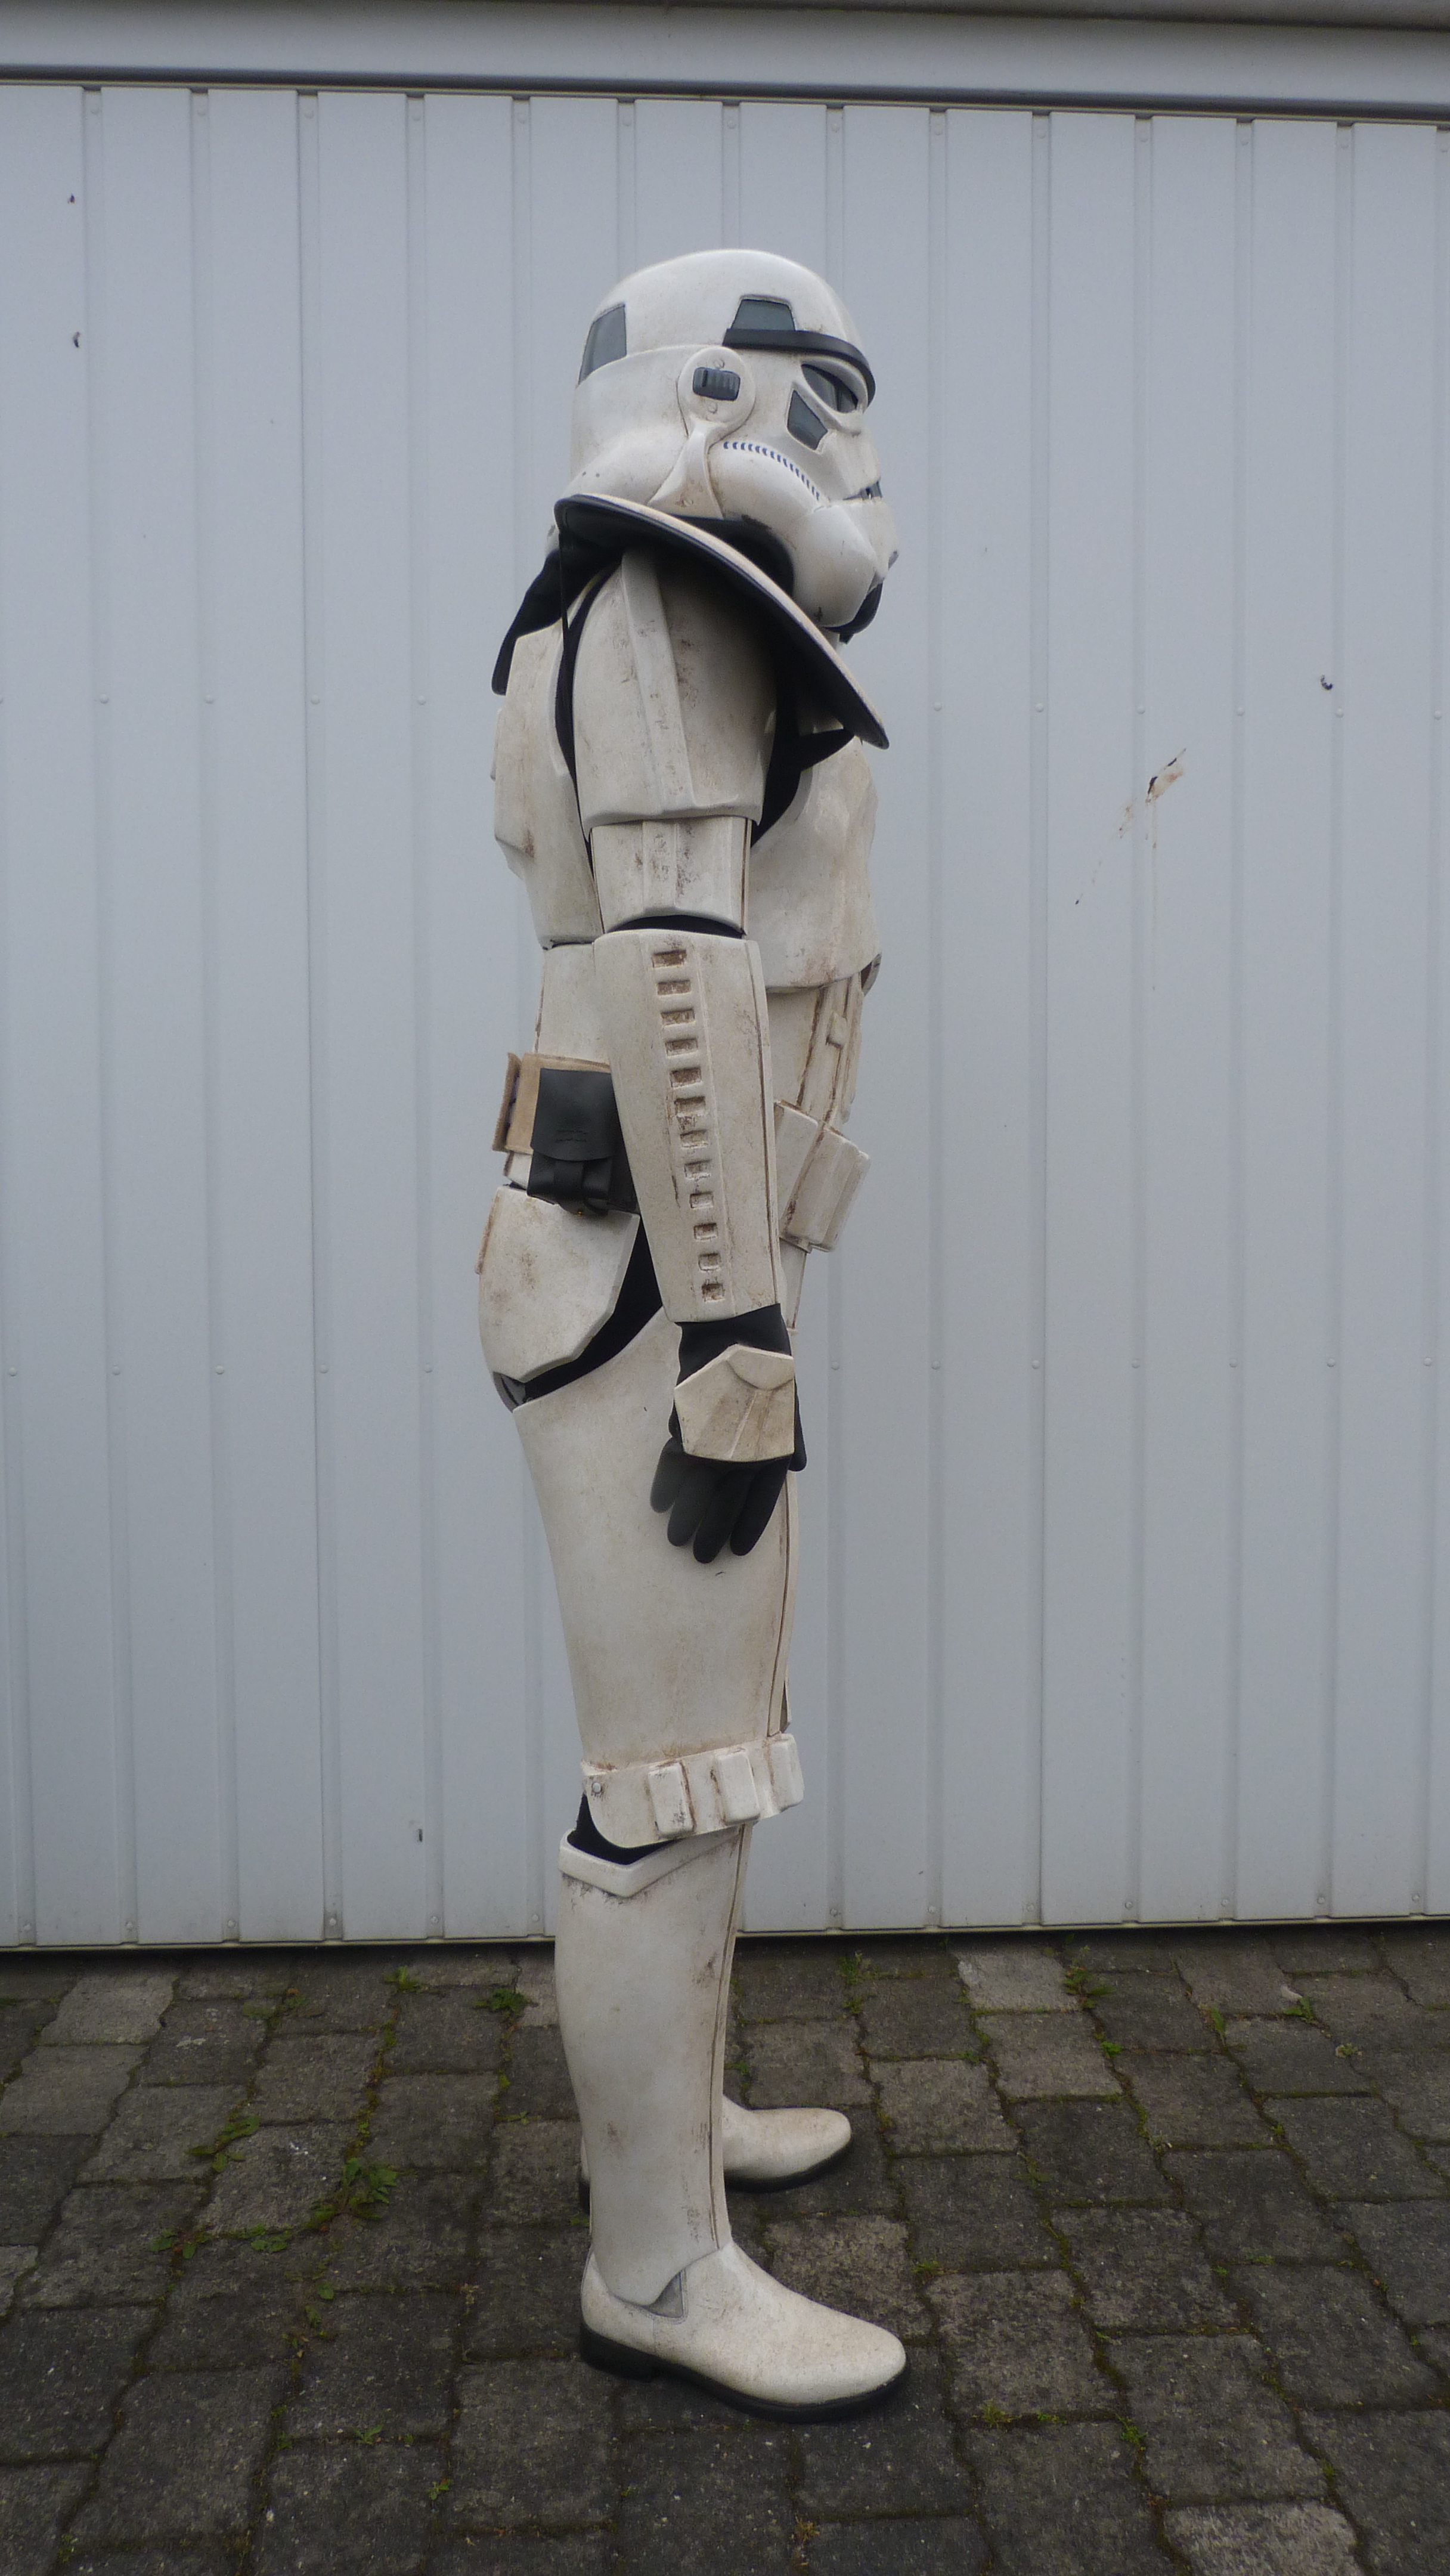
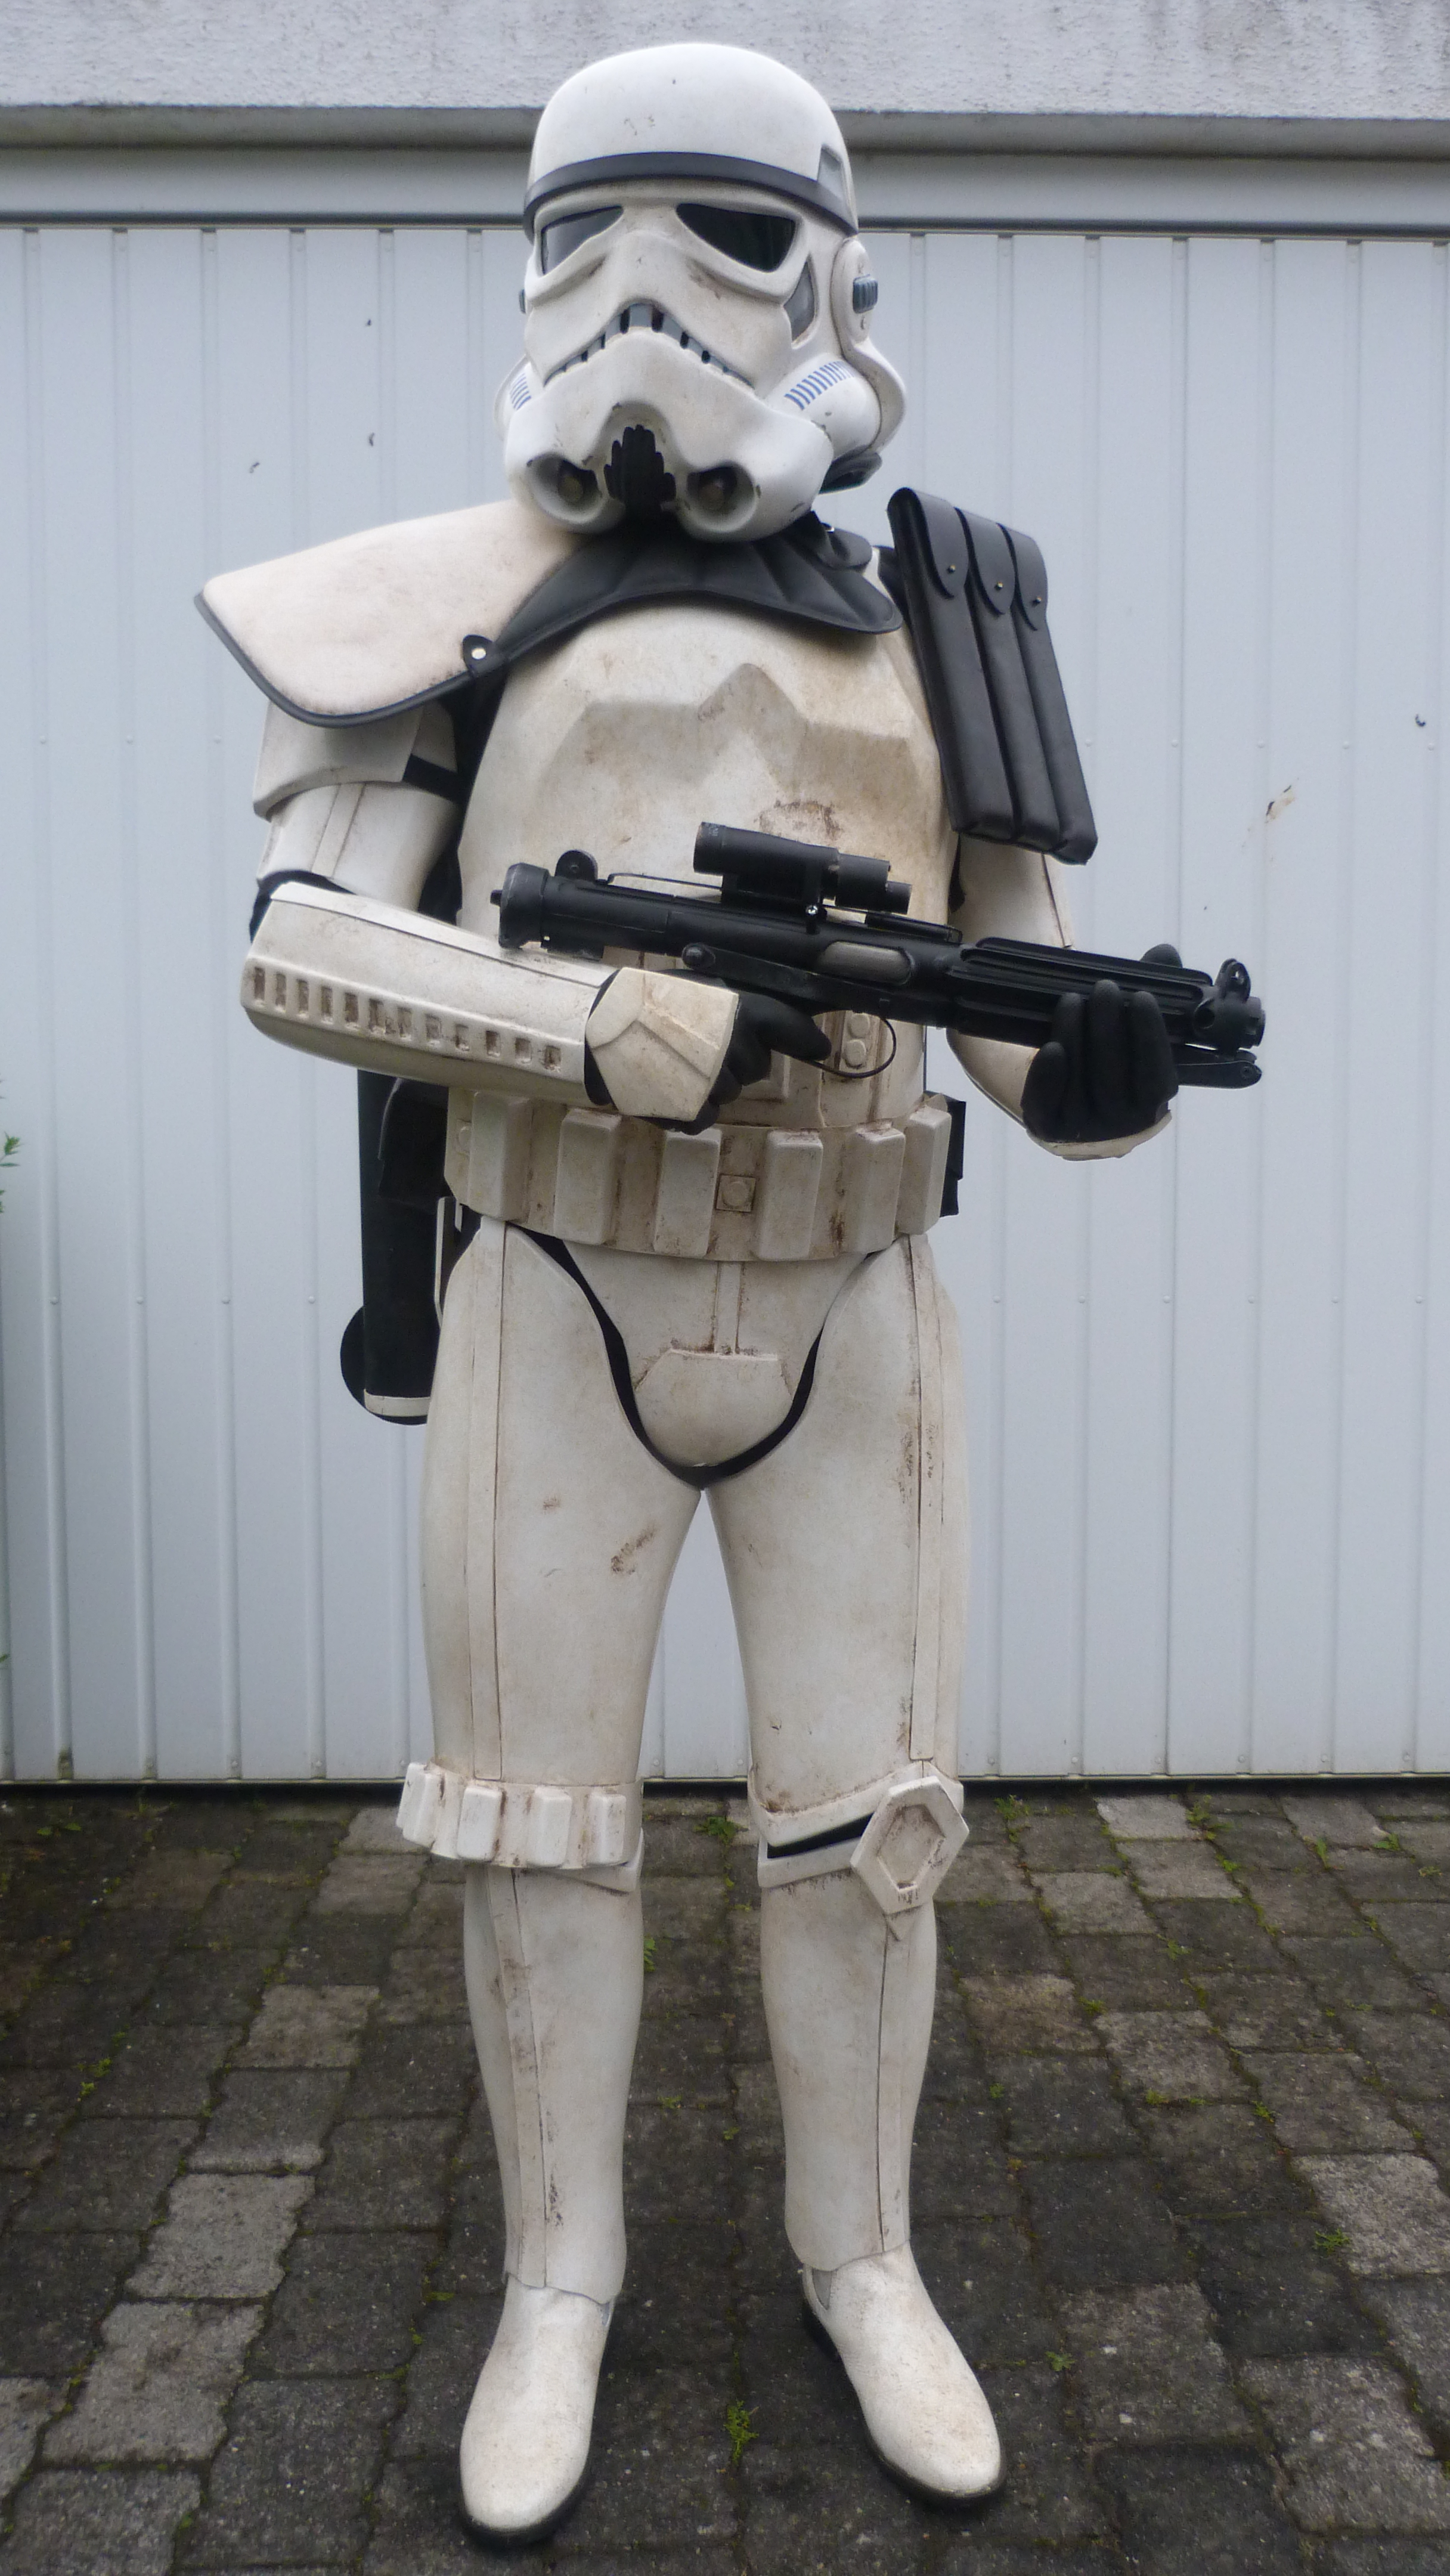
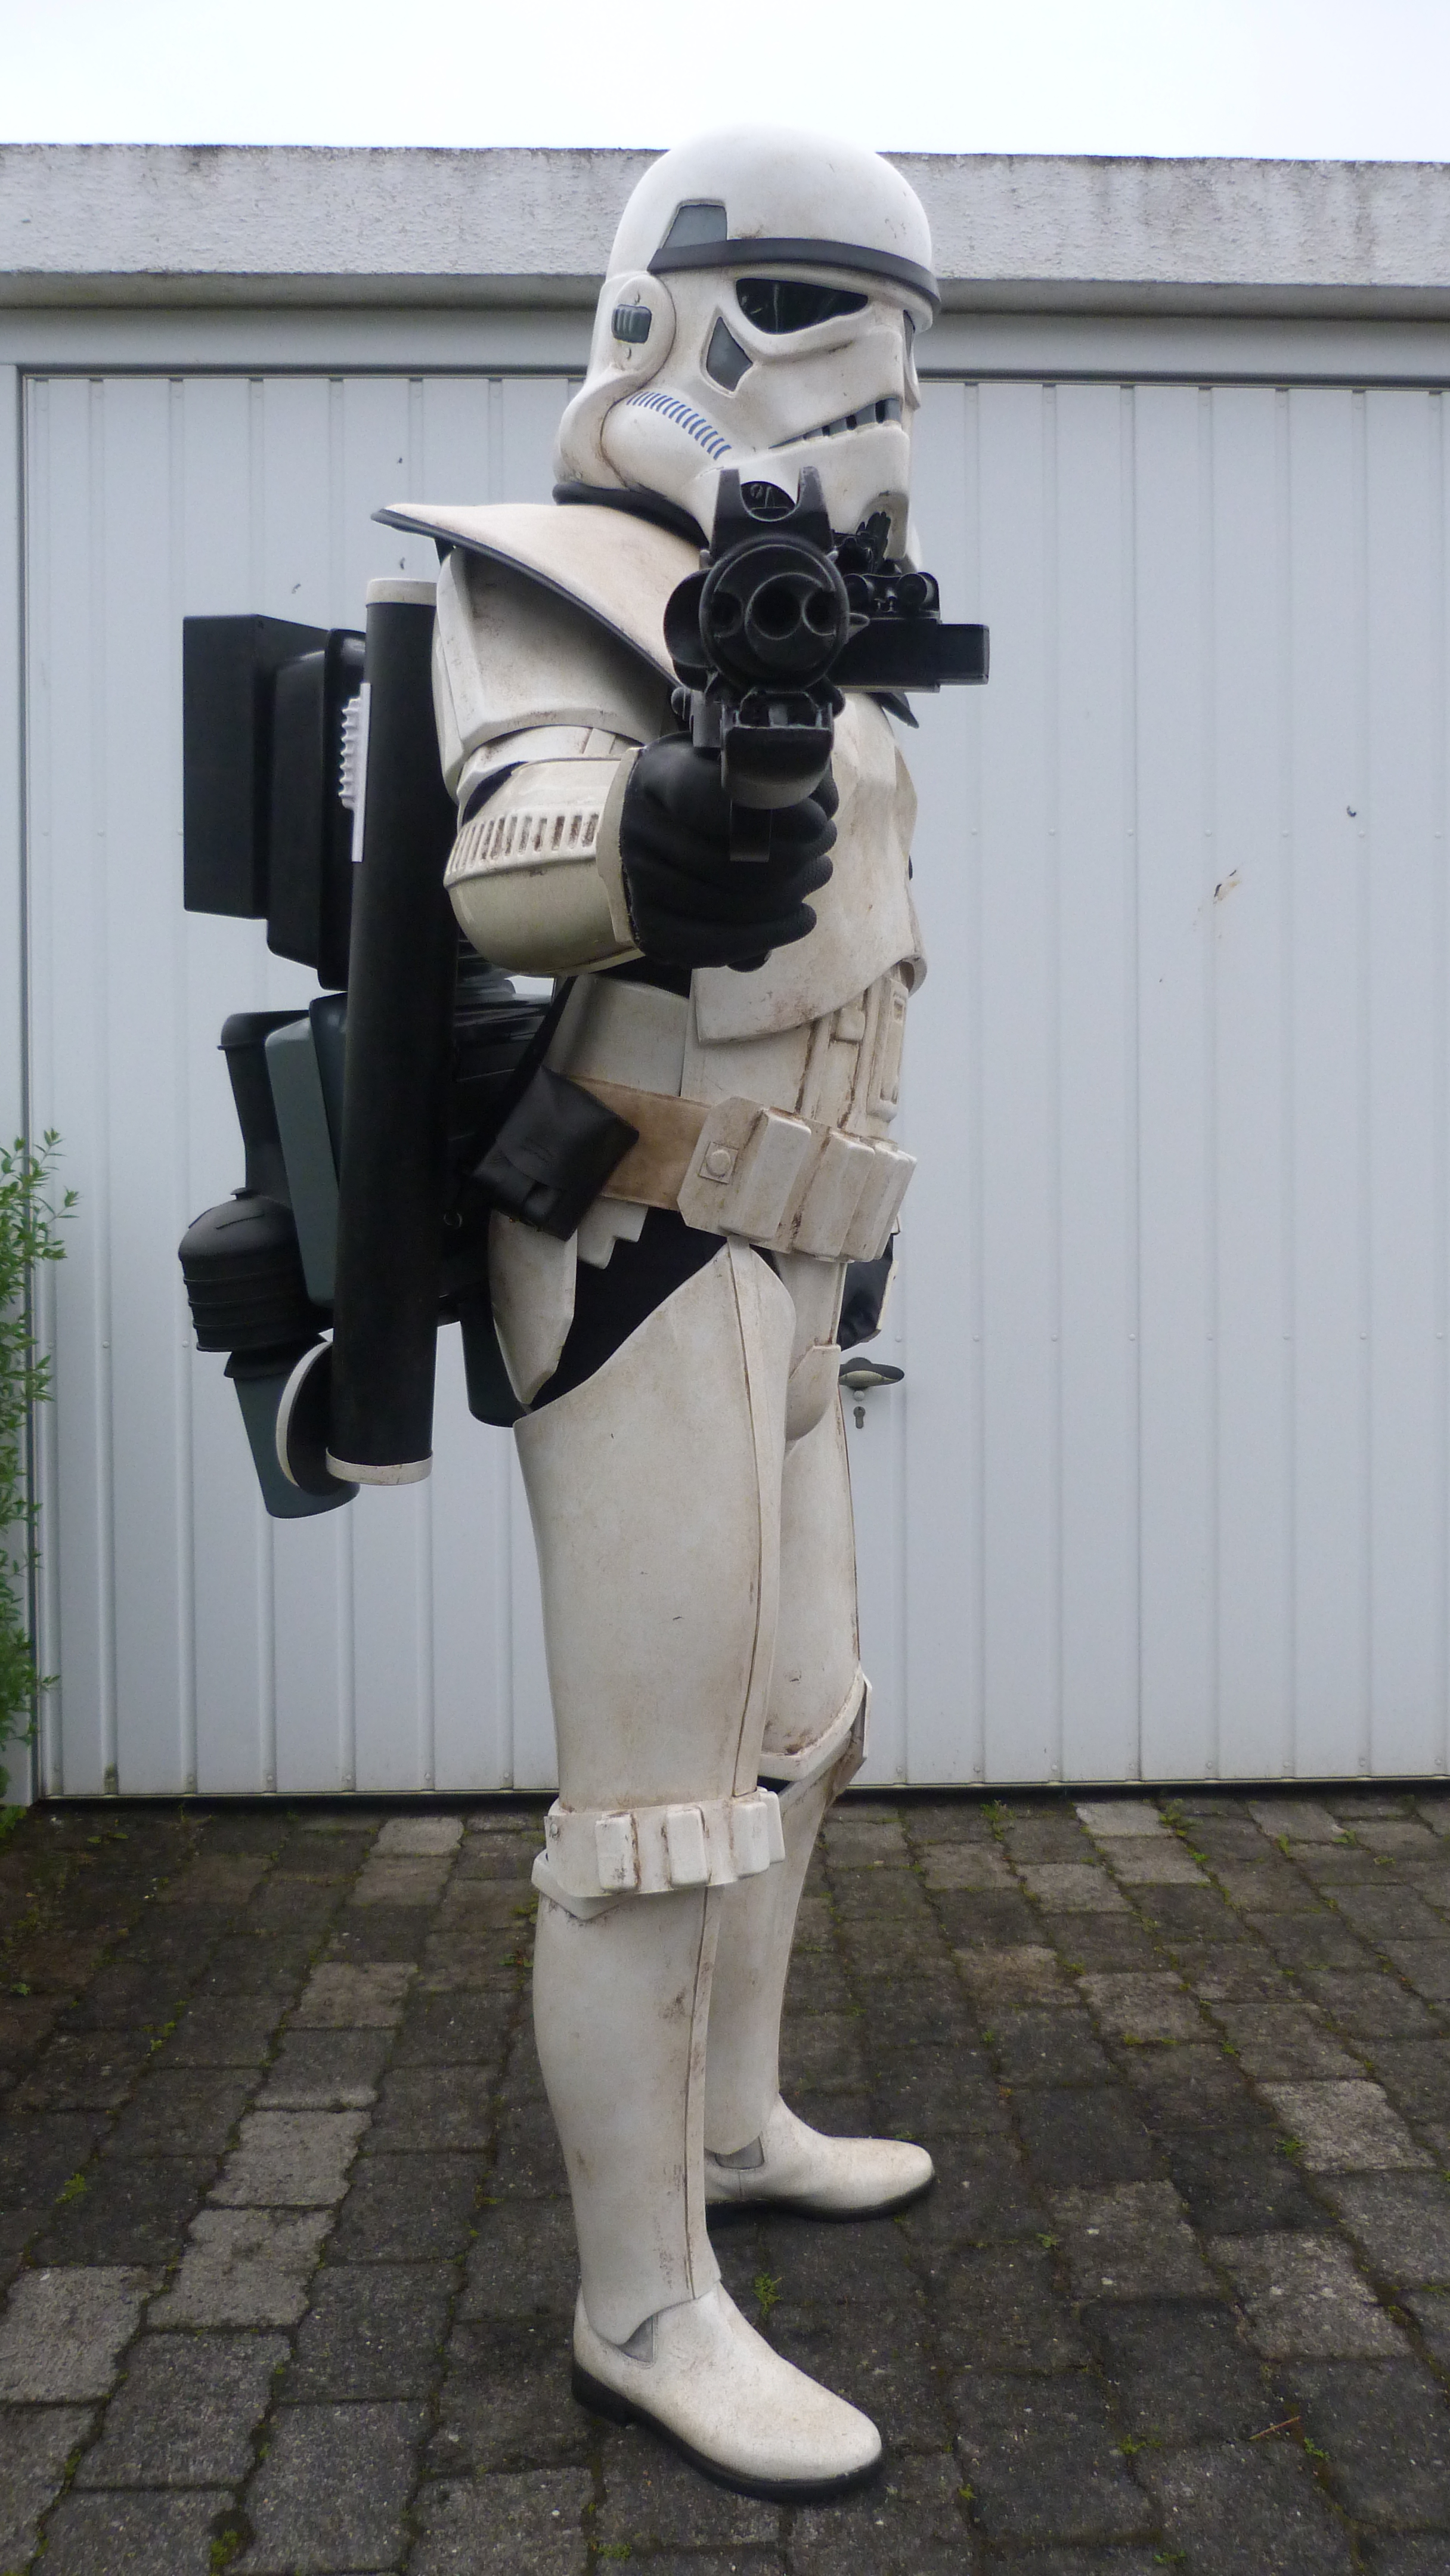
Armor
Front

Left

Left (arm up)

Left (w/o backpack)
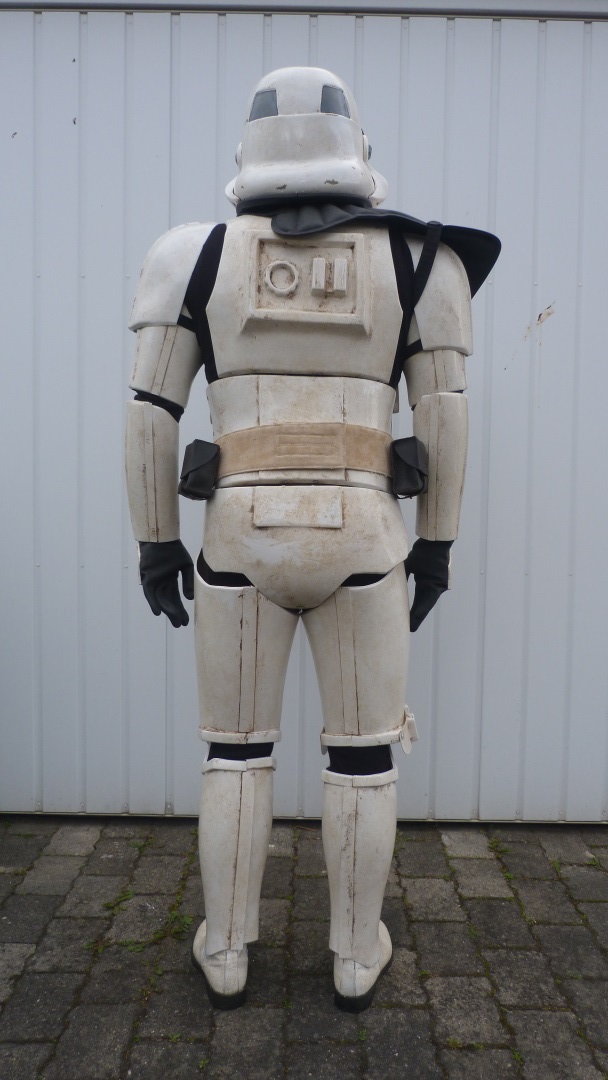
Back
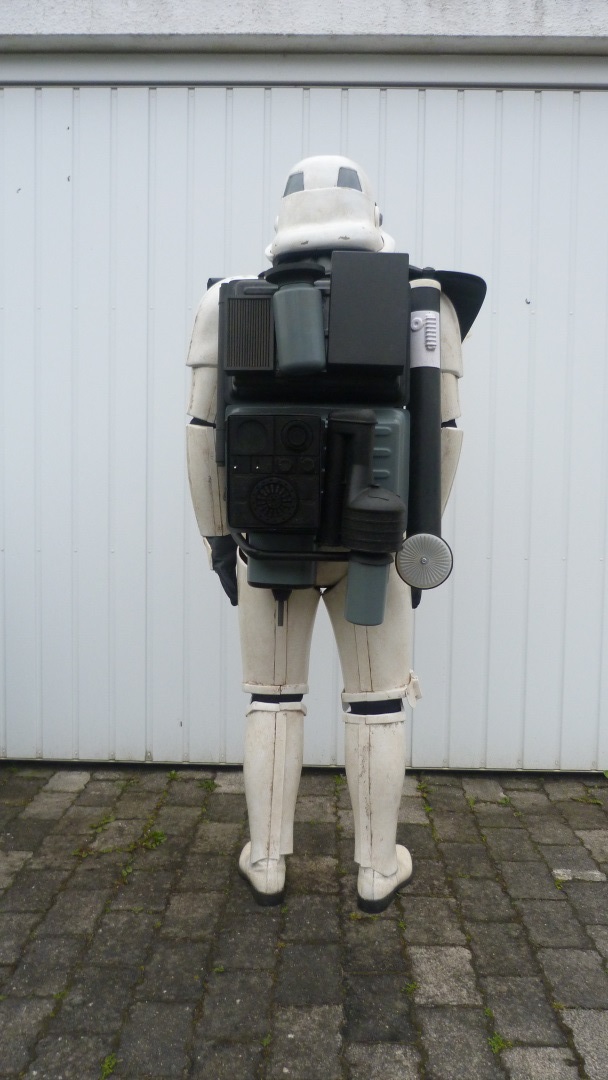
Back (w/o backpack)
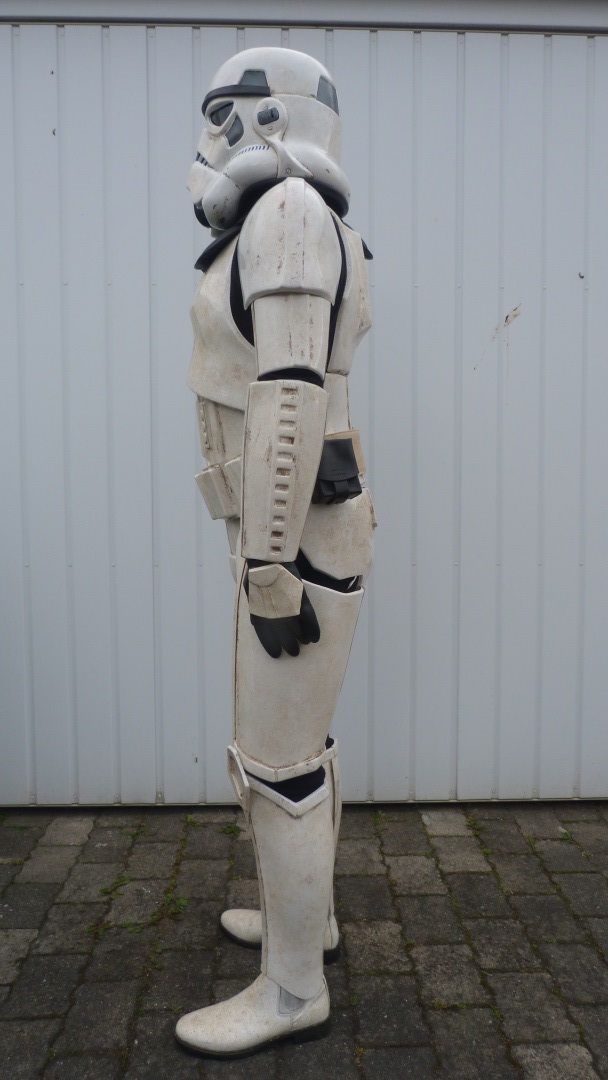
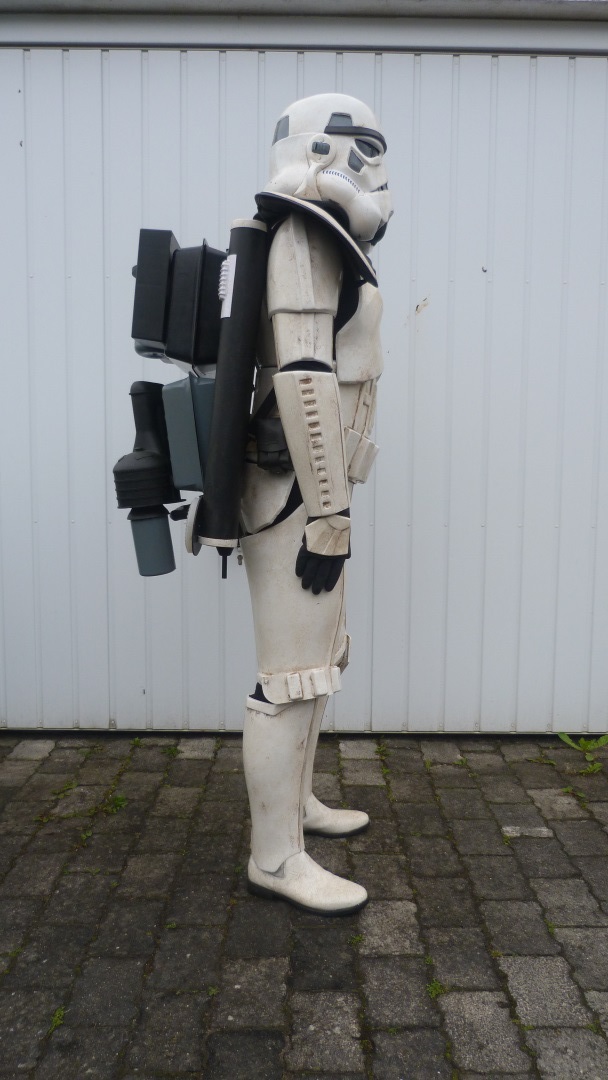
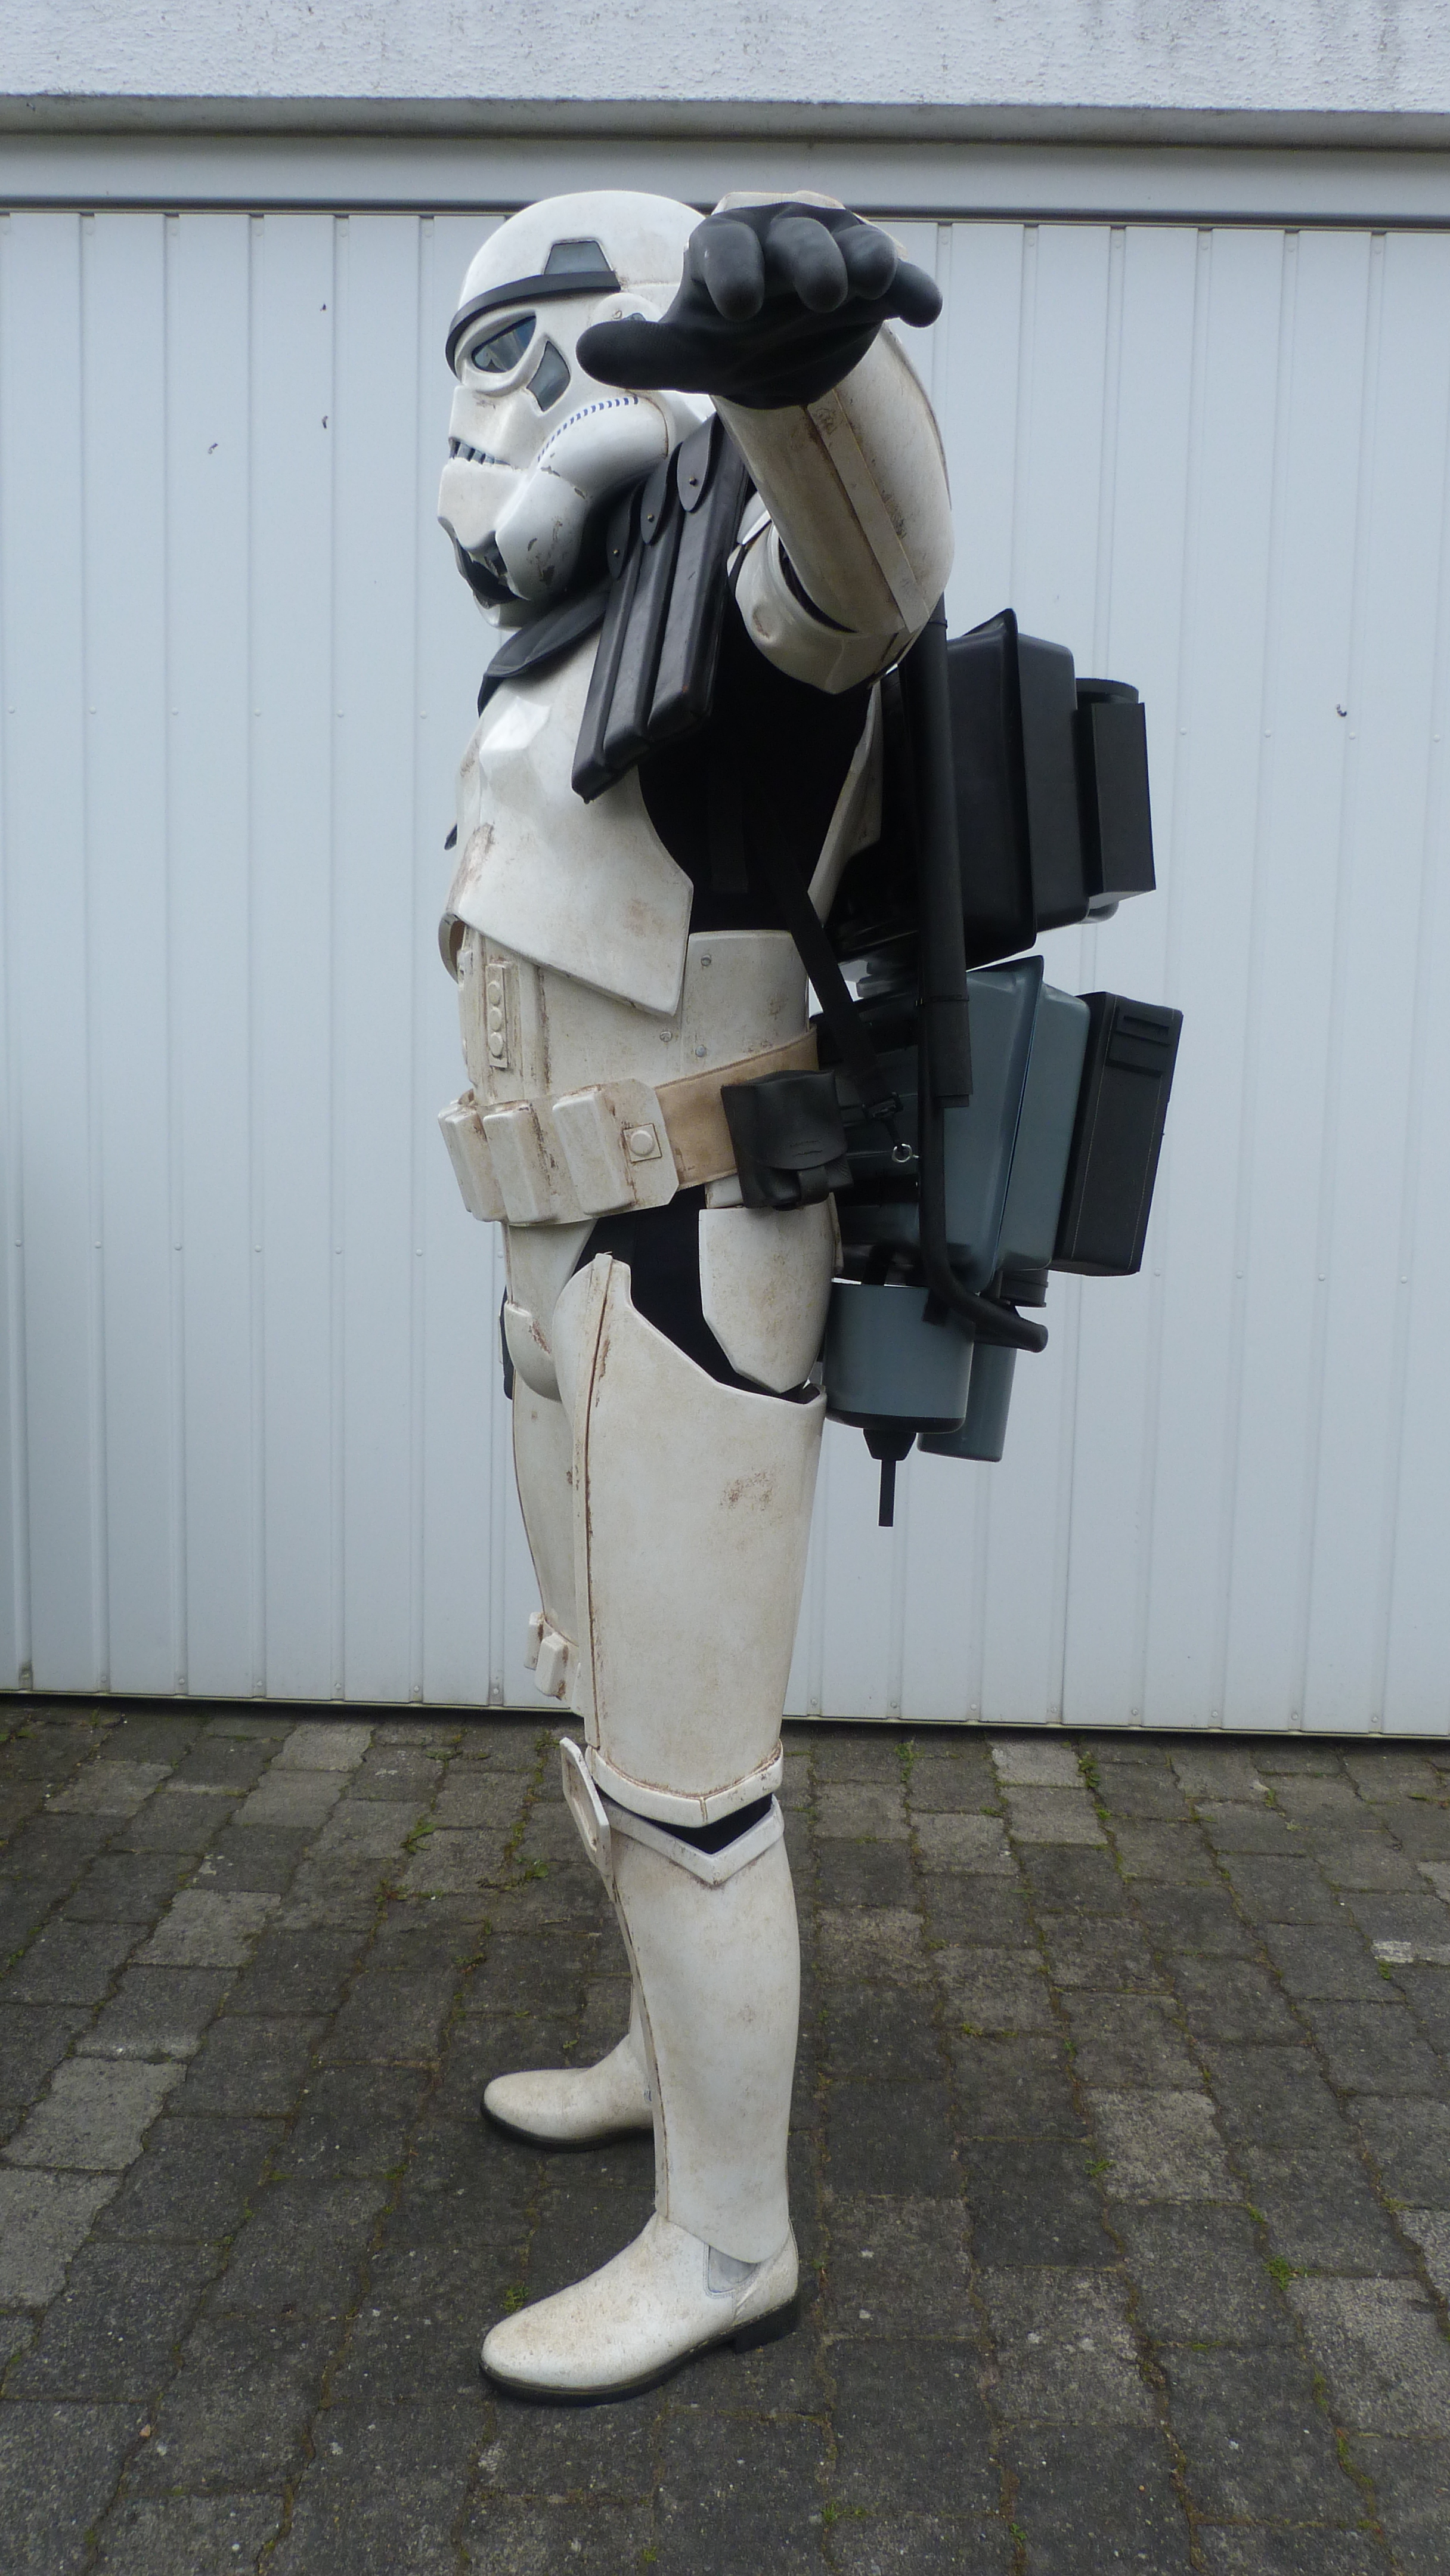
Right
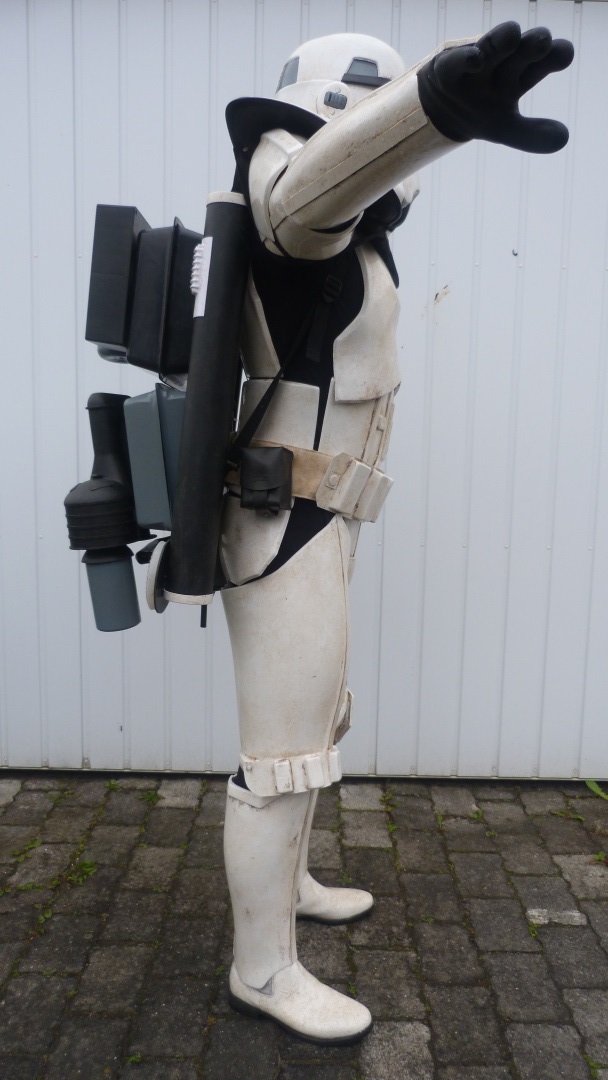
Right (arm up)
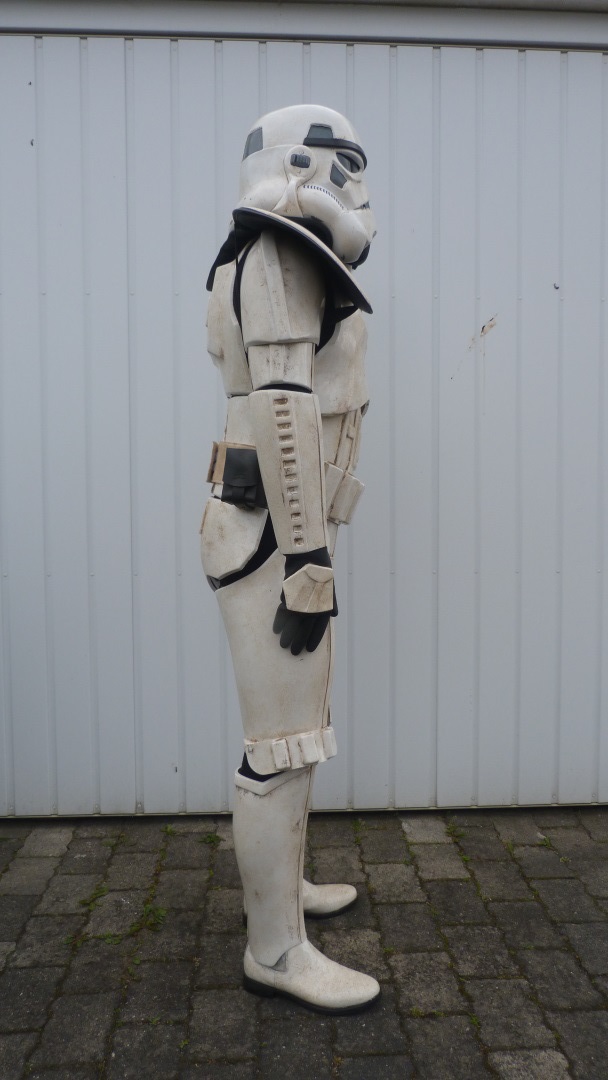
Right (w/o backpack)
Action


Bucket off
Details
Front

Ab Detail
Back
Strapping

Rivets


ShouderStrap

Thighs

Shins


Belt
Spanish ammo pouches

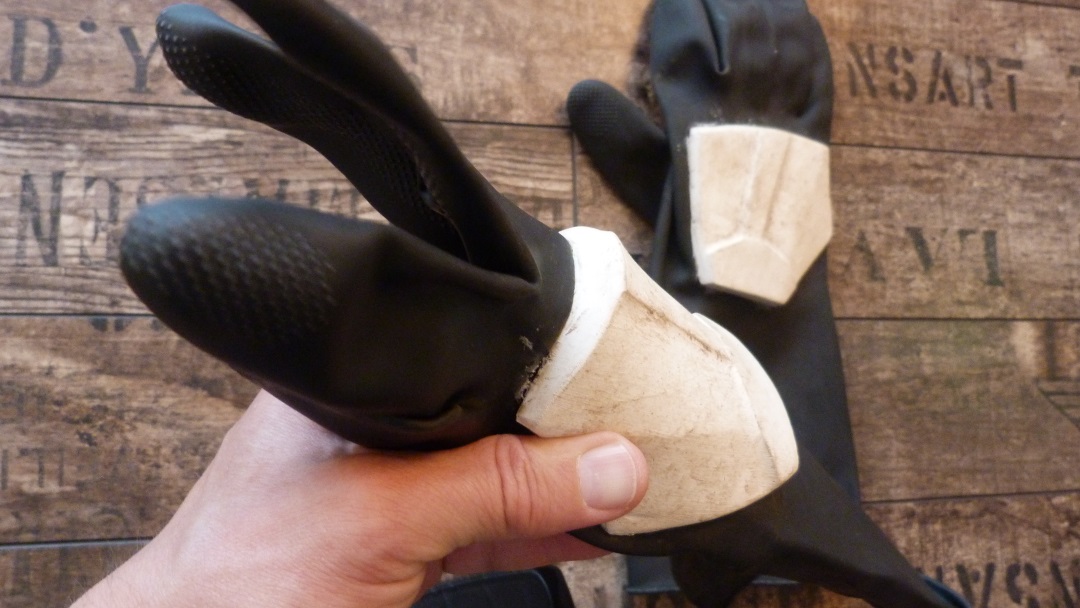
Handguards
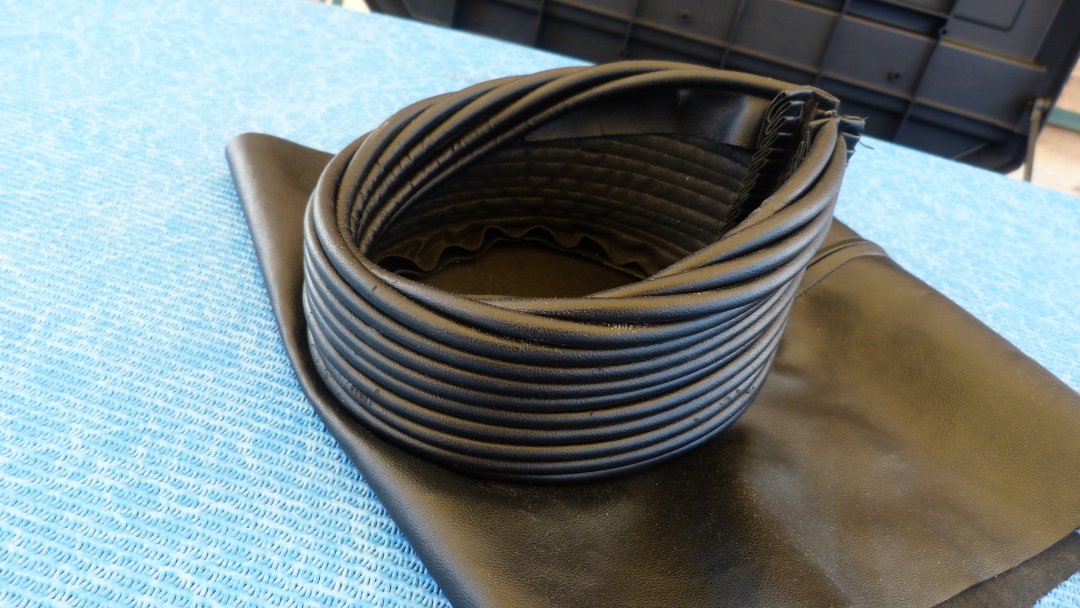
Neckseal
Pauldron

Boots

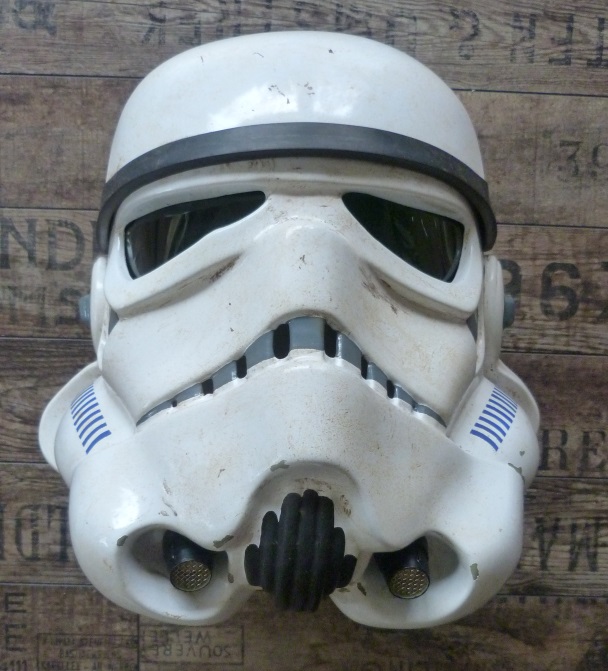
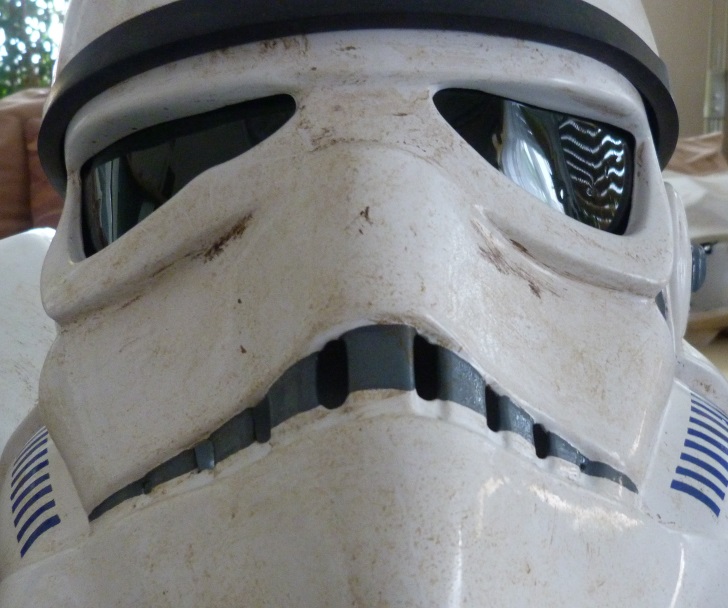
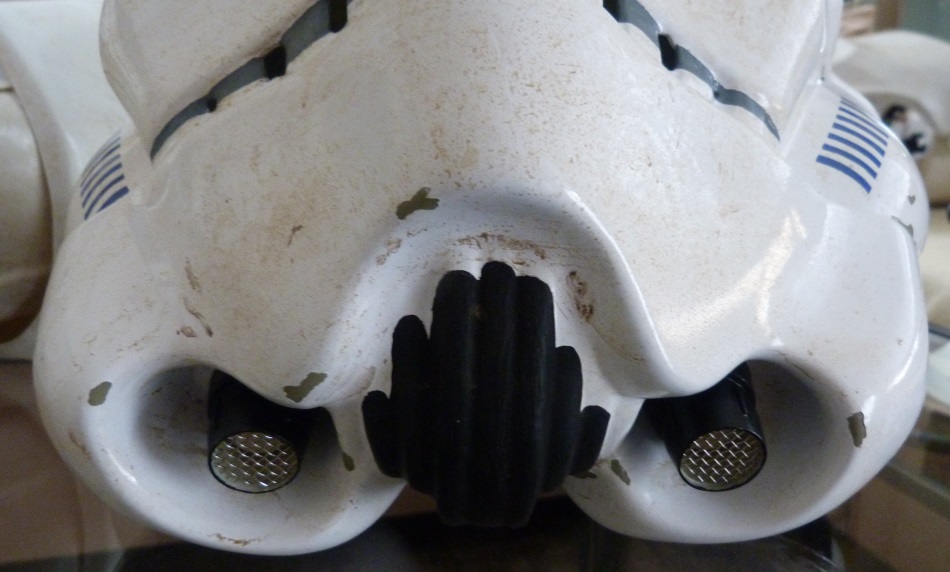
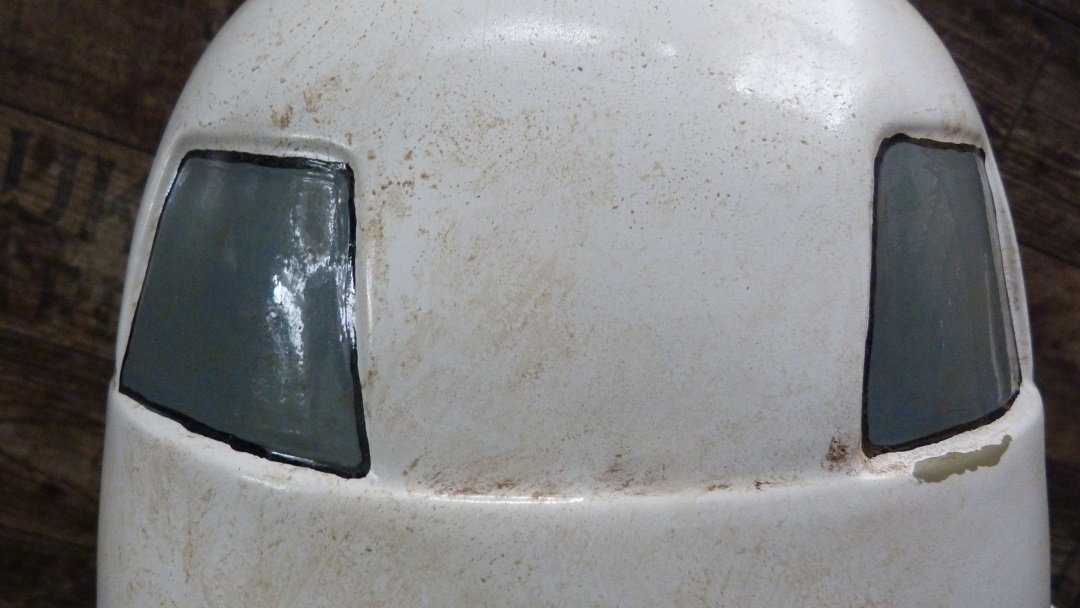
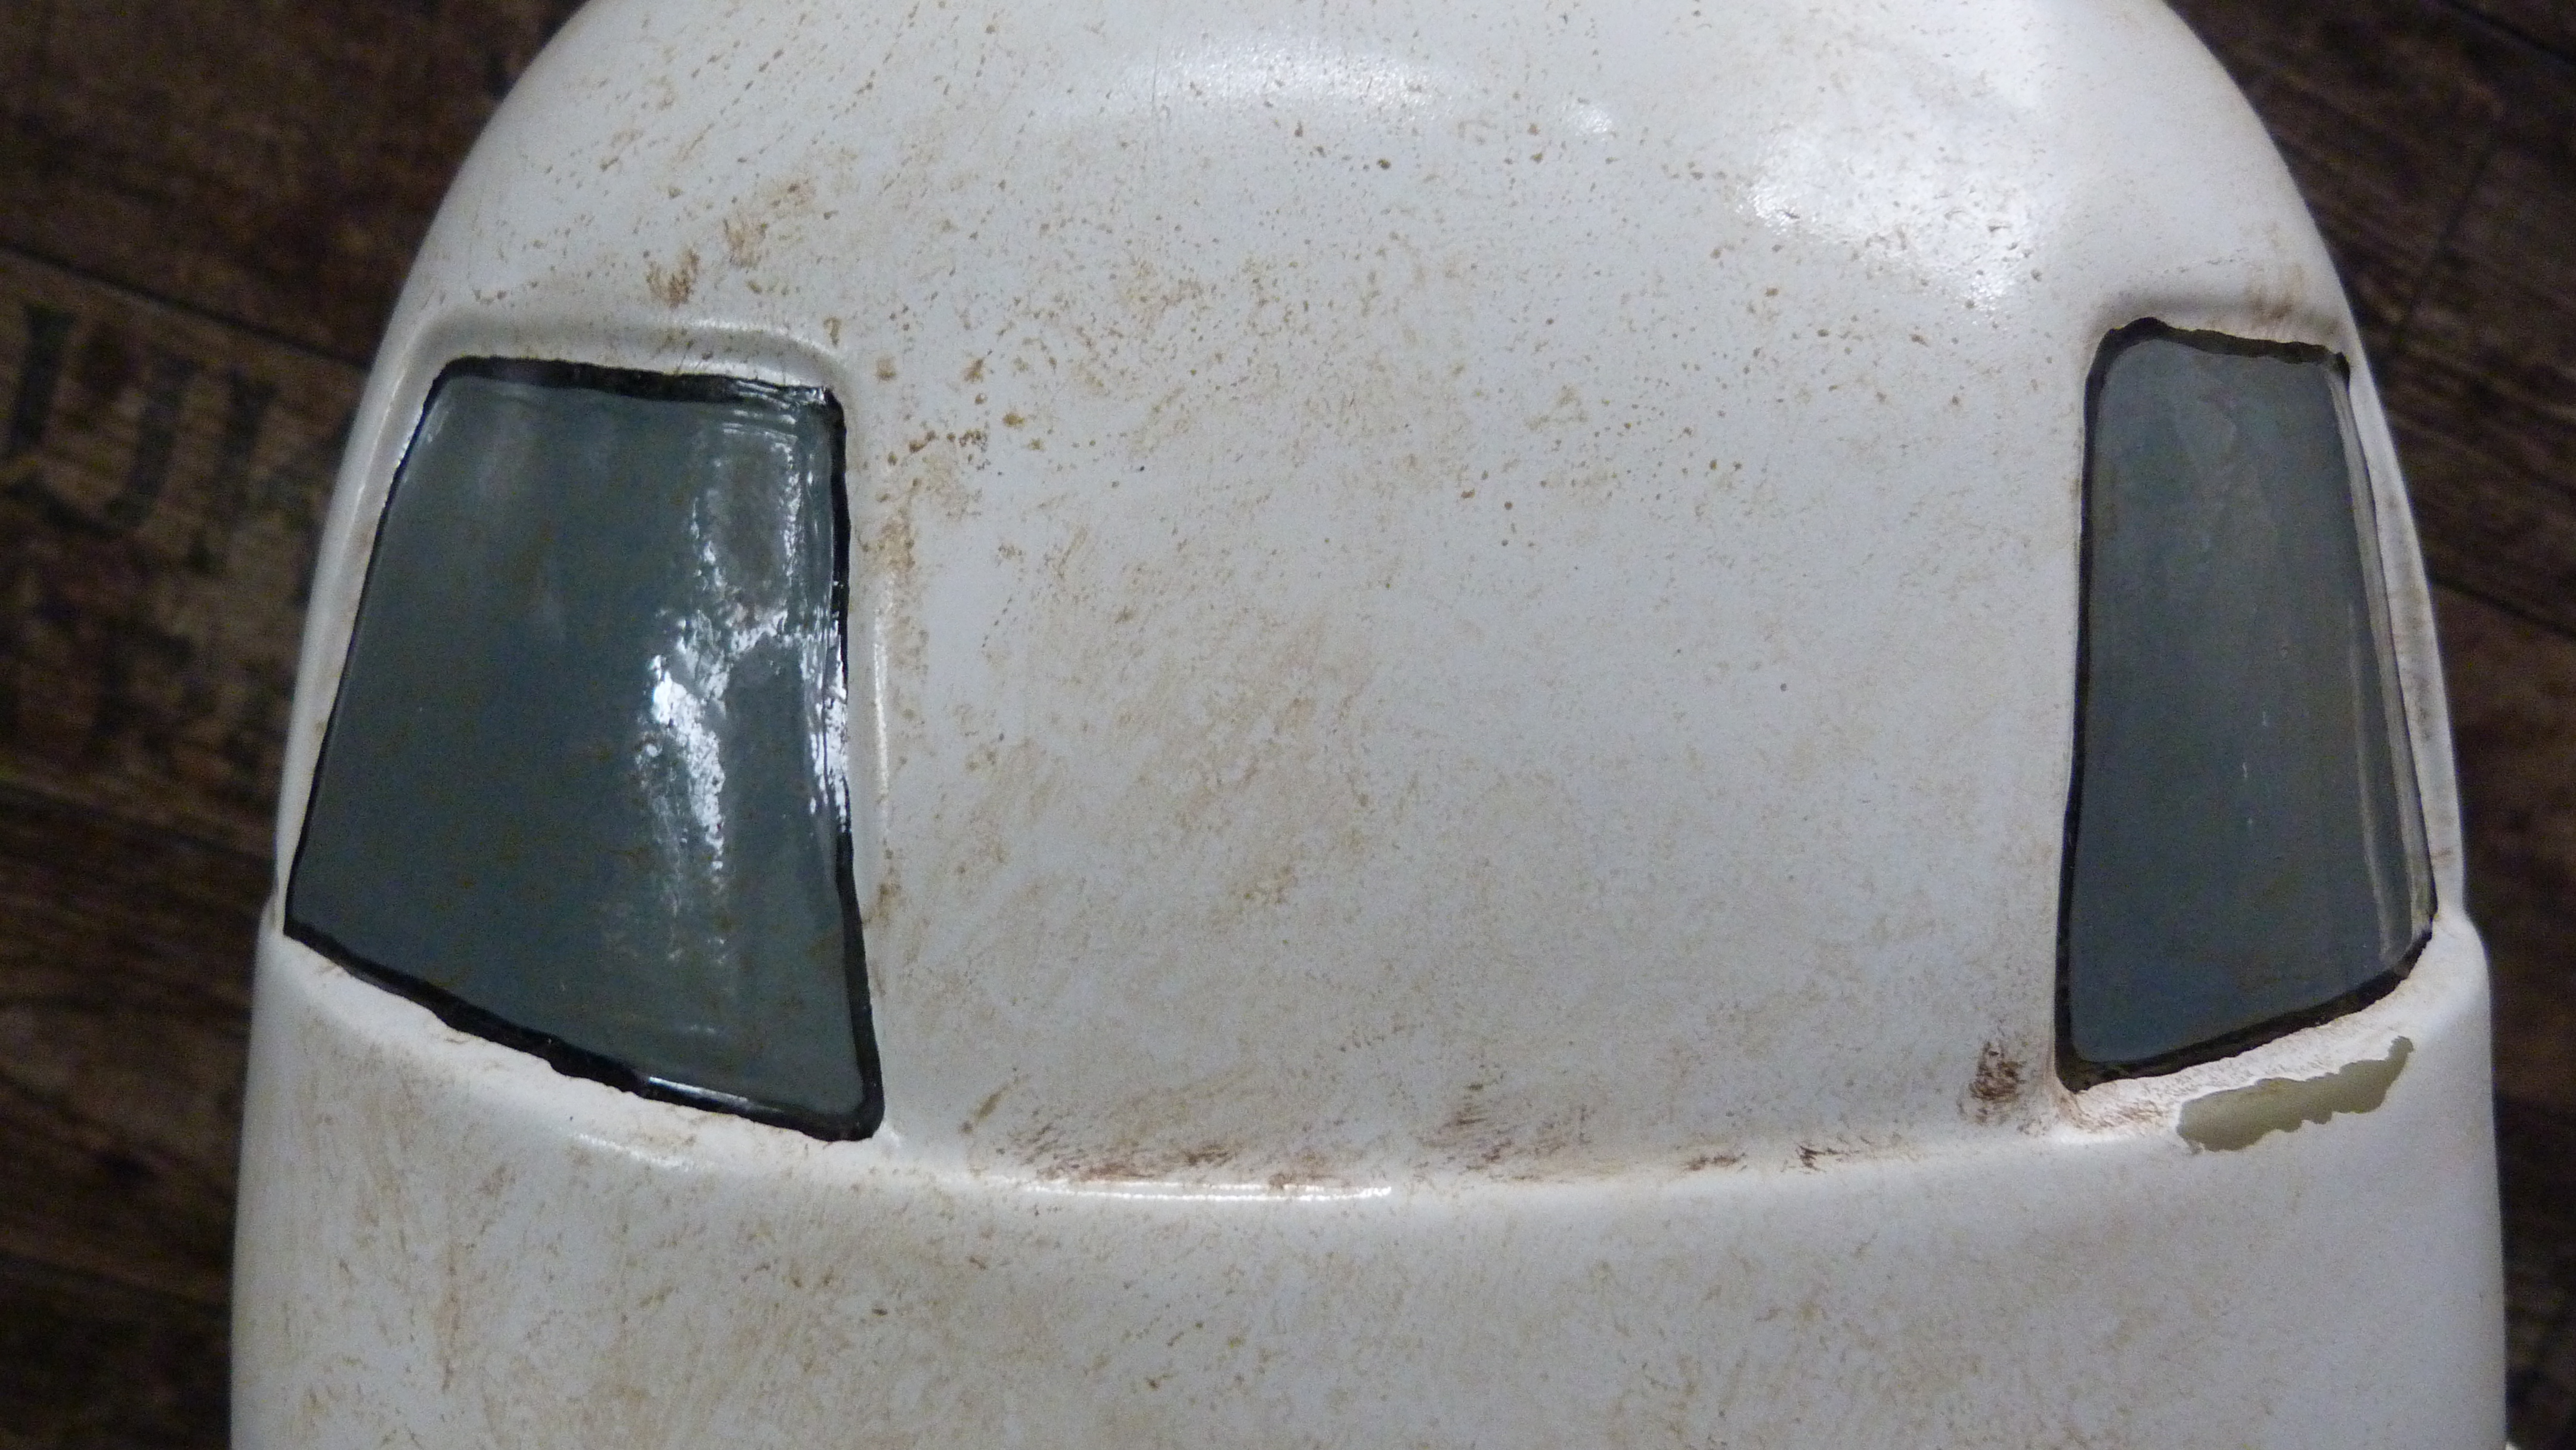
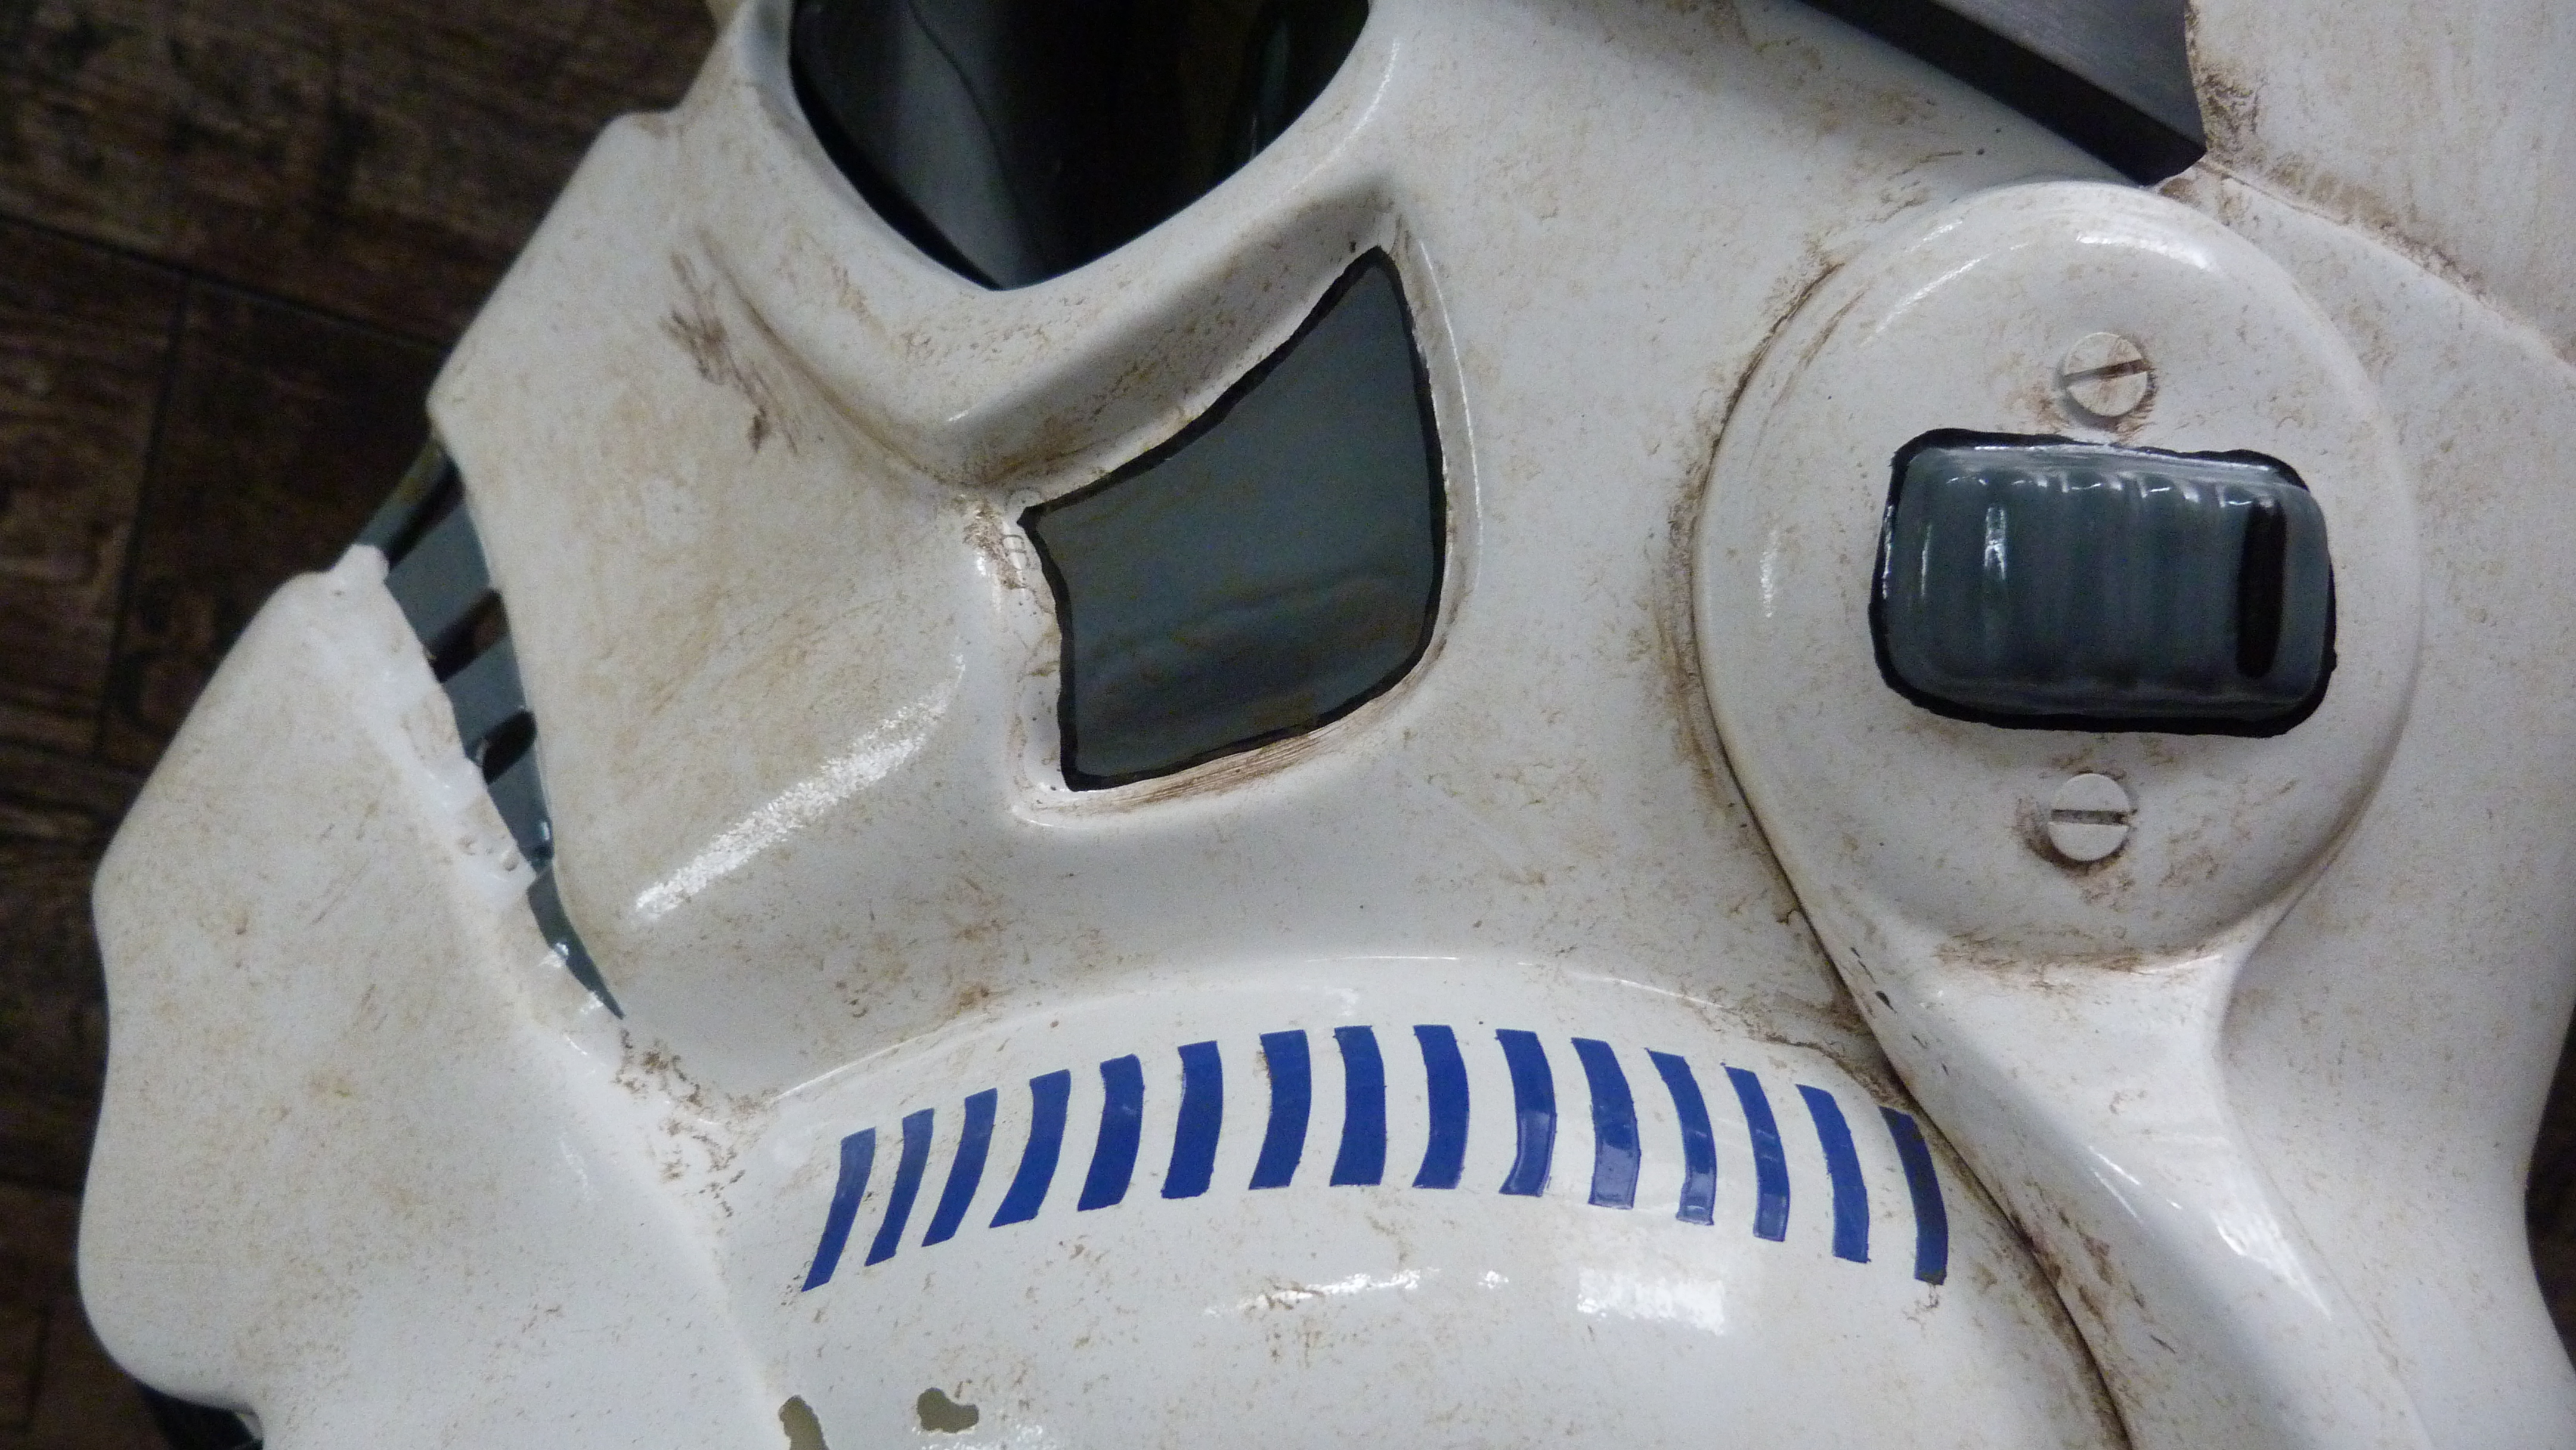
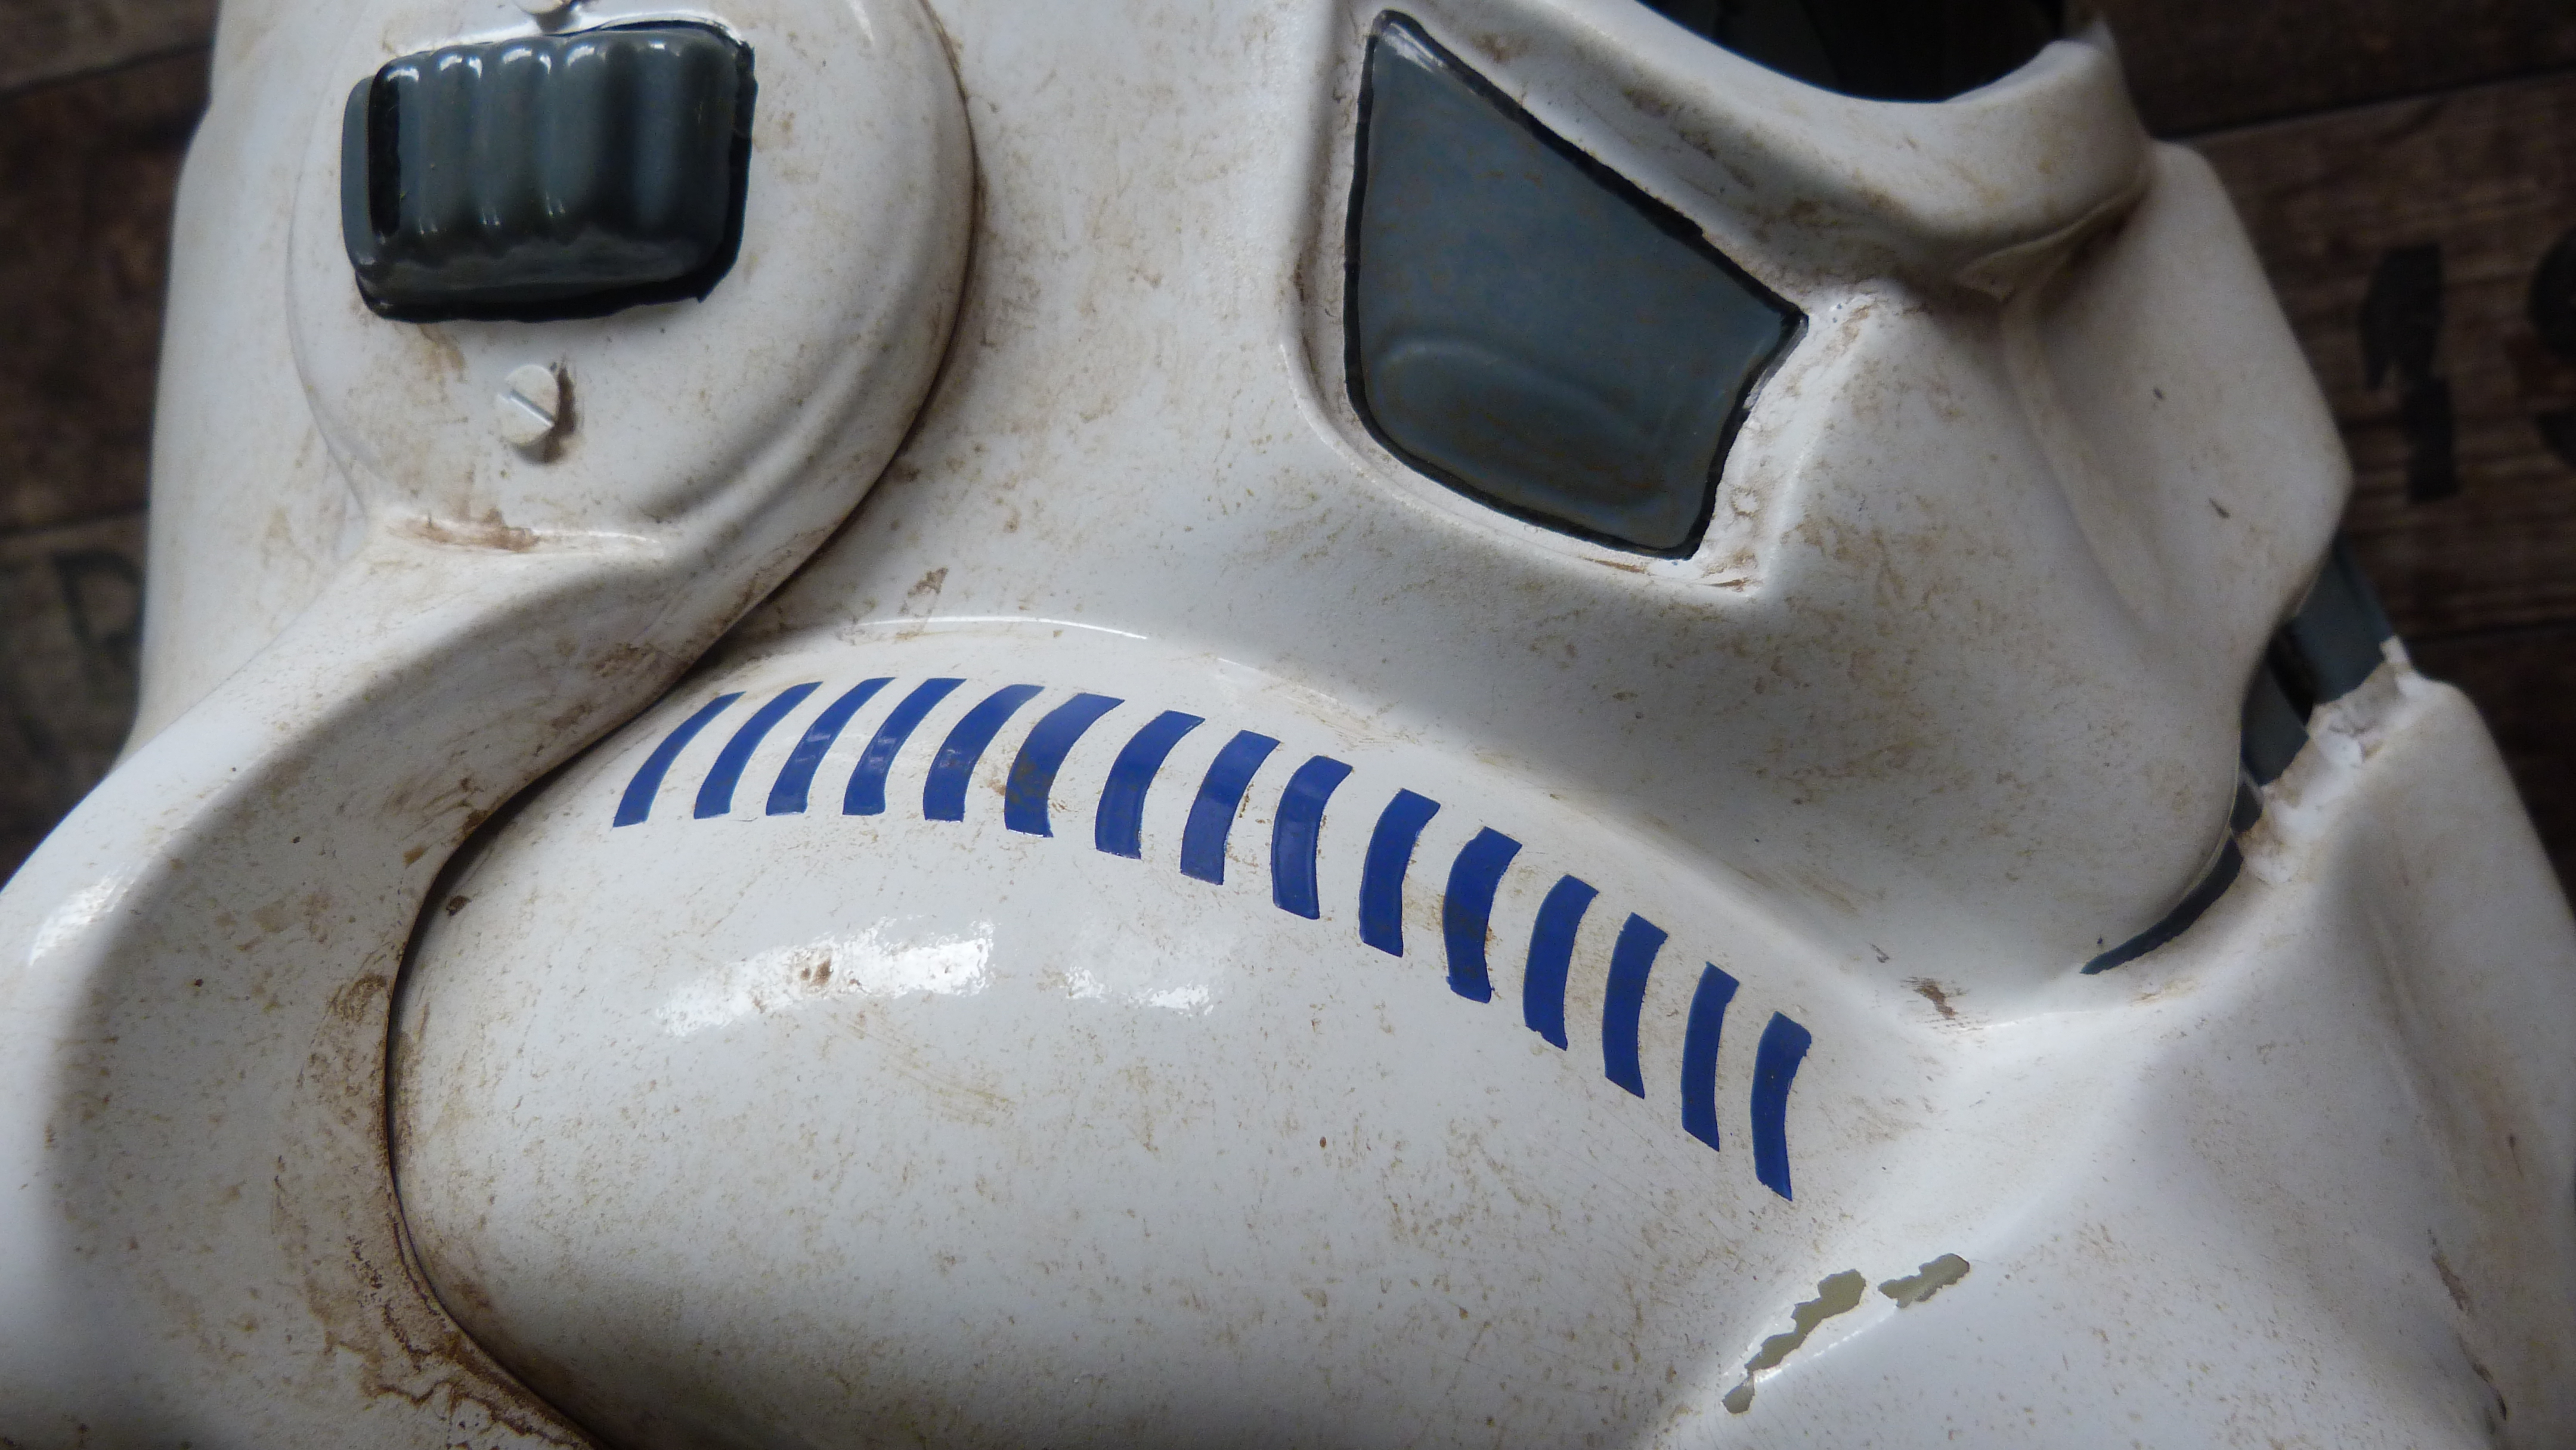
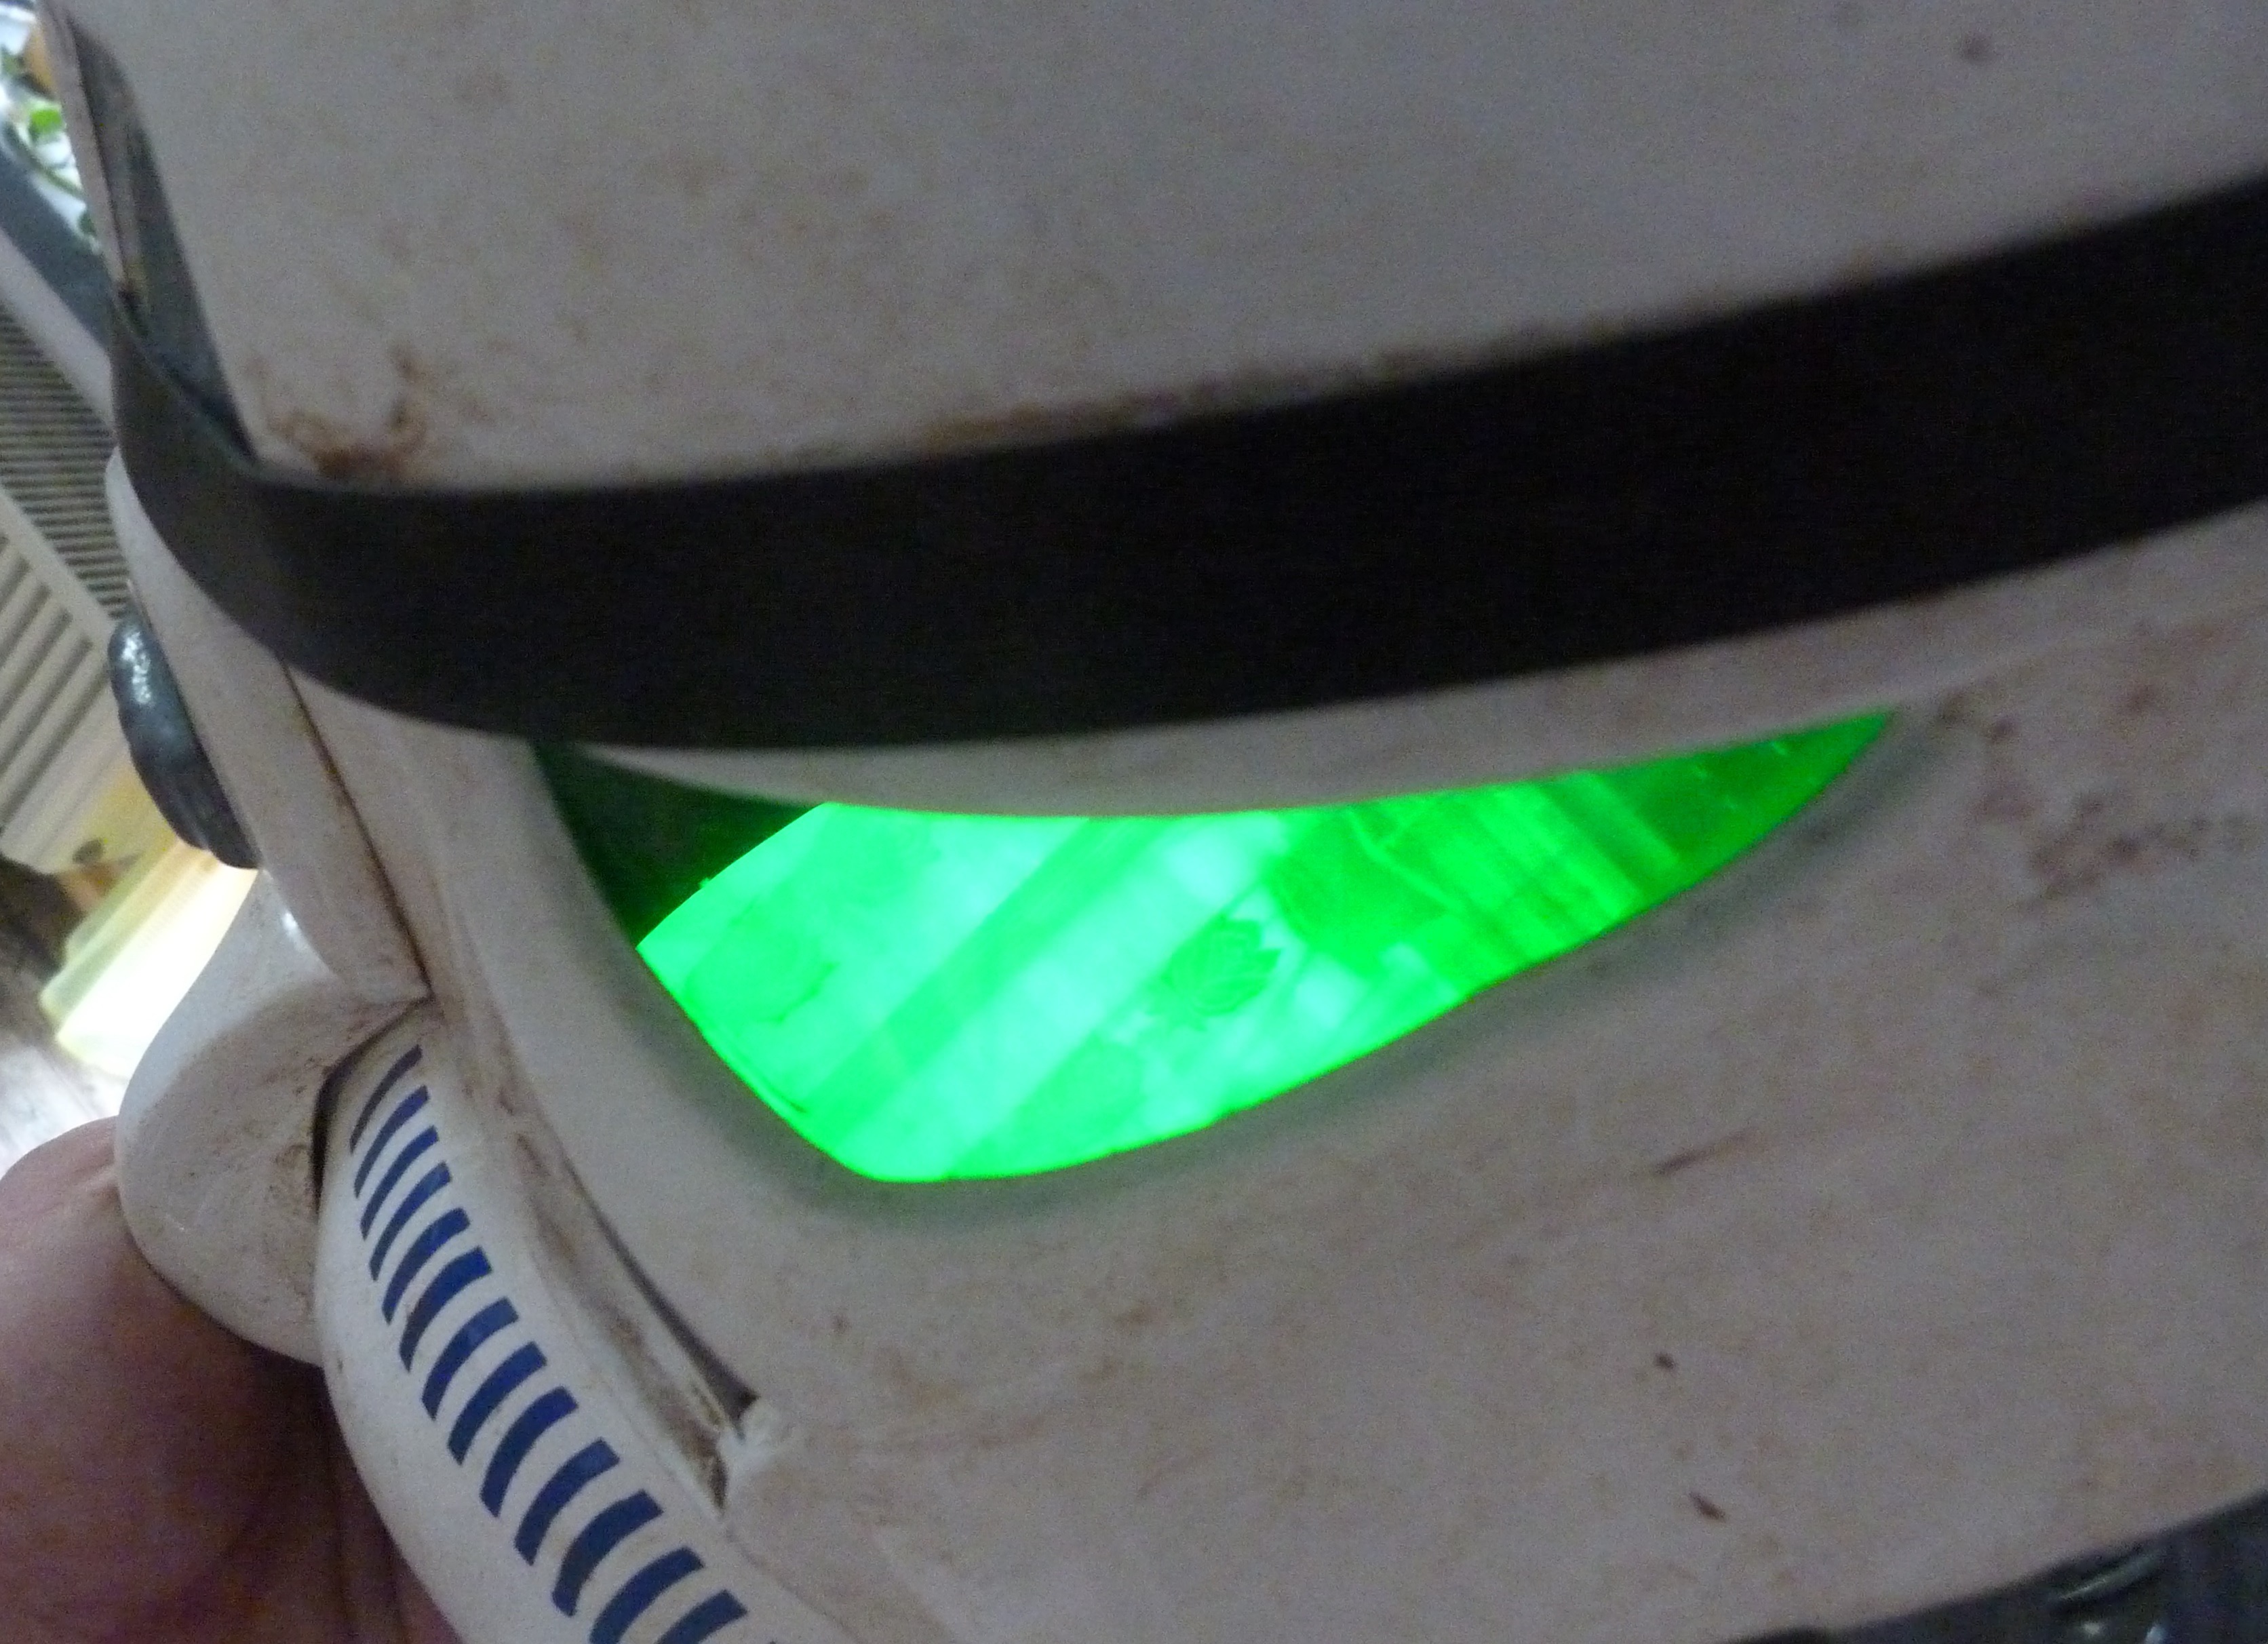
Helmet
Front
Back

Left
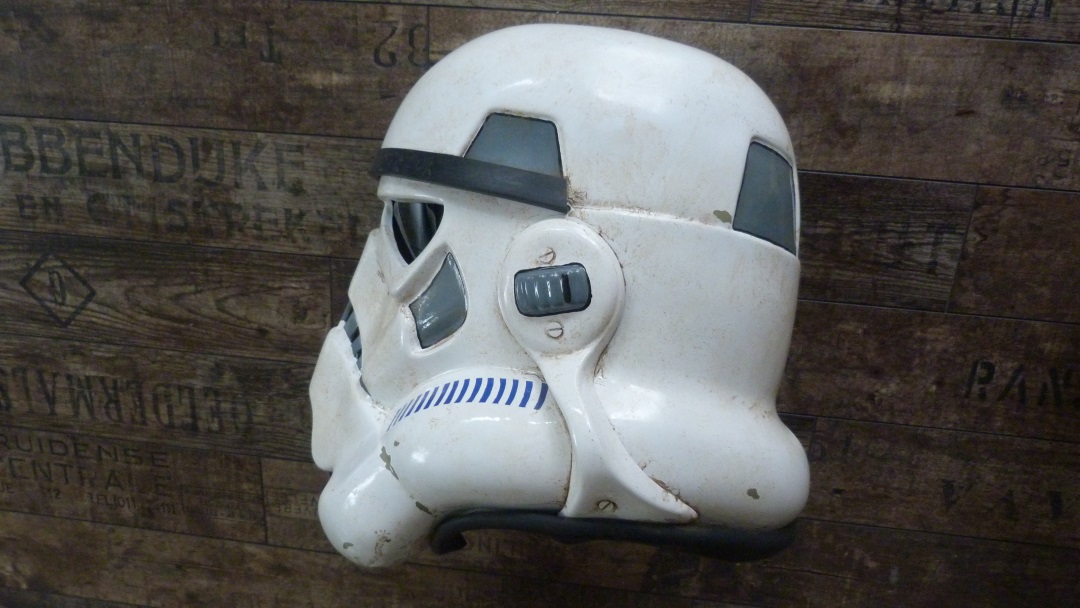
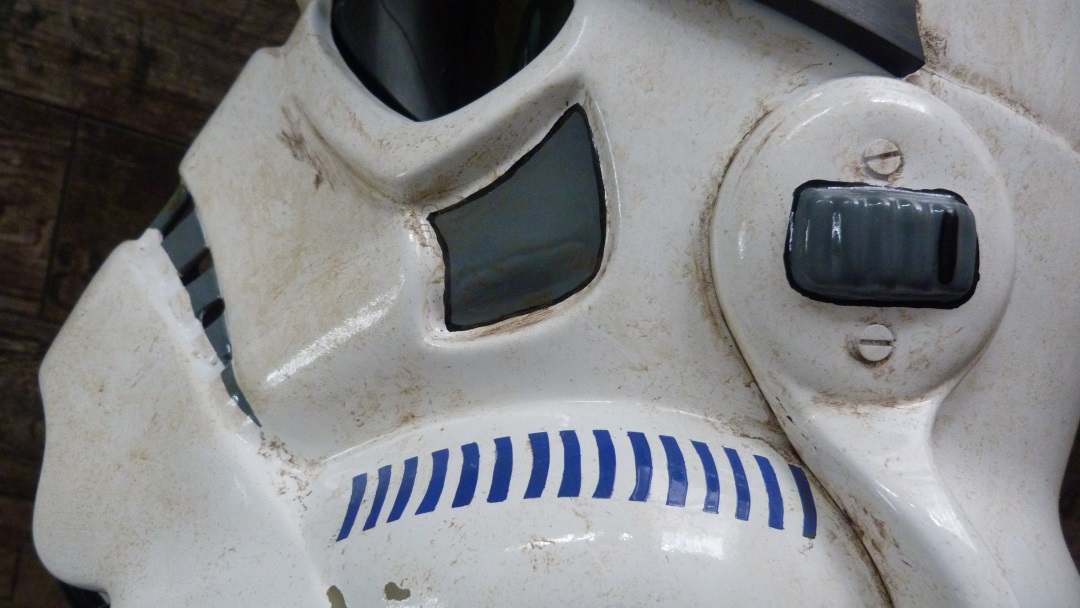
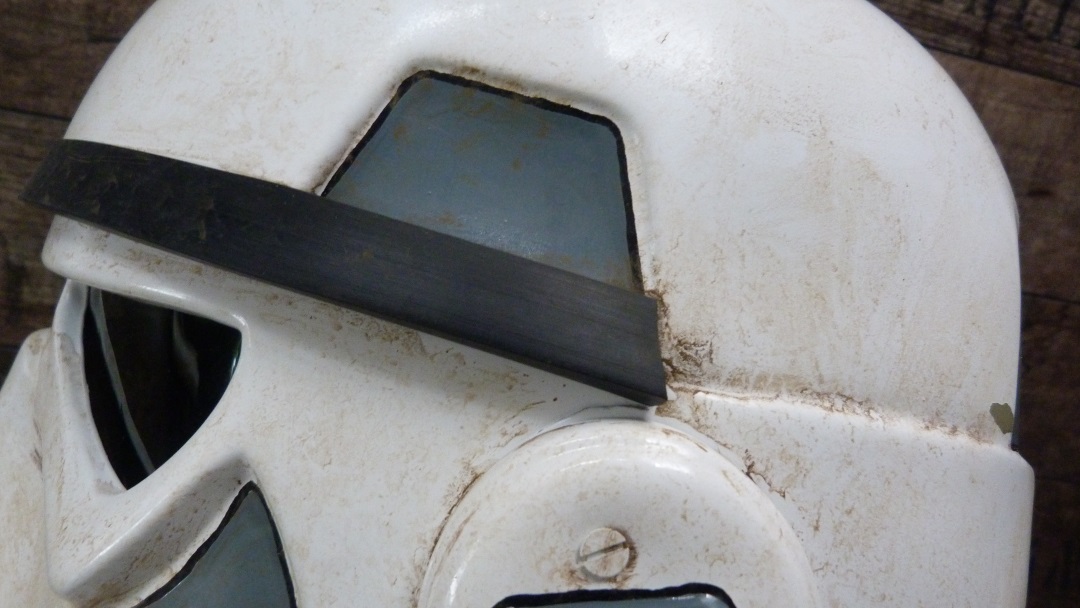
Right
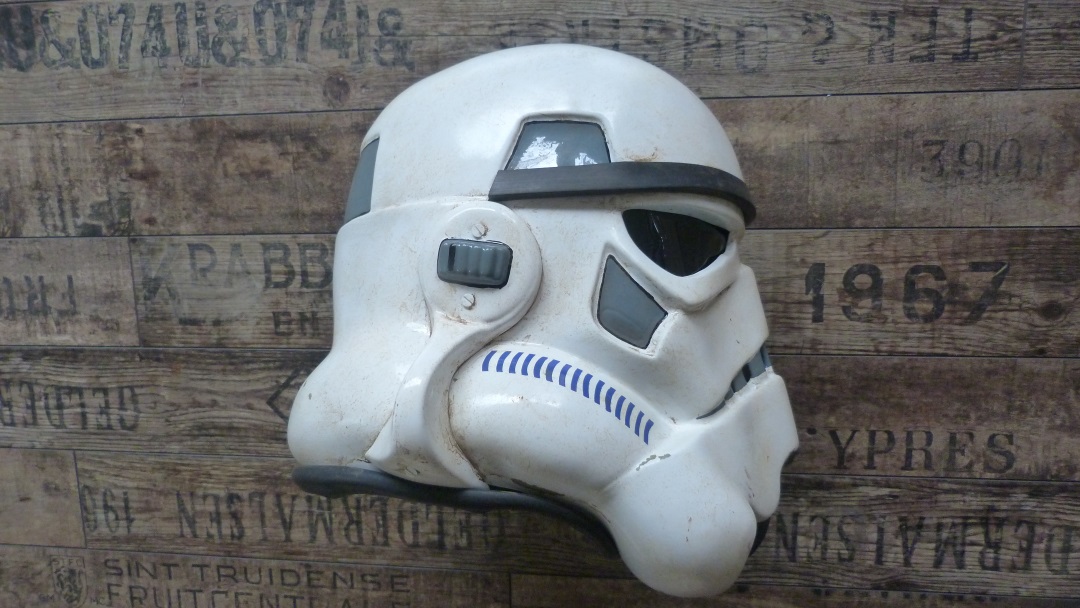

Lenses

Weapon
Left

Right
MP 40 ammo pouch

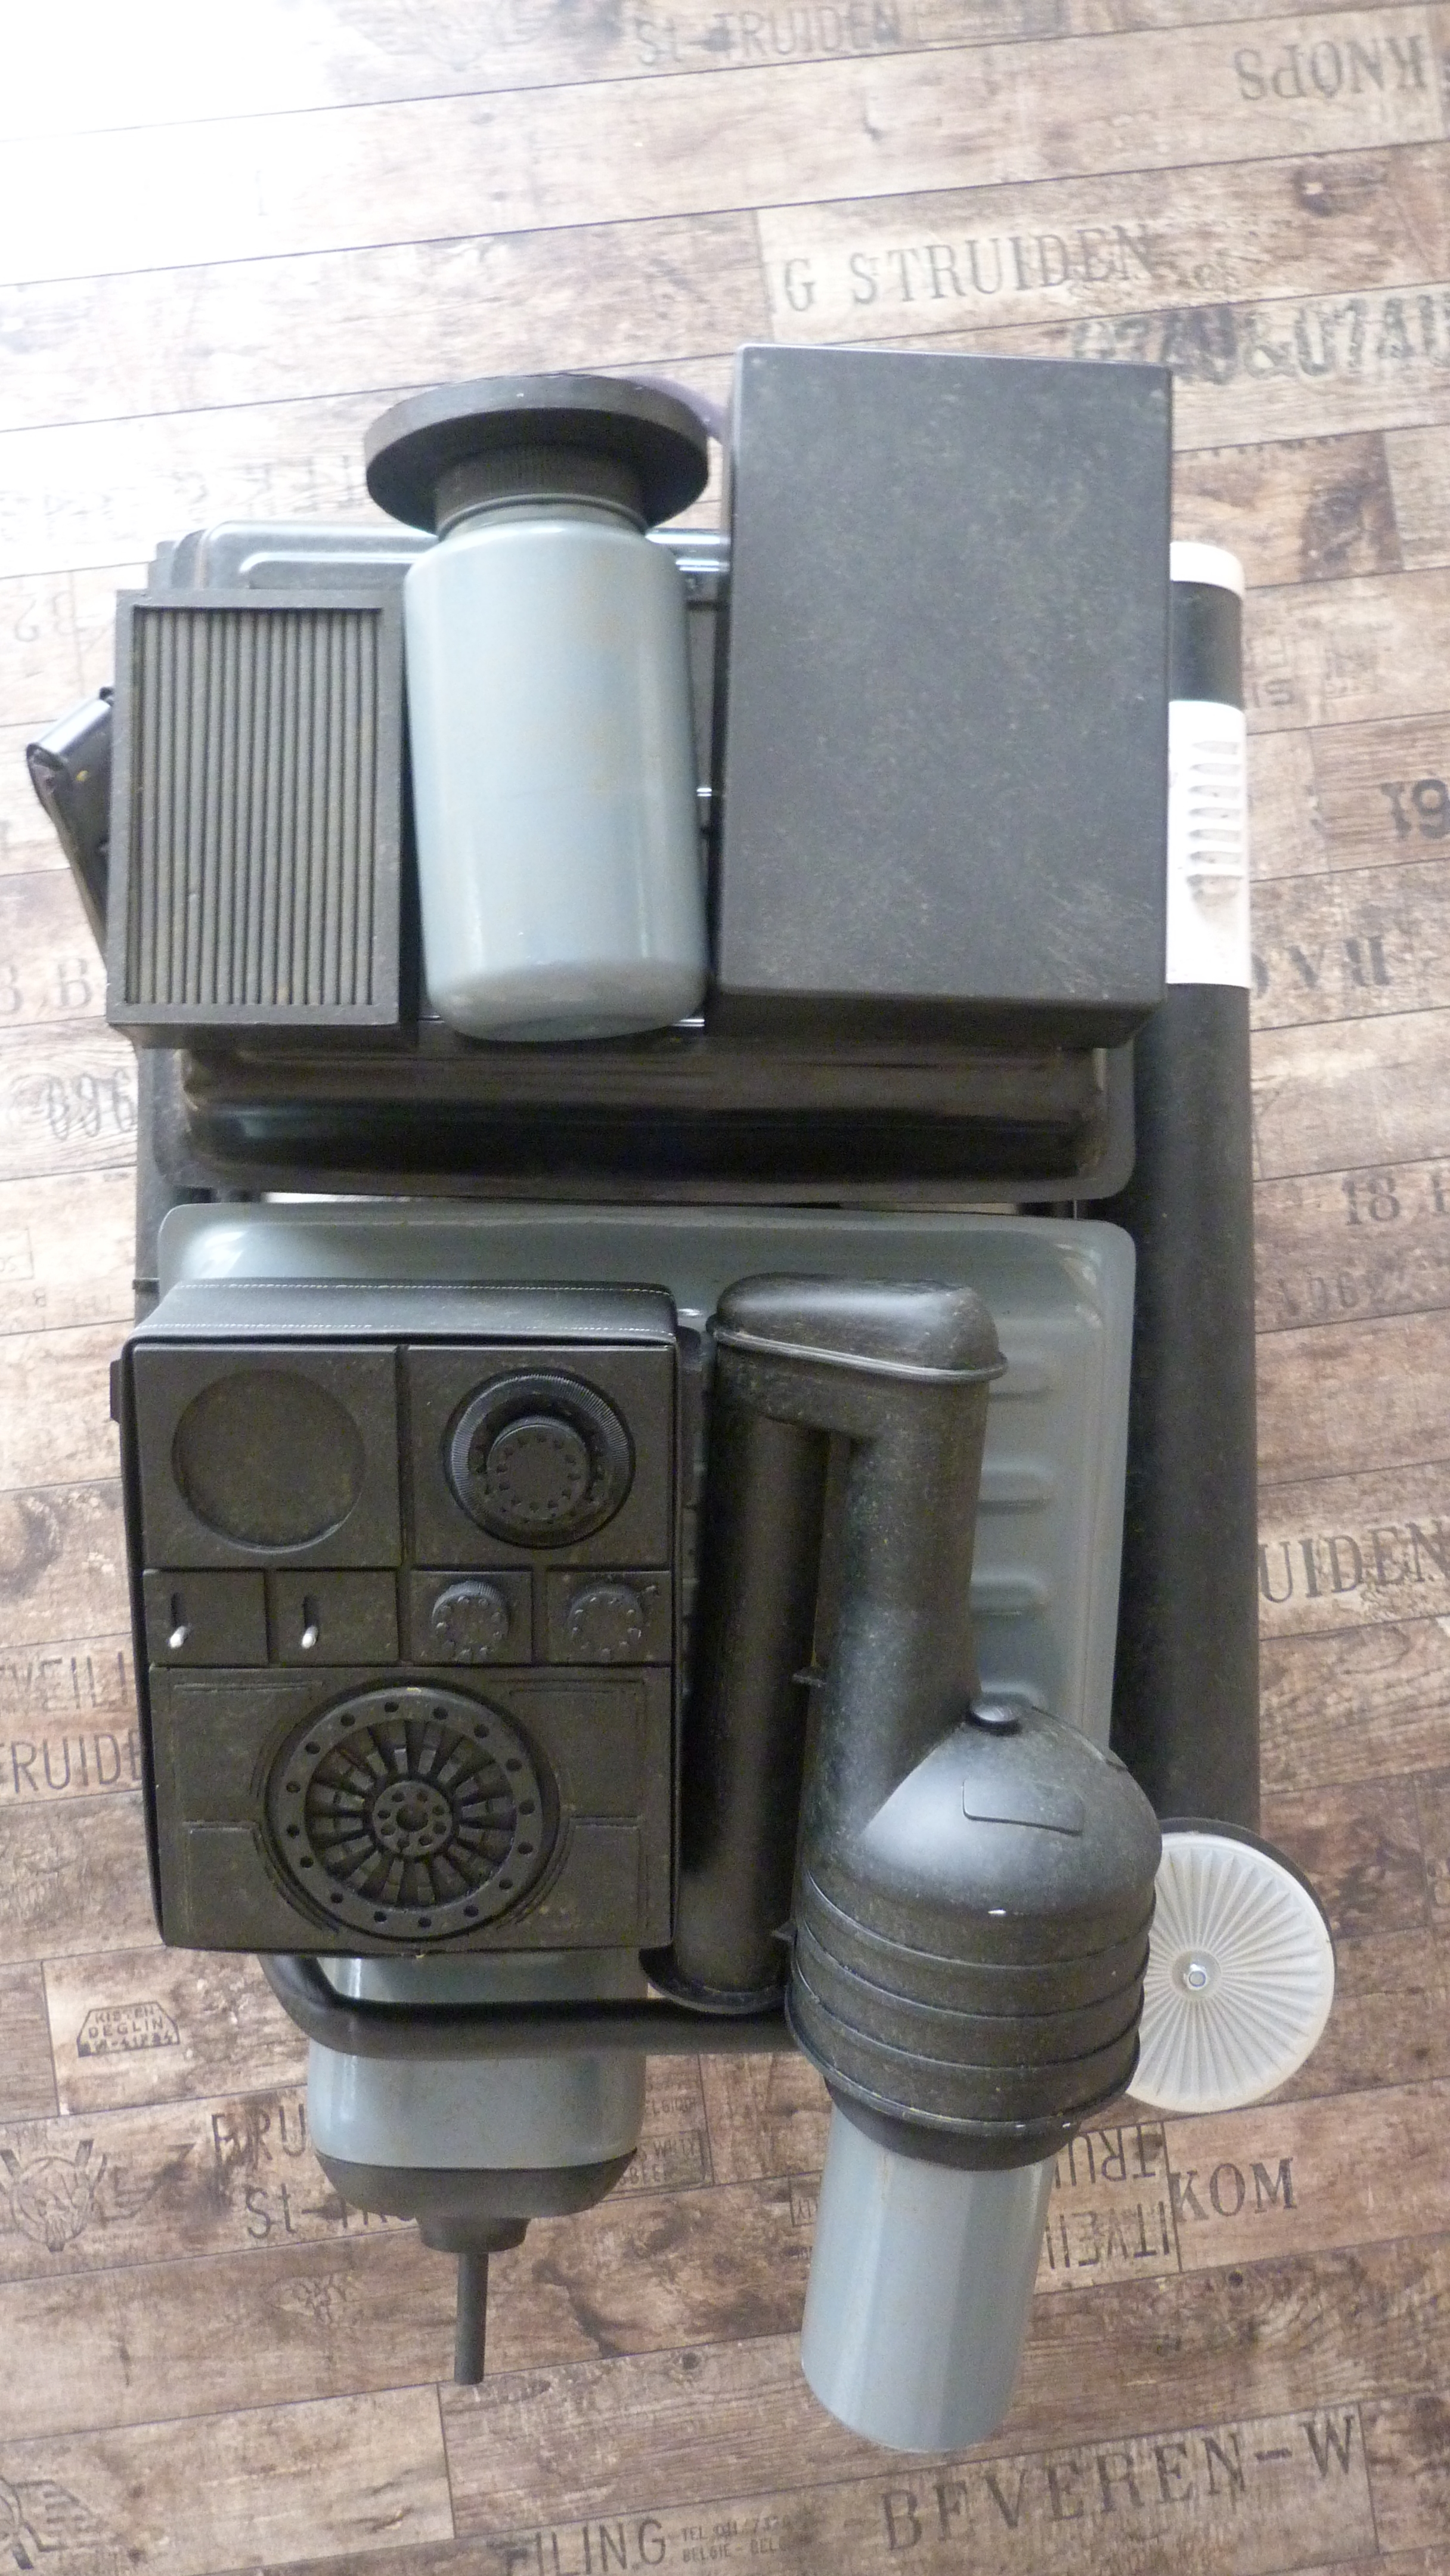
Backpack
Front

Left

Right
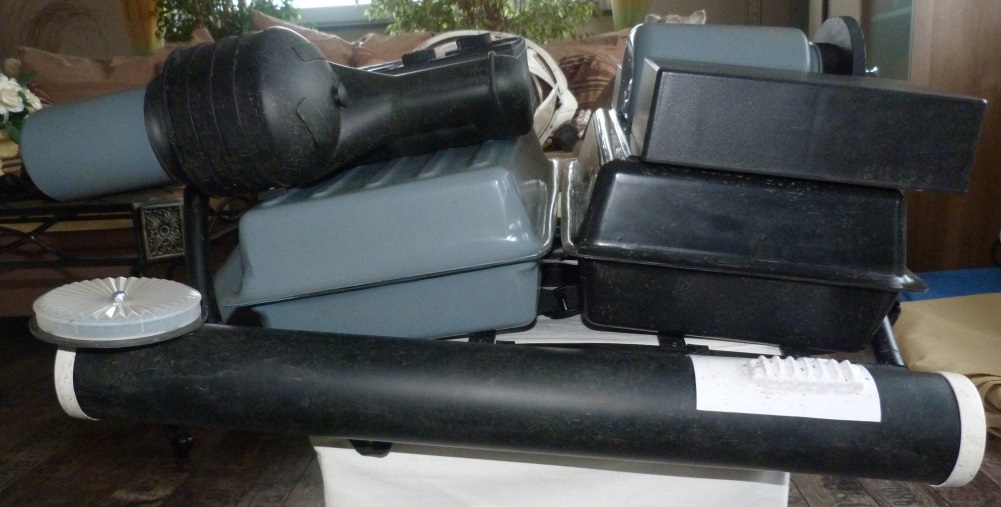
Back
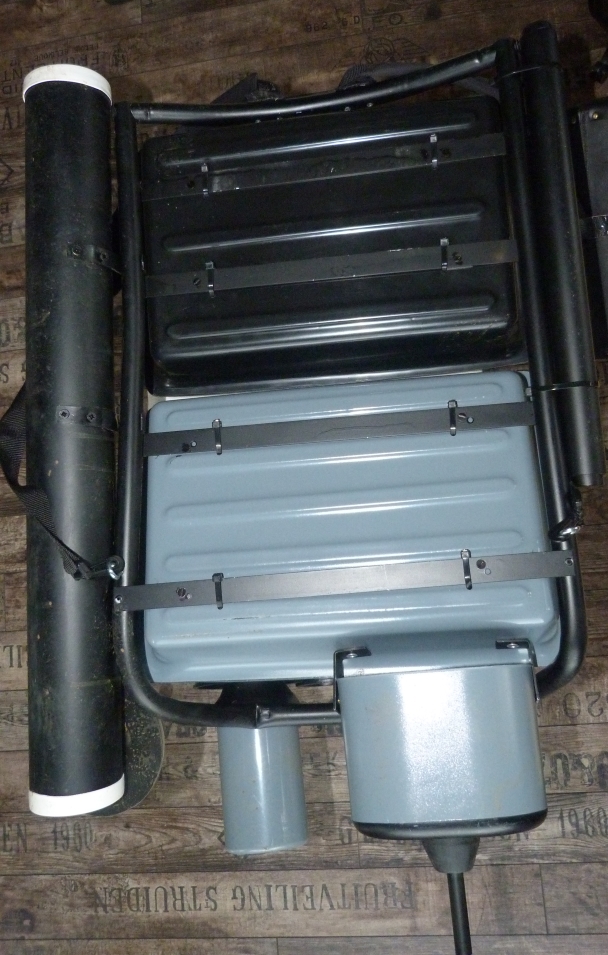
Top

Bottom
-
Took me more than one year to get this far
-
AWESOMELY FREAKING GOOD
 Thank you very much
 -
Thanks a lot!
@Strider: I hope so and keep my fingers crossed ... sailing through the sands of Tatooine
 -
TD 12169 requesting deployment in the Police Officer's ranks.
Name: Michael Seeger
Legion ID: 12169
Forum Name: Trooper Mitch
Garrison: German Garrison
The following pics are "small" versions. A click on a pic will lead you to the original one with a higher resolution.
Here you'll find the build thread of this Docking Bay Sergeant V1
Armor
Full Sight
Front

Left
Left (arm up)
Back
Right

Right (arm up)
Action
Bucket off

Details
Front
Ab Detail

Back
Strapping
Rivets
ShouderStrap
Thighs
Shins
Belt
Spanish ammo pouches
Handguards

Helmet
Front
Back
Left
Right
Lenses
Weapon
Left
Right
-
First milestone reached:Just got my 501st approval
TD 12169 is reporting in!
Next stop: Police Officer!
-
TD 12169 (Michael Seeger) requesting Sandtrooper access (501st Legion - Member Details)
-
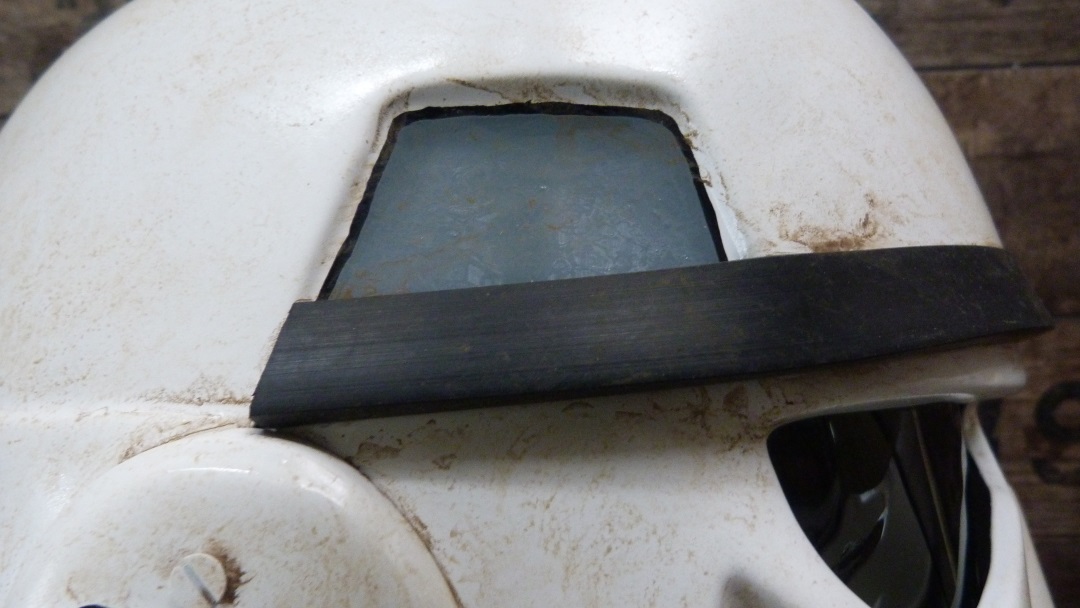
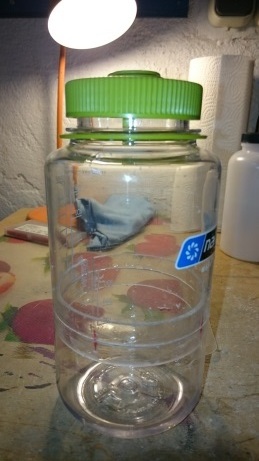
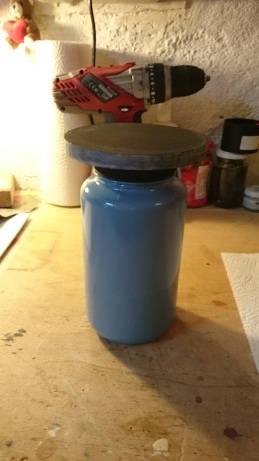
Hi there, as I'm actually assembling my backpack I found another mystery: The syphon's thread is not visible, seems to be cut off ...
-
Hi, here's the link to the galery that my pics link to: http://www.abload.de/gallery.php?key=utrGnsgq Can you check if you see them?
-
Thank you, Sandwatcher ...
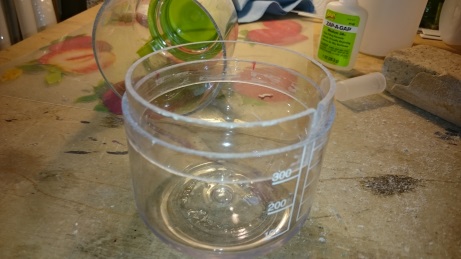
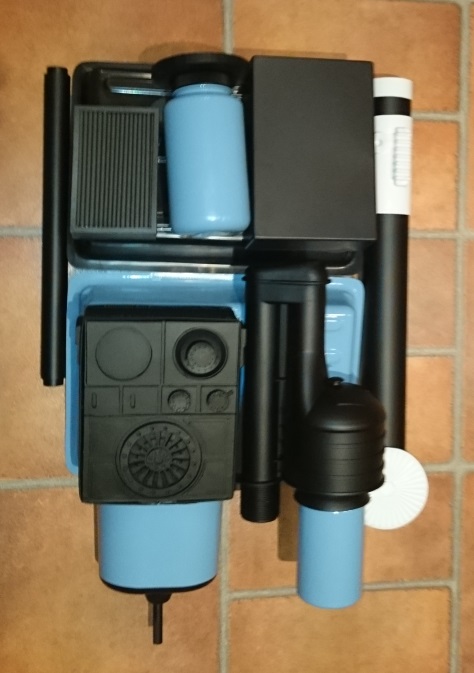
... and another month gone by and the backpack is ready to be assembled. The only thing missing here for now is the frame for the backpack but it's also ready for assembly just waiting for me to come ;-) ...
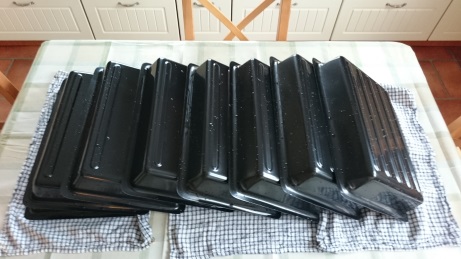
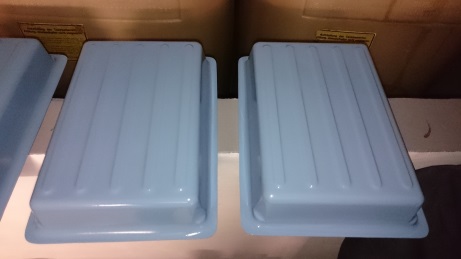
Starting off with the trays (cleaned and painted)
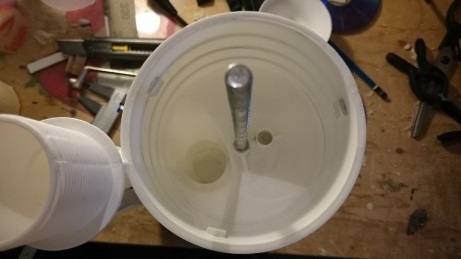
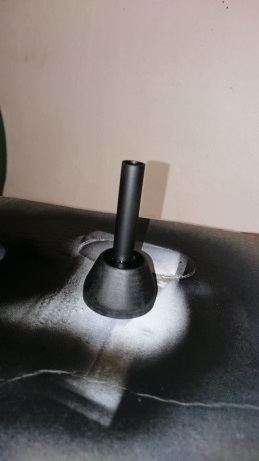
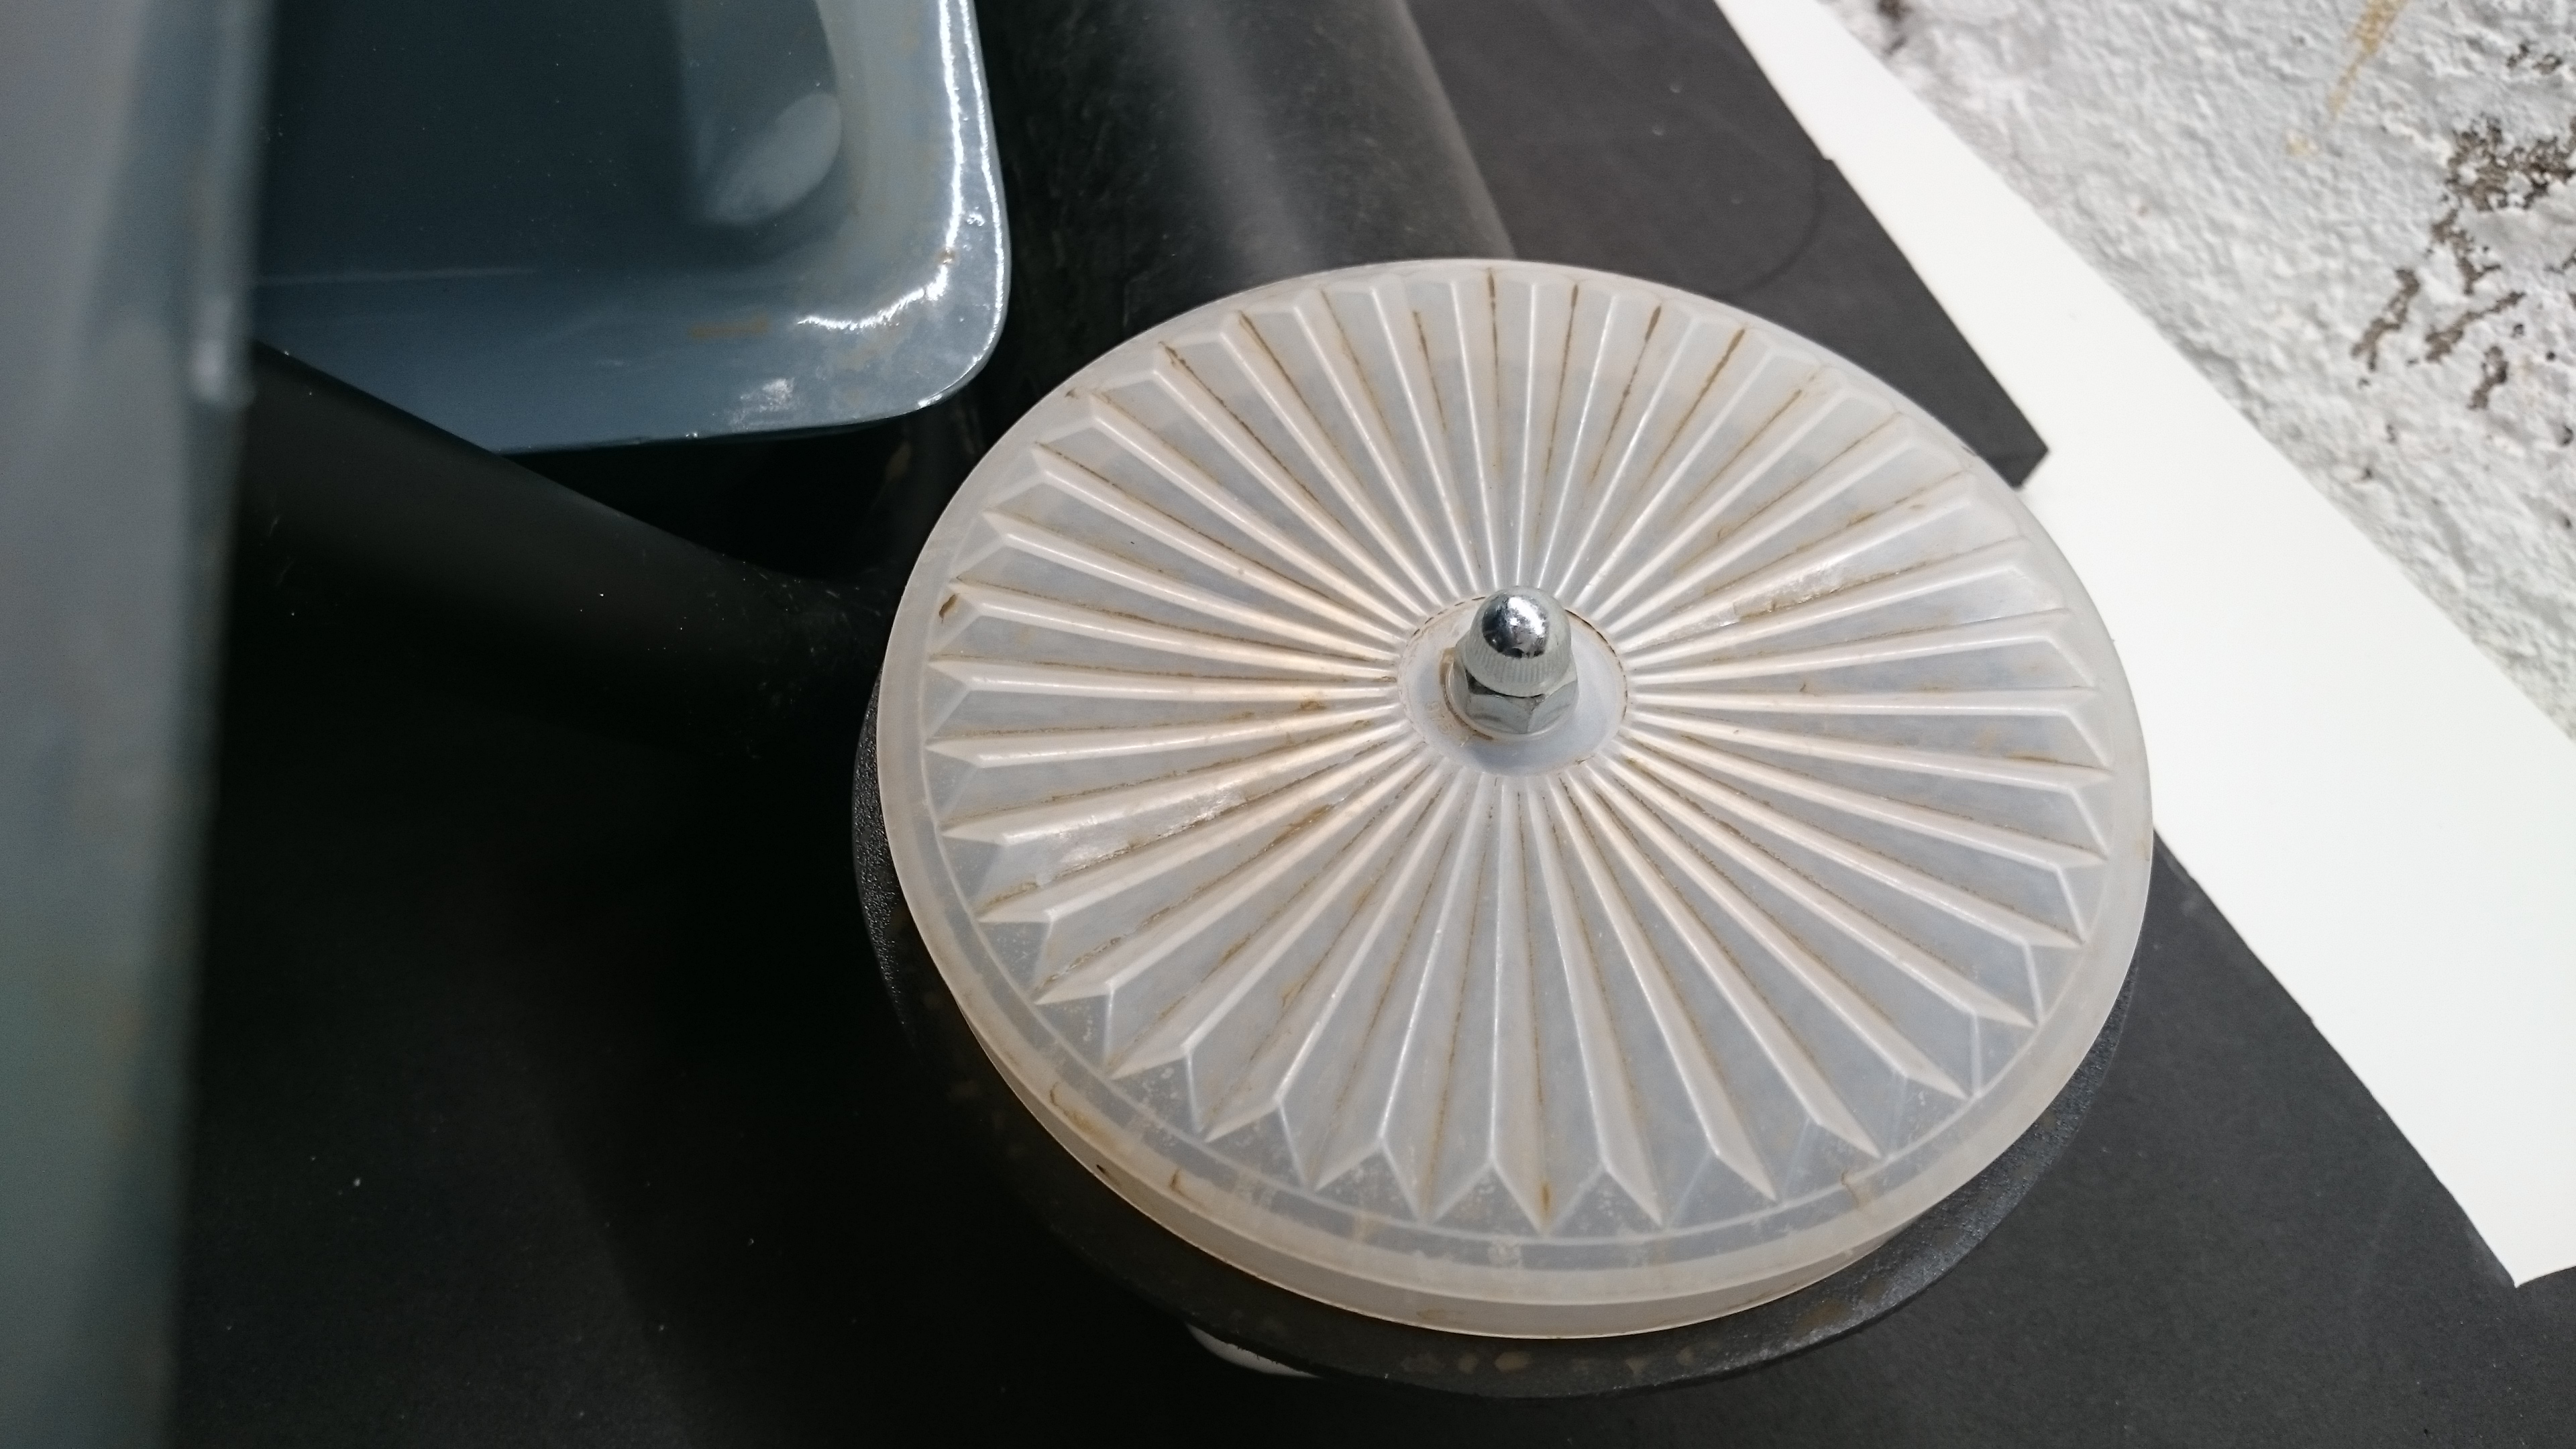
Modifying the syphon
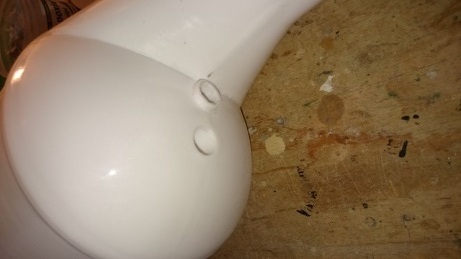
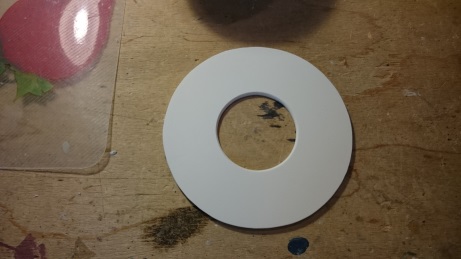
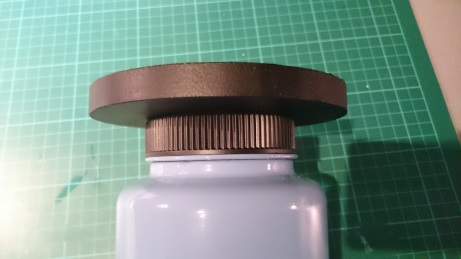
A ring to close the syphon
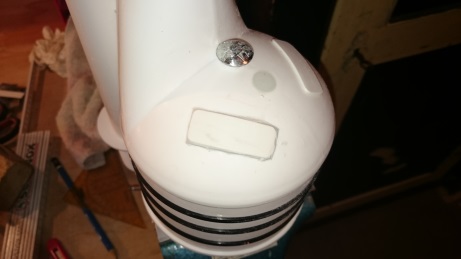
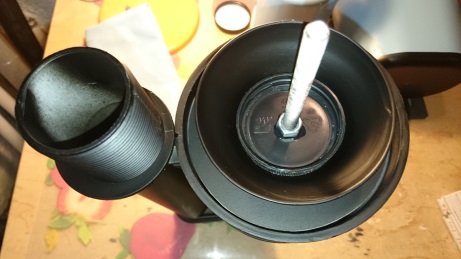
Closed syphon and mounted the dome for the bottle
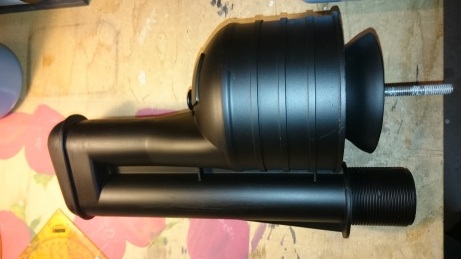
Finished syphon
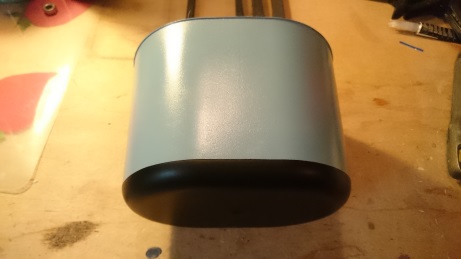
The upper bottle (cut into half and re-assembled)
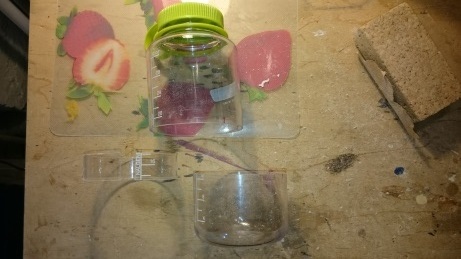
The top plate of the upper bottle made of EVA foam
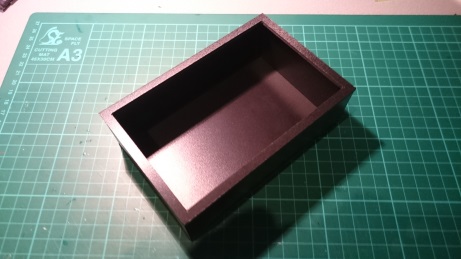
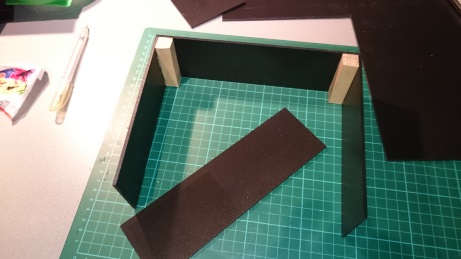
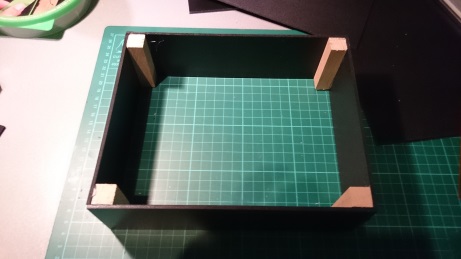
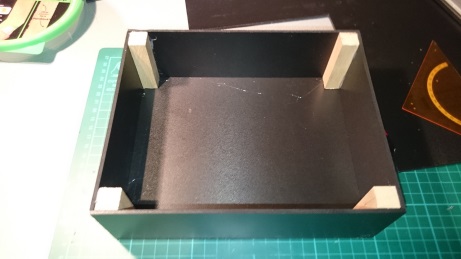
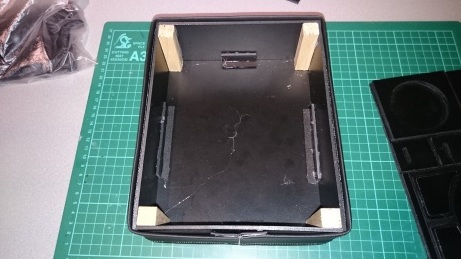
Building the chest for the filter

Test mount (upper tray) with filter (also made of EVA foam)
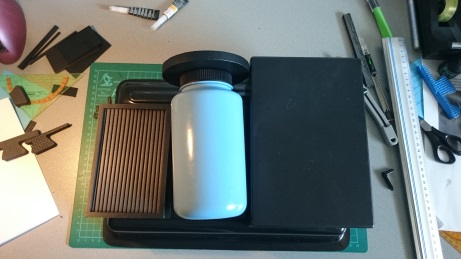
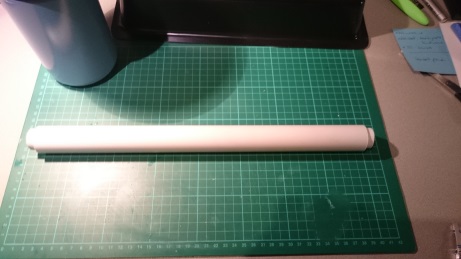
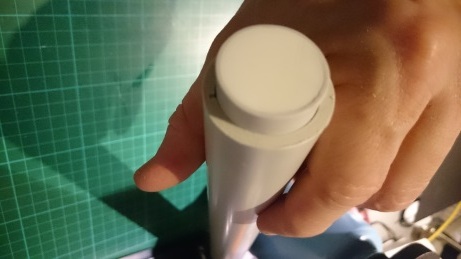
The faucet cover and the bee-stinger

Sidepipe
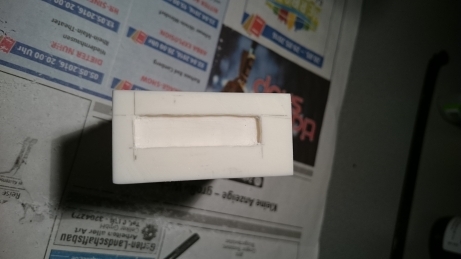
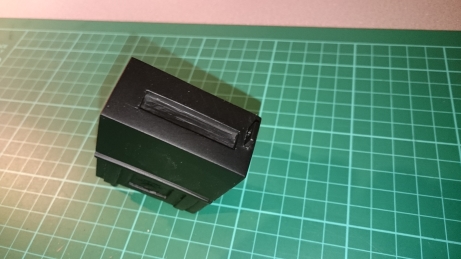
The radio chest ...
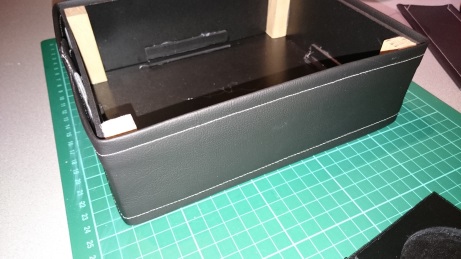
... using magnets to fix the radio front plate
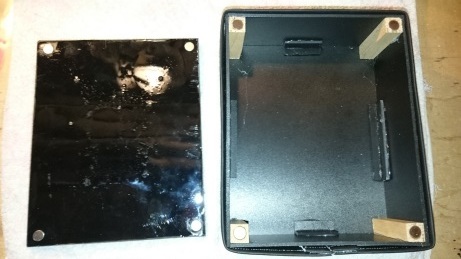
... and the final (loose) test-mount ... looking awesomely clean, but this is gonna be changed, soon ;-)
-
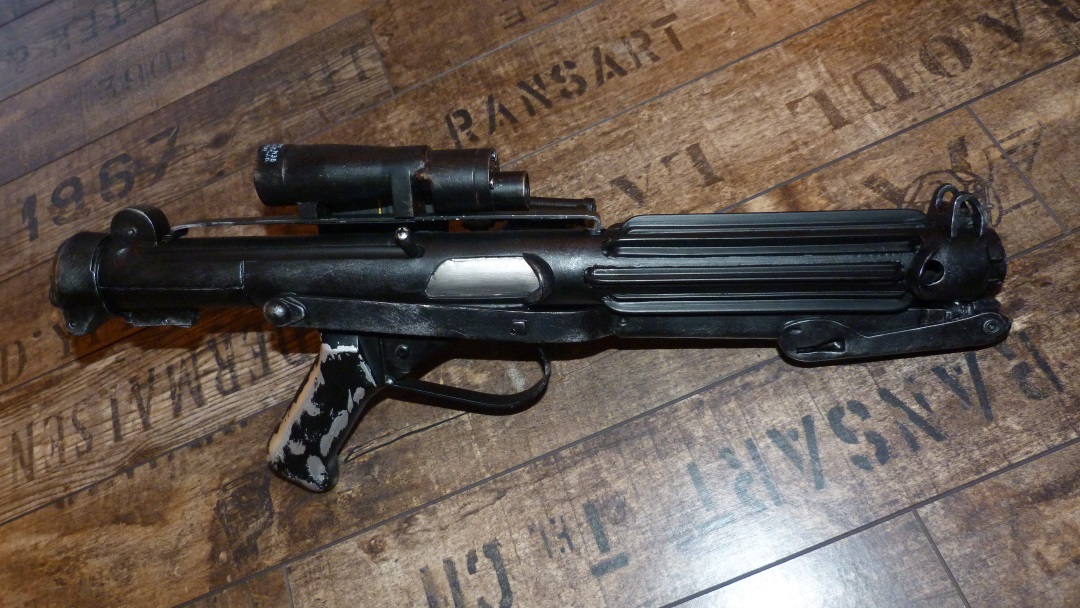
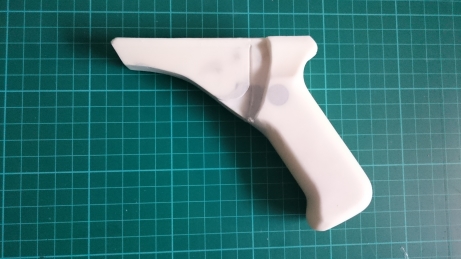
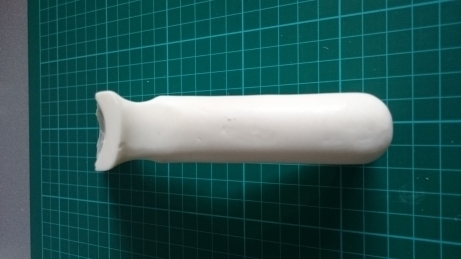
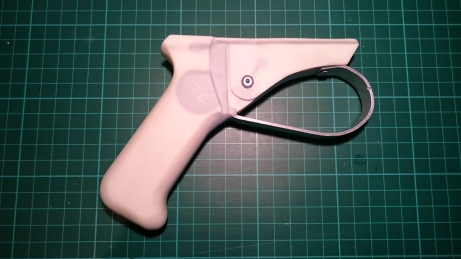
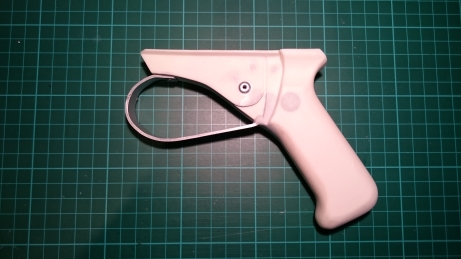
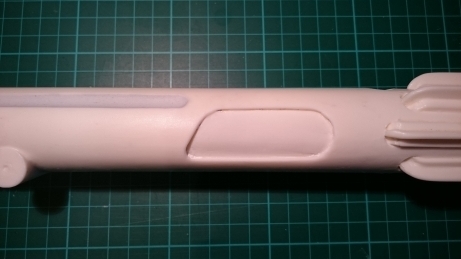
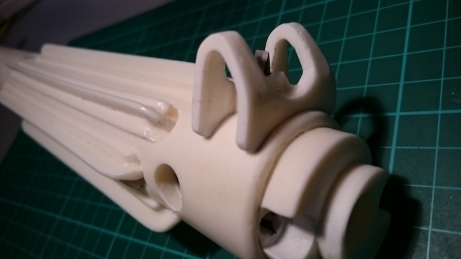
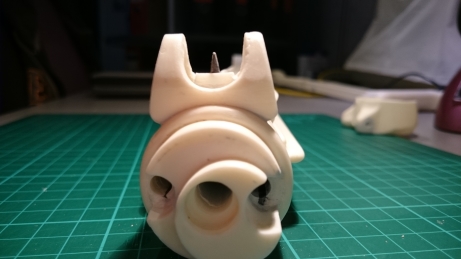
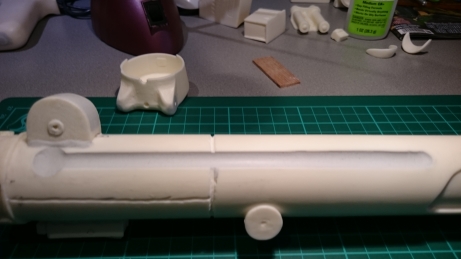
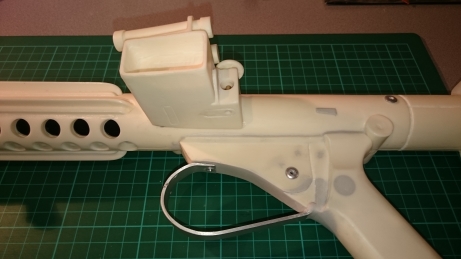
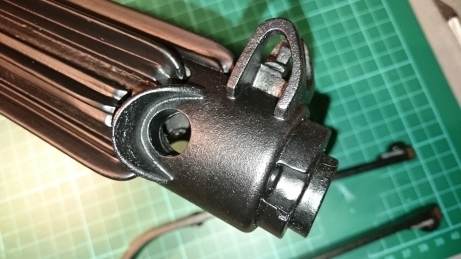
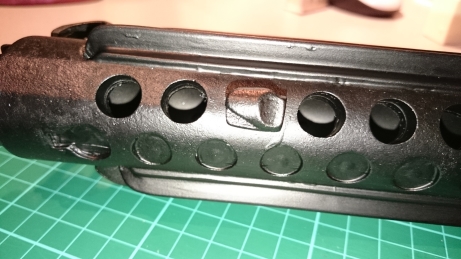
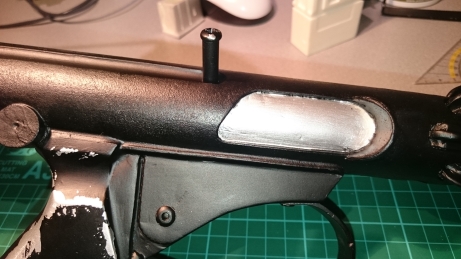
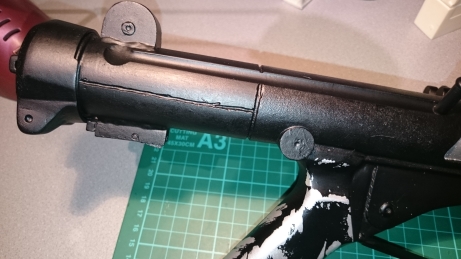
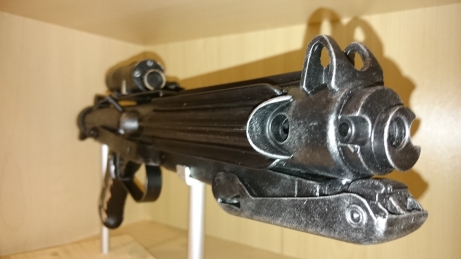
After quite a while of silence, now grab some popcorn and enjoy ... My DoopyDoo-Bapty-Blaster is almost finished. Just the magazine and the small window for the Hengstler is missing ...
Start off with the prepared parts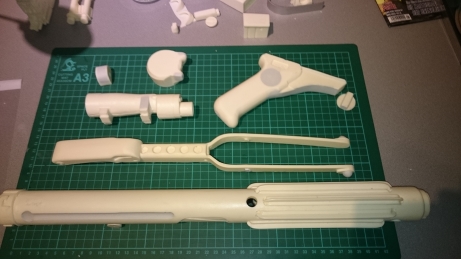
The grip was a veeery cumbesome thing to do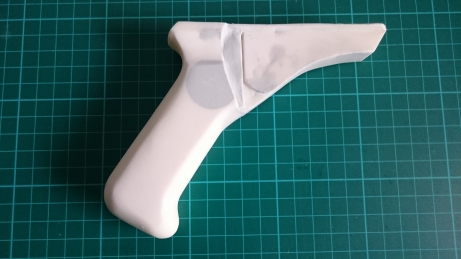
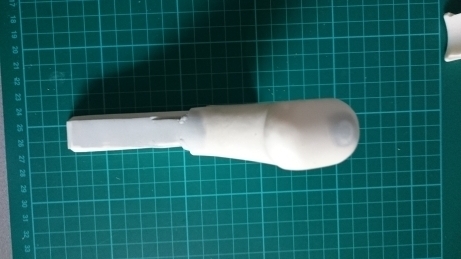
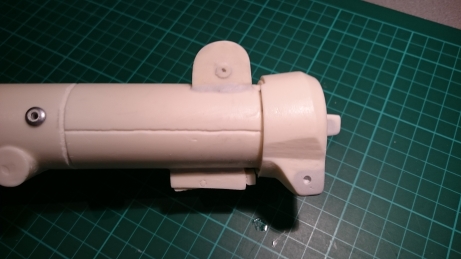
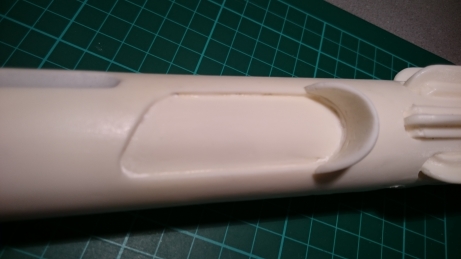
Some modifications ...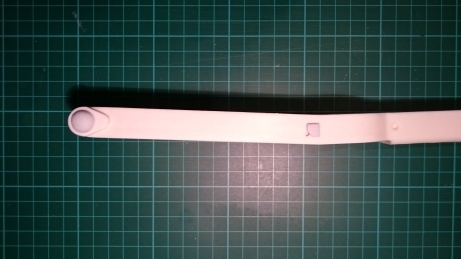
Assembly and further mods ...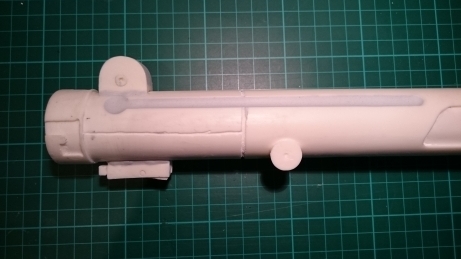
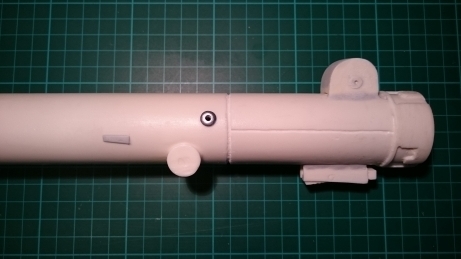
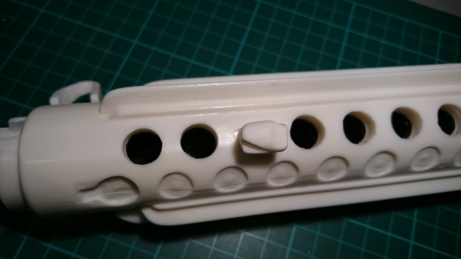
Magazine "holder" ... guess what? ... Yes: modified :-)
Assembly ... ready for the basecoat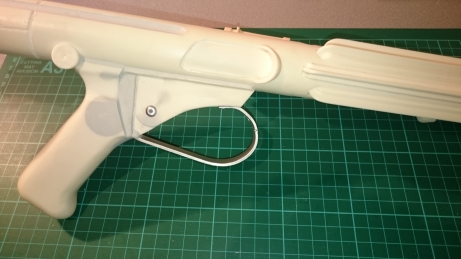
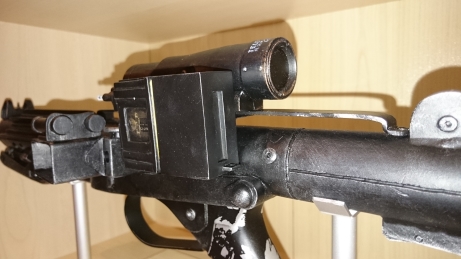
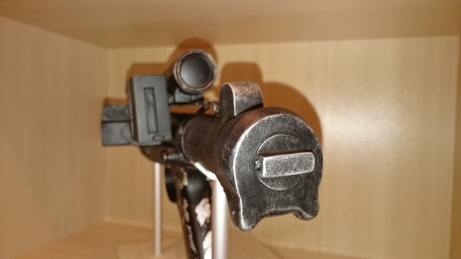
Scope modification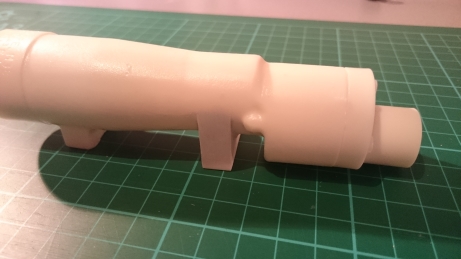
Cutting a window for the Hengstler ...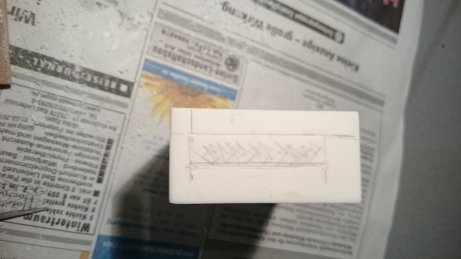
... and adding some small metal parts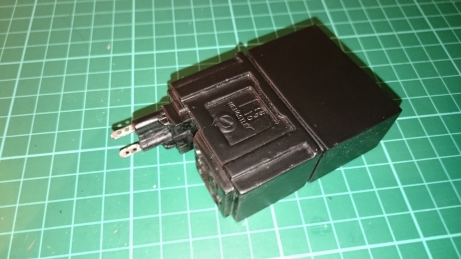
Weathered grip (toothpaste did the trick ;-))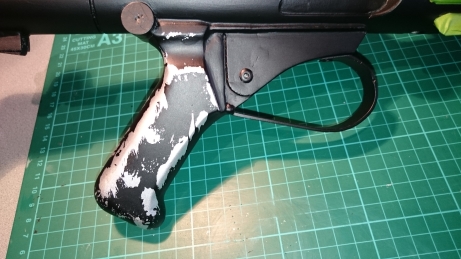

Metal texture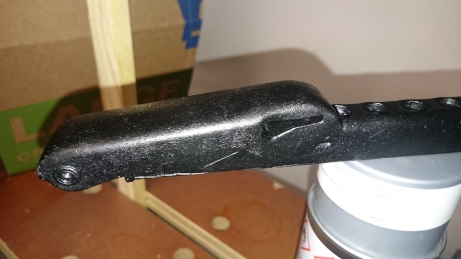
Weathered Scope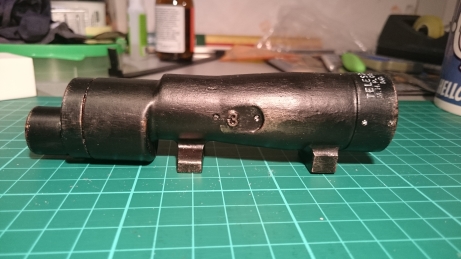
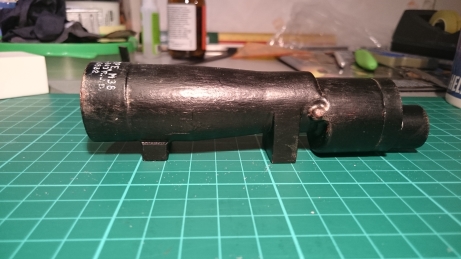
Finished Hengstler with some weathering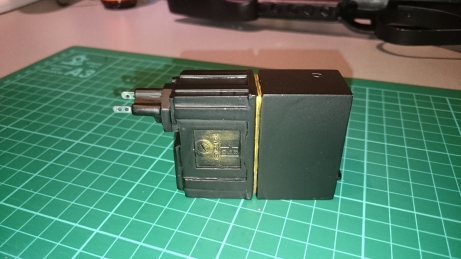
Weathering on the blaster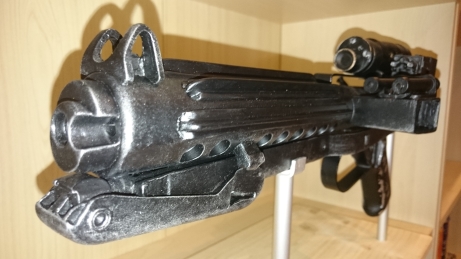
-
Hi Felix, this is one of the threads, I was looking for
 Pretty cool
 -
For the Deployment Officer?!?
Yes....Felice would be my suggestion!!
+1


*APPROVED* TD-22997 Requesting SWAT Deployment #50
in MEPD S.W.A.T. Program
Posted
Congrats Martin and welcome in the hall of fame