-
Posts
41 -
Joined
-
Last visited
Content Type
Events
Profiles
Forums
Posts posted by TrooperPX
-
-
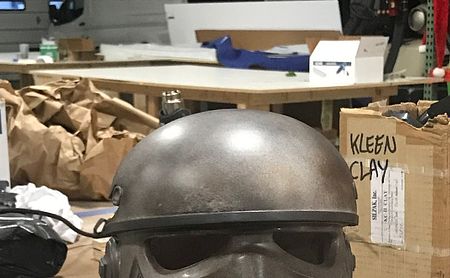
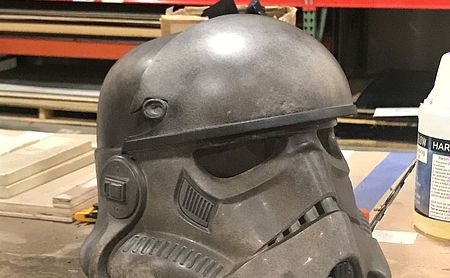
I used a Black Series R1 helmet. The tube stripes on it are recessed, so they don't need to be cut out. You will need to fill in the speaker grill and battery door seam on the back. I gutted mine to make more room inside.
-
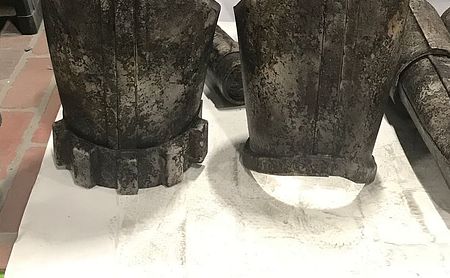
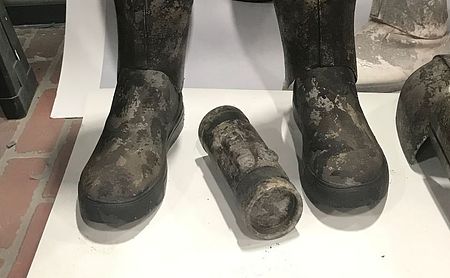
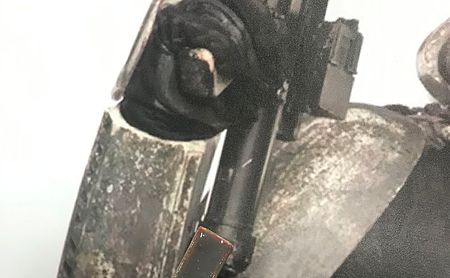
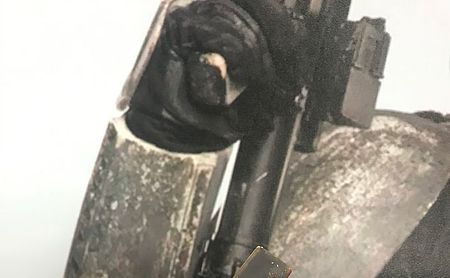
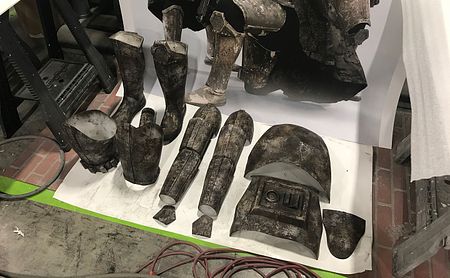
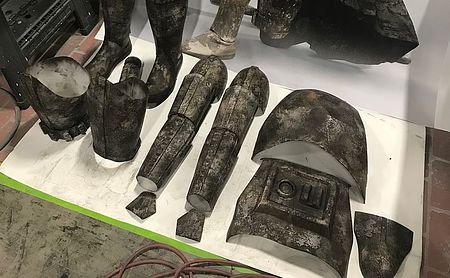
Here I'm adding a fairly loose lighter gray for more "recent" splatters and drips on the lower parts of the costume. Same as I did on the plash above.
.heic?width=450&height=278&fit=bounds&crop=fill)
-
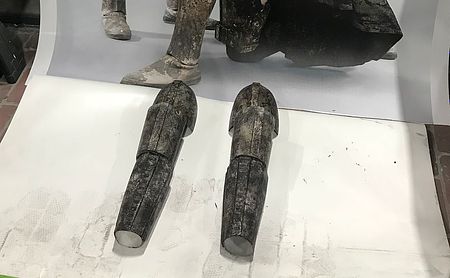
Started taking the palm-sander to the high points for contact wear.
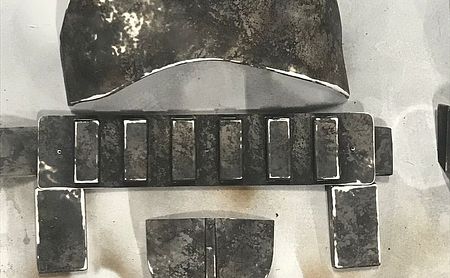
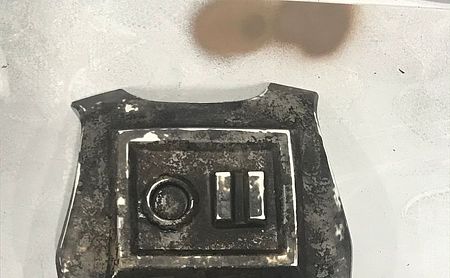
.heic?width=450&height=278&fit=bounds&crop=fill)
-
Plash progress...
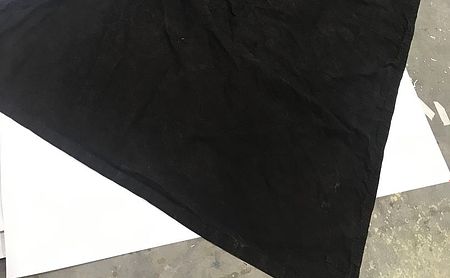
Washed twice with detergent, tumble dry after each. Two more times with isopropyl alcohol, one more wash, then a final rinse. Then tumble dry again. It should go without saying, but do not dry after washing with alcohol... as it may catch on fire. Wash and rinse well.
Dyebath was three bottles of black, with two cups of salt. Left to sit, with occasional stirring, over three days. Rinse till the water runs clear. Let dry till barely damp, tumble dry.
Lightly sprayed with matte black Duplicolor Vinly/Fabric paint.
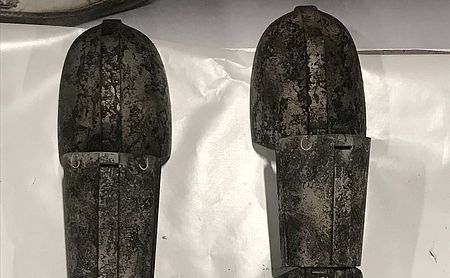
First coat of base armor color was worked in with a chip brush. Then two additional shades of gray were splattered in while the plash hung vertically.
I manipulated the brightness in-camera so I could see the different layers.
-
-
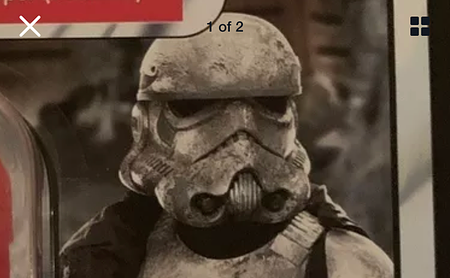
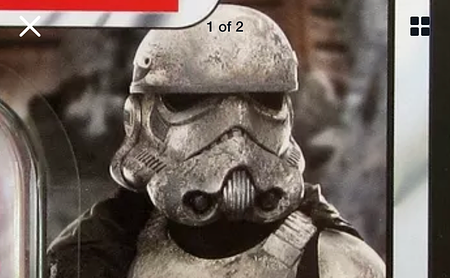
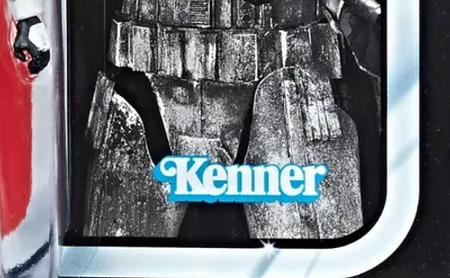
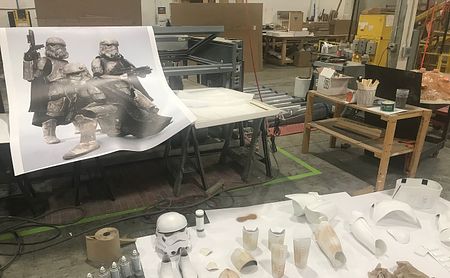
Printed out my primary reference so I could study the details in actual size.
.jpeg?width=450&height=278&fit=bounds&crop=fill)
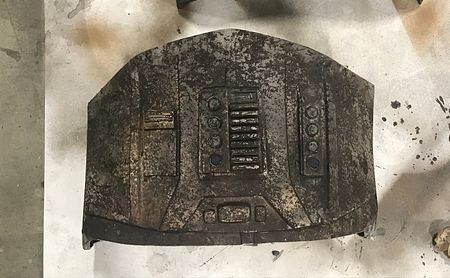
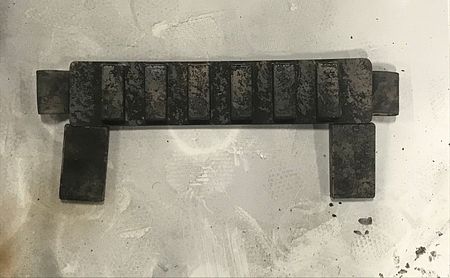
More pics of the first layer of mud.
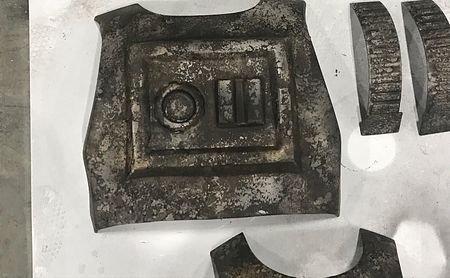
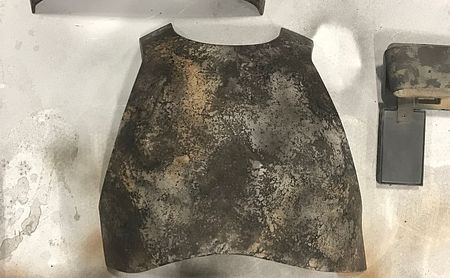
-
First layer of mud. Tightbond wood glue, black acrylic paint with a dash of brown mixed in.Blot on with a wadded brown paper towel, mush with a chip brush to feather the edges. Wait till it's almost dry... then go back in dabbing with the chip brush and lift most of it back off.
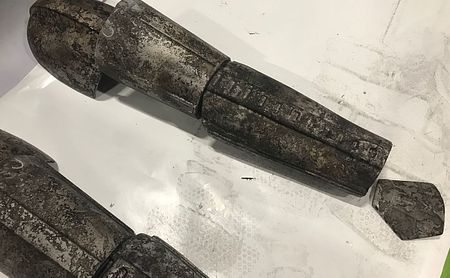
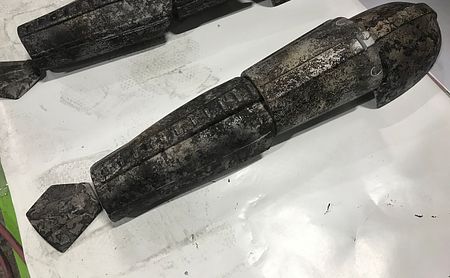
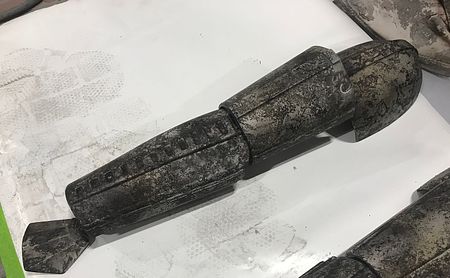
-
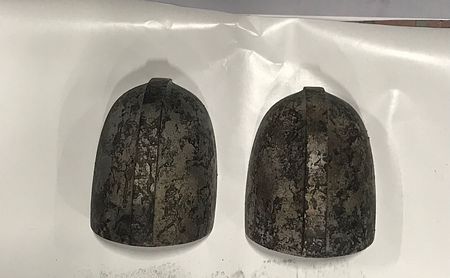
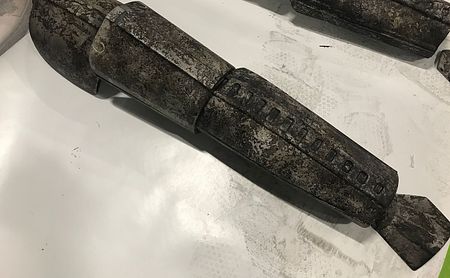
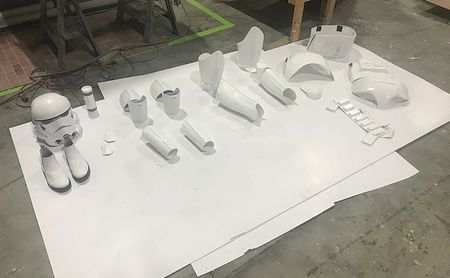
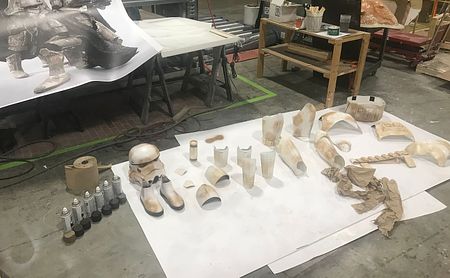
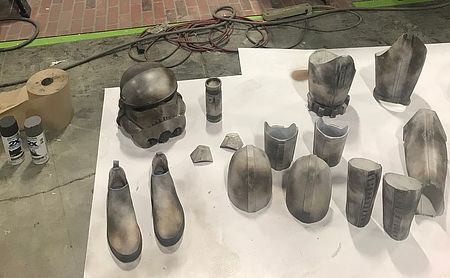
Light coat of white to make sure all of the parts match to start with.
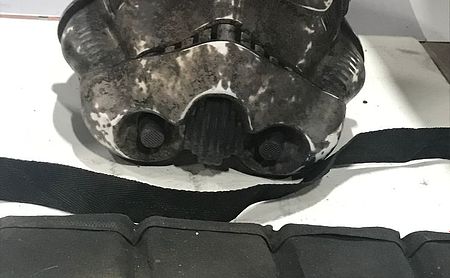
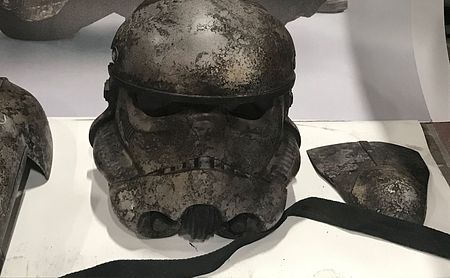
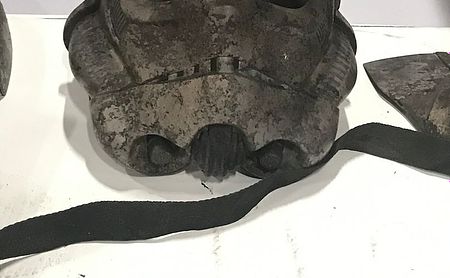
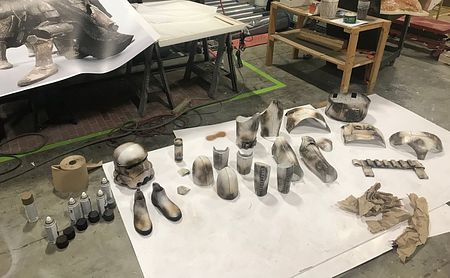
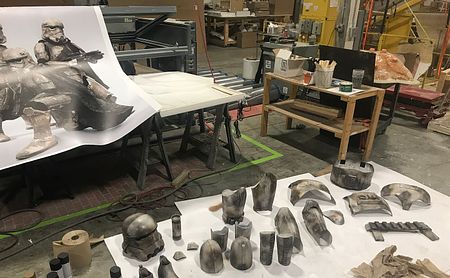
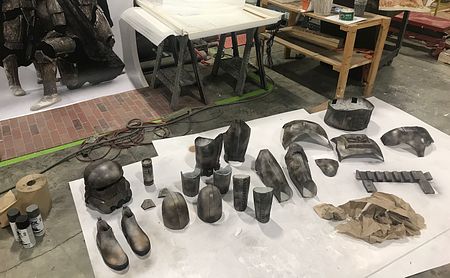
Three layers of rattle-can grime, applied then blotted with a brown paper towel. Starting with a light brown.
Adding dark brown.
Adding charcoal gray.
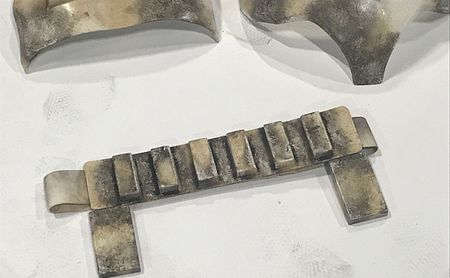
One final light dusting of light gray for continuity.
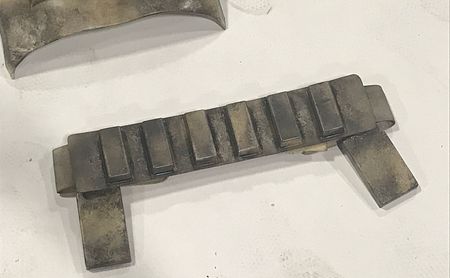
.
-
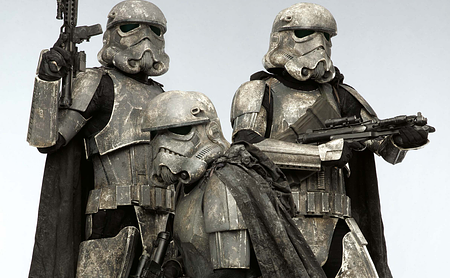
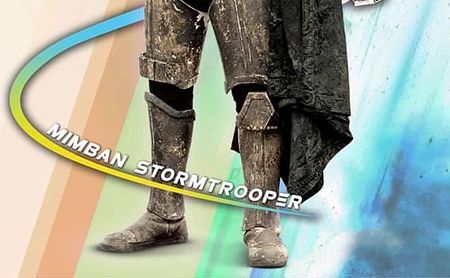
Thanks to Covid, and two short furloughs from work, I decided to work on my Mimban TK this past fall. Ohio Garrison is mustering a gaggle of Mud Troopers, and I wanted to get dirty with them. I've had an NE kit for six years, and now was the time to do something with it.
-
 1
1
-
-
On 1/14/2017 at 3:20 PM, RoCKo said:
I just recognized your board name, TrooperPX!
Are you the TrooperPX well known to the Starship Troopers community?
Welcome aboard the TD's as well!

Why yes it is.
 That's one reason I use the same handle and avatar on every board.
Lost my job over a year ago, so I had to hibernate my website for the time being. One day it will be back, and plan to take new pics of everything in the collection... because you want to know more
 On 1/18/2017 at 1:52 PM, Heavy Metal said:
The blank space at the bottom, is it possible to have our TD ID put their??
I suppose you could get some rub-off (Presstype) letters, someone with a very steady hand and a jewelers Dremel, or a fine point sharpie. But it's not something that can be done molded.
I was finally able to order the mold material and fresh resin. I have everything prepped and if I can, Jason, I'll bring one to the game.
I have started a Project Sales thread. Once I have ones ready to ship, I will post payment information.
-
Master received.

I had to move ahead with another project, so I need to order more silicon for the mold. Once I have the mold done, and test pulls completed to my satisfaction, I'll post a thread in the Project Orders(?) area. This would be an ongoing project, made in batches and/or pulled to order.
-
I'll post when I receive it.
-
Good to know. That's a 2016 build for me. I think I have everything, but if I come up short on parts, I'll drop you a PM.

-
This is from an eBay auction... from six (6) years ago. Long gone, or is that lom-gone.
 See what I did there?
 -
I'd love to get an original, un-modified canteen if anyone can score one.
-
-
Howdy! Another from Binghamton, dropping in to say "hi".
We're working on a TD for Kimberly, so we'll be posting a WIP as we get closer to that.
Also getting ready to help Fumanchewie with a project.

-
Thank you for these. I wanted to get one, unaltered, to use in my props panel so I could talk about how an acceptable alternate was found and used for the part.


.HEIC?width=450&height=278&fit=bounds&crop=fill)
.HEIC?width=450&height=278&fit=bounds&crop=fill)
.HEIC?width=450&height=278&fit=bounds&crop=fill)
.HEIC?width=450&height=278&fit=bounds&crop=fill)
.HEIC?width=450&height=278&fit=bounds&crop=fill)
.HEIC?width=450&height=278&fit=bounds&crop=fill)
.HEIC?width=450&height=278&fit=bounds&crop=fill)
.HEIC?width=450&height=278&fit=bounds&crop=fill)
.HEIC?width=450&height=278&fit=bounds&crop=fill)
.HEIC?width=450&height=278&fit=bounds&crop=fill)
.HEIC?width=450&height=278&fit=bounds&crop=fill)
.HEIC?width=450&height=278&fit=bounds&crop=fill)
.HEIC?width=450&height=278&fit=bounds&crop=fill)
.HEIC?width=450&height=278&fit=bounds&crop=fill)
.HEIC?width=450&height=278&fit=bounds&crop=fill)
.HEIC?width=450&height=278&fit=bounds&crop=fill)
.HEIC?width=450&height=278&fit=bounds&crop=fill)
.HEIC?width=450&height=278&fit=bounds&crop=fill)
.HEIC?width=450&height=278&fit=bounds&crop=fill)
.HEIC?width=450&height=278&fit=bounds&crop=fill)
.HEIC?width=450&height=278&fit=bounds&crop=fill)
INTEREST CHECK: MEPD 20th Anniversary 4" Patch
in Closed Merchandise
Posted
Two (2).