


Dwqld
-
Posts
102 -
Joined
-
Last visited
Content Type
Events
Profiles
Forums
Posts posted by Dwqld
-
-
Thanks Vince,
I'm one very happy sand trooper to be deployed status, next is swat
Cheers
-
Congratulations on your never ending project,
Cheers
-
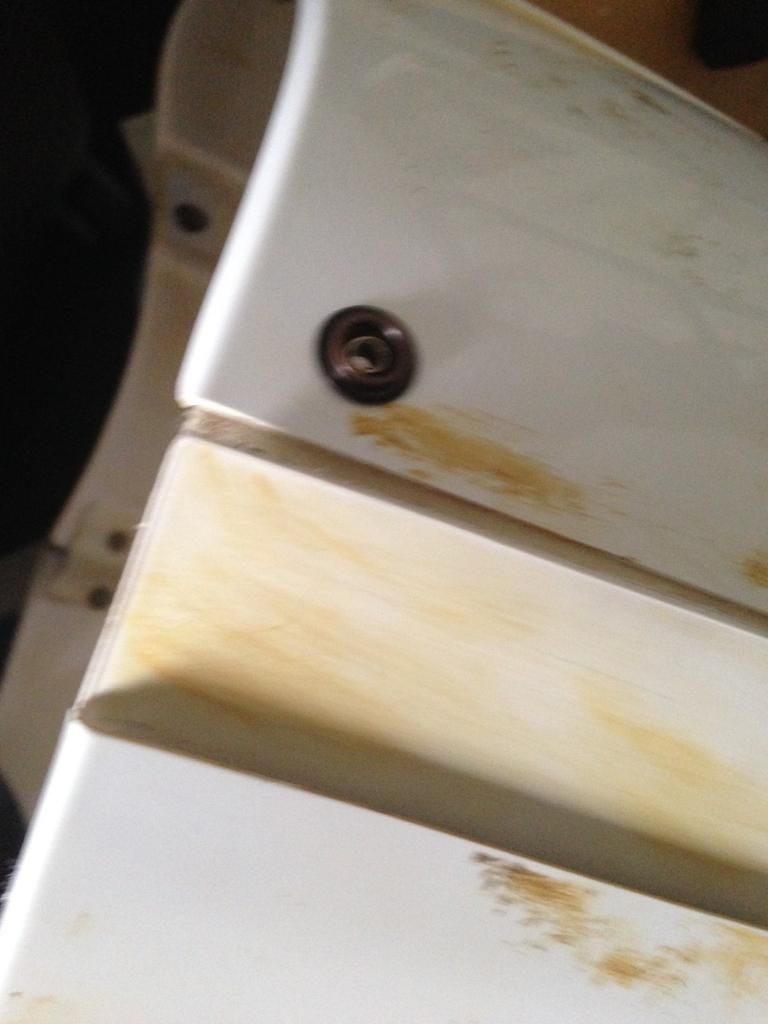
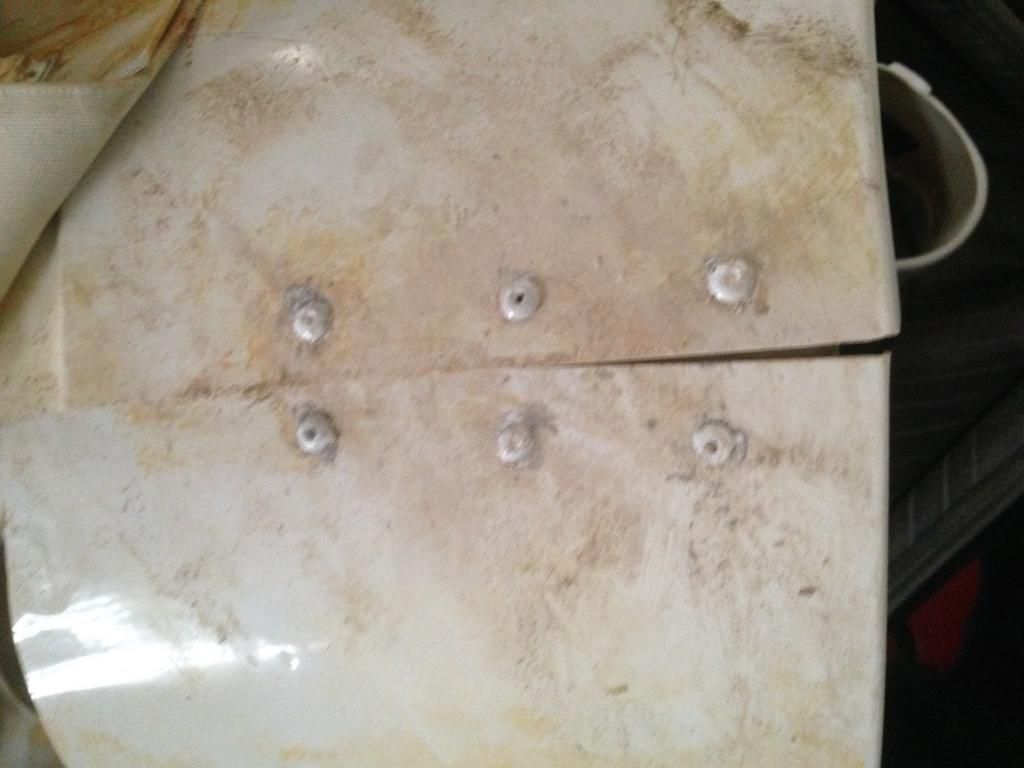
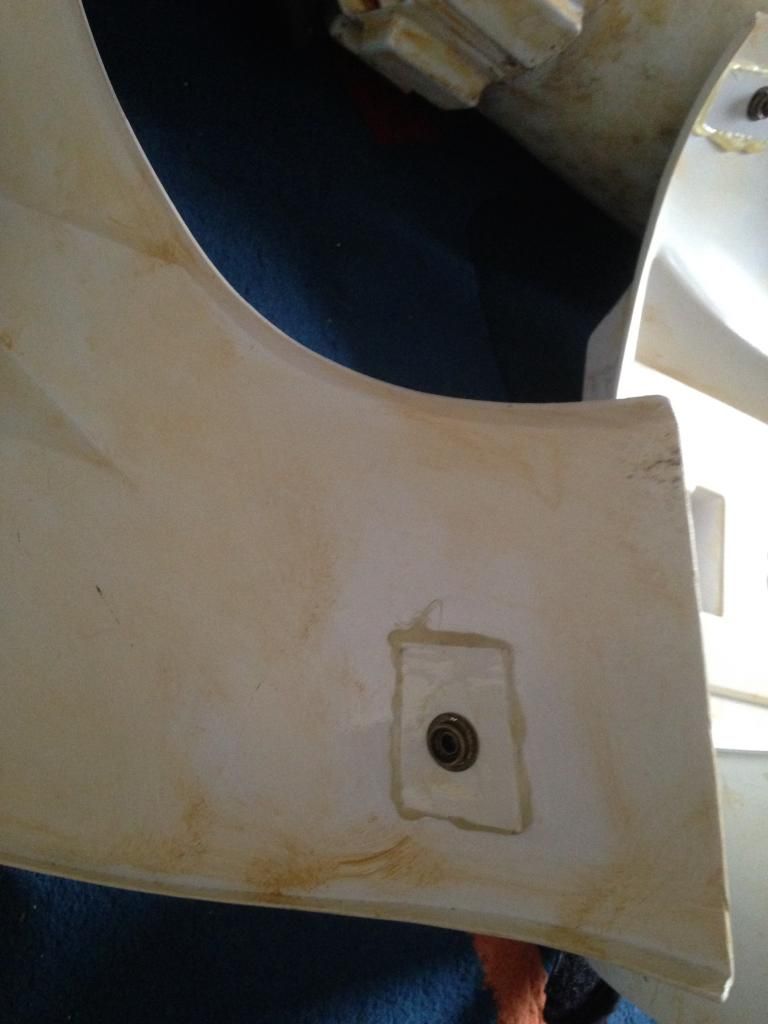
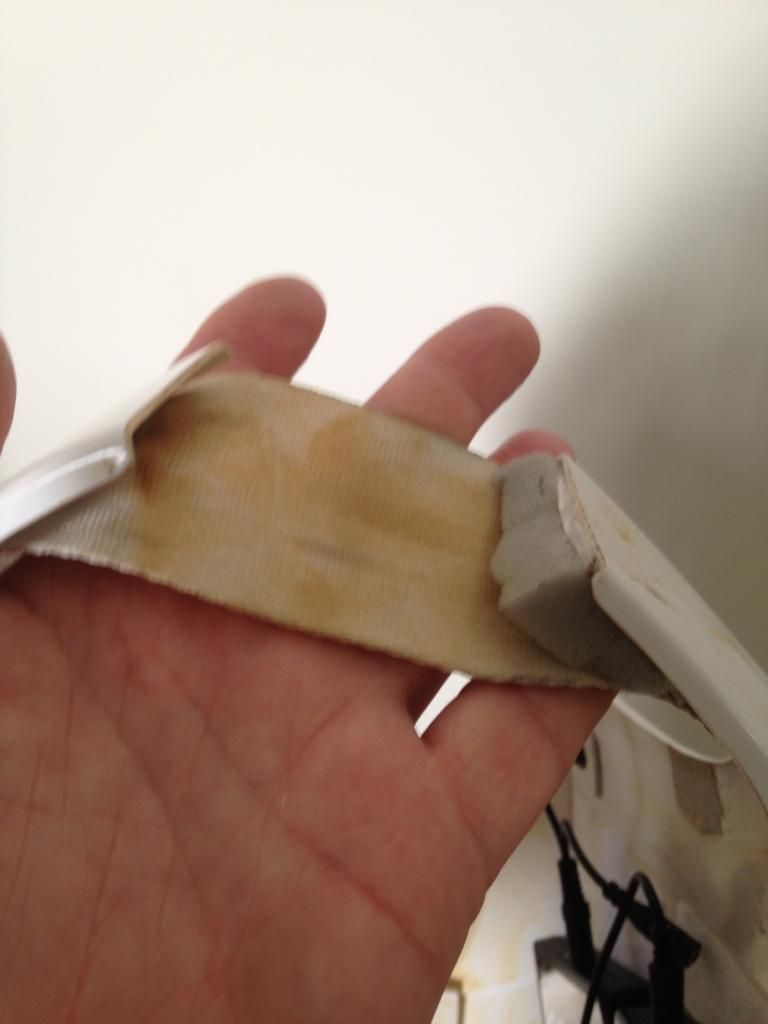
Hi again,
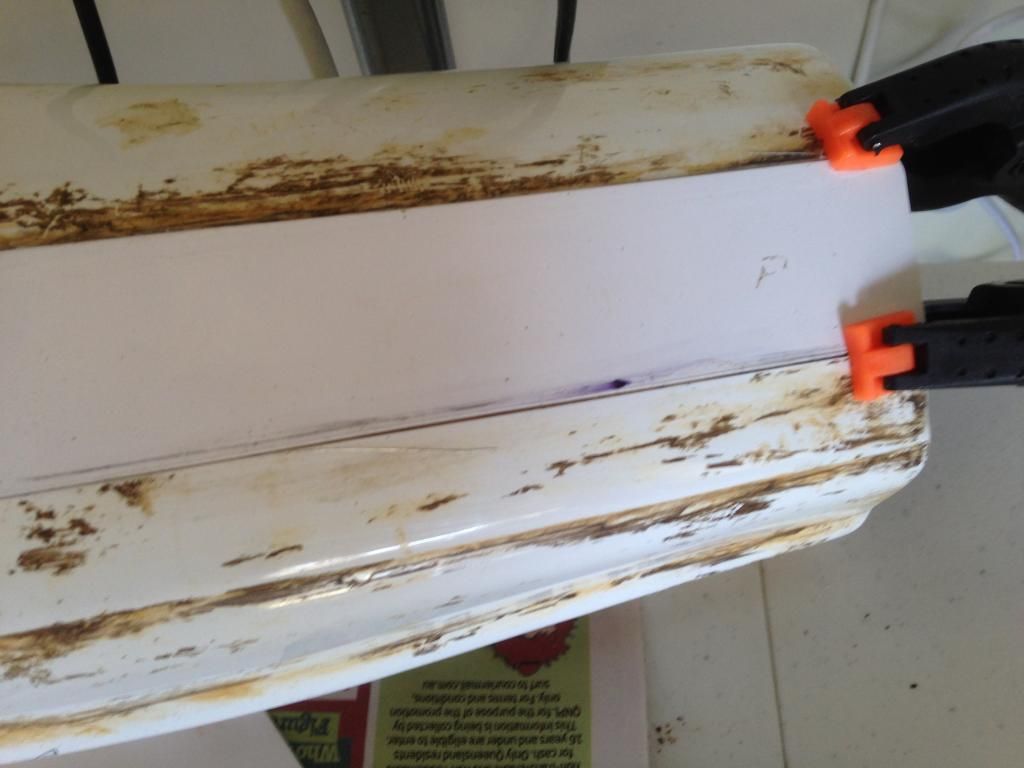
After doing a little research I think this is what I needed to do
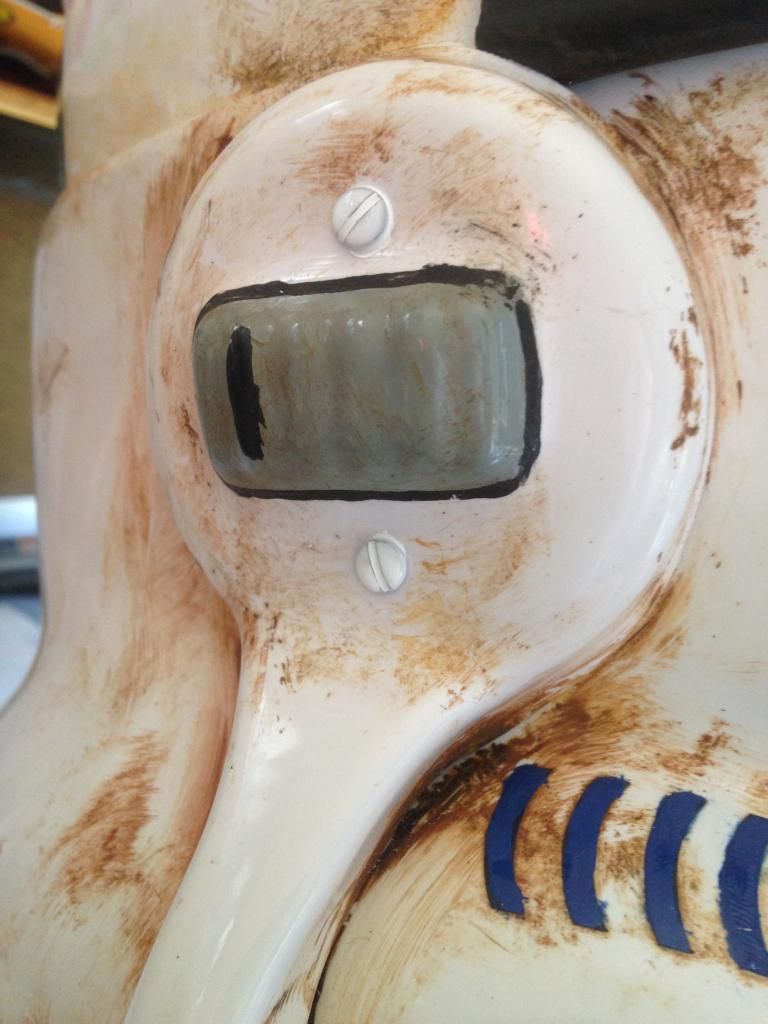
Installed a snap on the top right hand side of the ab plate : back of male snap showing on the outside of the ab plate as per photo.
Cheers
Glenn :-)
Thanks again
DWqld
-
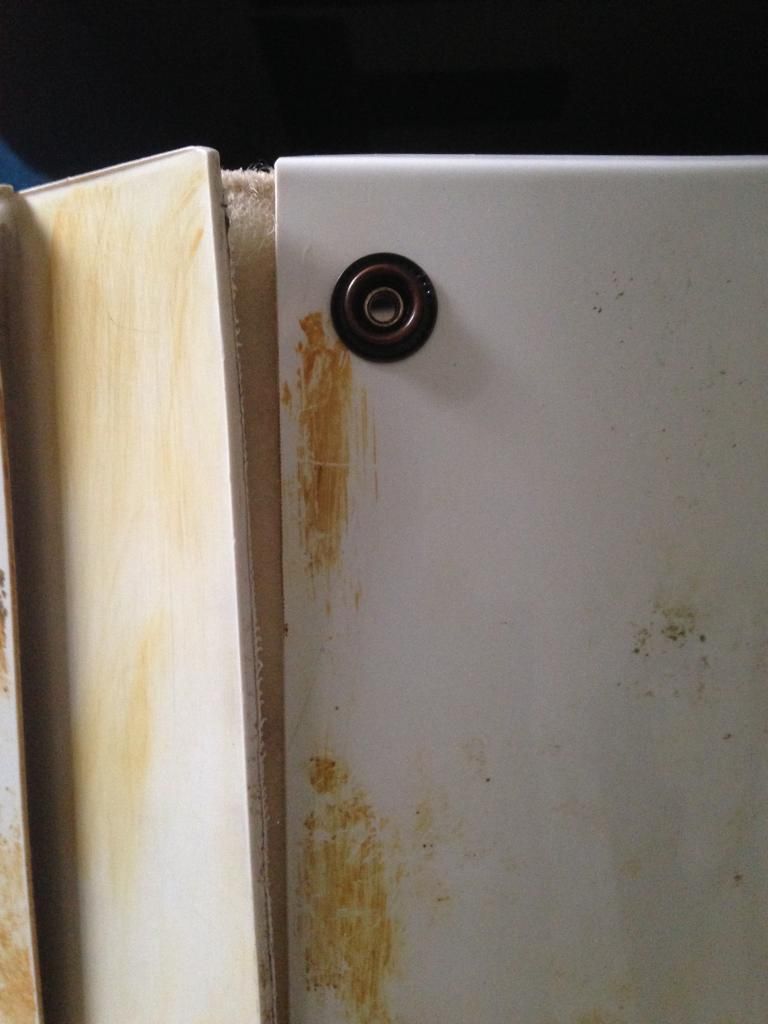
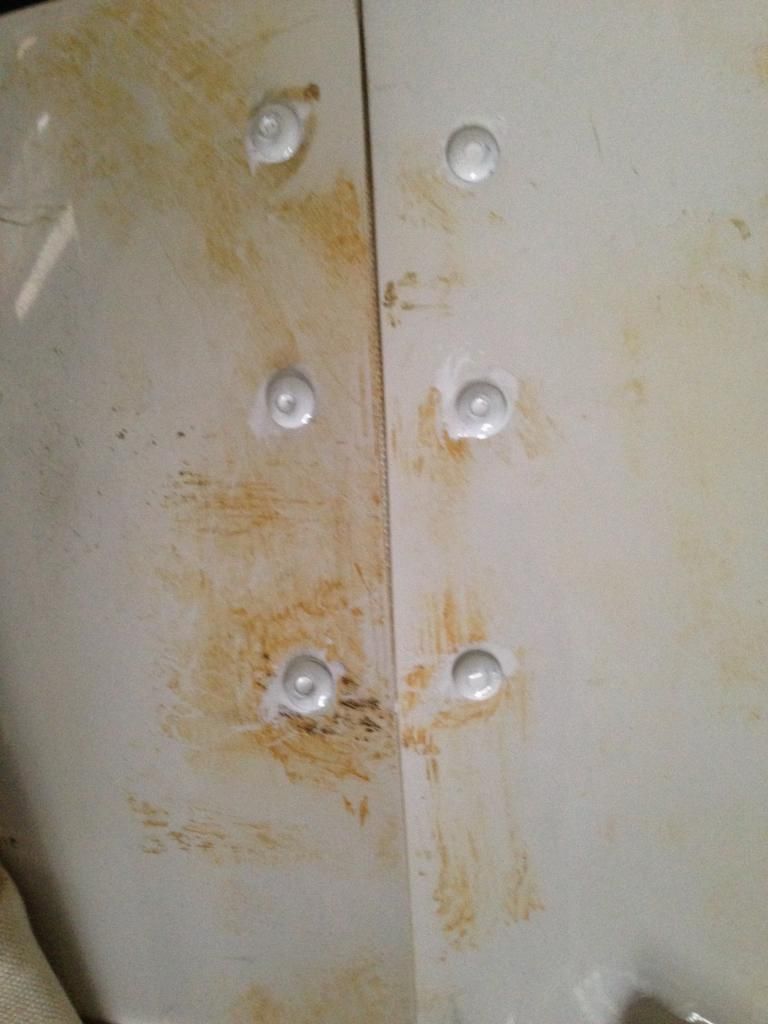
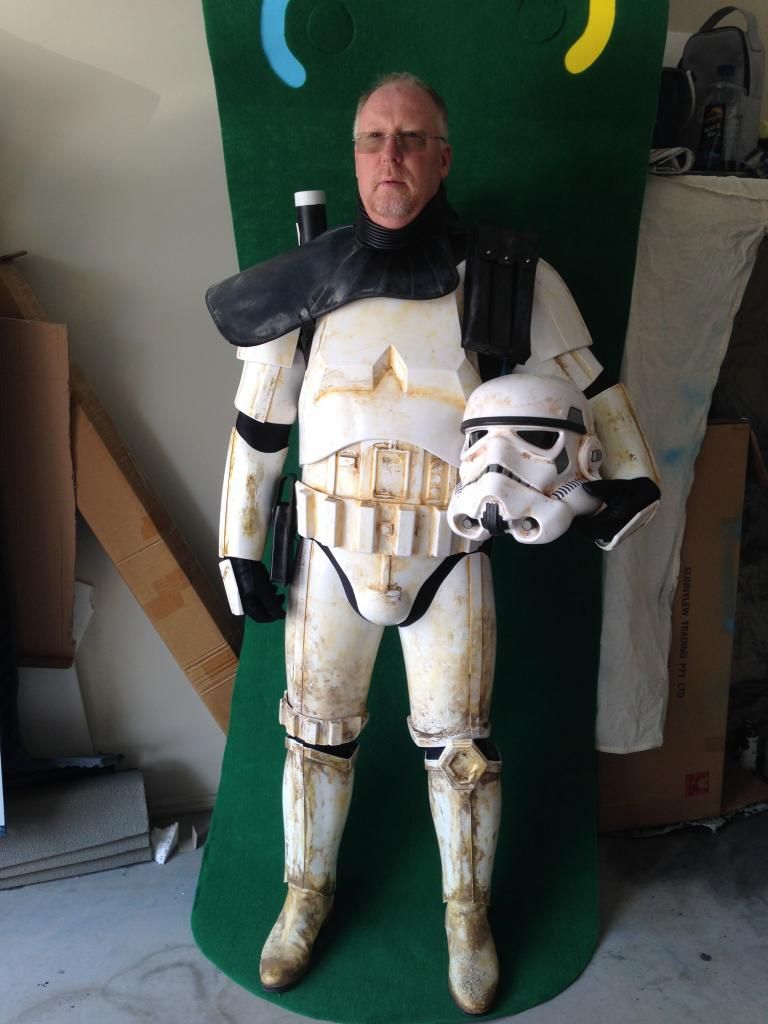
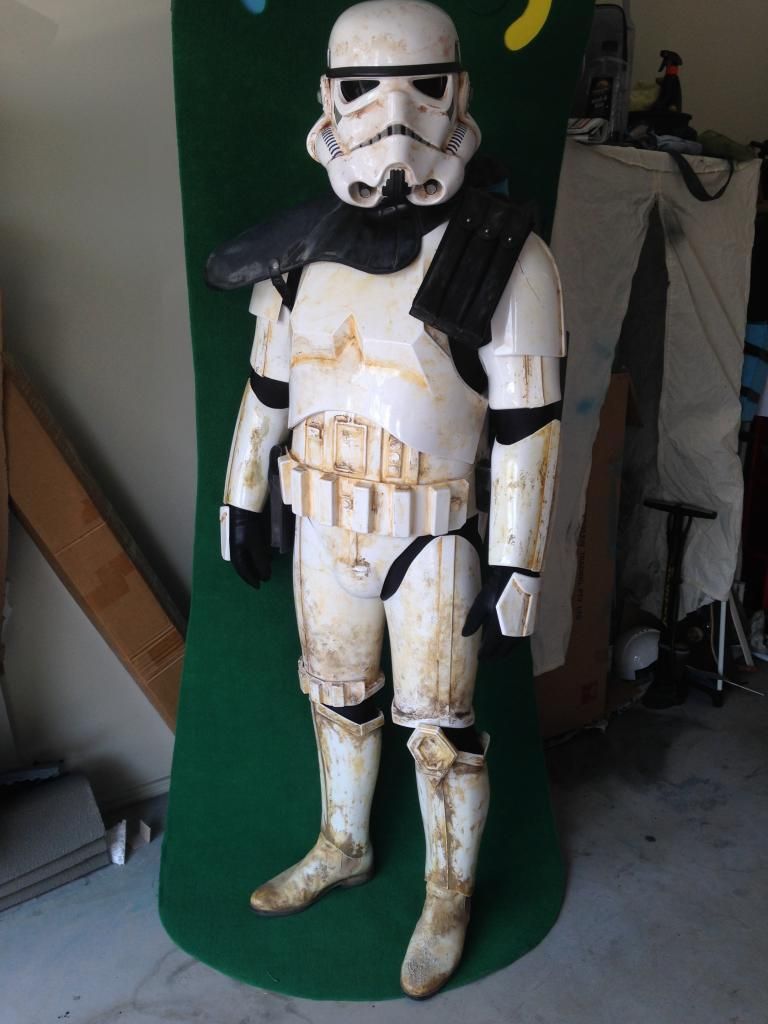
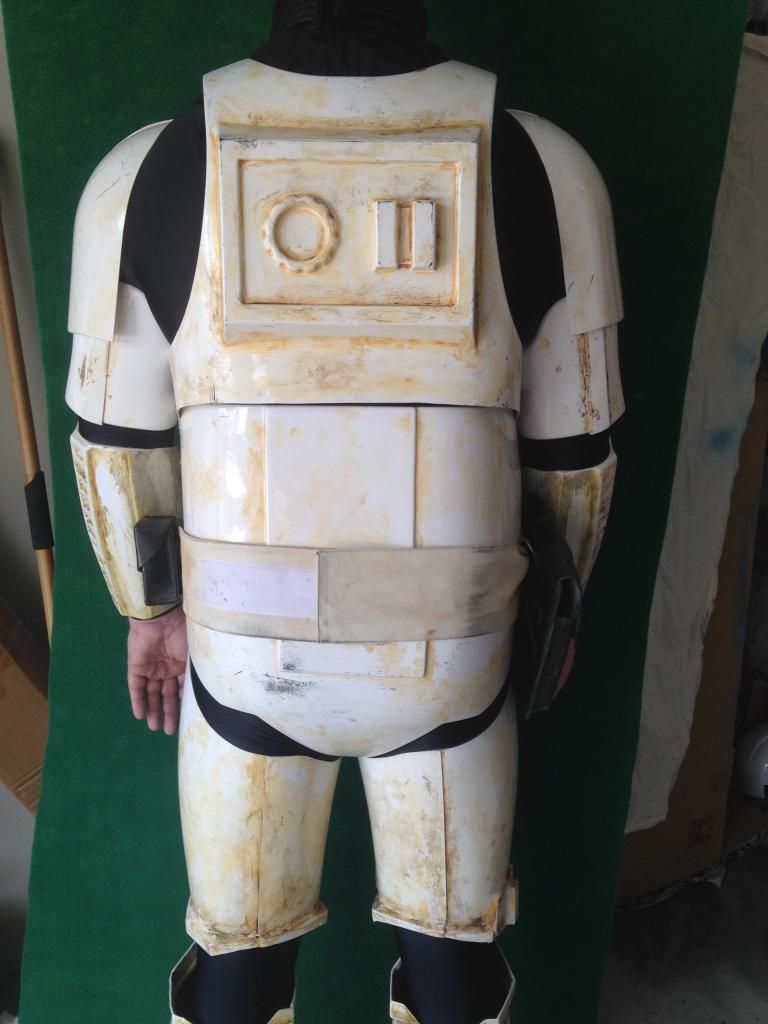
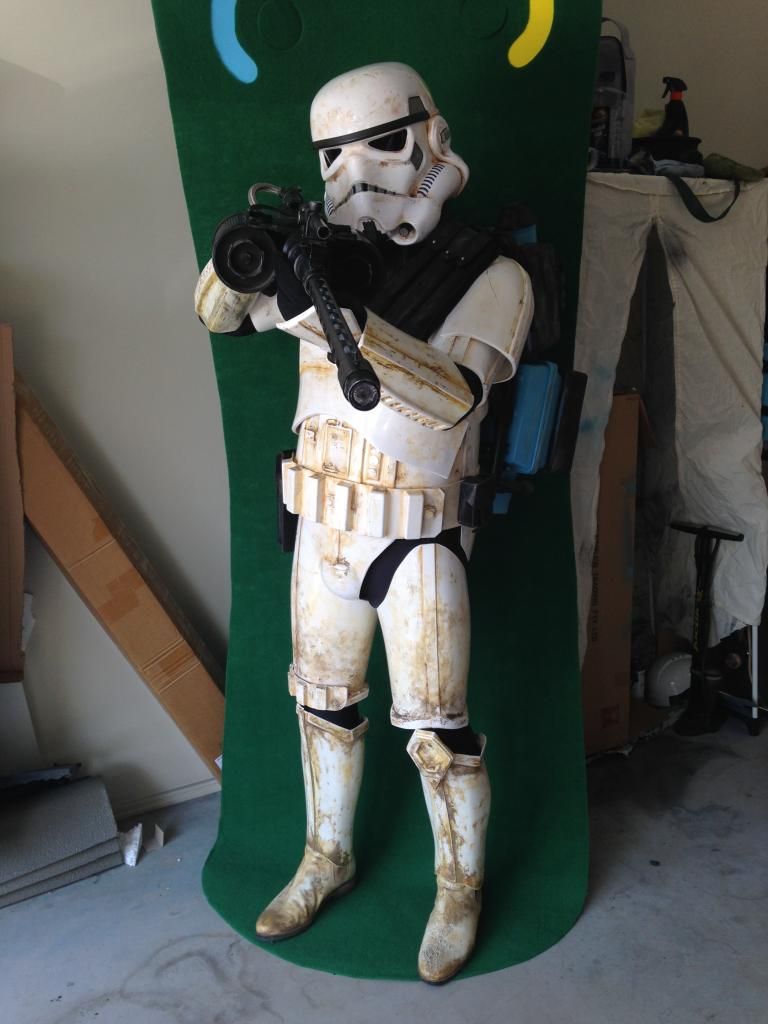
Hi everybody,
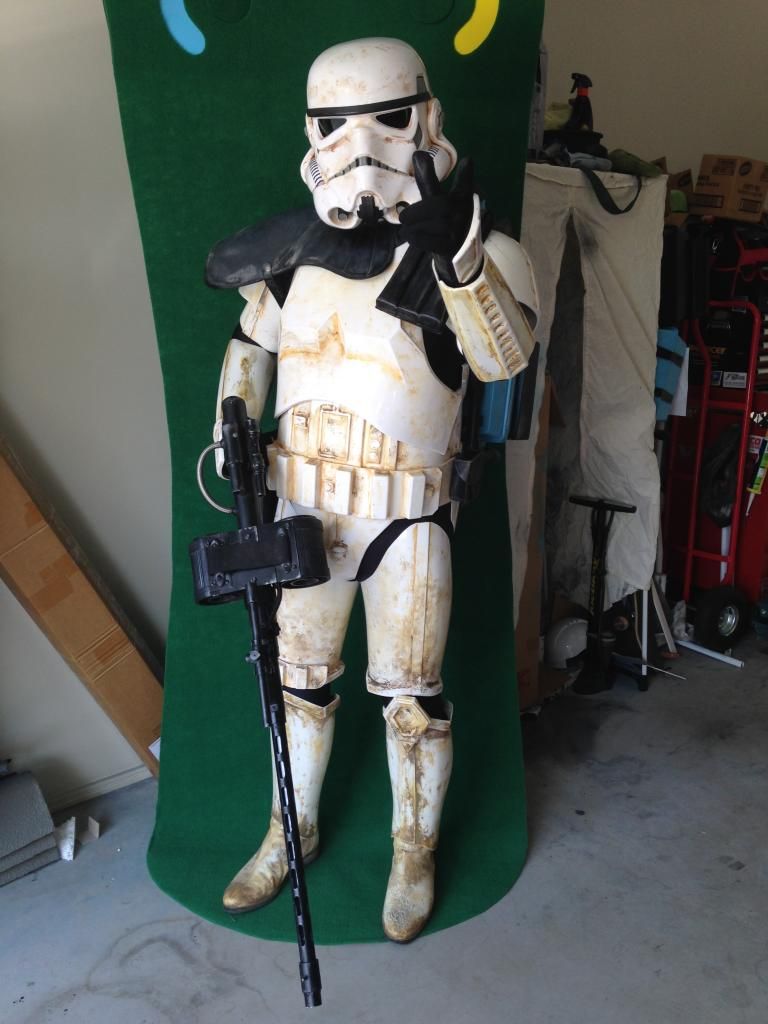
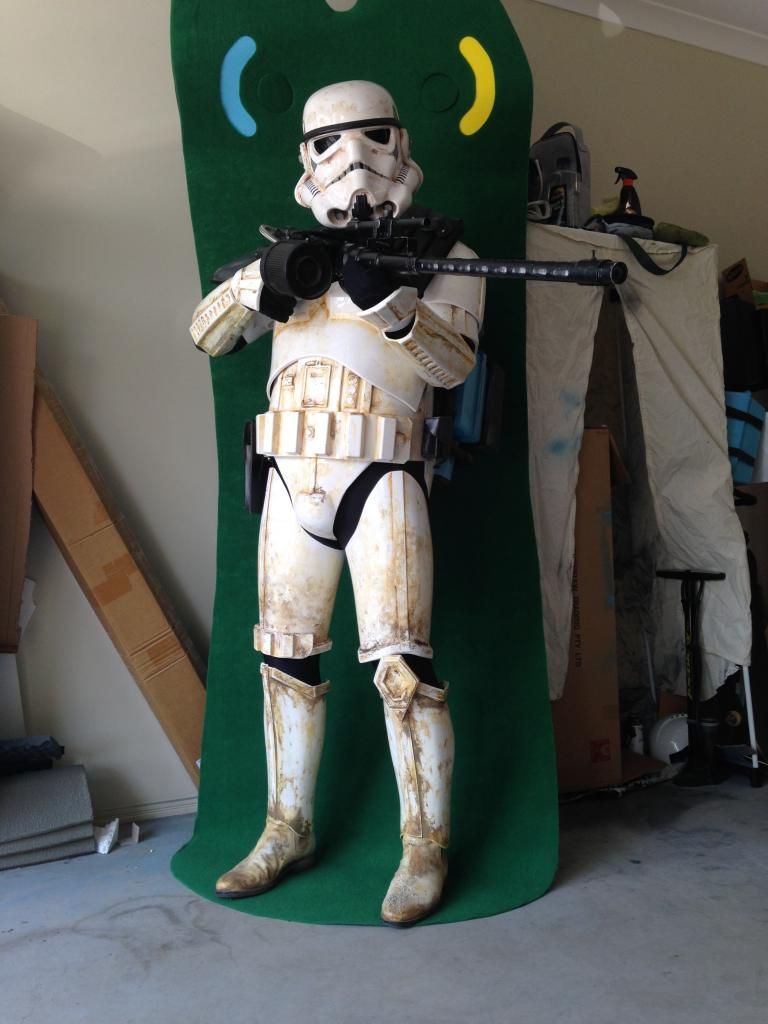
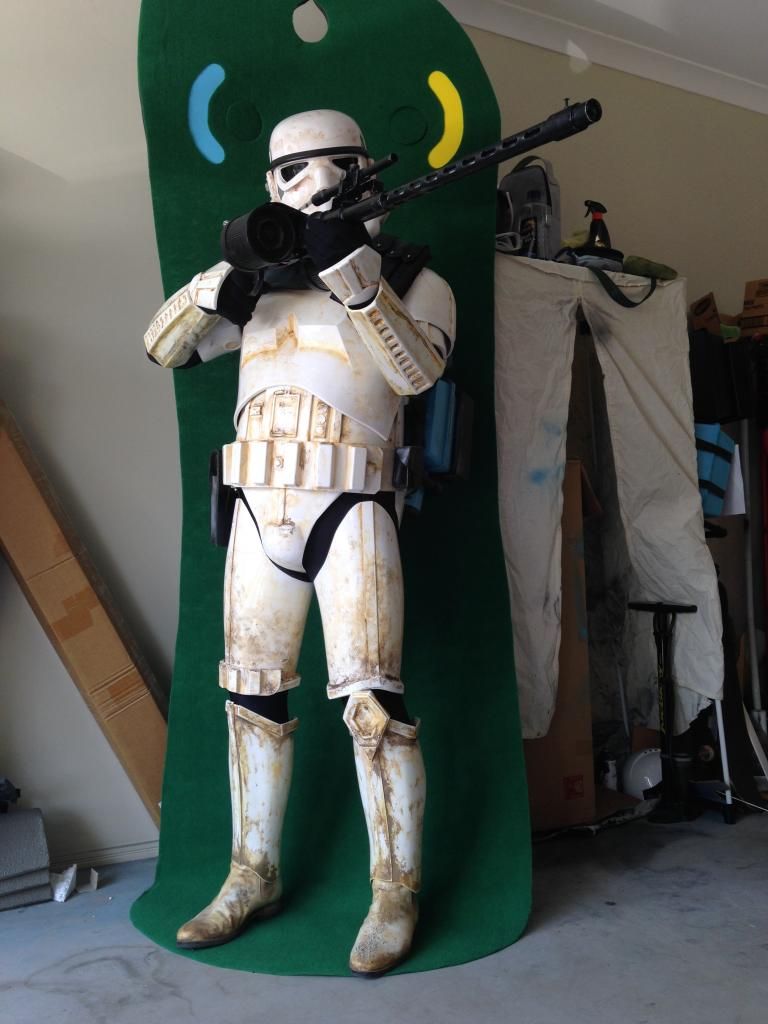
Firstly thank you all for the kind comments on my Kit (I'm glad you like it).
The Armour is AM 1.0 original purchase 2010 from Troopergear
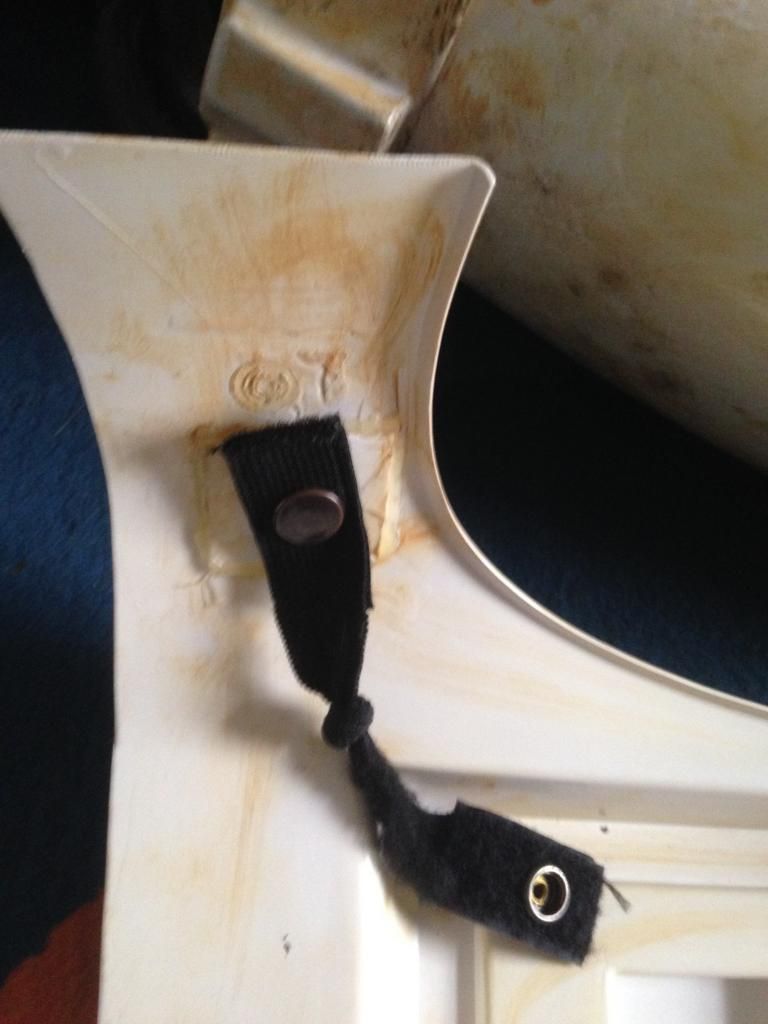
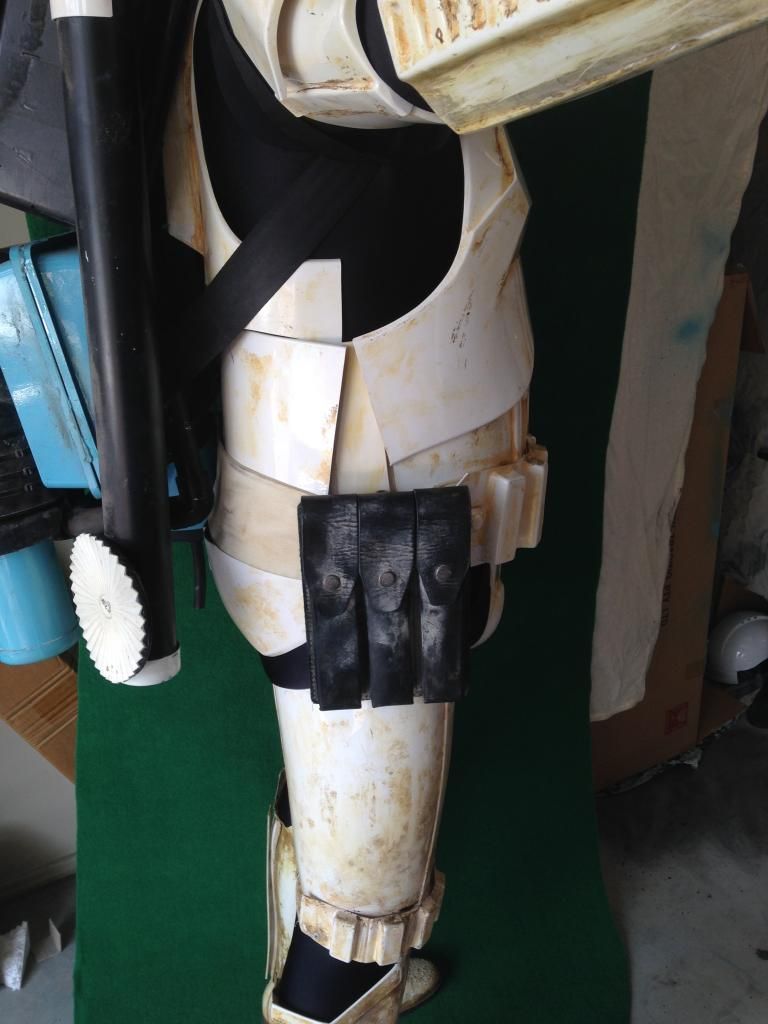
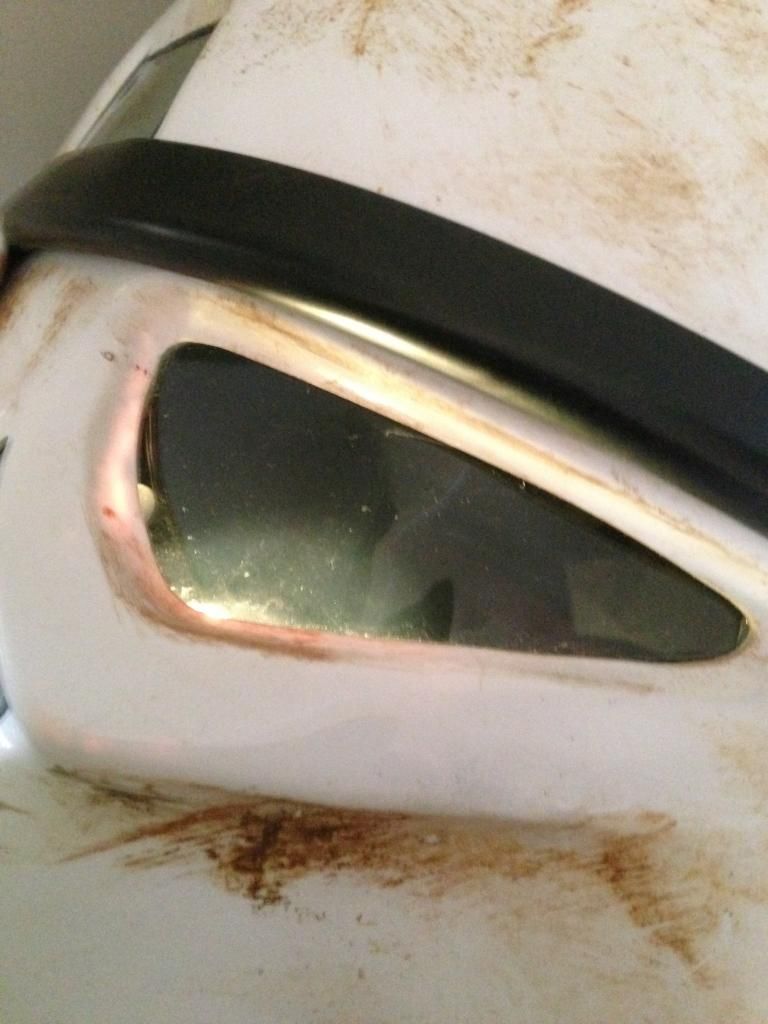
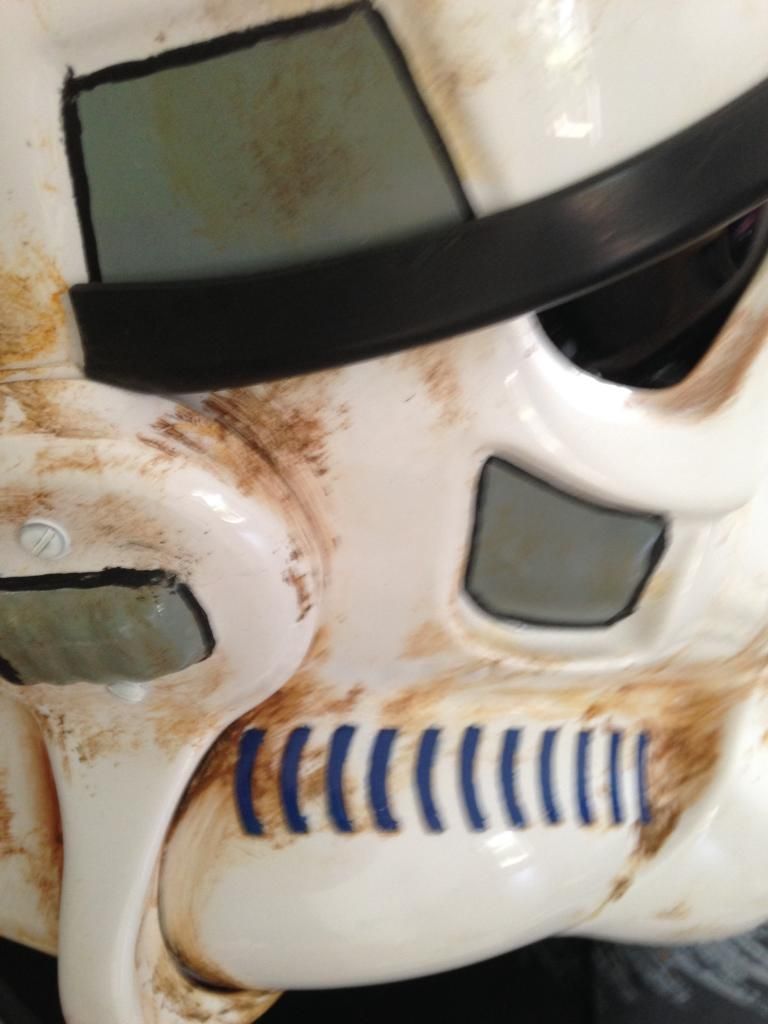
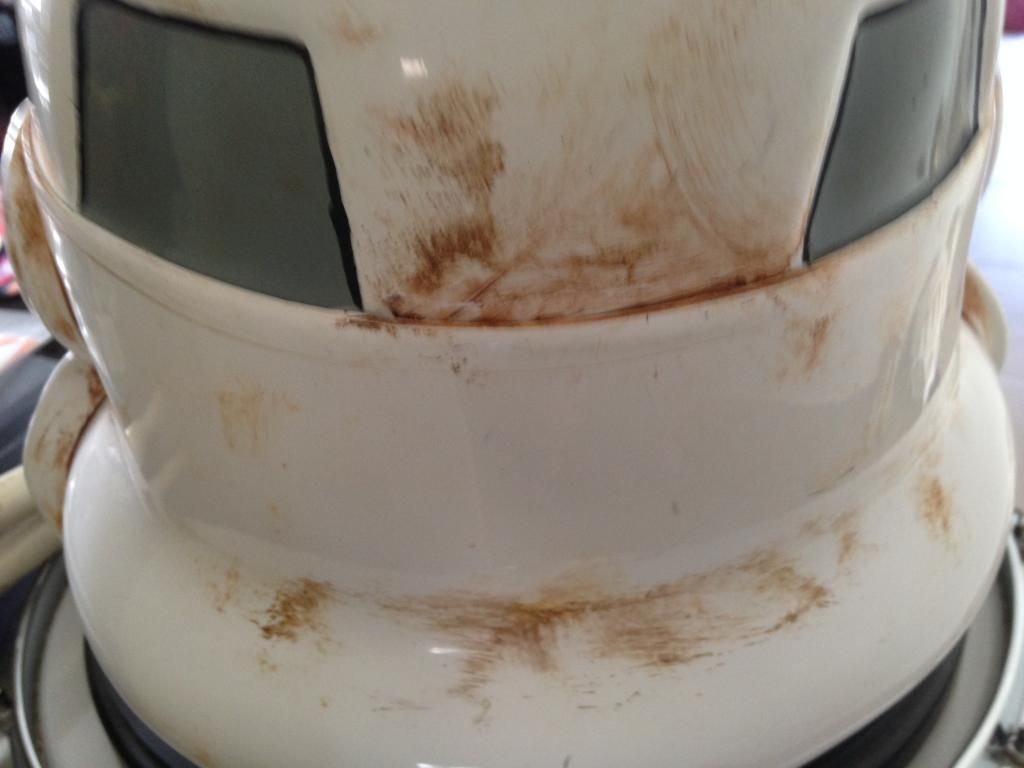
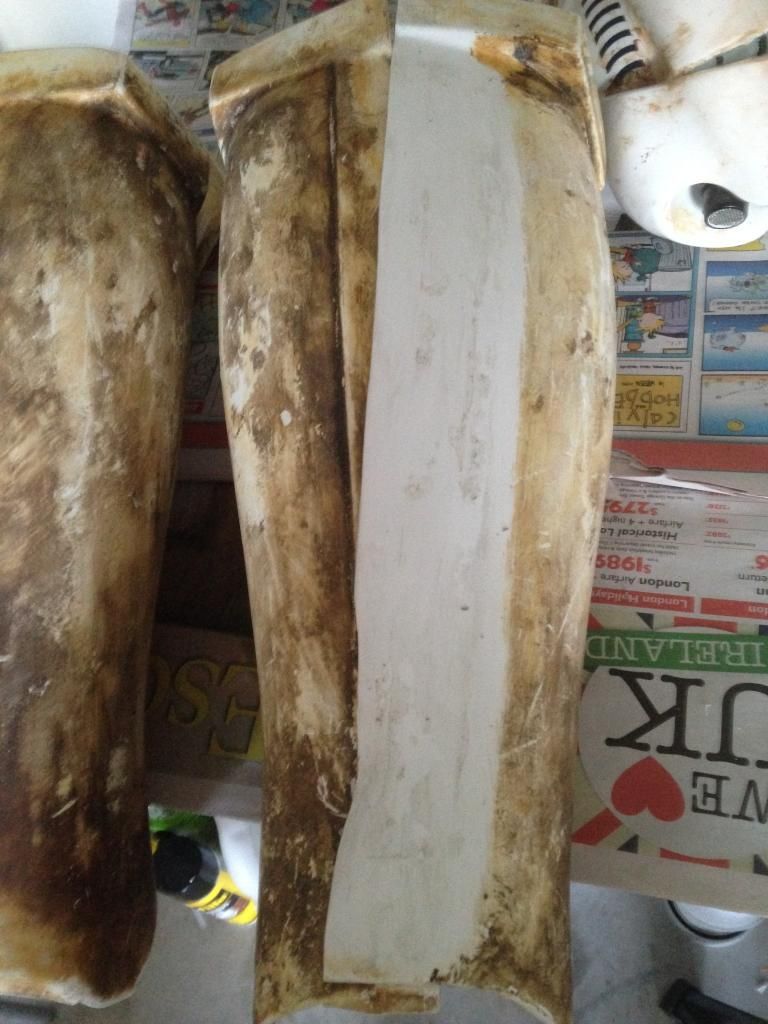
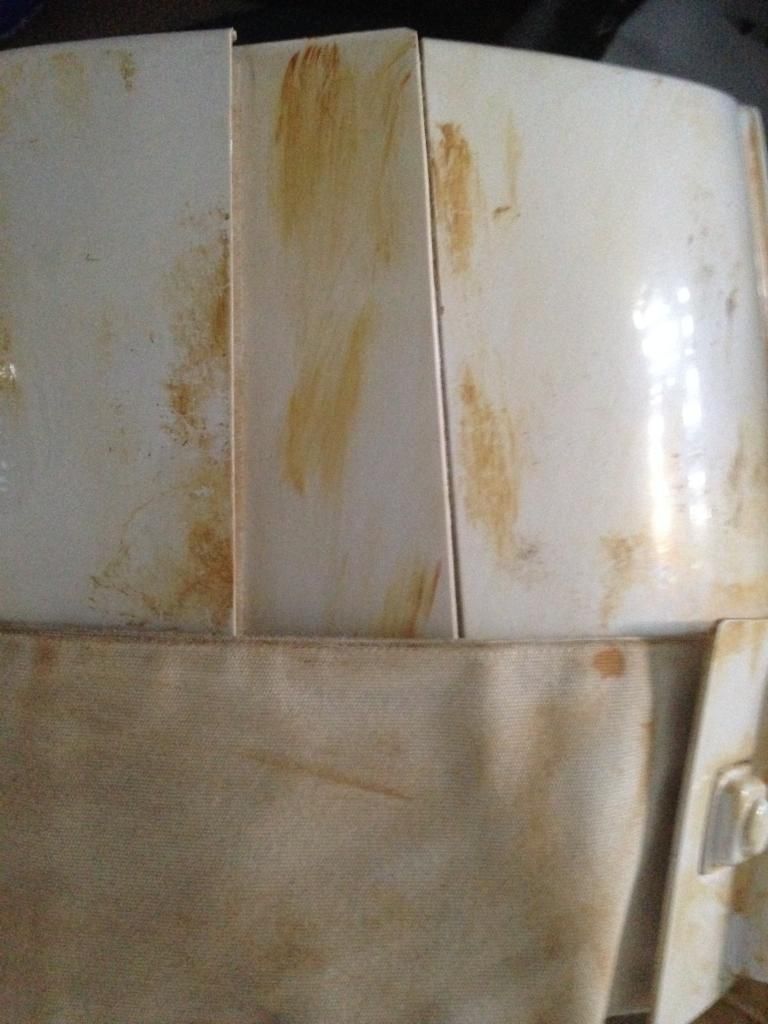
I have painted and weathered the rivets on the left hand side
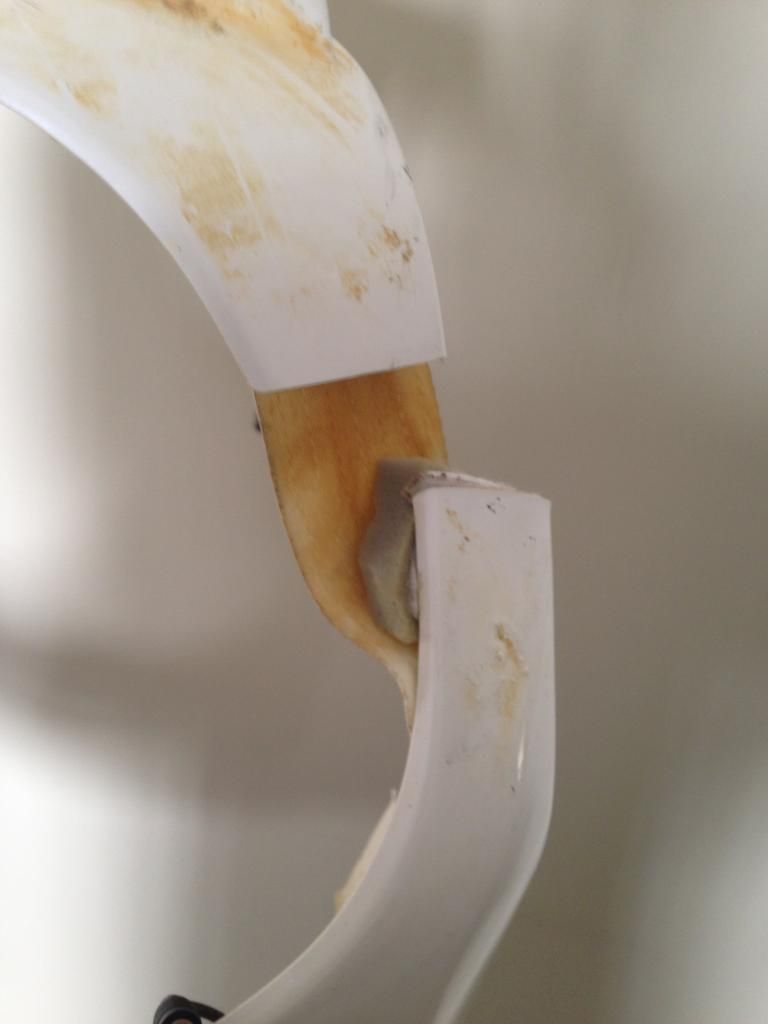
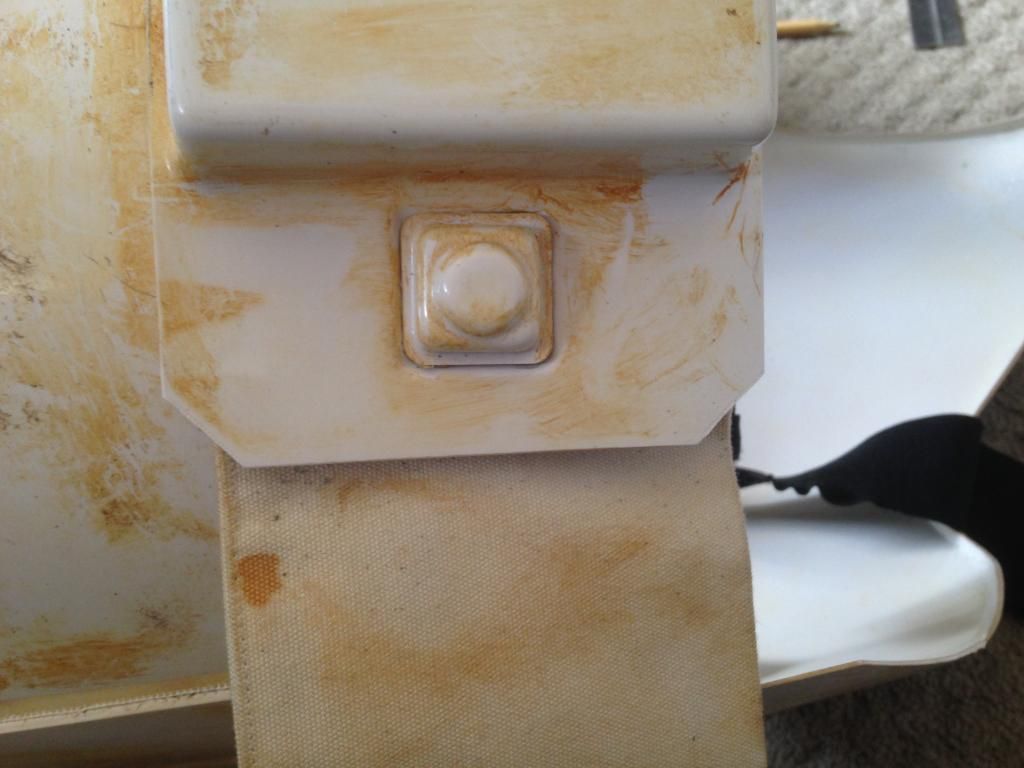
I wasn't entirely sure which snap you needed photos of so I took photos of all of the ones on the right (please let me know if you need more)
I am hoping to take this to swat level so and heads up on mods that I may have to do would be appreciated.
Cheers,
Glenn Dwqld
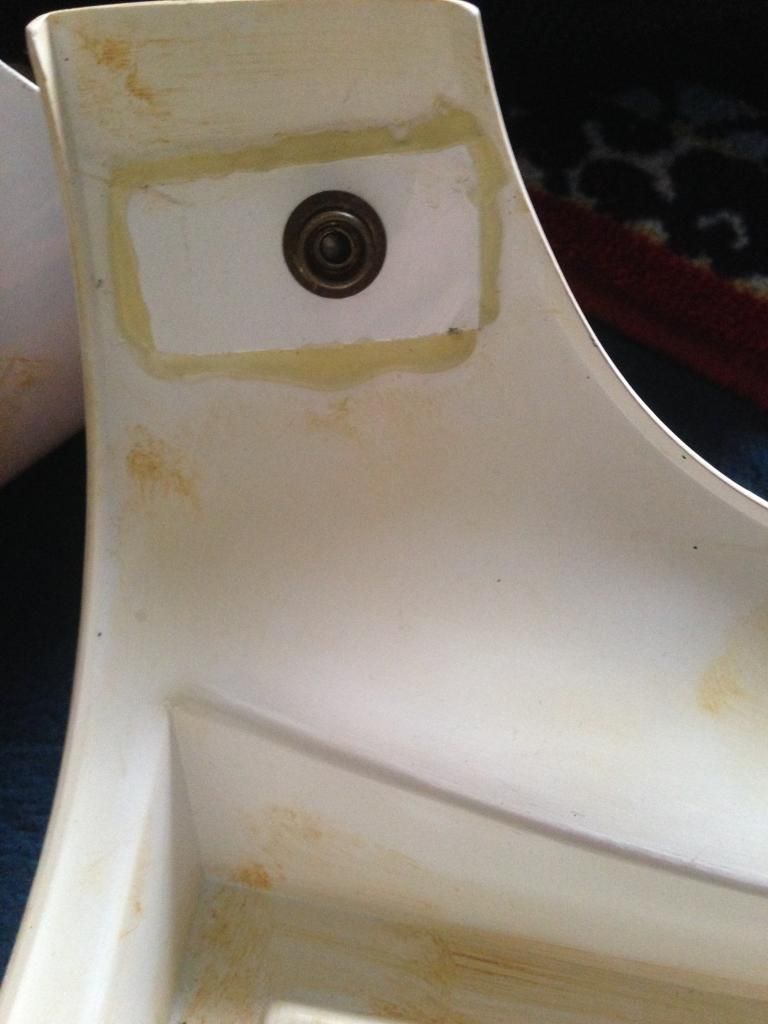
Cheers :-)
-
Glenn Hill
TD10538 http://www.501st.com/members/searchresults.php
Dwqld
Redback Garrison
Well here we go...
I bought this armour from another mepd member and it had previously been approved as deployed 3 years ago.
I have made a lot of changes to get it approved in the 501st which happened a couple of weeks ago.
I have enlarged some of the armour and bought the back pack up to standard etc.
I hope you like ....
Cheers
Here is a link to my photo bucket for more pictures than I have put here.
http://s1380.photobucket.com/upload?location=
Bucket Pictures

Thanks for your consideration I hope to be joining the deployed ranks soon
Cheers.
-
Hi piper,
Good to see another new sandy in OZ
The trays to get from Bunnings are Saxon trays they come as a kit clear top with seed sets $ 14 odd each and you just use the green trays.
The mushroom caps are Tupperware jelly Bowles ( I have some spare or look on eBay) they are the ones with lid and seperate stand.
The cistern see the gordonator and he will send you one ( from mepd)
The radar dish either dirtyboy on mepd or if you want the rigidity thing eBay for the Tupperware juice jug again from the 70 vintage on eBay range from 5 15 dollars
I hope that helps
Cheers
DWqld
-
Thanks Felice,
Yes they era really hard to see in anything that I have including that one but thanks anyway.
If anybody else has any suggestions please help
-
Hi all,
I'm rebuilding a backpack that has previously been approved and deployed a few years ago to be more accurate so that I can have approved for me.
I have gotten most of the things I need but I can't see on any pictures that I have if the seed trays are used in the top as well as the bottom.
Can anybody help if you have a better picture. I have enough seed trays to do both but it looks like the top is just a square container to me.
Any help here would be great
Cheers
-
Very first one done yeah
Love being in the MEPD
-
Hi
Respectfully requesting sand trooper access
Glenn Hill
TD 10538
Sandyqld
http://www.501st.com/members/displaymemberdetails.php?userID=17670
Redback Garrison Queensland Australia
Regards, thanks,
Glenn
-
Hi Vince,
Sorry, what do I need to do with the belt corners? Still finding out all that I have to do.
I am cutting the shins at the back also, I did a trial fitting last night and can't bend the legs much so I will cut the tops as per the crl photo ( am armour)
Anything else anybody thinks of would be greatly appreciated .
Thanks for the feedback
Cheers,
Glenn :-)
-
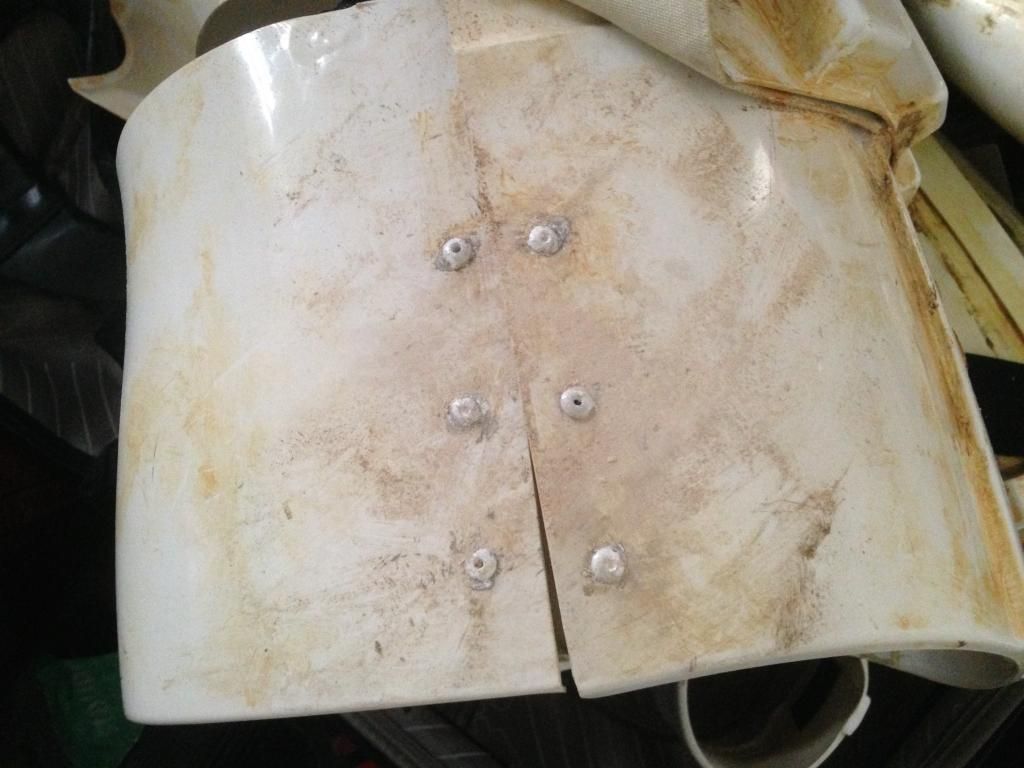
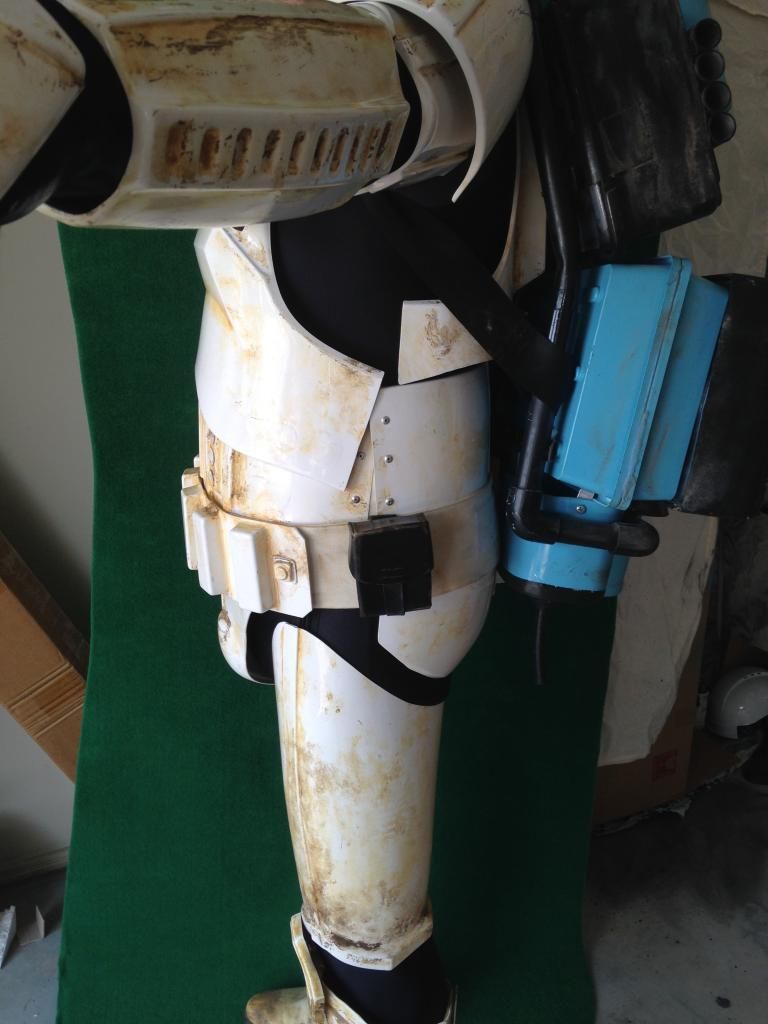
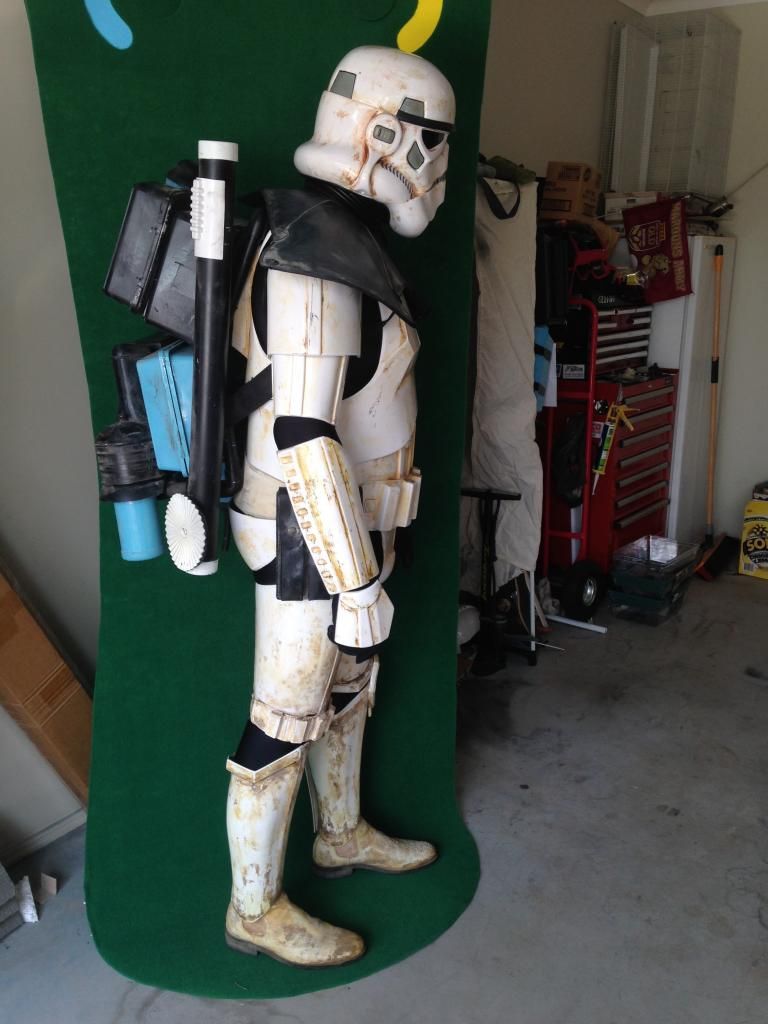
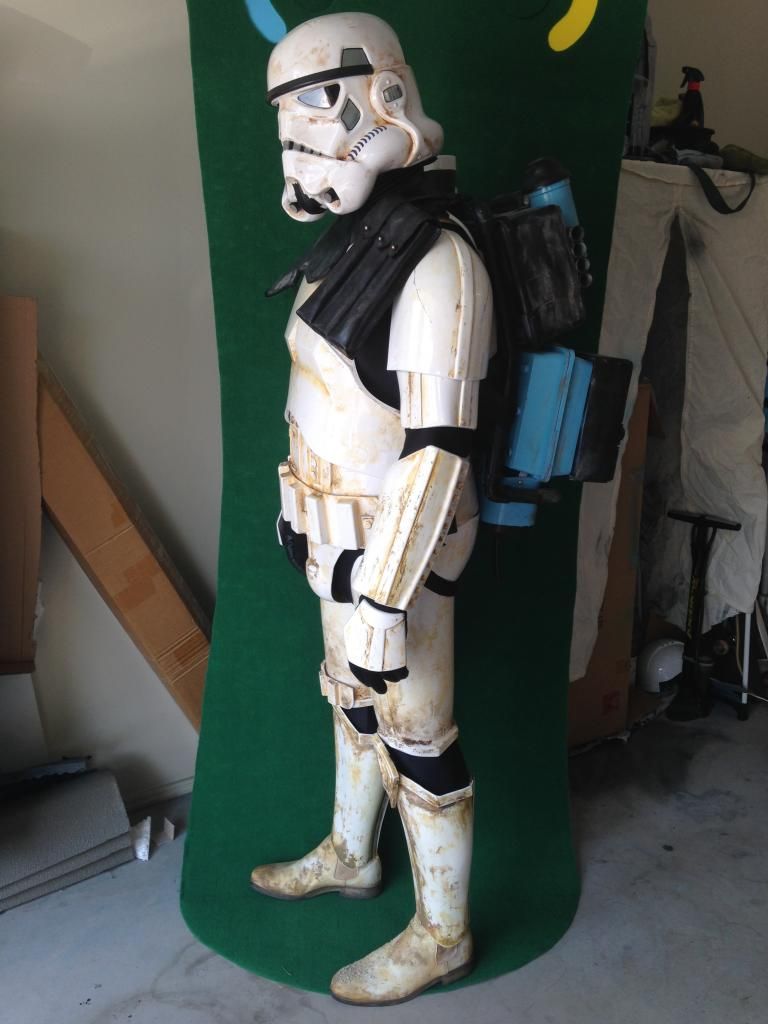
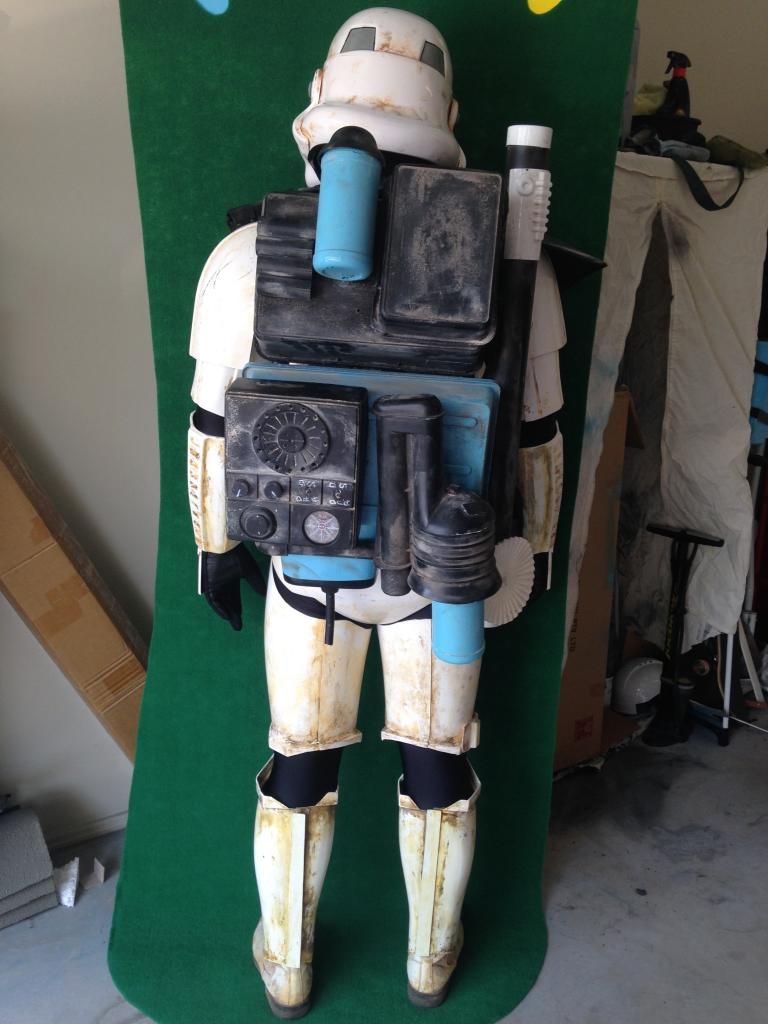
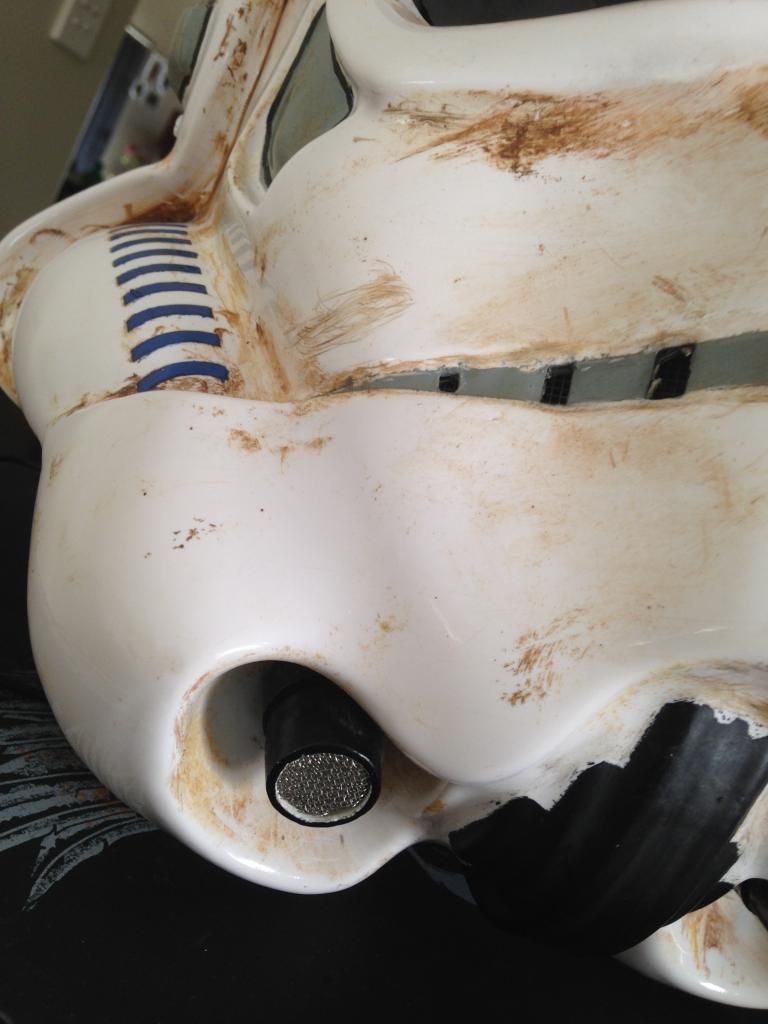
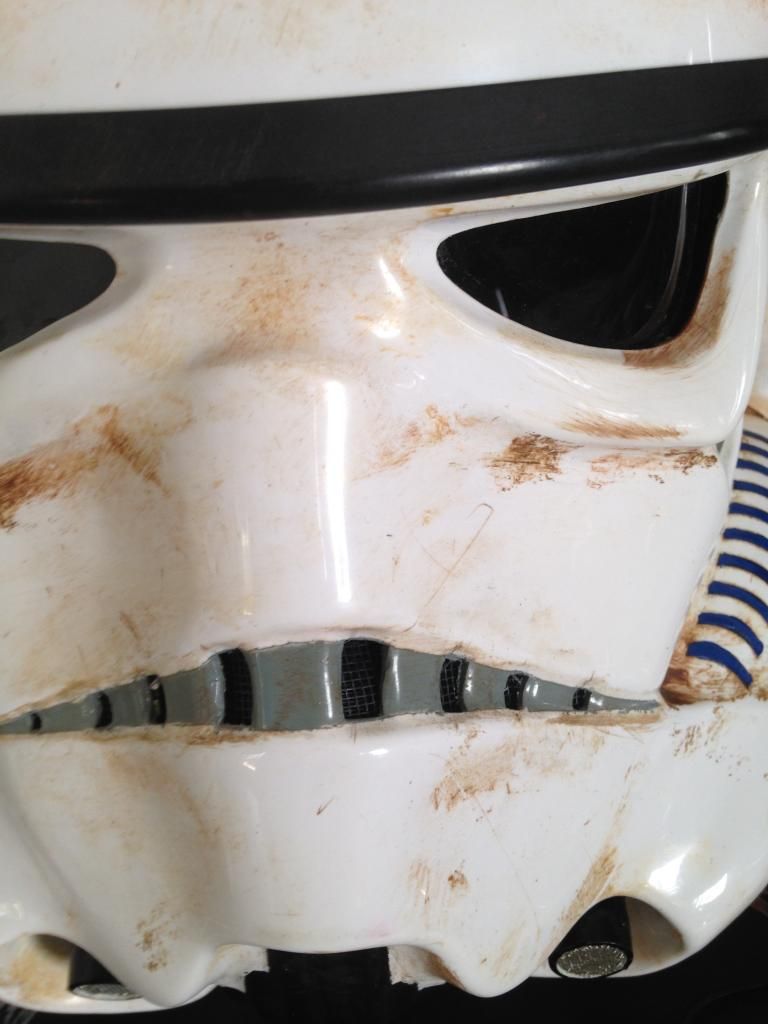
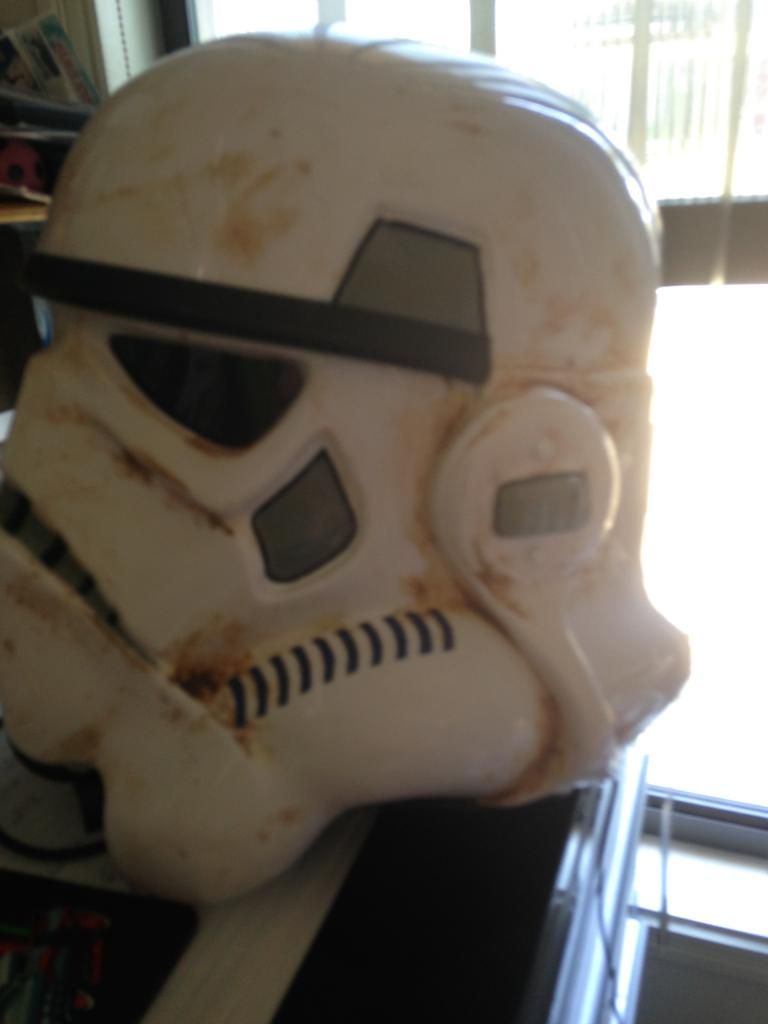
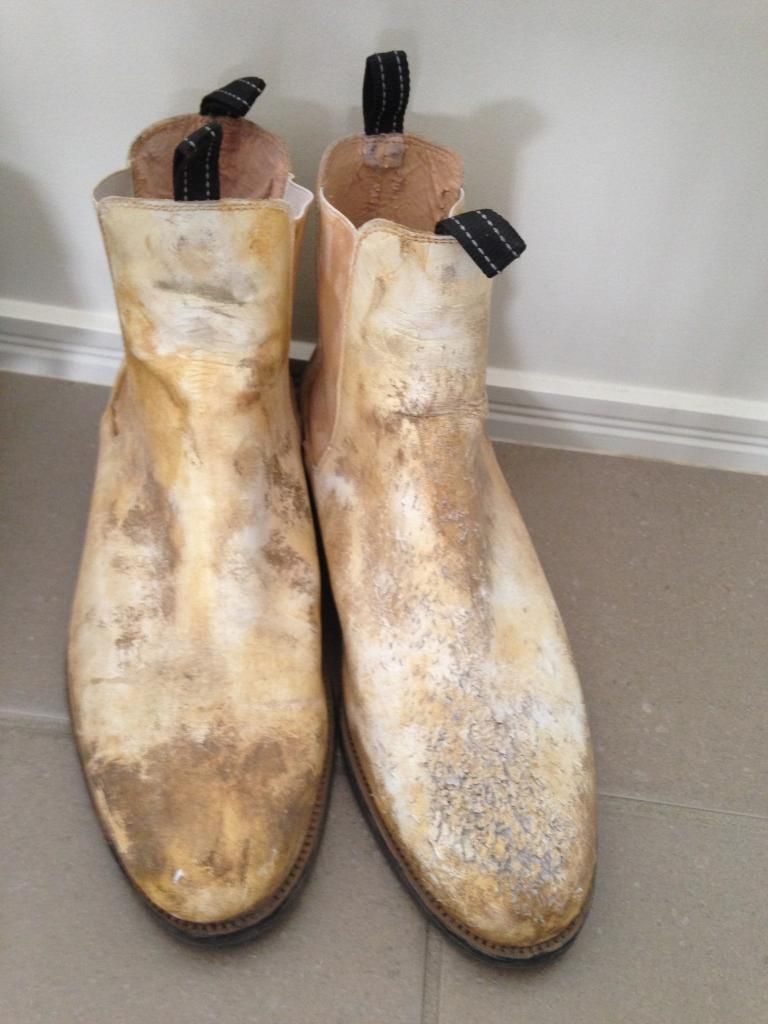
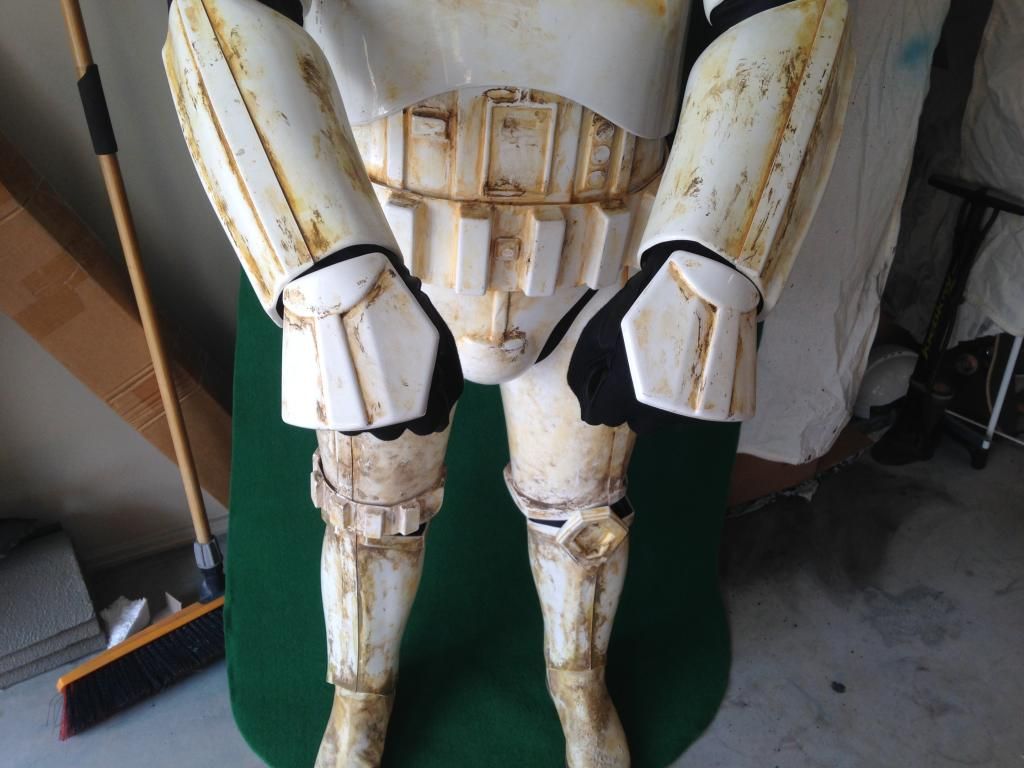
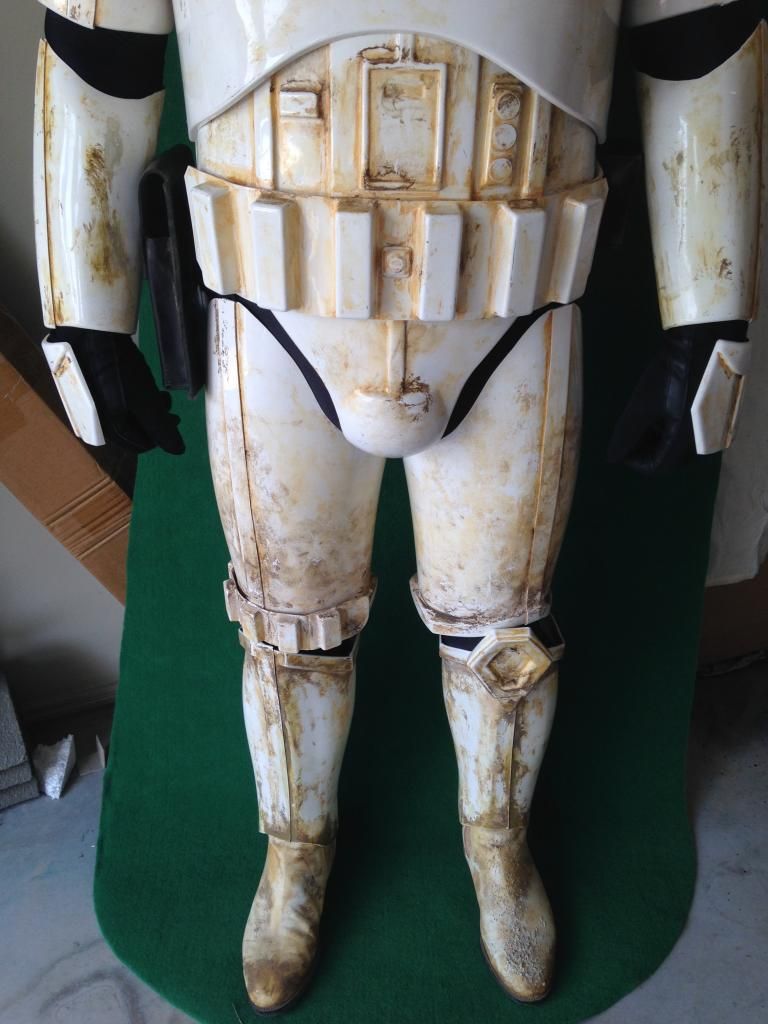
Hi again,
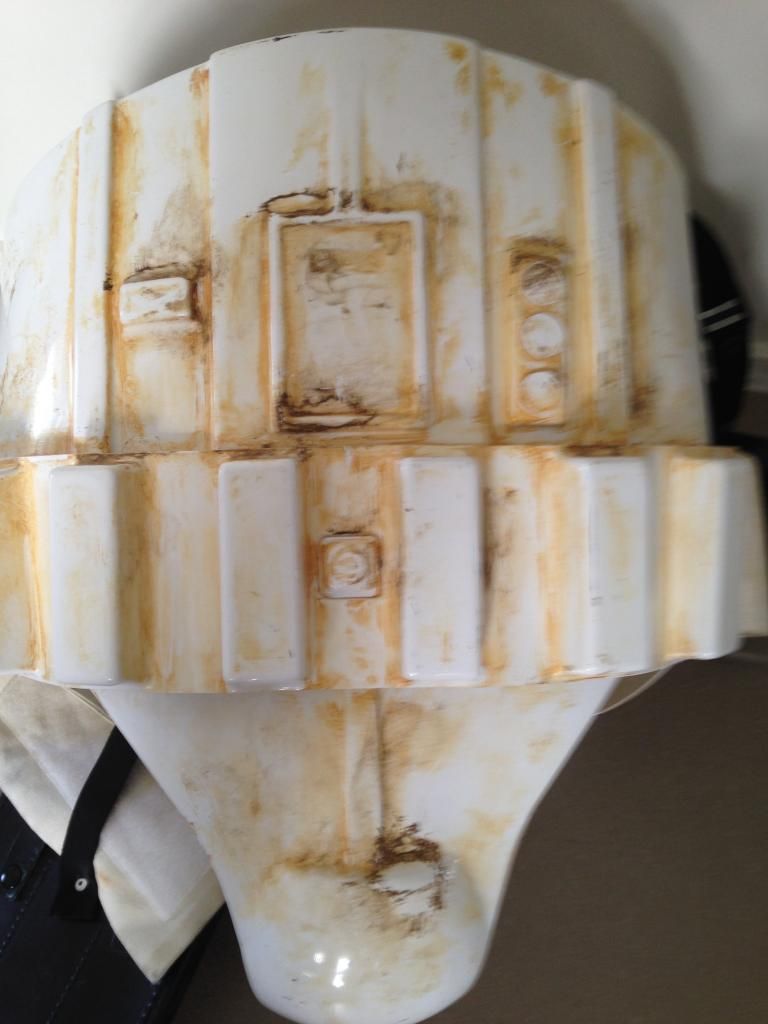
Well I have been working away on my purchased armour and (formally TD8995)
The whole costume was in really good condition hadn't been worn many times at all and muppet and I are about the same size so there really is very little to do to make this work for me.
here is the list of what I have done:
Shin armour - removed existing velcro from both and made the shin armour overlaps inwards to comply with the current CRL.
Made a new kidney extension using the existing velcro in the front panel and weathered.
made a new crotch strap
put new snaps in Thigh elastic to make them shorter
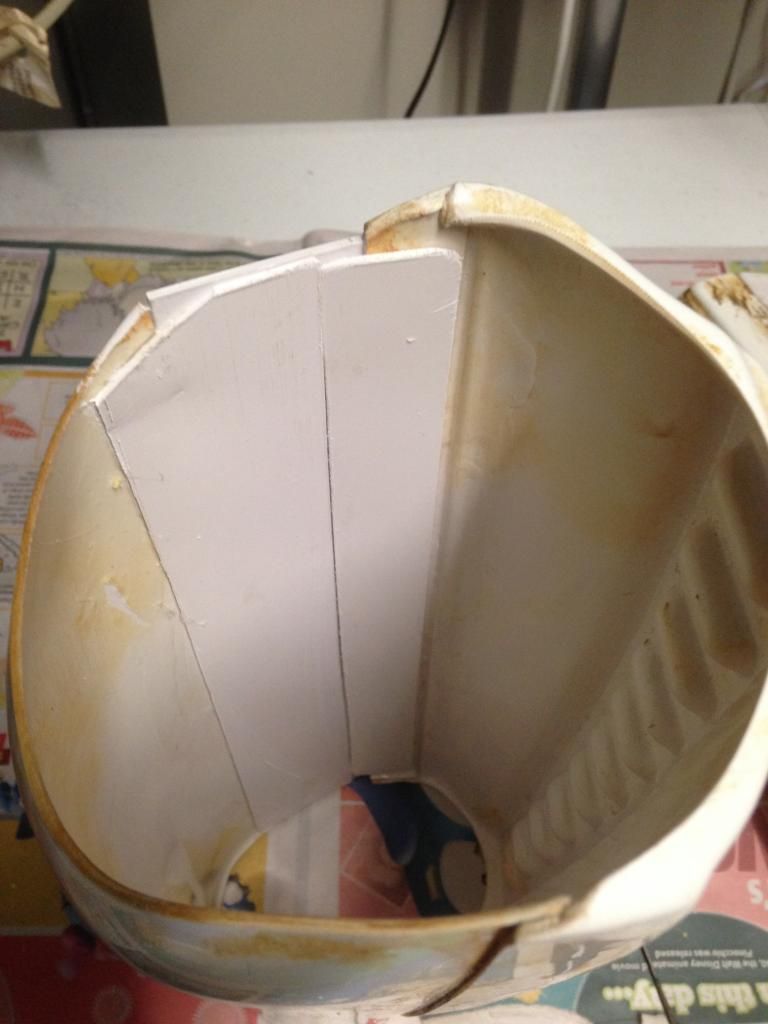
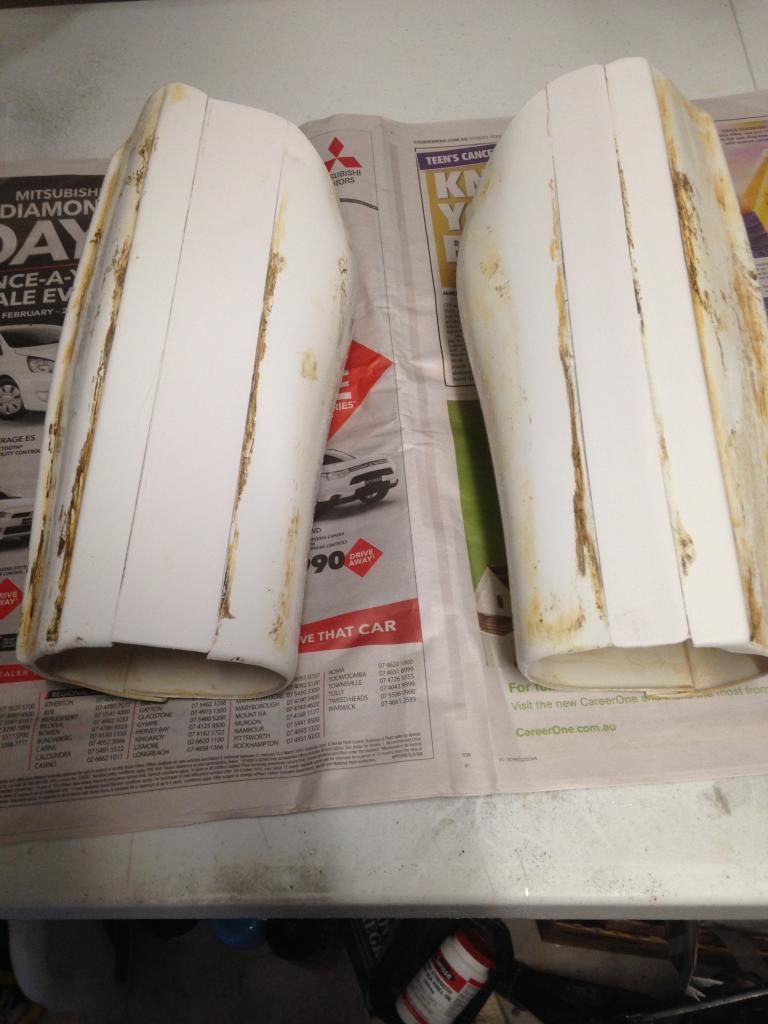
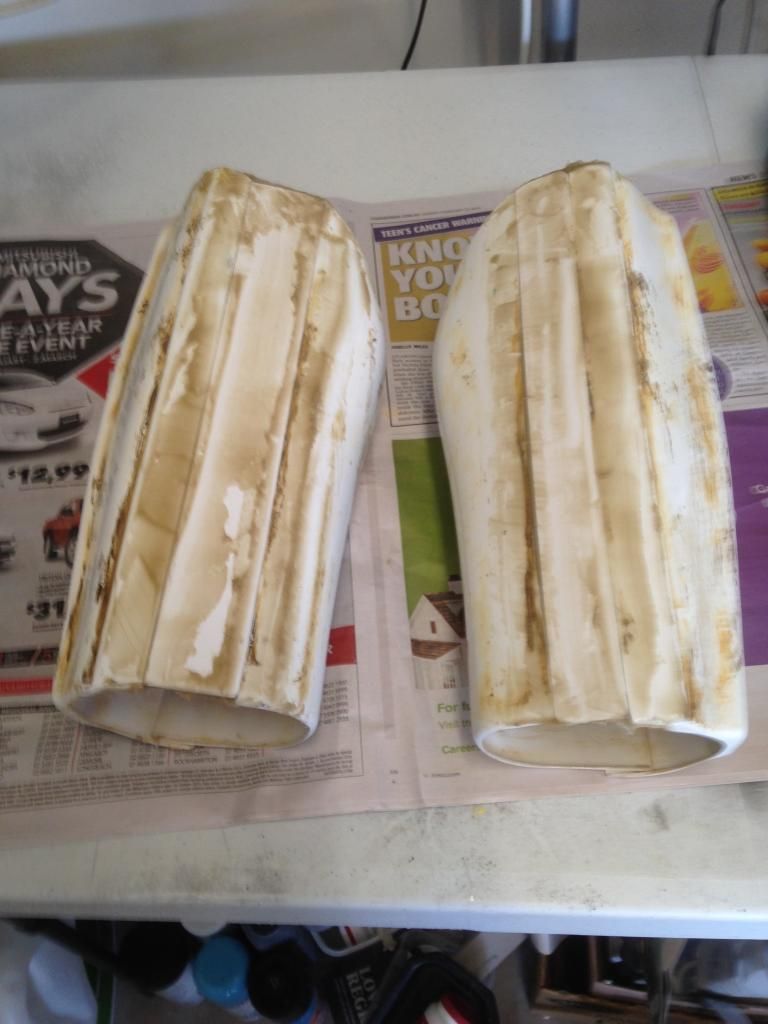
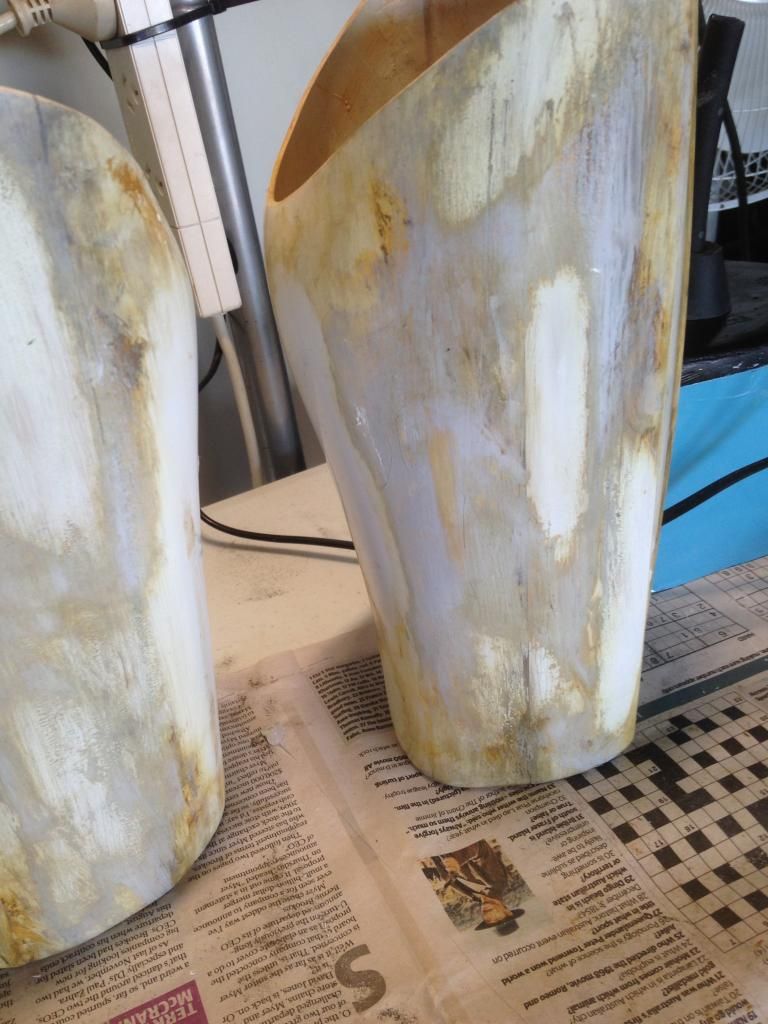
made the forearm armour larger -
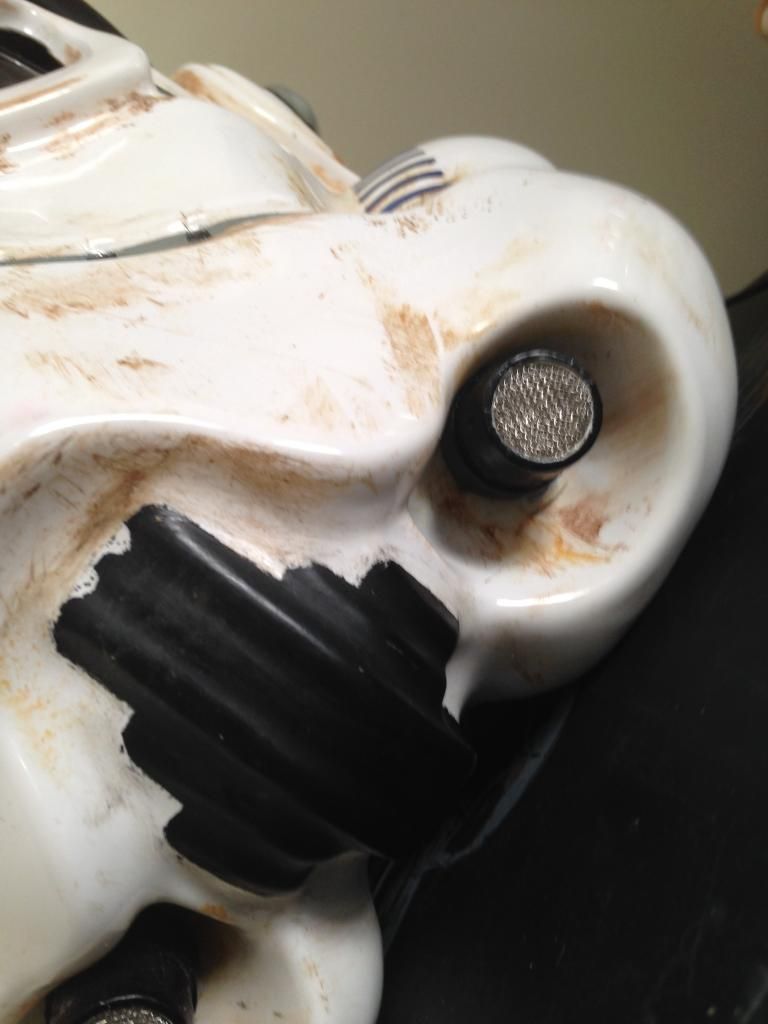
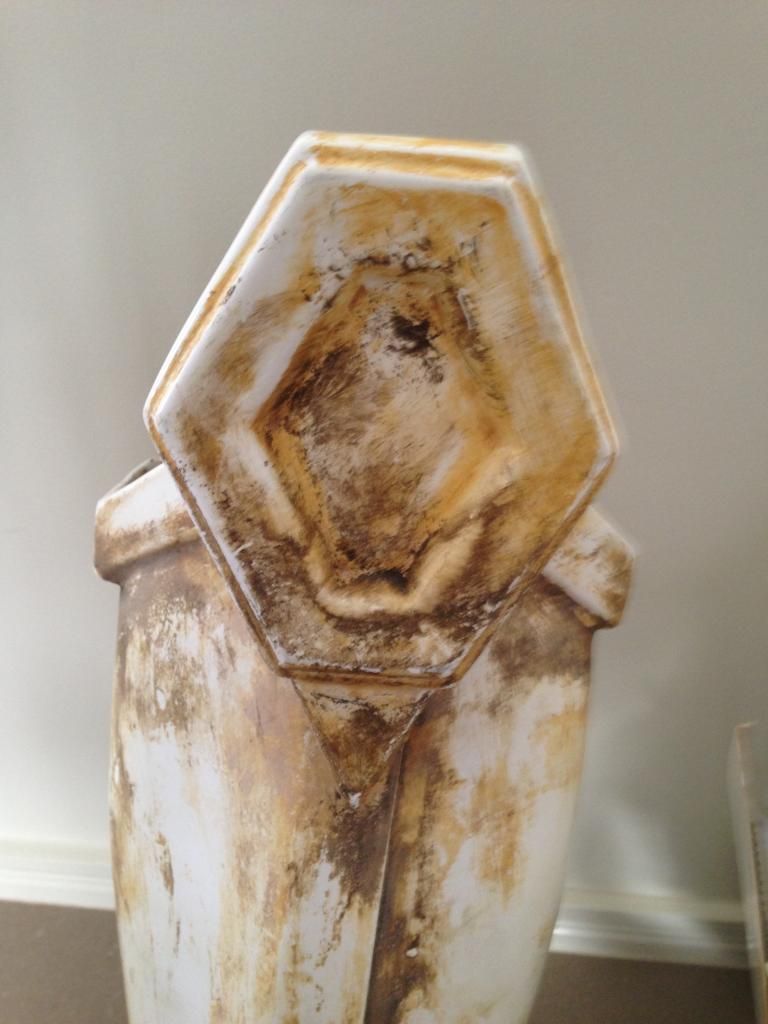
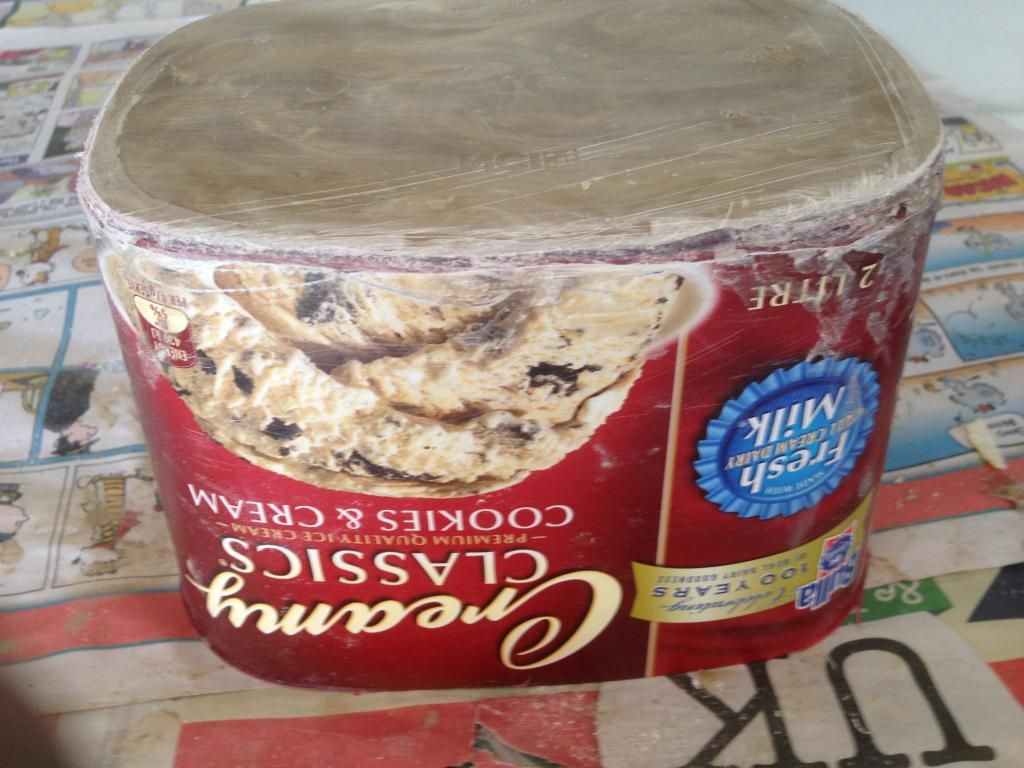
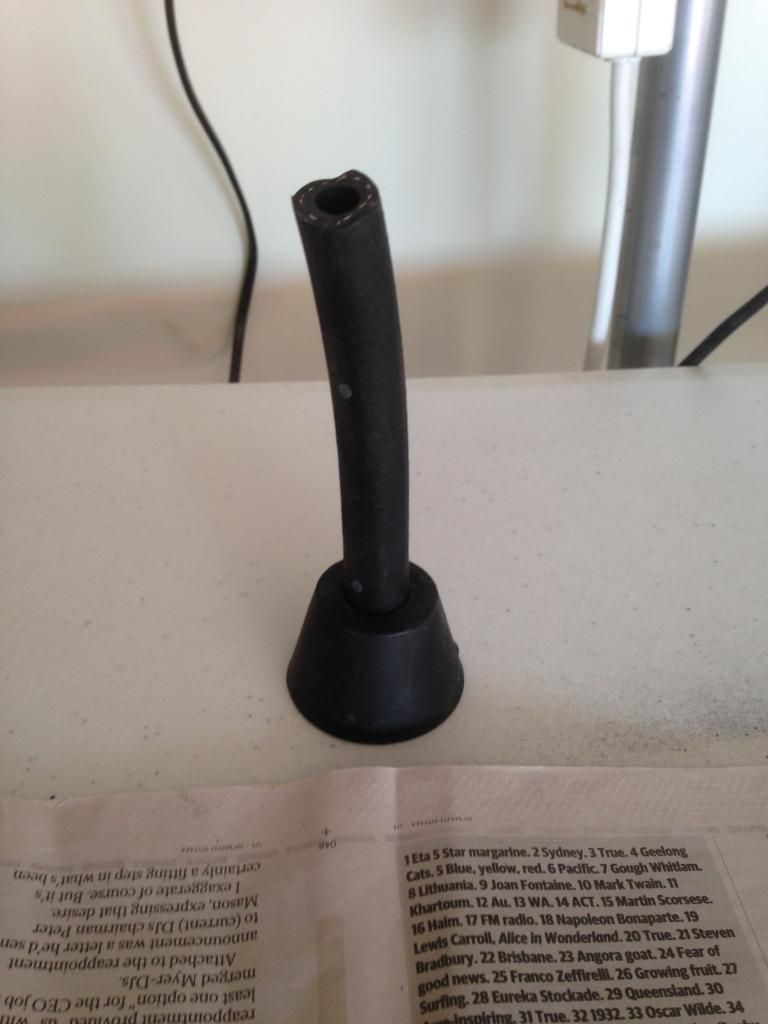
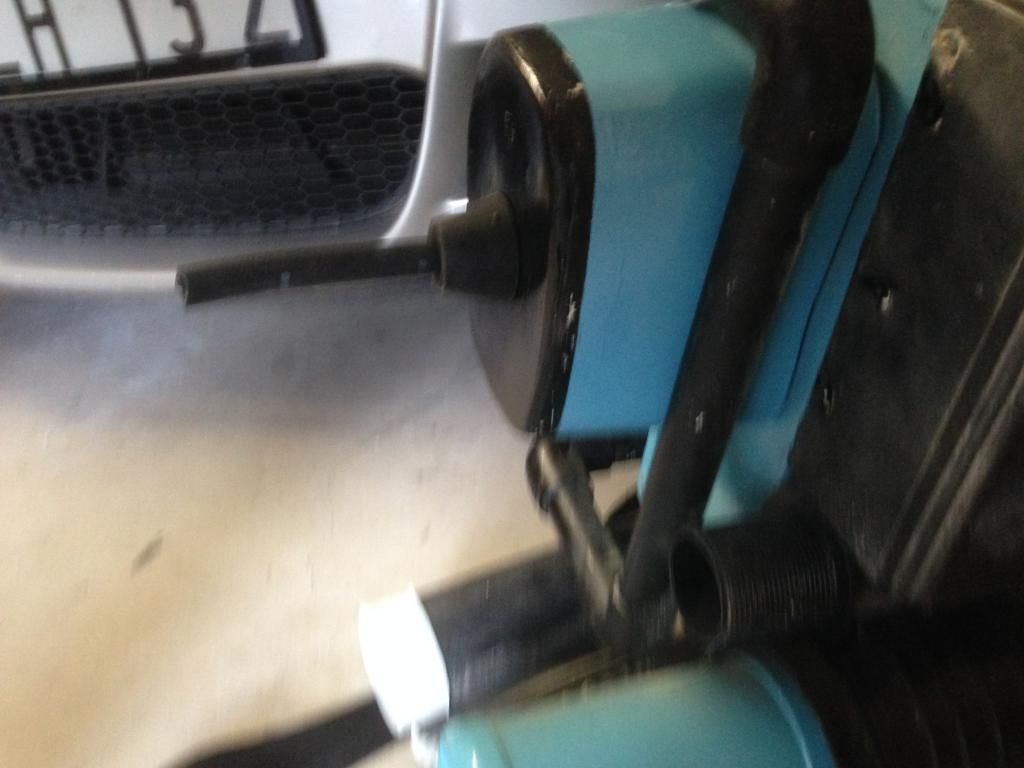
Made a new stinger and faucet cover (ice-cream container) for the back pack
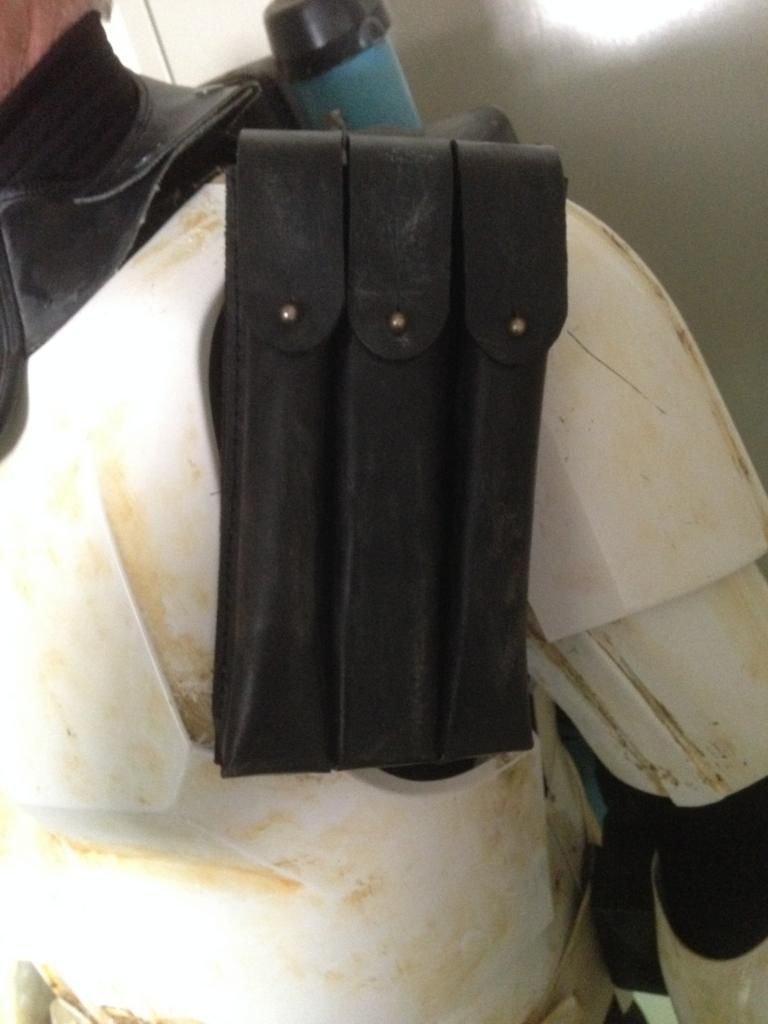
removed radio face and reattached inverted (no #4 pack) Black pauldren.
reattached shot gun shells and touched up paint on backpack.
I had to do a repair on the right side as that had been inside, a little heat straighten and re weathering
Here is the new kidney extension weathered to match
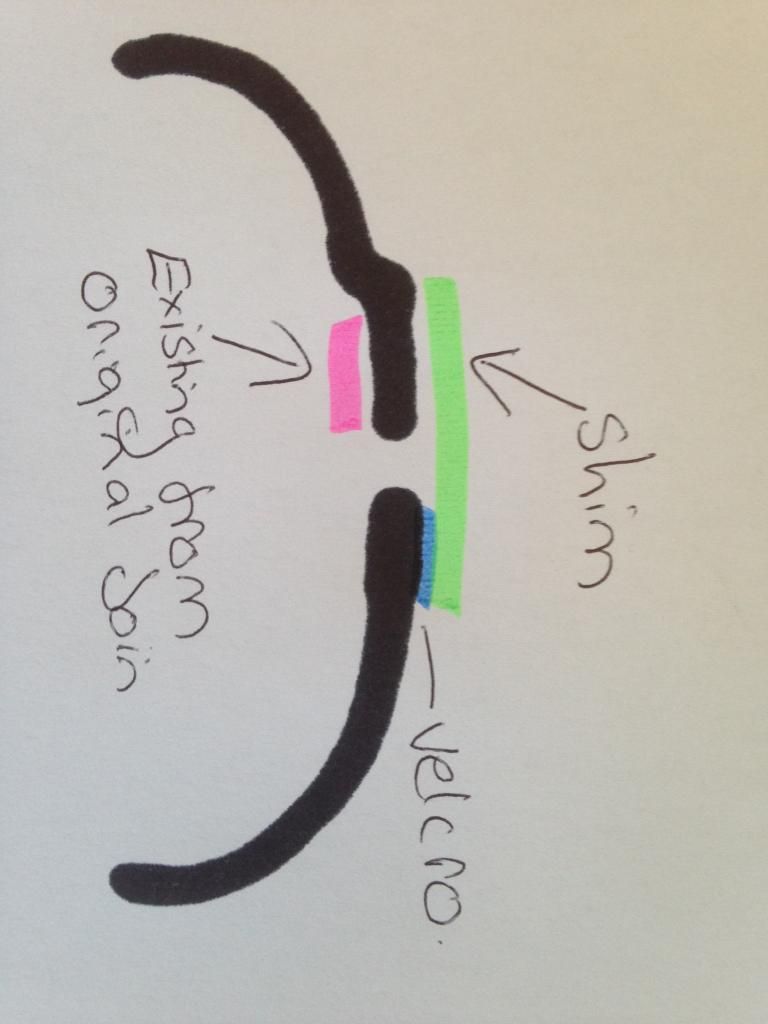
I decided to cut the forearms and insert an new but joined piece with shims at the rear.
This is because of the size they were going to be 5cm plus if I did cover strips which I would never be happy with (would just look wrong to me) so I cut, inserted, shimmed and then filled the outside sanded and lightly painted before re weathering.
with filler
Here is my faucet cover (ice cream container) i filler the bottom and sanded to shape painted then added anew stinger
Now there just the trail fitting and make a neck seal
I hope to submit my TD armour with pack 4 and MG-15 to garrison for approval next week.
then onto P.O deployment
cheers
Cheers
-
Thanks everyone
After looking at the size of cover strip needed I decided to go in a different direction and do invisable joins.
I know they are usually just for clone but the size of the strip .... Well I'd just never be happy with, at least this way I have the shims on the inside and it all looks (will) like it should on the outside.
Thanks for the advice I'll post pictures in the next day or 2
Cheers
-
Hi everybody,
Well last saturday I was in the right place at the right time and was able to purchase from another garrison member Muppet (TD8995) a complete Sandy with back pack and MG-15 that had previously been approved as Police officer deployed.
So now my challenge is to do the required modifications and get it approved for me.
I want to get it approved at Police officer deployed level so any suggestions help is greatly appreciated.
I have a few this that are required straight away
1/ the calf armour has to have velcro removed and the overlaps facing inwards on both.
I have cleaned them off and will fit them and re weather them as soon as I get a body suit.
2/ Put a new shim in the clam shell to extend for my girth.
3/ this is the more tricky one for me I have had to cut the forearm armour as my arms are a little bigger and my Gorilla hands would not go thru the holes.
I have decided to do a cover strip on the outside to complete the change and use velcro on one edge.
I can't see anything in the crl that says specifically where to start the strip from, max widths or if straight or wedge is acceptable.
this is what I thought i should do
any help on this would be appreciated
Cheers
-
Thanks guys,
I just bought a whole kit armor pack boots and bfg that has previously been police officer deployed so I'll be doing a mod thread and it has a different back pack, still wouldn't mind having the choice of both no 3 & 4 I think they are black pauldren and mine was for orange if that's possiblet o do both
Anyway thanks for the help I'll see you later in the week with my modification build thread
Cheers
-
I have started a thread of my back pack build under 1st backpack build and pic feedback please sorry I don't know how to put a link to it here.
I would appreciate any feedback and suggestions / approval issues
Thanks
-
Hi
I am building a back pack for the first time and because I live in Australia some of the components are not the same as overseas ie our seed trays are open underneath so I have used cat litter trays.
My question is would this type of substitution stop it from being approved for deployment.
Any help here would be appreciated before I do to much
Thanks
-
Hi everybody,
I am a new bee that is hoping to join MEPD in the very near future and while I am waiting for my armour to be made and arrive (has to get to Queensland in Australia so I have time) I thought I would start on my backpack.
I am building it from scratch and this is not only my first build but my first time using the forums both in Qld and here so if I put anything in the wrong place please just let me know.
I narrowed my design down to 2 reference pictures and worked from there.
I used cat litter trays instead of seed boxes as ours in Aus are open on the bottom.
I have made the frame from lcv tubing and still need to get (find) a few more components to finish the backpack.
But this is where I am up to so I would appreciate any feedback.
Cheers.
-
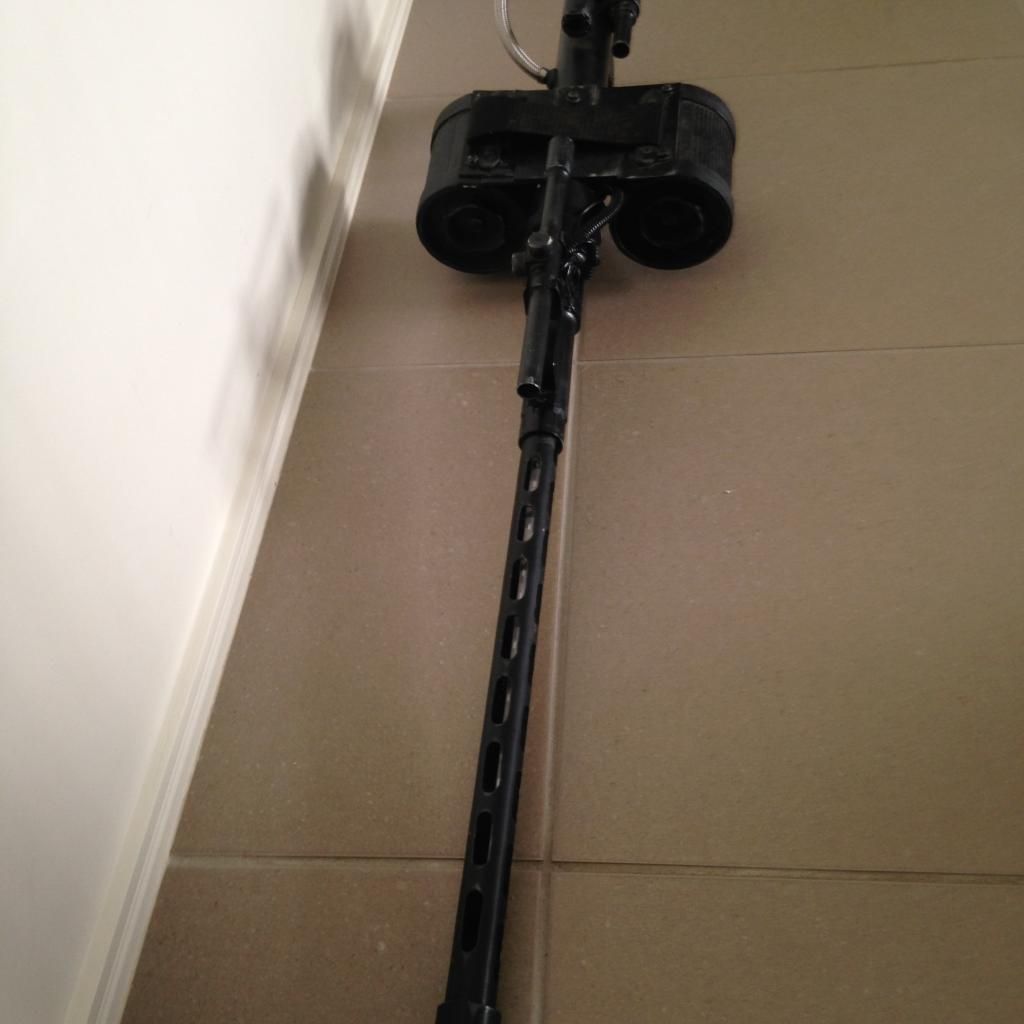
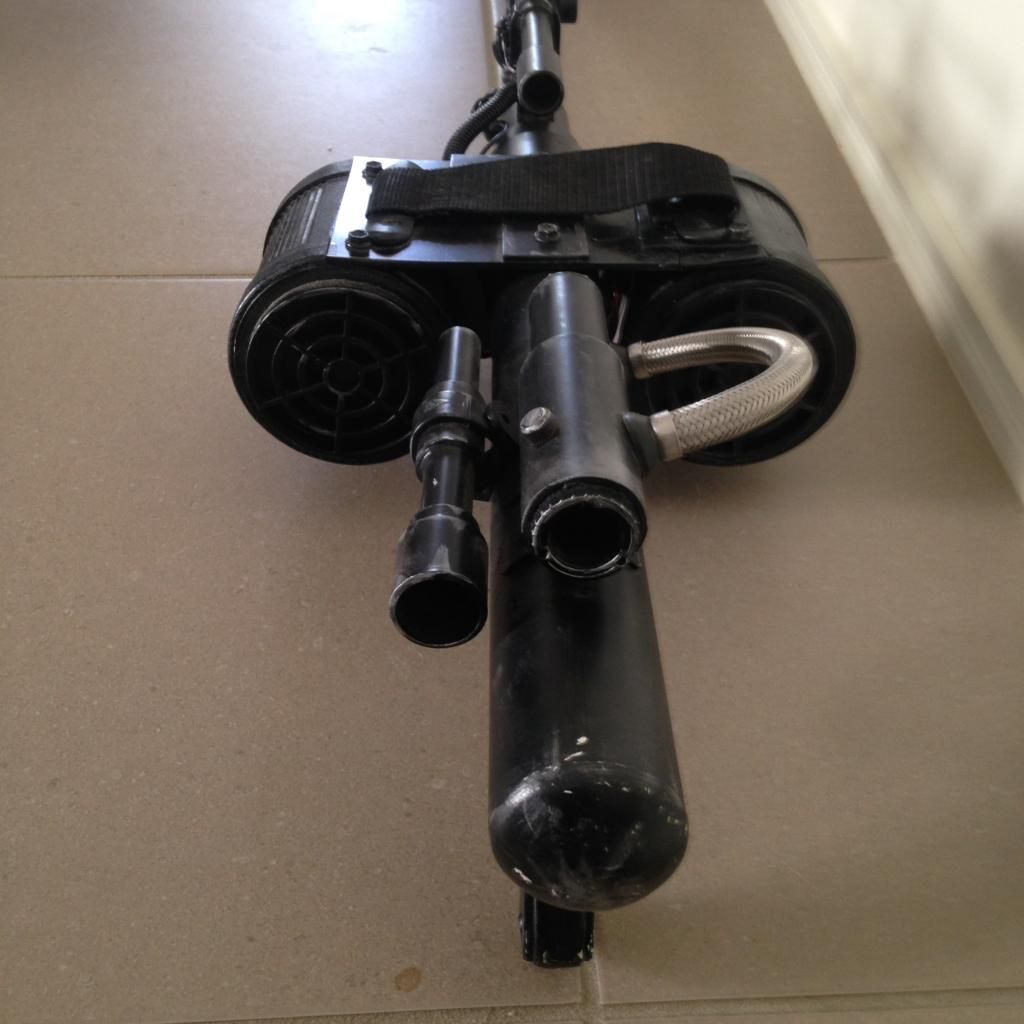
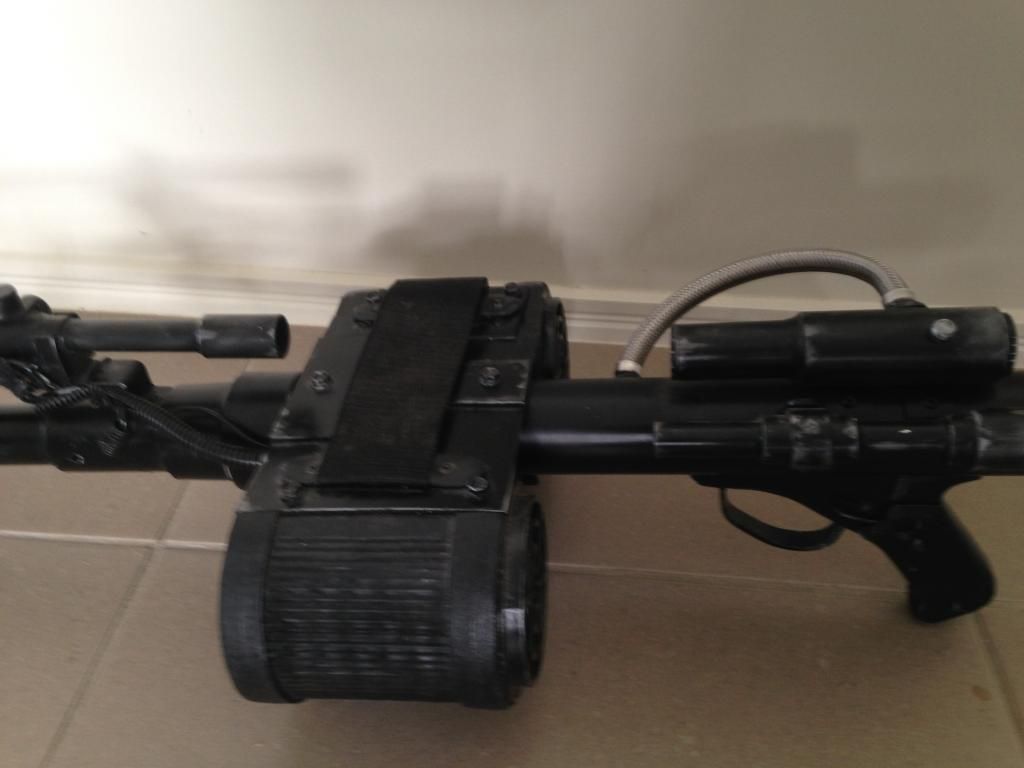
Hi all,
I just started my T21 build and realised that I stuffed up on the stock it's 3 inches to short.
My question is would this still pass ( can this be a modification) or should I start again.
Thanks
-
Hi vf2112,
Hey maybe we'll catch up on a all Aussie troop one day lol.
-
Hi,
Thanks guys, I will choose the best option for each troop
Thanks for the advise, still lots to learn
Cheers. :-)
-
Hi guys,
I'm new here and just getting started. I want to carry the d21 and an e11, so my question is without a holster where ( on you) do you store your e11 when trooping.
Cheers
-
Hi everybody,
I hope I have posted this in the right place, new to here.
I have just decided on joining 501st and after lots of thought, torment and reading my heart landed with the Dirty detachment.
I will be starting my build hopefully in Nov so I look forward to having lots of comments and discussions on the way.
I live in Queensland Australia, thanks and looking forward to being deployed
Cheers, from sandyQld


LEGOLAND TROOP !
in Off Topic Cantina
Posted
Very cool, looks like a great time
Cheers