

TrainWreck
-
Posts
277 -
Joined
-
Last visited
Content Type
Events
Profiles
Forums
Posts posted by TrainWreck
-
-
So the most common material used is call PLA plastic. It's cheap but has no tolerance for heat (like it could warp in a hot car). There are printers that will also print in ABS. Then there are resin printers. These will tend to be pricey but you get a much smoother finish which will allow you to have less finishing work on the end product. From there you can get stuff printed in all kinds of material (including steel and gold). Just depends on what you are willing to pay.
I'm lucky in that my local library has a PLA printer and it's dirt cheap to use. Unfortunately this also means there is a huge waiting list and I have definitely been designing faster than he can print them.
-
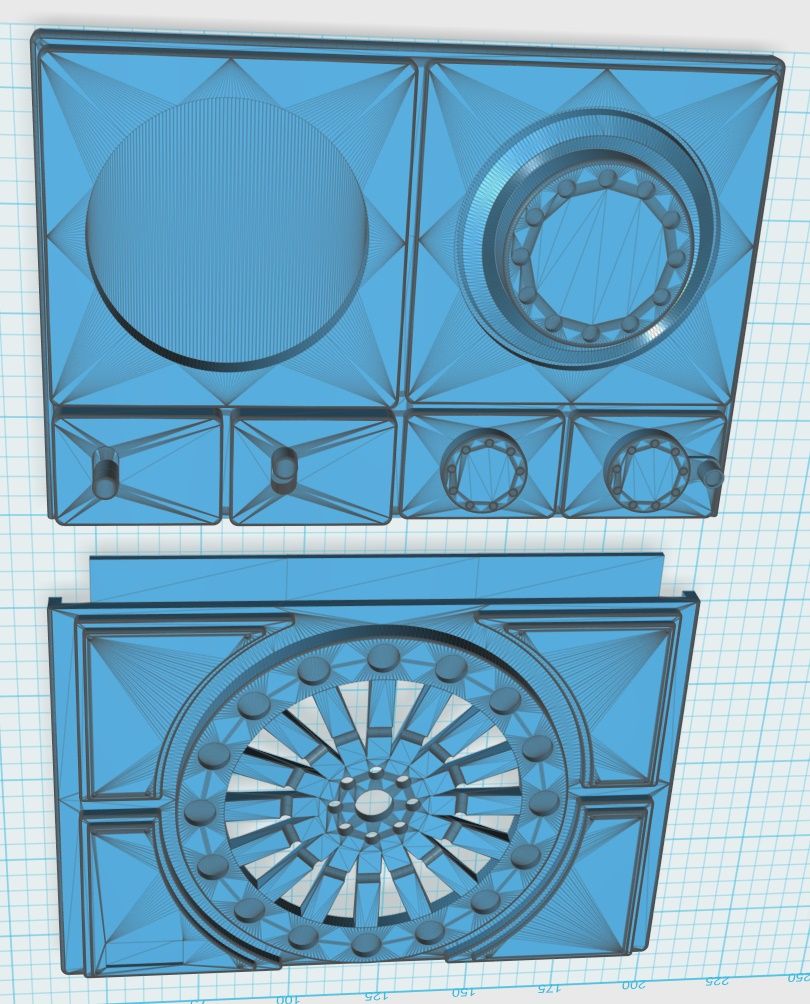
We are having an ice day so I spent my time doing a finished version.

-
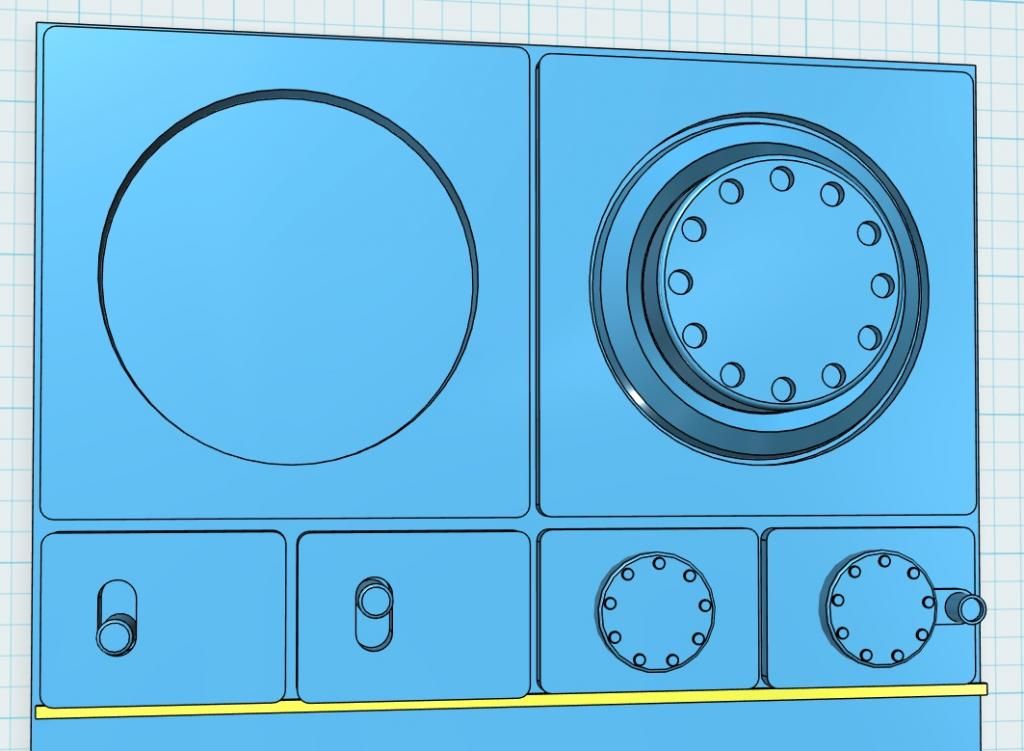
So I've been puttering around with modeling my own radio face plate to print out. I've got the top done so far and wanted to know if anyone had any feedback. It's not going to be perfect and I'm hoping the texture left after printing will help with the texture on the side of the knobs. So what do you guys think (ignore the yellow strip, that is just a spacer)?
-
Congrats!
-
Congrats!
-
Right on man! I'm so close to getting my kit! I'll be watching.
-
Congrats guys!
-
Thanks guys. I'm stalled out a bit right now while I'm getting prepped for my armor arriving next month. But I will get back to it!
-
Just hide it on your arm somewhere I should say.
-
So I was thinking along these lines for later myself. Why don't you get one of these: http://www.electronics123.com/kits-and-modules/Audio-Effects-and-Sound-Modules/300-second-USB-recording-module.html
It has its own speaker and you can feed one of the buttons to your trigger finger.
-
Yeah. I have moments when I walk by them and they just look painted. I think a good weathering should take care of that. 😉
Thanks guys!
-
So this isn't really intended to be a tutorial. Just sharing what I've done.
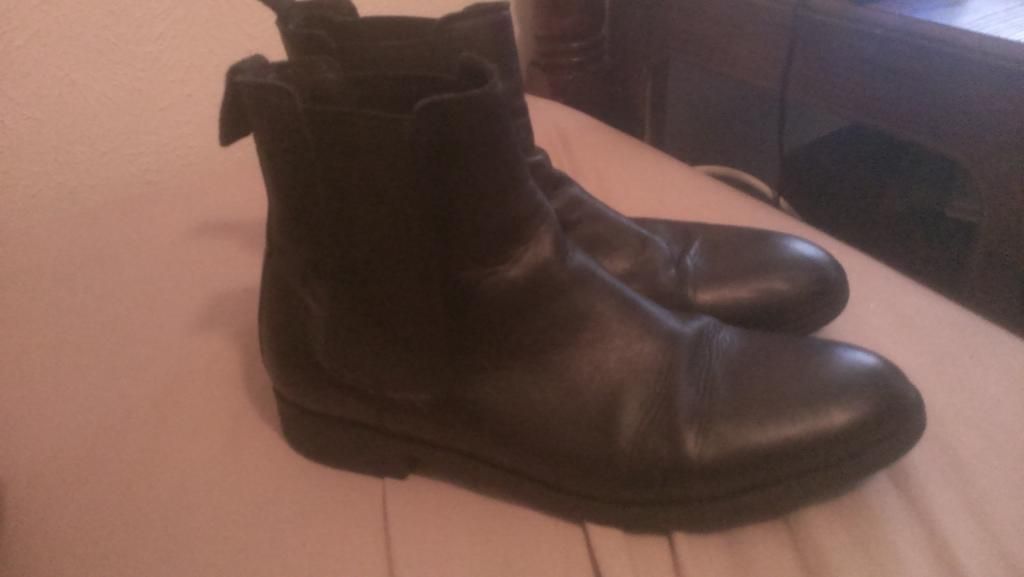
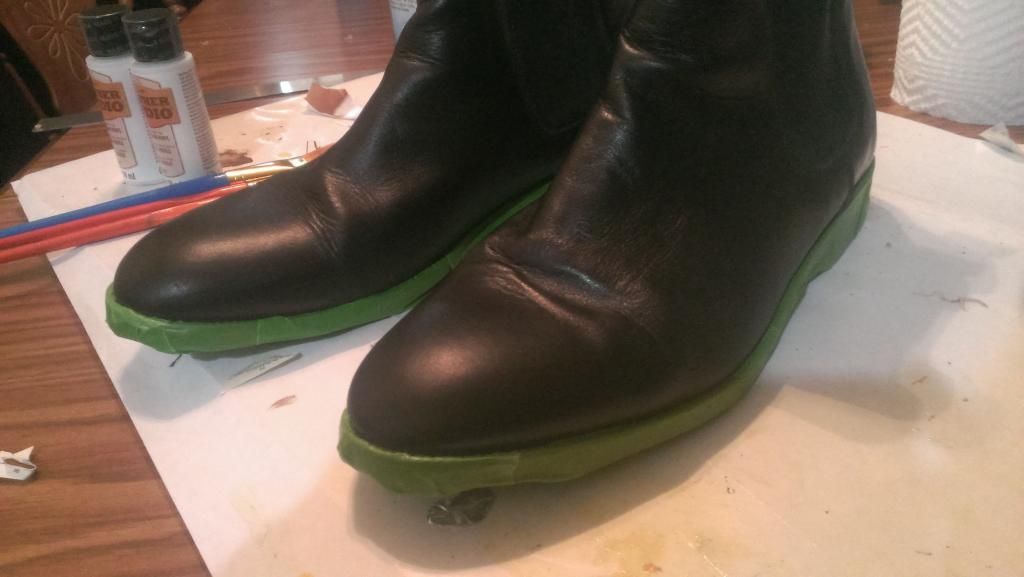
First I picked up a second hand pare of boots off of Ebay for $30.
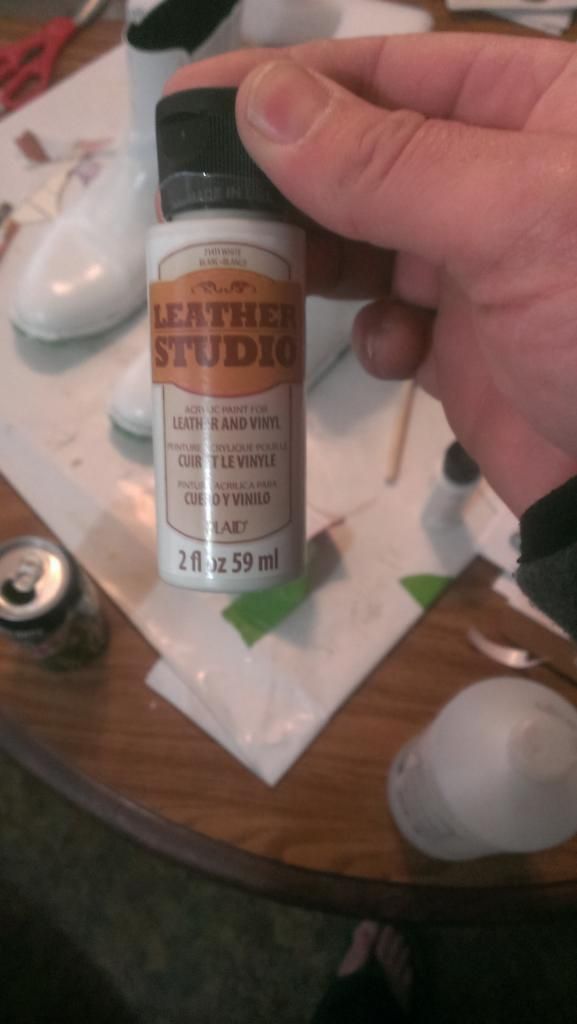
...and got some cheap $3 leather paint from Michael's...
I then rubbed the boots down with fingernail polish remover (I'm told this is really bad for your boots) and taped off the soles:
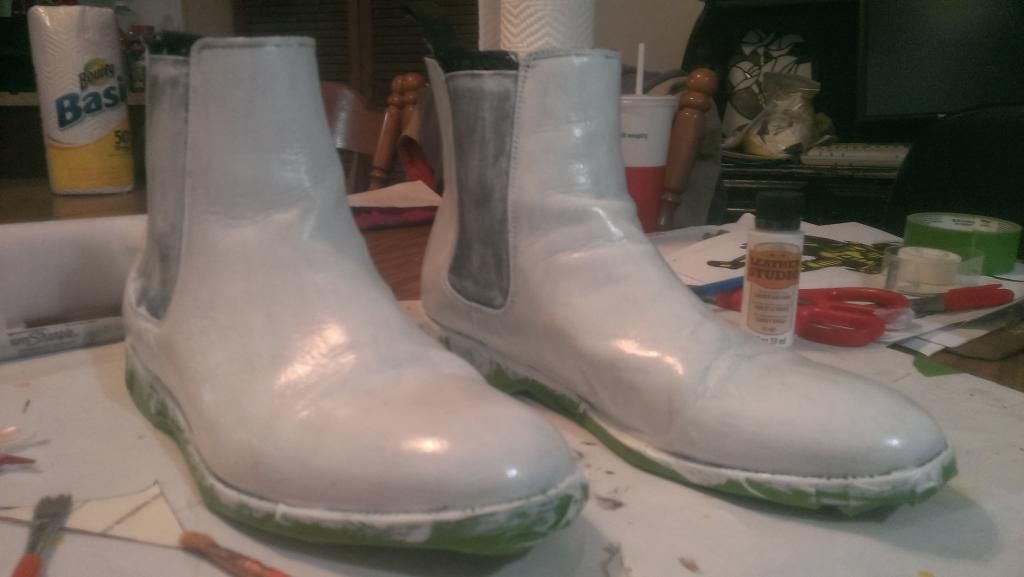
I then over the course of 24 hours put about 6 coats of the paint on:
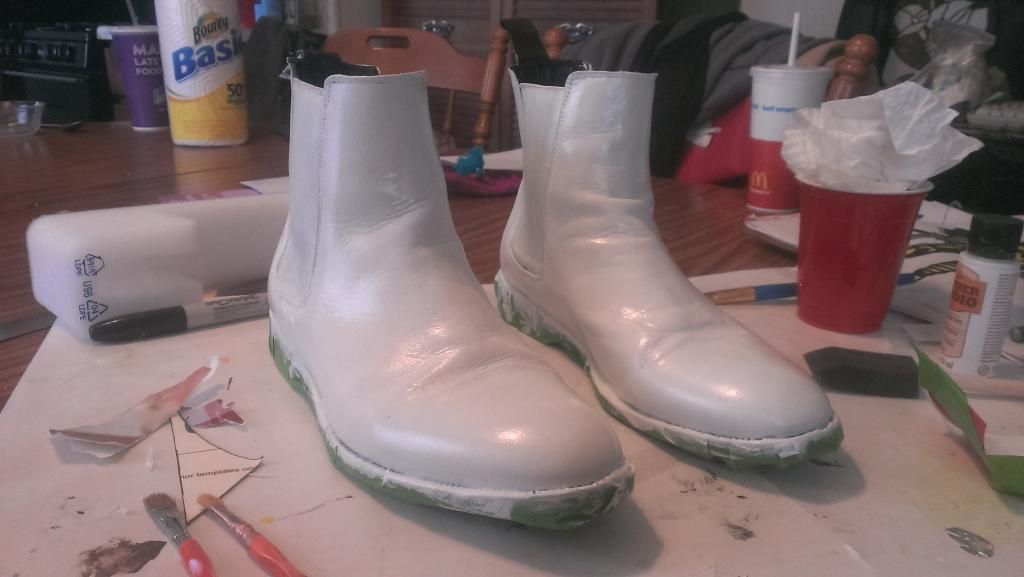
...and then removed the tape:
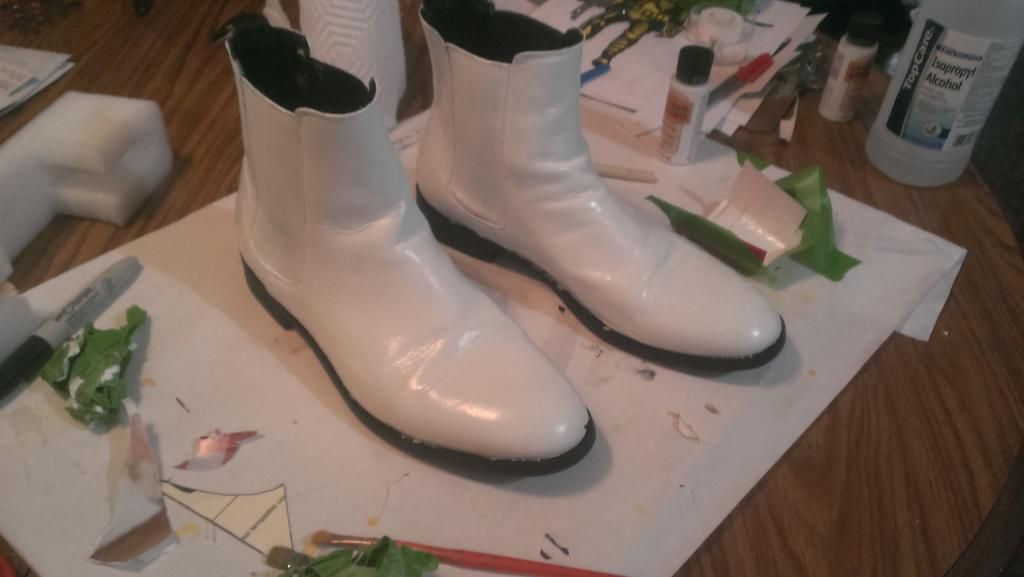
So the tape bleed through a bit and then took some of the paint with it so I definitely have some touch up to do but over all am very happy with the end product.
-
PP sent. You guys have been fantastic to me this year!
-
Just a note, in the 8 months I've been looking I have never seen a grip go up for sale.
-
So for those a bit more affluent than me there is a small collection of Lewis machine gun parts on eBay right now. Only two or three of them would be useful in a T-21 build but frankly if you got them all for the right price you could probably sell off the excess parts and make a good chunk of your money back. Anyway here is the link if anyone is interested (frankly if I wasn't about to buy armor I'd be all over this).
http://pages.ebay.com/link/?nav=item.view&id=251818319597&alt=web
-
Are both split and pop rivets used or are the two interchangeable with the build?
-
OK so I have ordered a bag of 100 snaps, nomex gloves, and have bought 1" black nylon webbing, 1 1/2" white elastic, parachute buckle for garters, snap tool, black men's compression shirt, black women's leggings, black Chelsea boots that need to be painted, giant Stanley lockable rolling case. I need to get more glue and pop rivets and need to by magnets, clamps, lexar scissors, white canvas belt, and leather stripper and white leather paint...
I think that is everything.
Oh and the armor of course (just a month to a month and a half out!).
-
So I just picked up a men's compression shirt and women's leggings made of similar material at Wal-Mart for under $25. They both have small white labels I'll have to black out but I think I did good!
Thanks for all the help!
-
So I'm still running into the problem with off color seams and/or patterned waste bands.
I guess I could get fabric paint or something and cover up all of the seams. I'm assuming it's all synthetic fiber so dying would be a pain if not impossible.
Thanks though. By far the best prices so far!
-
Hate to be "Captain Obvious" here, but just wanted to point out in case you weren't already aware that there are a few other differences in assembly besides the shoulders... like the sniper knee plate, 3 button ab plate, missing ab detail. Don't want to see you end up looking like a Heavy Weapons Trooper!
Thanks. I did in fact know all of that (that's all what ATA should be sending me). I was just asking about the less obvious assembly details. I think I'm starting to get a grip for what I'm in for.
-
Just from a causal glance they appear to be way cheaper to. I just asked my wife what size leggings she thought I was. That gave her pause.
One of the purest joys I know is giving my wife pause.
Thanks!
-
So I'm about to go on a final shopping spree to get the rest of the stuff I need in preparation for my armor.
My question is: is the basic assembly the same for TK's and TD's other than the white elastic/no shoulder bridges? I've just been trying to hunt down good tutorials.
Also I'm having a devil of a time trying to find under armor bottoms that don't have some elaborate logo going on on the waist. Trooper bay only has the tops (that I can find). Any suggestions of where to look or does anyone have any thoughts on using a morph suit with out the head?
-
Looks great man!
-
I for one embrace my future Google overlords. But I use Gmail for the same reason you are thinking of switching to icloud. Android phone, Google music account, my phone is synched with every conceivable Google service or utility at this point.


3D modeled radio (feedback request)
in Field Backpack
Posted
Thanks for the good words guys!
I'll keep the separate knob thing in mind. I've used the XTC 3D stuff a little bit. It definitely works though I haven't had a chance to finish any of my pieces so not sure what the end result will be. Here is a power cylinder I designed, printed, and coated in the stuff. I still need to get bolts and nuts for it and put in the wire and paint (sorry, it's hard to get good detail shots of these):