

jas
-
Posts
16 -
Joined
-
Last visited
Content Type
Events
Profiles
Forums
Posts posted by jas
-
-
Hi All,
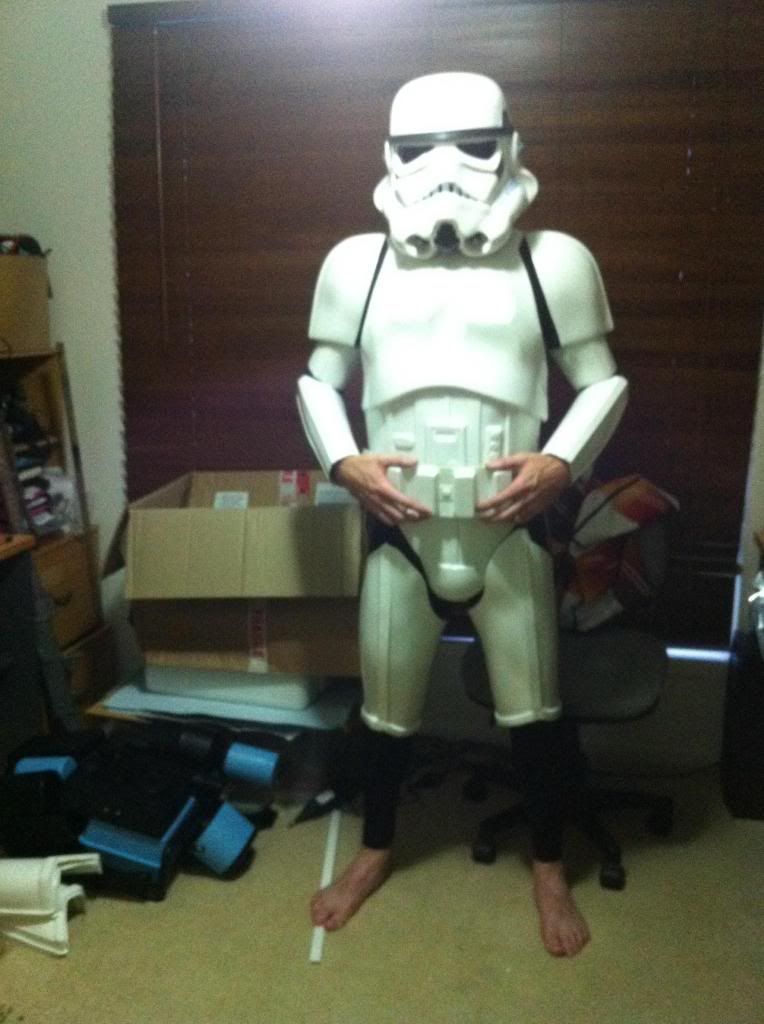
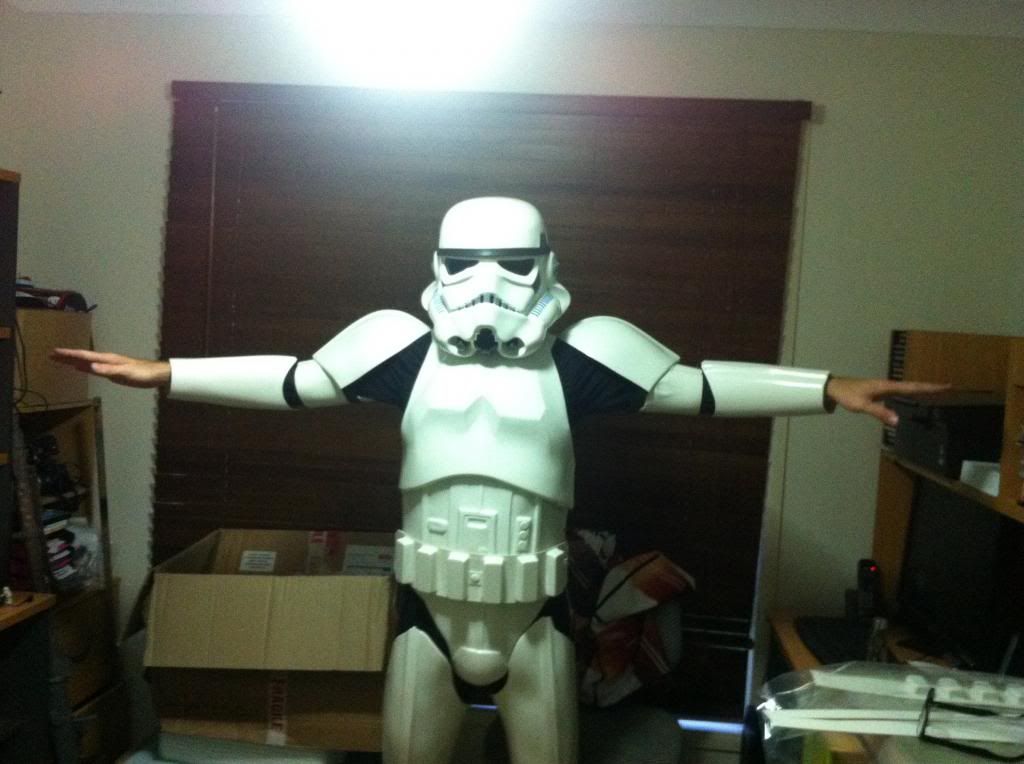
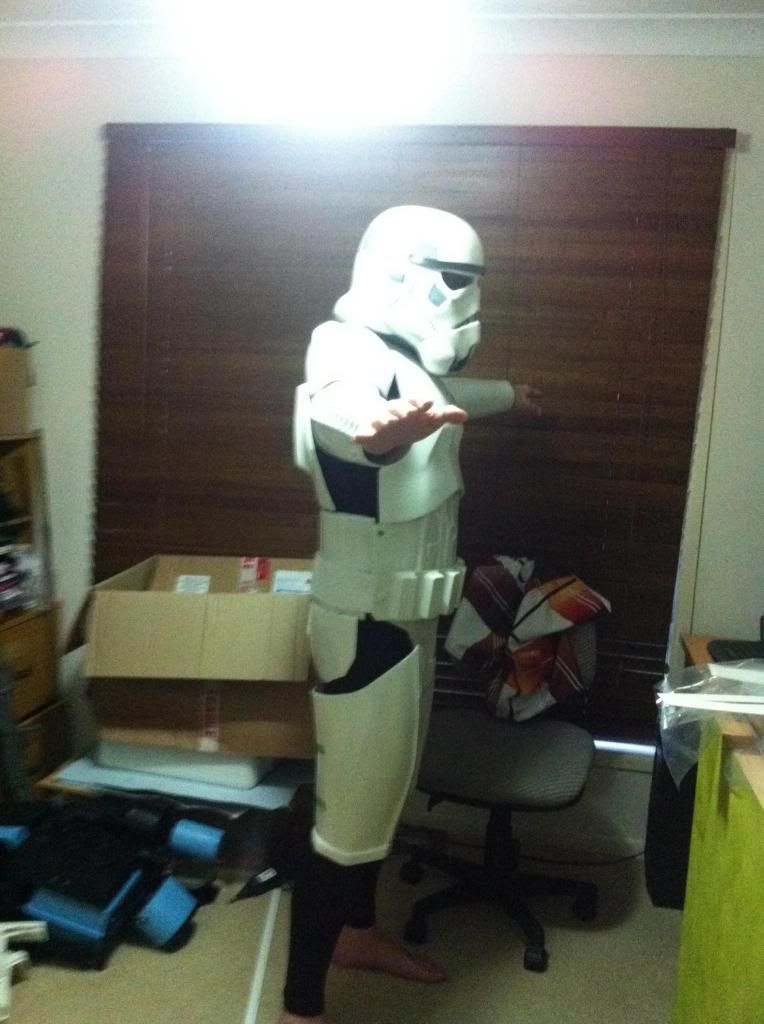
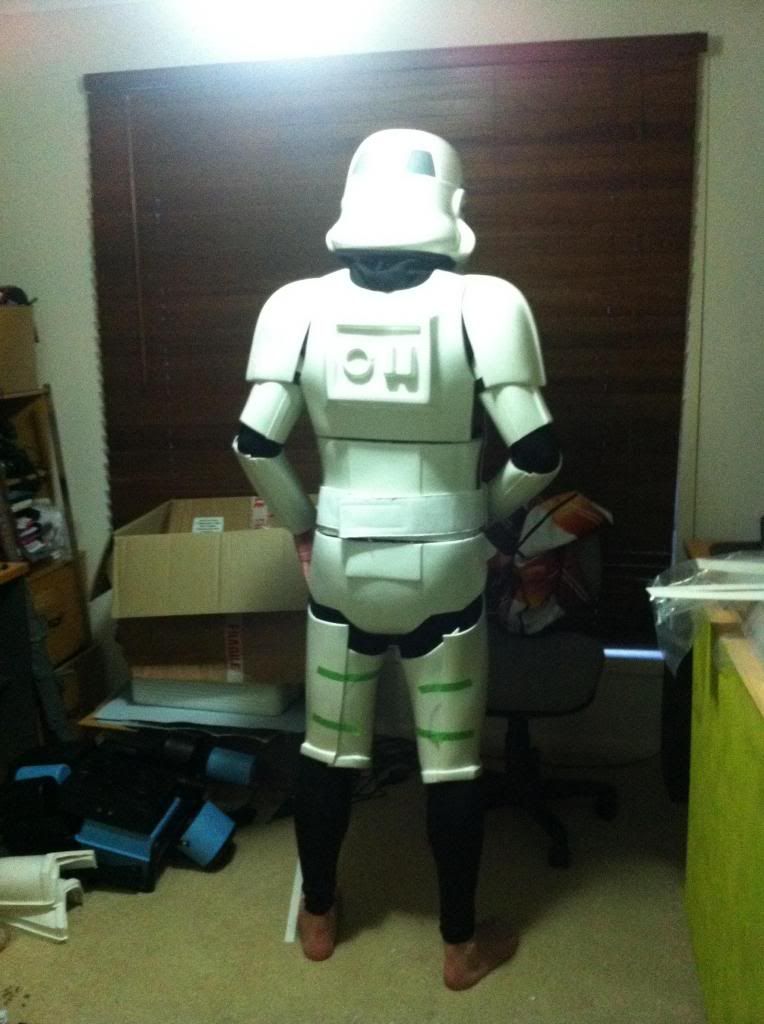
A little more progress. I have decided on pushing on and getting the armour together and then I will go back and clean up the smaller issues (such as the ears). As I have never assembled an armour before, I have needed to see how things fit together to get an appreciation of how certain things work or join.
So the photos are a little crappy but I got my wife to take them just so I can see how things are sitting. Thighs are now finished but are just taped in the photos. I'm surprised how nicely the thighs fit my legs and are quite comfortable. We'll see what it's like when I start walking!!

Comments and criticism is welcome!
-
Cheers Cantina Security.
Paul, since I have already placed my screws, how do I take advantage of the trimming? Won't the lower screws placement keeps the ears in their existing place? Will I need to re-drill where the lower screws go into the helmet?
-
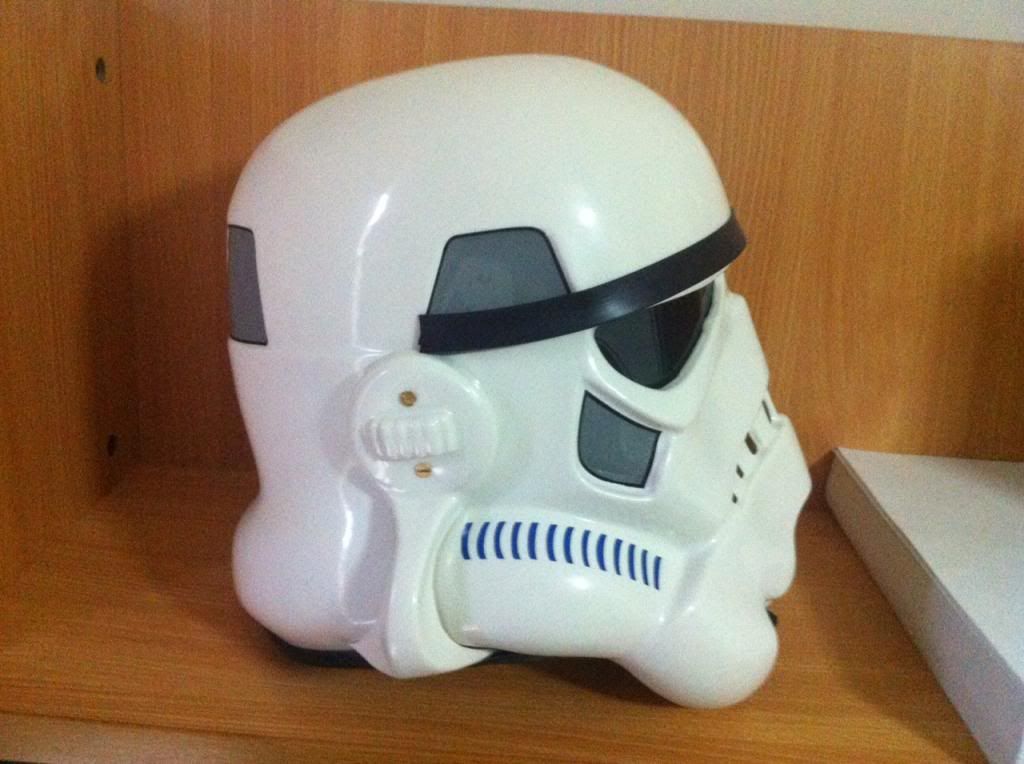
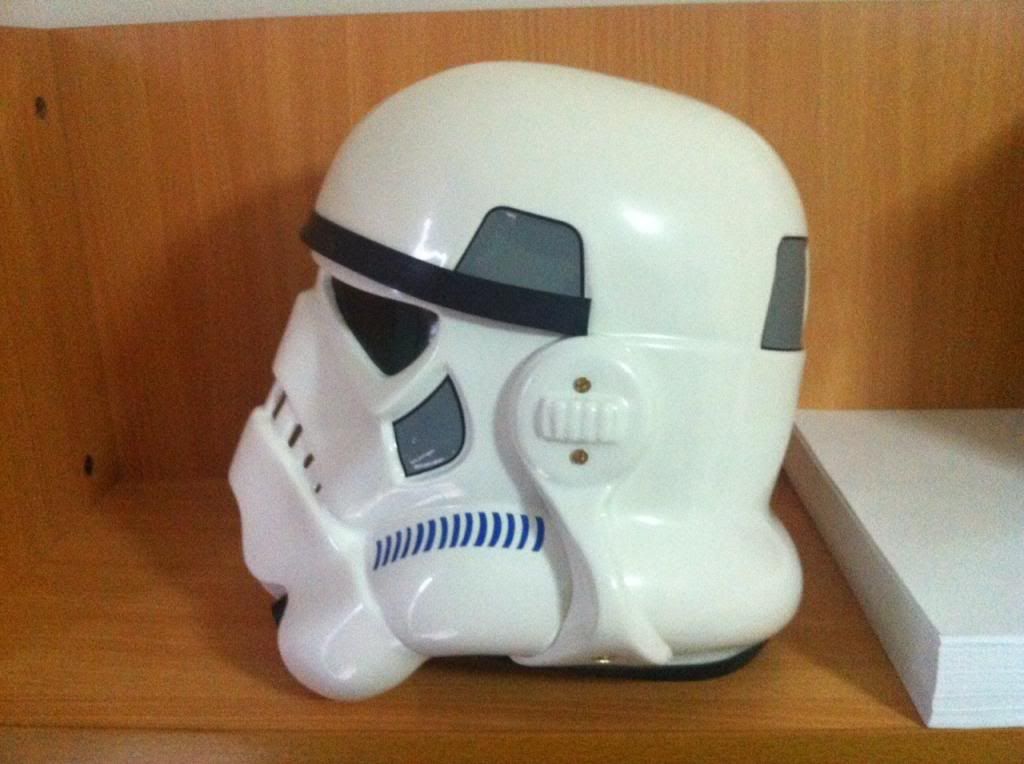
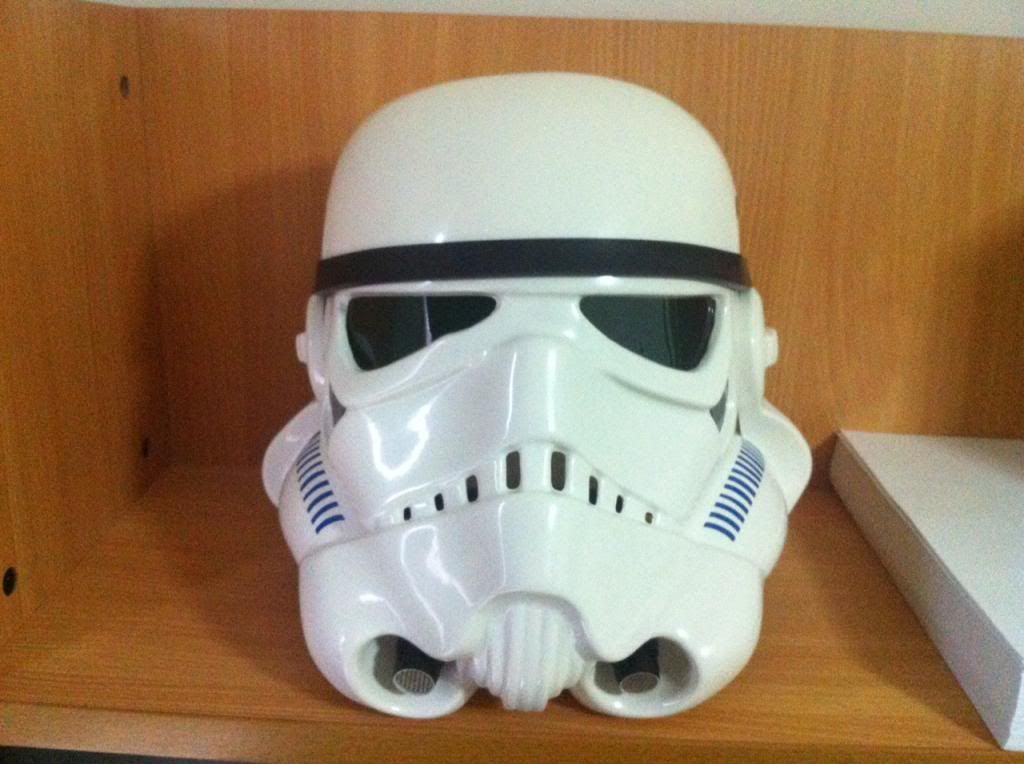
Some more progress. I think I will hand paint the traps and tears as I'm not happy with the decals.
-
Cheers Paul, will do!
Well first rivets in this morning. Bottom ones are a bit scary as I don't want to get in the way of the lower ear screw. How is it all looking?

-
Thanks Beren!
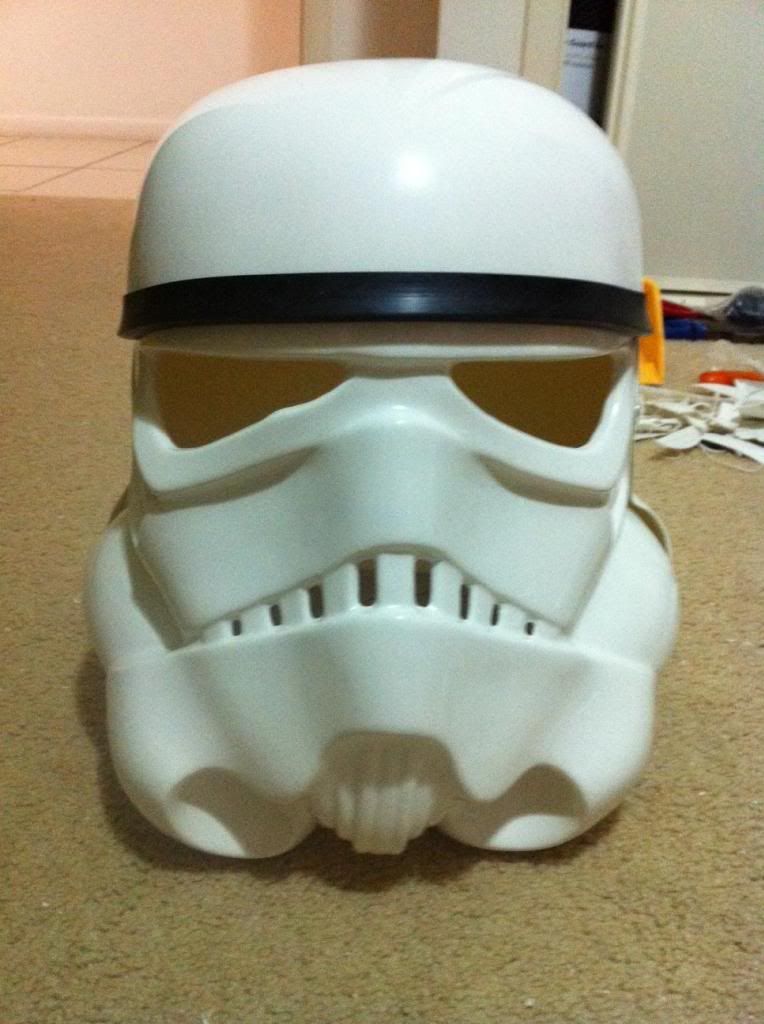
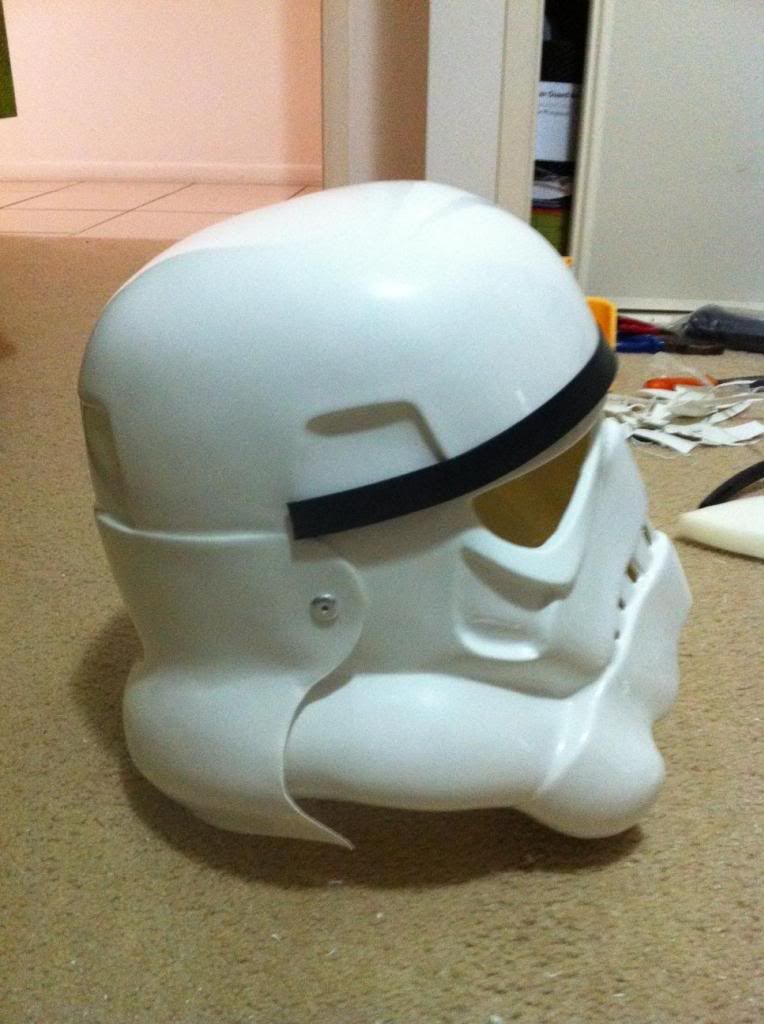
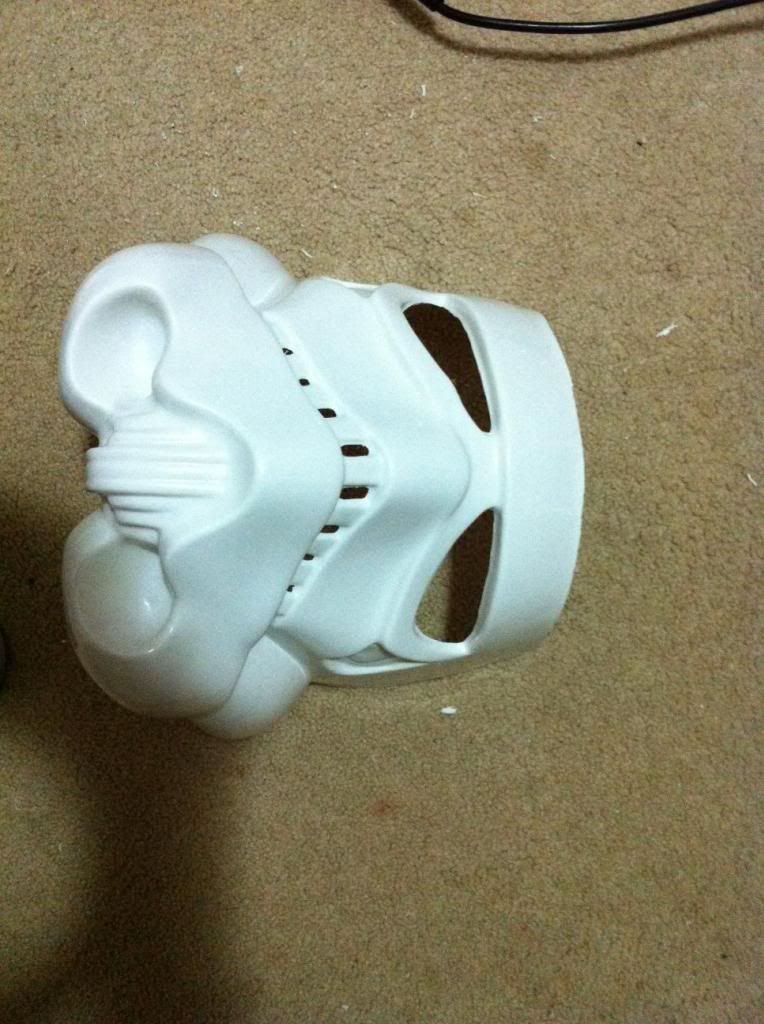
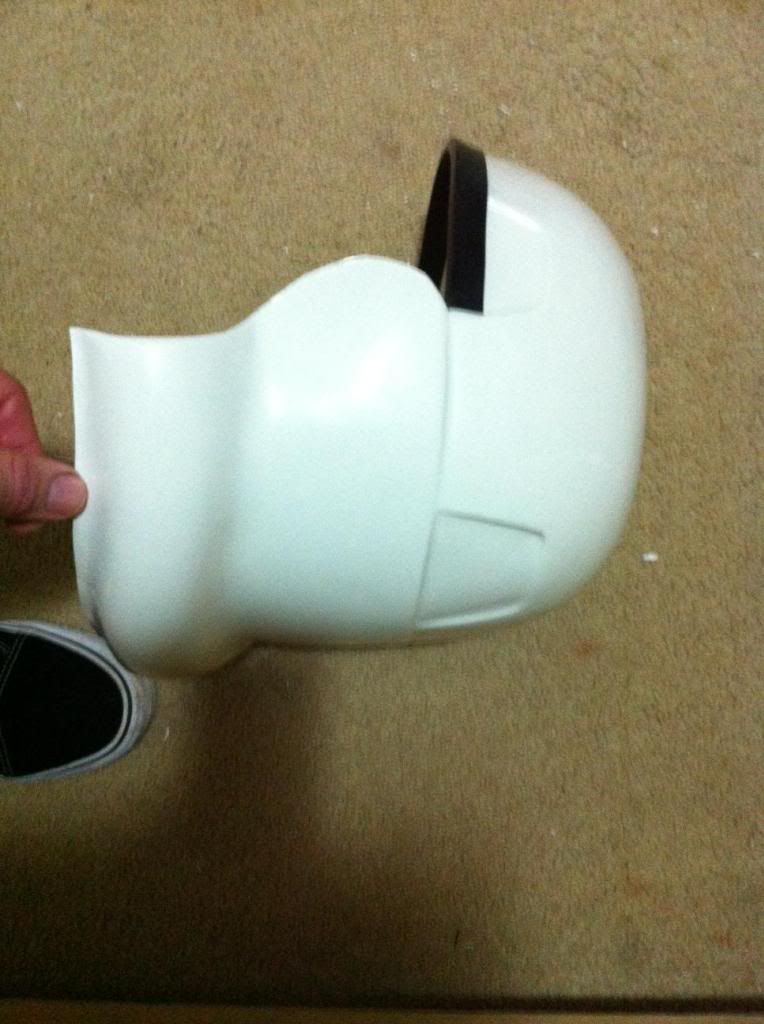
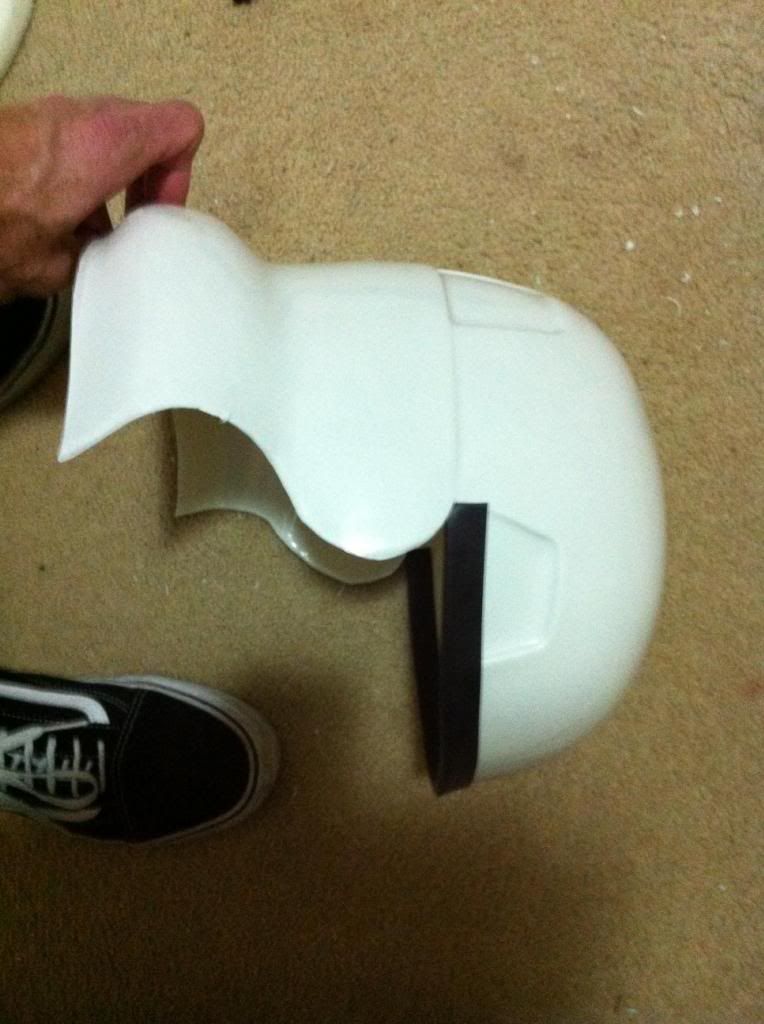
Well the cutting begins. I was dreading working with this stuff as I wasn't sure how hard it would be to cut/trim but so far it has been a pleasant surprise. Pandatrooper's dremel tips have been a massive help. Any feed back on my initial trim would be appreciated. I have deliberately left meat on the edges so I can carefully trim the last mm or so by scalpel and file. Probably the area I'm most unsure about is the area under the ears. I'm not sure how important the line is through this area and what affect it will have on connecting the back to the faceplate. If anyone sees any issues, please let me know. C & C is very welcome.
-
Hi All,
This arrived for me yesterday.
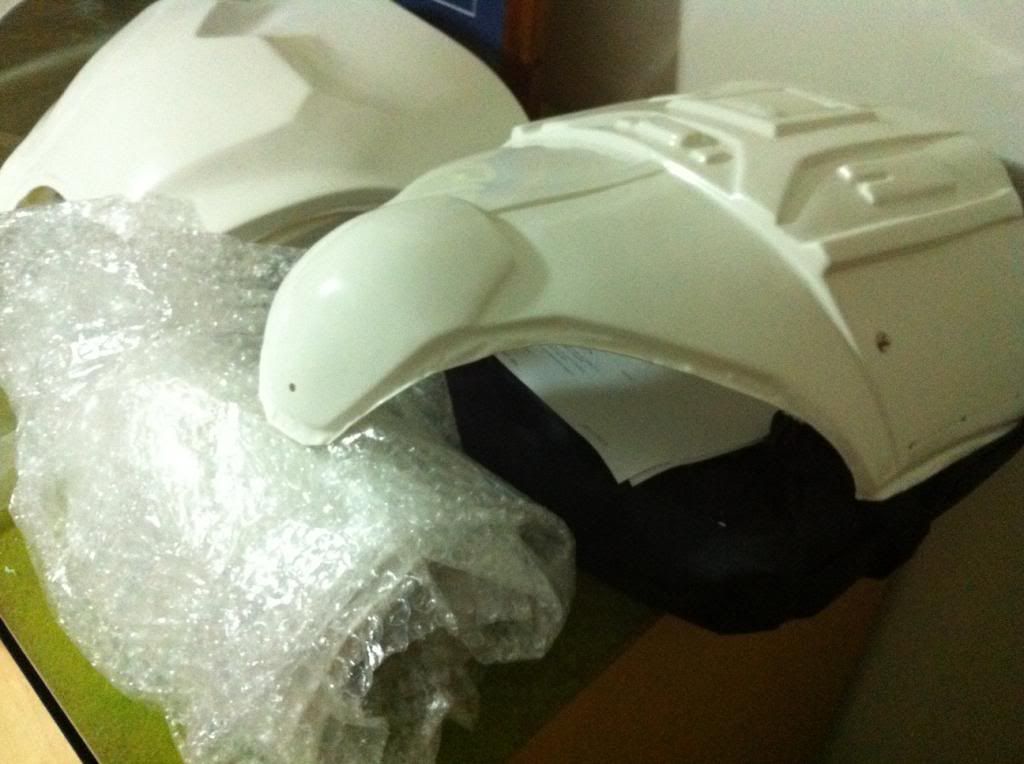
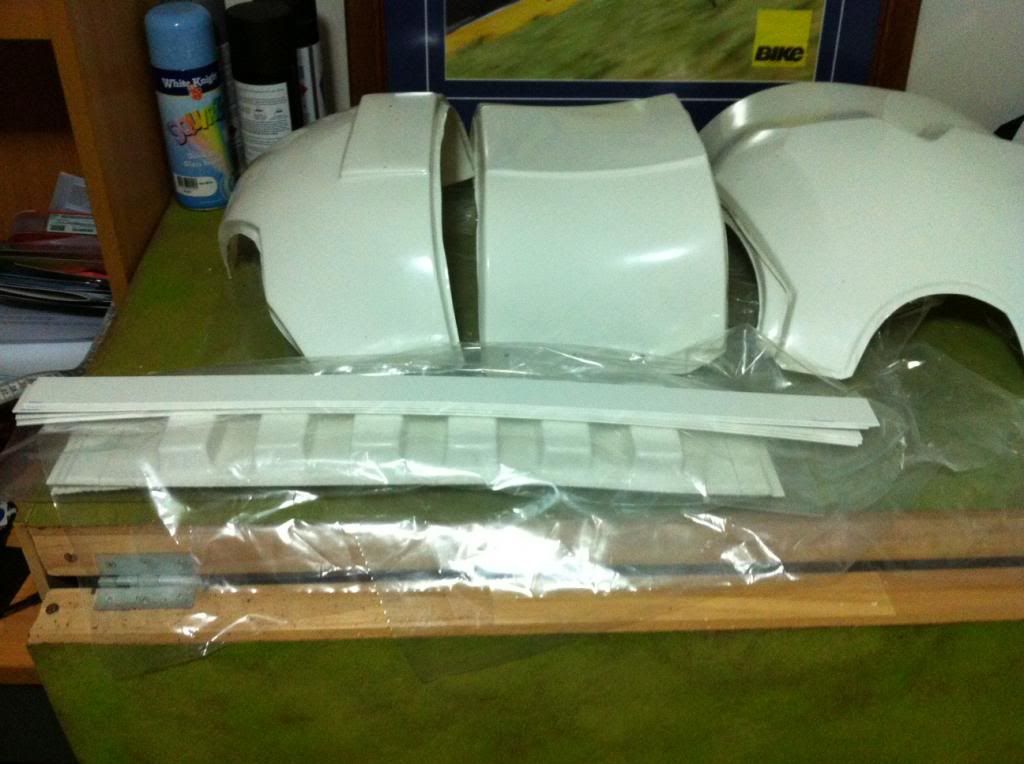
Troopermaster Armour kit with gloves, belt and accurate fittings kit. I am truly impressed with the quality of the fittings, the finish of the armour and the way Paul has packed and labelled the kit. Well worth the money and shows that he truly cares about what he does. Now I just need to do it justice with the build!!
-
Cheers guys!

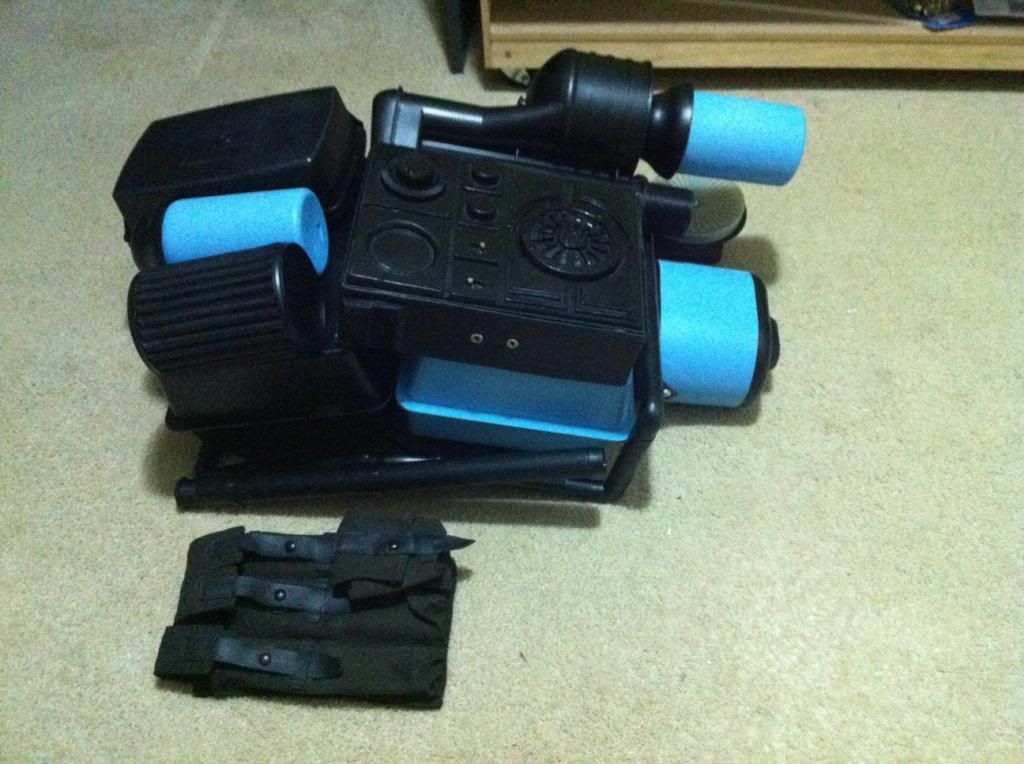
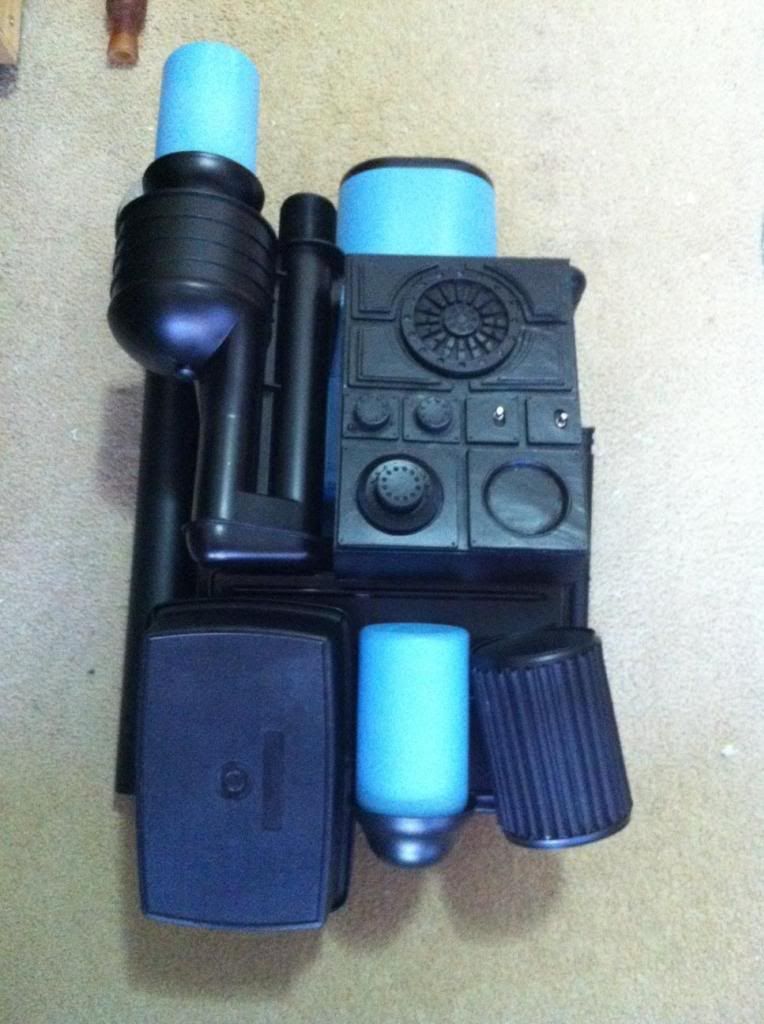
Backpack is complete bar weathering, straps and control panel details.
-
Cheers Rolf! I have relocated the "filter" based on Beren's suggestion and again, I am much happier.
The DLT-19 is a rubber resin cast from Grand Moff Niko. He has a thread in the For Sale section. It is an MG34 cast with all the DLT extras, detail is excellent, material, being a rubber resin, seems very durable. The pricing for Oz is very reasonable. The only issue I have had is extensive air bubbles. Nothing particularly difficult, just time consuming. And in all honesty, it is expected with non-professional casts. Once I finish the pack, I will be onto final clean up and painting of the DLT.
-
This is my favorite pack, and yours looks just fine! The only thing that I see is the position of the filter... Maybe you could lower it just another 1/2 inch or so (compare to the reference picture in post #4). These are SWAT level modifications though. For Police Officer, I believe the pack is good to go now.
Aaaahhh, you're absolutely right! It's really obvious when you point it out. It's funny but looking at pictures is better than comparing it in the flesh sometimes. I think your eyes can play tricks on you when you look at something in real life but when you take a photo it puts things in perspective and hopes with scaling. Cheers mate, I'll get on it right away.
-
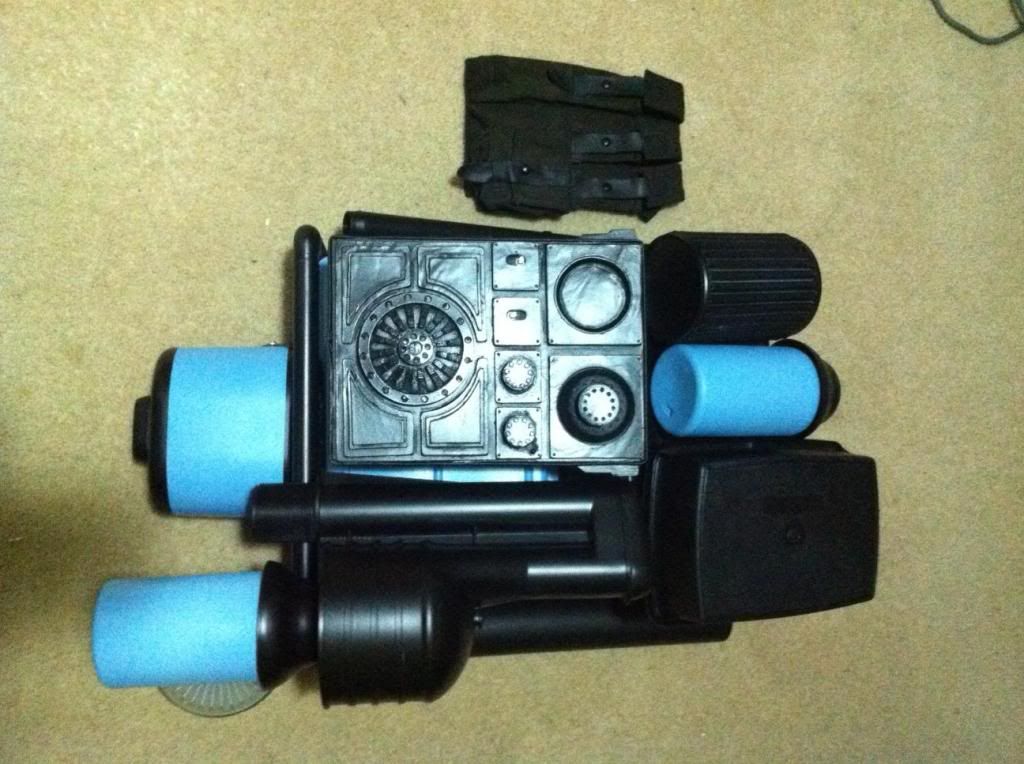
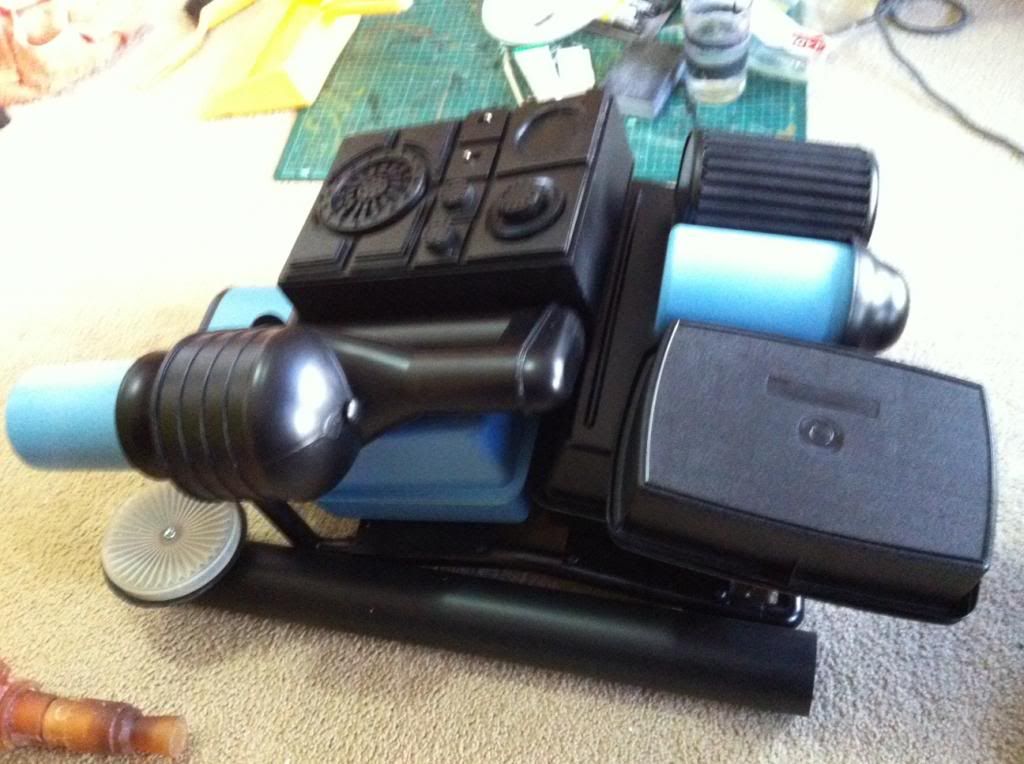
Cheers guys for all the great feedback.
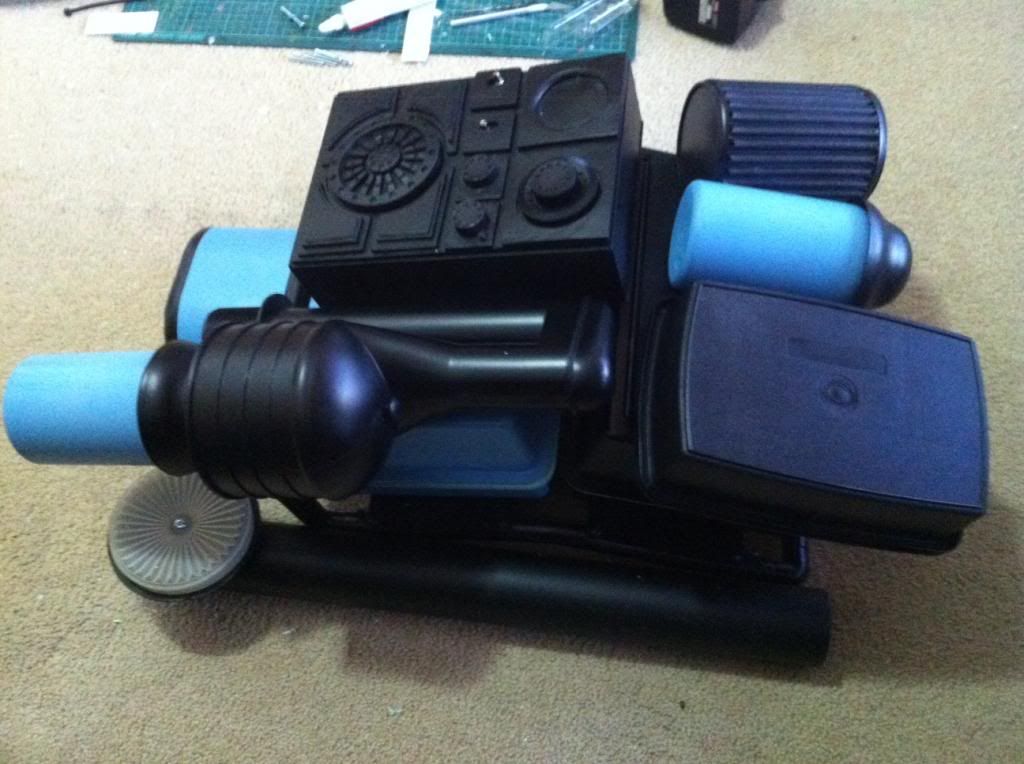
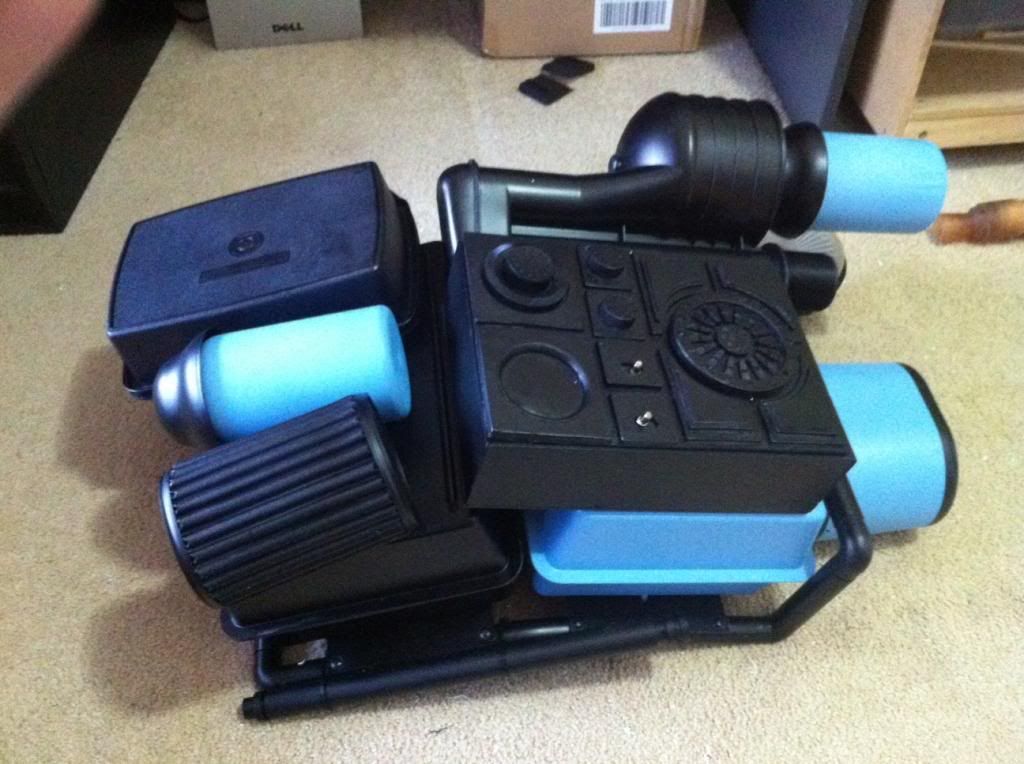
Well I have made some adjustments. How's this look?
I have lowered the filter, bottle and stow and go and I feel this is more representative of the screen look. I moved everything to the wearer's left more as well and I feel this has balanced the fittings better. Comments and criticism is very welcome.
-
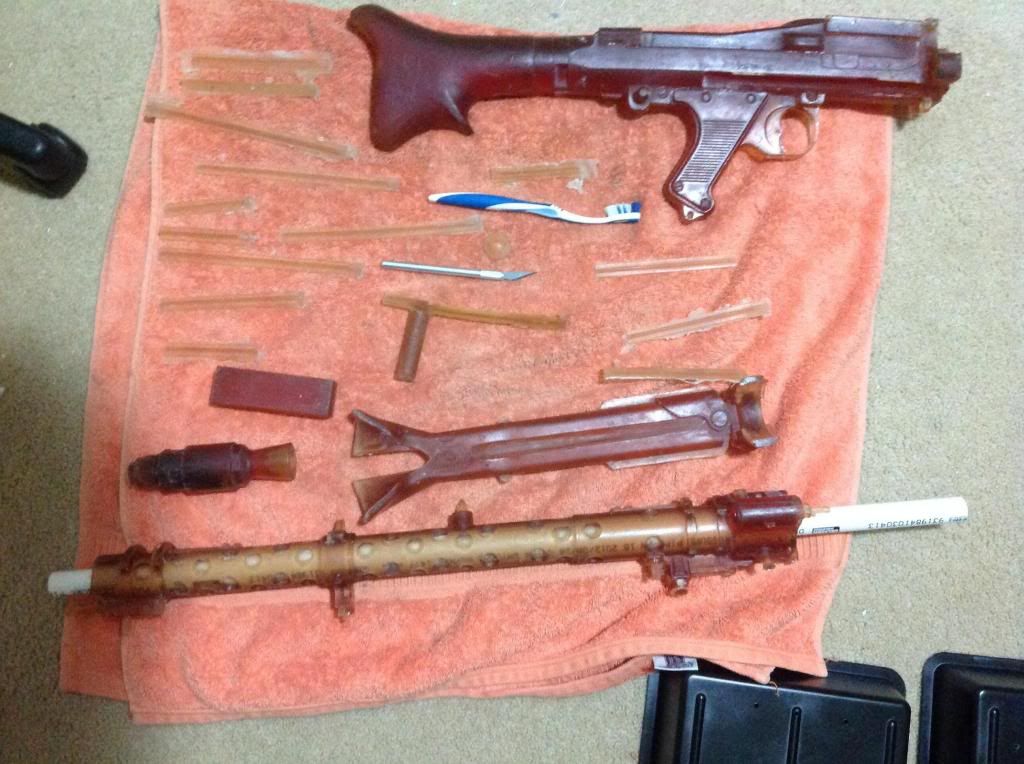
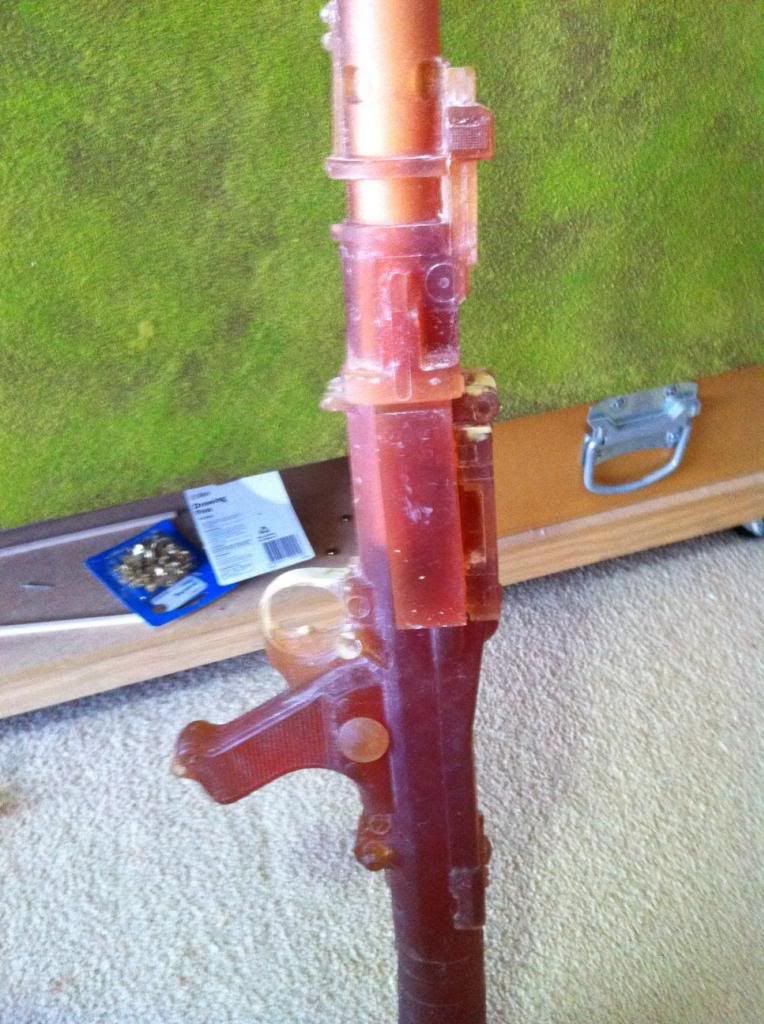
In my opinion, quite a bit. There was a lot of air bubbles and a bad mismold of the trigger guard. I have used an epoxy putty to fill and rebuild where necessary. It's been nothing hard but time consuming. I will prime grey and then go back and fill any small holes I missed and clean up any other small issues. On the plus side, the detail is very nice, and it is a rubber resin so seems to be very durable. I feel it is a very good value kit.
-
Is there a recommended way of doing it? I was going to use watered down acrylic.
-
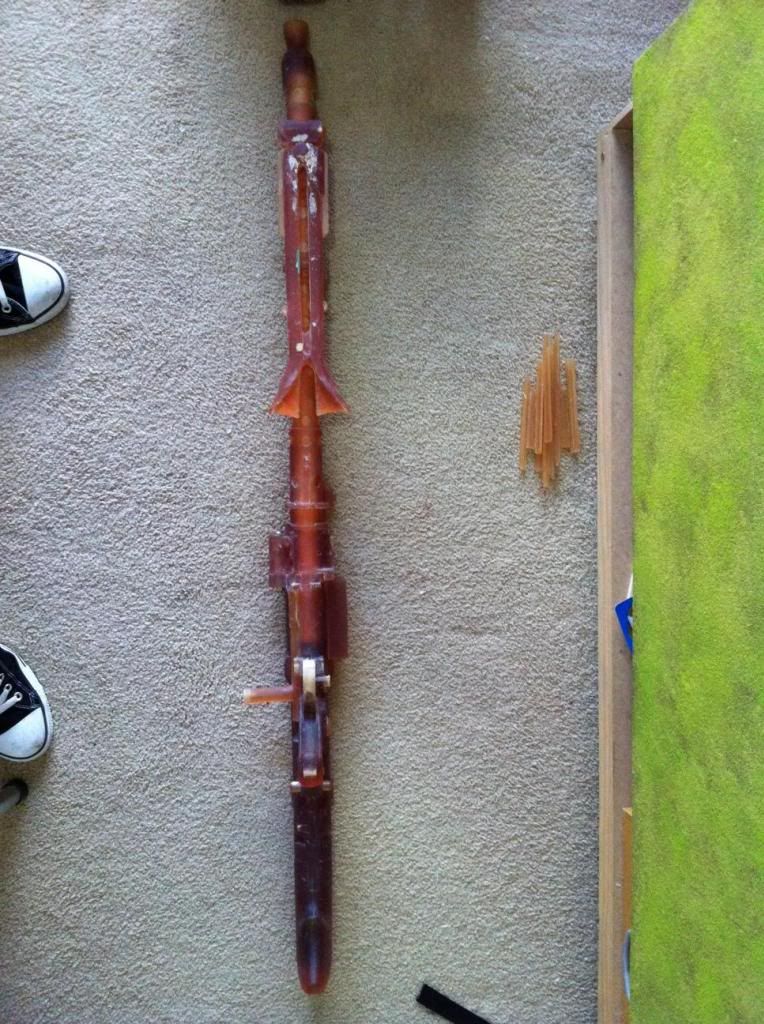
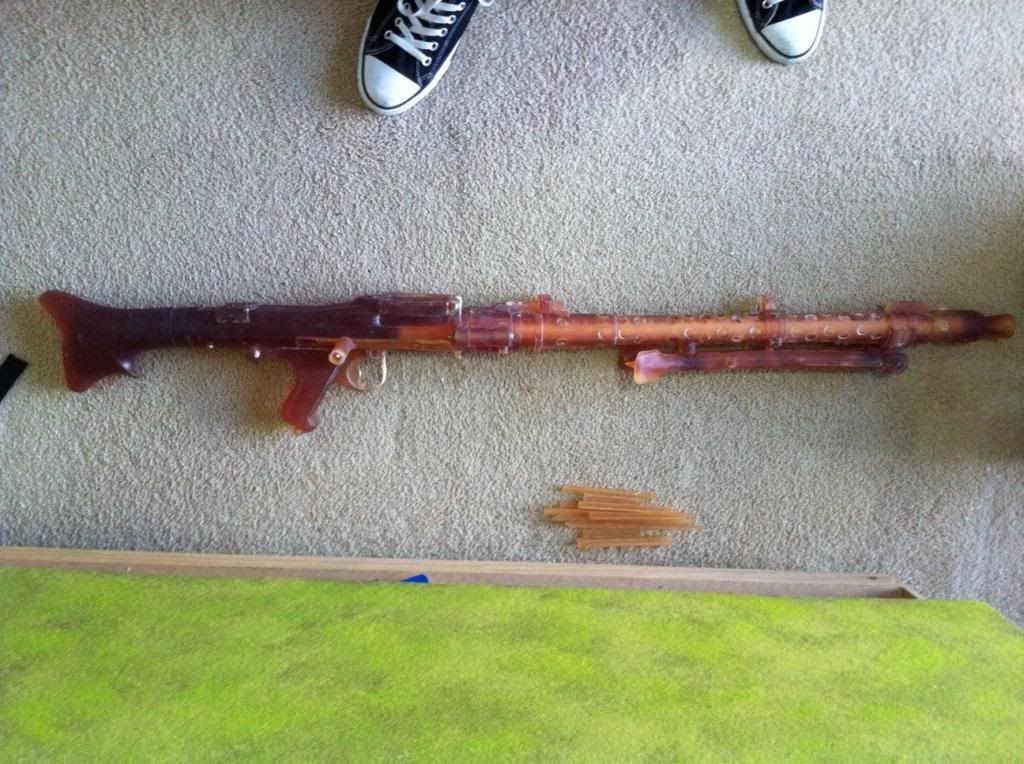
Hi All,
I purchased a Grand Moff Niko DLT-19 kit.
Here are some photos of the build up.
I had to rebuild the trigger guard from a miscast and there were a lot of air bubbles but overall the build has gone well.
-
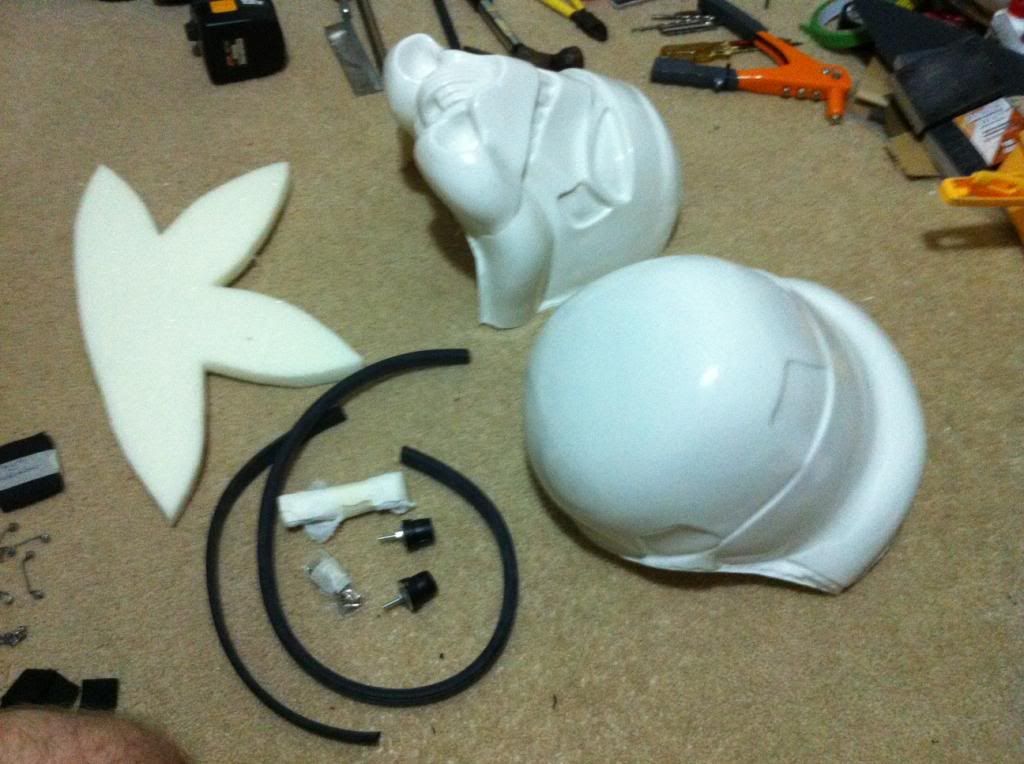
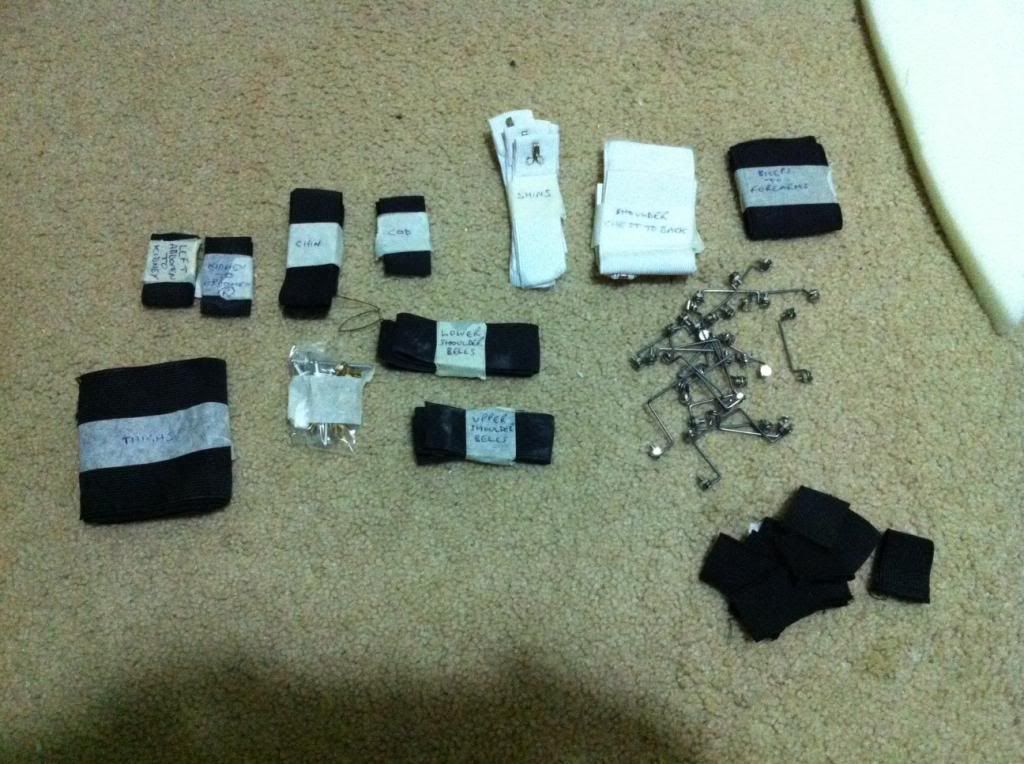
Hi All,
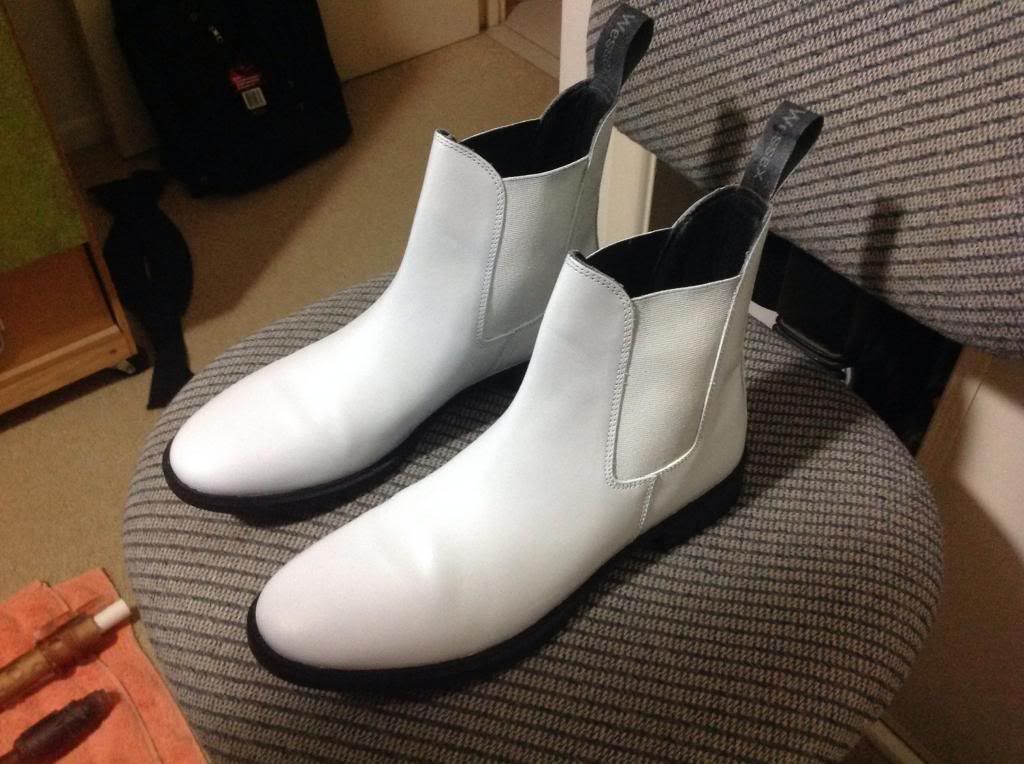
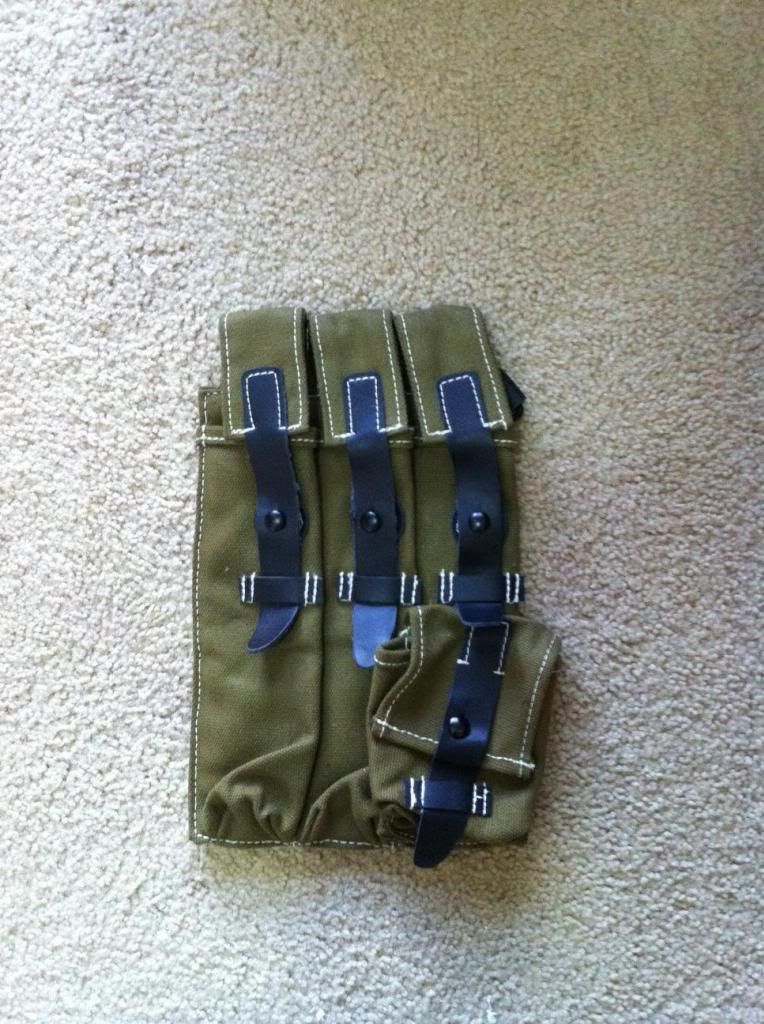
Just a few pics of the soft items for my TD build for opinions. At this stage I am aiming for 501st and Police Officer acceptance and then will change items to go for SWAT.
Pauldron - An unwanted pauldron sourced from a local 501st TD. Yet to be weathered.
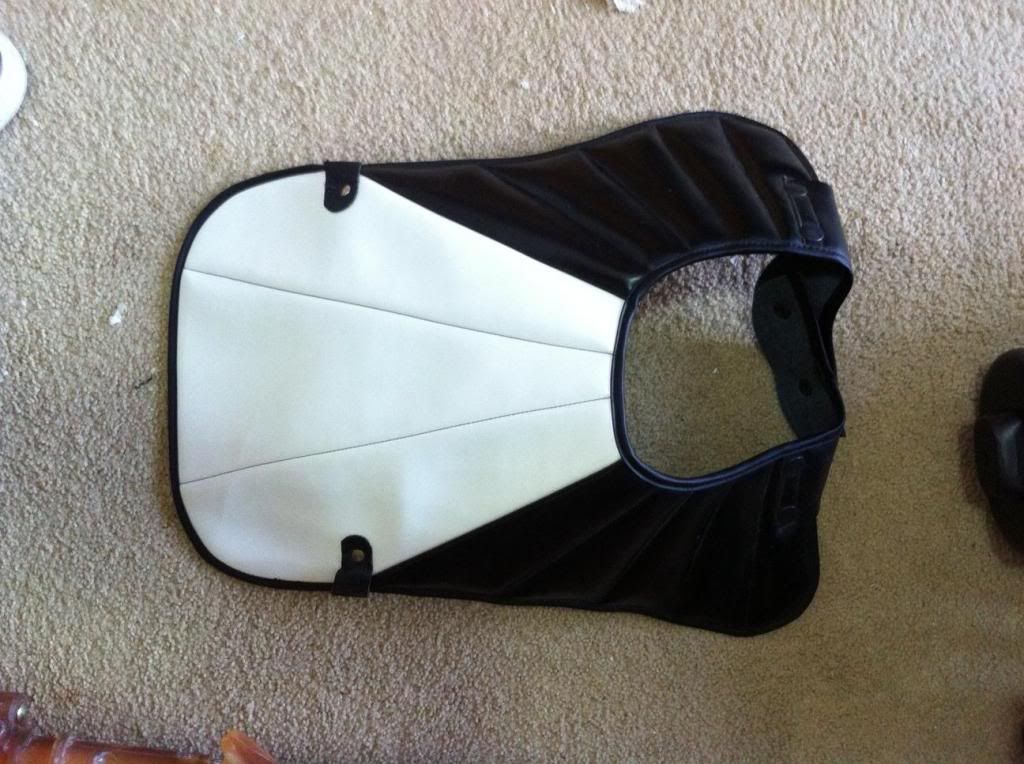
Boots - These were riding boots from the interwebs that I have prepped and painted. Yet to be weathered.
Pouch - Unpainted and unweathered
-
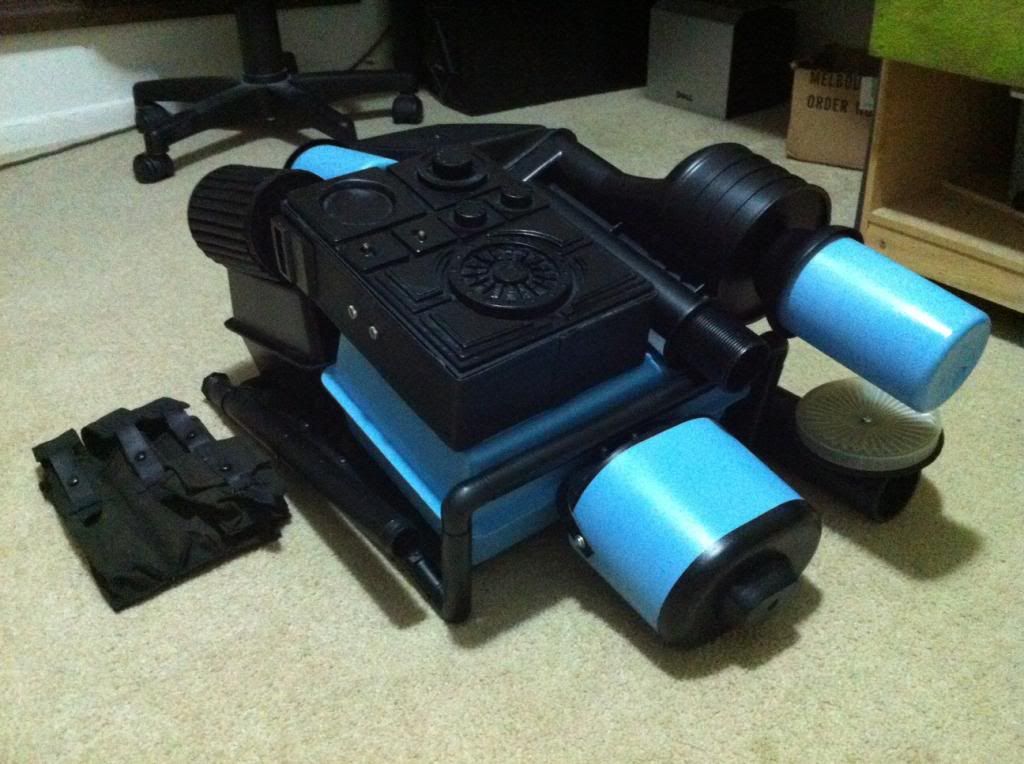
Hi All,
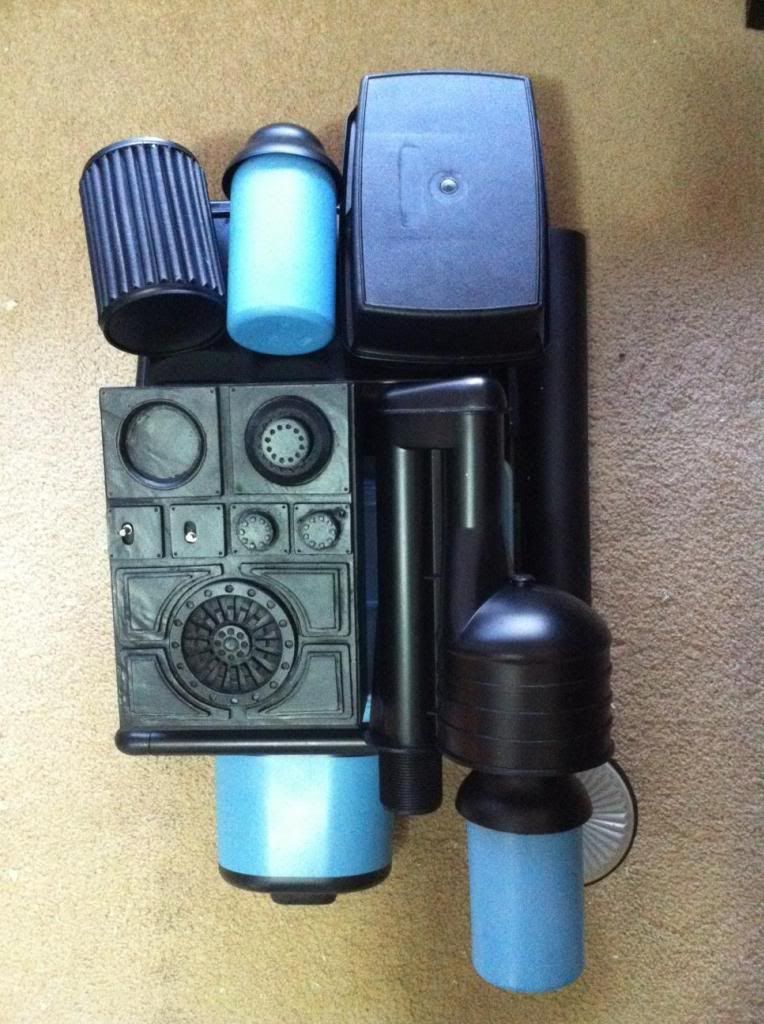
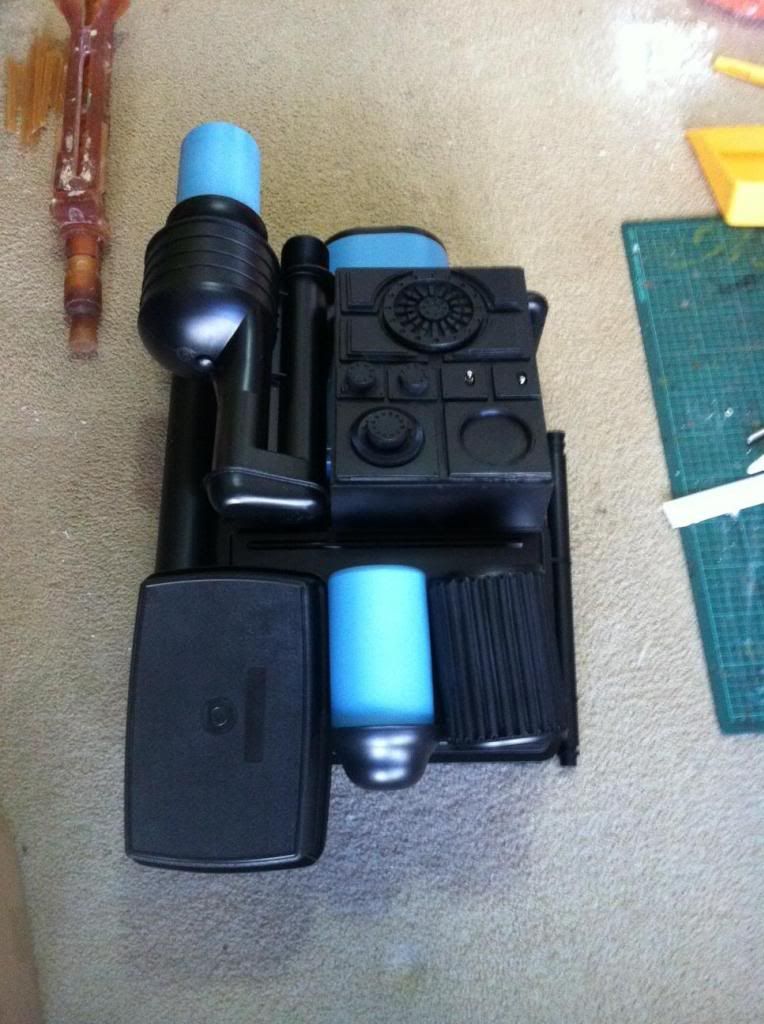
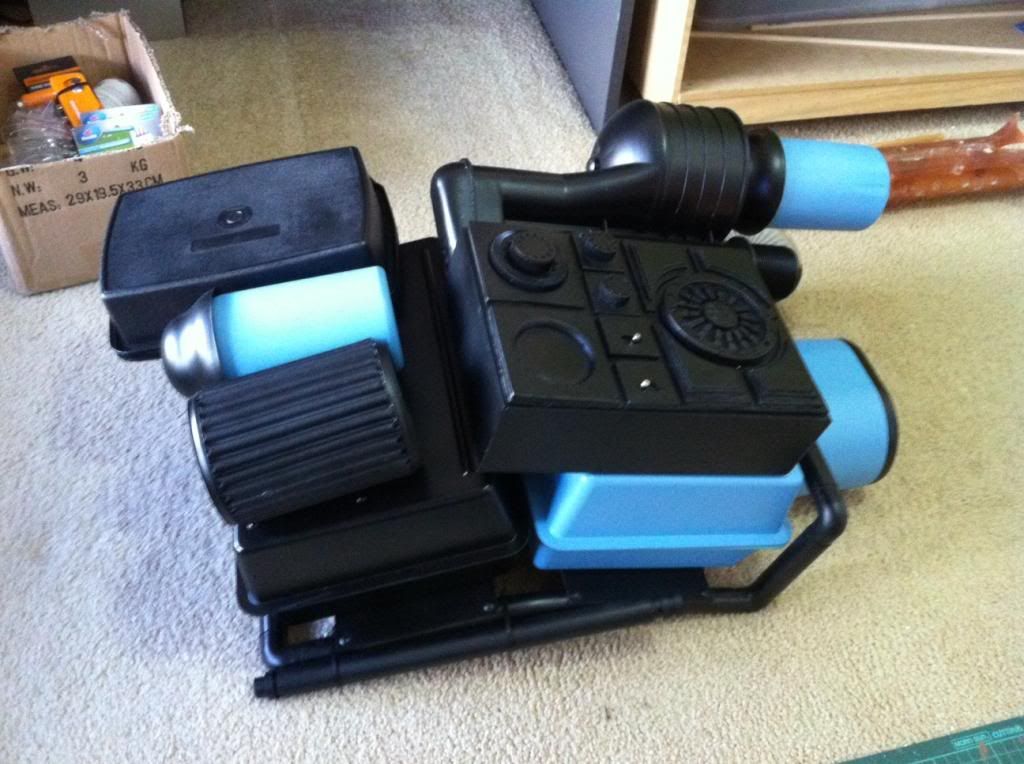
I have received a Dirty Boy pack kit and proceeded to build it up. It is nearly done in preparation of fitting straps etc and weathering.
Just wanted some thoughts on top item fitment. The faux filter appears to be slightly undersized lengthwise. I placed the filter based on screencaps and went off top line placement of the filter. However this seems to cause the bottle and Tupperware container to mount "high" based on their placement in relation to maintaining a straight line with bottom of the filter. Thoughts?
Other than that it has been a great kit! Cheers Rick!
I still have to vinyl wrap the radio and I'm waiting on my TM armour for the control panel and pipe caps.

Jas' TM TD Build
in Sandtrooper Armor
Posted
Cheers Paul, that's exactly what I did. I went off the photos you sent me, screen caps and the input and feedback (by you) from the Geaux Saints build you told me about eg - I saw in the Geaux Saints build he had trimmed the lower edge of the thigh but you left yours alone in line with screencaps and LFL archives, so I didn't trim mine. As you know, the only issue I have had so far is the biceps and I mucked that up because I wasn't paying attention.