


luismfm70
-
Posts
23 -
Joined
-
Last visited
Content Type
Events
Profiles
Forums
Posts posted by luismfm70
-
-
TD8068
in Weathering
Thank you Michael, can´t wait to be part of this great family
-
TD8068
in Weathering
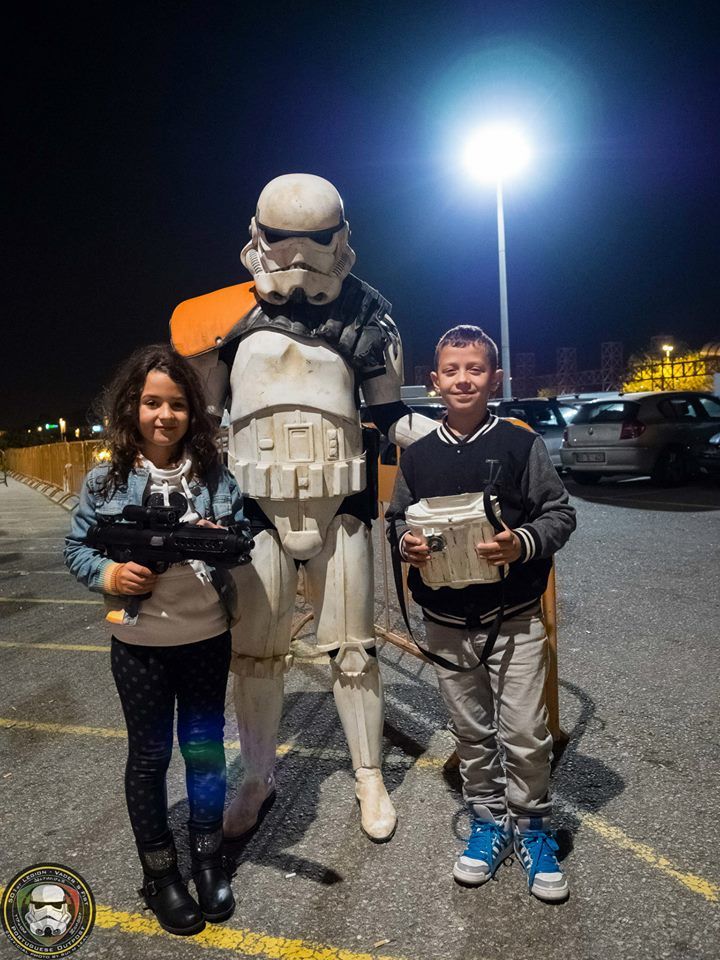
Thanks Bluey. After 3 days with the armor at ComicCon i have a new and natural weathering.
I got the knee plate from Trooper Bay and i´m fixing now the armor.
Thanks
LuisM
-
TD8068
in Weathering
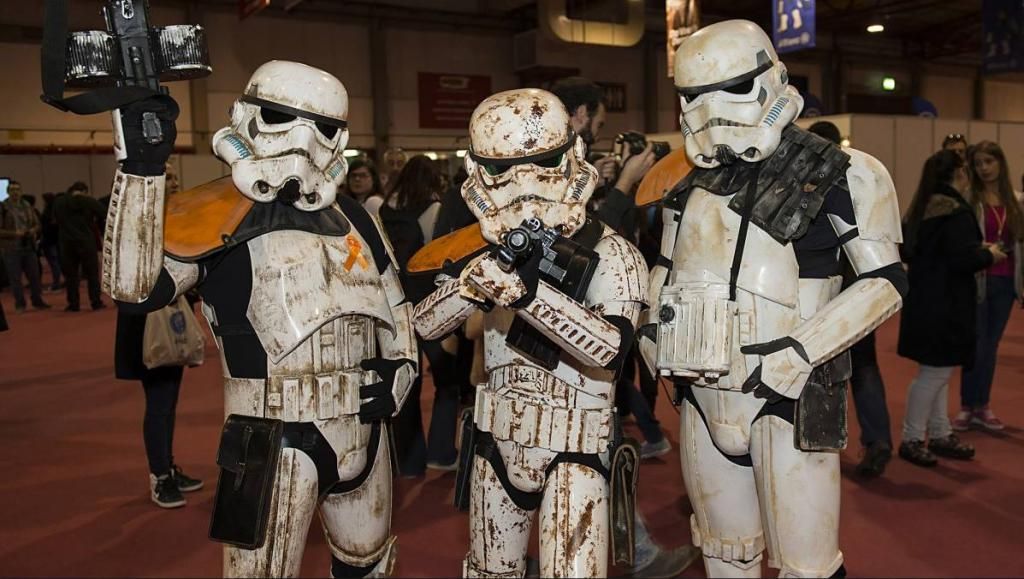
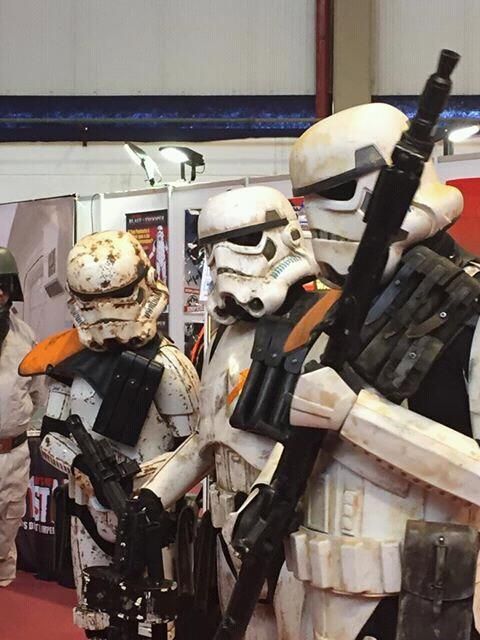
Some photos from my first trooping with the sandtrooper.
I had a problem with my knee plate and i had to use one from my stormtrooper armor, im not canon in this photos

-
TD8068
in Weathering
Texture is worthy of the Sandbadge Luis
Thanks Sandman

Im planning to buy a backpack soon (in the next 2 or 3 weeks) and apply after a few modifications.
-
TD8068
in Weathering
Hi, thank you.
Sorry for the late reply,
I´ve used weathering techics that i´ve saw in youtube vídeos (search for sandtrooper weathering):
-For the use of dirt or sand, search the tk4510decals vídeo, where he explains how to apply sand in the helmet (the process is the same for the rest of the armor)-For the acrylic paint you can find the vídeos of panda86dk aka pandatrooper (This tutorial it´s pinned in this forum too).
The only diferent thing i´ve done, compared to panda video, was the use of Americana Acrylic Paint - Fawn. Applied with a sponge in great quantities but waited a few days to clean, using my hand and ethilic alcohol all over the armor, leaving the dry paint in the edges.
For the sand, used 3m spray mount glue over some áreas of the armor, applied sand, used for dioramas, and after that, Americana varnish to fix the sand.
But if you follow the vídeos you can see the whole process i´ve used.This photo was taken in the beggining of the process, with the acrylic paint. I have repeated the process 3 or 4 times, because i don´t like too much dirt.

After this, i´ve used the sand.
cheersLuis M
-
Hi, thanks for your reply. I got one from trooper_bay, just waiting for the delivery.
Cheers
Luis M
-
Hi, i need your help,
do you know where i can buy a diamond knee plate?
Thanks
Luis M
-
TD8068
in Weathering
Hi, some photos of my TD project.
I´ve done this in 2 phases.
First, used acrylic paint and alcohol in the armor

Second phase:
Model sand, glue and varnish in spray.


Best regards
Luis M -
I too have an AP kit. These areas do not require a return edge. Enjoy your new build!
Thank you for your feedback Pete
-
Hi, i ´ve been studying the photos from different armors and i have a question. I got a stormtrooper AP armor and now i ´ve bought a second AP to build a Sandtrooper. The kidney and butt plate come in one piece, so i needed to cut it. It is a problem if the bottom of the kidney plate and the top of the butt plate are both flat?

Thanks
Luis M
-
Im in contact with someone for flexible plates, looks the best option.
Im going to keep these as spares for my stormtrooper armor.
At the moment im working at the helmet. This weekend im going to sand the pieces.
I think i will have a problem with the gap between the ab and back piece.
Thanks

-
-
More pictures from the group.
Unfortunately im not in this pic, im only a
 at the moment. Building a
But my 2 brothers from the Portuguese Outpost are in the photo. My CO João Carreira, near Anthony Forrest (left) and Hugo Pablo (right from Anthony, in front)


-
Gracias Juan, here´s my FB https://www.facebook.com/luis.monteiro.169 . I got some great pictures taken with the Sandtroopers group at CE2, with Anthony Forrest, for all interested. You´re welcome to join
-
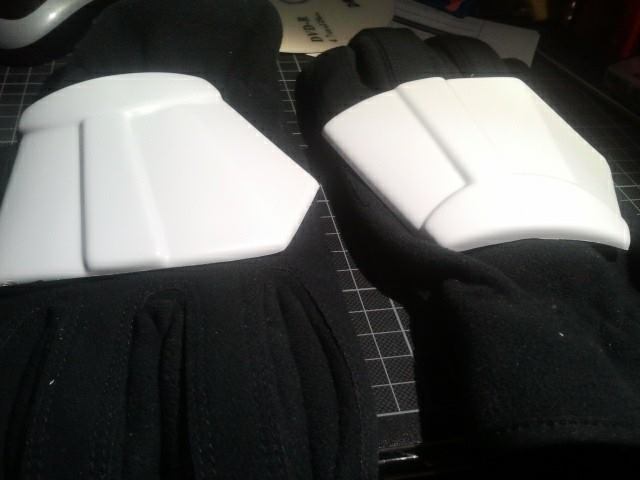
Hola Juan, thank you. I got an AP armor, the handplates are made of plastic. Do u know where i can get some rubber handplates? Gracias
-
Hi all, i think the trimming was a little too much.... is this too bad? (Edit: This post was submited in the wrong place, should be in Imperial Issued Armor. Cant detele...)
-
Hi Justus, Brad and Craig, thank you. Your portuguese is great Justus.
-
Here´s one of my photos, i have more if u want-

-
Requesting 501st access
Luis Monteiro
TK-8086
http://www.501st.com/members/displaymemberdetails.php?userID=12168
-
Hi all, my name is Luis, im a TK from the Portuguese Outpost since 2010.
Im currently in the trimming process, of a new armor, to apply to MEPD as Sandtrooper.
Luis M
TK8068


MEPD 2015
in Announcements
Posted
Congratulations for the re-election