


clutch
-
Posts
198 -
Joined
-
Last visited
Content Type
Events
Profiles
Forums
Posts posted by clutch
-
-
Hehe. Nope, still a wip. I got a hyperfirm recently which is what I wanted in the first place, so the resin one will probably be a wall hanger and thus I want it to be near-perfect.
-
the real gun I had was chipped all to **** along the barrel. the stock wasn't shiny at all.
-
Looks great! You are well on your way to having one of the most accurate replica DLT-19's out there!
-
Holy fudging ****. I'm out for a coupla weeks and come back to this. Majority of the 501st are costumers, not collectors. I think that's the reason for the disconnect and the difference in opinion.
Rubber is dangerous in the wrong hands.
-
Sorry for abandoning this thread. Life hit me hard with a layoff at work. So I'm just peeking in from time to time until things get settled. I agree with the 5 minute epoxy, very strong bond. As an added precaution, rough up the resin parts to be mated with sandpaper first.
The best filler I've found is magicsculp. You mix up the two parts and it smooths over like glass with a little water on your fingertip. Just go to www.magicsculp.com and ask for a sample. They'll send you enough to do several kits.
-
I agree, I commend him on his effort.
-
I wasn't gonna say anything, but yes, it looks a little bit on the yellow ochre-ish side. I would tone it down some with some kind of slate gray color here and there.
BTW, what are you going to do with your AP now?
You may have already said, but I just noticed you have no pauldron?
-
I think the way auctions work is that you start the bidding low. This entices the people to bid because they think that they'll get a deal and help someone else out in the process. I also think that the fact that someone here was just selling these for $375 didn't help much either.
-
Holy fudgin' ****. Guess I'd better get my MG-34 listed pretty soon. Anybody want a real MG-34? I always planned on selling it back after I made castings.
-
very nice!
-
Been slow goin'. Here are some prog. pics I had made for Nickel.


I had a revelation the other day, why bother drilling a hole big enough in the receiver for the pvc tube? Why not just drill a hole big enough for the dowel rod? Duh!
-
Bored, youtube-ing and found this:
My question:
Who has publicly danced in trooper gear? I'll admit it, I have.
-
Welcome! Can't wait to see your progress!
-
Awesome!!
-
These were the only ones I could identify online. I've had some of my bits for years.
http://www.toolbarn.com/product/dremel/8193/
http://www.toolbarn.com/product/dremel/932/
http://www.toolbarn.com/product/dremel/8215/ not sure about this one, but it looks close.
And crank the dremel up to about half speed if yours can be adjusted. It's easy to take material off, but a pain in the rear to put it back on.
-
Just now starting to work on mine. Getting the stuff to line up is gonna be the toughest part. However with a little patience, I think it can be done quite easily. I'm going to have mine break down-able. With that in mind, I think the easiest route would be to saw the pvc pipe off the barrel shroud and insert it into the receiver. Then use a wooden dowel to 'pin' the two halves together. I didn't find a dowel that fit exactly, so I wrapped mine with some masking tape for a perfect fit.
My diagraming skills amaze me:

Drill through the offset side and insert a bolt or a rod for extra strength and to further help align the sides. I plan on using a bolt. This will tie the two halves together and keep the barrel from rotating. Don't cut the pvc flush with the barrel just yet, leave 1/8 of an inch showing because if you cut it flush, I don't think it will touch the receiver and you won't be able to mark the hole with paint.
When you drill into the receiver, you are just gonna have to eyeball it, unless you have a drill press. If you make the hole too big, no worries because you are going to glue the pvc pipe inside. Work you way up through bits. Start with a small one and then use a bigger one, then a bigger one, etc... Until the hole is the correct size. Some of the hole might appear through the slot the charging hangle goes into. This is also good because it'll give you an area to squirt glue into. Once you insert the pvc into the receiver with the wet glue (I'm going to use 5-minute epoxy) press the barrel (with dowel) into it and against the receiver. Make sure everything is lined up and hold for, you guessed it, 5 minutes. You can then slide the barrel off. Or, if you want it permanent, just glue the dowel at the same time.
If you don't have one of these, get it. It is great for sanding stuff like the end of the receiver and tk armor:
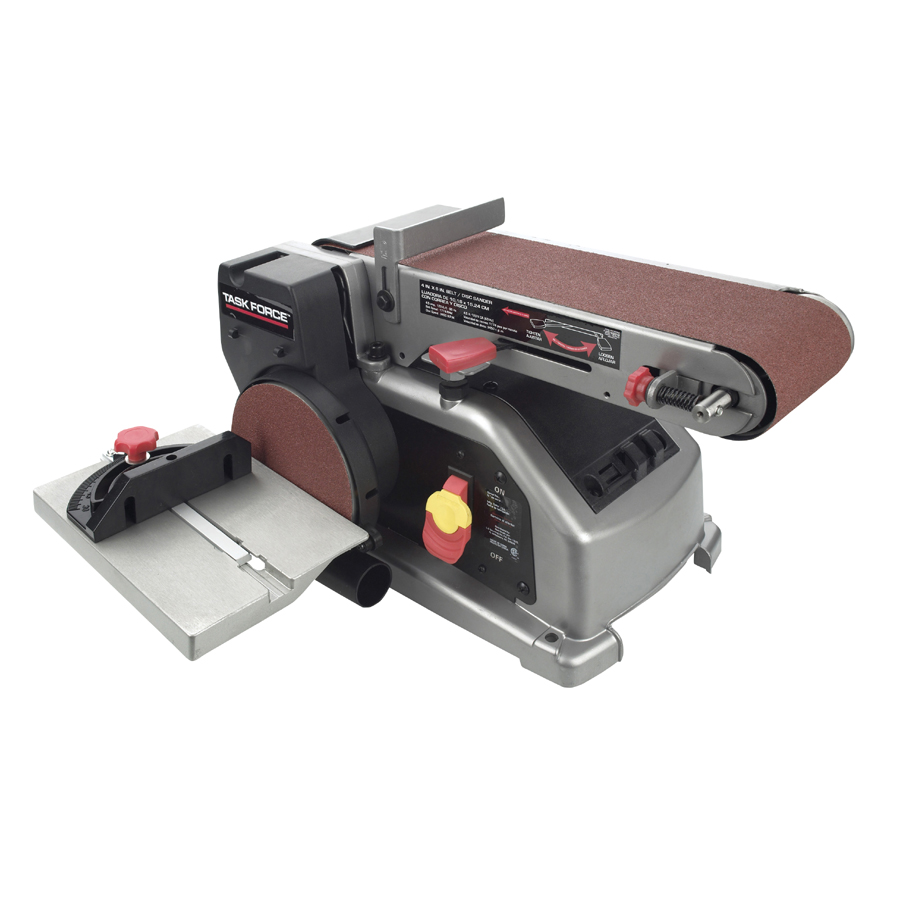
$99.00 at Lowes. Best investment you could make.
I've become quite the dremel carver. Here are some bits to make it more accurate:
This grinding bit is great for the barrel shroud holes. Just keep it steady and move it around inside the hole. They will all be uniform in depth in no time!

You'll need to cut this hole out for accuracy:

This grinder is the perfect size for cutting the hole back in the sight attachment thingie. You'll need to put a 3/16 dowel rod in the center once it is cut:

This bit is the perfect size for cutting the channel back in the site:

This bit is the perfect size for cutting the square cuts here on both sides:

This hole will need to be cleaned out in the grip:

-
Cute kid! MG looks great!
-
Thanks for the input! Yeah, I agree, the seam going around the checkered pattern on the handle sucks. I don't know any other way he could have cast it though.
 I've found some other bits that work well when prepping this thing. I'll probably start a thread on my progress.
 -
I'll be there, but I've heard that troopers are pretty much invisible there.
-
The stripes on the ear are more likely for decoration. Do you really think Lucas said, ok here is a ranking system for the stormtroopers - ear stripes!? They did have the pauldrons to denote rank. I remember hearing about the ear rank from more than one source, but for all I know, somebody could have just made it up and it spread until people took it as gospel. BTW, I think the TD's only have one stripe per ear.
-
I have 4 kits left over...
BTW, Tim, what is your opinion on the weight? I like to hear different people's opinions. Any other thoughts on it? Areas of improvement? Thanks.
-
No pinstripes at all on the teardrops or traps. The ears get a black line around the gray. Vertical black stripes on the ear ribs denote rank.
-
Dang, you are fast! It looks great! I just started sanding and filling on mine.
-
nice buckets. what'd you need the latex mask for?
Purchasing a Hyperfirm? (check here first)
in T-21, DLT-19, RT-97c Heavy Blasters
Posted
Love that picture!