


SandFlea
-
Posts
115 -
Joined
-
Last visited
Content Type
Events
Profiles
Forums
Posts posted by SandFlea
-
-
I need one of these. Are they still available? I'm going out of my mind if I missed this again
-
Dang Rolf. These pics just made me decide to step up to the plate on my TM build. I may need a few pointers. Working on it this weekend. Finishing up and getting ready for weathering. Truly set the bar hig
Darren
TD-7435
-
It was SKYDEX padding had a typo in the post
-
Several places to get them
Just google Military ballistic Helmet padding
Many options come up and there is a wide variety to choose from
-
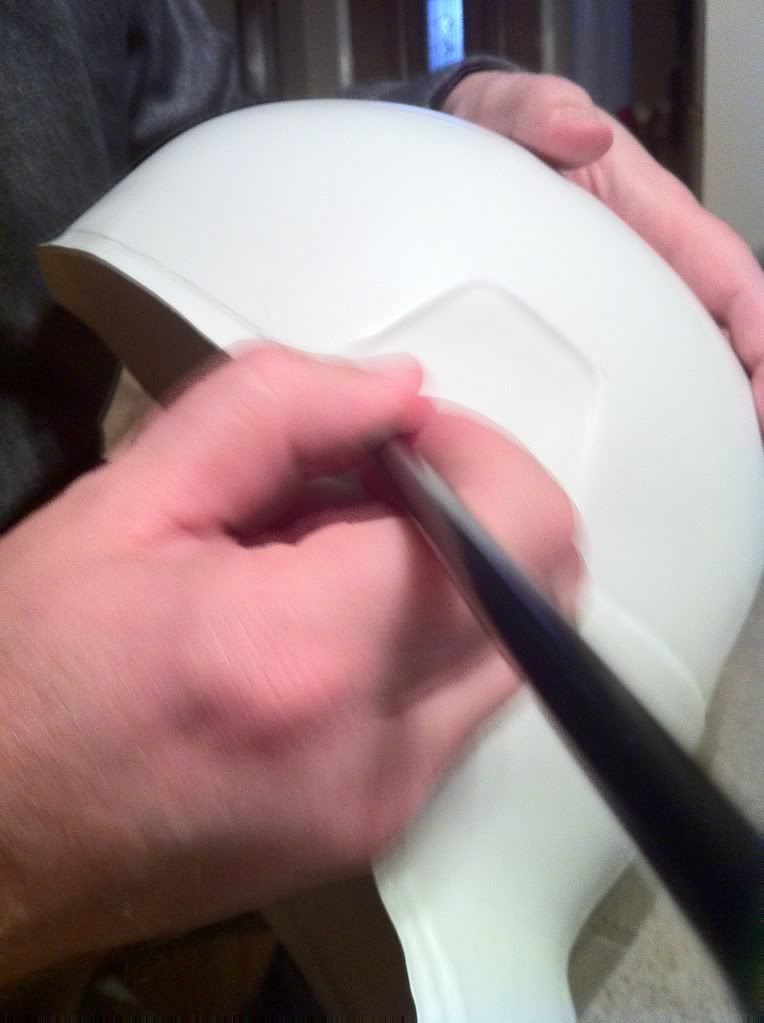
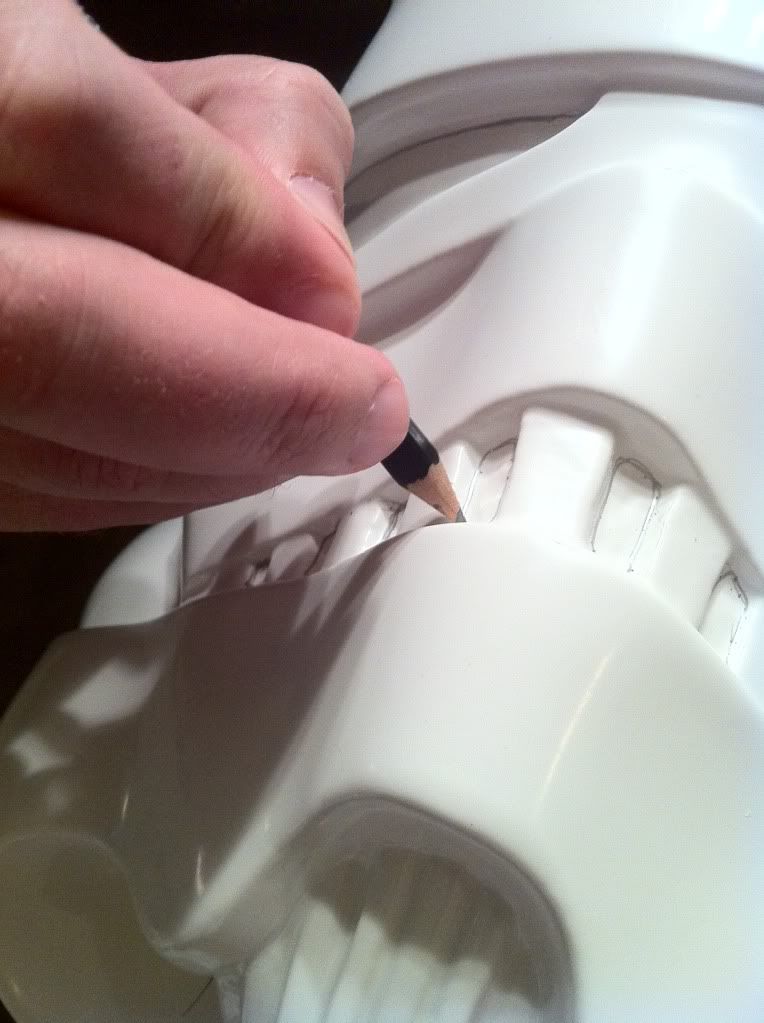
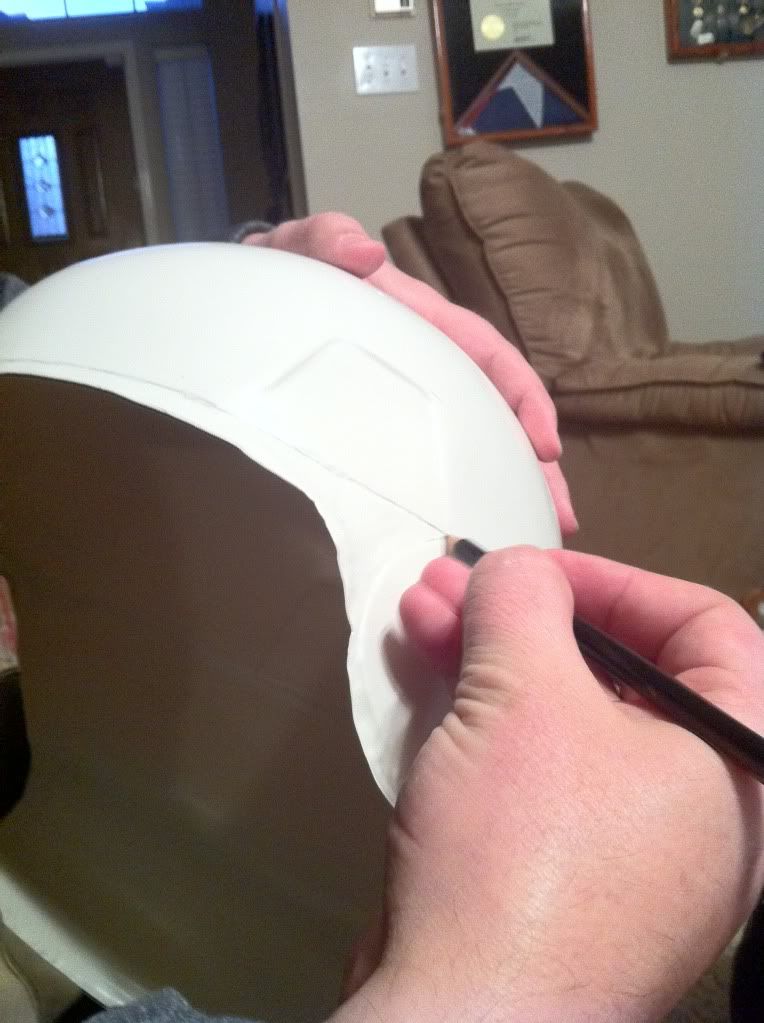
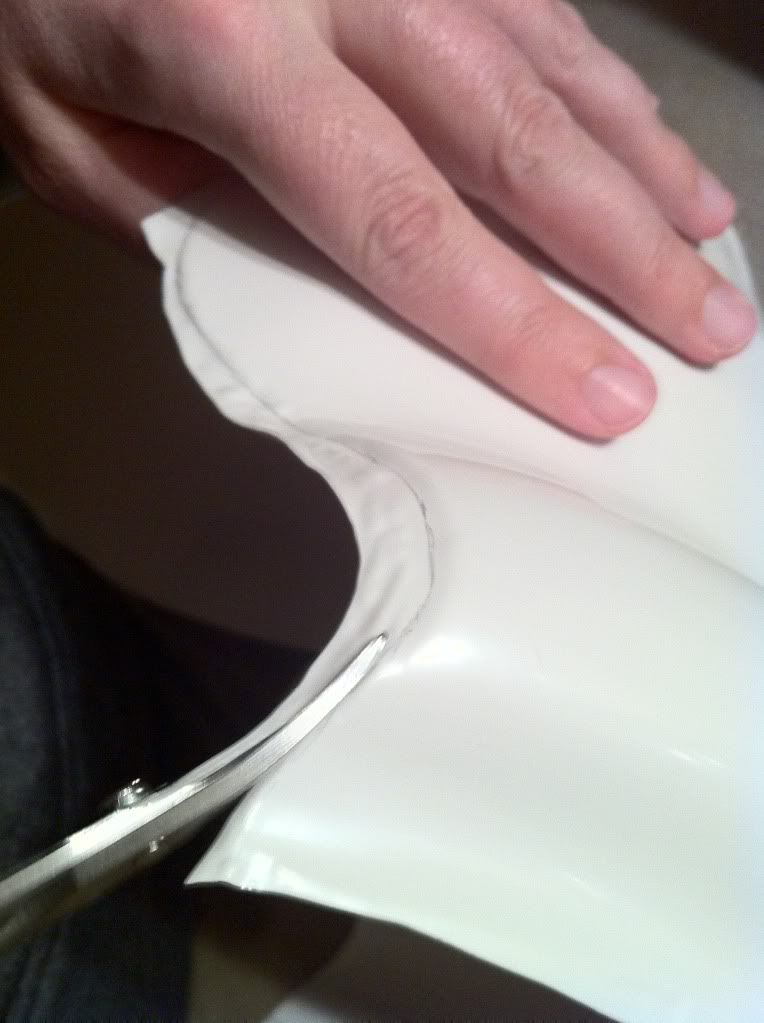
Little update
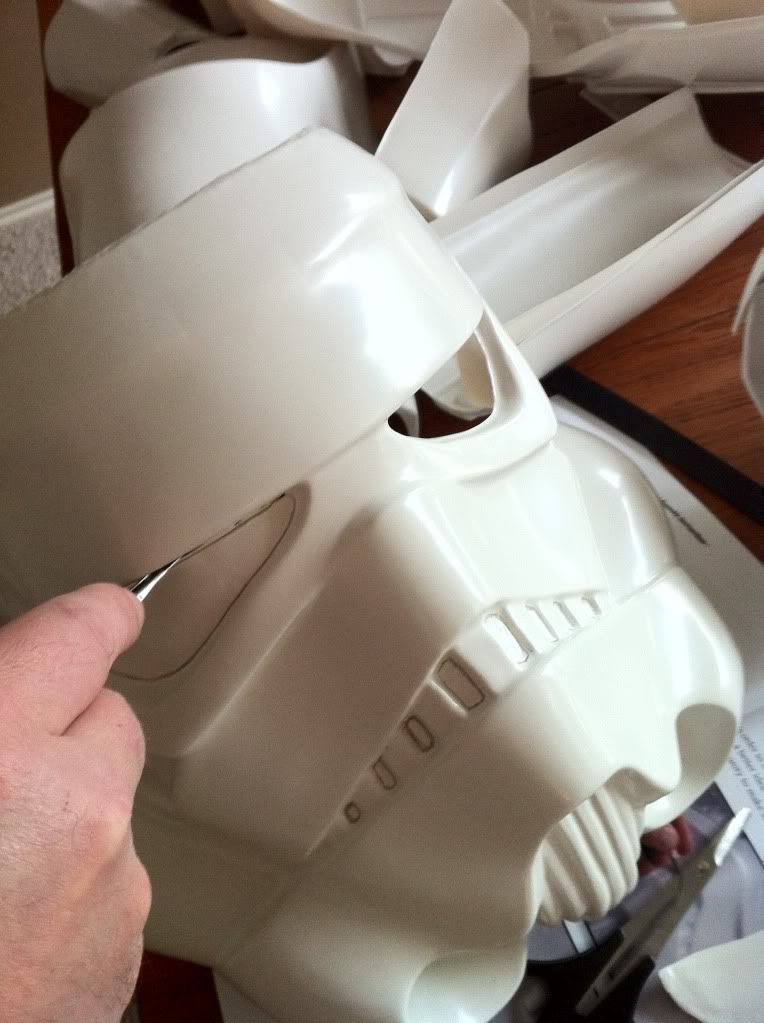
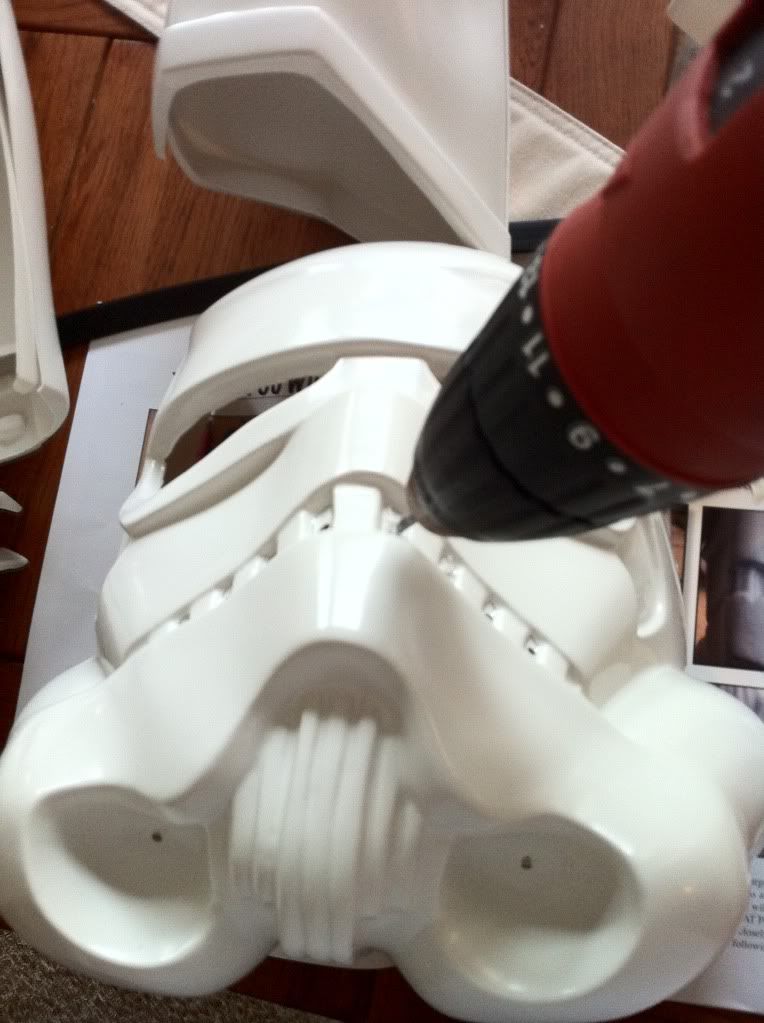
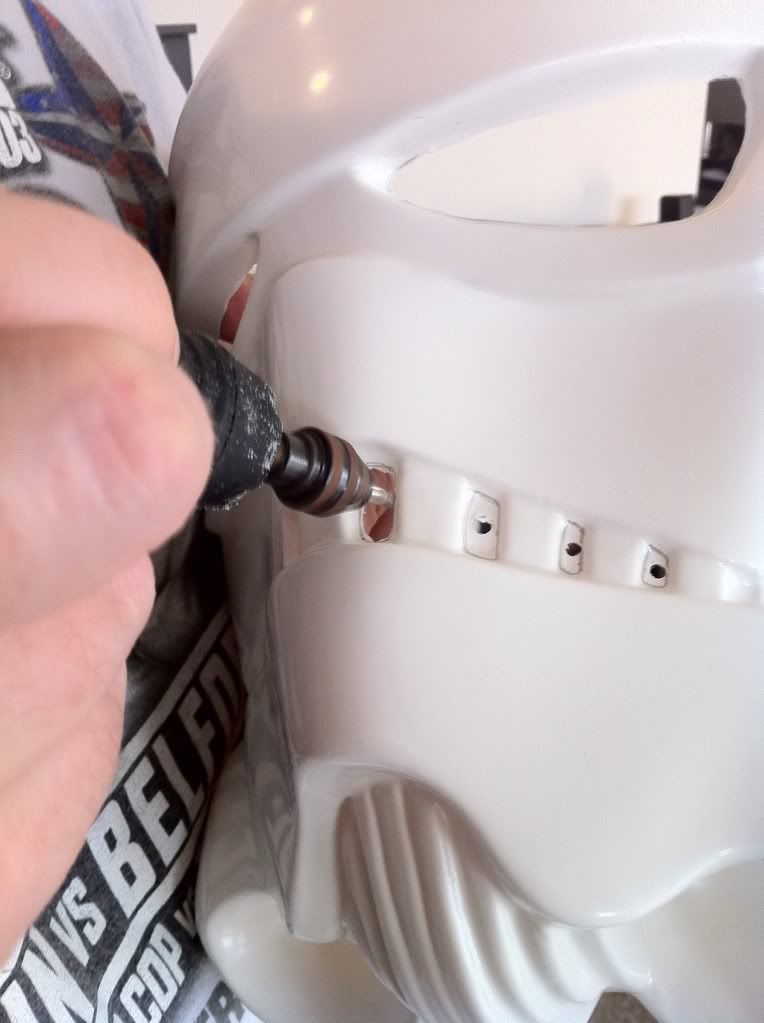
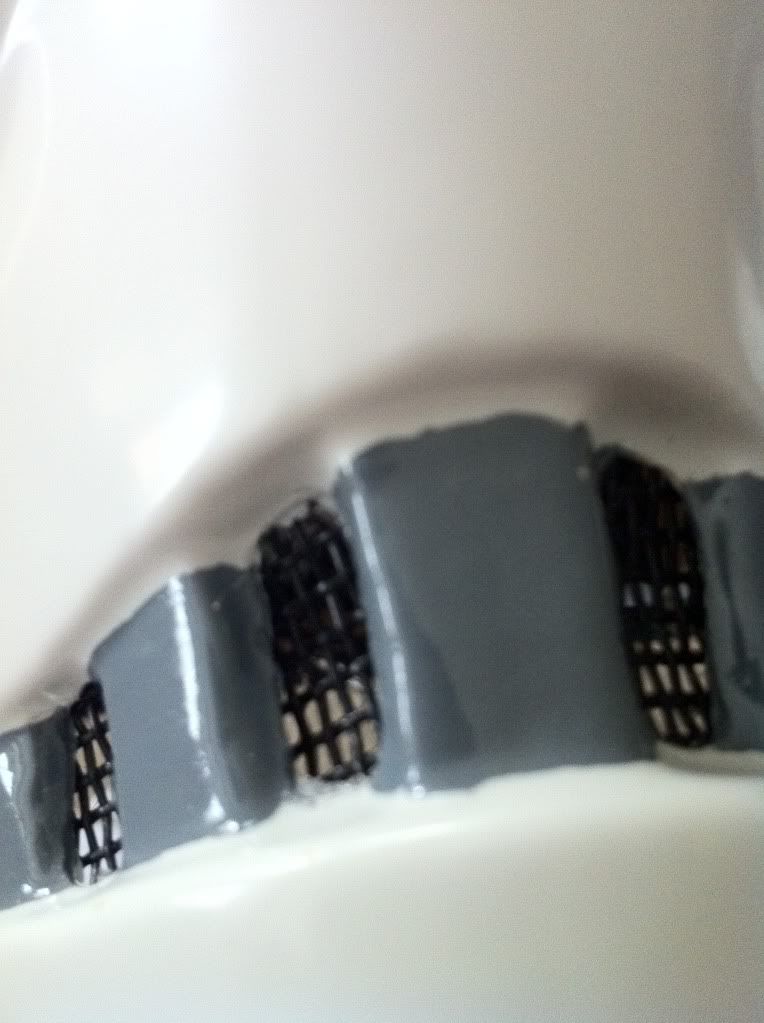
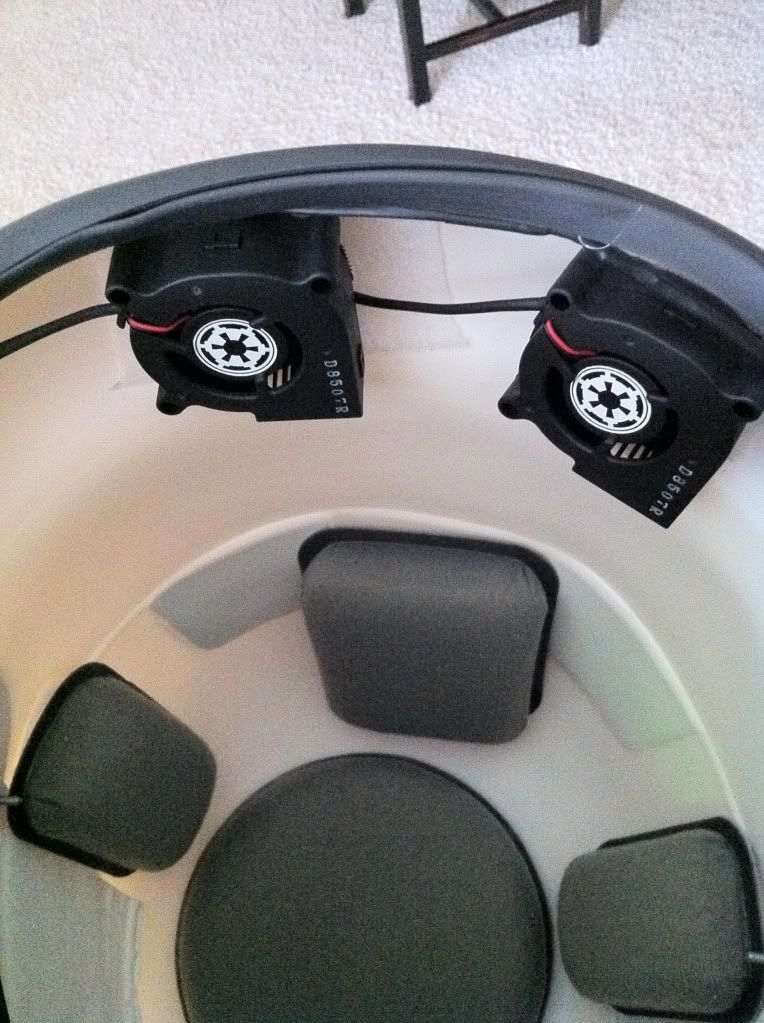
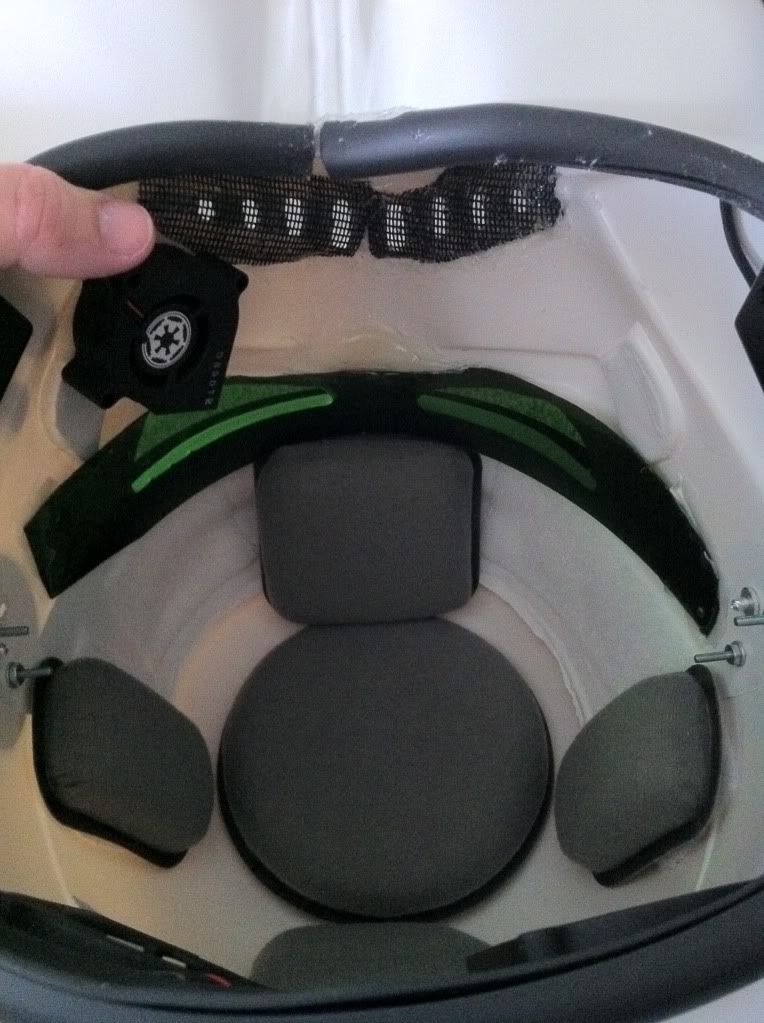
Working on the Bucket this time. The first thing I did was mark off area with a pencil which was going to be trimmed out. Then I trimmed and dremeled out the areas on the teeth, eyes and excess. I installed rivets, ear pieces, brow trim, green lens, fans, added black mesh in teeth area, and painted the grey ares on the bucket

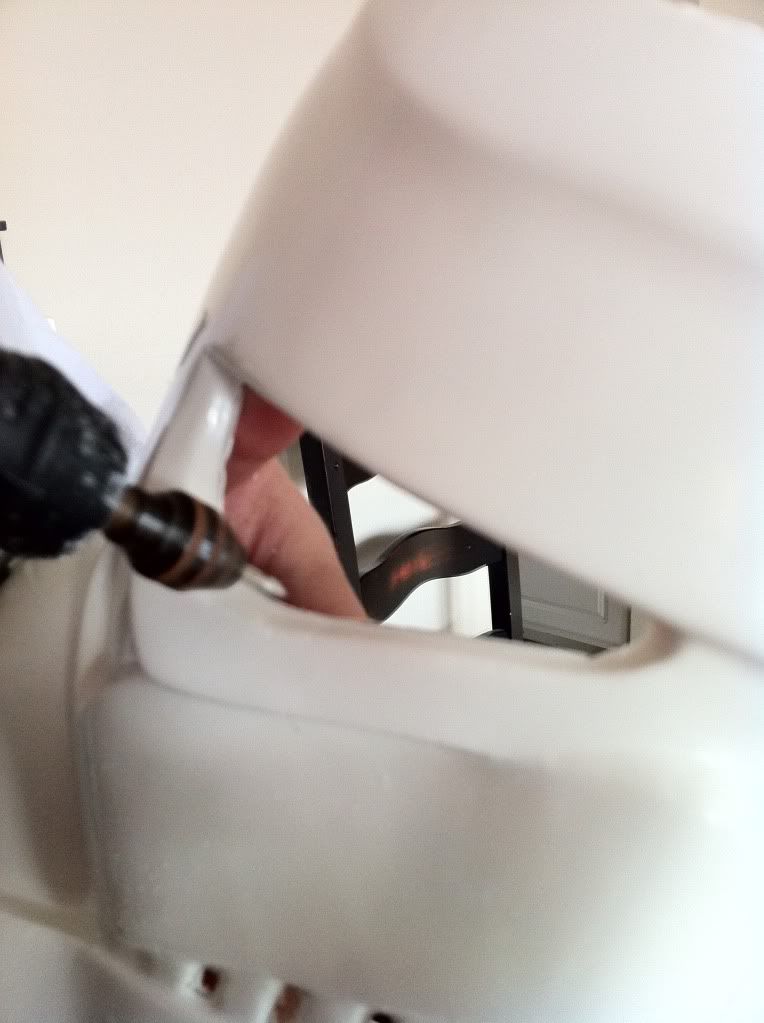
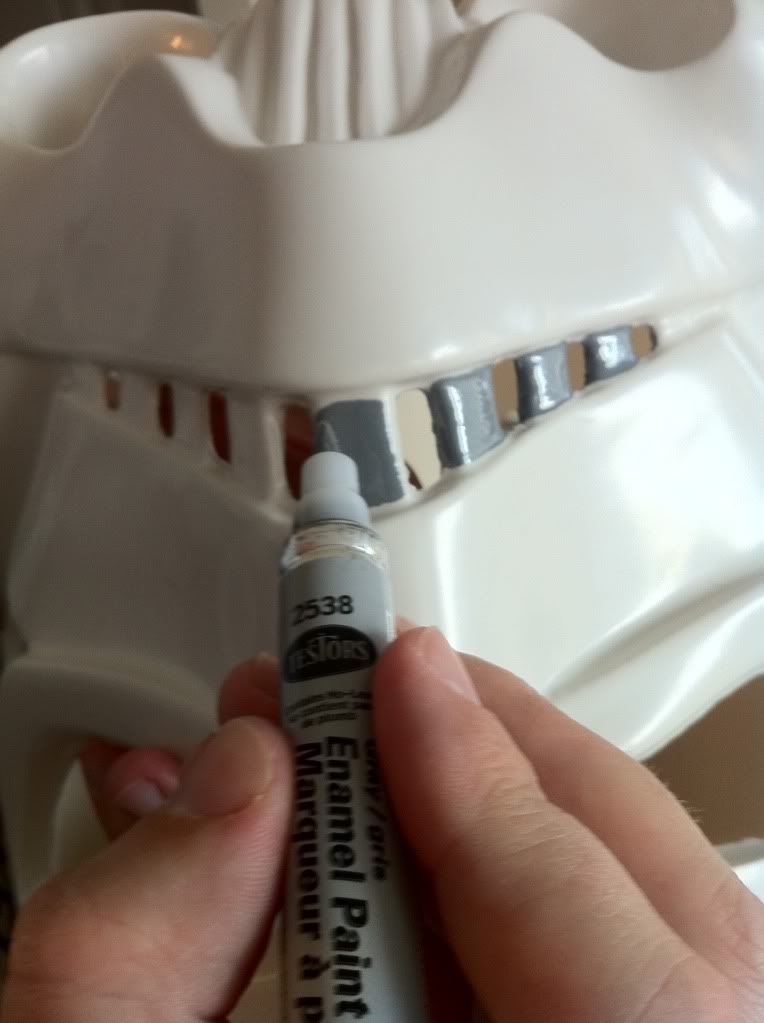
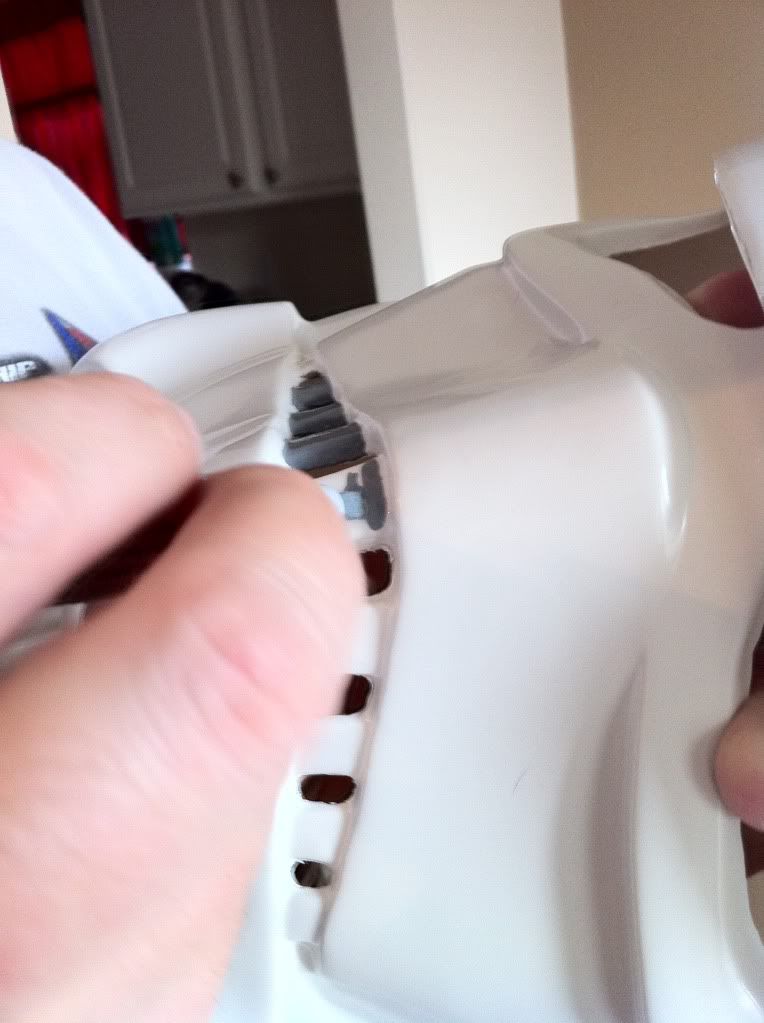
I used a Testor paint pen. I didn't have anyone to take pictures of some steps but I utilized hot glue to secure the lens and teeth mesh to the bucket. The fans are just in with velcro so I can move them around. I will be using ROM/FX Pro with this armor and not sure I will be placing it in the bucket. I can remove the mic tips for HOVI speaker type if I want to at a later date. The padding in this bucket is Spydex which is the same type of padding in military helmets. it is a velcro setup which is comfortable and easy to move around for adjustments.
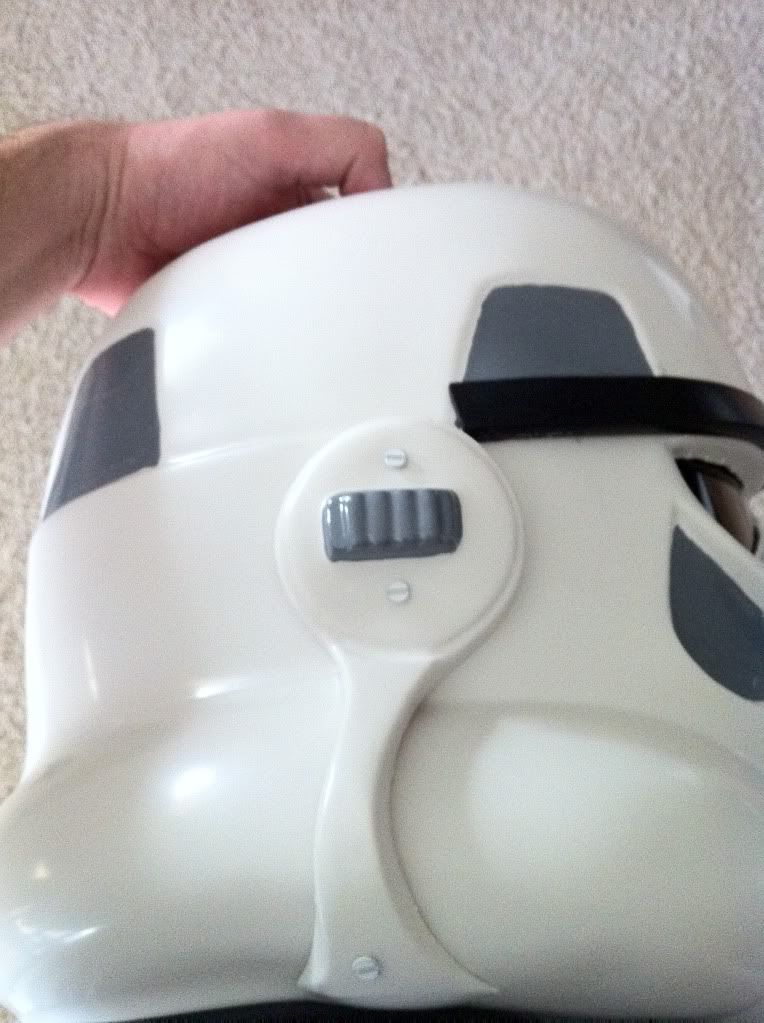
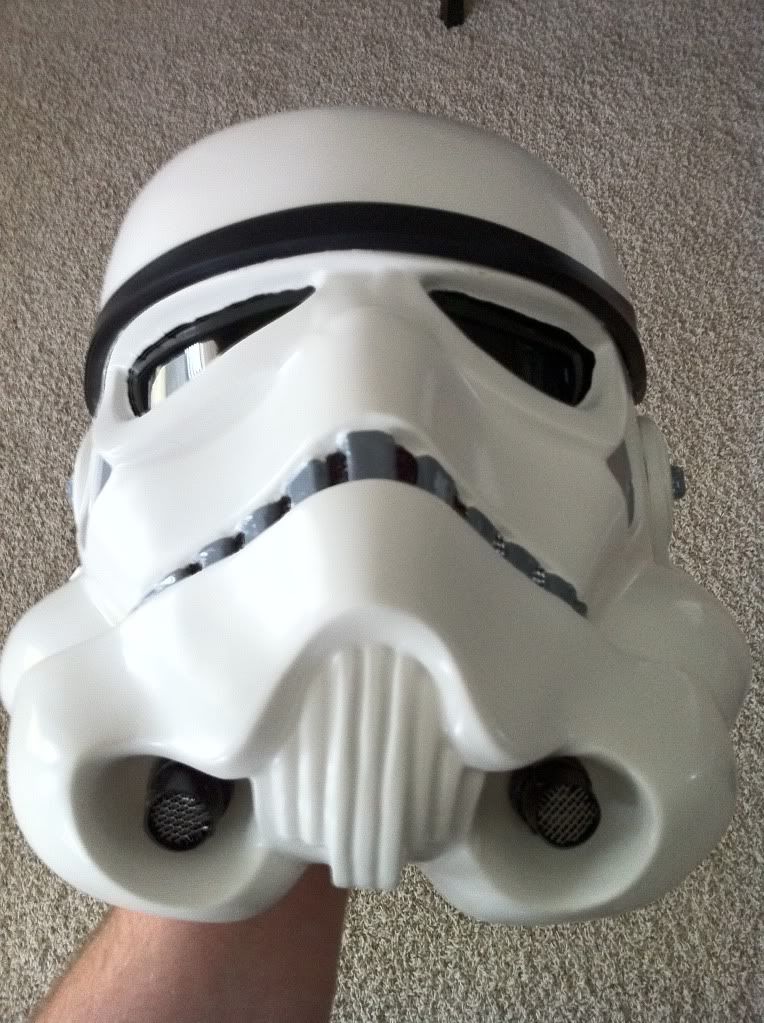
The paint isn't perfect and that is what I was going for because the pictures of the buckets I've research from the original ANH had the same look. I will hand paint the black outlines and chin on the helmets today and will ad finish pics of the bucket before I weather it. I'll keep at it and will work to update the tread. I'm a lot further in this build then I have on here so I'll work to update this more. Thanks guys hope you enjoy. I have to say this armor is a wonderful thing to build. Thanks Paul.
-
I like that should set it off nicely with the corners cut off. Will be posting up helmet build pics anytime now.Looking forward to seeing this built up Darren!
Good to see you are not going for the overlap, leave that for the SE/ROTJ troopers. Make sure you cut the corners off the joining strips

-
I'll be putting a iPod nano with a small speaker. This will make the radio appear to be real. Nice touch I would say.You do some nice stuff John. What is the box you use for the radio?
-
It will set off the TM armor and I think it will set it a cut above. Thanks
-
1MM kit. I will not be over lapping on this build but I wanted to show how it could be done.Awesome man! I'll be watching!

Is this a 1.5mm kit?
-
Hi there Troopers,
This will be my Trooper master armor sandtrooper build. I will be building it and will post pics of my progress. I hope to make this a good tutorial for all of us to use. Please add to the body of knwledge here to help others and me to build the best armor possible. This is a 1mm sandtrooper kit made by troopermaster (Paul) and let me be the first to say this is a true work of art. I feel this armor is going to produce a sweet set of armor. I will say it is expensive but in my opinion well worth the price. When I'm done I will change my screen name here to Sand Flea...for some reason it fits. Hope you all enjoy this build!
Thanks for looking,
Darren
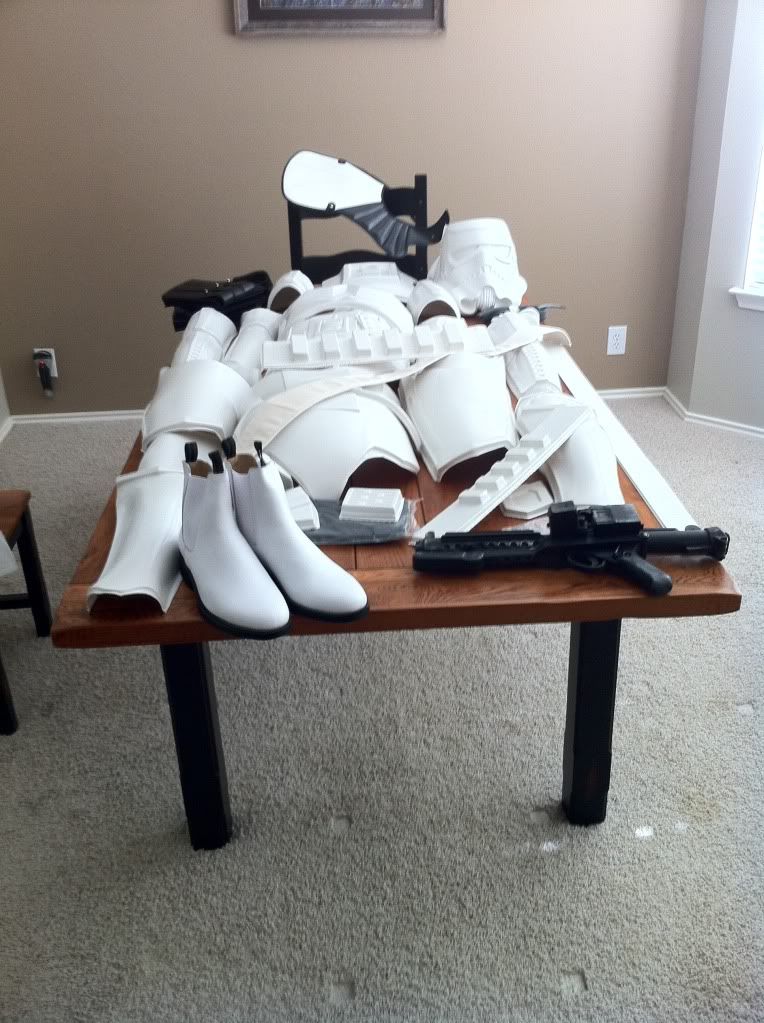
Here is the kit out of the box plus Canvas belt/shoulder straps, TK boots, Pouches from Zadokk, Sgts Paulderon, and my E-11 blaster k
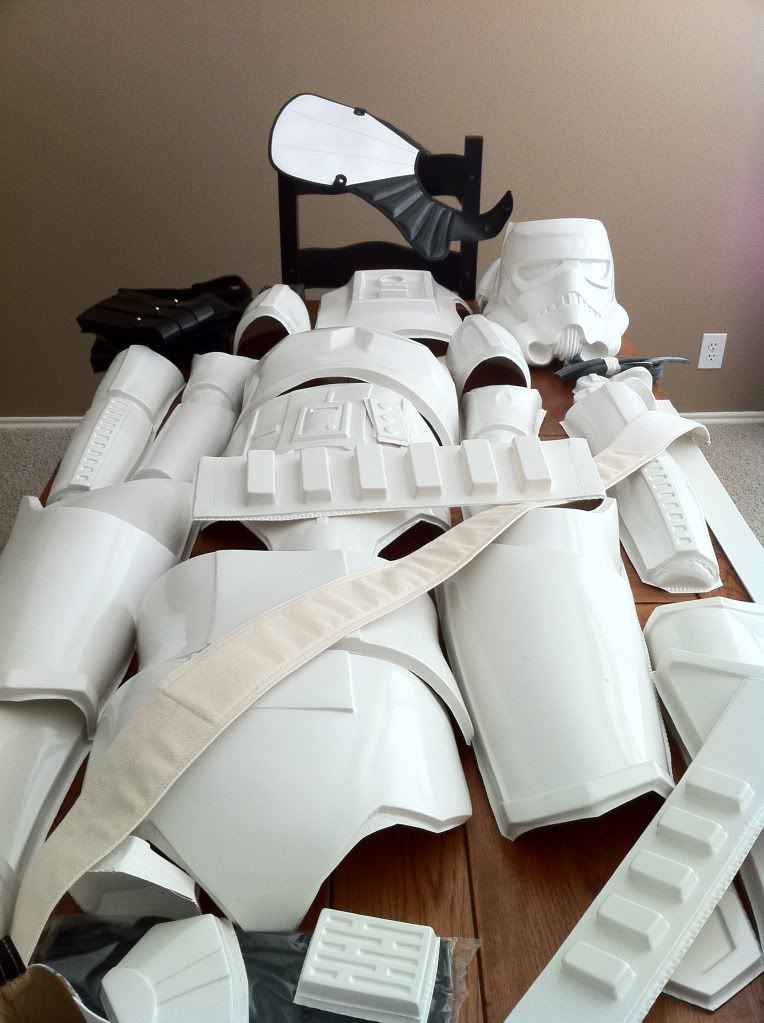
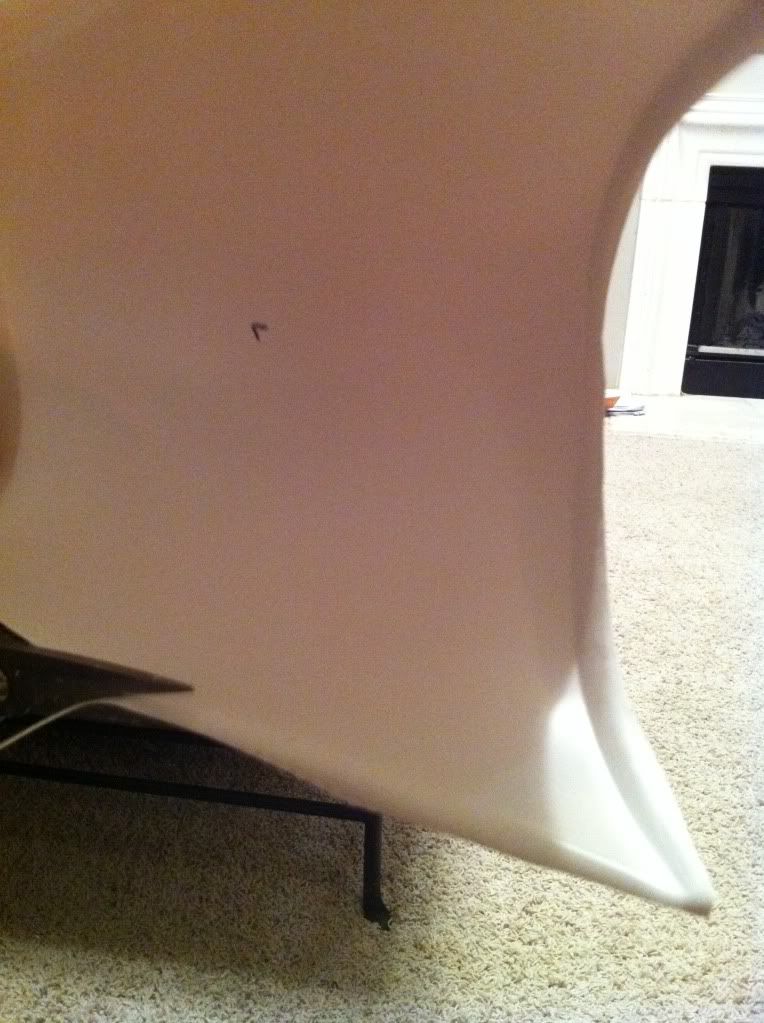
After laying out the kit my first task is to do some basic trimming. This kit comes untrimmed and needs to be cut down in order to do your measuring cuts. Here are some pics of the intial trim: Paul marked all pieces with a L or an R to help you figure out where they go. If you look at the picture you can see the lip I'm trimming off. It wraps upwards and will interfer with a measured cut. I suggest you just rim the bare min here then do your measured cut for the final trim. Measure twice on that step and cut only once!
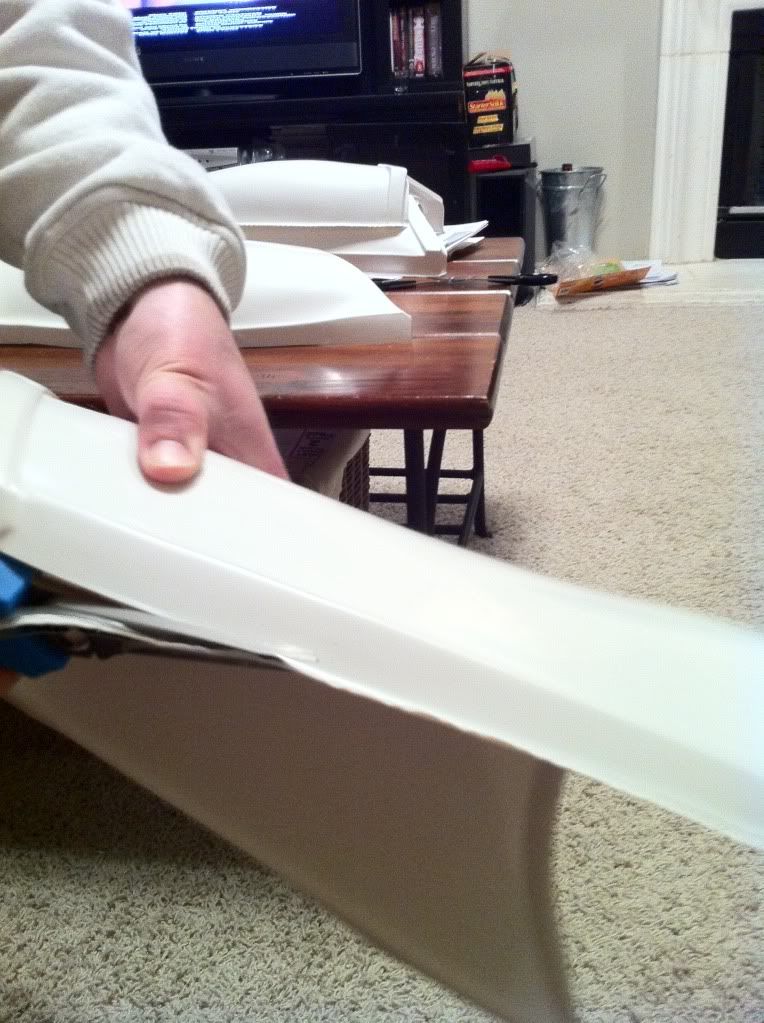
In this pic you can see how it curls up and will interfer with a measure test fit...depending on how you build. I am going to use the shims but may or may not overlap the actual peices of armor. If your not sure start with this step until you decide. More pic on this when we get to the measured cut statge. Yes all peices will need some basic trimming.
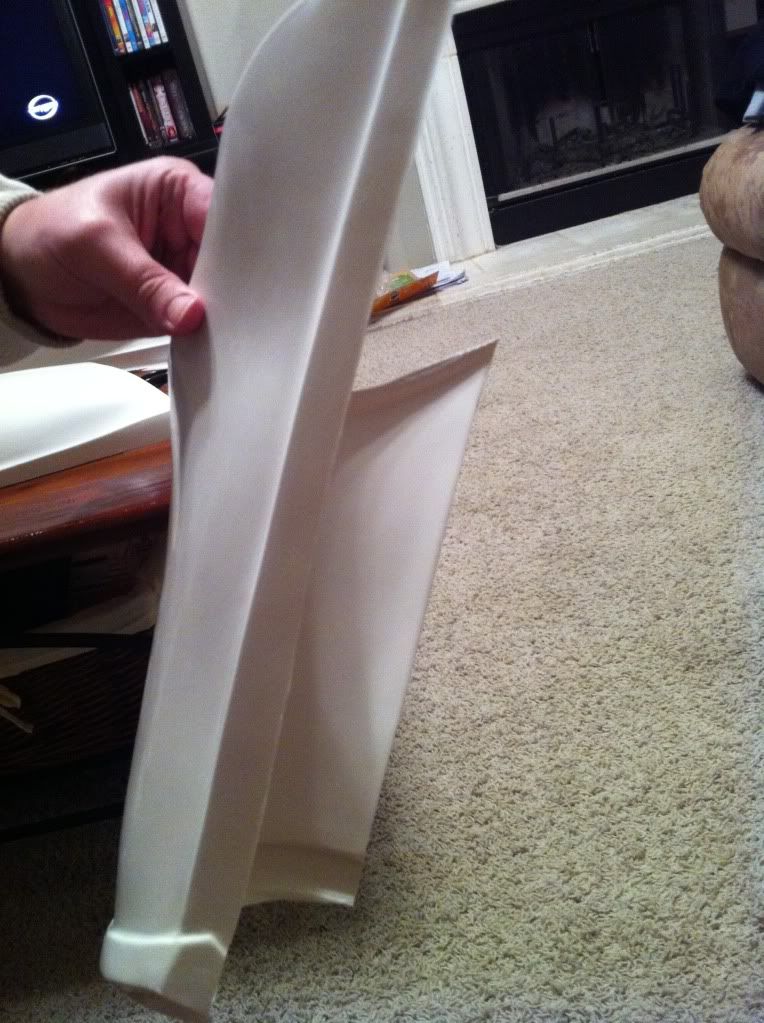
Fin piece with basic cut. It is flat now and can be overlapped or will not interfer with the metal ruler.
This step only took about 2 hours for the whole armor...had a lunch break too. Not too time consuming and depending on your armor building skill well worth the time investment. Next post will be on measured cuts and will show some of my suspension set up.
Thanks and I hope you enjoy this build.
Darren
-
Just started TD build so once done and deployed I would be down for this too
Darren
-
Granted!
Thanks Nol
-
Darren
TK-7435 requesting access
Star Garrison
Central Texas Squad
-
Hey MEPD. Just wanted to let you guys know I finally got my TKID# and have been accepted into the 501st. I will be joining you all with my TD build soon. Waiting on some TM armor. I am TK-7435 now and I am glad to be a member of the 501st. Look forward to joining you all in the dirt.
Darren
TK-7435
Star Garrison
Central Texas Squad
-
Best of luck and congrats woody
-
Hey Darren, how are you bro?
With your build, I think that although AM armor could be trimmed to fit you, it might not be your best option out there.
I am not much taller than you, and the TE2 armor fits like a glove.
I am guessing if going that way, you maybe would need some trimming on the forearms pieces and probably just a bit on the legs. But not as much as a AM armor.
Even if you needed to trim a lot, it would need less trimming than an AM kit.
TE2 is an amazing armor. Together with TM, the best 2 kits available.
TM armor like Rolf's is also amazing. Although I have never seen one in person, I have seen 100 of pictures from different builds and I would say if you go that way, you will have a real piece of art.
Those two I am confident would fit fit, or can easily be make to fit you no problem.
Saludos.
Thanks, I am going either TE2 or TM depending on time to get armor. I've already talked with Paul about TM armor and really leaning that way thanks to Rolf...Much thanks to him!
-
Panda, I didn't scrap the build. I use this armor as my TK armor; however, I was intrested in looking at some other armor options. Don't get me wrong AM is great armor and I will try those scissors. My main motive for asking is I have only seen AM armor...I know there are many troopers out there who have seen others. I really liked your TD build Panda but when I looked at Rolf's build it really caught my eye. Thanks for the advice guys.
-
Hey guys, name is Darren and I'm in Texas. Star Garrison, Central Texas Squad. Need some advice. Completed my TD bucket KW2.5 AHN. Very nice buckets if I do say. Now I'm looking at armor kits. Let me give you all stats first. I'm 5'8" about 180lbs with most of my height in my torso. Legs have a 30inch inseam with short arms too.
My TK is AM lite kite .090 ABS from tupperwaretk very nice armor; however, for my build I had a lot of tough mods just to be able to walk around. I'm still trimming and this armor doesn't really lend itself for easy trimming. I was thinking about looking for another type of armor kit which would allow for more flexibility in trimming. Maybe TM 1MM for the TD build. Does anyone have any suggestions here to point a TD recruit in the right direction? Much thanks and I hope to troop with many of you in the future.
-
Hey all... I don't believe anyone has done one of these, so here goes...
Who would be interested in a TD "badge"??
It would be a "wallet" style badge with a flat back. I'm thinking they would be gold and they would have your TD / TK # on them.
The thing is we have 3 ways of doing this... each would have drastic cost differences and each I'm willing to do... so just give me your vote.
OPTION #1
Real metal badge, gold, with MEPD "Mos Eisley" background in the center done in an enamel (like a 501st "pin"). Your TD / TK #.
Orders on these would take approx. 6-8 weeks. They're the REAL DEAL and would be custom made. They would run around $170 a PIECE though... so they're not the cheap version by any means!! But... they would be very, very cool!
MOCK UP of OPTION #1

http://www.noelgreen...s/td_badge1.jpg
OPTION #2
Real metal badge, gold, with Imperial Cog "sticker" on the middle section and your TD / TK #. Orders on these would take only 3 - 4 weeks. They are the "real deal" as well, but not as "real" (if that makes sense) as option #1. The up-side on these is they would cost only around $90 a piece.
MOCK UP of OPTION #2

http://www.noelgreen...s/td_badge2.jpg
OPTION #3
Resin badge, gold (or color of your choice), with Imperial Cog engraved in the center and your TD / TK #. These badges would only take 1 - 2 weeks to get after ordering them, and would only cost (I'm guessing) around $40 a piece. The down-side of these is they're not the "real deal" so I would be sculpting the original.
No matter what option everyone votes on — if there is interest — I'm going to produce / have produced 1 of them first to have actual pictures and show quality and stuff. This is just the interest thread.
This means too that once the "votes" are in you're going to have to wait around 2 months to see me post a "here it is" thread... because, like I said, I will produce 1 to show. THEN, and only THEN will I take money and orders!
So... are you interested?! And, if so, which version?

No resin, I like mockup #1. I'd rather pay more for quality/durability. It will last a lifetime. pm me with order info
TM Sandtrooper Build by TD-7435
in Sandtrooper Armor
Posted
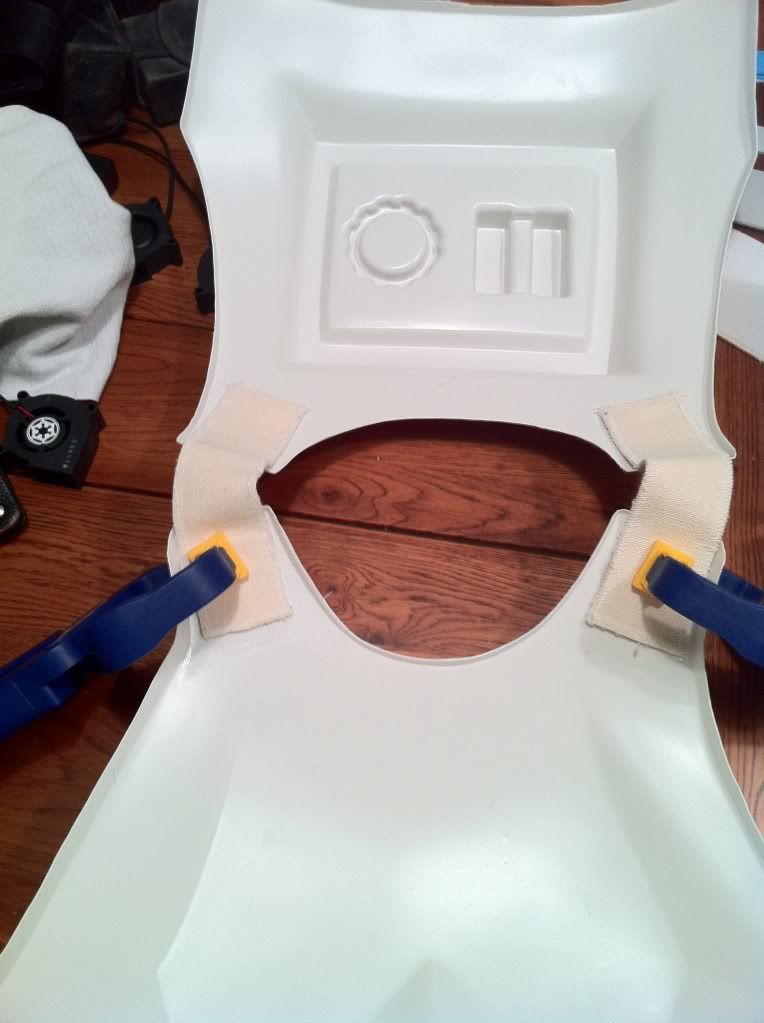
Lost some of my photos on my cell phone. here is a little update. The armor is finished and it's weathered now. I made a custom harness and followed Rolf's armor pics for his swat submission...must say your a master Rolf.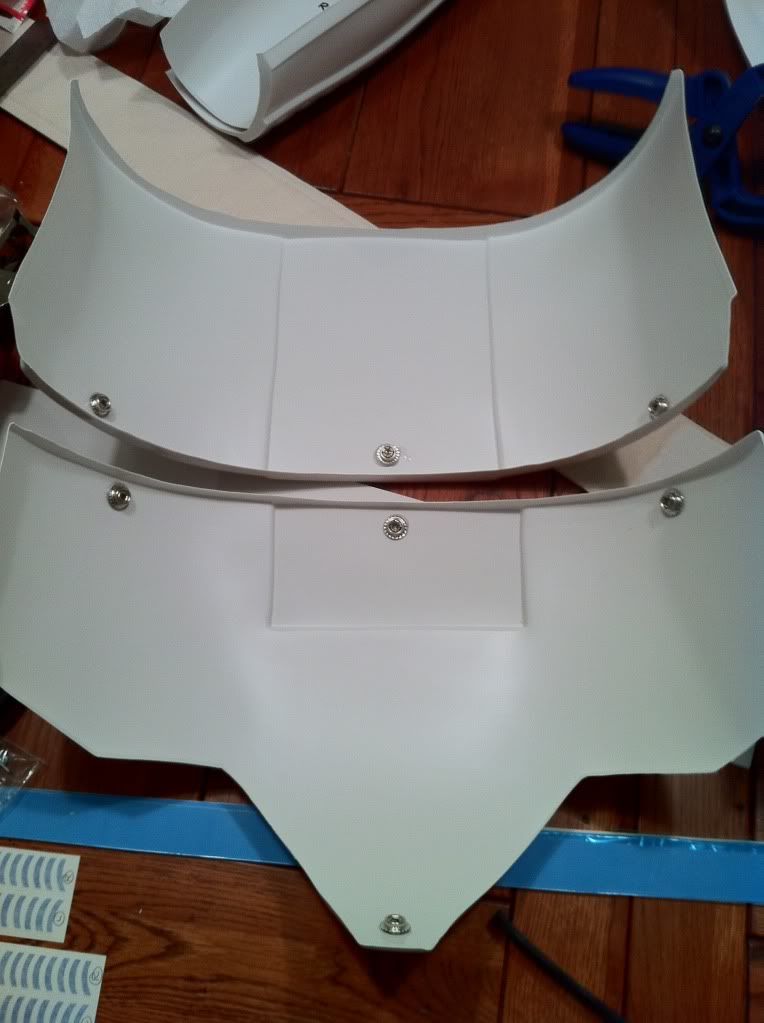
Here is some of my glueing of pieces including the connection shims.
They fit like a glove and the E6000 works great. I used two clips on the ends and some rare earth magnets to glue them together. I was able to do this in one day.
So here is the final test fir before weathering minus the utility belt and pouches. They will all be on when I submit for deployment and hopefully swat.
If anyone needs help just PM me and Ill be glad to share what little knowledge I have picked up. Special Thanks to Rolf and Pandatrooper for the pictures and weathering tuturials. Of course to Paul for the TM kit,,,Can't say enough on how great this kit truely is. I am officially introducing myself to MEPD as SandFlea.