


padde
-
Posts
161 -
Joined
-
Last visited
Content Type
Events
Profiles
Forums
Posts posted by padde
-
-
Nice work there, buddy!
Looking forward to see your progress!
Cheers
Patrick
-
Awesome, Juan - great looing pictures AND a great looking sandy bother!

Cheers
Patrick
-
WOW Patrick, what a nice helmet! i´m not that much into the prequel stuff but that helmet looks awesome!
Neither was I but when I saw this one, I just had to go for it! Isn't it a stunning beauty?
And it makes me watch EP3 in a completely different way now...!

Cheers
Patrick
-
Hey folks!
Besides bringing my Sandtrooper (finally) to life, I have been - and still am - working on this...:

Cheers
Patrick
-
An easy and cheap fix is to use a small "maglight" style flashlight.
There black and they have the right machined grip look to them.
Cut off the top with a pipe cutter.
Mount the flashlight base, were the batteries go in flush to the gun.
Youre going to want the base counter sunk into the gun and glued in with E-6000.
Then just screw the flashlight body minus the guts and bulb assembly.


I hope that helps!
Excellent idea - thanks for sharing!!
Cheers
Patrick
-
Only problem whit the resin, its mad heavy to add and wear on the back pack.
Plus the rest of the pack parts, are in softer hips pull.
So it might stand out too sharp, together whit the other parts.
I hope we can see, and buy both versions, as hips & resin.
Cheers

Hmm...good point, bro - I did not think about the weight...
Cheers
Patrick
-
I think we'd lose all the details if we just vacuum-formed it...
resin seems more accurate, yet more expensive.
I'll get back on it soon. we've got Thanksgiving this week here in the states
Hi there!
I totally agree with you - if you want highly defined details, resin is the way to go...And with such a nice 3D model with all that awesome detail, it would be very sad losing it in the vac-forming process...
Cheers
Patrick
-
Awesome - cannot wait to see more!
Cheers
Patrick
-
Nice work, Juan!
Your helmet looks awesome - and so much like the original!
Cheers
Patrick
-
I'm printing the master today/tomorrow. I'll have it tomorrow night.
Great - looking forward to see it!!!
Cheers
Patrick
-
I'll make a mold of this next week. Probably Tuesday.
What other starwars parts need to be modeled?
Sounds awesome!
Like Rolf I will be in for one or two depending on the price!!!
And other parts...? Hmm...I need to think about it but I am sure I will find something...!
Cheers
Patrick
-
Zenix is working with Charlie and myself, met him for the first time at a recent armor party. Because of all all the drama with the previous Sonix radio project that John and I worked on, I encouraged him to start from scratch.
If Charlie wants to pull them in HIPS, he could but the details would be no where like what you see in that picture. I still maintain the only way to fabricate these correctly is in urethane resin, which becomes impractical due to cost and weight.
I still have all my original Sonix Radio molds, collecting dust.
Well, Mike...if you are planning to do a run, let me know please...!
Cheers
Patrick
-
Wow, very interesting! Please, keep us updated!
Cheers
Patrick
-
Im getting ready to go insane
 , i cant find the link, im getting an error message.
Same here...

-
Excellent idea, Nol!
Thanks for sharing this!
Cheers
Patrick
-
Good link - thanks, bro!
Cheers
P.
-
Thanks a lot for the insight, guys! I just love this forum - so much knowledge in one place...!
-
in looking this picture (down shoulder part in front direction) i'm wonder what is the right sense, because i can seen other TD with te2 suit with the shoulder part in the back direction.

Excellent question, mon ami - I have been searching for info and making up my mind for hours in order to be able to get this right but still am unsure...!

I am using the shoulder bells like in the picture now just because they seem to fit my shoulders better if worn like this. But if needed, they could be worn in the alternate direction as well.
Thanks for the input - maybe some of the pros could give me some insight?
Cheers
Patrick
-
Thanks guys, you are making me happy!
Charlie, that is a nice hint - I would never have thought of that possibility!! *lol*
Thanks so much!
And Nol, the 'usual' flaws are just perfect and exactly as I wanted them - I was just finding a few on the helmet, I am a bit concerned about, like very thin material which tends to crack and mis-shaped material from the pull on the ends of the face plate and back...
But anyway, it is a great helmet and as long it will not crack into pieces, I am more than happy to have it!

And it definately is time to get dirty now! Just need some time to do it and to solve the thigh situation first of course which seems to be working out soon.
Thanks for your continued support, people!
Cheers
Patrick
-
Hey guys,
thanks for the positive feedback - wow, I am glad that you like it!
I did not get to do much during the last weeks but I will continue soon as I am having all the missing parts at hand now! Well, at least the last few things are on their way...! ;D
But I still have a problem to solve, therefore I would like to ask if anyone coul dhelp me out with some information about where and how I could get my hands on material to make shims? I am still unable to fully close the back of the thigh pieces, so I will definately have to insert some shims...
Any ideas...?
Thanks a lot
Patrick
-
Thanks for the kind words and support, guys - I really appreciate that!
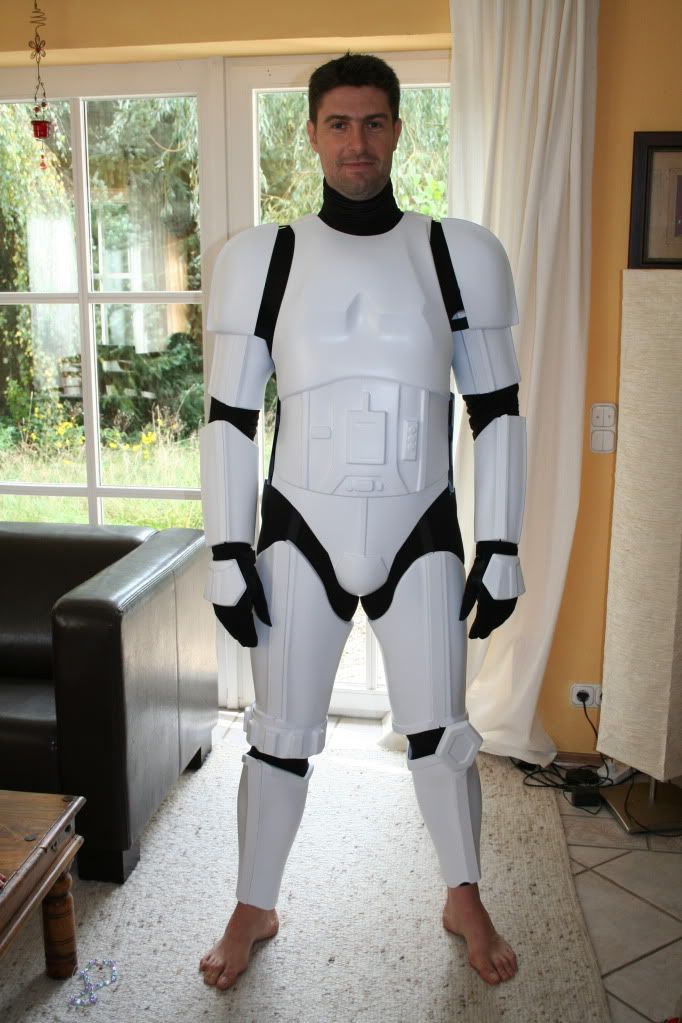
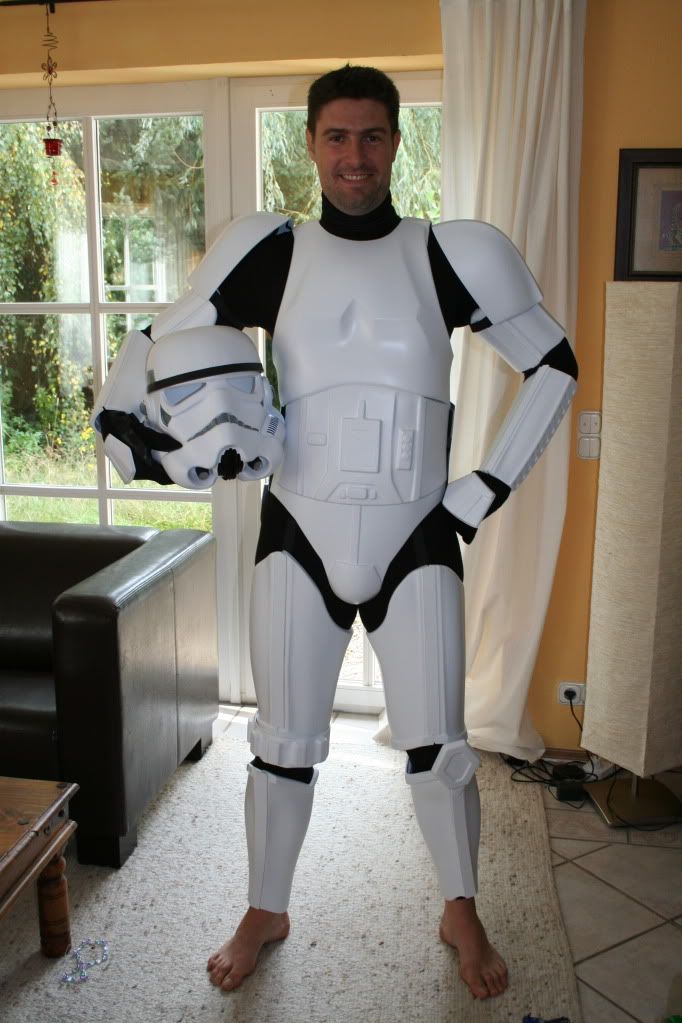
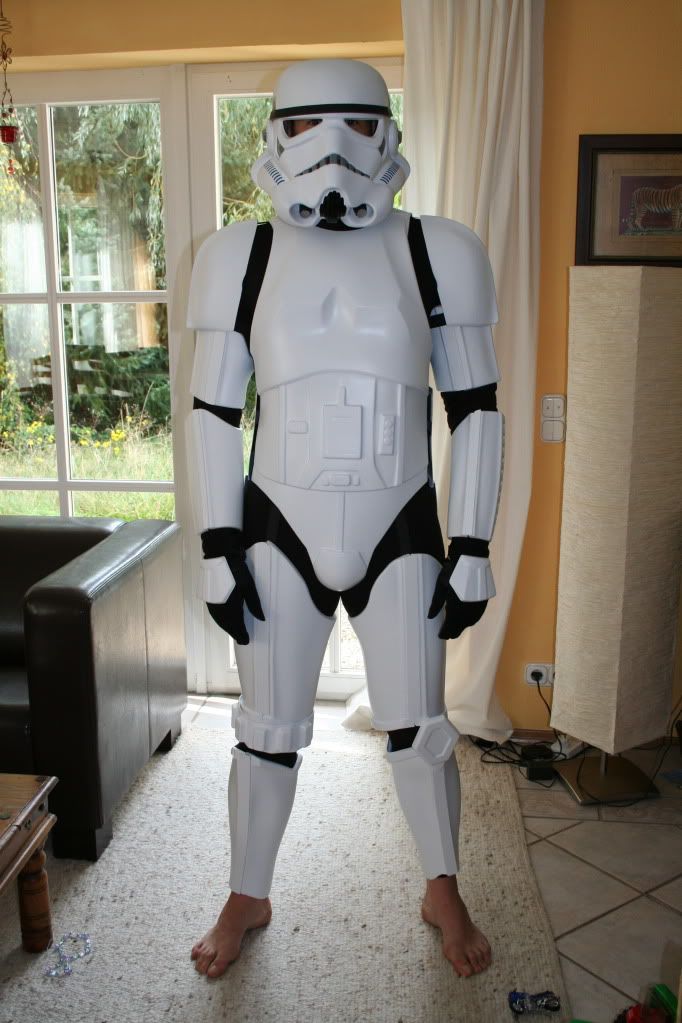
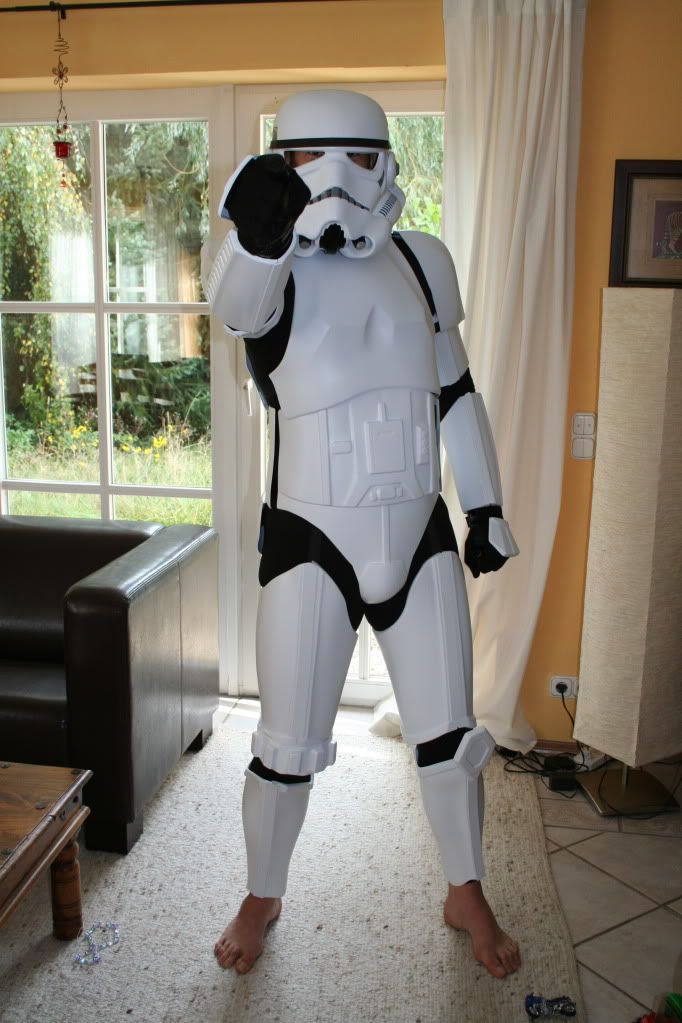
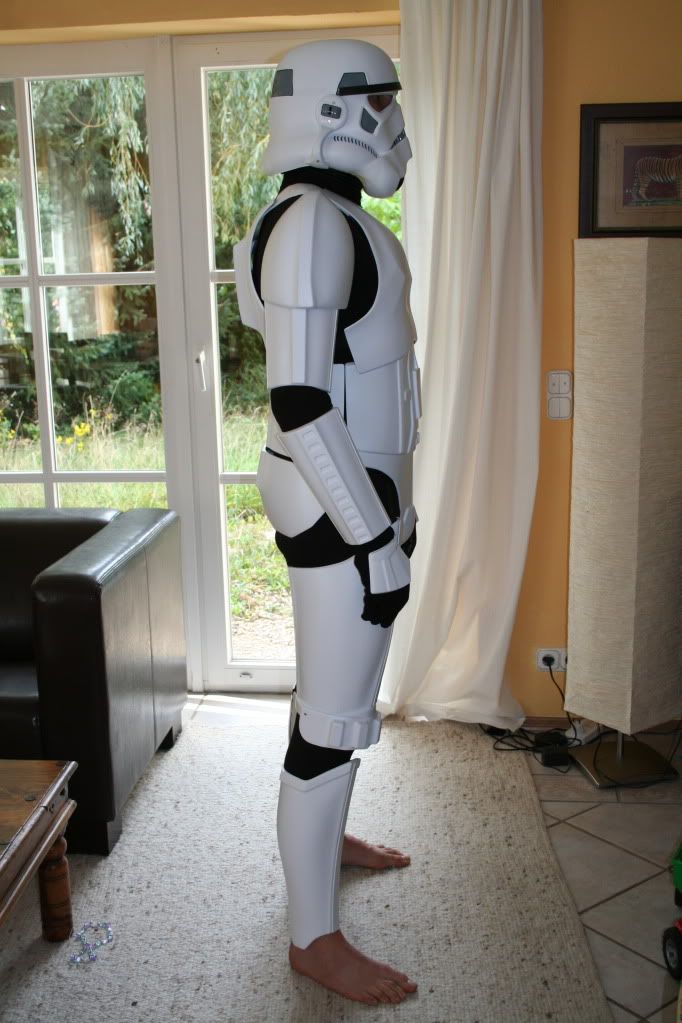
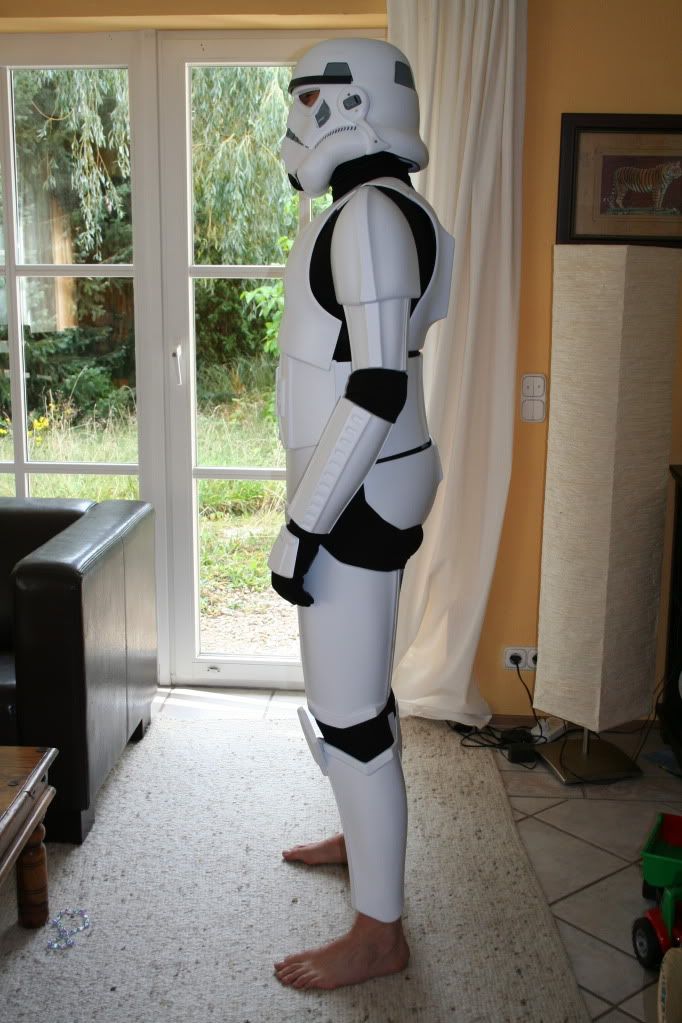
Well, I have finally come to test fit the suit!
There are still some minor alterations required, like fixing the gap on the backside of the thigh pieces and add an attachment from the inner belt to the backside as well (not only front) to better hold them in place and prevent them from sliding down. Then I will have to adjust the hight of the butt piece and add some foam in the forearm pieces to prevent them from sliding down as well. Made them a bit too wide...!
I am still waiting for my belt to add that as well, so that is still missing...
Well and then, the suit will be ready for weathering!!
When you check out those pictures, you might notice the boots not being very accurate in terms of material and colour - well, I am working on that...!
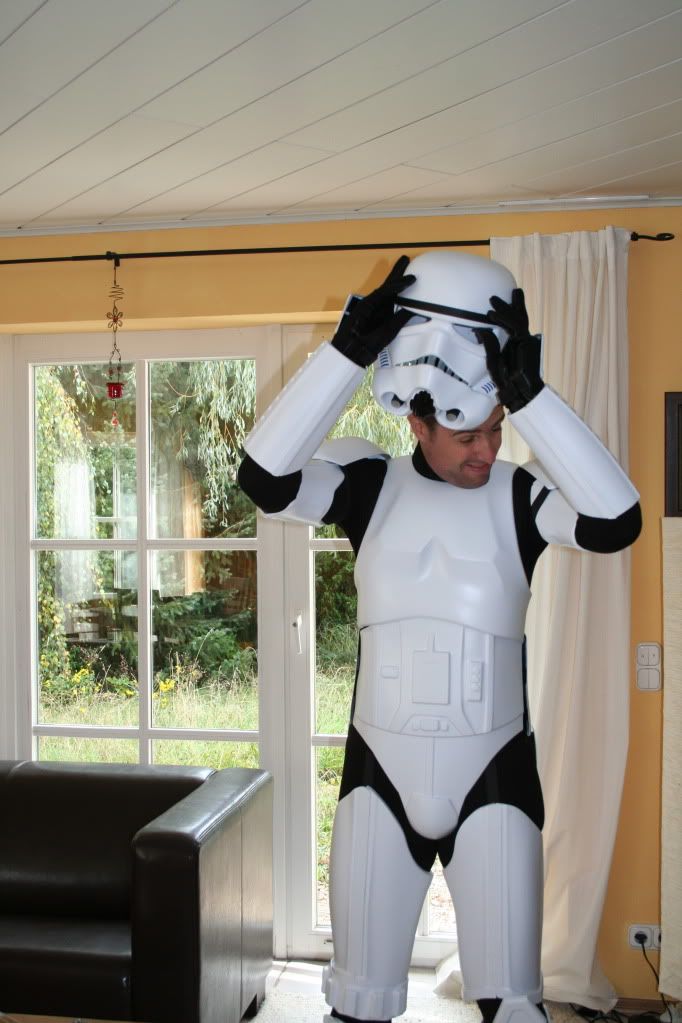
But enough of words, let pictures speak for themselves! Ladies and Gentleman, Padde's TE2 V1.0 - enjoy!
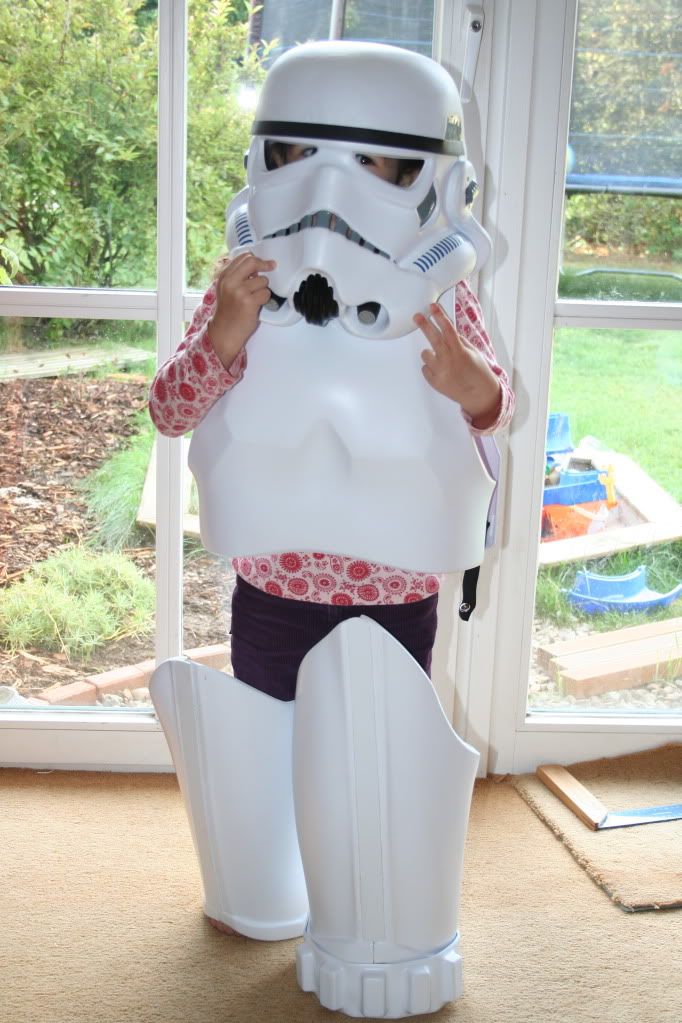
Whoops, who's that?! Right armour but wrong person...!
-
Hey, thanks guys!
Oh yes, it is fun - but I wish it would already be over...! *lol*
Nah, just kidding, it is fun and challenging and one gets to appreciate the outcome, right??
Regarding the sharpness of the pull I have to say that it is very sharp which I am very happy about, but there are also some flaws in the pull that I was a bit surprised about! But still it is a great looking armour and the overall sharpness is very good!
Many snaps are already in place...more to come soon...!
Cheers
Patrick
-
Wow - this is looking great! Hard to believe it's your first time doing this.
Yay, thanks, Daetrin! But it really is...cannot believe it myself how this is coming along...!
But to be honest - you guys did not hear the curses and screams and mishaps during assembly...!
And I was being helped by the best and most professional people in these forums - I could not have done it without all this valuable info - especially from Rolf the Wolf!
Oh, by the way, I just came home from the store - bought strapping, velcro and snaps, so stay tuned for the first test fit coming up soon...!

Although, it might take a bit as I will have to figure out a way to close the back of the thigh pieces...seems that my thighs are a bit too big to regularly fit into those things, so I might go for a solution like being used in connection with the shins...(who said that doing sports would be good for one's body??? Definately not to form a trooper body
)Cheers
Patrick
-
Very nice work as all ways bro
.Hey your TD look like this
lol Thanks, bro - you are absolutely right!
But haven't you heard of the new trooper being introduced in Episode VII...?
The 'Mummy Trooper'...! ;D


My MG-15
in T-21, DLT-19, RT-97c Heavy Blasters
Posted
Wow, awesome work!
I would like to see more pictures of that beauty!
Cheers
Patrick