


tk0600
-
Posts
54 -
Joined
-
Last visited
Content Type
Events
Profiles
Forums
Posts posted by tk0600
-
-
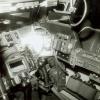
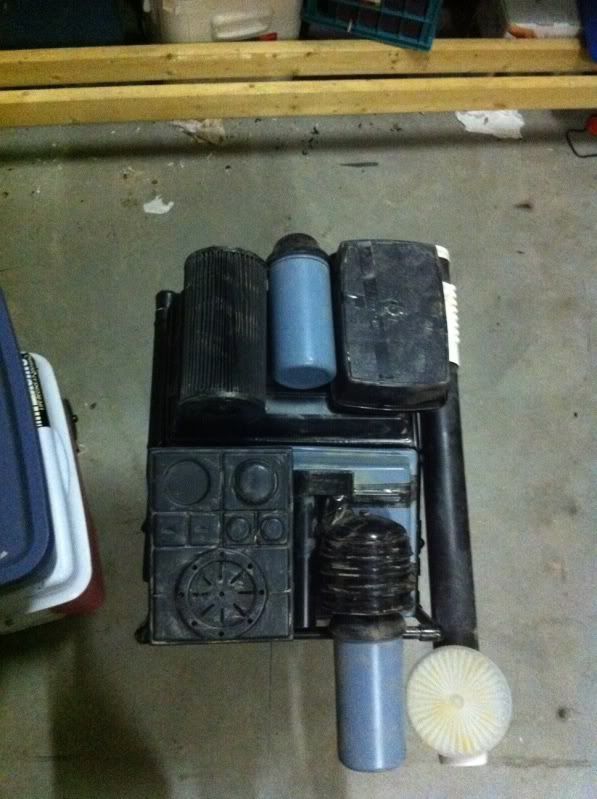
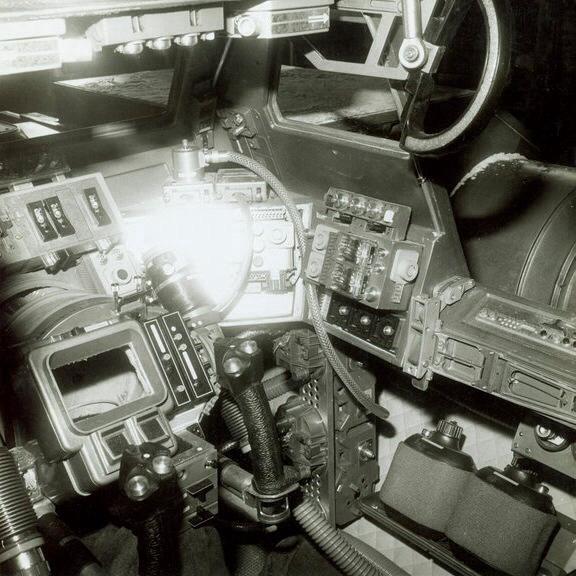
By the way, this was the snow speeder image that got be searching for a canteen. You can see in the lower right hand corner, two canteen looking jugs. They looked allot like the bee stinger. And, I know that the packs were poached for the rebel trooper packs, so, why not scalp the bee stingers for the inside of the snow speeder.
I know, allot of assumptions, but, what if?
-
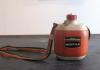
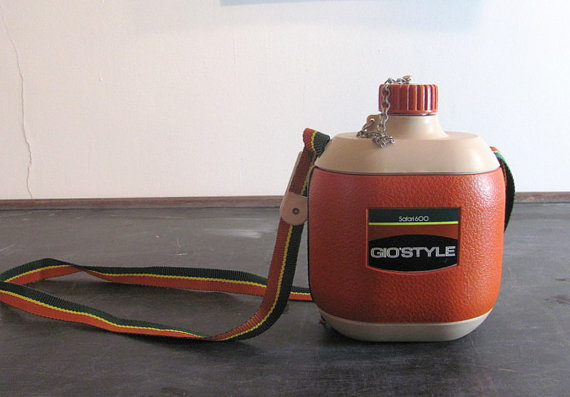
Also, have a look at this too
The BORRACCIA thermos.
-
Also found this, looks like a longer version of the one in the picture above.
This one is called the Girostyle 1L Safari Expedition Water Bottle.
I am guessing the L in 1L is for long. Whereas the other is the short version of this line of bottles.
-
I noticed on a picture of the inside of the Snow Speeder two canisters that looked very much like the bee stinger that hangs below the pack. They look allot like canteens.
So, I did some google image searching on old canteens. And I found this:
http://img0.etsystatic.com/000/0/5427515/il_570xN.333554894.jpg
Take a look, Doesn't it look like the perfect match for the bee stinger?
http://mepd.net/photo_gallery/Photo_Albums/Pages/Back_Packs.html#8
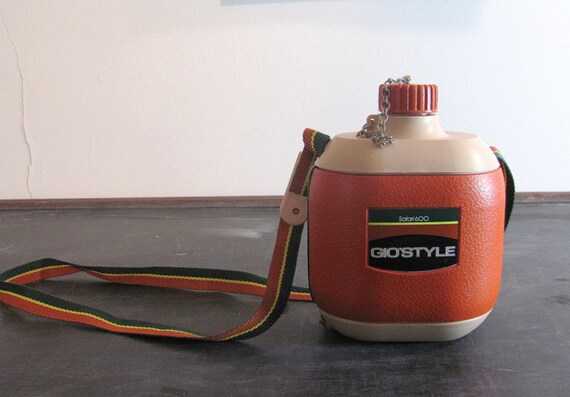
I found this on Etsy, looks like it is a Canteen from the 70s. Produced by an Italian company.
http://www.etsy.com/listing/98852517/vintage-orange-italian-giostyle-canteen
Sorry if this has already been found/discussed. I did a search and couldn't find any posts about this.
Thoughts?
-
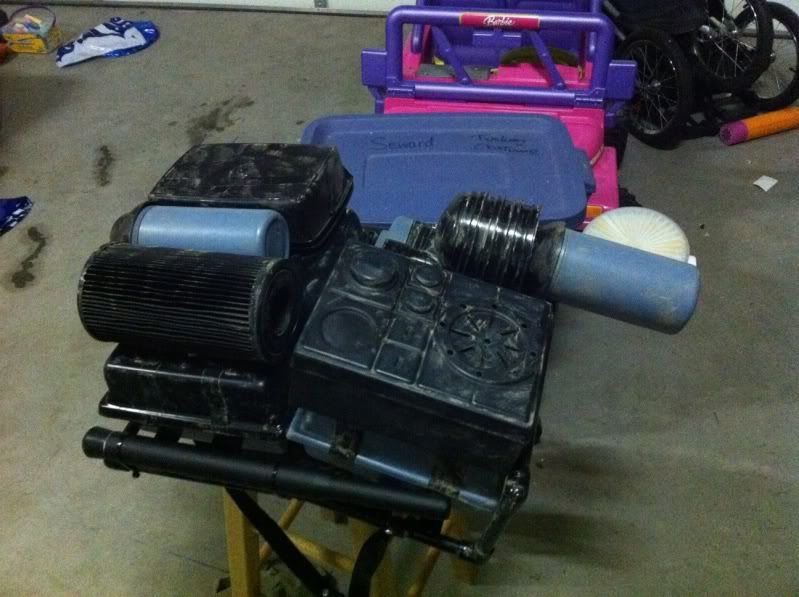
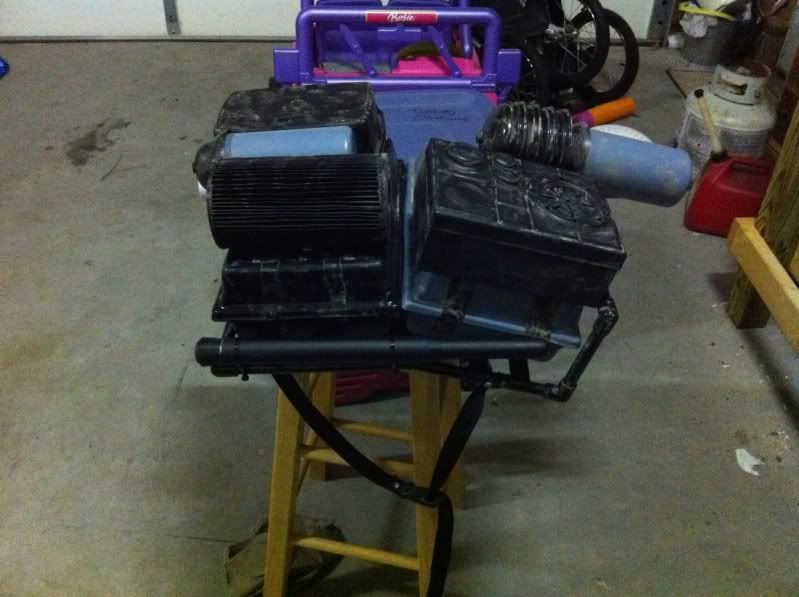
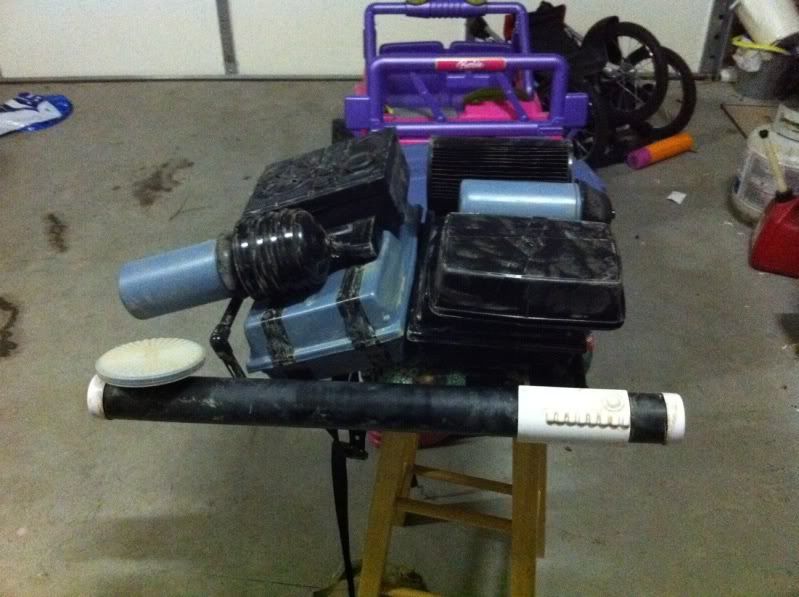
New Cistern:
Now, just need that drop bottle on the bottom, and getting close to complete.
Also, added fabric instead of plastic ribs, (Apologies if off topic, just didn't think it was worthy of its own thread)
-
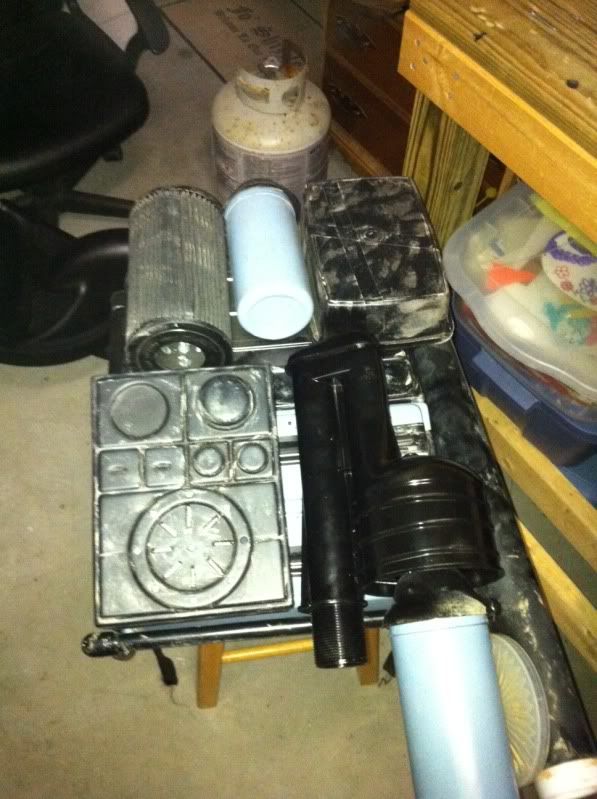
Thanks for all the help with this. I found a great source for the t-tracks... Garage Door insulation. If you cut the ends off, it works beautifully!
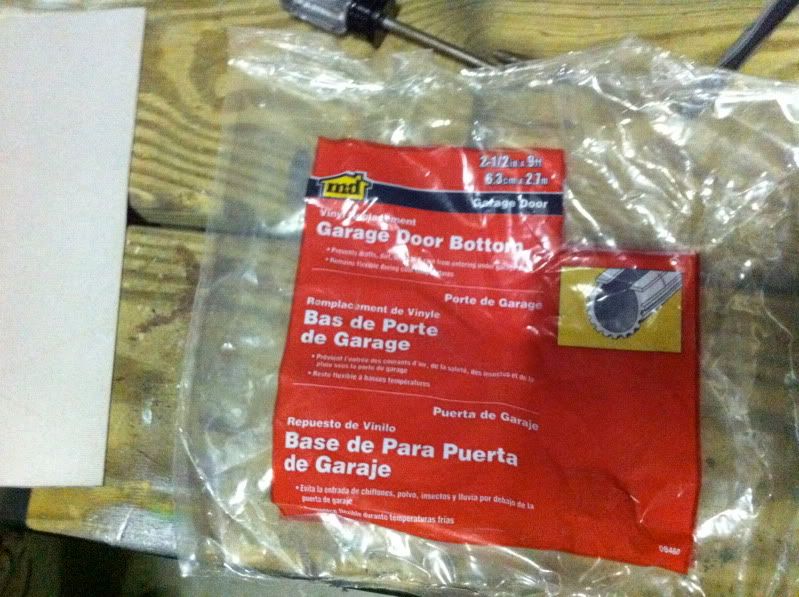
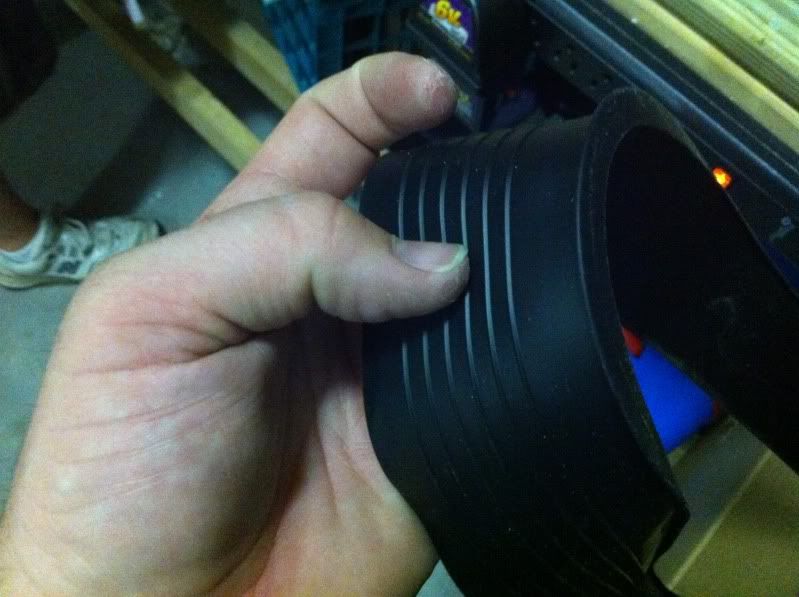
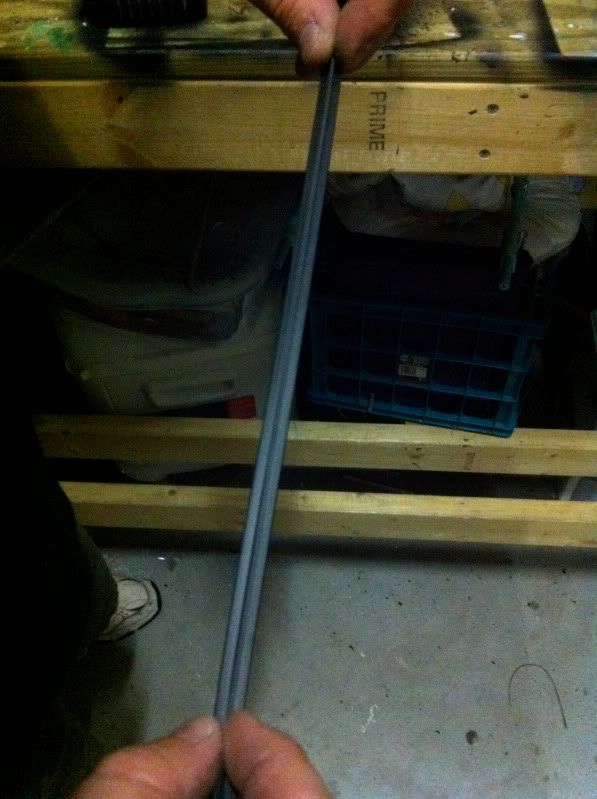
I found this stuff at Lowes.
And here they are installed:
-
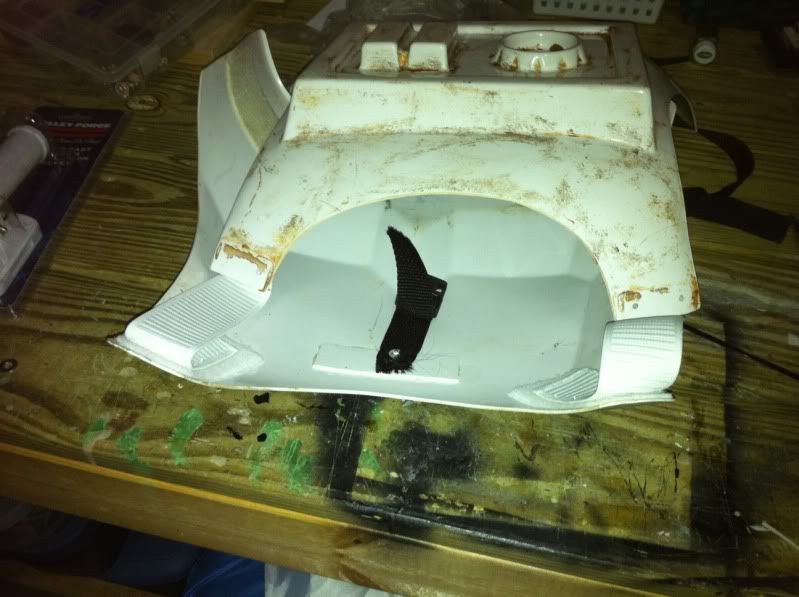
After almost 3 years of start/stopping, I have almost finished my pack. I still have to put the bottom faucet cover on. But, whew, it has been a long time coming. Plus, need to upgrade the toilet part with one of those great found parts.
-
Where did you find the t-tracks? Yes, it is something that I have been wanting to do, but don't know where to get them.
Paul
-
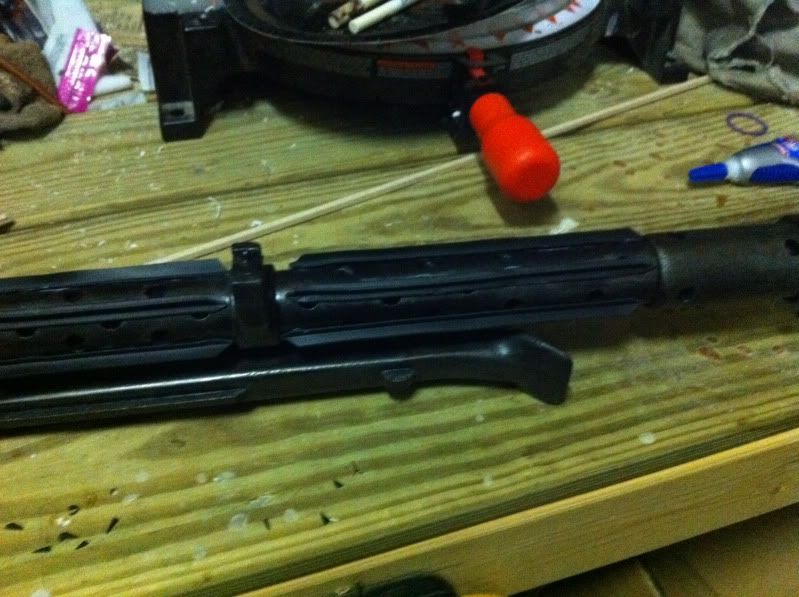
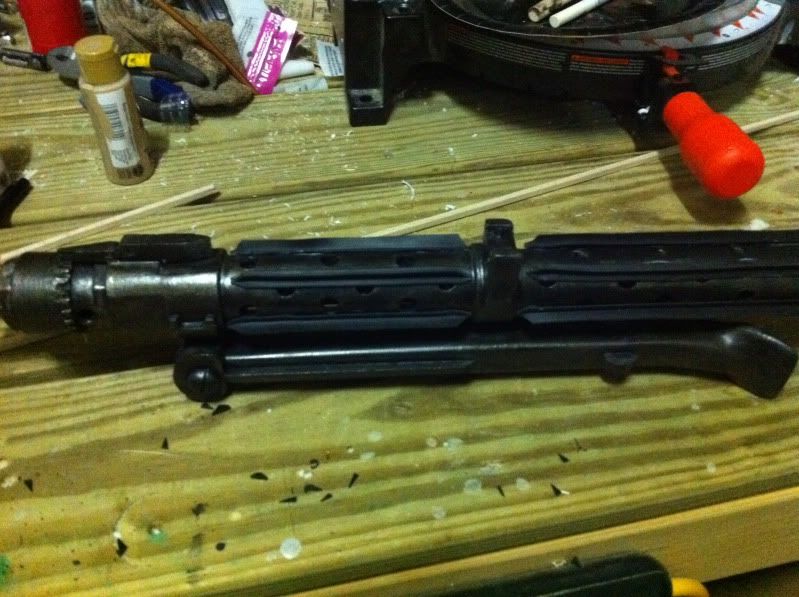
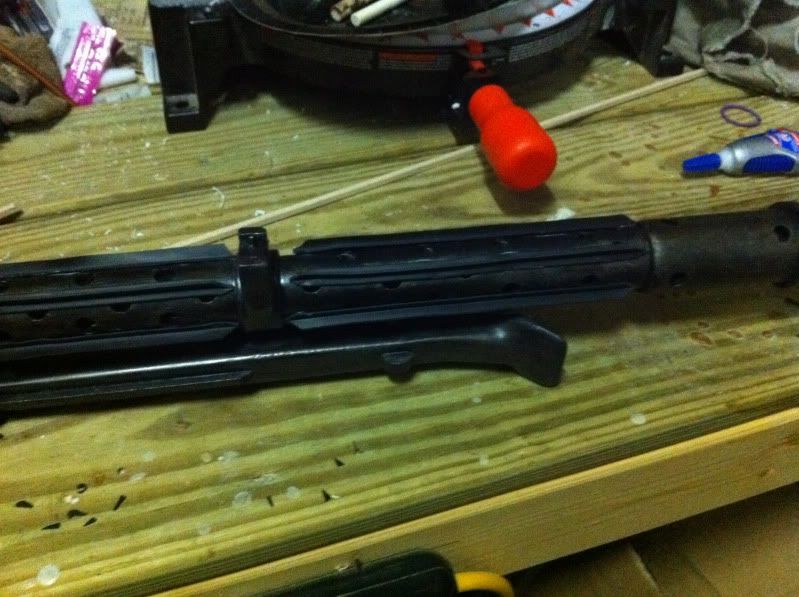
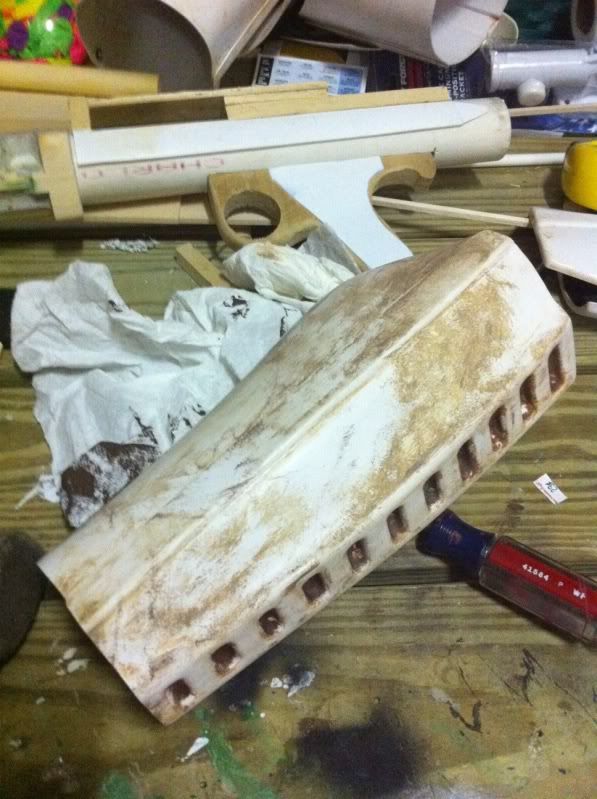
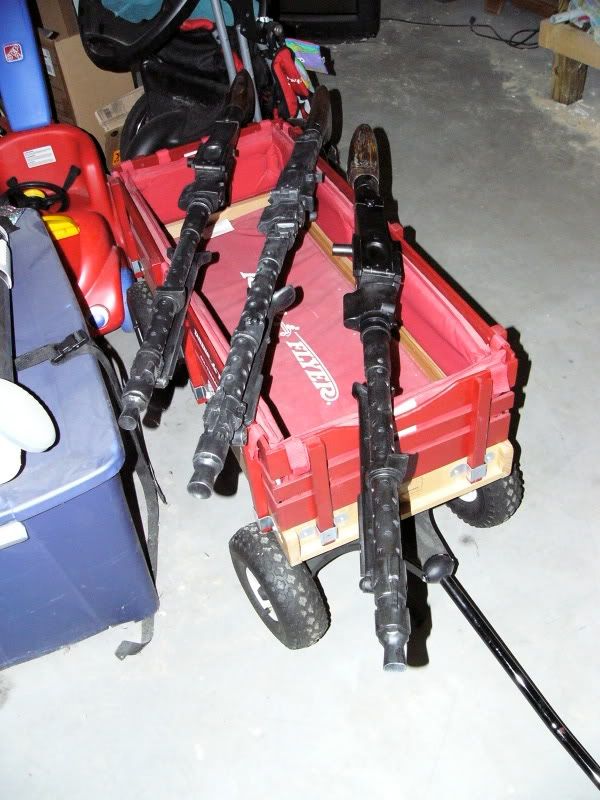
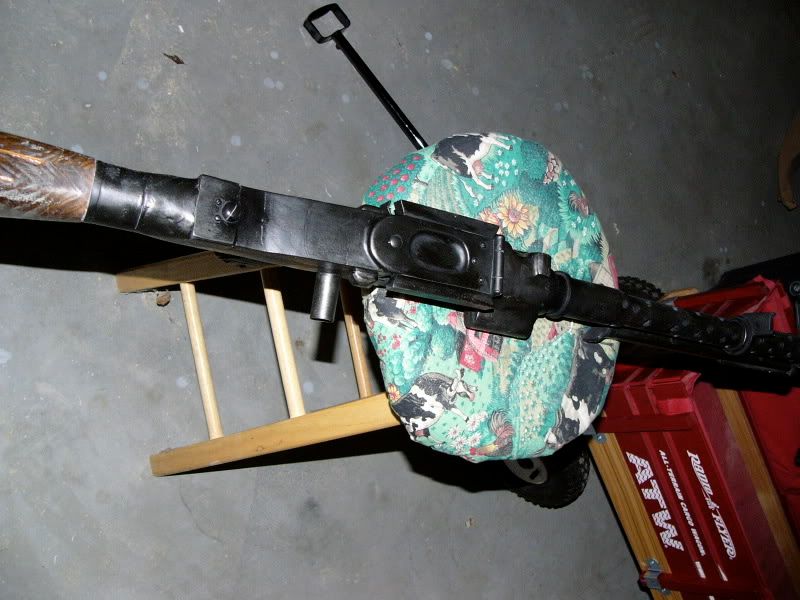
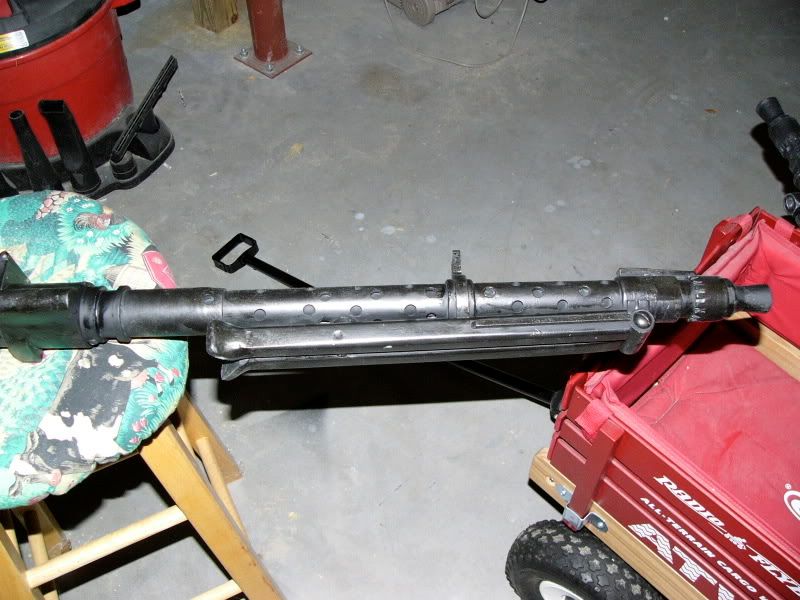
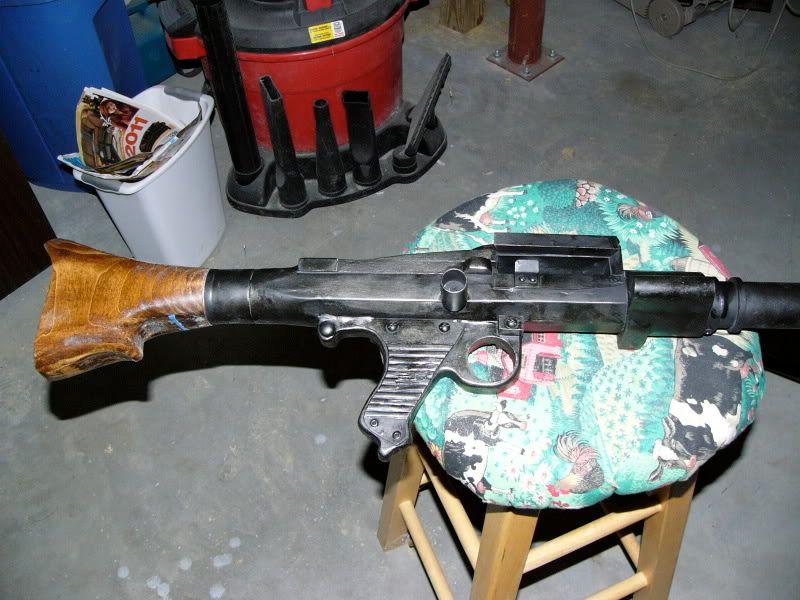
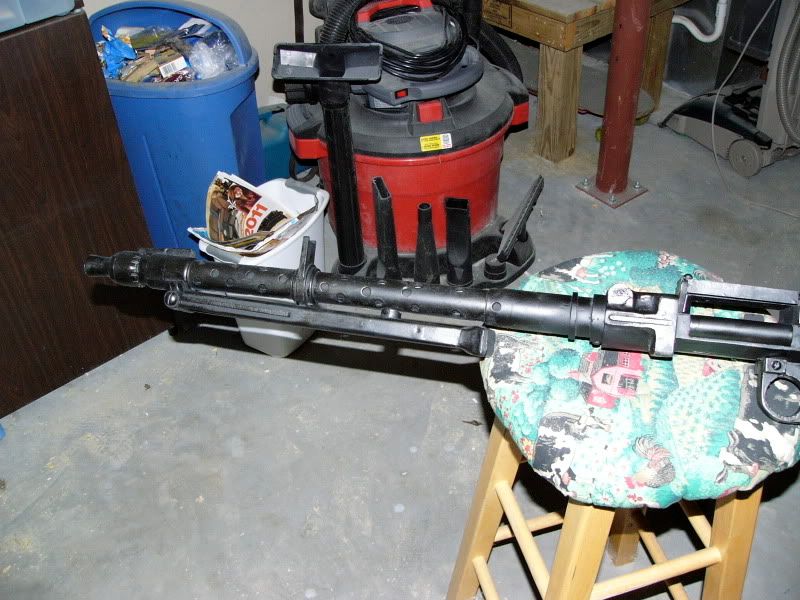
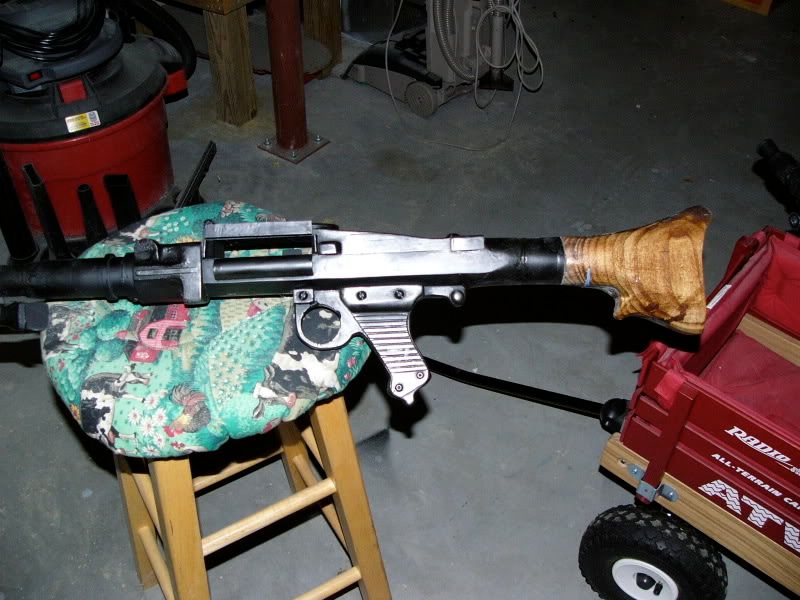
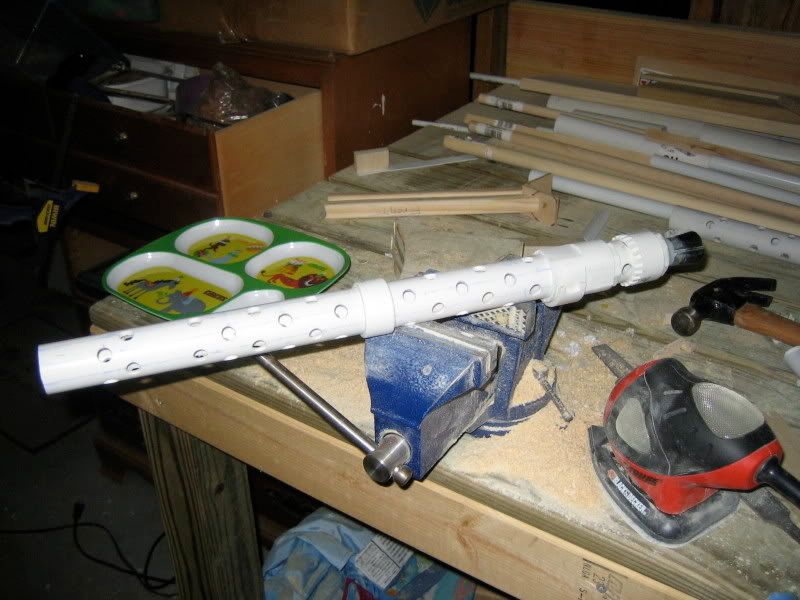
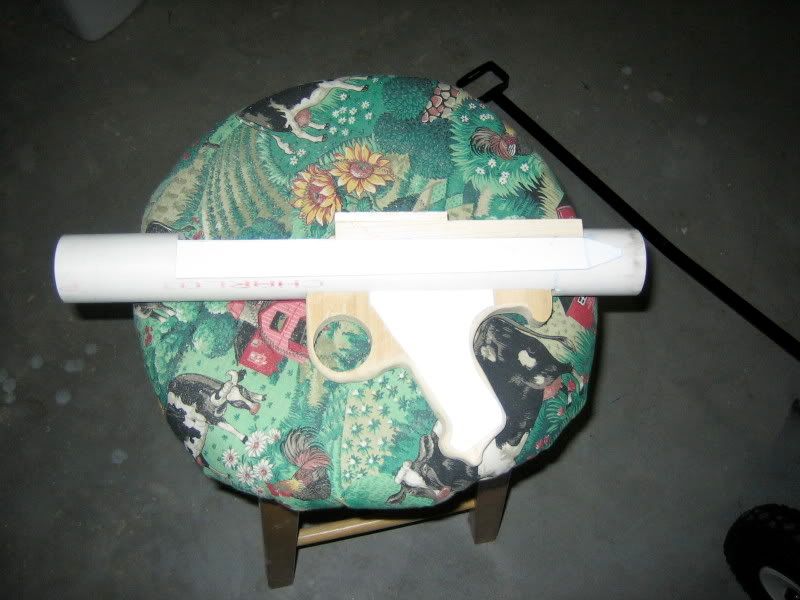
A couple of years ago i built my scratch built MG-34. Since then, I have not had time to mess around with the hobby. But, to get ready for C5, I decided to update the barrel section. Whatcha think?
Here is a comparison of my old and new barrel:
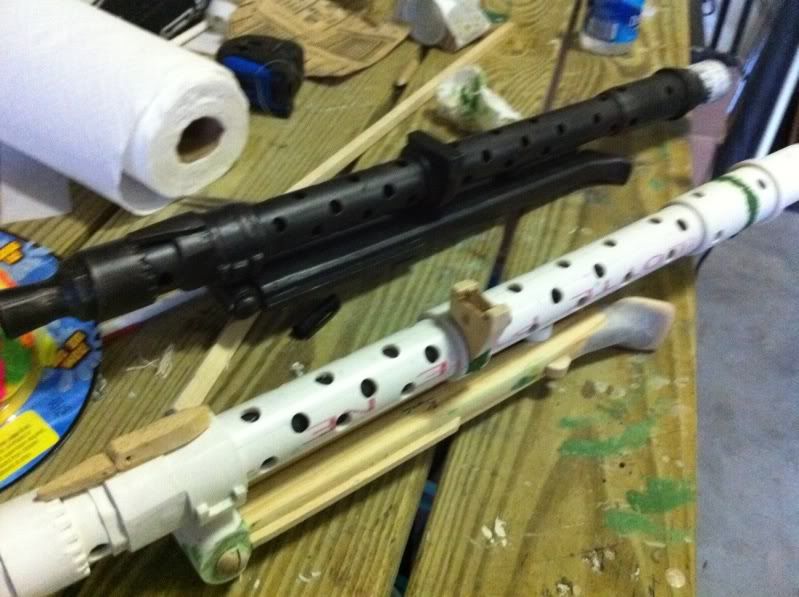
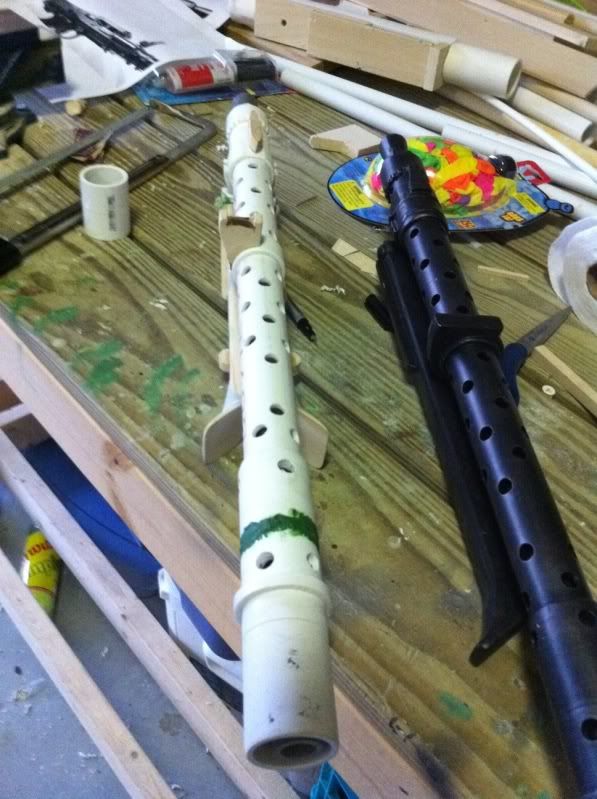
Here is it with the old stock and body section:
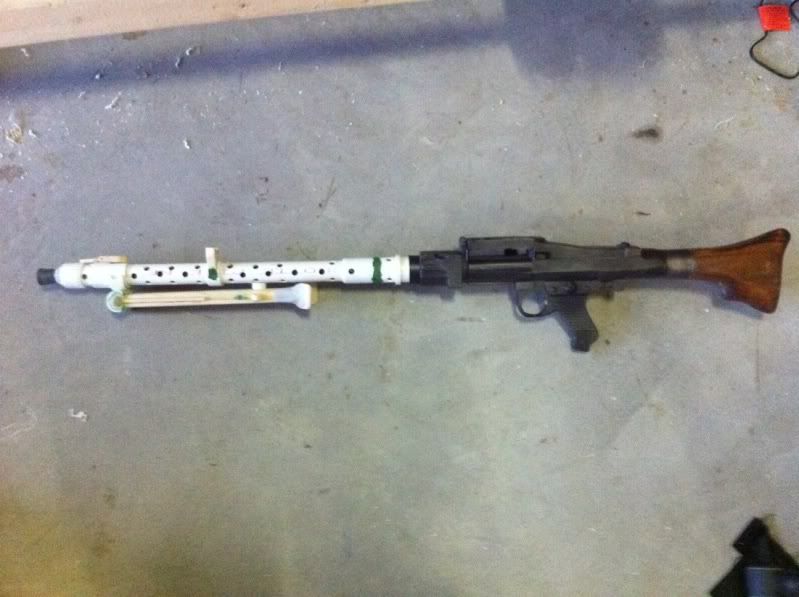
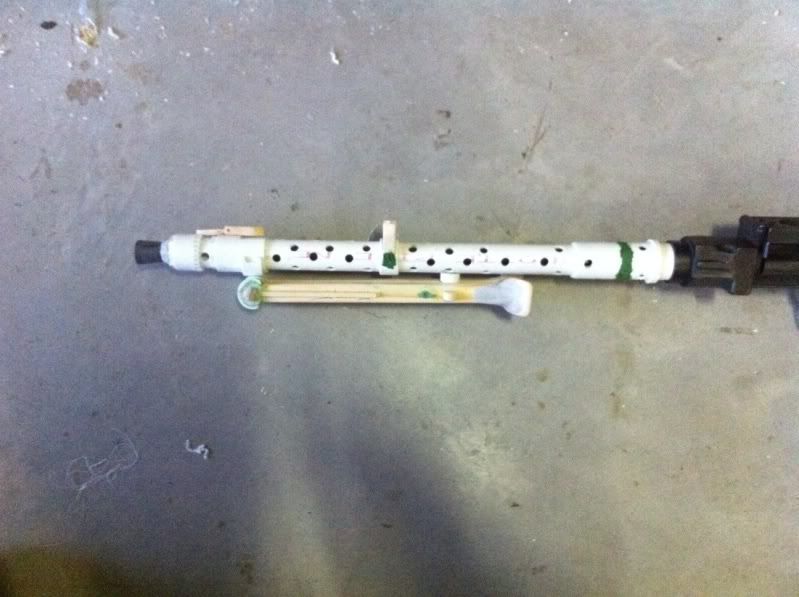
And, here is the new barrel all painted and ready for action:
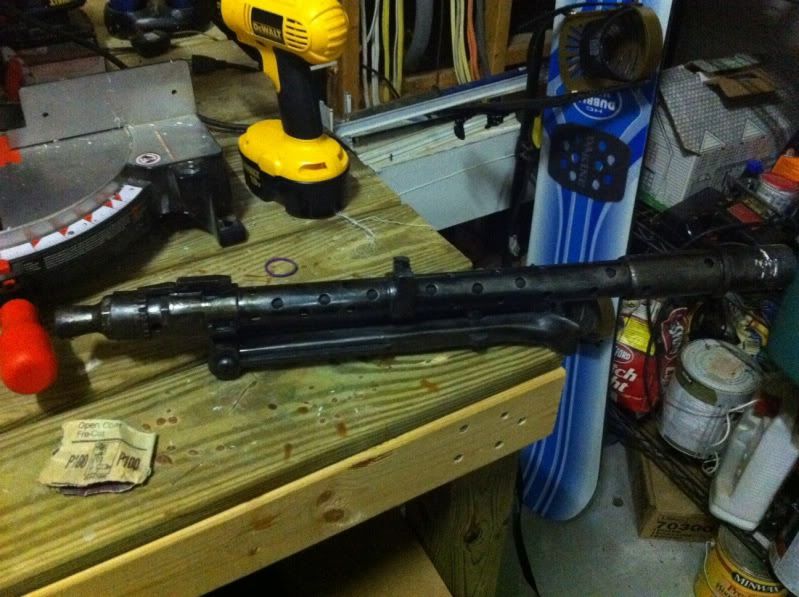
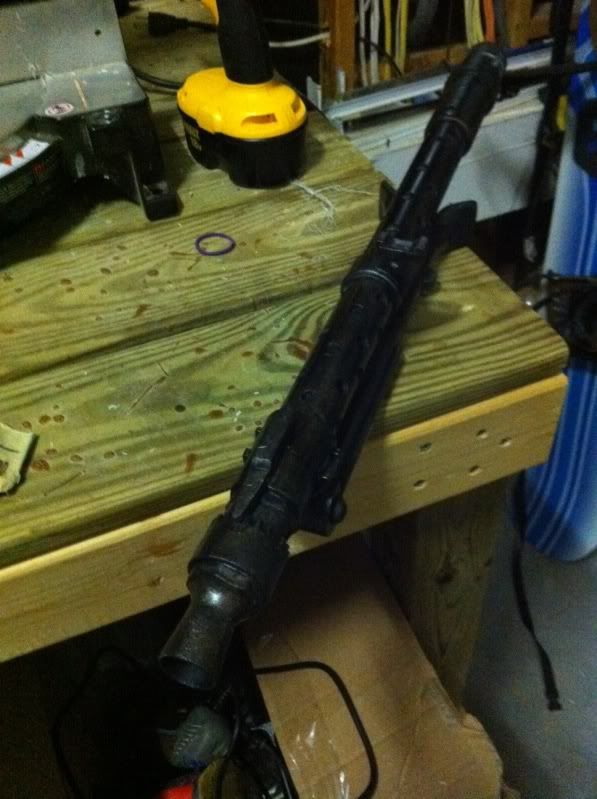
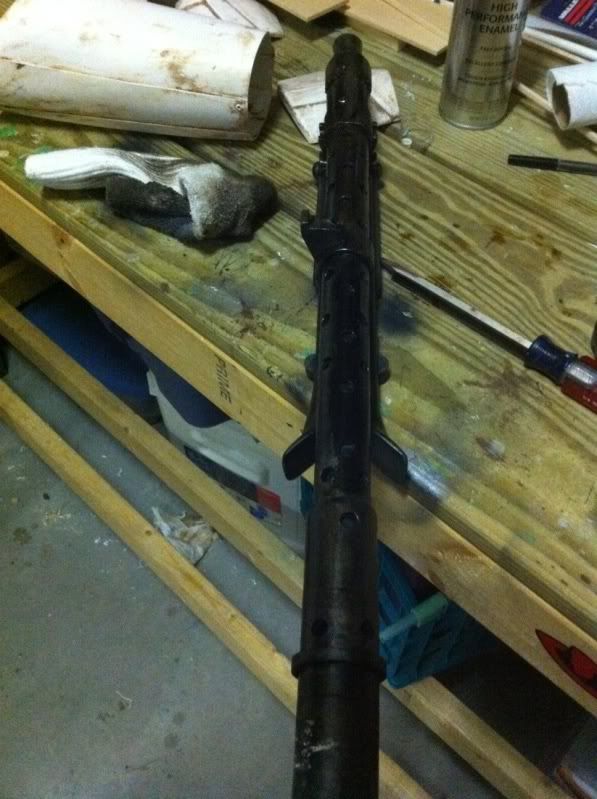
Paul
-
Yep, its on the list. I sewed the belt. Next is the straps. Have to do this a bit at a time with a needy 4 year old running around. But all in due time.
Paul
-
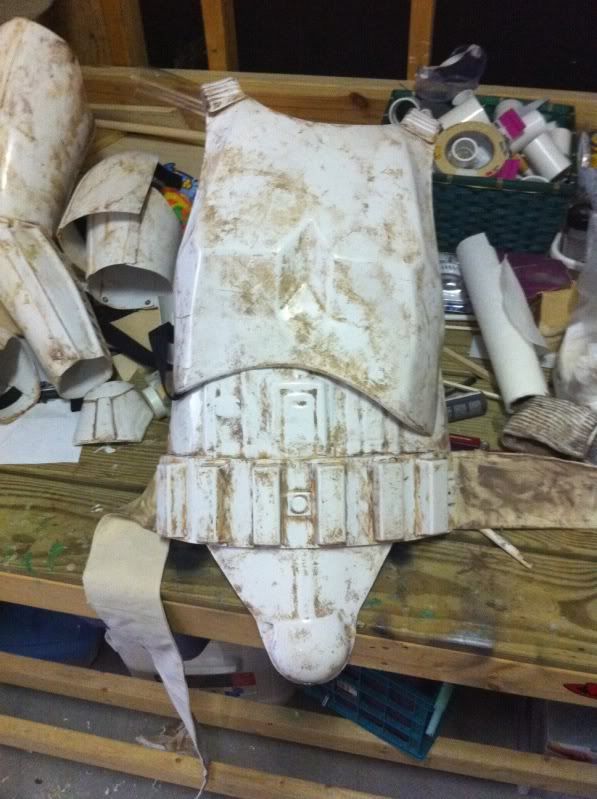
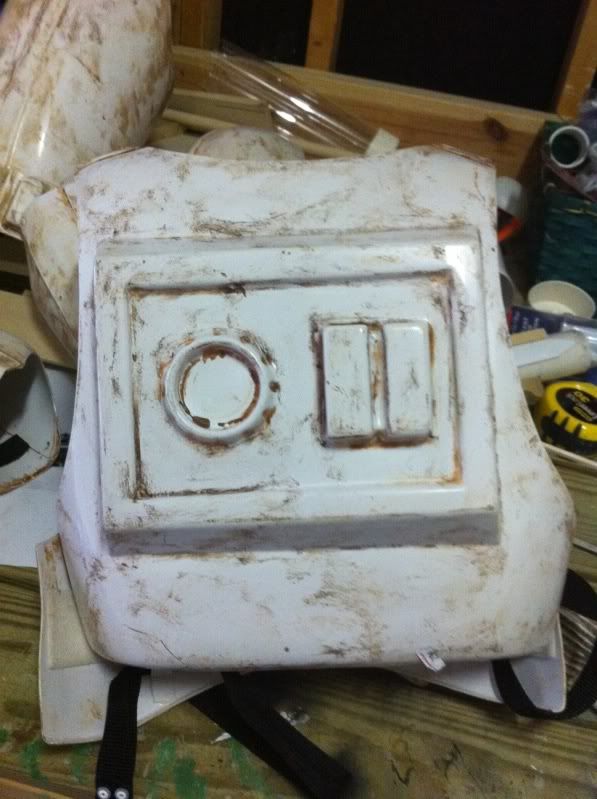
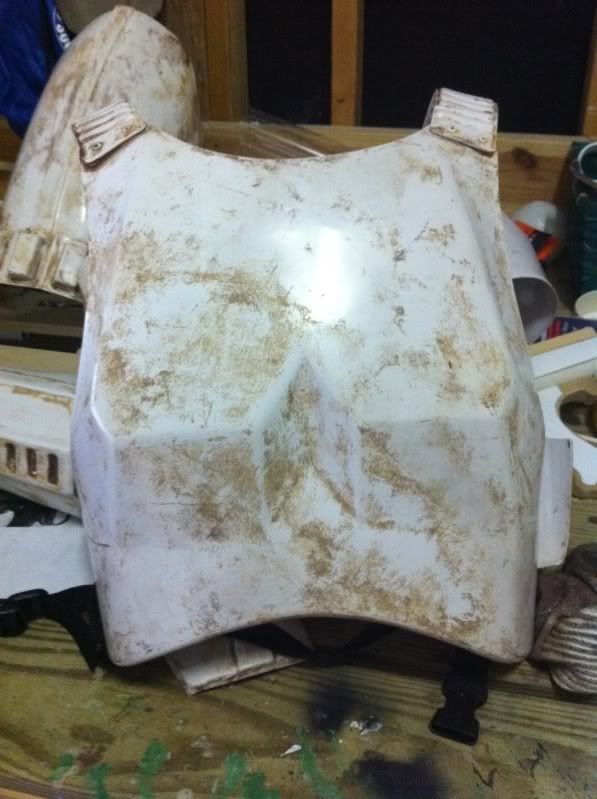
Will do on the pic. Nol, I took your feedback and tried to change up the technique a bit for the chest, back, shoulders and ab plate. i think that this is looking really close. Of course, I then went back and stripped away the arms and legs so that I could provide this same technique to them. What do you guys think?
-
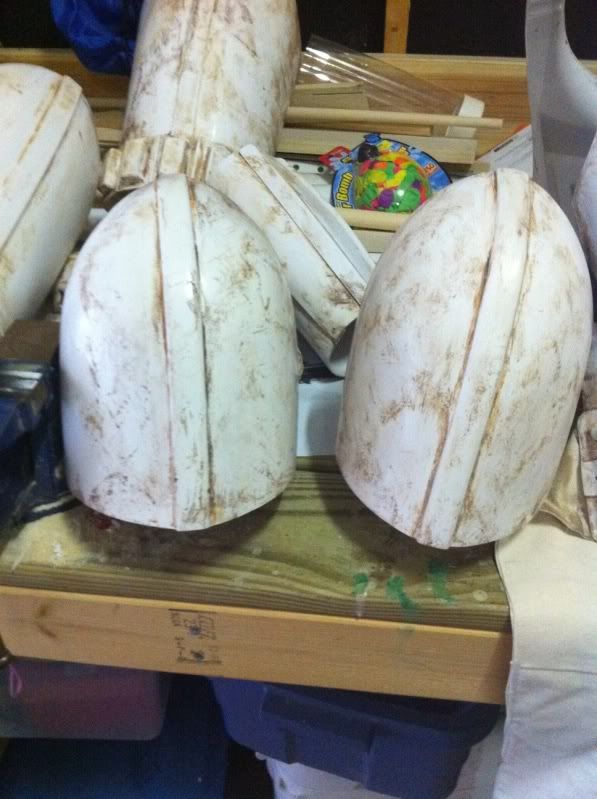
Well, my armor weathering was looking a bit old (been 4 years since last painting). So, I stripped all the paint away and started from scratch. What do you think so far?

Figured I would start on the legs and arms and work my way in.
Paul
-
I need 501st access as well.
Paul
TD-0600
-
Ok, help me out, What is PVC foam plates and where can it be purchased?
Thanks,
Paul
-
Don't know if you guys have seen this yet:
http://www.chemical-records.co.uk/sc/se ... k=MITCSAND
Paul
TD-0600
-
Sent email yesterday to your yahoo account. No rush.
thanks bro,
Paul
TD-0600
-
I need a cistern cyphon thing that connects to the hambuger stacker.
Paul
-
Are you going to be offering individual parts for sale?
Paul
TD0600
-
Do you know what this is in US $?
Paul
-
.. Love you guys, let's play nice - there is room in the world for Sci-Fire, Cushmann, and scratch built...
Thats right, now who can pick out the Hyperfirm in this picture? ;o)
Paul
TD-0600
-
**** fine work my good man! That looks fantastic!
Paul
-
I find if I sand it really well, it seems to keep it down to a minimum. Also, multiple coats of Primer helps as well. The only place that really shows any signs of grain is on the handle. And most of that is covered by plastic. The rest of the wood used is basewood, so, the grain isn't as evident, actually it is none-existant. And of course you want the grain look in the stock.
Paul
-
thx dude!
Paul
-
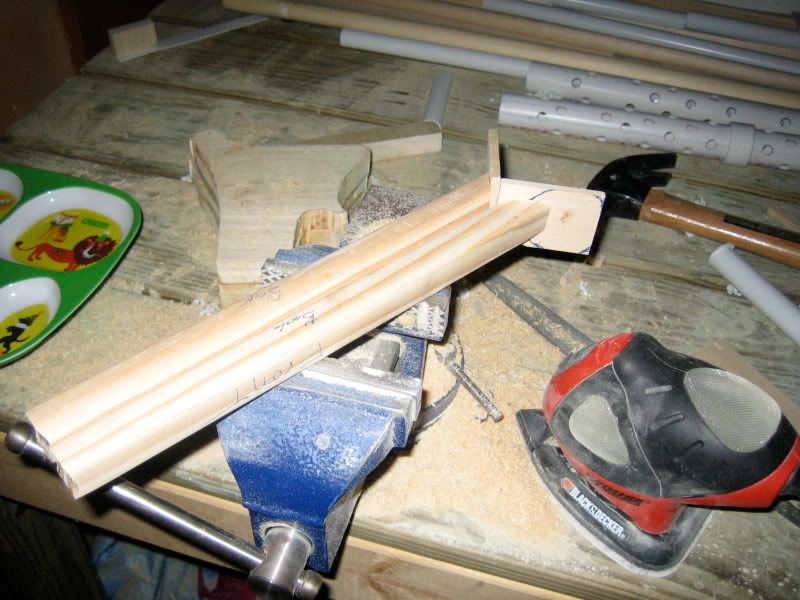
ok, I am at it again. Here is one more. Each one gets a little bit better.
Below: the bottom is my latest one, the top is my original, and the middle is a borrowed Hyper-firm.

And here are some pics of the next one that I am making
Canteen Bee Stinger
in Field Backpack
Posted
Glad I could help. And can't wait to see it on your pack!