Koryu1212(Dan D)
-
Posts
179 -
Joined
-
Last visited
-
Days Won
12
Content Type
Events
Profiles
Forums
Everything posted by Koryu1212(Dan D)
-
TD15169 (Koryu1212 Dan D) Tour of Duty Log
Koryu1212(Dan D) replied to Koryu1212(Dan D)'s topic in Tours of Duty
25AUG18: San Diego Festival of Books. Best part of the day was when a young girl asked to re-take a selfie with me...”Mr. Stormtrooper, could I take another picture with you? I forgot to smile in the first one!” Too cute [emoji4] Sent from my iPhone using Tapatalk -
Ah...I see what you mean with the barrel end...thanks for the catch; that won’t effect PO status?
-
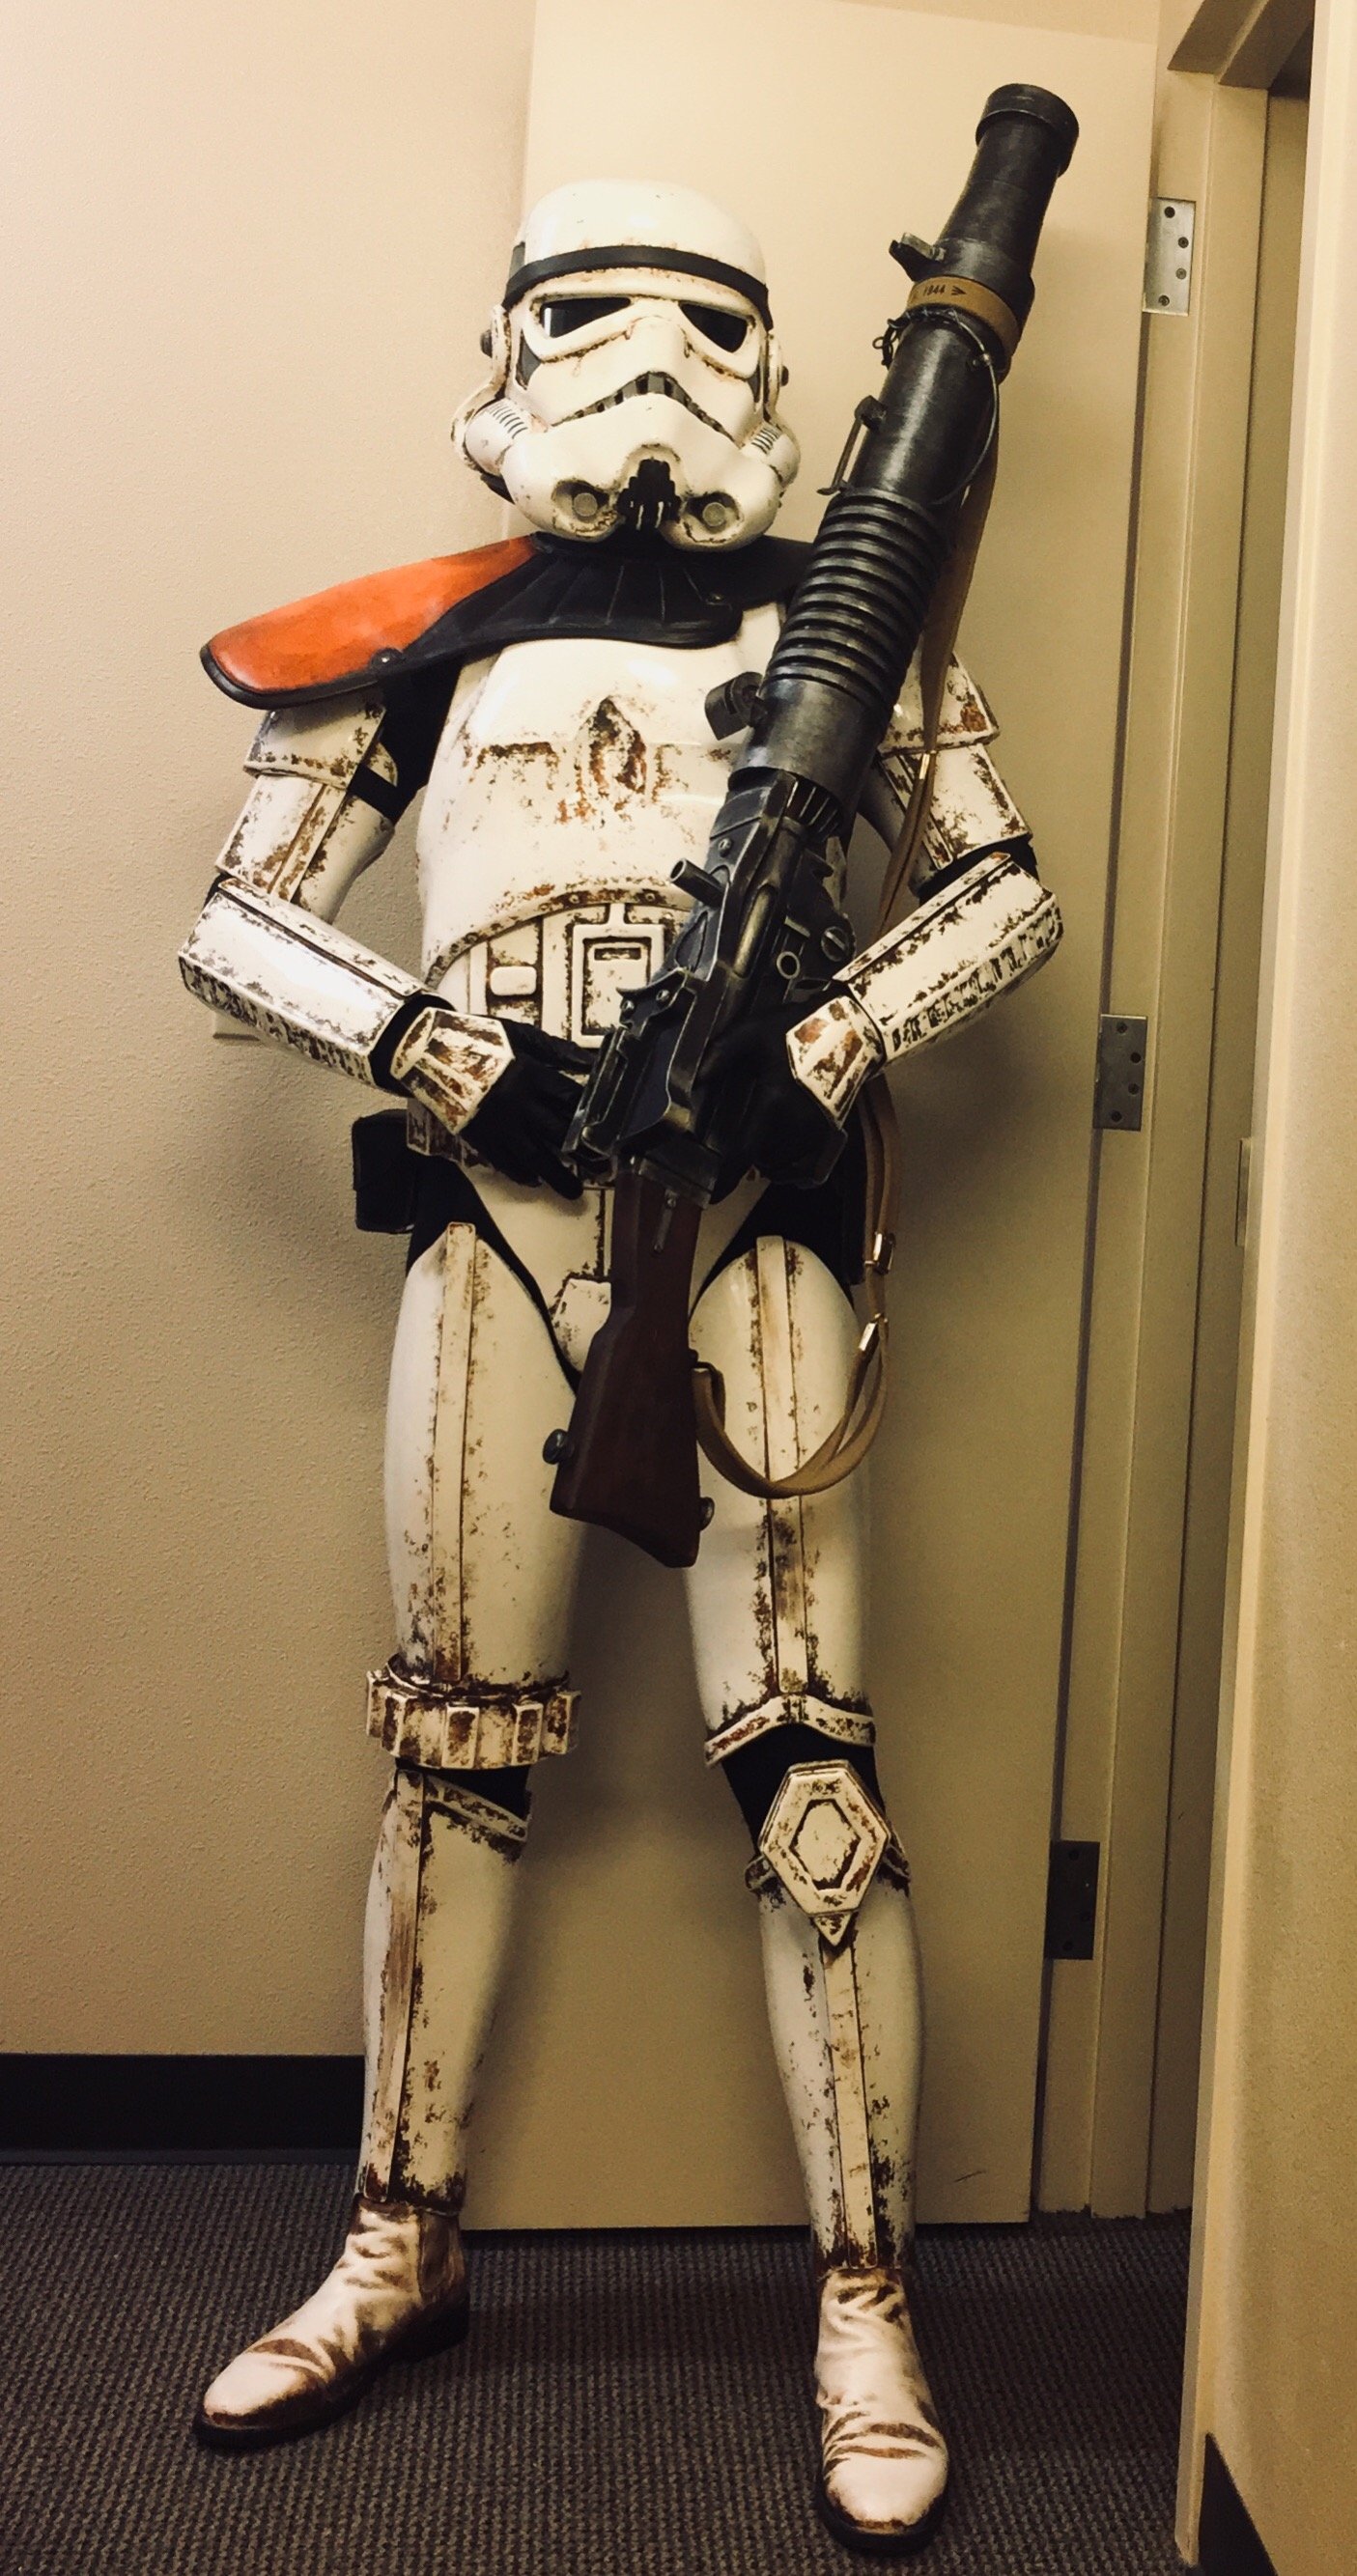
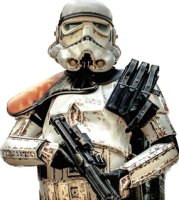
Sharing pictures of my before and after T-21 weathering...Layers of Folk Art Metallic Gunmetal, Silver followed by washes of Liquatex Burnt Umber and Mars Black. I also rounded out the stock and added some mods based off real Lewis Gun pictures... Before... After... I think it matches my “worn” look very well.

-
Thanks! I’m glad it was helpful and yes I’m in the Imperial Sands Garrison!
-
TD15169 (Koryu1212 Dan D) Tour of Duty Log
Koryu1212(Dan D) replied to Koryu1212(Dan D)'s topic in Tours of Duty
Comic Con 2018 various: I had a blast and just wanted to share some of my “other” adventures with you all! I was featured in several local news cast, one from England (Darth Maul from England interview) found myself in a couple of videos, and was pictured in a couple of “best cosplay” articles! https://www.nbclosangeles.com/entertainment/entertainment-news/The-Costumes-of-San-Diego-Comic-Con-International-2018-488668741.html https://www.theverge.com/2018/7/23/17600864/comic-con-sdcc-2018-activations-purge-good-place And must have had my picture taken 1000’s of times...it literally took me 2 hours to make it back to my hotel on Saturday! I’m now a Getty stock image! Best story I have from all the Con is this message sent to our Garrison command staff... All in all I really hoped that I was able to bring a smile to all those Star Wars fans and that I also represented the 501st and MEPD well! Sent from my iPhone using Tapatalk -
TD15169 (Koryu1212 Dan D) Tour of Duty Log
Koryu1212(Dan D) replied to Koryu1212(Dan D)'s topic in Tours of Duty
22Jul18 Sunday Final Day of Comic Con 2018... Topps trading cards... Sent from my iPhone using Tapatalk -
TD15169 (Koryu1212 Dan D) Tour of Duty Log
Koryu1212(Dan D) replied to Koryu1212(Dan D)'s topic in Tours of Duty
Comic Con cont... 21Jul18 Hallmark booth: 501st Annual droid hunt... I had close to 40 “droids” stuffed into both my forearms! When I went to turn them in I had to have one of my teammates help take them out! I looked like a ticket vending machine! Saturday 21Jul18: Kotobukiya Was tired so I caught some Zzzz’s...I am active duty mil so I’m used to wearing body armor and with my fans going...I leaned up against the backdrop and struck a pose and figured that if someone wanted a picture they would ask or just take it anyway LOL Saturday 21Jul18: Gentle Giant again... Sent from my iPhone using Tapatalk -
TD15169 (Koryu1212 Dan D) Tour of Duty Log
Koryu1212(Dan D) replied to Koryu1212(Dan D)'s topic in Tours of Duty
Comic Con cont... Friday 20JUL18 Local San Diego Fox Affiliate Morning Show... Friday 20JUL18 cont... Gentle Giant So people are starting to ask “Are you Mark Hamill?” Couldn’t figure out why until my Garrison mates showed me this: Apparently a picture (this picture below) was taken and wound up on NBC’s national news feed for ALL their Comic Con coverage! [emoji15] Sent from my iPhone using Tapatalk -
TD15169 (Koryu1212 Dan D) Tour of Duty Log
Koryu1212(Dan D) replied to Koryu1212(Dan D)'s topic in Tours of Duty
Comic Con 2018...where to begin: Hallmark booth Thursday 19JUL18 Best part of that day was as follows: So, I am at the Hallmark booth and this lady comes up to me and is like "I need you to come with me right now!" Who are you I ask? "I am with Disney!" OK, where am I going? "We are doing a book signing, and you are a Stormtrooper and you look cool, so let's go!" Of course you dont say No to the people who own the rights to the Star Wars Franchise! Wind up participating in Rae Carson's book signing of her new book "Most Wanted"! She even signed a copy for me! I am on Disney's list now! [emoji50] Sent from my iPhone using Tapatalk -
Well...I’ve had a lot of positive reaction to the look, but I get what you’re saying [emoji848] as it was my first time I kinda wound up with a more stylized, sharper dirty look, but as I’ve read on here weathering is sorta personal and it’s grown on me...Would this effect my ability to “Deploy” once I get a backpack? Sent from my iPhone using Tapatalk
-
Yeah...I trimmed my brow before I riveted it together. I don’t recall the sides of the cap-n-back flaring out that much though...
-
Awesome! I just assembled an ATA kit...feel free to check out my build thread here!
-
And one month from the day I opened my BBB...my Garrison has told me I set some kind of record [emoji848] Wasn’t my intention to try and be done in any hurry, I was just enjoying the process...[emoji4] If anyone has any questions, please feel free to post on this thread, or PM me...and if anyone sees me out trooping, please feel free to ask questions. I really hope that this will help any new builds out there as much as any other build/WIP threads out there helped me! Koryu1212(Dan D) TD-15169 Imperial Sands Garrison Sent from my iPhone using Tapatalk
-
Helmet padding was installed using a combination of an ACH pad-set and neoprene...I also lined most of the interior with neoprene, which added a lot of stability to the helmet. Acorn nuts were used to cover the internal screws and I also installed a set of Henry’s helmet fans that are powered via usb, lipstick sized power banks. Switches and wires are hidden with some really cool looking cable covers I found on amazon... The “S” seal is held in place via compression...I left approximately 1” extra length and pushed that against the other end of the seal. So far it’s not been an issue with putting the helmet on or taking it off. Extra hook Velcro is for my Aker microphone that is connected to an iComm/Aker 1506 amp located in my chest... Sent from my iPhone using Tapatalk
-
Same weathering process for the suit. I did the helmet first because I thought it would be easier to match suit to helmet [emoji4] Burnt umber pass... “Oily” mixture... Pouches were distressed using sandpaper and baking soda. Canvas belt and shoulder straps were done using “dry brush” techniques with both paint mixtures. Pauldron was done using watered down acrylics and baking soda... Sent from my iPhone using Tapatalk
-
Following Pandatroopers tutorial I began the weathering process. Liquitex acrylic paints used were: Burnt Umber straight from the tube. “Oily” mixture of Burnt Umber, Mars Black and Unbleached Titanium White. Applied burnt umber with weathering sponge, and using a damp, brown t-shirt I began removing the paint... Results from burnt umber pass... Repeat process utilizing “oily” mixture... Final results for helmet... Sent from my iPhone using Tapatalk
-
Adding the paint chips, runs and crack as per the “Stop that Ship” helmet as well as hand painted in the tube stripes... Damage penciled in... Blue tape was used to mask the run and crack...chips and crack painted with testors olive drab... At this point I painted in the tube stripes... Adding in the paint runs using my ABS paste mixture... Results... Time to “get dirty”!! Sent from my iPhone using Tapatalk
-
Time to put my commercial art degree to use [emoji41] Laid down one coat of grey on my teeth first then switched brushes and painted the black lines around the traps, tears, ears and vocoder... While I waited for that to dry I cut and shaped my lens and painted my hovi-mics... After waiting a day for the black to dry I “cut in” the grey on the traps, tears and added a second coat to my teeth... “Joker” smile and another coat to the vocoder... Pressed in my mesh on my hovi-mics while I waited a day for that coat to dry and then added another... Installed my lens as well... Sent from my iPhone using Tapatalk
-
Now comes the most dreaded part of the build...the ears! [emoji15] So this is how I did it and only used one set...pictures uploaded medium resolution for details [emoji846] I penciled in my cut lines...and for the cap I read somewhere on the FISD forum that you must leave a straight cut out just before the ear curves, which is indicated by the arrow coming off the “cap”... I also used blue tape to mark a straight line around the cap... Using the cutting wheel, I first made my cuts around the cap...starting with the “right” ear... I then switched to a cutting bit and cut just outside my cut-line... Repeat for the “left”... Sanded the “cap” flat on both... And using a sanding wheel, I started removing a LITTLE AT A TIME off the curve checking both the front and back...starting with the “right” ear... Close enough...repeat for “left” ear... Good enough since the originals were gapped all over the place...holes marked and drilled on both ears and helmet... Both ears bolted down tight... And, done [emoji4] Sent from my iPhone using Tapatalk
-
Assembly...brow trim and riveting face to cap... Measure brow trim... Drilled and set first rivet... Second one set... Think I nailed it! Drilled and set the remaining rivets... Sent from my iPhone using Tapatalk
-
Trimming continued...Faceplate... Took a deep breath and broke out the dremel with sanding and cutting wheels... Sanded out the teeth first...just enough to be able to finish cutting out with Xacto knife... Switched over to cutting wheel for eyes...I cut them out from the inside... Not too bad... Sanded smooth... Cut out the teeth with Xacto knife and sanded with these little sanding sticks I found at Hobby Lobby... Finished sanding... Again, quick dip in the sink to wash off any casting residue... Sent from my iPhone using Tapatalk
-
Helmet build. Just like my suit I’ll break it down by trimming, and assembly... As I am emulating the “stop that ship trooper “ I downloaded several pictures off of Star Wars Helmets... Trimming... Penciled in my cut lines first starting with the cap-n-back... Then the faceplate... Starting with the cap-n-back; I punched a hole at the junction near the forward traps to prevent tearing and used lexan scissors to cut the brow...used an Xacto knife on the rest... Results... Sent from my iPhone using Tapatalk
-
The next day I found a package on my desk! Not going to lie...I couldn’t wait to get back to my barracks room LOL Fits like a glove! I had to add some Velcro to the top of my boots to keep my shins from pushing up and rolling around, and so far it’s held up very well! Went ahead and added some nylon screws to my return edge on my chest plate and painted all my rivets... Strapping completed... Time to break out that last box [emoji15] Sent from my iPhone using Tapatalk
-
Hand plates. I used my heat gun and formed the plates around the back of my hand (nomex is heat resistant after all)... 1” elastic with nylon webbing stitched so the CA glue would be able to form a strong bond with the ABS... With nomex gloves... I recently bought a pair of women’s unlined Italian leather driving gloves and sewed a 3” elastic cuff around them and have my nomex as a back up...the leather ones are what I am wearing in my troop pictures posted elsewhere on this site [emoji41] Sent from my iPhone using Tapatalk
-
Arms and biceps and shoulder bell assembly. I used dental floss to sew on the “sew on snaps”... Female snaps added to both the shoulder bells and biceps...think I nailed the length! Test fit with pauldron... Used same 2” elastic on the biceps to forearm assembly...set them on the “inside” right at the elbow joint so that the elastic is “hidden” by my under suit...snap plates glued... Elastic and nylon webbing box stitched and measured; added female snaps... 1” elastic sewn with hook Velcro to go around the biceps... And there...all done! Sent from my iPhone using Tapatalk