

Volksjager
-
Posts
121 -
Joined
-
Last visited
-
Days Won
9
Content Type
Events
Profiles
Forums
Posts posted by Volksjager
-
-
Yep I would be in for one of these.
-
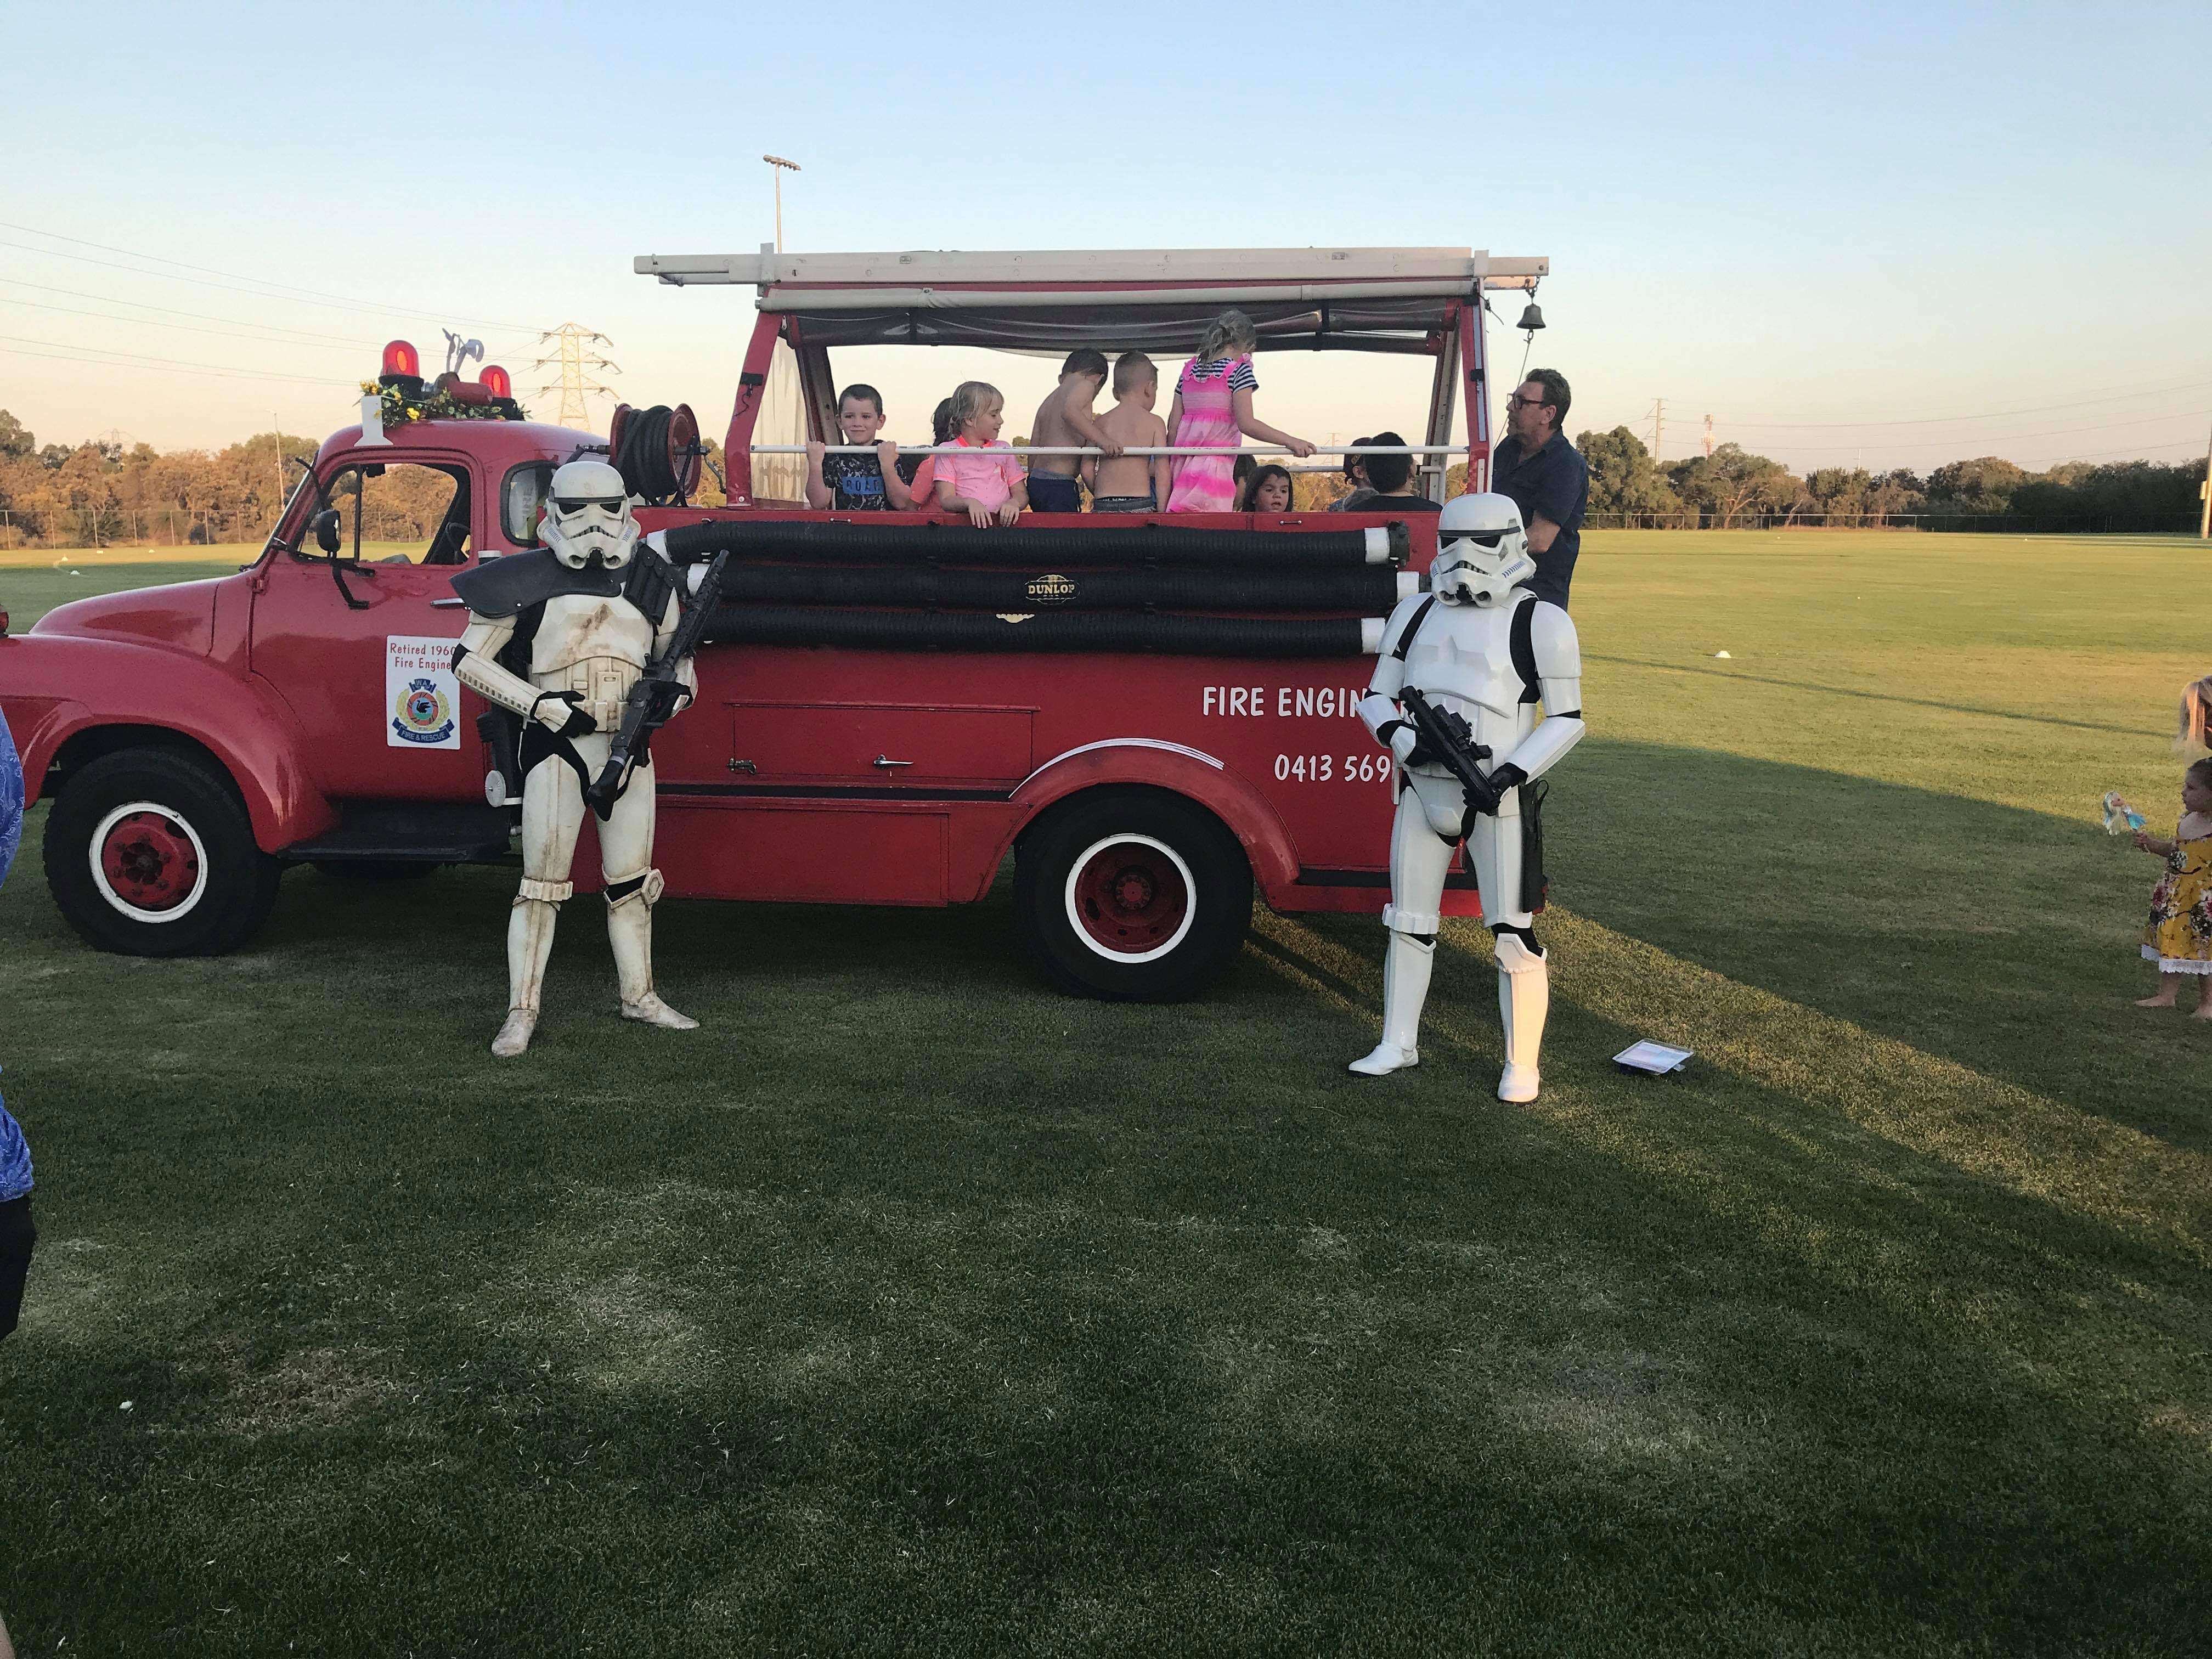
28. Dream night - Perth Zoo - 07/02/20
Nice closed event for disabled kids to come to the zoo and look around without the trouble of large crowds. Small carnival is also going in the centre lawn
-
 1
1
-
-
Well Done to all! Looking forward to a fantastic year at the MEPD
-
1
-
-
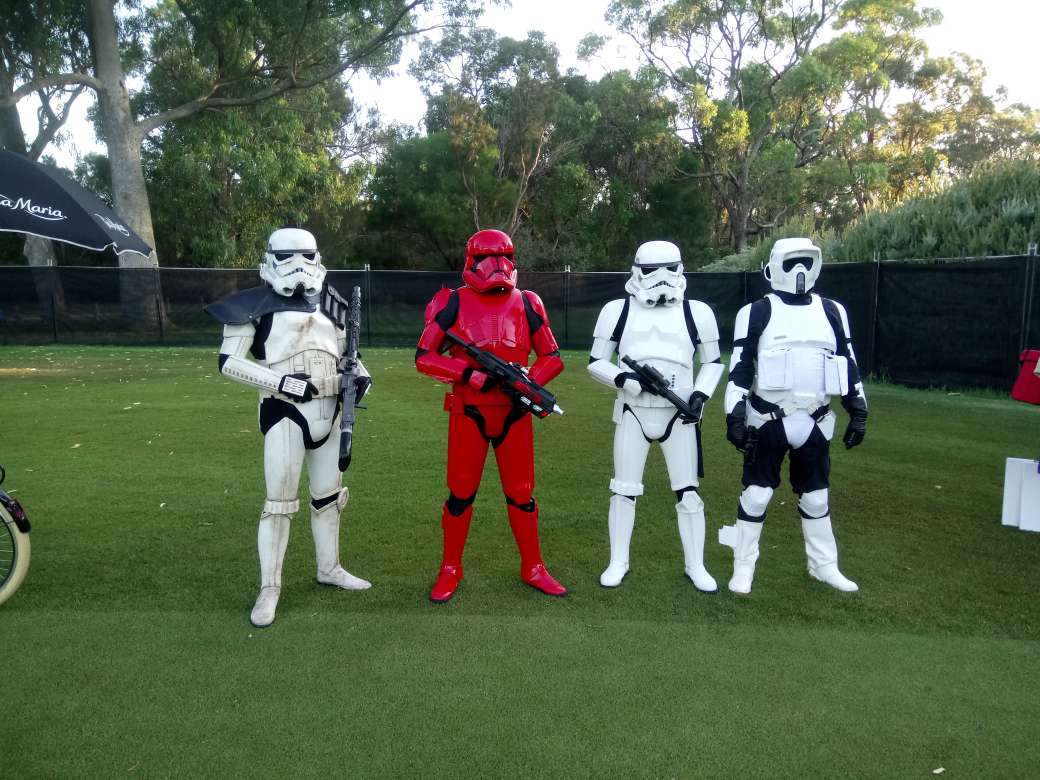
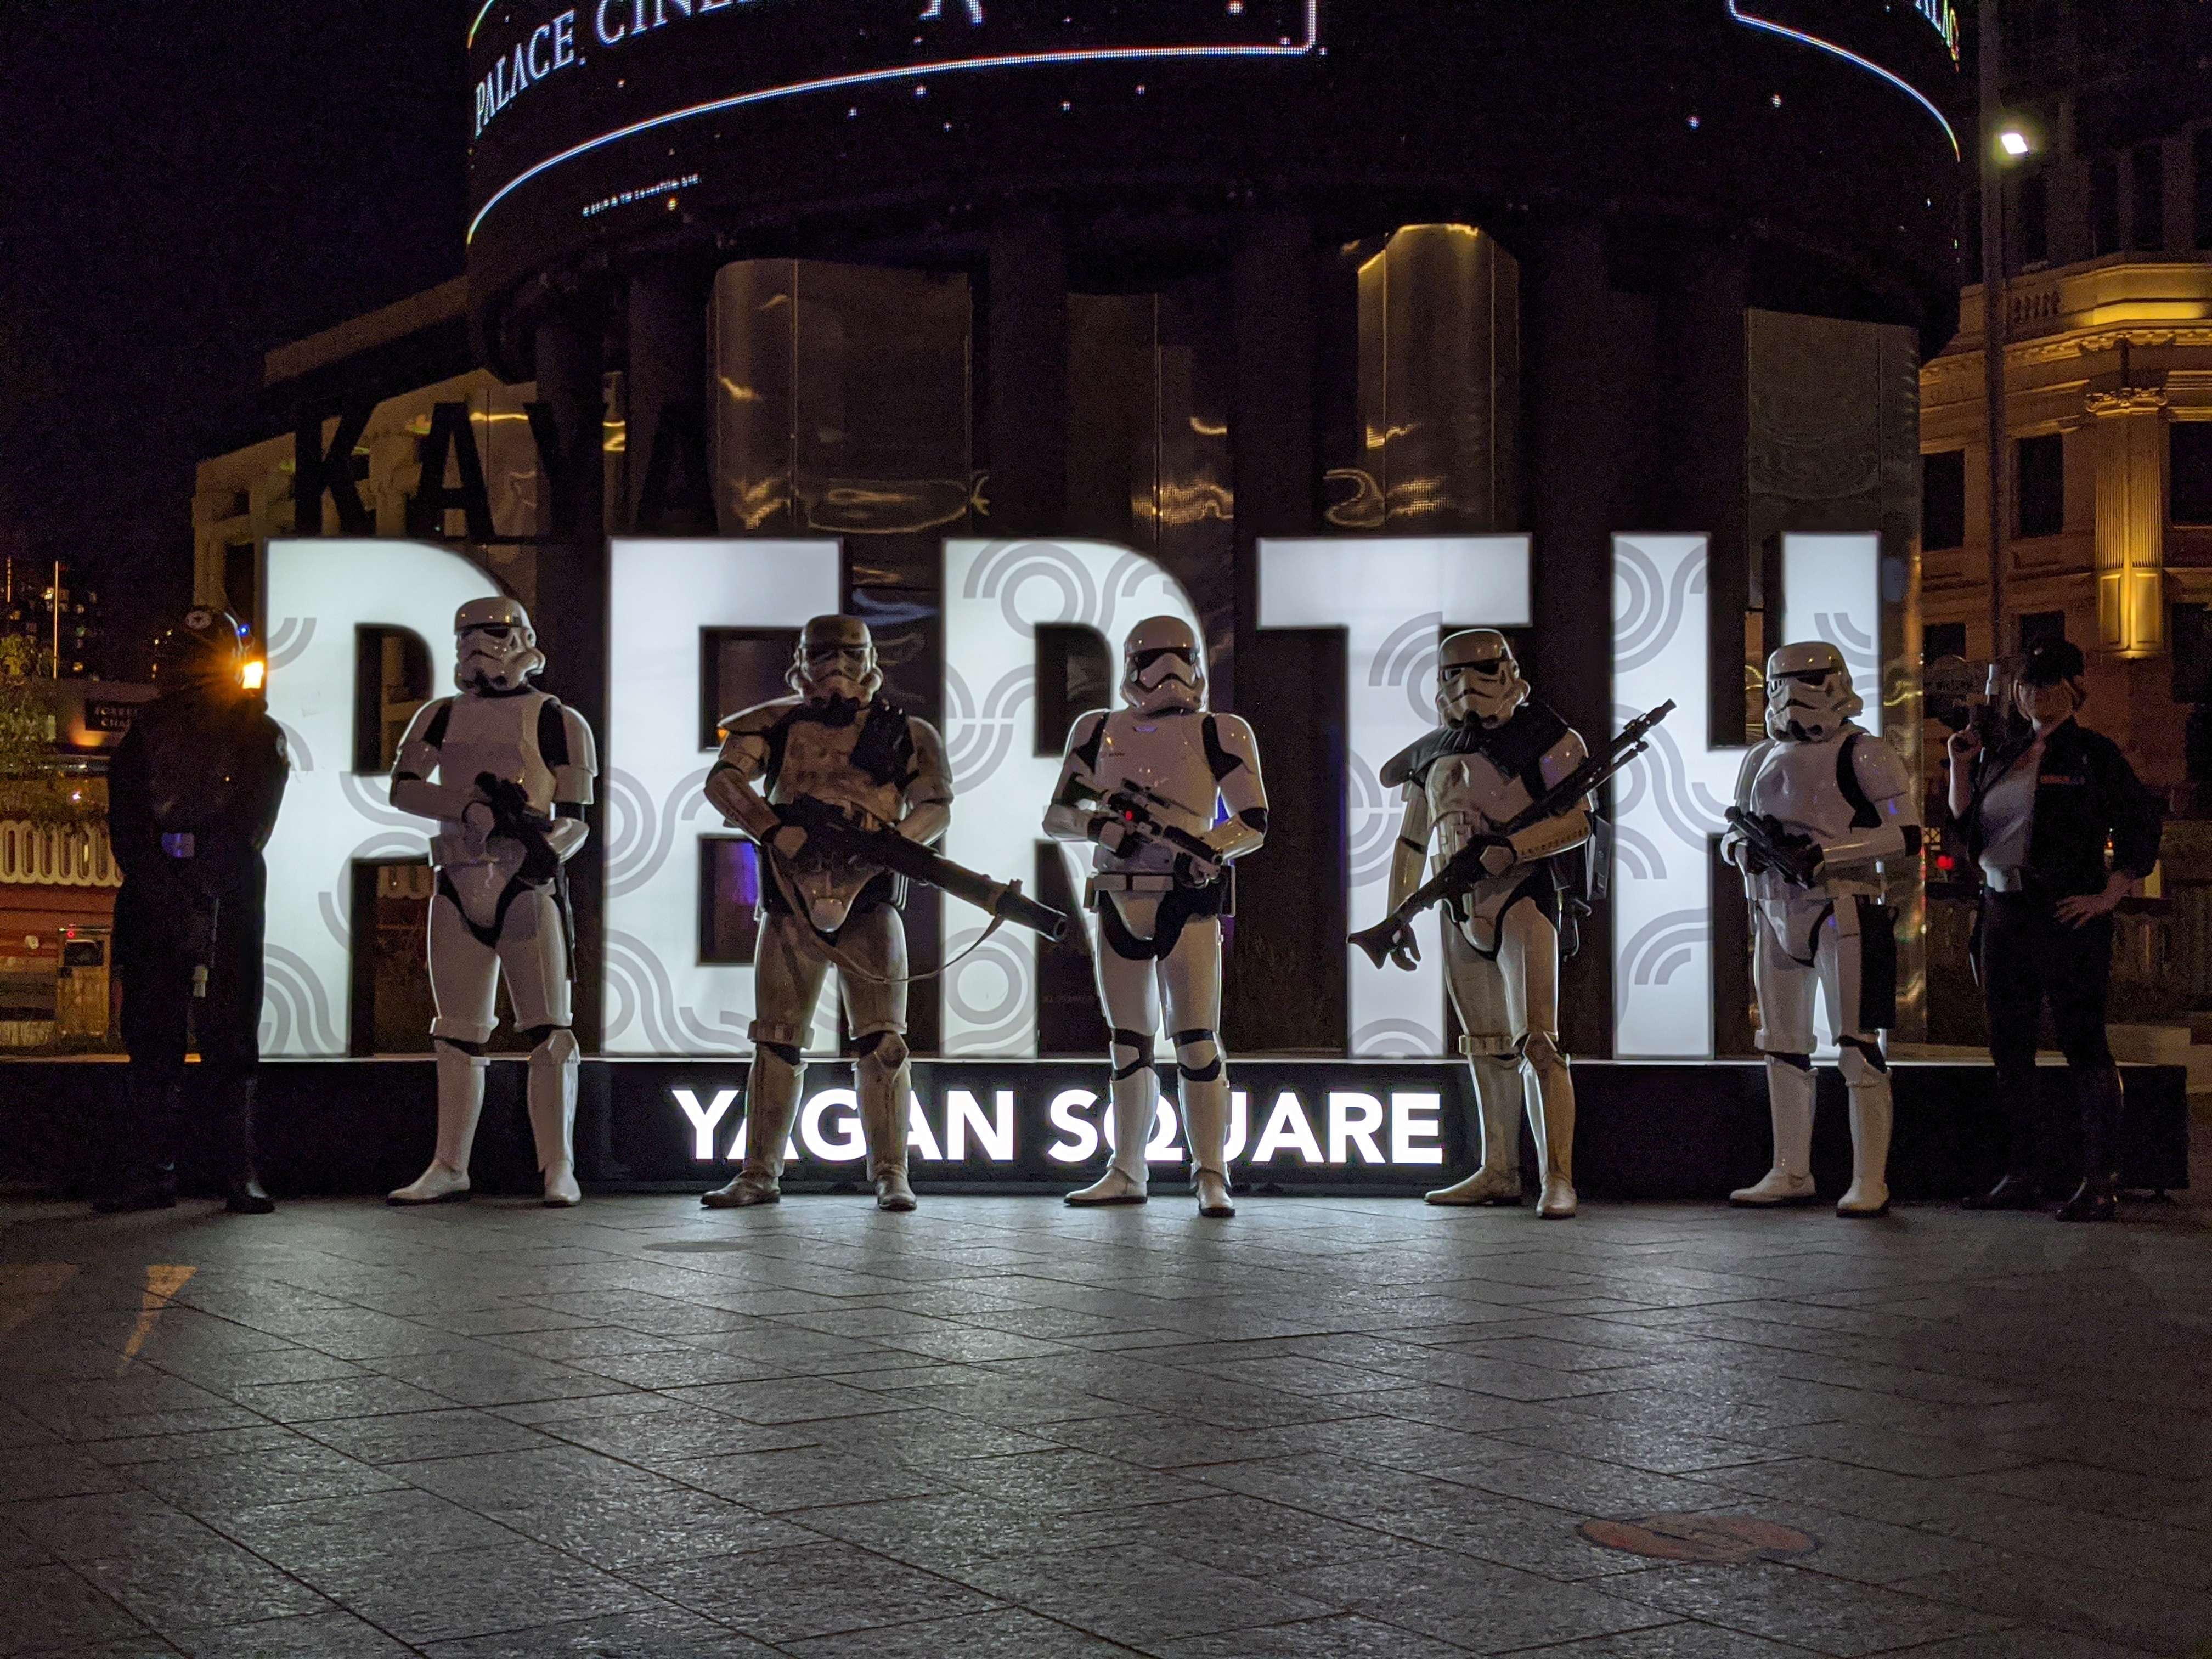
27. Moonlight Cinema's TROS Screening - Kings Park - 24/01/20
We were asked to add to the atmosphere for their last screening for TROS. Was a fun little troop

-
1
-
-
As HansVader said, for PO it's a requirement to wear a pack. SWAT, you could choose a trooper without a pack to get approval. Head over to the Sandtrooper armour section and have a look at the pinned pauldron colour topics, specifically orange pauldron, so you can see some backpackless loadouts. If you build your pack right for the PO approval you can use it for SWAT approval though and it does open up your choices
-
1
-
-
I agree with Rocko here, practice before you hit the armour with your weathering. I did mine via the paint route and the more I tested the better I got at it. What I like about the paint weathering is it’s durability, mine still looks great 2 years on and it’s worn and scratched organically while I have been trooping, looks better each time I put it on.
-
1
-
-
Nice work, looking really good.
As you said it’s a great option for people that don’t have the space or time to do the wood work. I also like the idea of being able to swap out the bapty parts for the regular parts on the fly.
-
I also love my Darman neck seal but I do also wish my bib was a little longer. Will be interested to see where this goes, might also be keen to pick one up
-
As the others have said, plenty of weathering techniques out there so take your time, try a few methods and see what works for you.
Also try to match the look of others in your garrison. When your all together at a troop you want to look like you all come from the same place.
-
Hiya Mario, welcome to our little home here. Any questions you have just ask, tons of information and help to be had here. Looking forward to seeing how you build comes along
-
26. Zoochella - Perth Zoo - 31/12/2019
A New Years Eve kids festival at the Perth Zoo, always a fun event. Great way to round out a good year of trooping.
-
1
-
-
I have IB Sandy boots and I love them. I agree with the above statement, Patience you must have
")
-
TD86557 reporting in for his Emperor's Roughnecks 25 Award. The link to my tour is here:
-
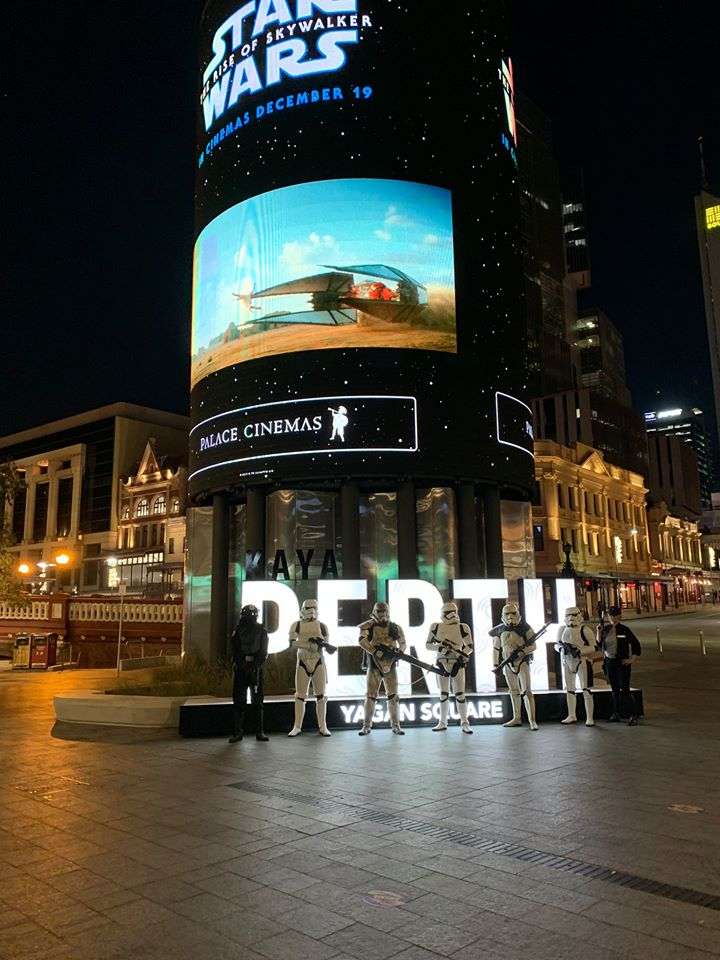
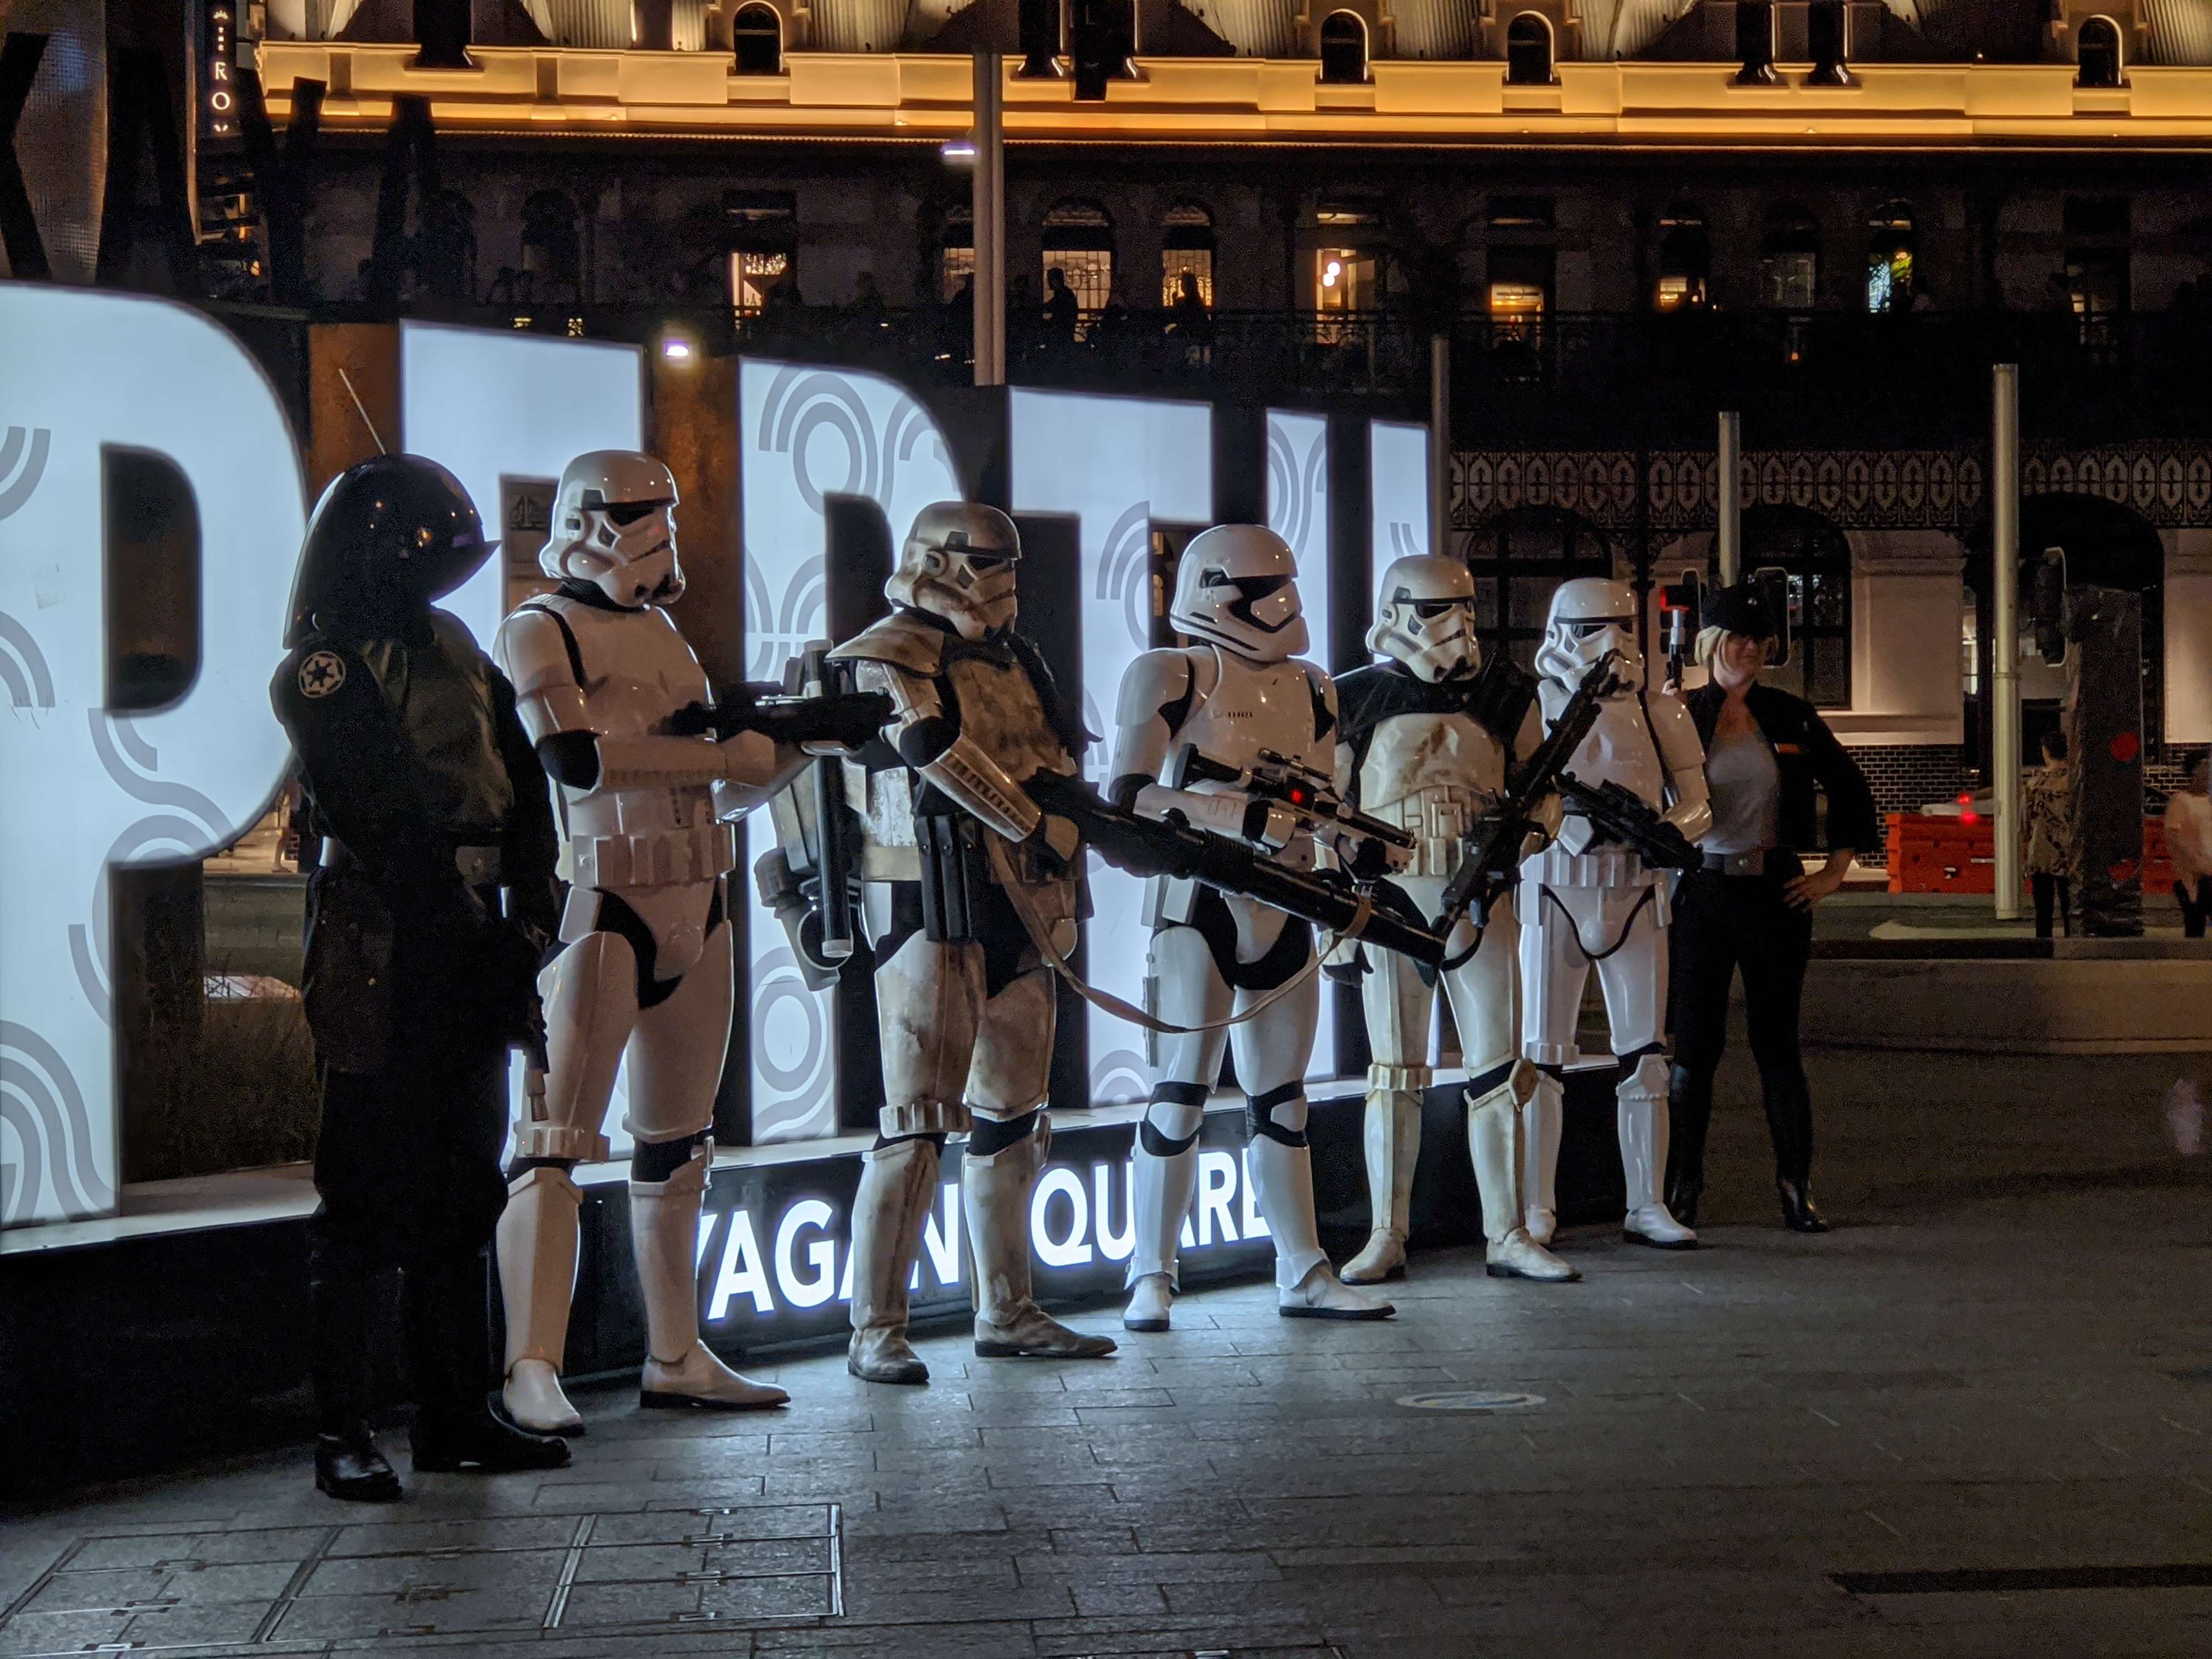
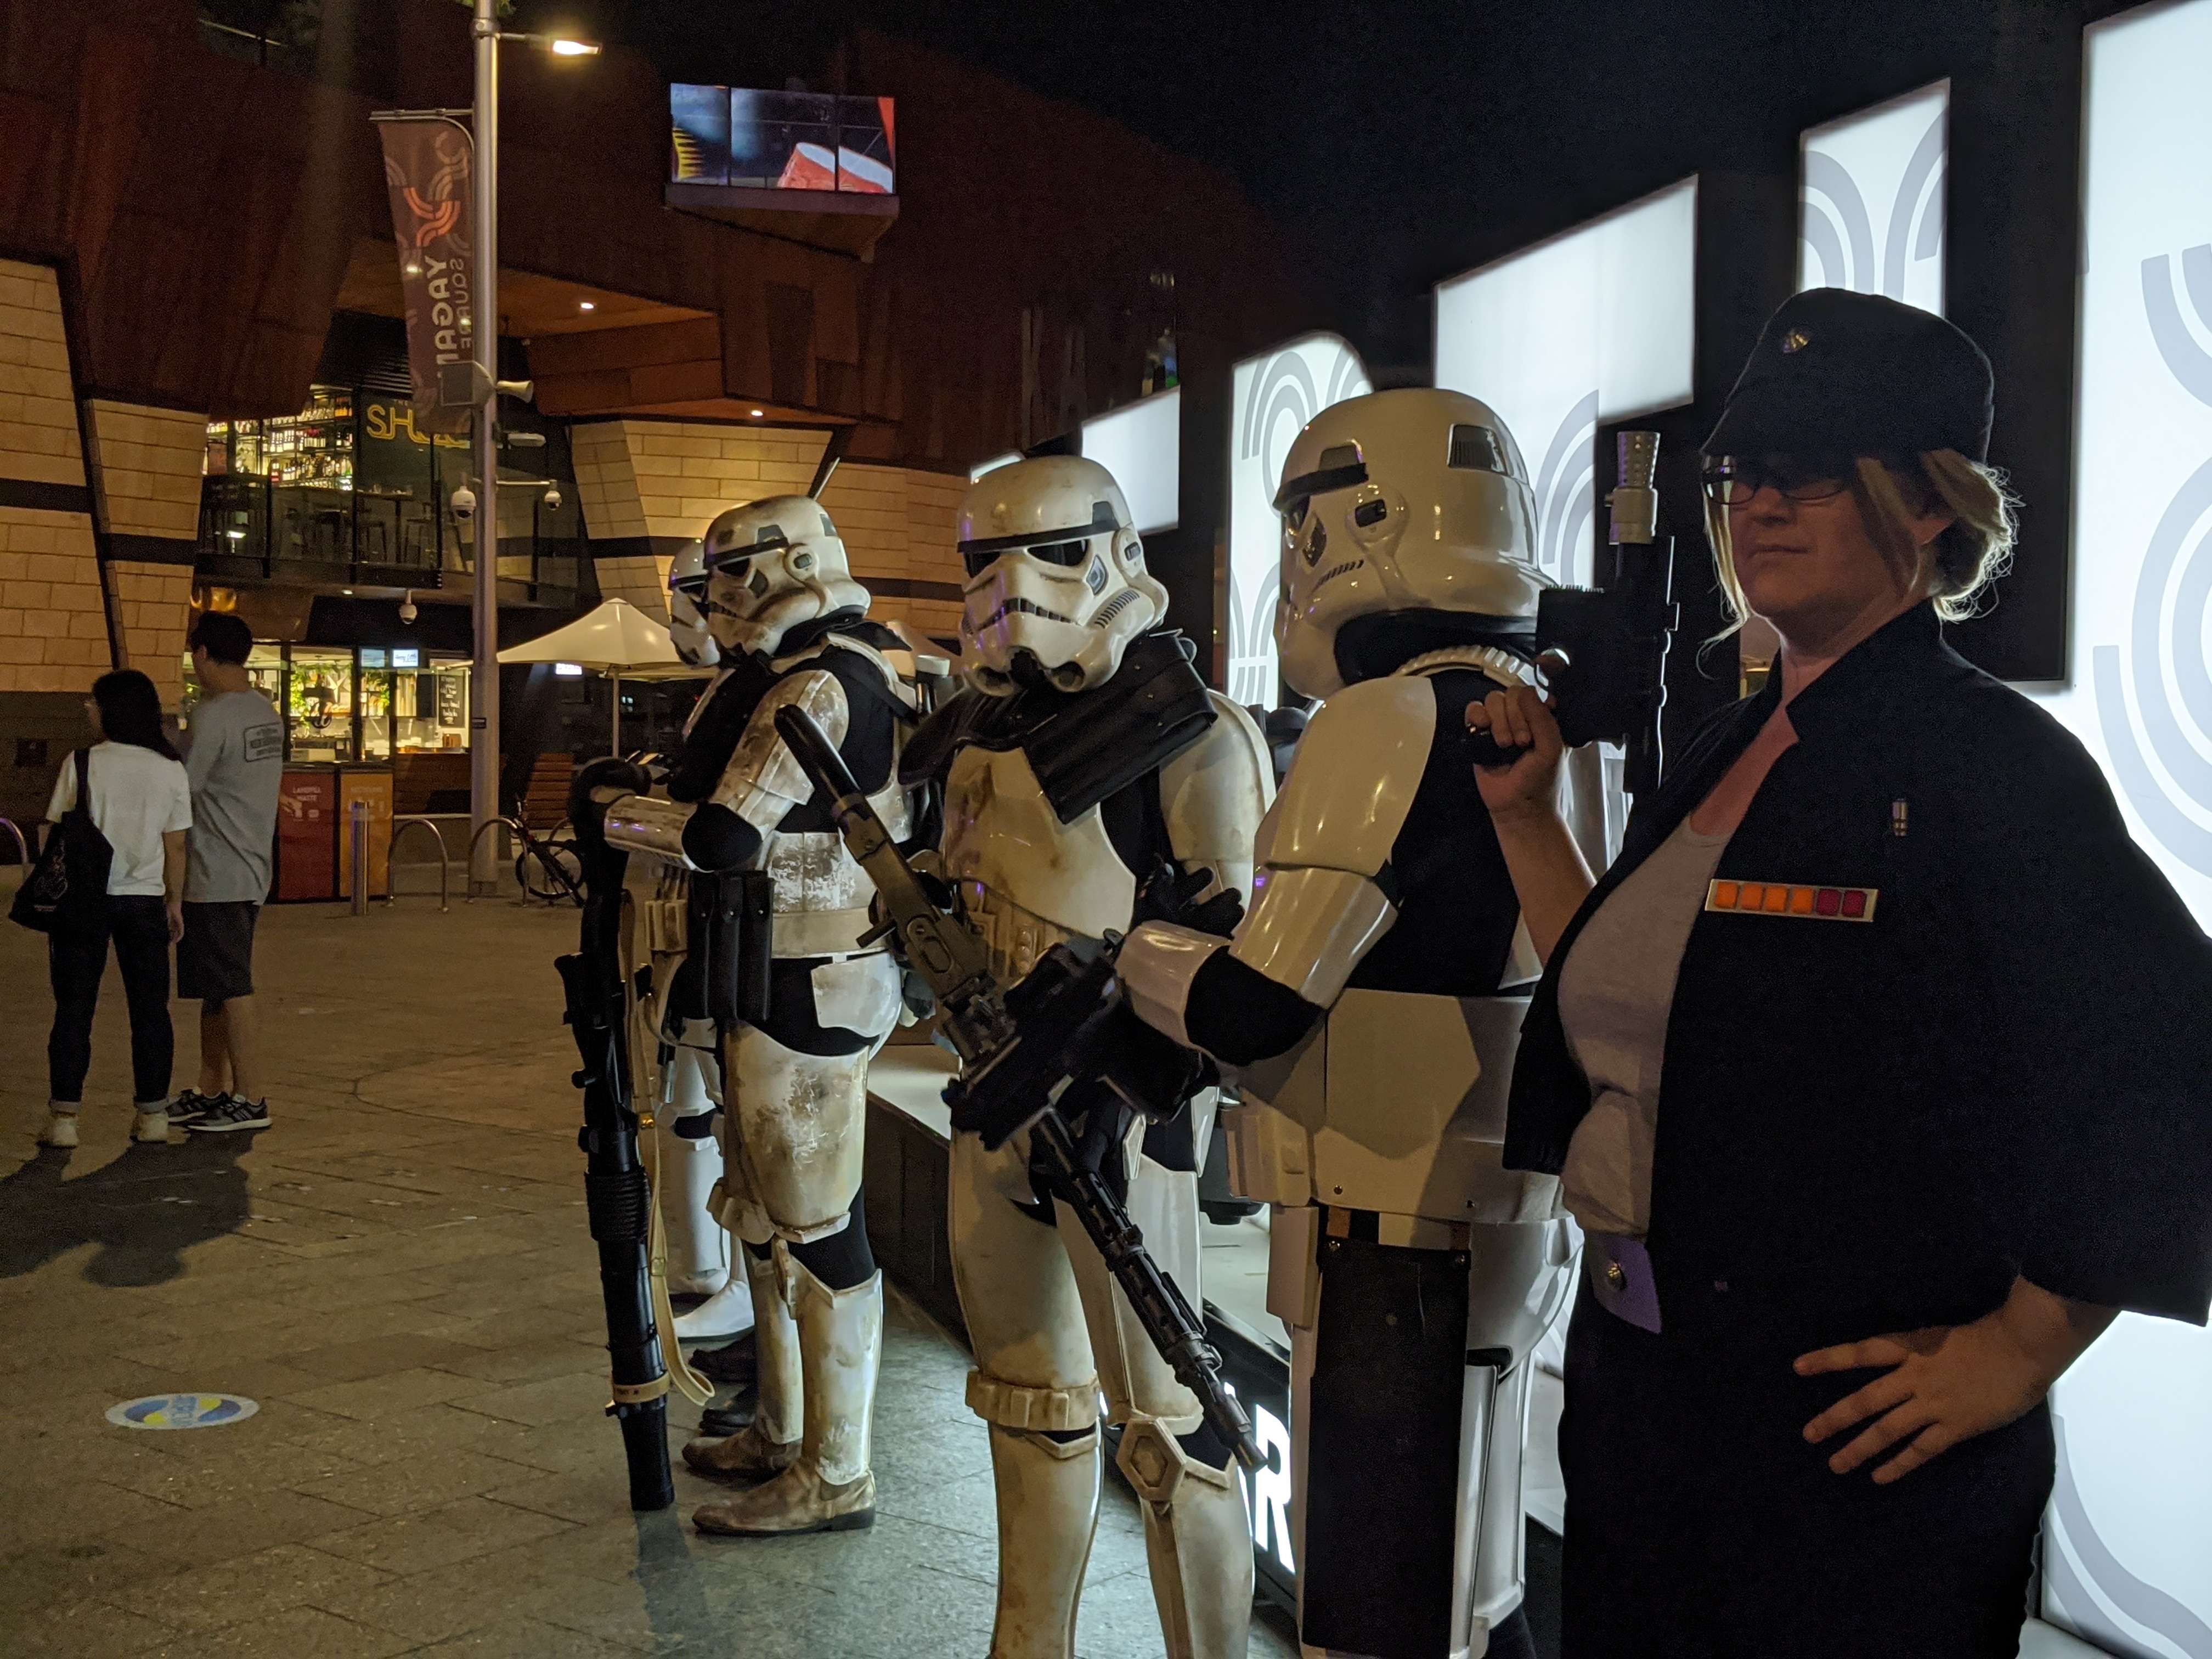
25. Event Cinema's Star Wars: The Rise of Skywalker Midnight screening - Innaloo - 18/12/19 into 19/12/19
-
1
-
-
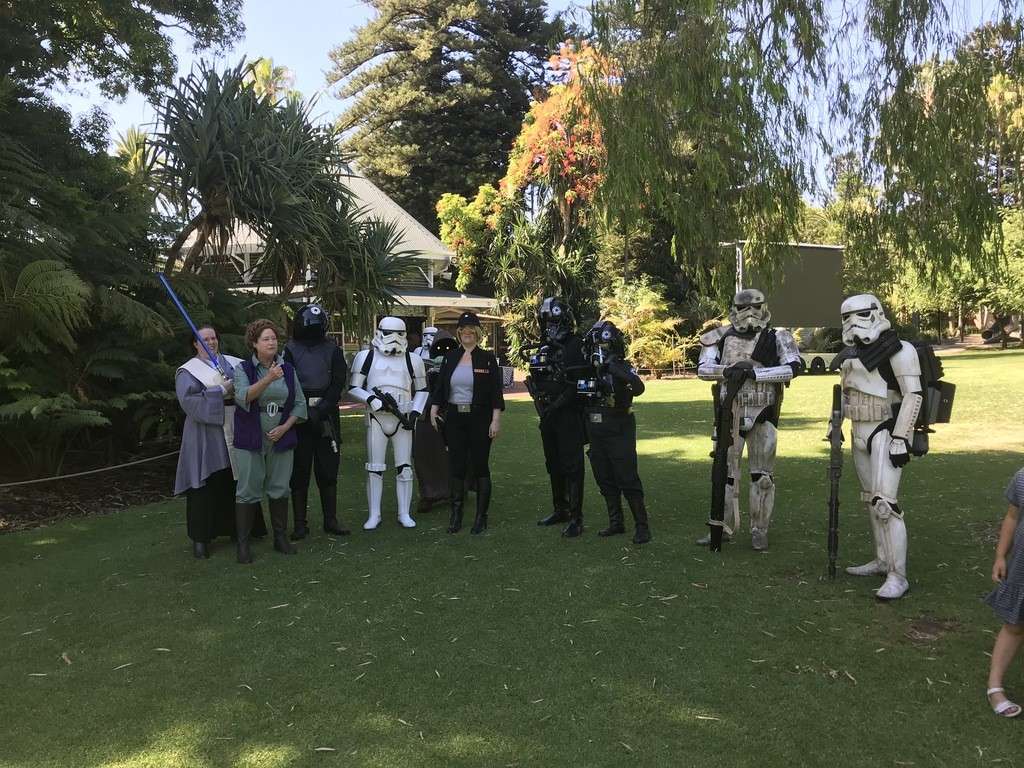
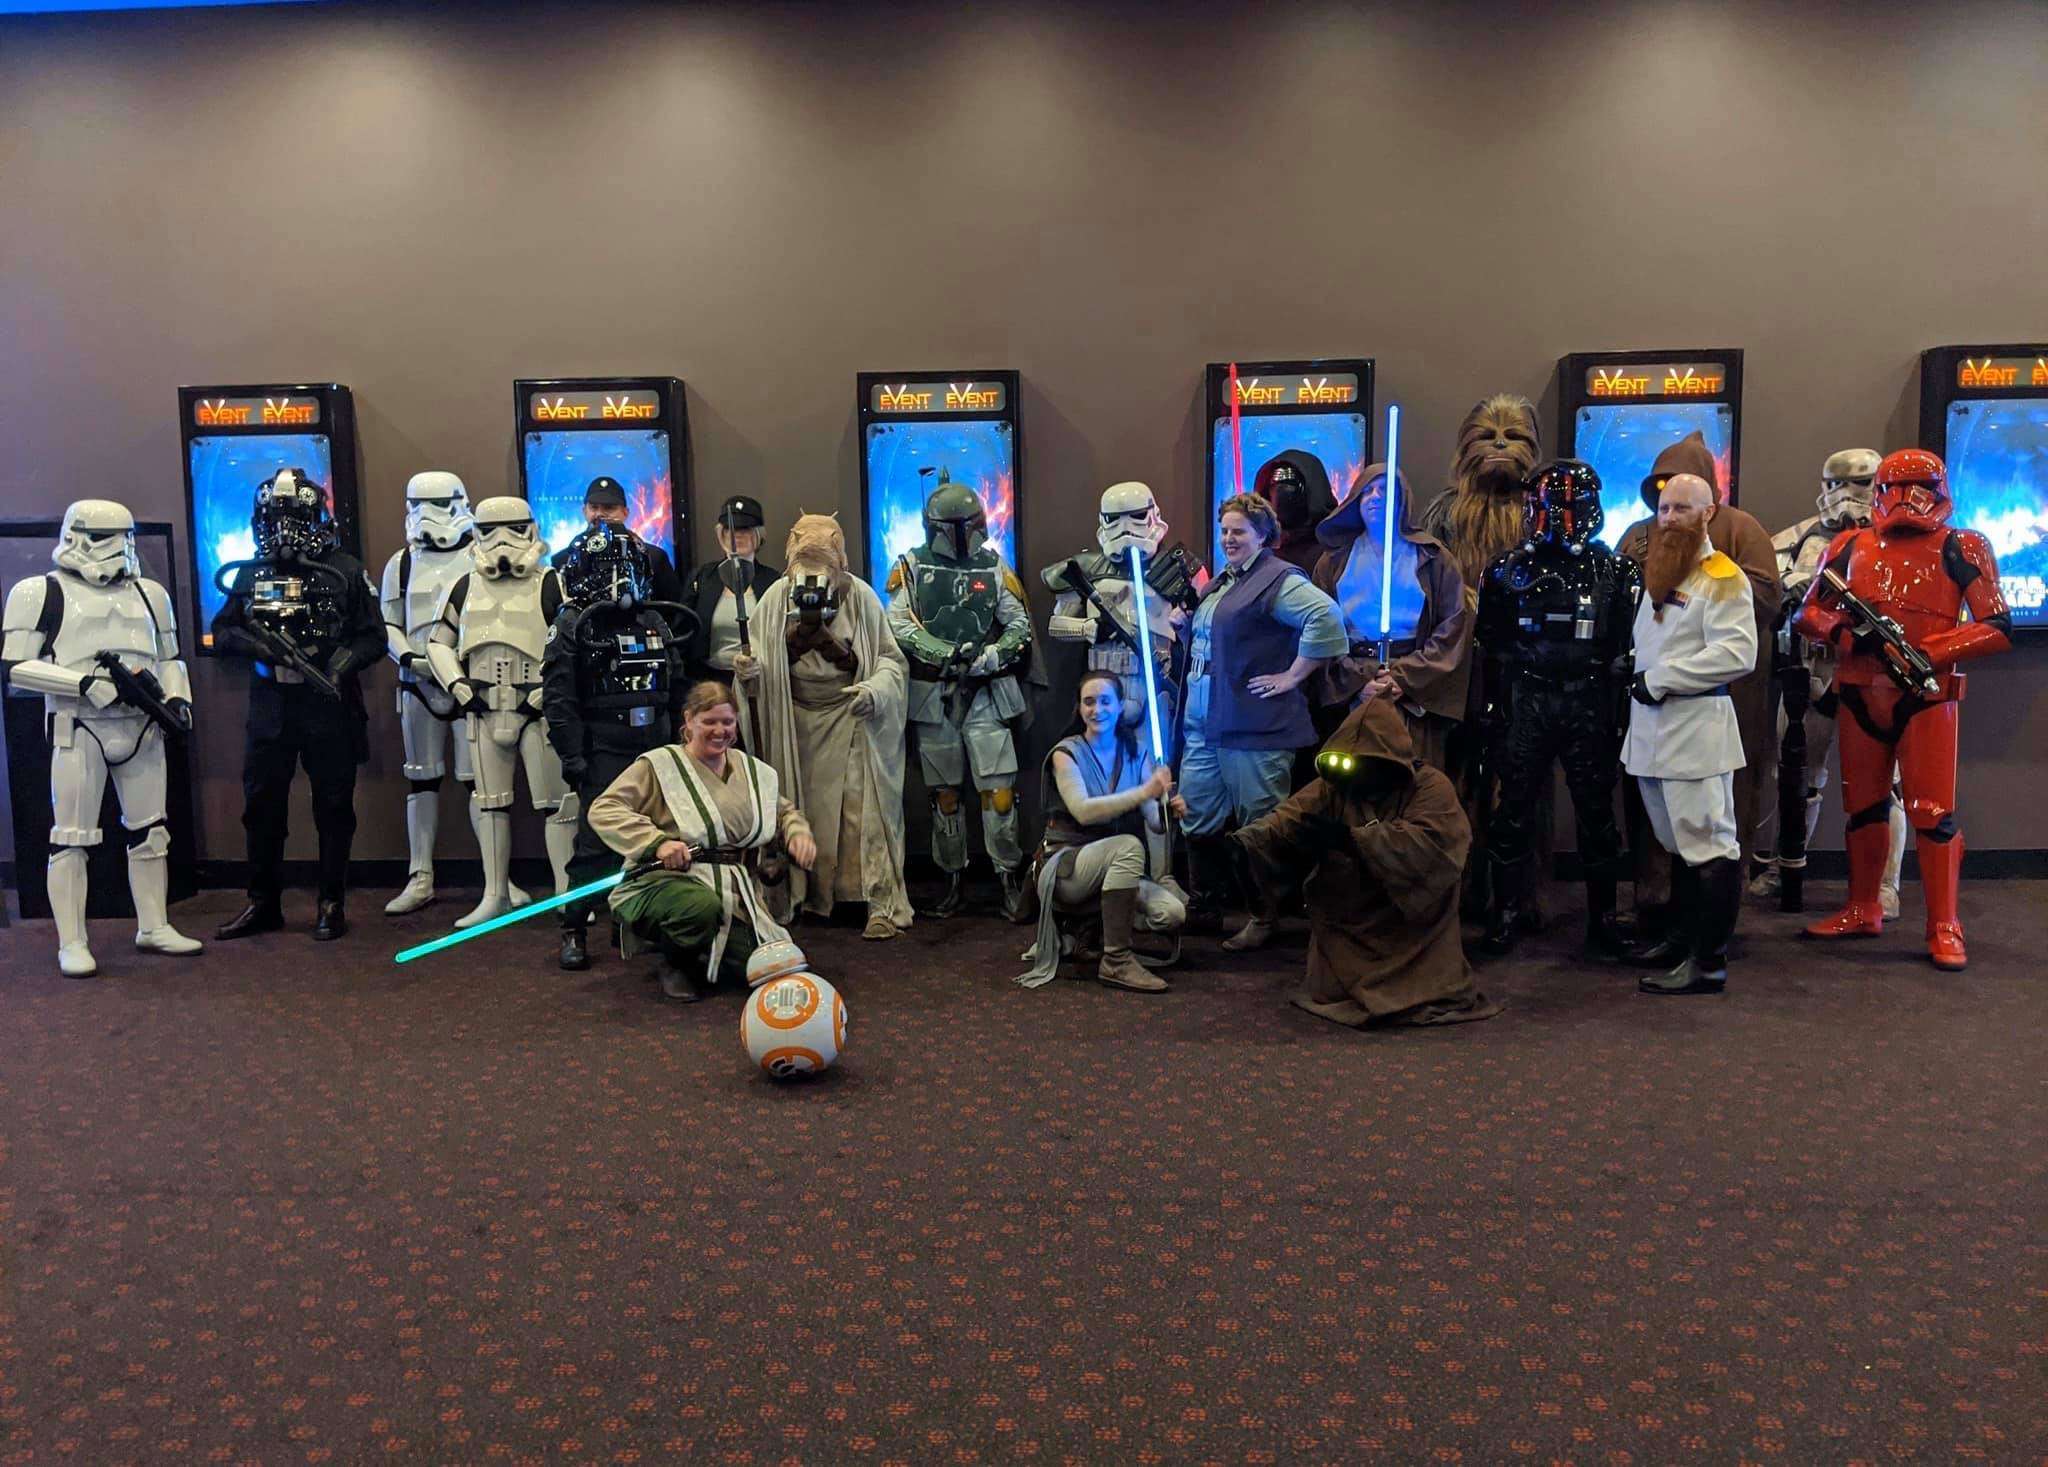
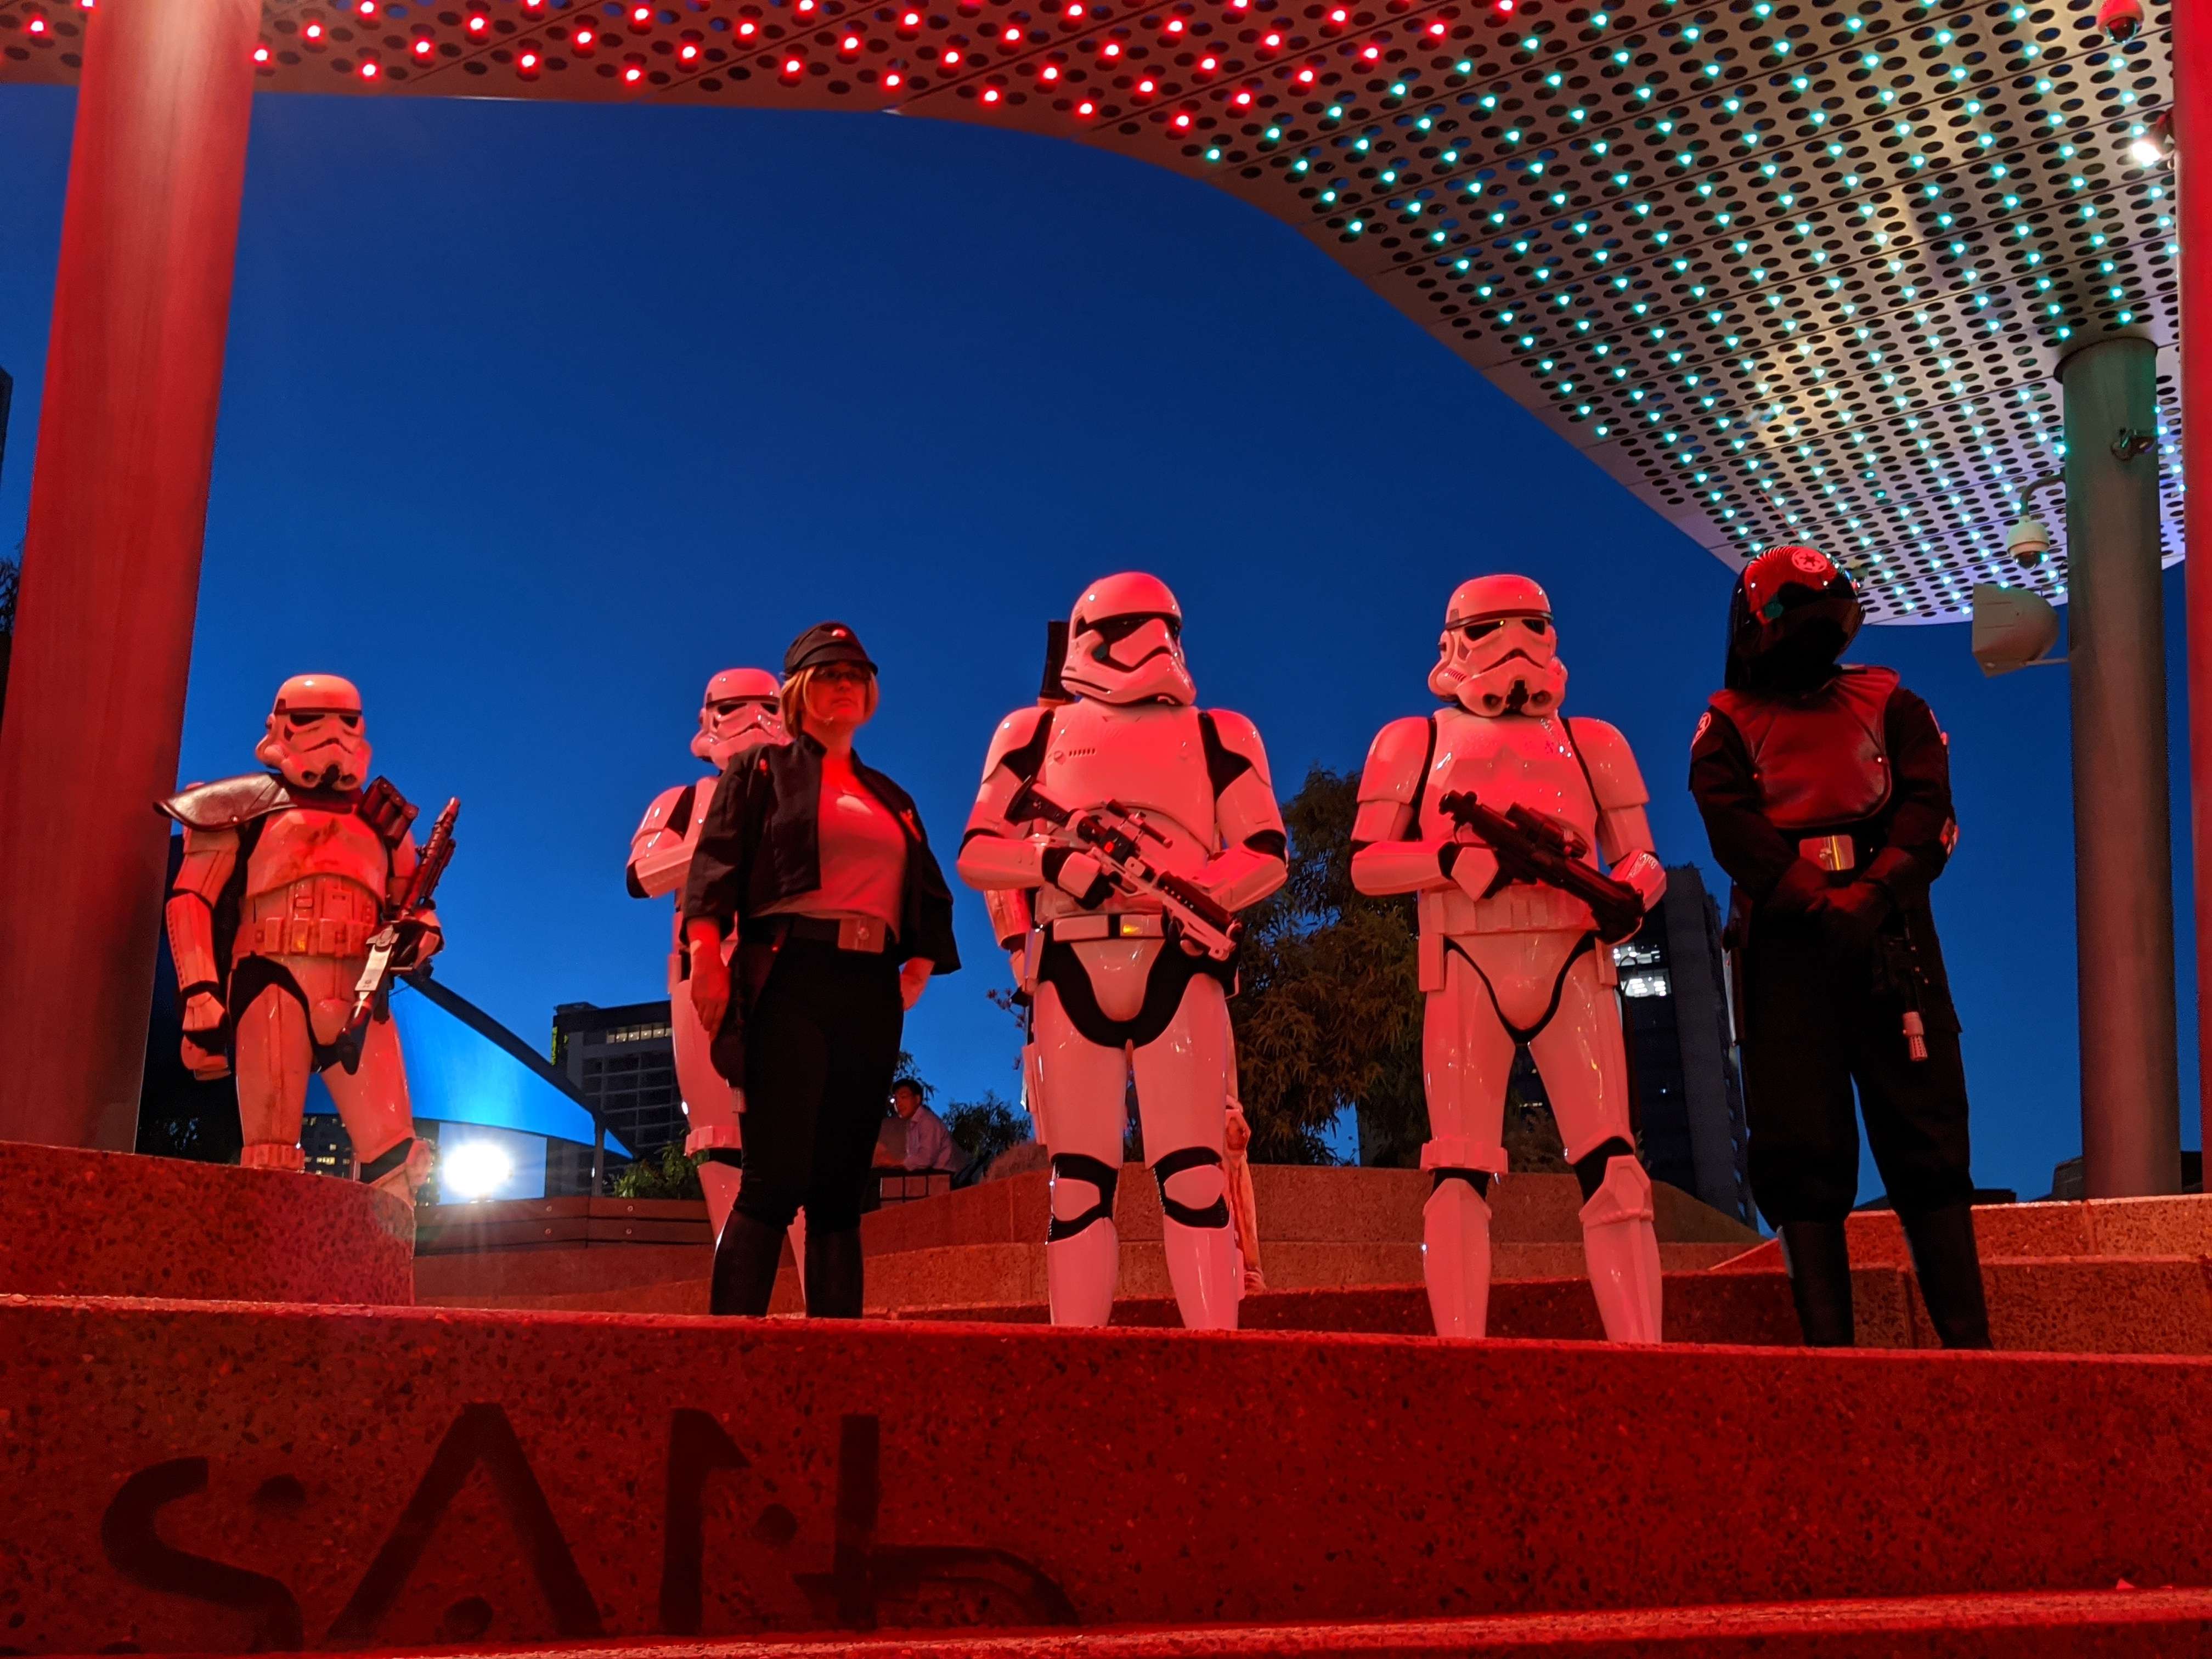
24. Star Wars under the stars - Perth CBD - 16/12/19
With the The Rise of Skywalker around the corner, we were invited by Disney to attend the opening night of a special Star Wars show being played on the big screens. Some great pics and some surprised kids!
-
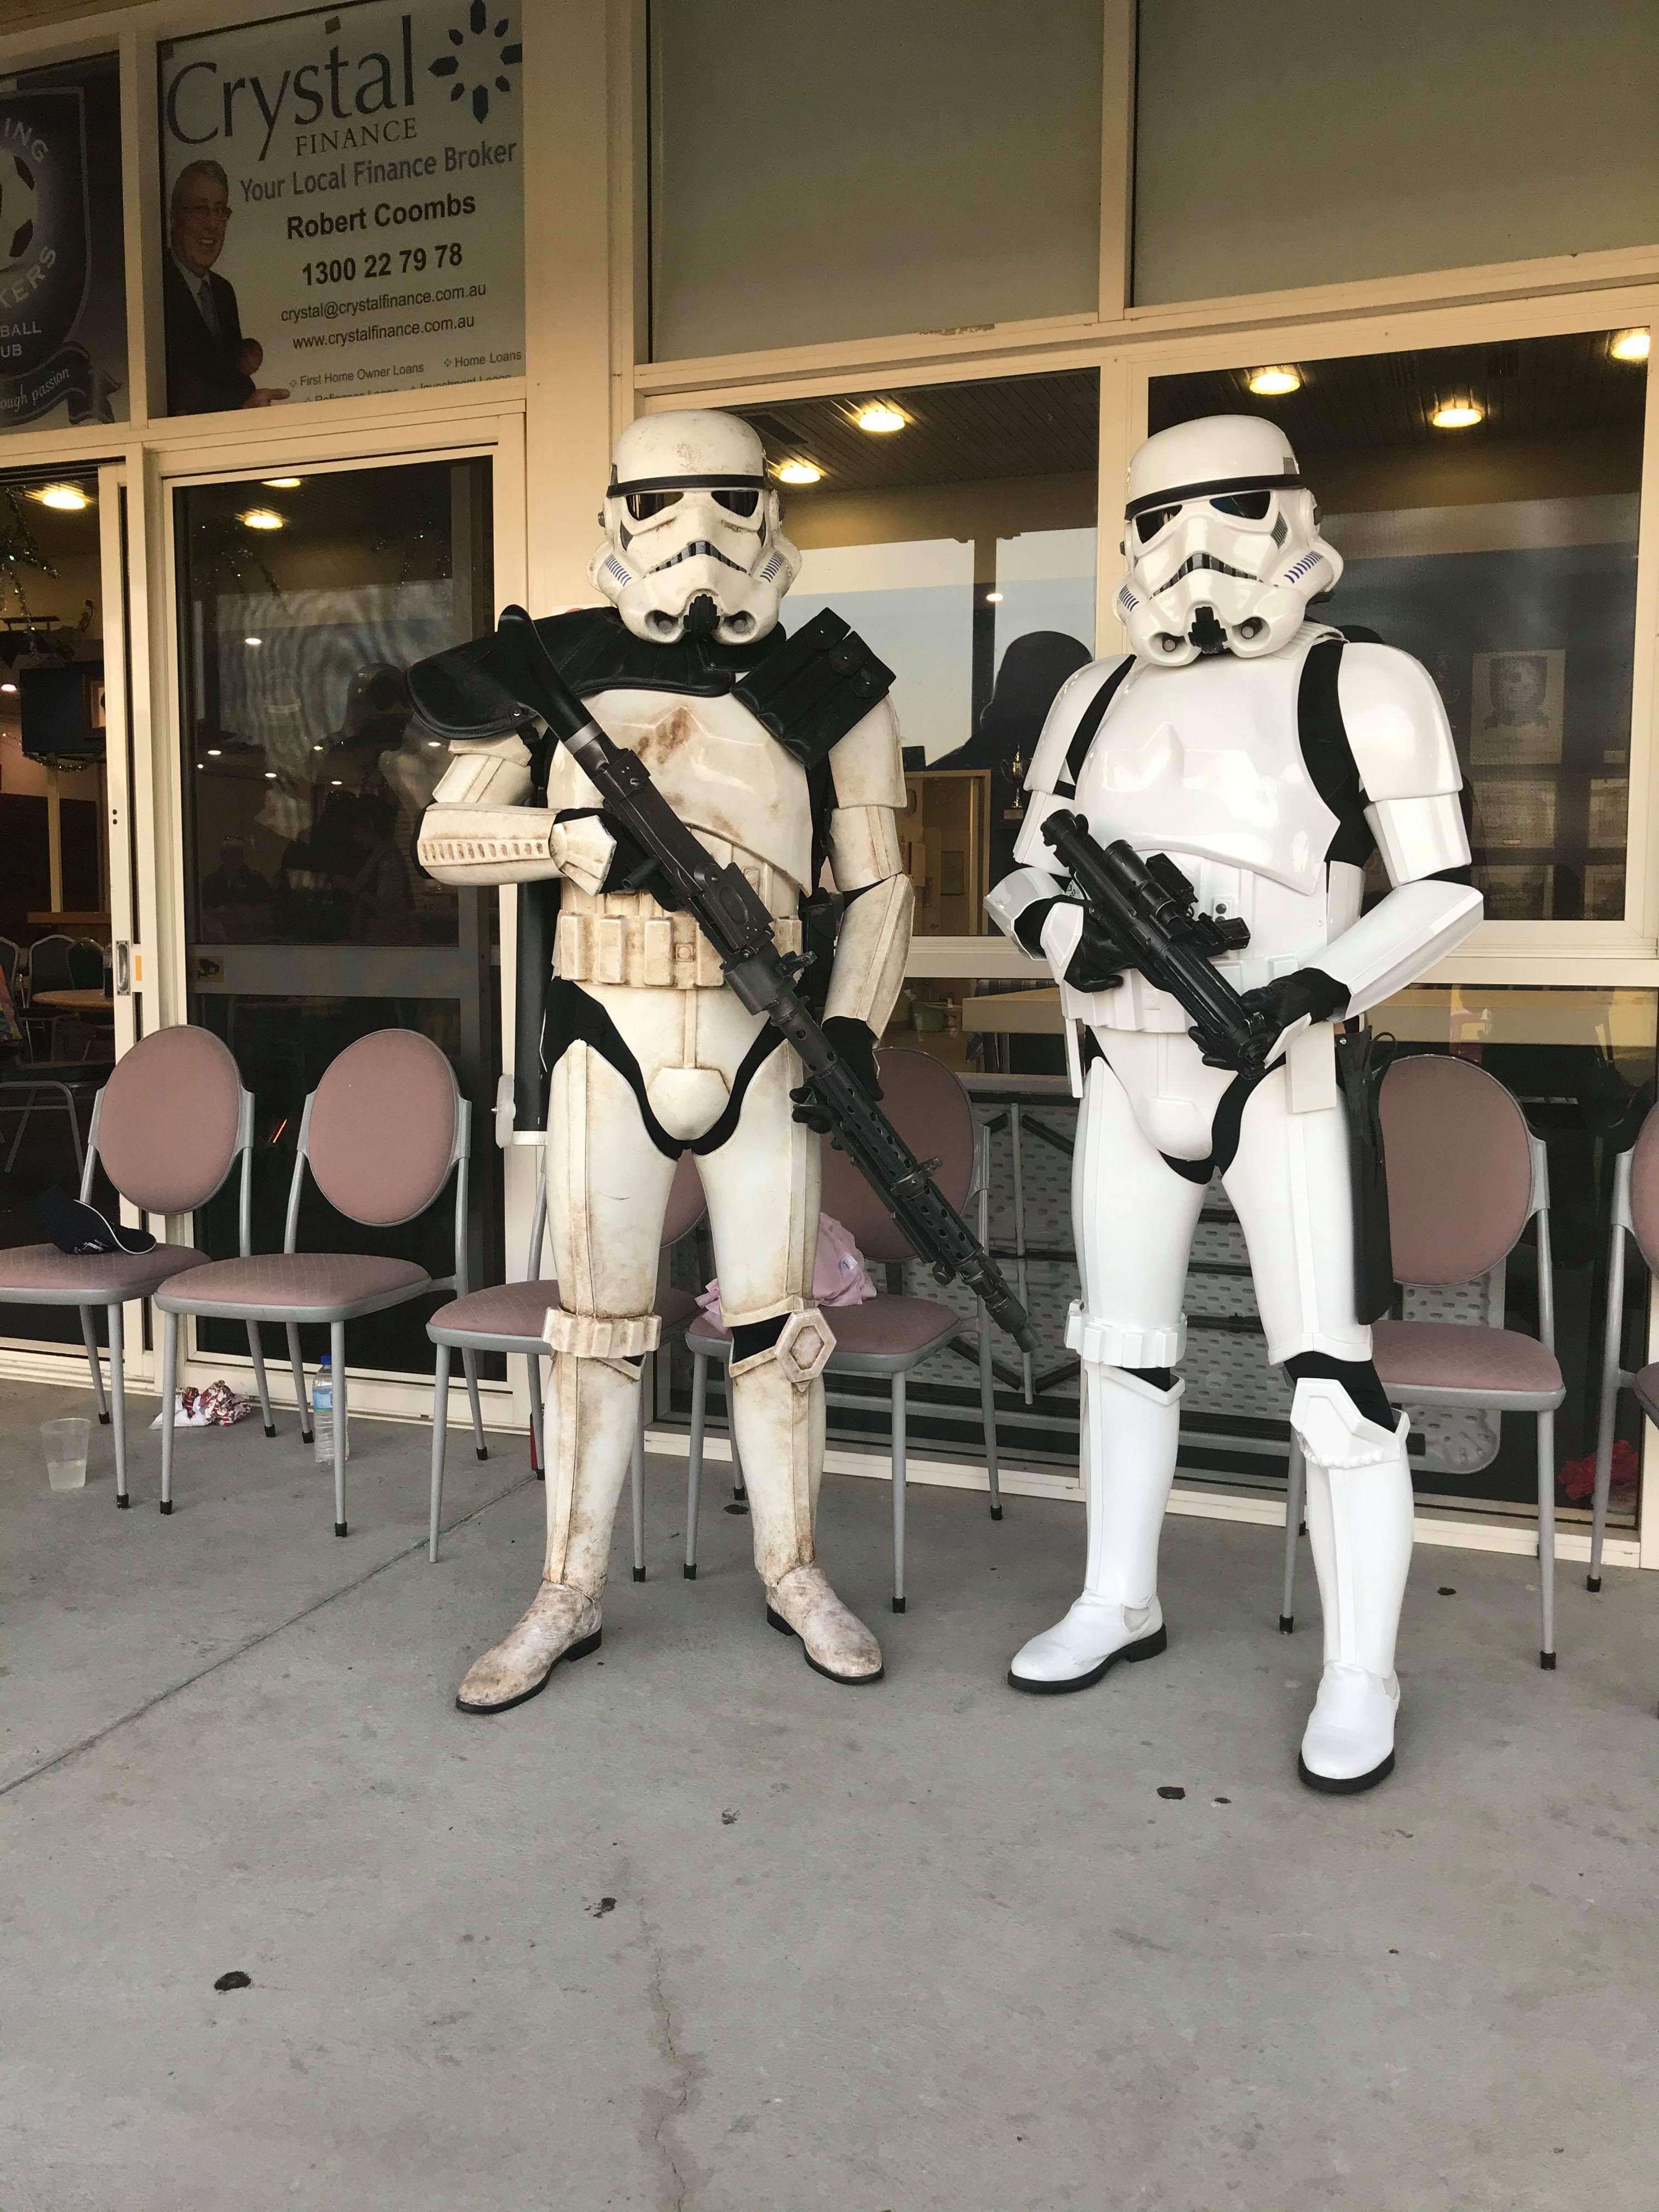
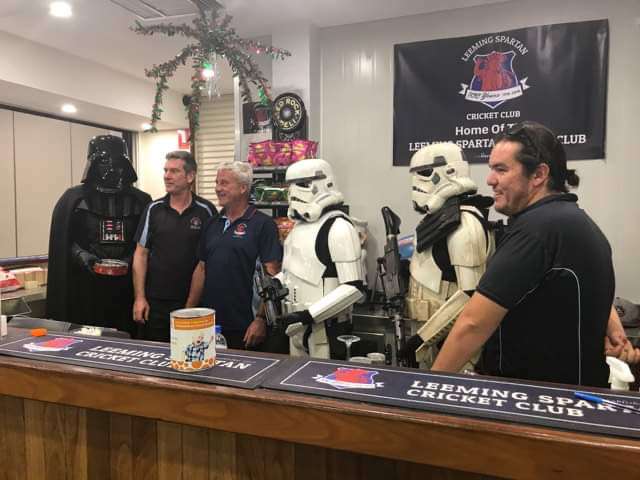
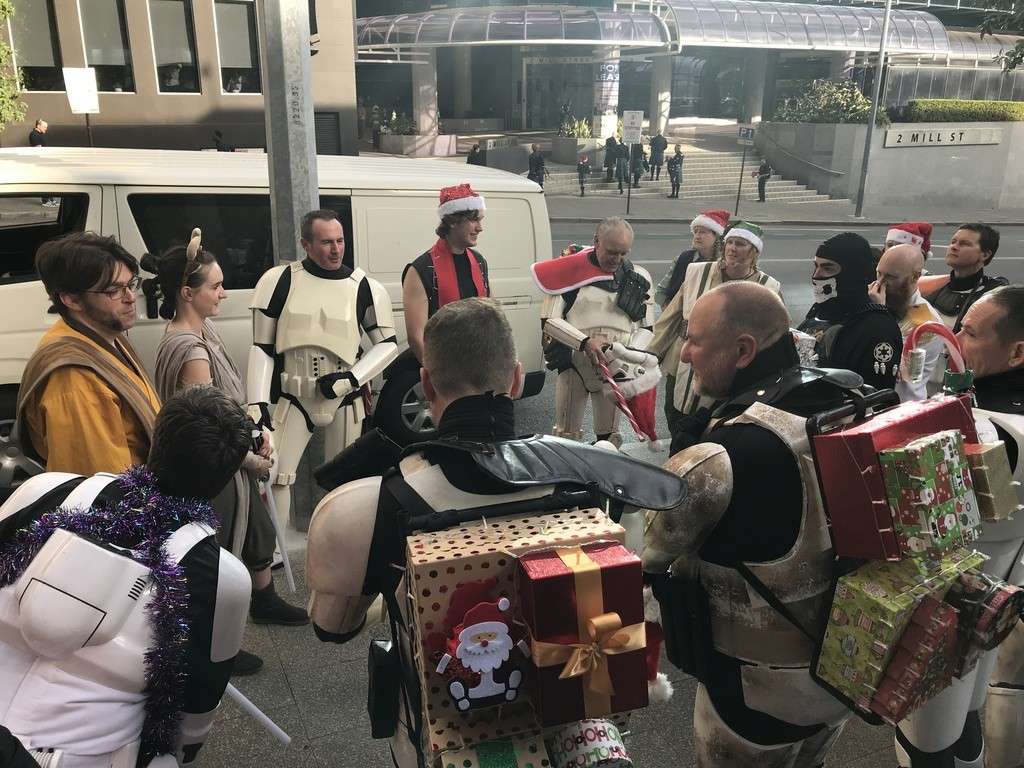
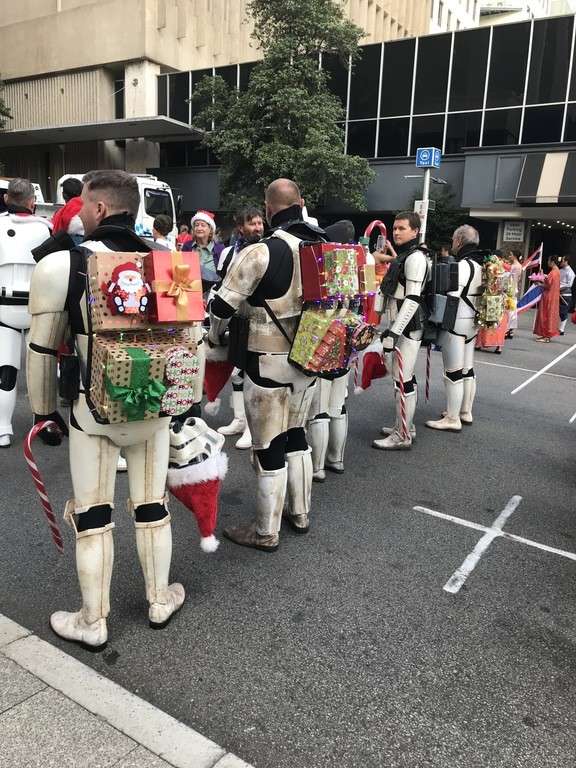
23. Christmas @ Leeming Cricket Club - Leeming - 14/12/19
Small fund raiser for the club coming into Christmas for the following year. We got to escort Santa while he gave out gifts
-
Fantastic work Hausi, really really well done. The outdoor shots are great
-
19 hours ago, Hausi said:
What an awesome idea with the "present packs" and the pauldron!

You guys really look festive.
Thanks Hausi, really enjoy the holidays where we can mix it up a bit
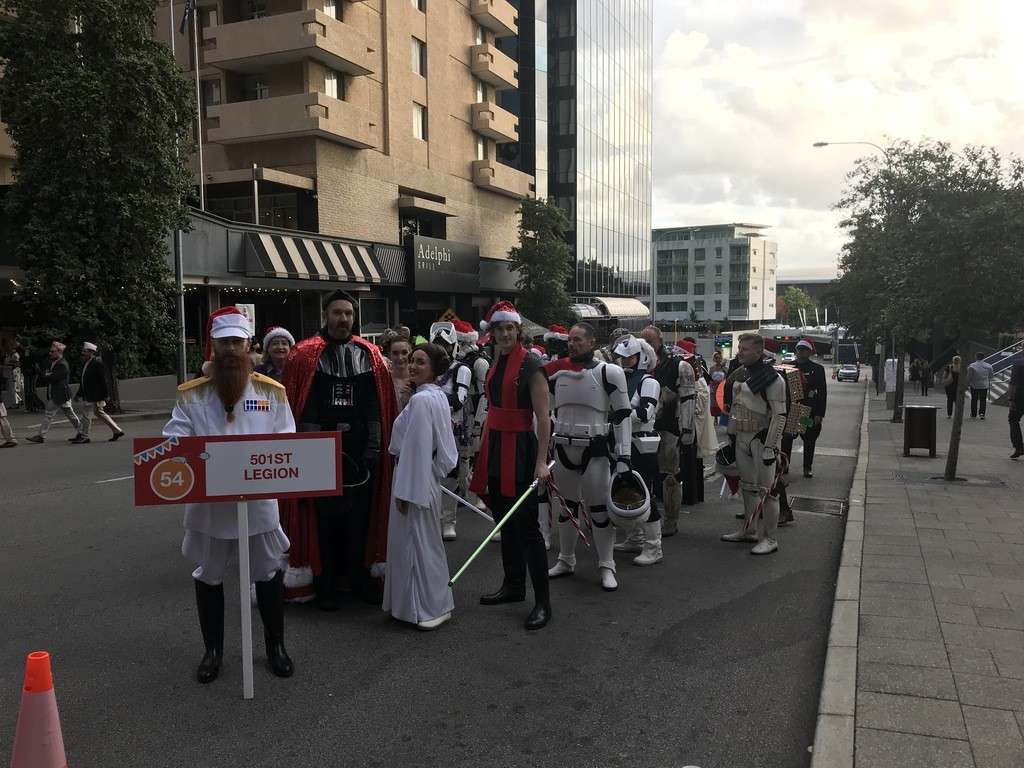
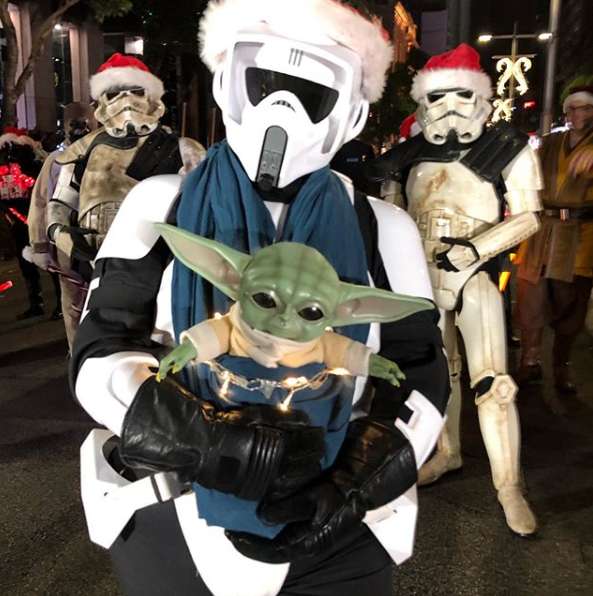
22. Perth Channel 7 Christmas Pageant - Perth City - 7/12/19
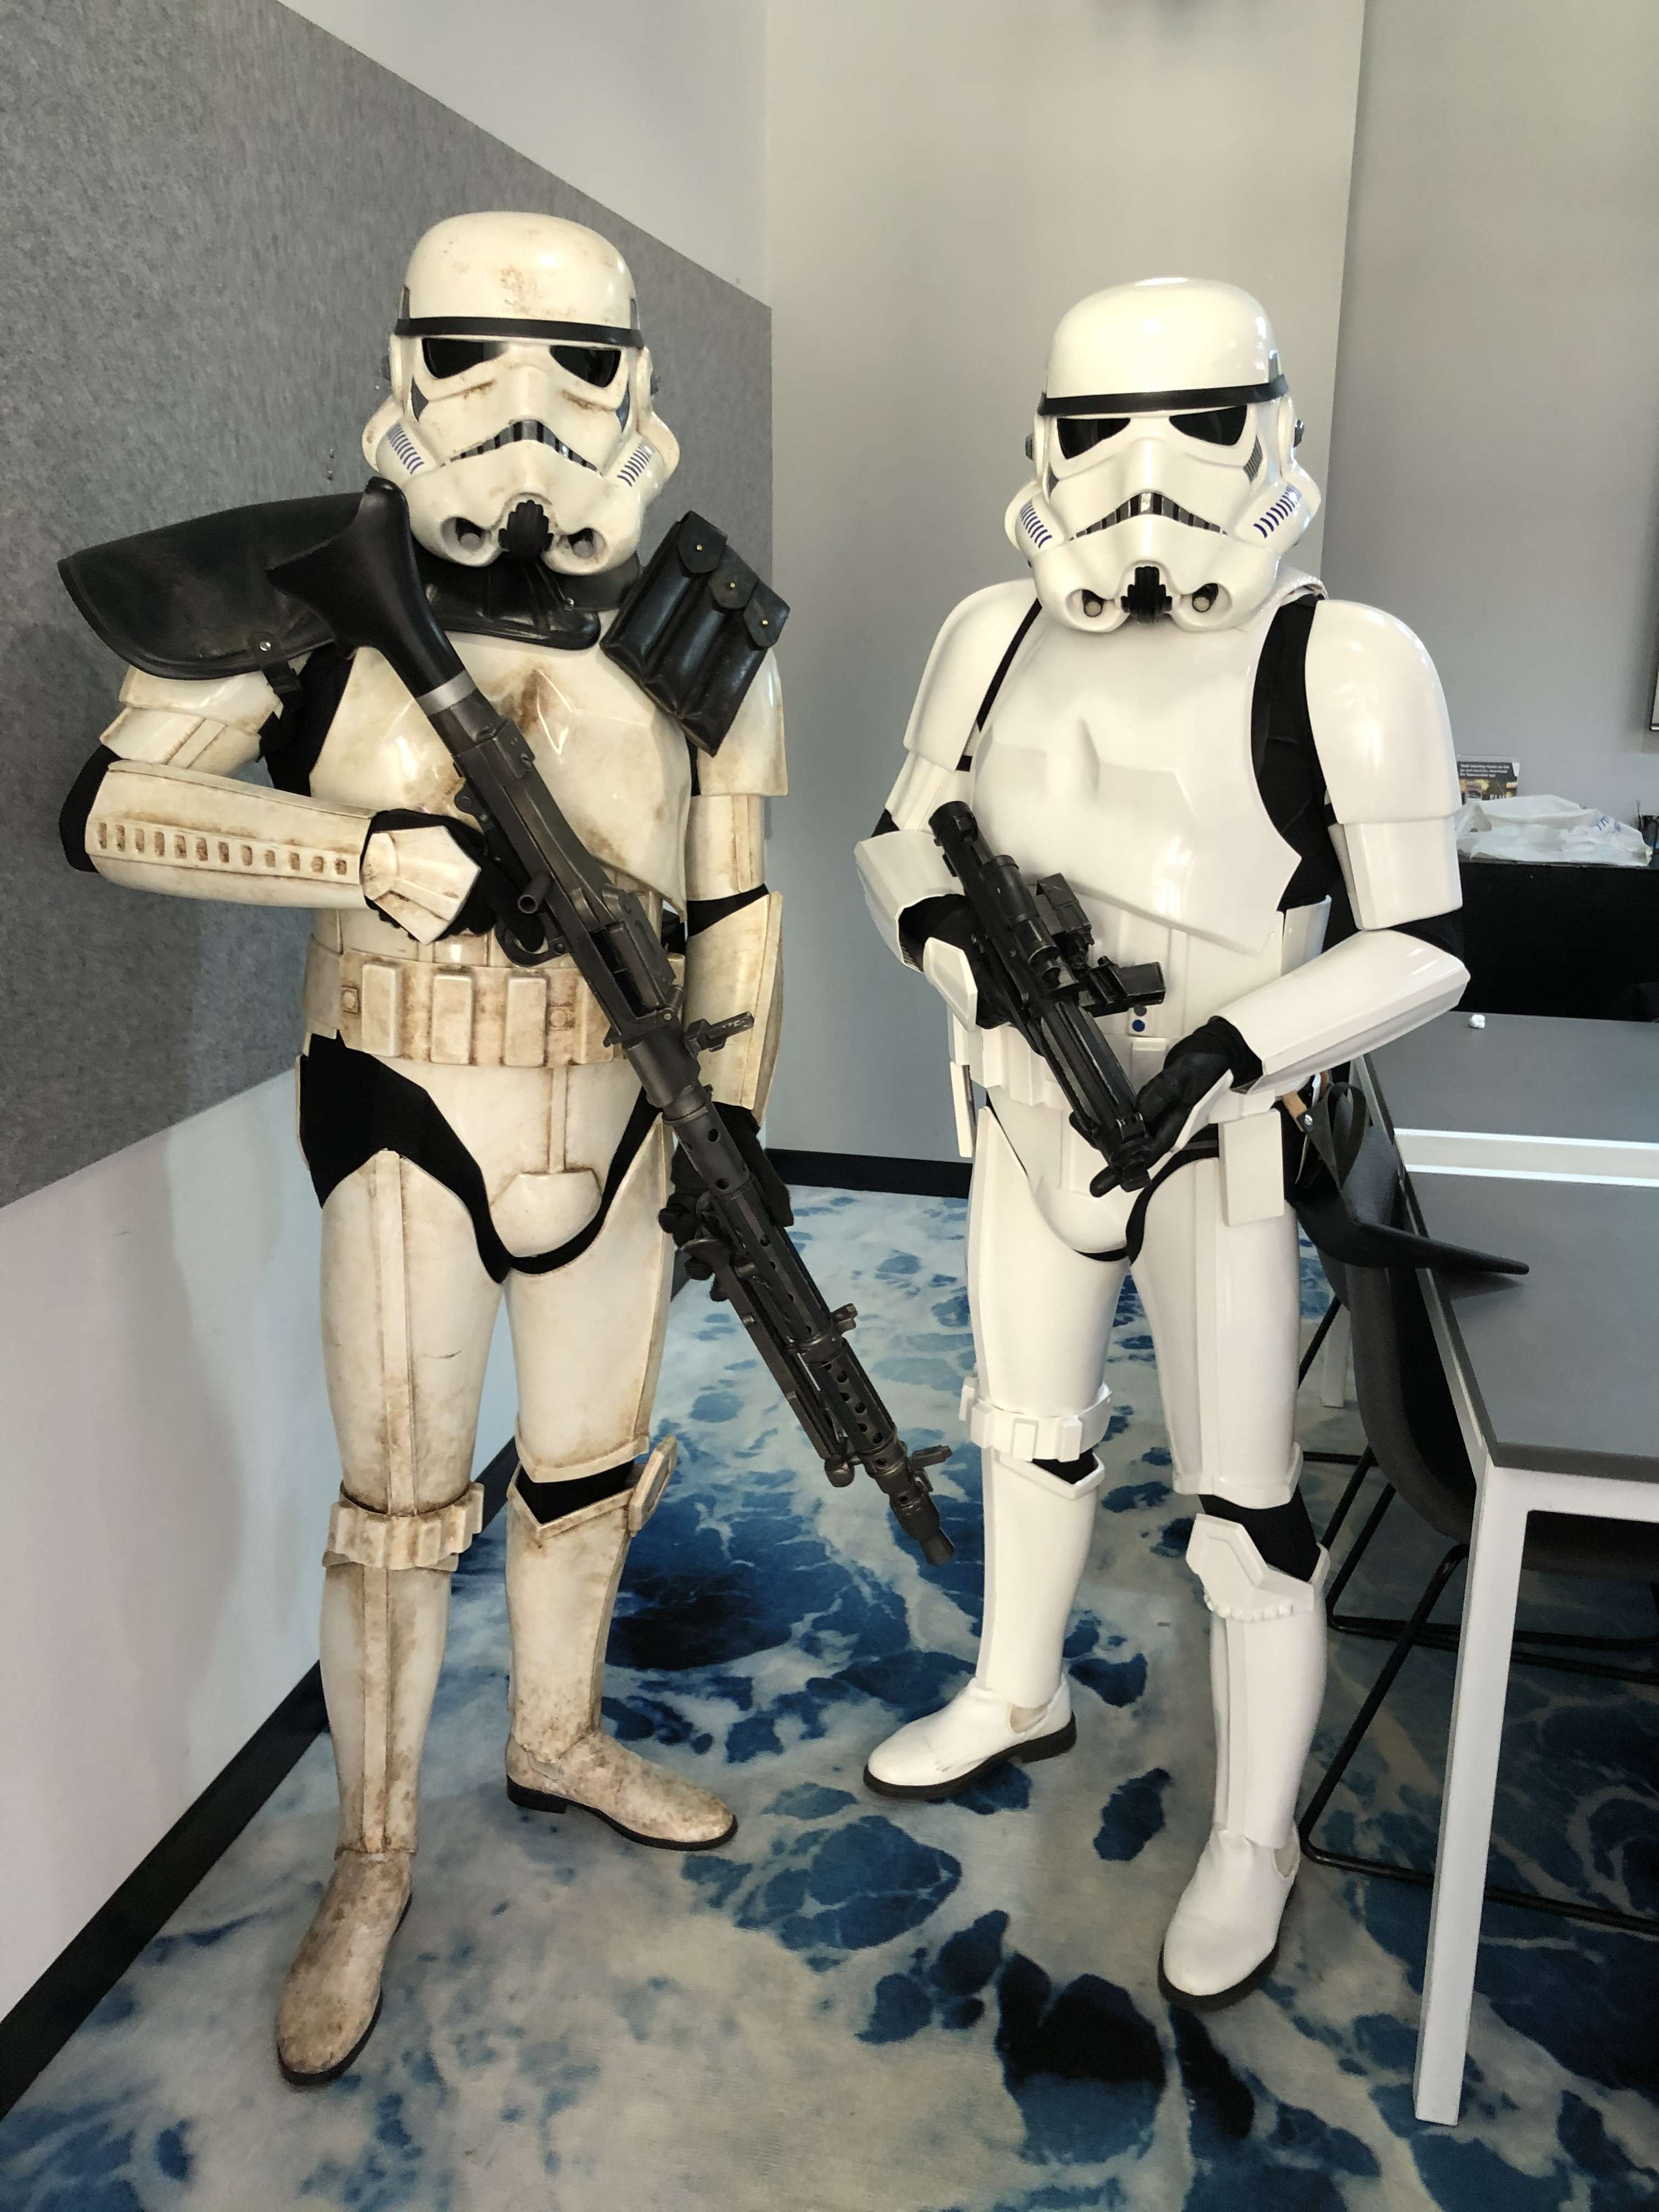
One of the biggest troops for us, its a 2km walk though the city with 83 other floats and groups to entertain the huge turnout. Hard for us to take pics but here are a few as we are waiting to walk. The other Sandtrooper's in attendance:
TD-84000 @DARTH TROOPER
TD-84001 @Tahlzy
TD-71976
TD-59226
The star of the show!
& a couple of small vids
-
1
-
-
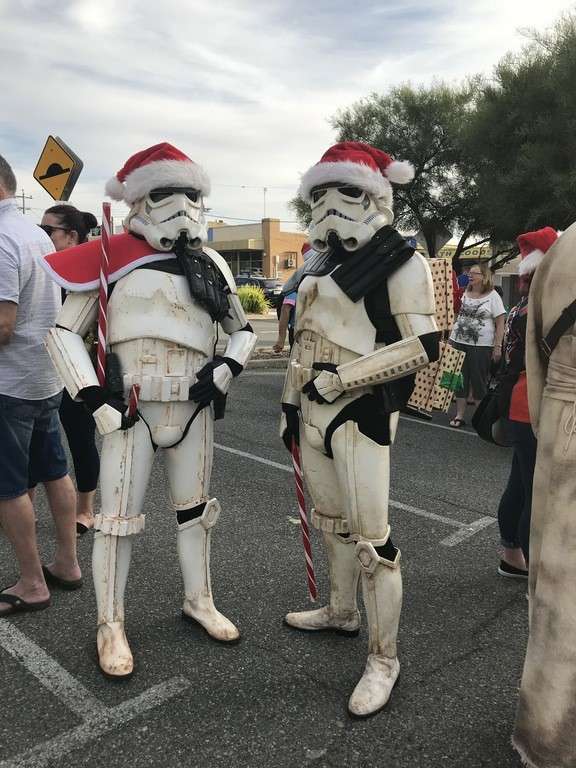
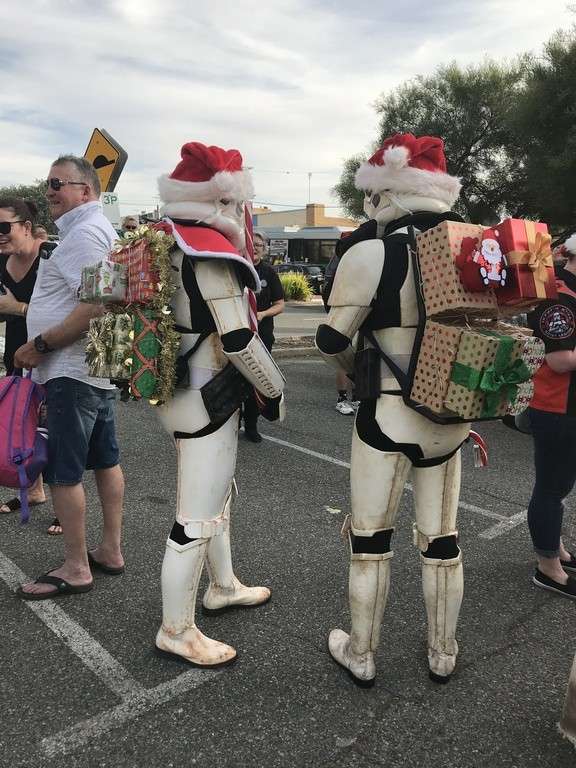
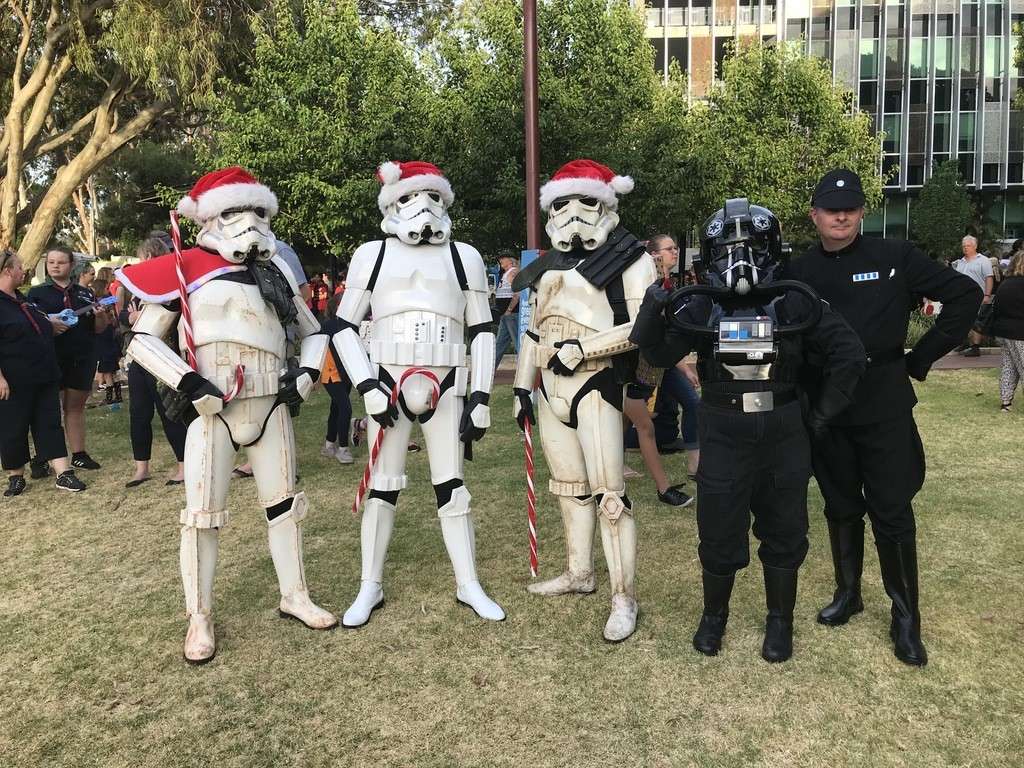
21. Armadale Christmas Parade & Carols - Armadale - 07/12/19
A local parade for the suburb many of us live in. We do this one every year & is always a day before the main Perth parade.
-
2
-
-
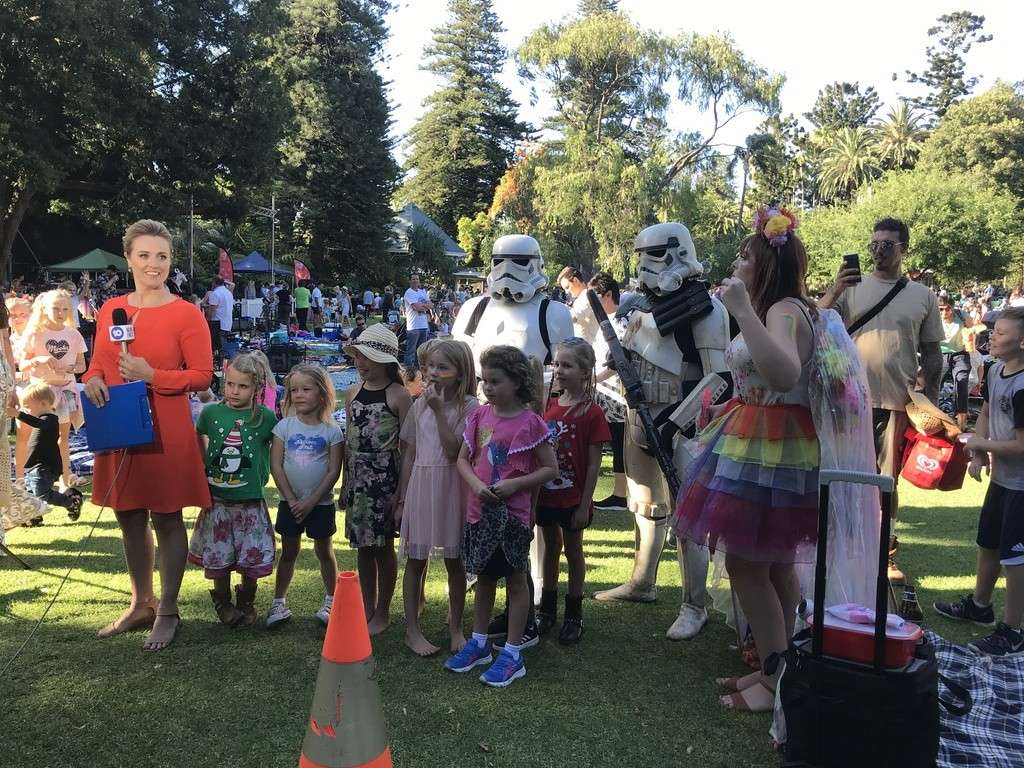
20. Surprise Birthday - Perth CBD - 06/12/19
Our job today was to surprise a mad Star Wars fan. Organised by his staff we escorted him down to the festivities and helped make his birthday special
-
1
-
-
Thanks guys, over the weekend I will start to cross post my build thread over here so you guys can have a look at the process
I have also just acquired a 3d print of a T-21 which I am picking up today, looking forward to that!
-
That looks pretty good from where I am sitting. Quick run over with a 360 grit wet/dry before a coat of spray putty, another sand with say 400 or 600 grit wet dry then a filler primer coat, sand and you should be ready to go for paint
-
Depends on how good or bad the print is. If it's quite rough, I usually sand with something like a 120 grit first to take the surface back and smooth it out some before either a using putty or spray putty. If the print is pretty good already maybe something like 360 grit just to help out the spray putty layer. Once you have smoothed the spray putty layer you should be on easy street. Just remember to keep the heat down while sanding though, I tend to wet sand these early layers more often than not. Hope it helps
-
I am very humbled by the great comments from you guys here, thank you very much.
@Hausi, I also agree that it probably does need a little more weathering but I am struggling as I love the look in person. No brand new but not to beat up, how I would keep it as a Sandtrooper anyways. Good idea on the U-trim though, I have some left over and will do that.
@RoCKo& @sand_fox_trooperSo the paint I used was
- Spray putty/Filler primer in a rattle can (any brand will work here)
- Metal under layer was SMS model paints. Its a Local Aussie brand but it's moving world wide. The metallic's are second to none and really give a realistic look. I used the Stainless Steel and Gunmetal out of the bottle, plus mixed up custom shades using both those colours as well as gold & clear orange.
-
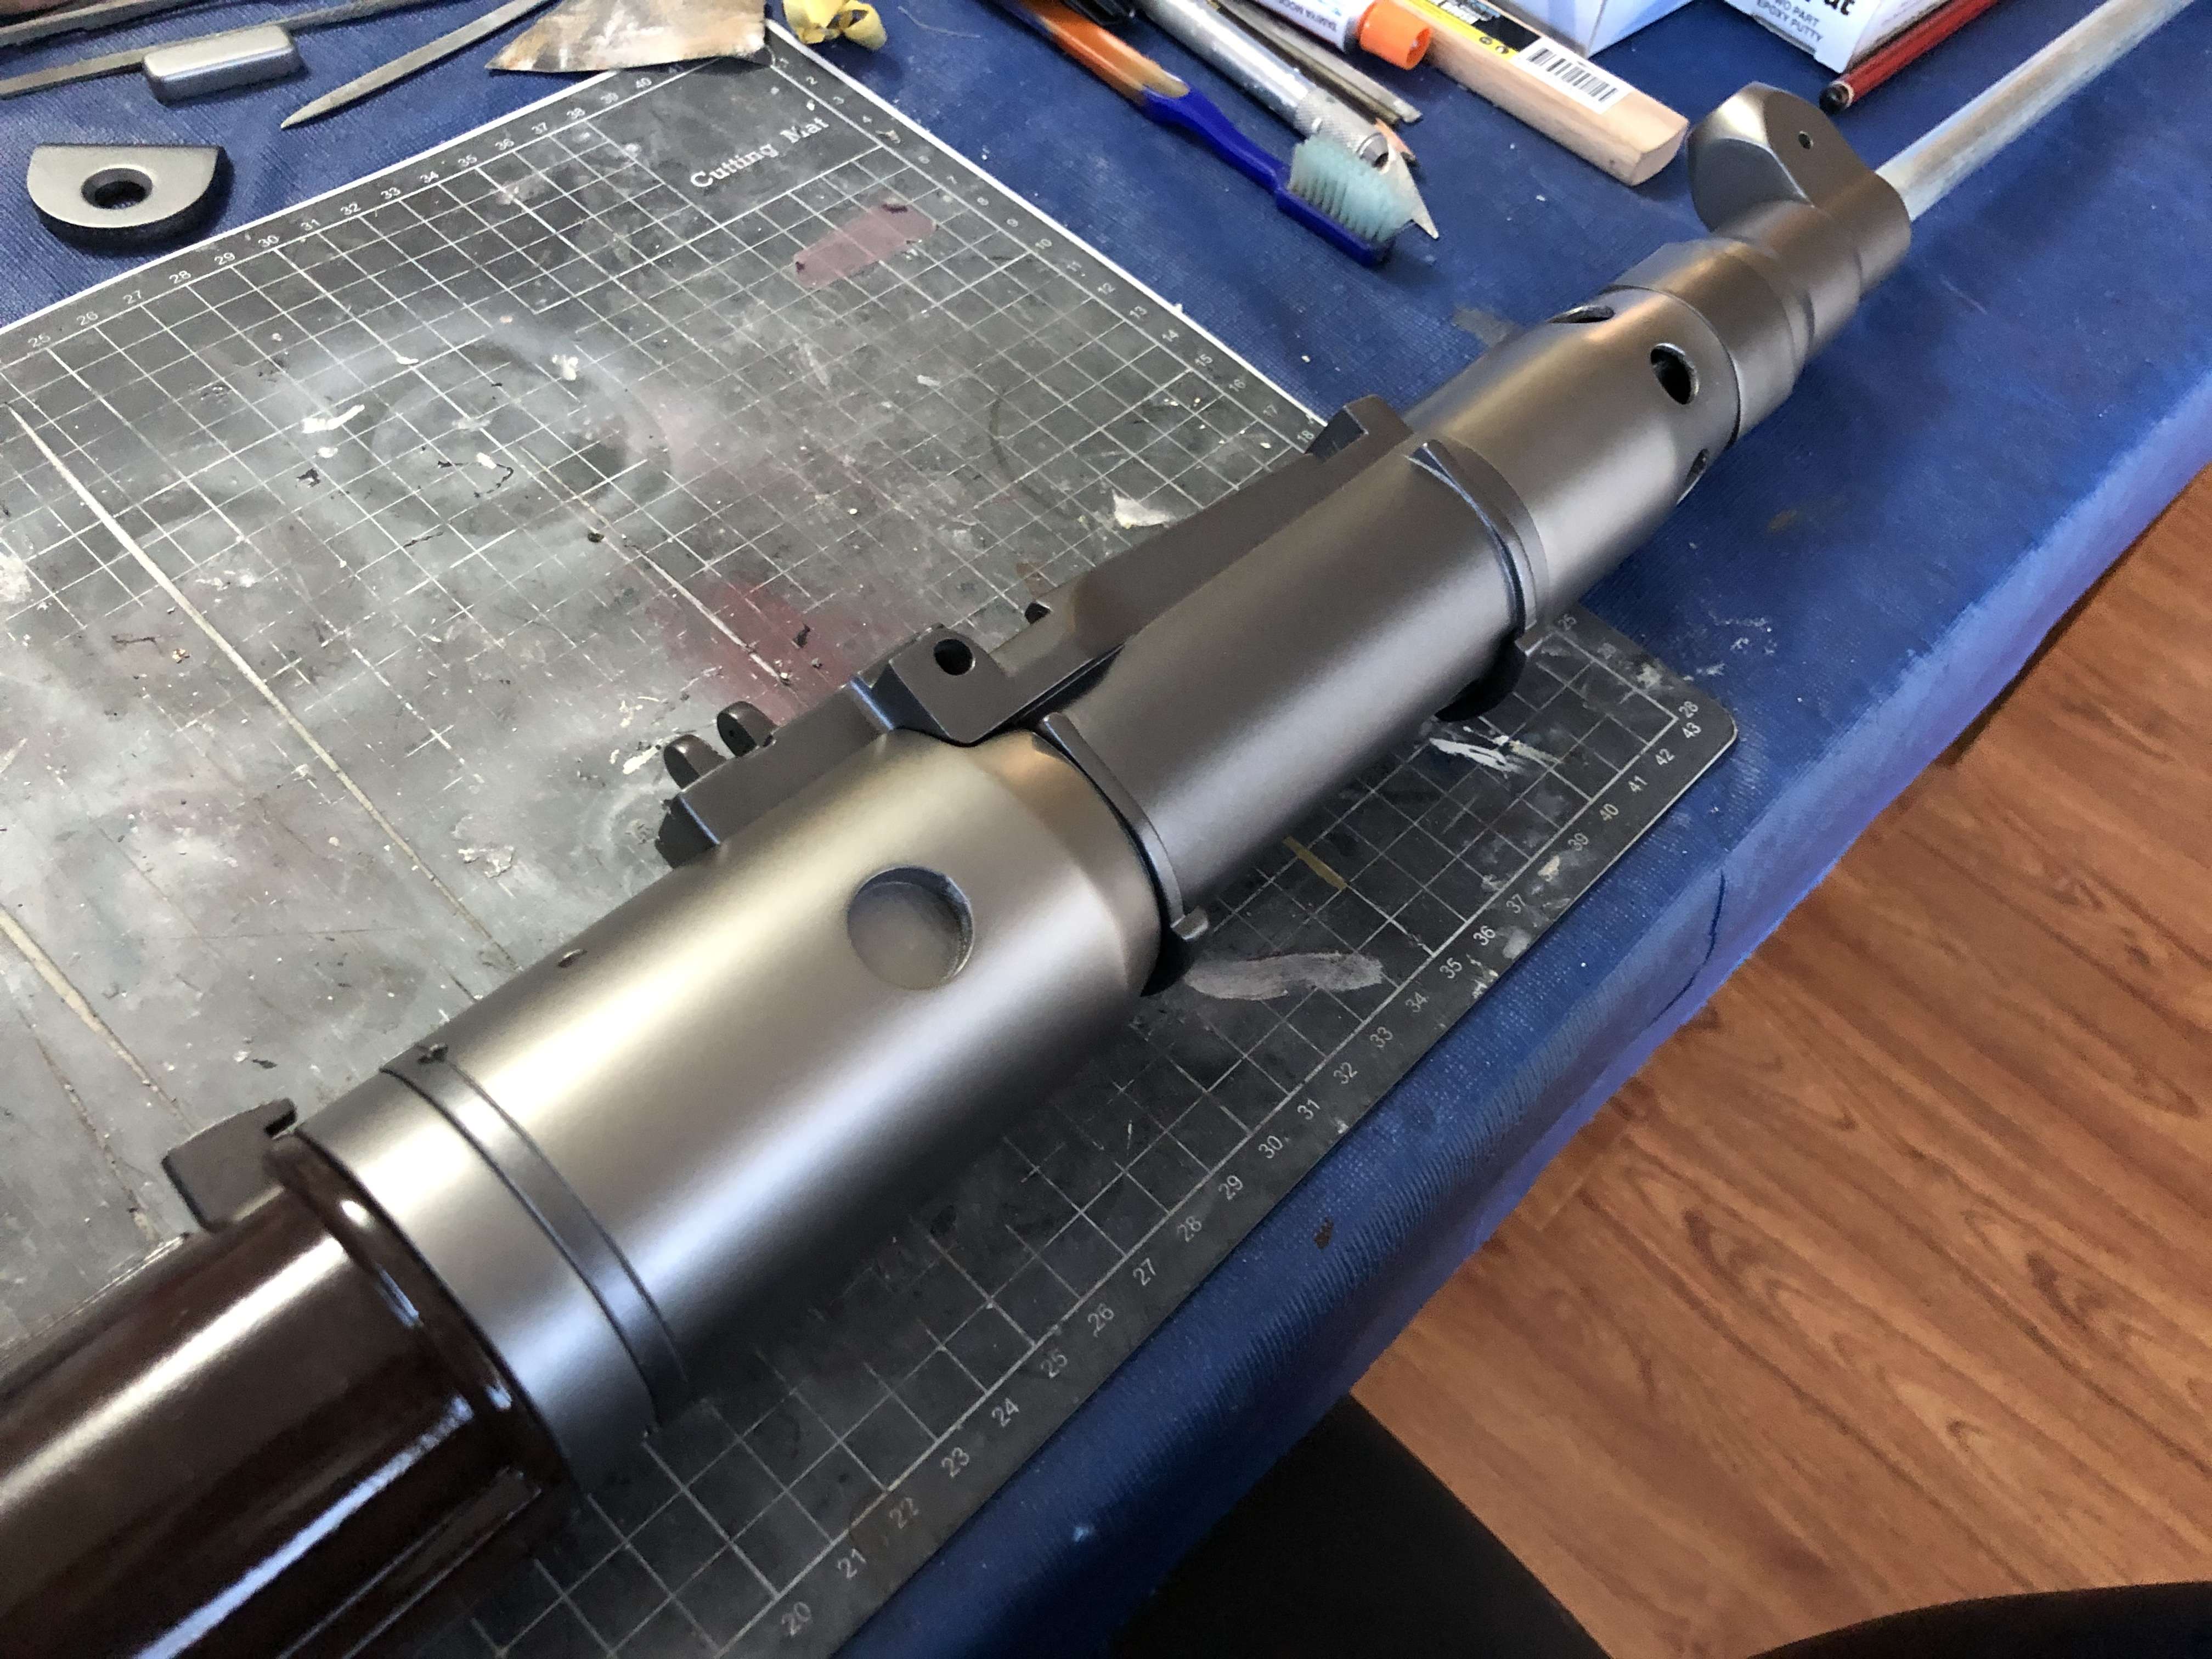
- The receiver was Vallejo acrylic paints, base coat burnt umber, then stippling of various brown,grey & black shades before finishing in gloss clear in a rattle can (rustoleum) to give a Bakelite look
- The main MG15, once all metallic's were applied, was then sprayed in Black from Vallejo before being chipped by hand with a tooth pick then sprayed in Satin Gloss clear in a rattle can (rustoleum)
- The Hand grip is in Vallejo acrylics, Wood colour, then stippled burnt umber and covered in SMS Gloss mixed with flat clear for a different shine.
- The Tabby & No.32 was coated in SMS Brass & Custom steel colours colours made by me before again being covered in Vallejo Black and scratched. I also thinned out the Black for the Brass sections so I could have more show though rather than it being a solid colour. Again Satin gloss clear to finish from the rattle can
- The single point is a base layer of rattle can (rustoleum) matt black, then a thinned layer of Vallejo black, then corn flour applied with a strainer while the paint is wet, then a second un-thinned layer of Vallejo Black once the flour was dry.
- All scope rails etc we all coated in SMS metallic custom colours made by me, then over sprayed in SMS clear black to give a more gun blue effect.
- Finally all exposed metallic's then had a wash applied of first a Grey/black/dark green, then a Black. Then pigments were used on the mag and hose to *** some weathering
I did do a complete build thread for this one on my local garrison forum for the guys and girls to follow along. Would you guys like me to transfer this over here to the MEPD?
CLOSED - INTEREST CHECK - MEPD Shield Patch 45th Anniversary ANH 4" + 10"
in Closed Merchandise
Posted
1x 4"
1x10"