HappyTrooperDotCom
-
Posts
172 -
Joined
-
Last visited
-
Days Won
5
Content Type
Events
Profiles
Forums
Everything posted by HappyTrooperDotCom
-

Tour of Duty Troop Log - Get featured in newsletters
HappyTrooperDotCom replied to Airborne Trooper's topic in Tours of Duty
I've been trooping all year long, I keep a log on my blog. Going to start my troop log on MEPD tonight! -
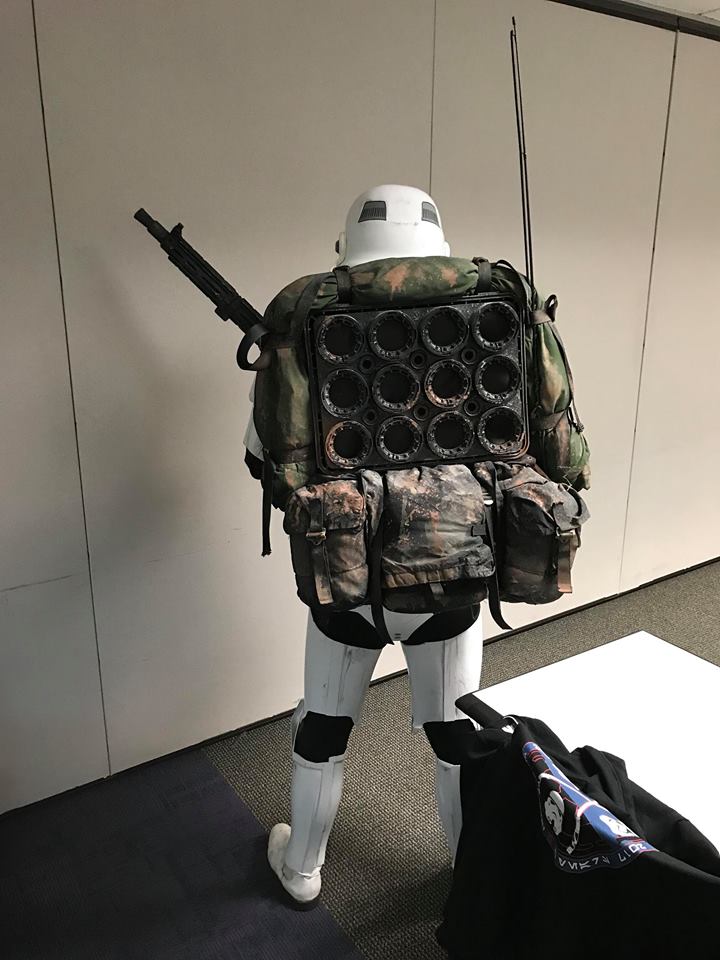
Is this for the trooper shown in the photo below? If so, I may have a candidate.

-
TD42115: ARMORER TEAM MEMBER
HappyTrooperDotCom replied to TD42115's topic in Armorers per Garrison/Area
Congratulations Chris. -
I purchased a set from justjoseph63 on whitearmor.net https://www.whitearmor.net/forum/topic/35702-fs-flexible-hand-guards-for-level-3-centurion/ So far, they've held up great.
-
Nice job Shawn! Looks terrific!
-
Couldn't agree with you more HenselMonster...there are some great pics in here. We're off to a great start! I edited the original post to also include Instagram IDs.
-
Troopers, due to an increase in Rebel activity, the MEPD is up to its green lenses with paperwork...we need your help. Our propaganda minister is looking for recruitment material that can be broadcast on social media. With your help, we can promote the MEPD, help others join the elite force that makes us what we are, and most importantly, put down the Rebels forever. We do get some great photos in the troop logs, however, this central location will make it easier to identify social media worthy material. We are looking for any cool photos of you decked out in your dirty armor that are: -funny -in a cool location -groups of Sandtroopers -anything you think that would make a good social media post Please include: -your TD ID# -a good caption for your post! -(optional) your Instagram account name so we can tag you! (Thank you for the recommendation HenselMonster) I know it probably goes without saying, but I'll say it anyway. Let's keep it tasteful, and try to avoid any fan faces in the photos. Some folks may not want their photos broadcast across the galaxy. So troopers, hit us up with your best social media photos here! We'll do our best to get them on Facebook and Instagram. Thank you for your assistance. Through the sand and blood, we protect with honor and serve with pride!
-
New Users, introduce yourselves here!
HappyTrooperDotCom replied to SethB6025's topic in New Members
Hey there 762s, I'm in VA too...in Inferno Squad (Northern VA). Hope we get to troop together some day. Good luck on your build. Enjoy your stay at the MEPD, we've got an excellent group here! -
I agree with Airborne Trooper with the elastic. I have an Anovos TK kit. It came with wide elastic straps for this area, but used velcro. I used the straps that came with the kit, but made snap plates, glued them in with E6000 and put snaps on the elastic straps. It has been great. The elastic has some "give", keeps my chest plate pulled over my ab plate, and seems to help pull the ab plate up a bit. I'm happy with this configuration. Here's a pic of the snap system: And with the snaps on: Good luck with the final steps! BTW, your pack looks great. Love the shade of blue/gray that you have.
-
Experienced Webmaster for the MEPD needed!
HappyTrooperDotCom replied to Strider's topic in Announcements
Thanks everyone! Looking forward to working with you. Thank you for giving me this opportunity. I promise, I will get my rear in gear and get my Police Officer rating. I have everything, just need to suit up and take some glamour shots. Thanks again! -
New Users, introduce yourselves here!
HappyTrooperDotCom replied to SethB6025's topic in New Members
Welcome Juho! Good luck on your build, keep us posted on your progress. Looking forward to meeting you in the sandbox. -
Electrobinoculars
HappyTrooperDotCom replied to jcalus's topic in Pouches, Pauldrons, and other Accessories
Hahaha, this is awesome, great idea. -
A new CRL - Battlefront Magma - for MEPD
HappyTrooperDotCom replied to Daetrin's topic in Battlefront Magma Trooper Armor
Shawn, excellent job on that pack, it looks terrific. The Magmatrooper backpack, breather hose, and LED is a beautiful addition to Stormtrooper armor. And also its dirty -
Hello Sand Lovers, LoveMonkey previously posted the video for this build, I wanted to expand on it and provide a one-stop-shop for the templates and ingredients. I'd like to acknowledge PandaTrooper...he inspired me with his T-21 build. It was my first scratch build, he helped me take that first step, which eventually helped me draw out some rough templates for a few other scratch builds (DLT-19, lightsaber hilts, and Fett's EE-3 ESB). I'd also like to thank TK409. I picked up a few pointers from his build, which can be found here: http://www.tk409.com/images/mg15/tutorial/index.html Please check LoveMonkey's post in this forum, he made some weight improvements by using different types of pipe. Because this blaster is made of wood, metal, and PVC, it has some weight to it. If you are wearing a pack, this will weigh you down even more. I like playing dress-up and making videos, so the procedures are in video format. Here's the video. Please check below for some more photos and a list of raw materials. This will give you an idea of what is required to take on this project. If you like to build stuff, this is a fun project to tackle, and very rewarding. Feel free to change any of the methods, materials, tools, etc. I'm sure that you can find things to improve upon...and if you do, please share with the rest of us! MATERIALS PVC & WOOD TEMPLATES click here FREE 1” wood (¾” actual) for blaster handle click here $9 ¼” wood for ammo drum mounting plate & handle grips click here $2 2” PVC pipe (2 feet) for body click here $5 2” -> 1.5” PVC reducer coupling click here $1 1.5” -> 1” PVC bushing click here $1 1” PVC pipe (2 feet) for barrel click here $3 ½” EMT conduit click here $3 3” couplings x 2 for ammo drums click here $3 1” PVC coupling for muzzle click here 50 cents Plastic sign for ammo drum covers click here $6 2” pvc cap fitting click here $2 1” Binding post screw to secure grips click here $1 Utility runner to cover ammo drum sides (2 feet to be safe) click here $5 ½” diameter PVC sch 80 nipples (10”) for front scope click here $1 ½” PVC coupling for front scope click here 50 cents Shrub sprinkler head for front scope click here $2 #10 knob for scope greebly click here $3 1.5” corner braces to mount front scope click here $3 Rain bird 4” sprinkler for rear scope click here $4 ½” to ⅜” hose barbs x 2 click here $7 ½” x ½” x 12” braided supply hose line click here $5 90 degree corner angle plates for rear scope mount click here $2 #8-32 1” Oval head machine screws click here $2 #8 finishing washers click here $2 #8-32 nuts click here $1 #6-32 x ⅜” round head machine screws and nuts for ammo drum covers ~18 click here #8-32 x ⅜” round head machine screws and nuts for both scope mounts click here $1 #8 1” wood screws to secure handle to 2” PVC pipe click here $1 #6 x ½” pan head sheet metal screws to secure 90 degree angle plate click here $1 ¾” to 1-½” hose clamps x 3 for rear sight, and 2 on the 1” PVC pipe click here $4 7/16” to 29/32” hose clamp for top sight click here $2 TOOLS Jigsaw Hacksaw Dremel or other rotary tool Lexan scissors Drill Various drill bits Screwdrivers Center punch (optional) Mitre box and/or vice Clamps Sandpaper (60, 120, 220, 400 grit) Paintbrush Star Wars Pencils Ruler Painters/Masking Tape X-acto knife Glass mat (optional) FINISHING MATERIALS E6000 adhesive Rustoleum Painter’s Touch Flat Gray Primer Rustoleum Painter’s Touch Flat Black Spray Paint Varathane American Walnut stain Varathane Polyurethane – Satin finish Testors enamel: Brass Testors enamel: Silver Friction tape FINISHED PRODUCT I'll follow this thread, let me know if you have any questions.
-
HappyTrooper RT-97c Blaster Build
HappyTrooperDotCom replied to LoveMonkey's topic in T-21, DLT-19, RT-97c Heavy Blasters
Hey LoveMonkey, Thanks for promoting the build vid, much appreciated! Also, EXCELLENT job on that RT97c, that's a mighty fine lookin' BFG you got there! She's a beaut! I'm glad to hear you made an improvement...the weight. Definitely a good move on your part. I was trooping an event a few weekends ago, a fellow Stormtrooper asked if we could trade blasters (E-11 for RT97c). About 5 minutes later, he gave it back and said..."man, that's heavy". -
**Done**Asher's DLT-19 WiP
HappyTrooperDotCom replied to Asher's topic in T-21, DLT-19, RT-97c Heavy Blasters
Lookin' good Trooper! -
Thanks for watching LoveMonkey, I applaud you for making it through 30 minutes. Can't wait to see your finished product, if it will look half as good as your field pack build, it will be nothing short of spectacular.
-
It weighs approximately 5.5lbs. I like to think of it as offsetting my 20+lb field pack
-
I haven't tried it myself, but I've seen black plastic garden rakes at Lowe's that have "fingers" that look like T-tracks.
-
Thank you all for checking out the video and for the kind words. I'll be scoping out this section for some new DLT-19 scratch builds! I'm sure you guys can modify it to get it more screen accurate. See you all out on the battlefield!
-
Greetings fellow Troopers, A few months ago, I finished a T-21 scratch build using templates from Pandatrooper. He did an amazing job on both the templates and the instructions. I was looking for something similar for the DLT-19. As many of you know, there are some blueprints available. These schematics do a nice job showing scale and detail, but they didn't provide piece by piece cuts. I guess I was looking to be spoonfed. Using these blueprints, I made my own simplified templates that can be applied to wood and PVC pipe/couplings. My goal was to construct a sturdy DLT-19 using standard hand tools with parts that are readily available. You will notice that there are some details missing, such as a trigger, sights, T-tracks, and other small greeblies. I left the trigger and sights off because I plan to troop with this thing and it will get thrown around. I was afraid those parts would snap off or get caught on something. If you decide to construct a DLT-19 with these templates, perhaps you can improve on the design. I've seen a few other scratch builds out there that are much better than mine. I guess you can consider this a simplified version. If you find ways to improve the build, please share with the class! Before we jump in, I'd like to give a shoutout to Astyanax over at whitearmor.net. I used some of the ideas from his build (found here). Specifically, the mouthwash cap for the endpiece, and shelving brackets for the bipod. The trooper that drew up the MG34 blueprints is also a member on whitearmor.net. If you are reading this WizardOfFlight, thank you for the blueprints! Instead of writing up a bunch of steps with photos, I made an instructional video. It gave me a chance to play dress-up and incorporate some cheezy special effects. It's a DLT-19, there's a lot going on, so the video weighs in at 30+ minutes Here is the video: Here are a few pics of the finished product: Here are the ingredients: DLT-19 Wood/PVC/Plastic templates http://wp.me/p6OqN2-1se FREE 1” x 10” x 6’ (actual: ¾” x 9-¾” x 6’ ) premium board http://low.es/2kW8vw5 $10 1-¼” PVC pipe (2 feet) http://thd.co/2lCSM43 $4 4 x 1-¼” PVC couplings (Home Depot couplings were more uniform on outside) http://thd.co/2kz0yMo $3 1” x ¾” PVC adapter http://low.es/2l3hUnX $1 (Lowe’s has wrong pic on the site...product number in the link is correct) ⅞” wood dowel http://low.es/2kksX7O $4 Plastic sign http://thd.co/2l3qALi $5 Shelving brackets http://thd.co/2kGRszu $6 ½” type LB conduit body http://thd.co/2kki7Pc $3 ¾” corner braces (2 packs) http://low.es/2hID3hB $4 Mouthwash cap (large) local Grocery/Pharmacy ~3$ 1-½” PVC conduit clamp http://low.es/2l8Uj4Z $2 ½” #8-32 flathead machine screws and nuts http://low.es/2iIIyOZ $1 2” #8 wood screws http://low.es/2kksAuj $1 2” #10-24 round machine screws and nuts http://low.es/2kgC3ra $1 ¾” #12 oval-head sheet metal screws http://thd.co/2kH4pJV $1 ¾” #6 oval-head sheet metal screws http://thd.co/2kktXJa $1 #6 finishing washers http://thd.co/2lEocYK $1 ½” mending plates http://low.es/2lCRczh $4 #10-24 rubber well nut http://low.es/2kWn9Dv $1 ⅜” #6-32 round machine screws w/ washers & nuts http://low.es/2kgDxl9 $1 ½” #4 pan head sheet metal screws http://thd.co/2h4Ikox $1 ¾” chicago bolts x 4 http://low.es/2kH3EjY $4 ½” chicago bolt x 1 http://low.es/2kkq1Z7 $1 ⅝” or ½” #8 oval head sheet metal screws http://low.es/2l7O8yd $1 1” #6 oval head sheet metal screws http://low.es/2lD7zfr $1 ½” #8 machine screws, nuts, and finishing washers used to fill the holes in the shelving brackets $1 Approximate cost of materials: 66$ Finishing Materials Bondo E6000 adhesive Elmer’s Wood Glue Sandpaper (60, 120, 220, 400 grit) Friction tape #0000 steel wool Graphite powder http://amzn.to/2lFq4R7 Rustoleum Painter's Touch gray primer spray Rustoleum Painter's Touch flat black spray Rustoleum Painter's Touch metallic aluminum spray Satin clear spray Polyurethane in satin finish Tools Jigsaw http://amzn.to/2klqxGd Dremel http://amzn.to/2lFpfrB Drill http://amzn.to/2klyStp Drill bits http://amzn.to/2kluKtE Hacksaw http://amzn.to/2l8Vl0R Files & rasps Screwdrivers Lexan scissors http://amzn.to/2klB5Fi Star Wars pencils! http://amzn.to/2l4wHz0 Airbrush (optional) http://amzn.to/2l4x7VV Hope you guys can improve on the design. If I add any additional templates for the build, I'll put them in the zip file in the d/l link. Thanks for looking! This build does take some time and patience. Your hard work will pay off in the end, the DLT-19 is a beautiful weapon!
-
The slings have open "clasps" on each end. I wrapped one sling around the front of the barrel and inserted the fabric through clasp. I connected the other end to the other sling. The other sling goes through the sling swivel on the stock. This is a somewhat hi-res photo of my T-21, hopefully it will let you open it in full size so you can see how the 2 connect. Here is a closeup of the swing swivel on the stock:
-
Attaching Mortar Tube to Move Along Pack
HappyTrooperDotCom replied to CrookKnight's topic in Field Backpack
I used the Scootch method listed here: http://www.whitearmor.net/forum/topic/6474-howto-scootchs-backpack-tutorial/page-2 (scroll down to the mortar tube section) Basically, before you mount anything on your frame, you drill 2 holes through the frame out the side, and also on the tube. You only need to drill on one side of the tube, then insert wall anchors in the tube. The lag screw goes through the frame and then into tube's anchors. That way you don't need to drill holes on the outside of the tube. -
WOW, looks great, I love the red lighting.
-
Ukrainian Sandrooper's backpack ( Build )
HappyTrooperDotCom replied to horus's topic in Field Backpack
I second Airborne Trooper...very impressive scratch build. Nice work Trooper!