


gmrhodes13
-
Posts
26 -
Joined
-
Last visited

gmrhodes13's Achievements
(1/14)
6
Reputation
-
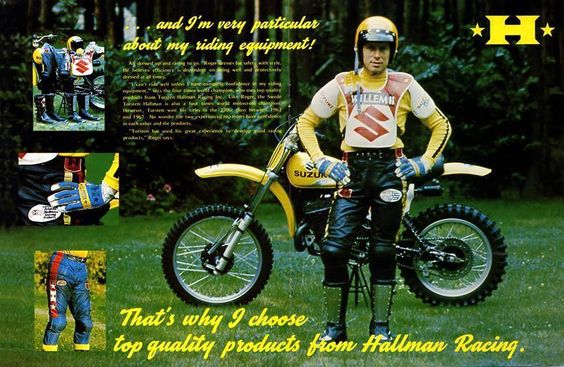
 Posted this over at FISD and thought some may find it interesting here Made by Torsten Hallman 1970's And an oldie but a goodie, for those who may not have seen this image
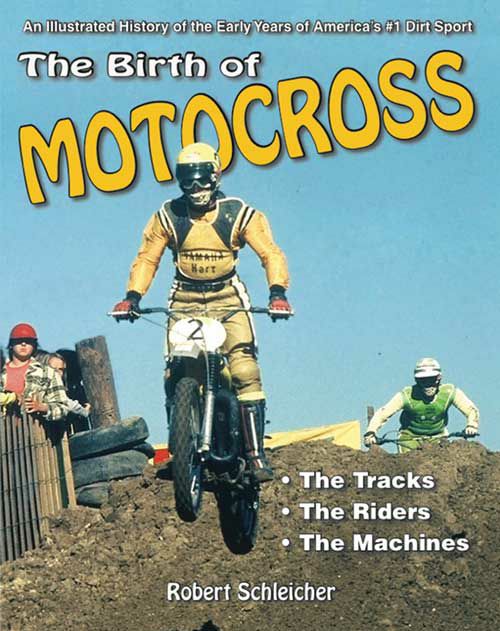
.thumb.jpg.96412568f0b24fbc225d95623593cca4.jpg)
.thumb.jpg.c36400dd3cba55a5e821c67ac9073e08.jpg)

.jpg.9b6135a1b5f65bd454fec99d4e7b7e60.jpg)
.jpg.62900385d30b9deff31bc0ce7a6a0cfc.jpg)
- 1 reply
-
- 1
-

-
Still waiting on a TD upgrade please
-
gmrhodes13 changed their profile photo
-
TD85421 requesting TD access https://www.501st.com/members/displaymember.php?userID=15264&costumeID=2
-
Approved
-
SOLO - Mimban Trooper CRL Development
gmrhodes13 replied to henselmonster's topic in Mimban Trooper Armor
Here's one of the first cards I have seen with shinny Stormtroopers, one is having a slight malfunction though with his td, maybe he needs a backpack to cover it -
Yes I agree less is more which is the feedback I gave to Peter after his second attempt. The only sticking point has been the colouring, I realise there are a lot screen images available, which some have sent to me as examples lately, BUT many are either in full sunlight or shaded/shadowed, these images then do not accurately show the correct colouring, most of the lighter shades, tan/sand/rust/orange is lost in these images leaving them looking dark brown/black. Prime examples of images some of the colouring is lost, first few you find in google images, all you see is black or dark brown. For weathering that is mainly black or brown in colour I advise to add a tinge of orange, other terminology could be a shade of rust/clay/earth. To me burnt umber does have a tinge of orange to it especially if mixed as a wash. Some images I like to suggest as a guide for weathering are from Pandatroopers thread and also other troopers who have been approved. And although I think a little too much weathering I do like the colouring and layering in the tutorial on looksirdroids.com I know for basic approval pretty much most weathering can be allowed but it is nice to have a consistent look between your troops or you can be the odd man out, which gets a lot of attention as one of our older Sandtroopers has found, to which he has recently commented he will be re applying his weathering to match everyone else. Recently one of the biggest complaints about 501st approvals has been consistency, so if I'm way off in my suggestions of colouring please let me know.
-
We do, especially from the GML section of the legion boards, also been told it's not up to detachment to access for basic approval when I contacted mepd directly, it only looks after higher levels. I may add I took the time to edit in Peter in to a line up of recently approved sandtroopers to show the colour/weathering difference, also supplying info on what colours and link to weathering tutorial and CRL weathering page. In this instance Peter's weathering is looking much better BUT his colouring does have a hint of pink to it, which will stand out compared to the rest of our Sandtroopers, for consistency in the ranks I advised some more colouring, sand/clay orange which is similar to the CRL images of weathering and closer to our other sandtroopers. Peter has since sent a test image of the colour he is going to add and it looks spot on, I don't see any issues with his application once it is applied.
-
R1 Deployed Trooper will be MEPD - so the CRL...
gmrhodes13 replied to Daetrin's topic in Sandtrooper Armor
Rogue One CRL (clean and crispy white version) Stormtrooper is live https://databank.501st.com/databank/Costuming:TK_rogue_one -
R1 Deployed Trooper will be MEPD - so the CRL...
gmrhodes13 replied to Daetrin's topic in Sandtrooper Armor
Work in progress here https://databank.501st.com/databank/Costuming:TK_rogue_one -
85421 requesting 501st access please https://www.501st.com/members/displaymemberdetails.php?userID=15264
-
Thanks everyone for the kind words, definately a warm and friendly bunch around here, looks like a TD will be in the cards in the very near future, get down and dirtly lol
-
Managed to order 2 slings from here came to $43.00 including postage, their site search doesn't work well, I just looked up the weapon model and the slings came up. Will post a picture of the quality when they arrive. Slings came today, very pleased, good quality, now just have to make a sling mount and fit, shouldn't take too long now that my DLT-19 is moslty finished. Sling bracket and mount made, just need to sand and paint Now primed, satin black and satin clear Paint dry, mount and bracket fitted, slings attached, T-21 is done
-
Side pieces glued on, just some final detailing and sanding to go So bit of filling, sanding and now some stain The smell of paint is in the air Hit the primer with some 400 wet and dry sandpaper, now to coat in some silver and black Just love how quick this silver dries, now on with the black Everything painted, stained, varnished, cleared, now it's just a matter of assembly Here are a few pic's assembled Some close up details More detailing Diffused light in action
-
A few details pieces done Using some reticulation dripper pipe for the barrel detailing, easy to bend when heated, then tape it to the barrel to hold it's shape until it cools, gives me time to do the blue wire twist . Just did a bit of rounding on the butt, drilled the chanels for the oil brush and holder Using the electronics from a $6.00 toy gun. Assembled on the front which is hidden in the pipe, added another speaker and a red hi-bright led Fitting a small micro swith, spring and trigger Found a small push battery light, using the front cover as it will give a nice look inside the pipe instead of just seeing the one led. Even with only one led the beam of light is quite intense.
-
Found a couple of water fittings, had hexagon heads so had to turn them down on a friends lathe, then used a file to make the knurl effect This was the only ribbed pipe I could find Was 30 mm too narrow so what I did was slice it down the middle, cut some sections out of the off cut then glued and siliconed them in. And this is what I have so far Few more bits done, top section all sanded and glued Cut and modified some pipe to make the outer rings, had to enlarge one and reduce another, also found a couple of O rings for some of the finer detailing Used pieces from two coupling to make the front section and taper All the pieces on the pipe, think I will paint them all seperately and assemble later with a dab of silicon to hold them in case I want to change any pieces later.
.jpg.192d08e24fbb94e537dbb20d5aef106c.jpg)
.jpg.dd3c4a736a41257e52b466c28b002608.jpg)

